The date came and went (March 11th), but only now I have a chance to share a few things I made for the occasion. As you may know, most of the sweets I bake we don’t get to eat, but this series of bakes is the exception that confirms the rule. We got to savor all the sweetness! But let’s start with the bread components.
.
FOCACCIA ART
.
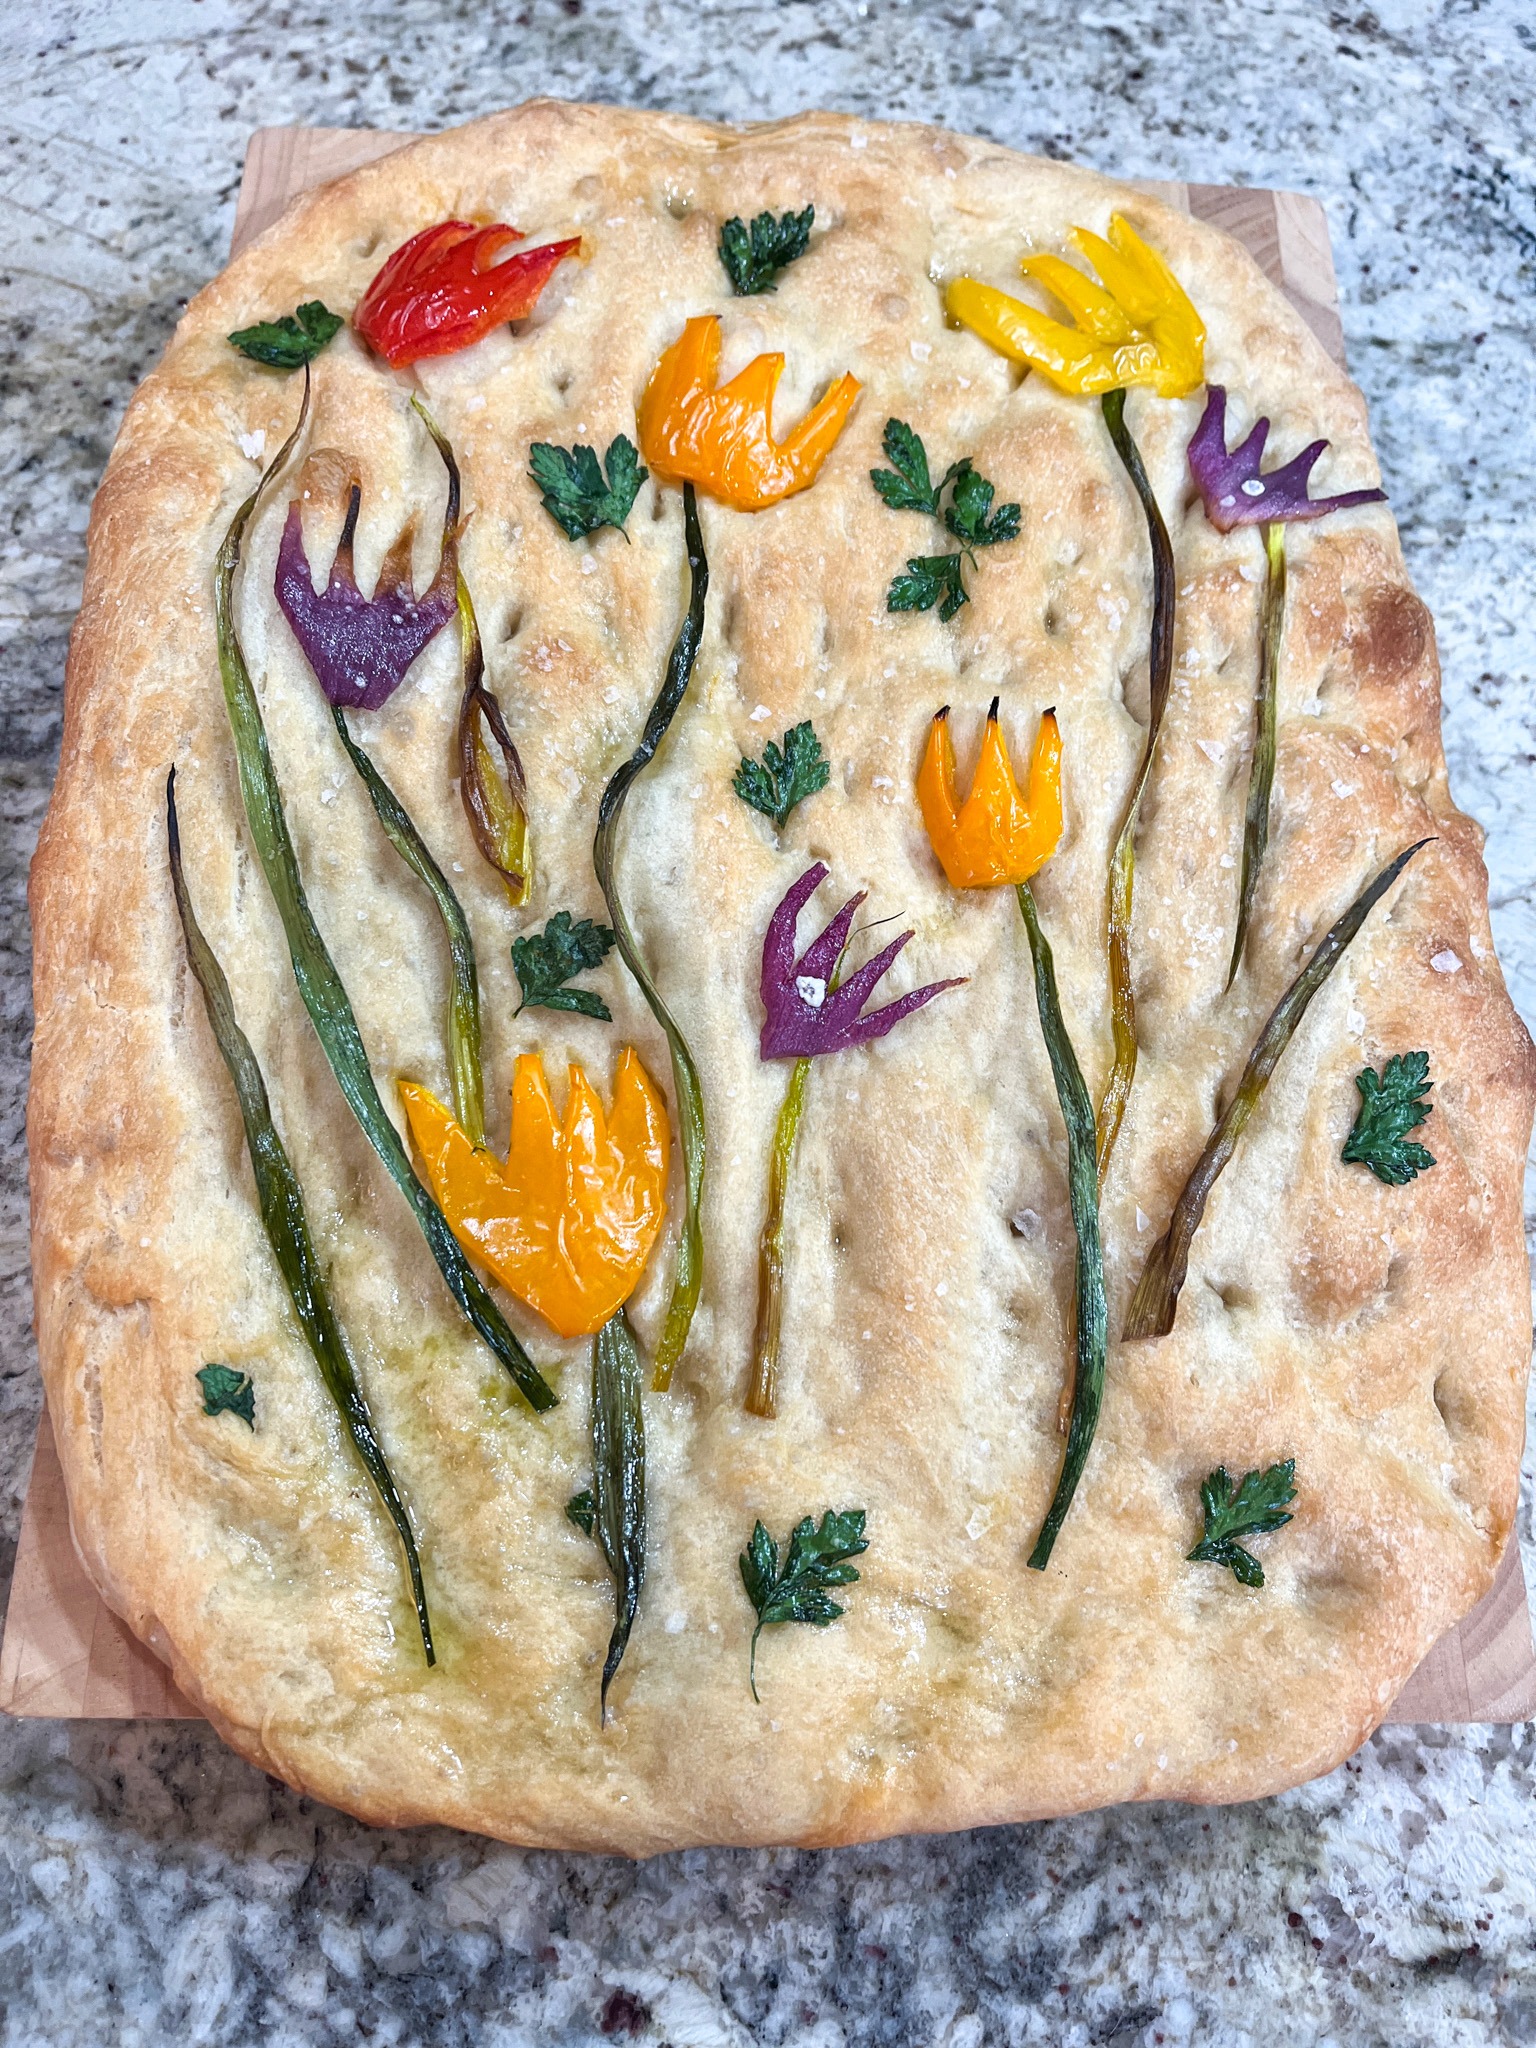
Maybe you remember the Quilted Focaccia Buns of a recent past? I got this idea from the book Beautiful Bread, which I highly recommend, as Theresa Culletto shares amazing designs and all the tips to make them happen. It is all a matter of making a big enough dough to cover a large baking sheet, and then planning decorations with veggies cut in shapes.
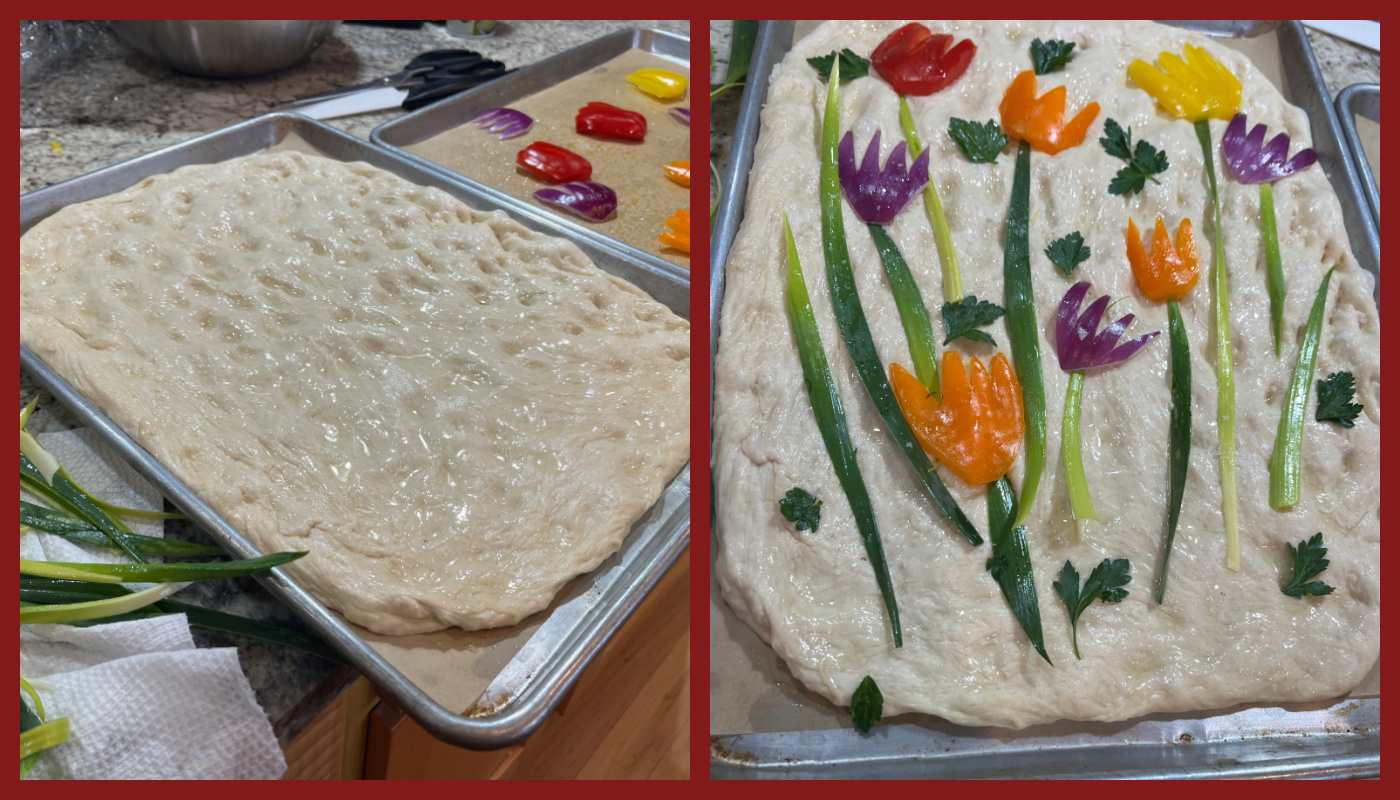
It is quite amazing how much flavor and smell little pieces of leeks impart to the dough. You can also use chives for the stems if you prefer, they will likely be easier to work with, no real prep needed.
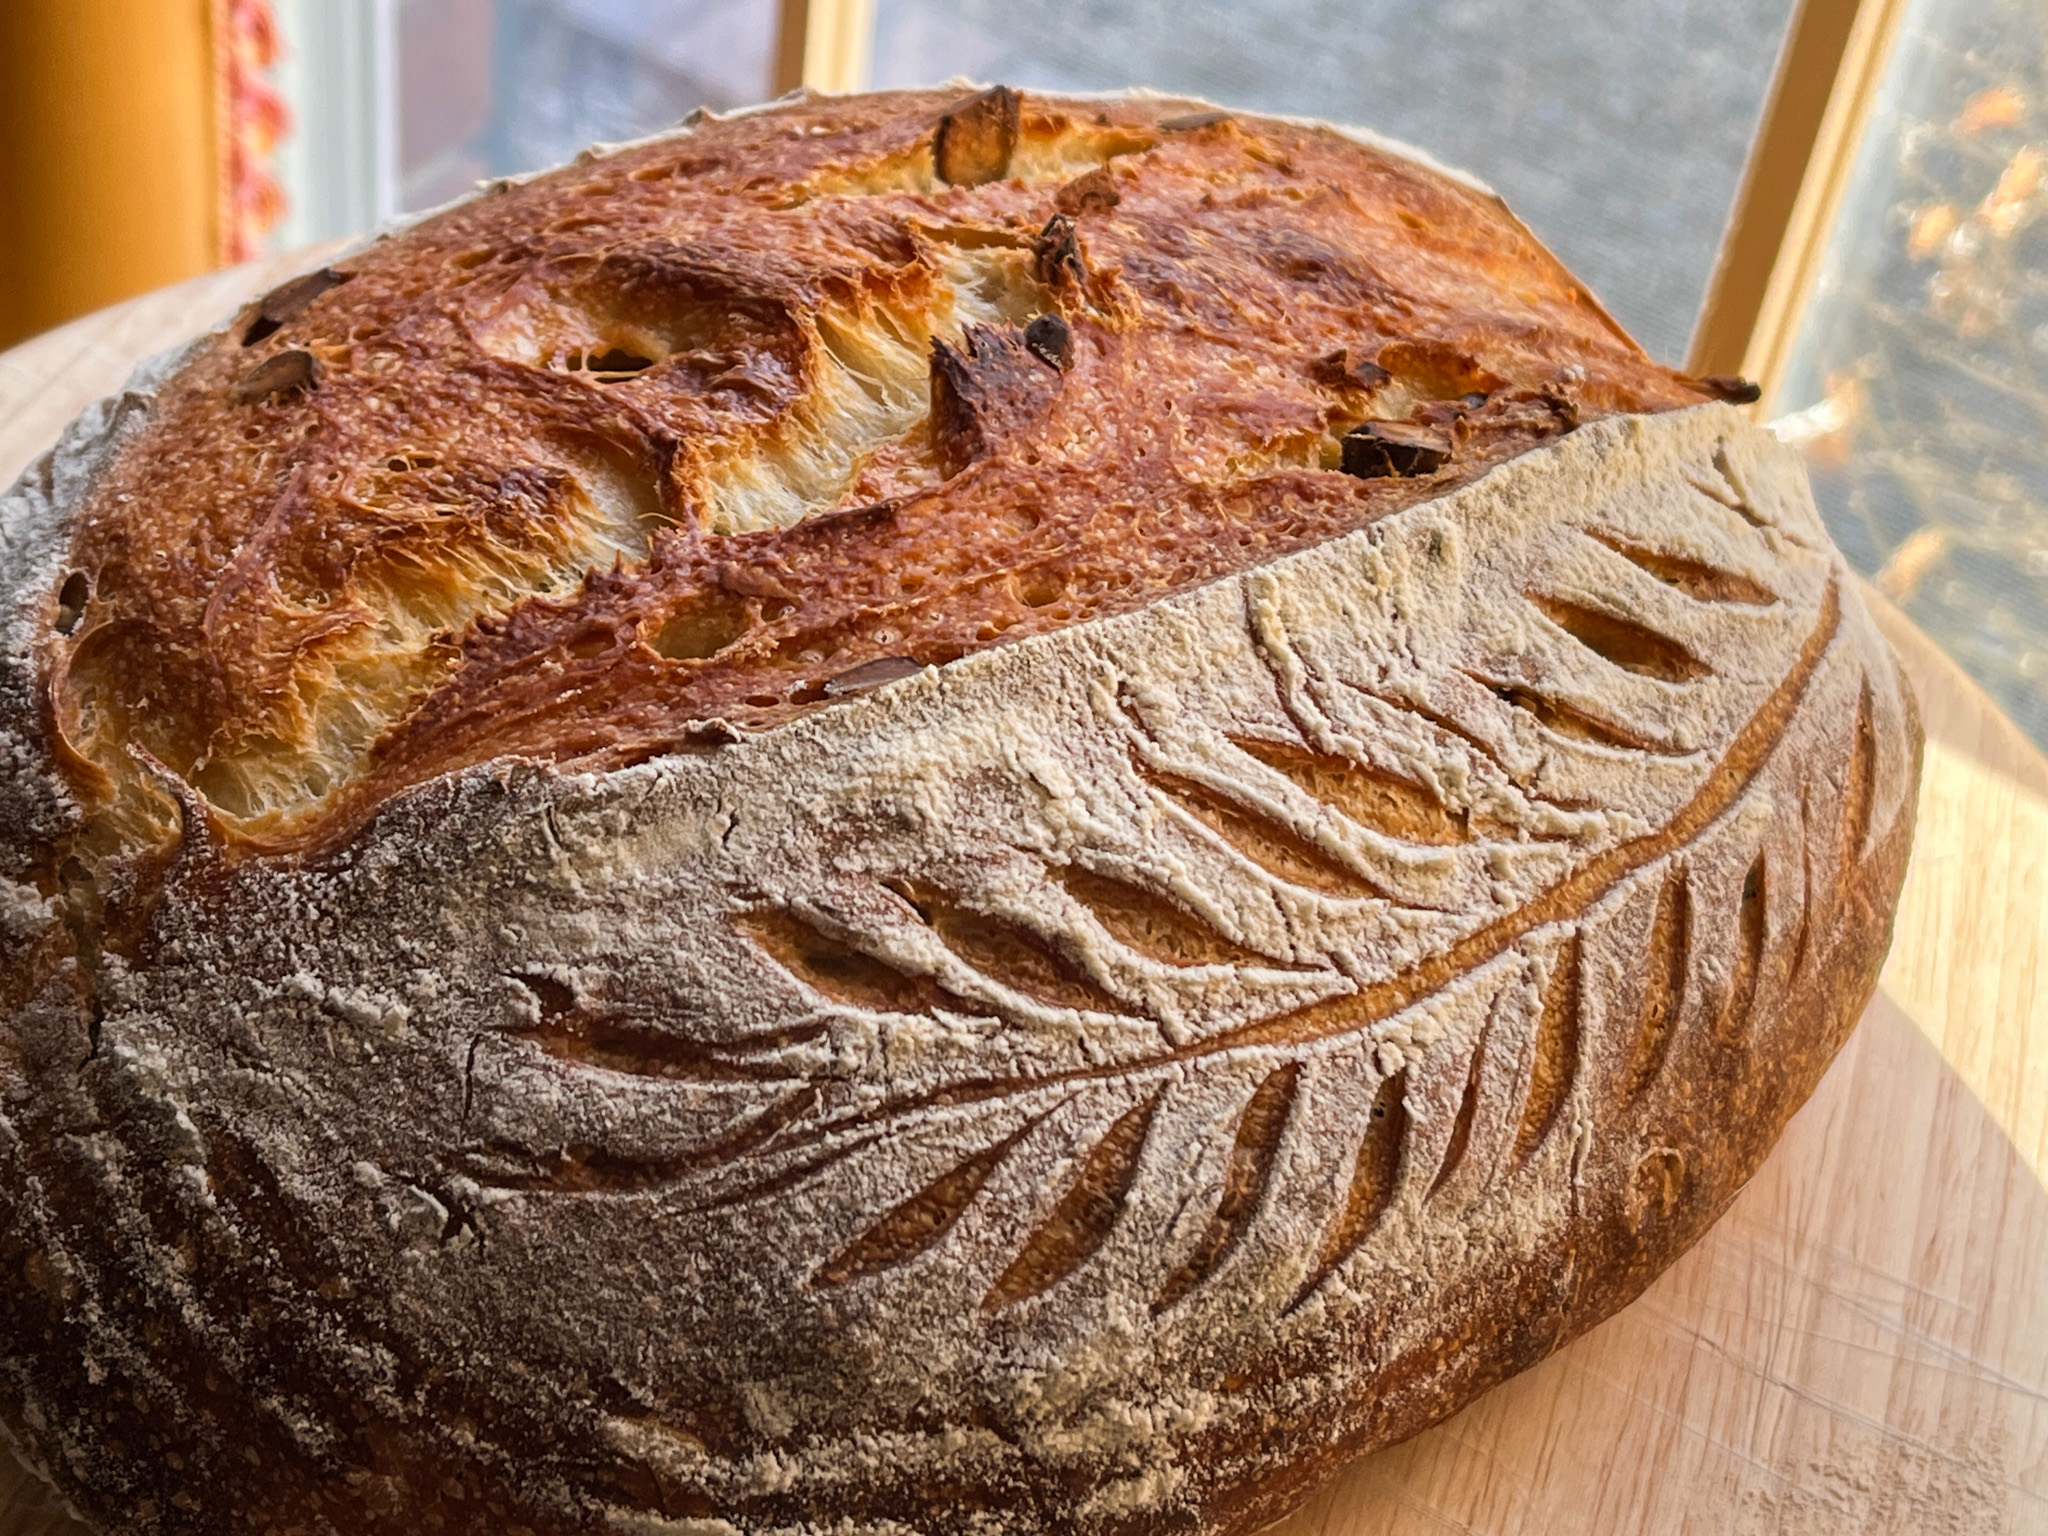
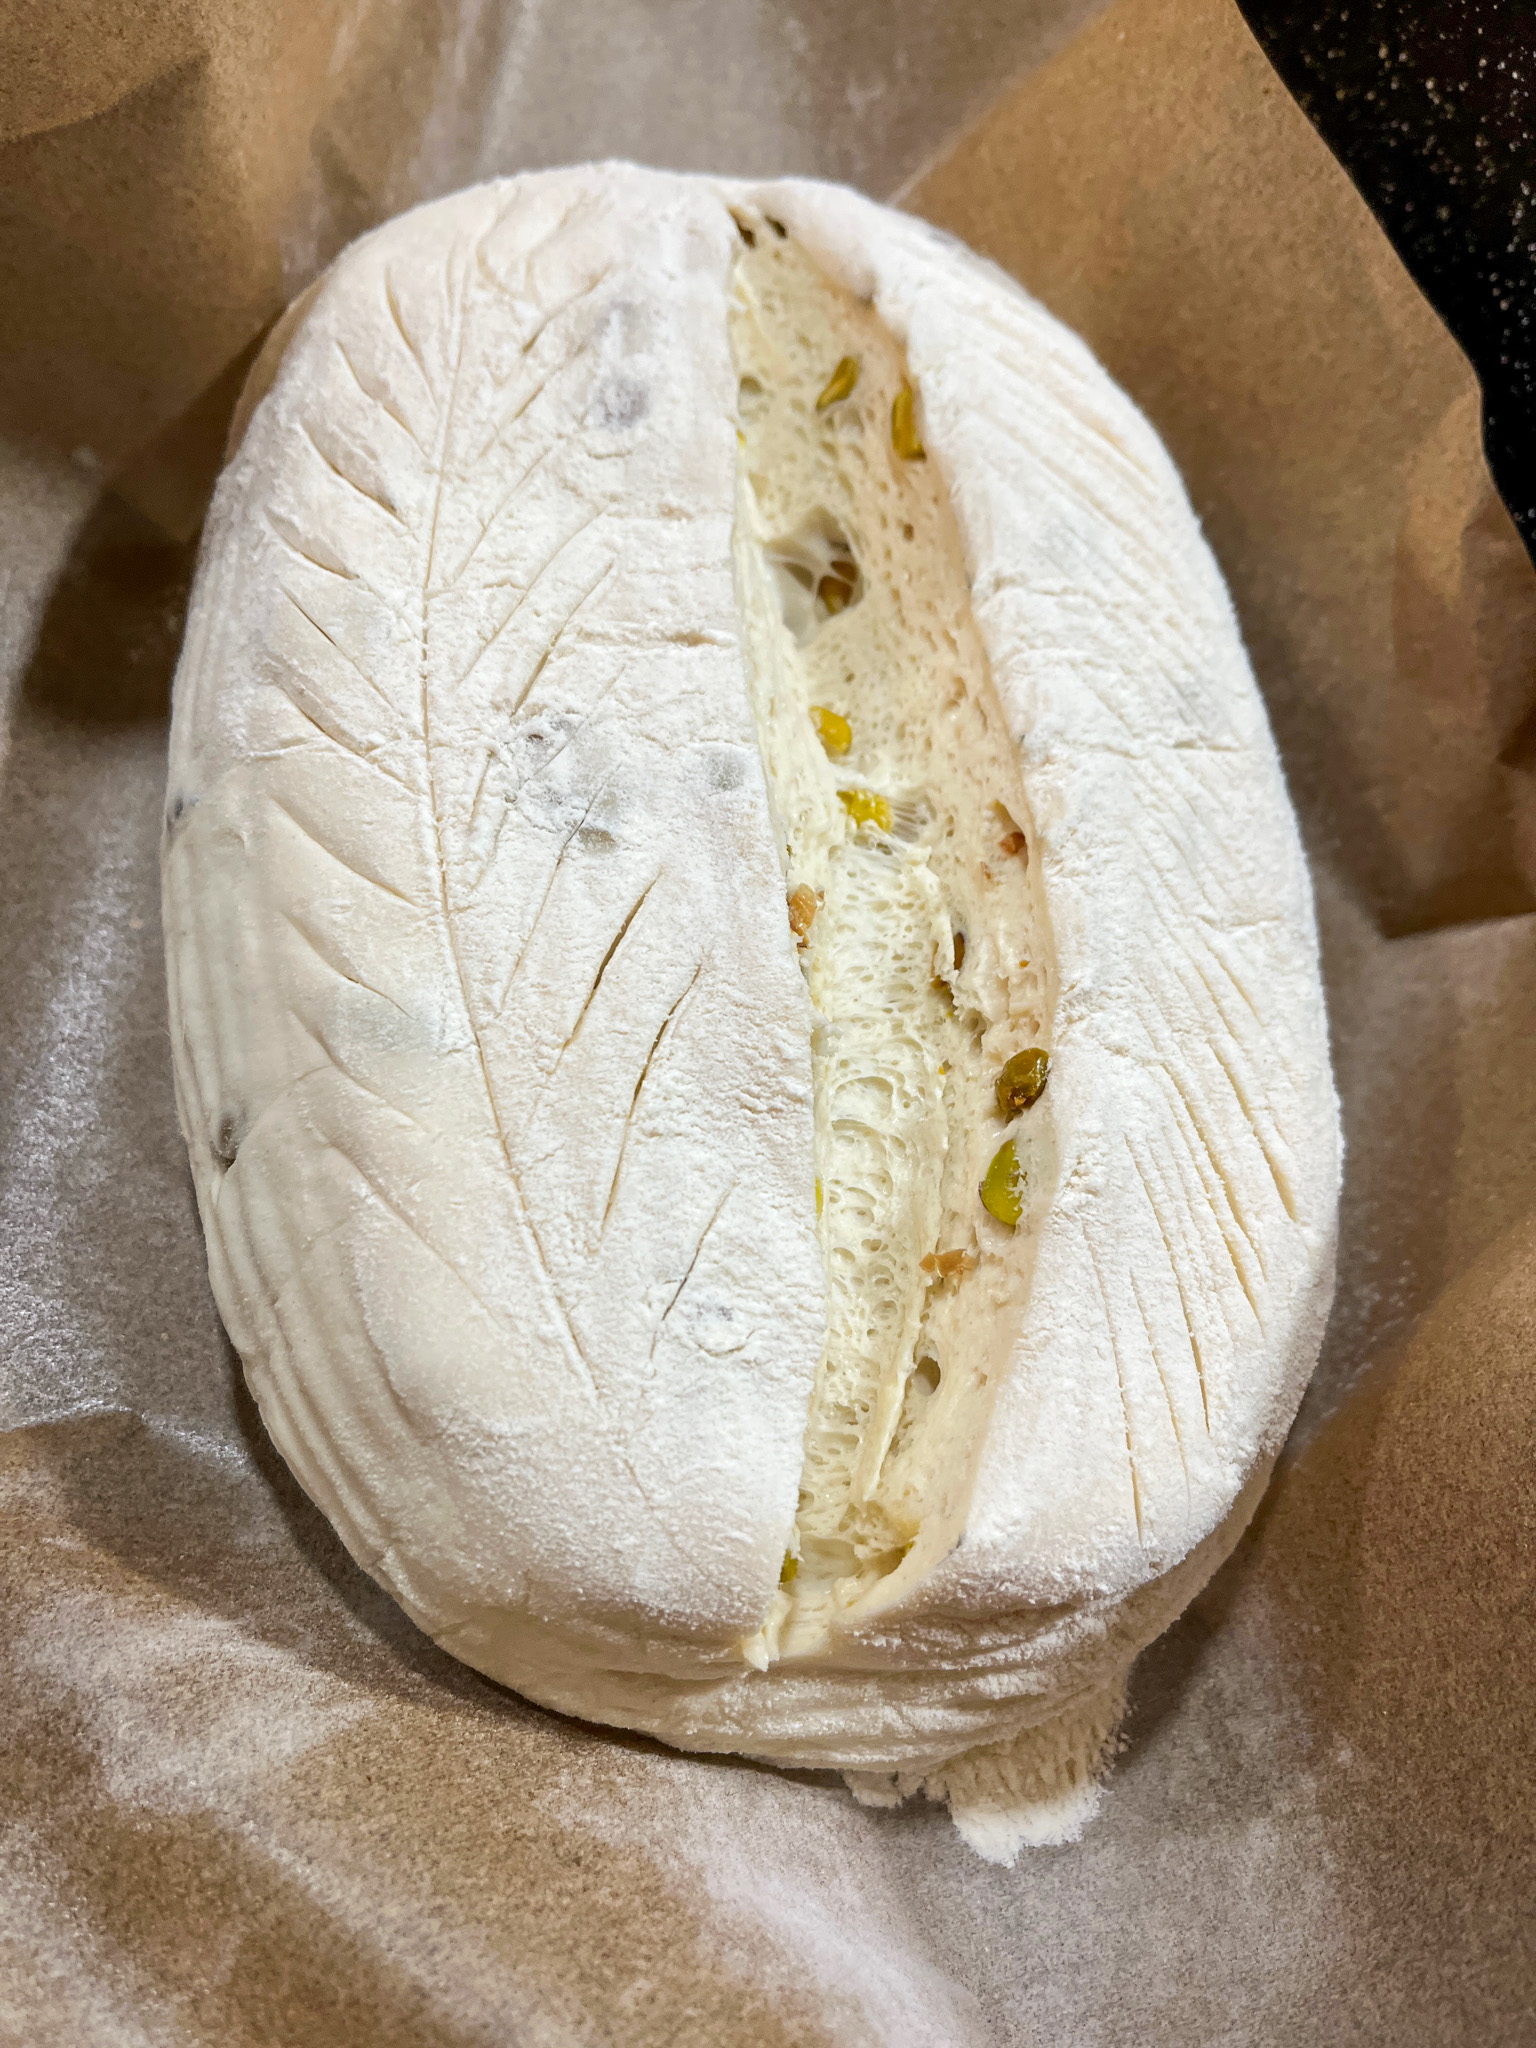
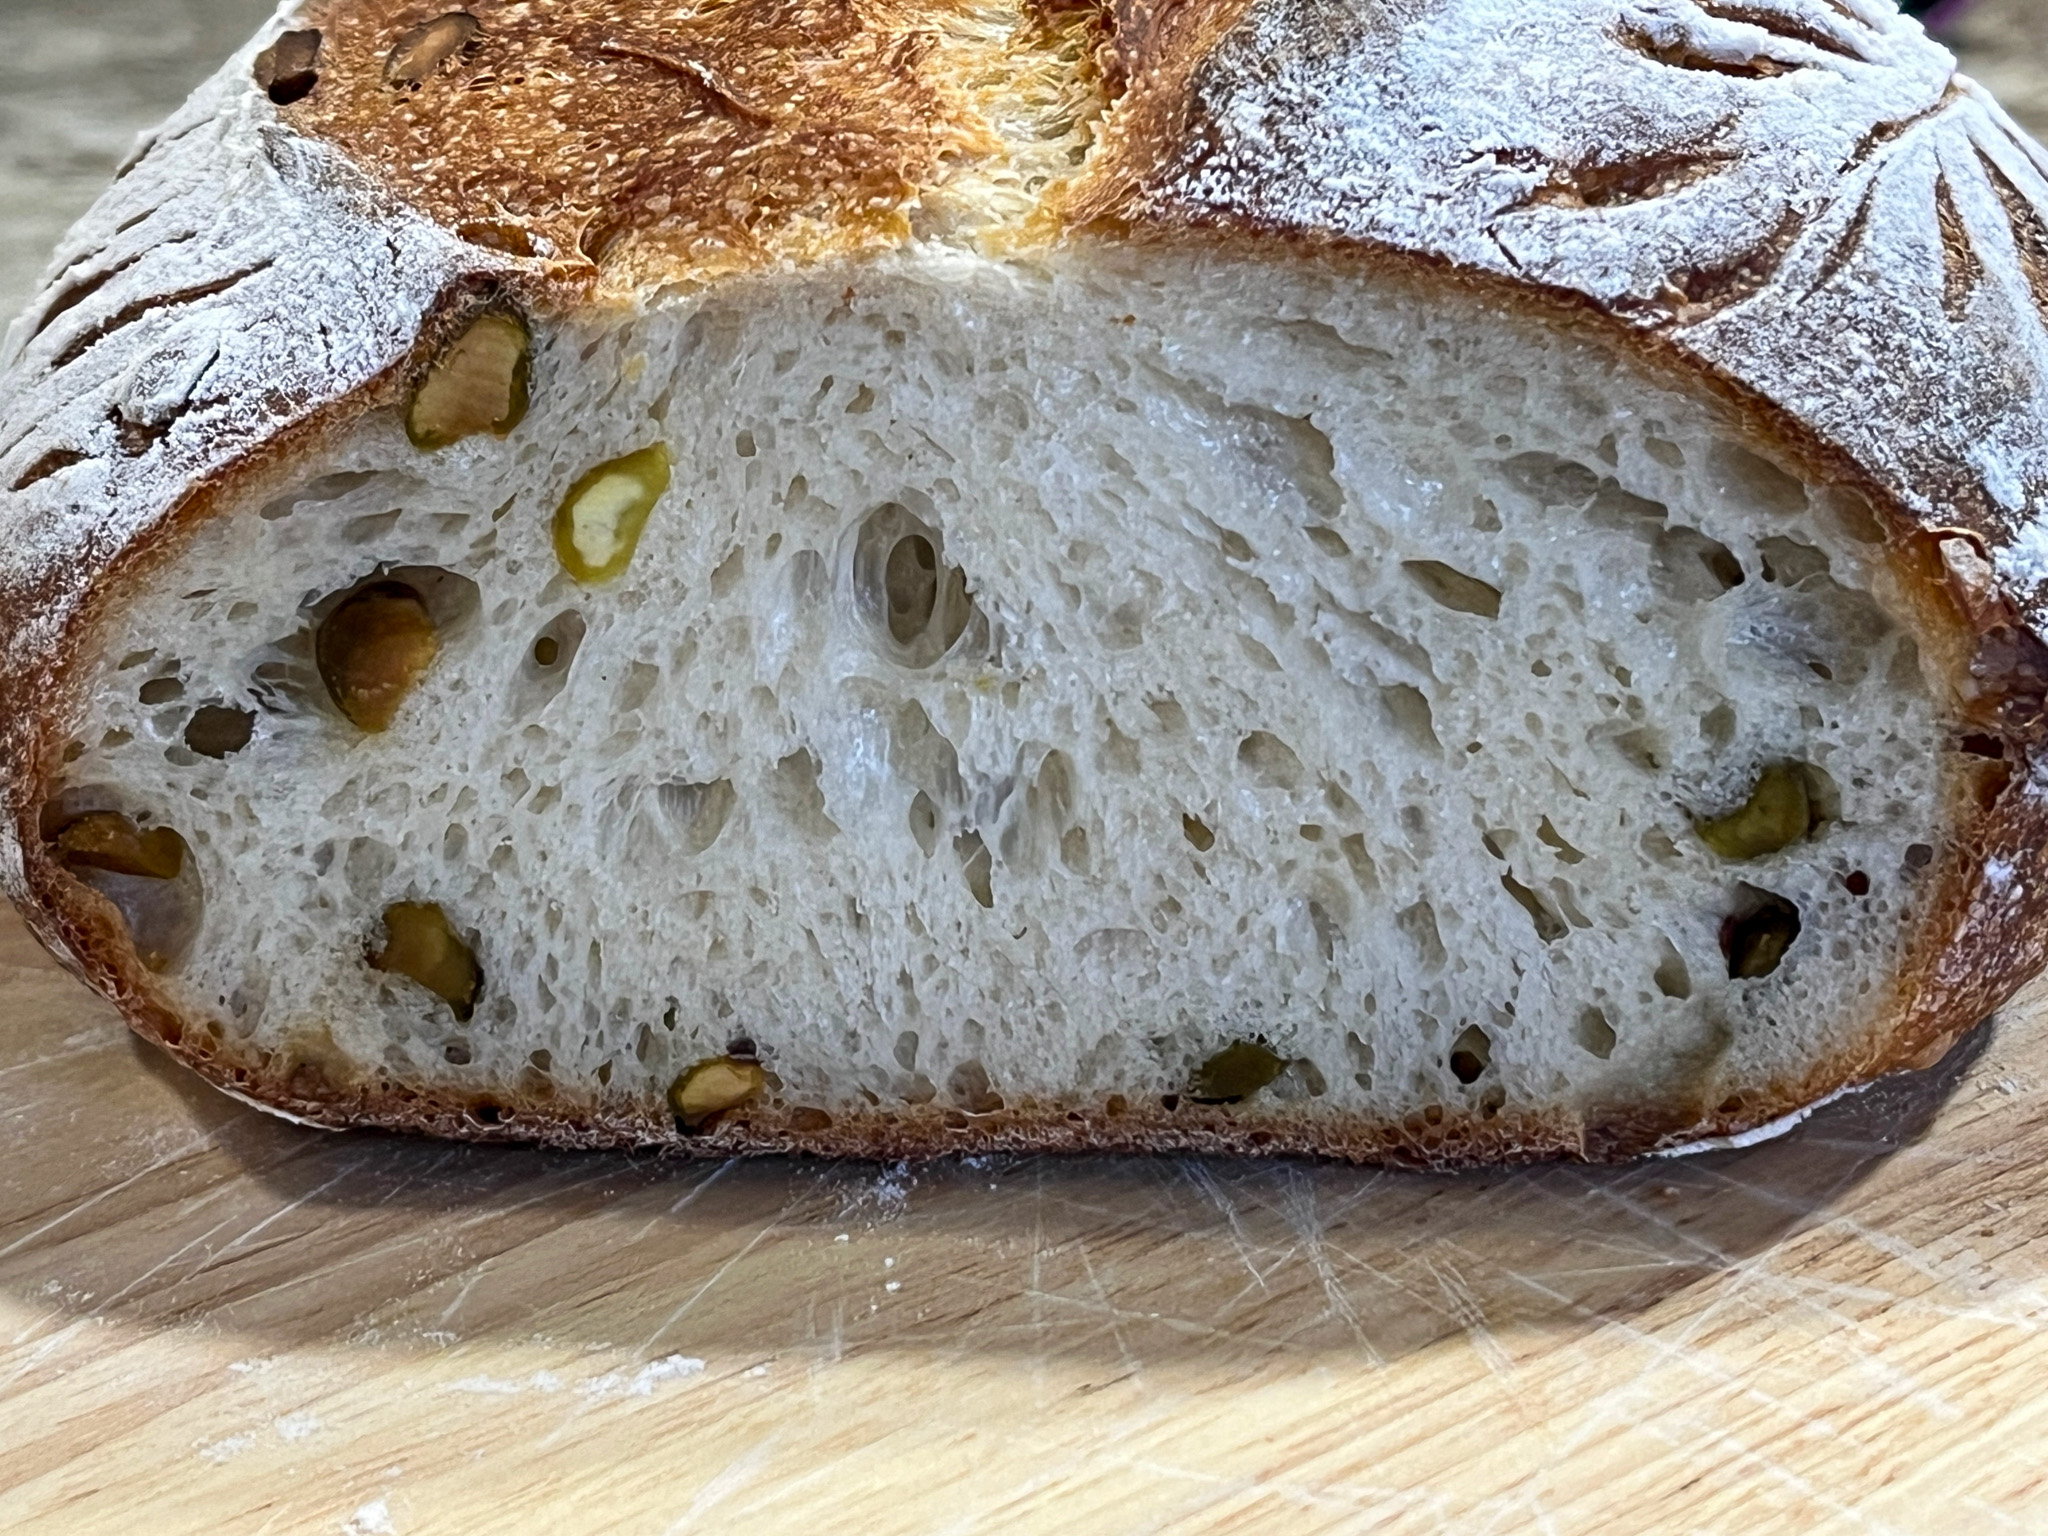
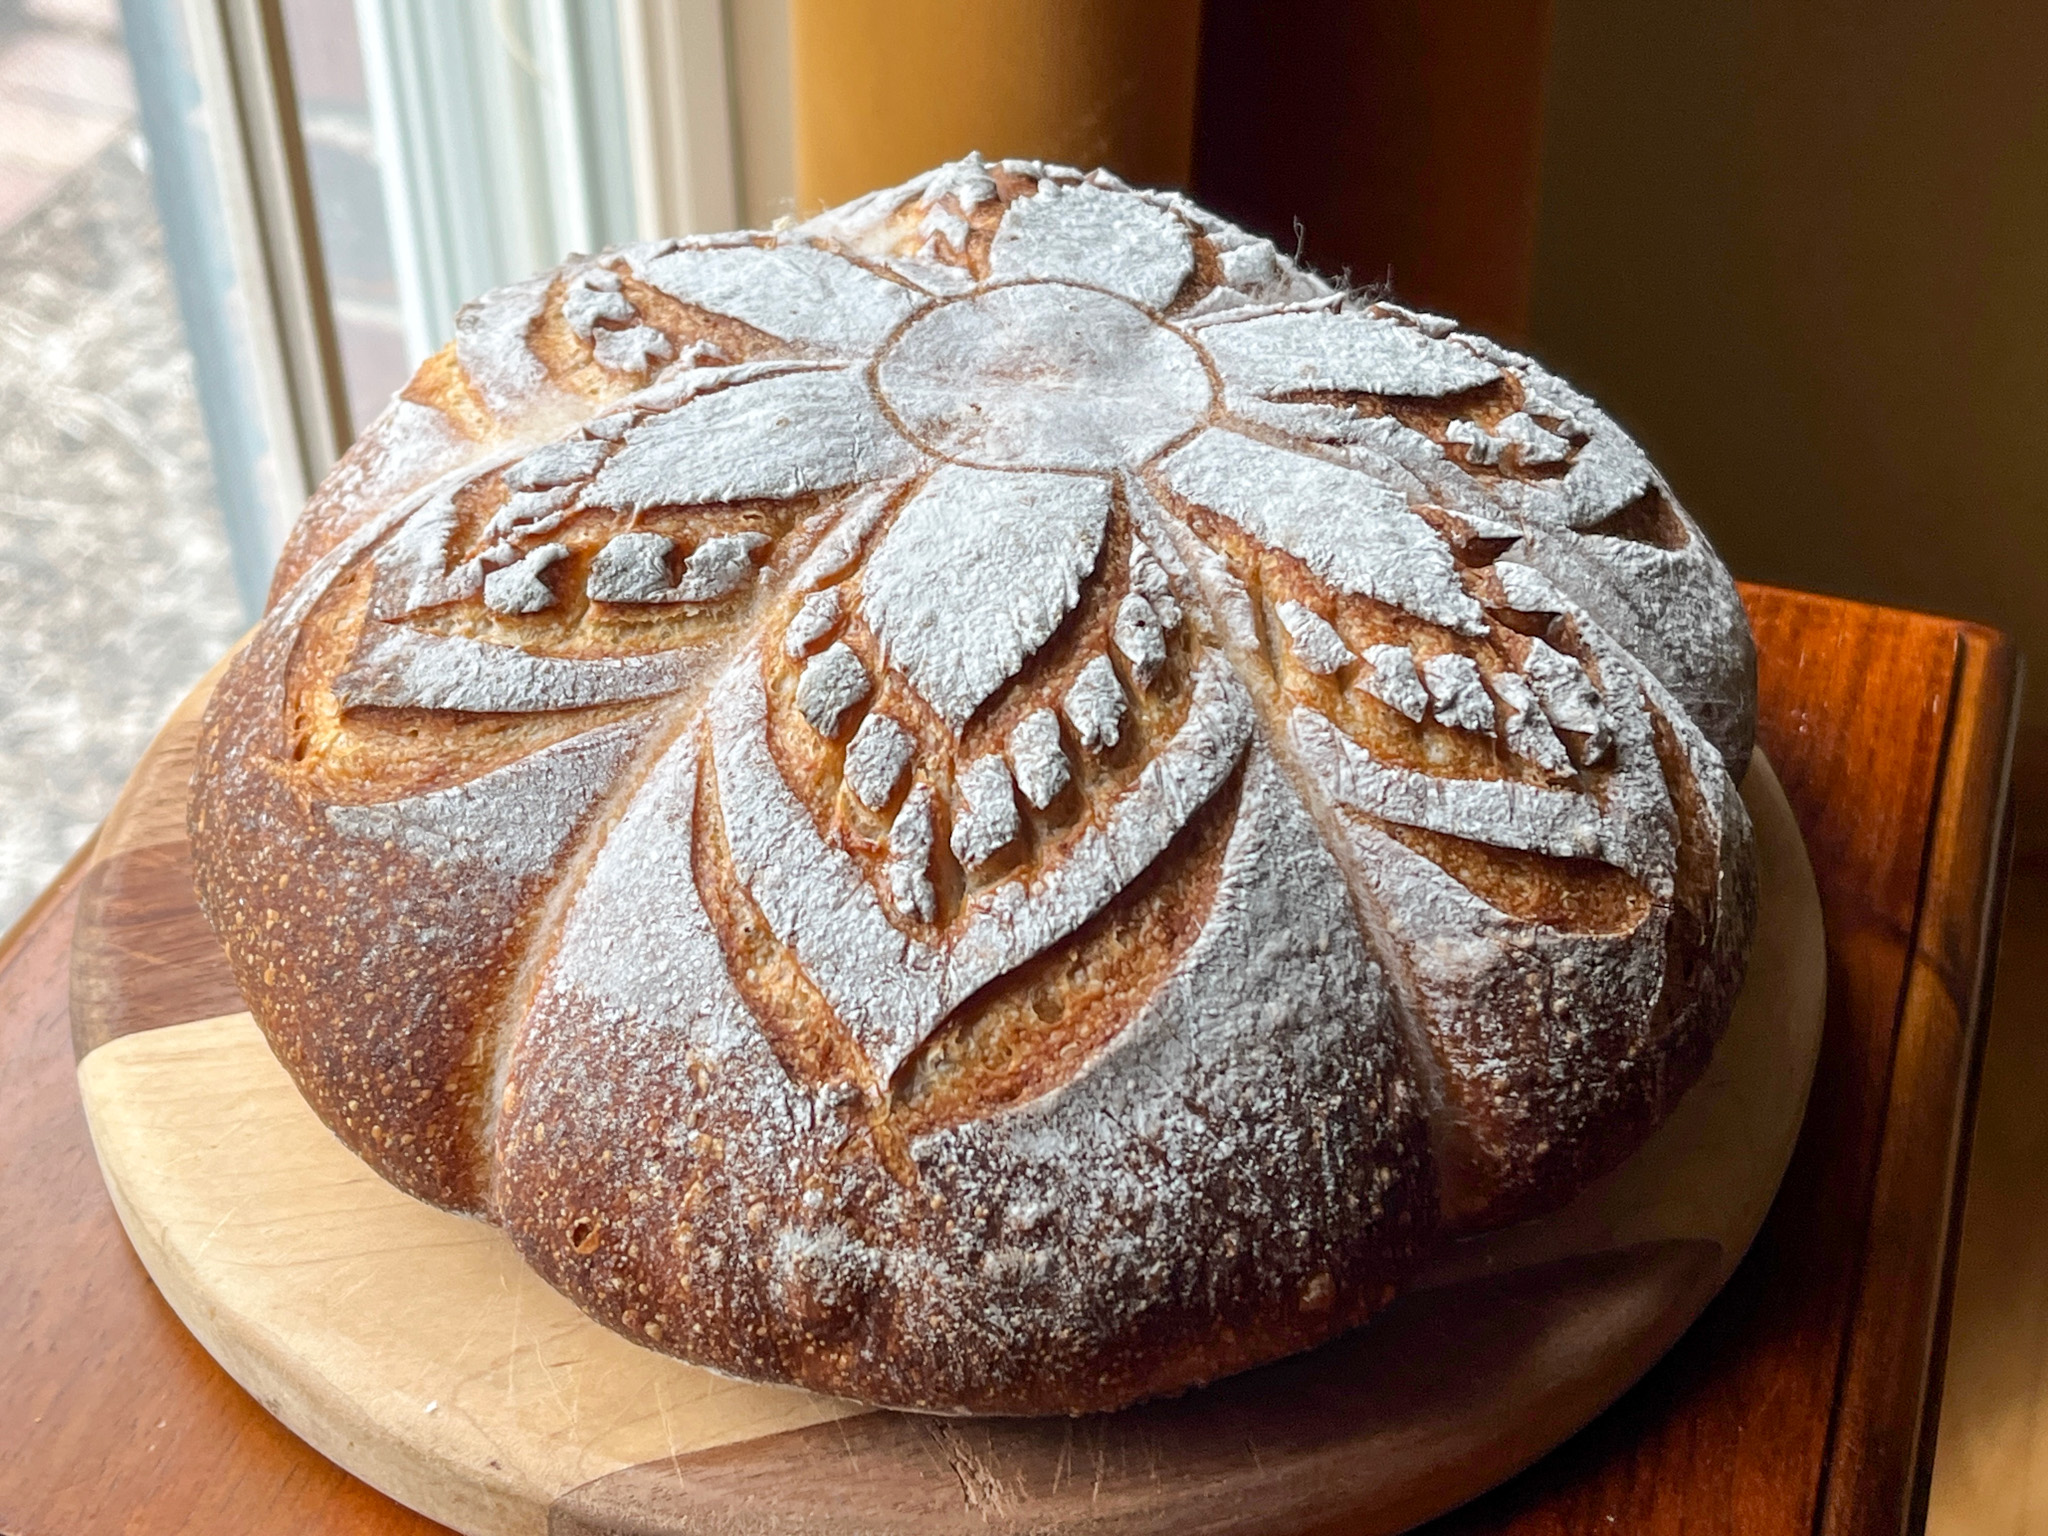
Moving on, I had to bake a sourdough, and chose a Springtime design for it…
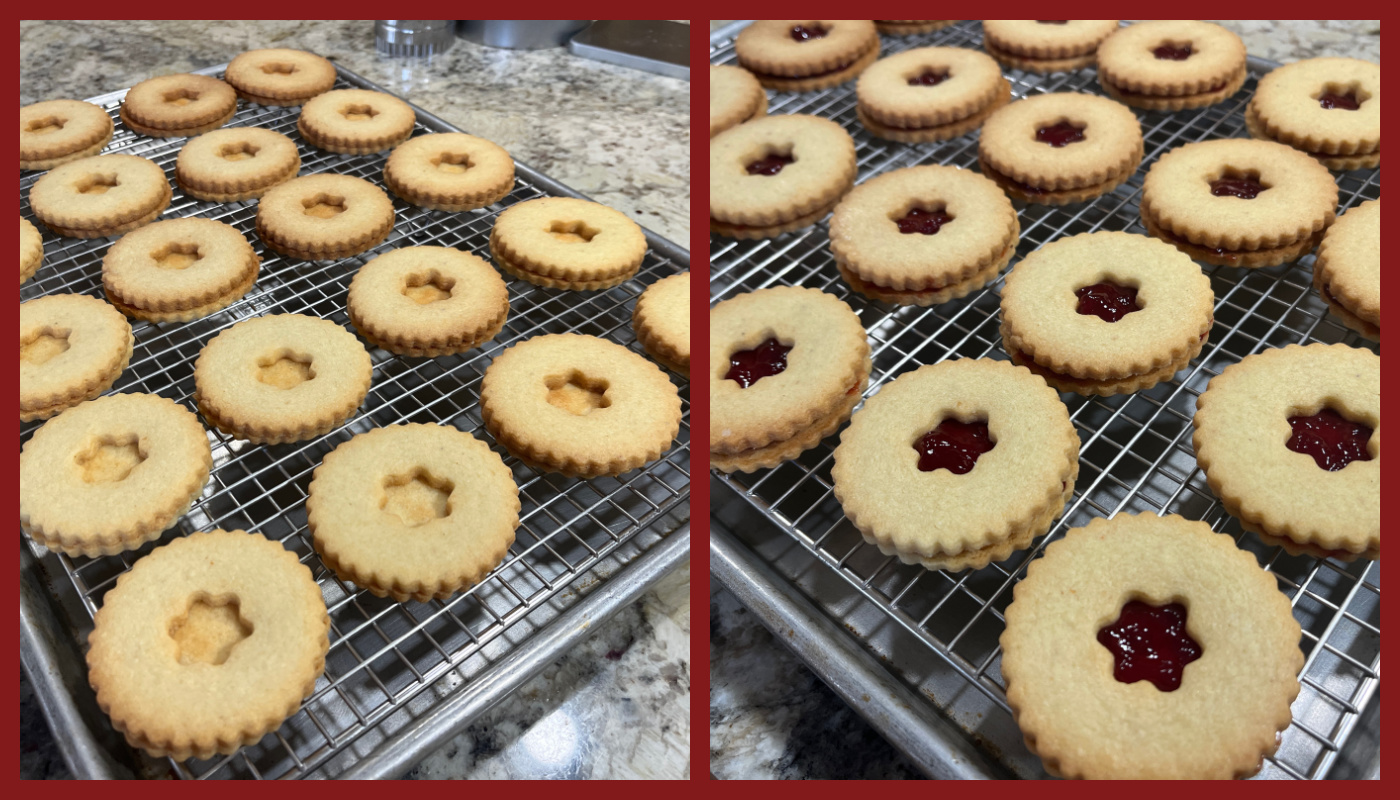
And now, to the sweets… From Molly Yeh’s new book Sweet Farm, one of the most delicious cookies ever, a Cherry Mahlab Linzer! I cannot share the recipe for copyright issues, but I’m tempted to tell you that the book is worth it JUST for that one. Mahlab is a Middle Eastern spice that resembles cinnamon and imparts great flavor to the dough. I will be using it often.
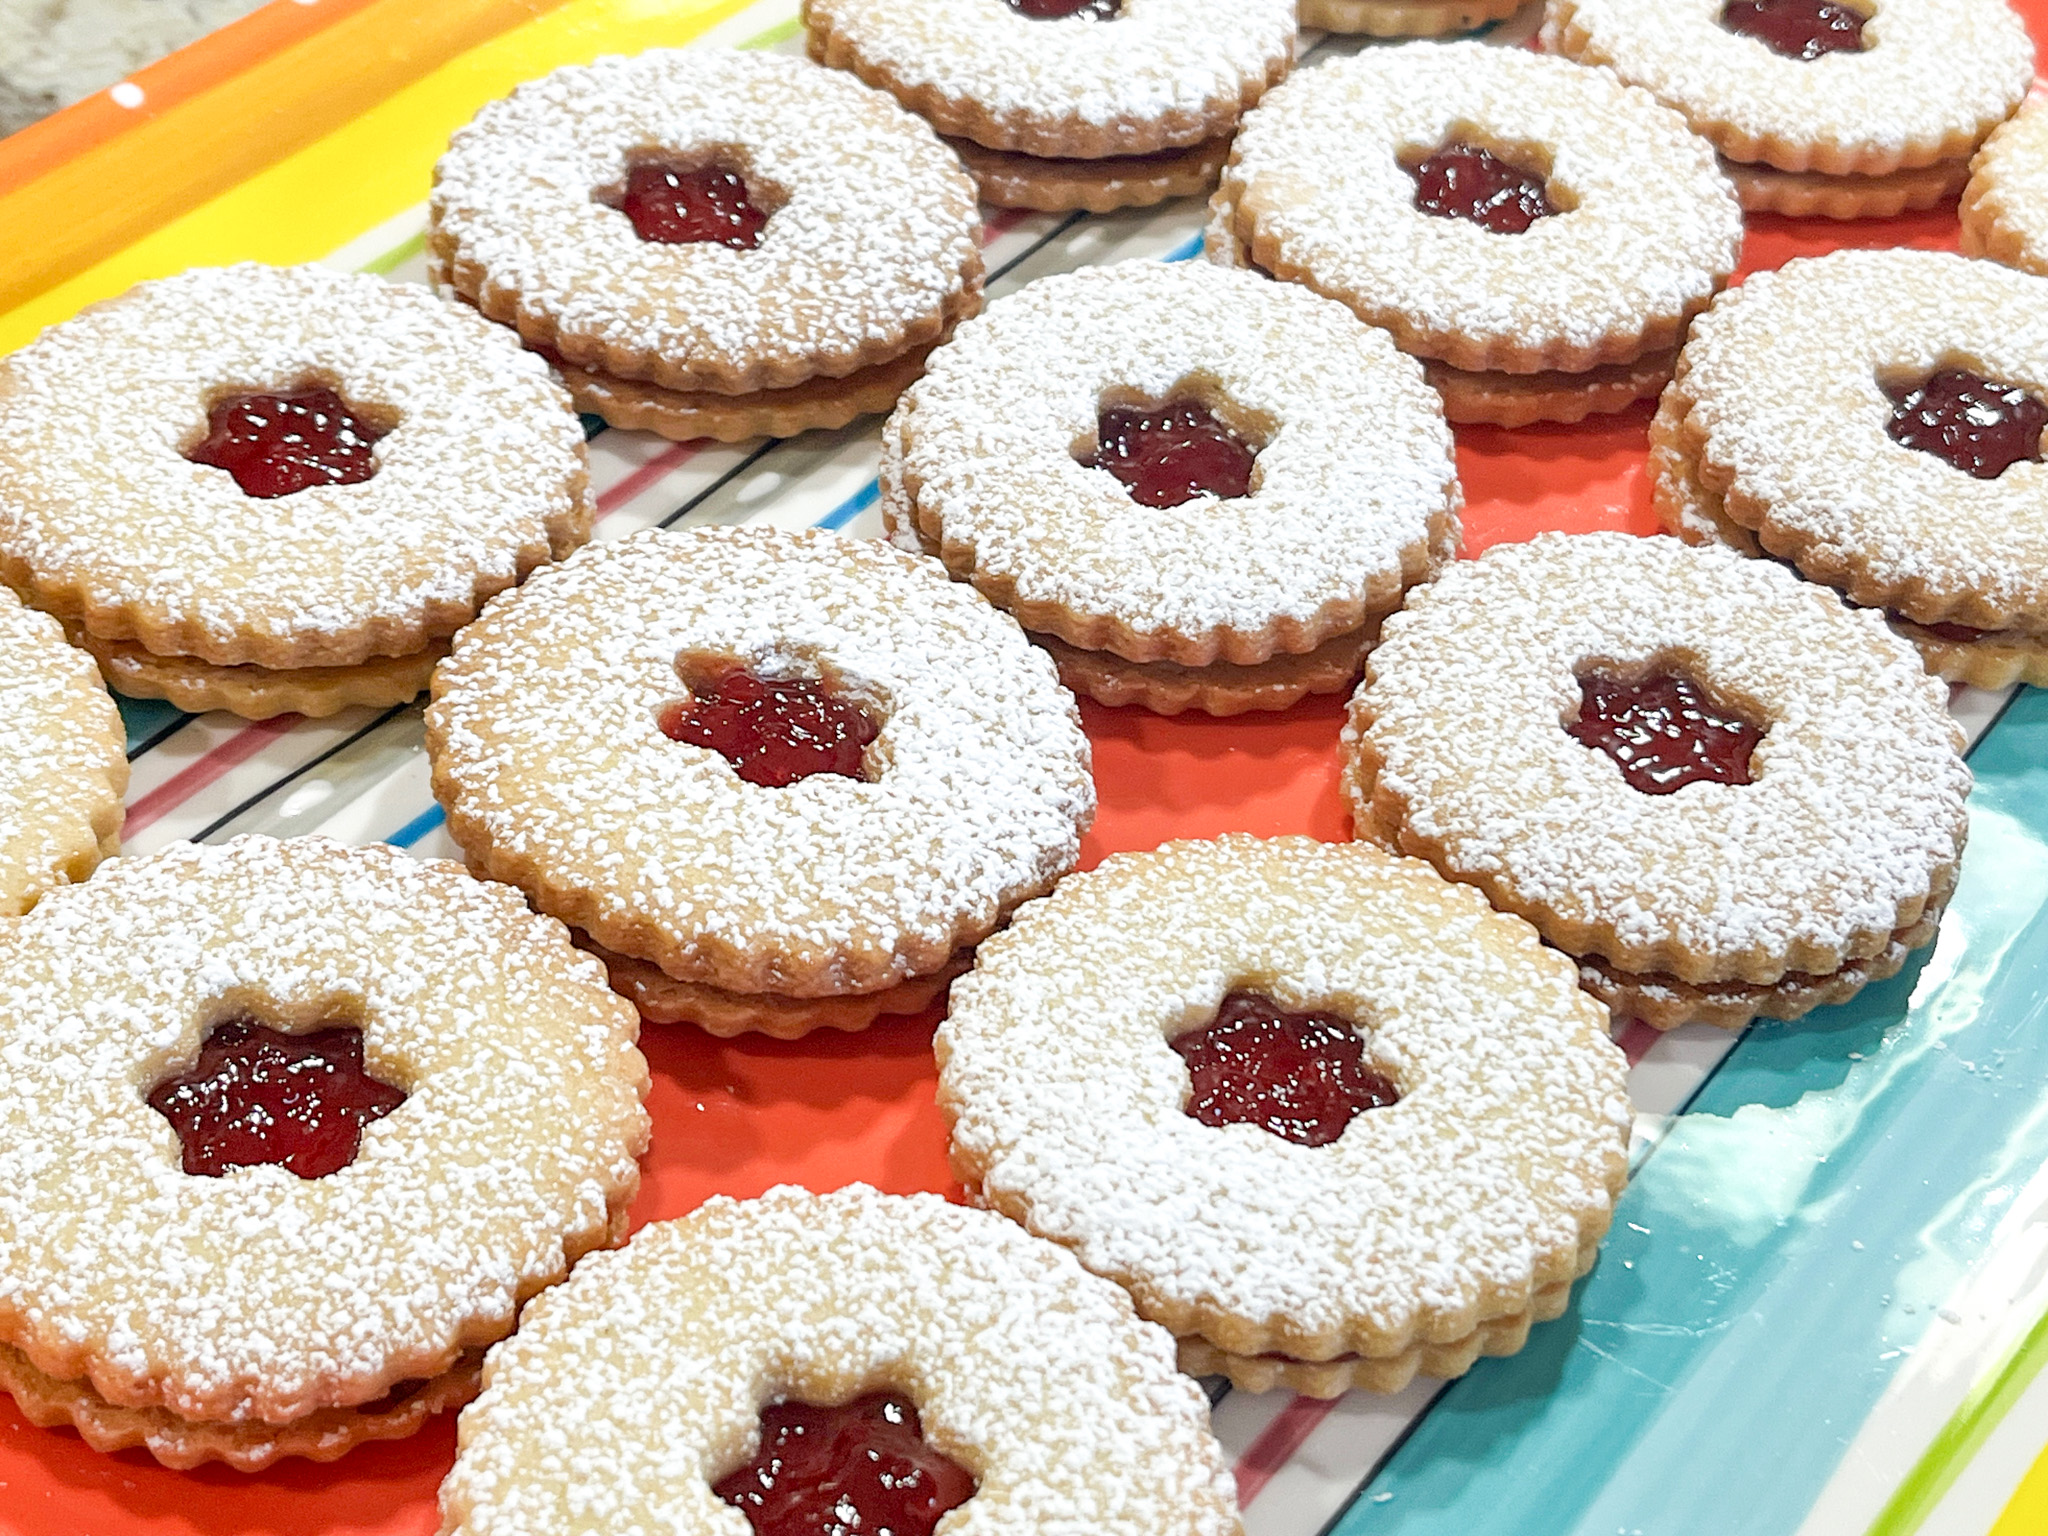
The dough rolls like a dream, browns beautifully in the oven, and crumbles in your mouth with that texture that only almond flour will provide. Absolutely a must-make!
.
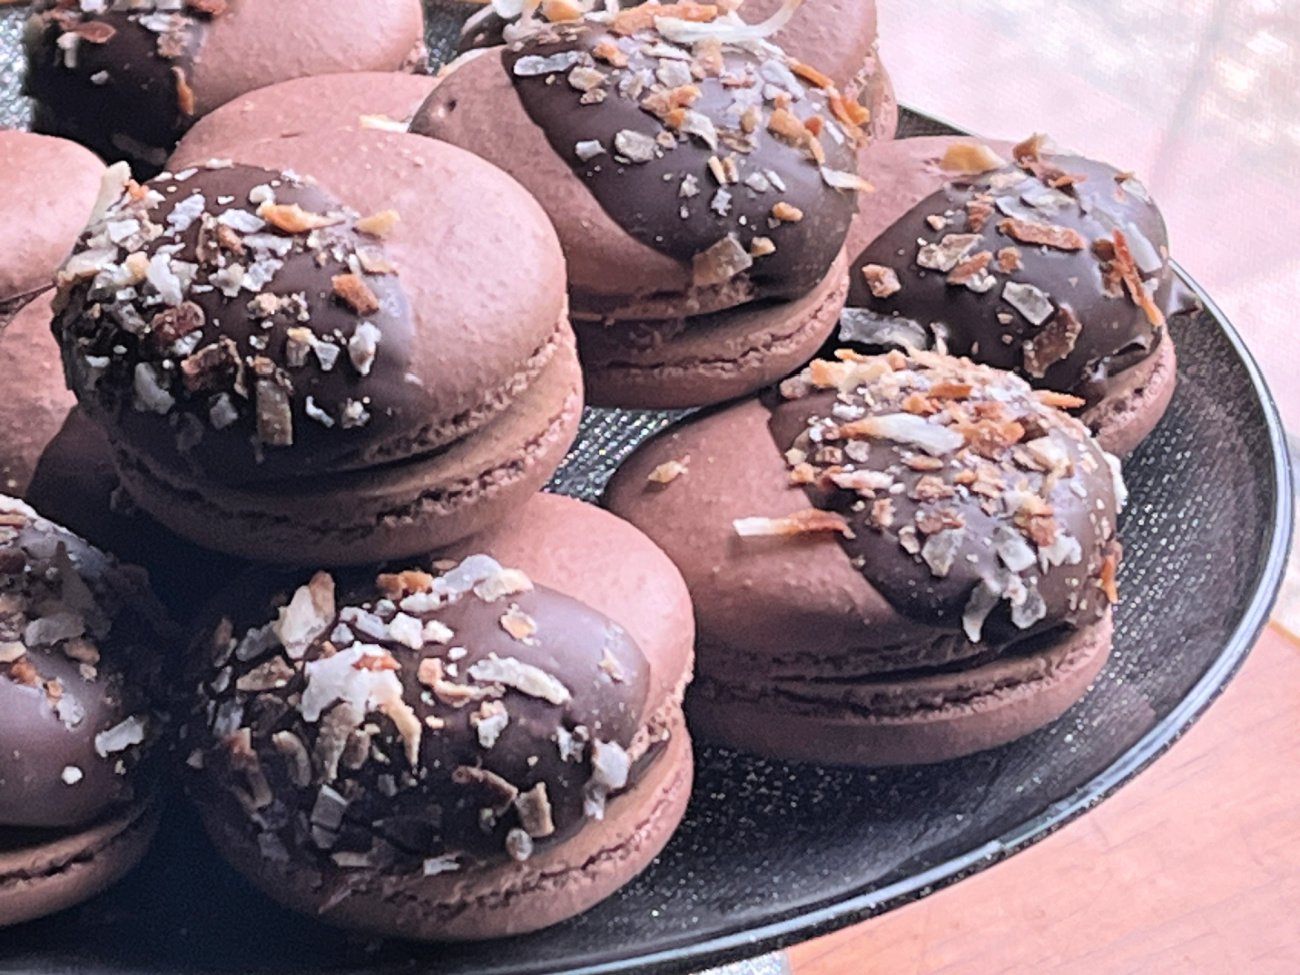
From the past, I re-visited the German Chocolate Macarons, which I did not have a change to taste the first time I made, but the feedback was so great, I was intrigued and could not wait to make again FOR US. Wonderful they were, all modesty aside… Recipe available here.
.
TWO VERSIONS OF BRIGADEIROS
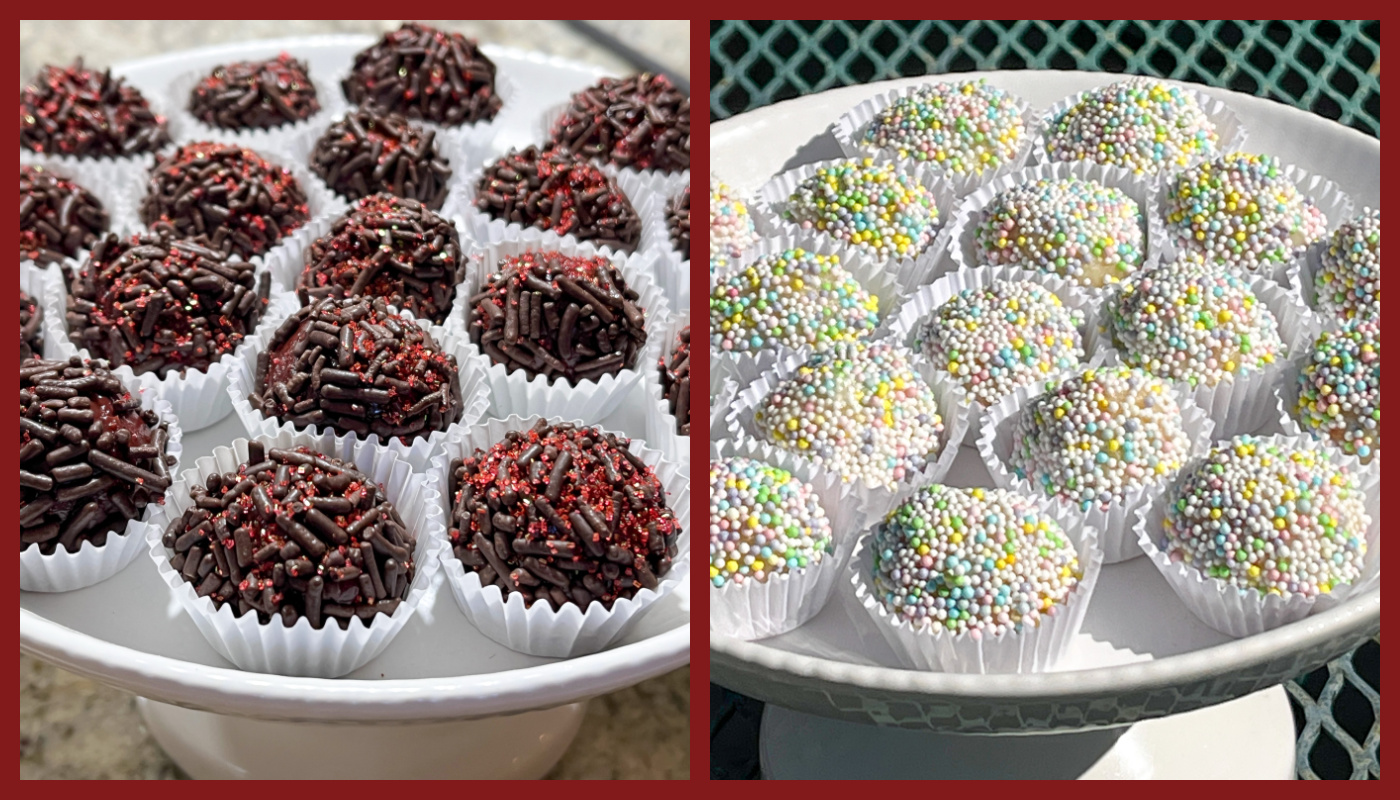
Red Velvet and Lemon. They were both made with the same basic method: 1 can condensed milk + 1 tablespoon butter in a saucepan. To the Red Velvet I added one full tablespoon of cocoa powder + 1/2 tsp Red Velvet Emulsion from LorAnn and a pinch of salt.
To the Lemon version, I added 2 tablespoons Lemon Curd (store-bought), and a pinch of salt. On a later version I added a squeeze of fresh lemon juice and some lemon zest, I liked that better. Both versions cooked the way described in this old post of mine.
.
And now, for the Piece of Resistance, THE CAKE! Choice of the husband, who found the recipe online and twisted my 65 year old arm to make it. Recipe published here, and also in his cookbook SWEET.

This is one amazing cake! Luscious, moist, tender, almost feels like flourless. The ganache on top takes it exactly there: over the top. And of course, I had to add a Brazilian flair to it and topped with Red Velvet Brigadeiros. And some luster powder. Because if I cannot bling on my own Birthday, there would be something wrong with me.
ONE YEAR AGO: Incredibly Simple: Air-Fried Salmon Bites
TWO YEARS AGO: Chocolate-Covered Oreos
THREE YEARS AGO: Pan-Steamed Broccoli with Miso Vinaigrette
FOUR YEARS AGO: Cookies and Rubber Stamps
FIVE YEARS AGO: Macarons for all Seasons and Reasons
SIX YEARS AGO: Lentils and Radicchio? Yes, please!
SEVEN YEAR AGO: Tres Leches Cake
EIGHT YEARS AGO: The Joys of Grating Squash
NINE YEARS AGO: Auberge-Pecan Walnut Bread
TEN YEARS AGO: Gluten-free and Vegan Raspberry Bars
ELEVEN YEARS AGO: Lasserre, a French Classic
TWELVE YEARS AGO: Sourdough Bread with Walnuts and Dates
THIRTEEN YEARS AGO: Braised Brisket with Bourbon-Apricot Glaze
FOURTEEN YEARS AGO: The Real Vodka Sauce
FIFTEEN YEARS AGO: Pork Tenderloin and Blue Cheese