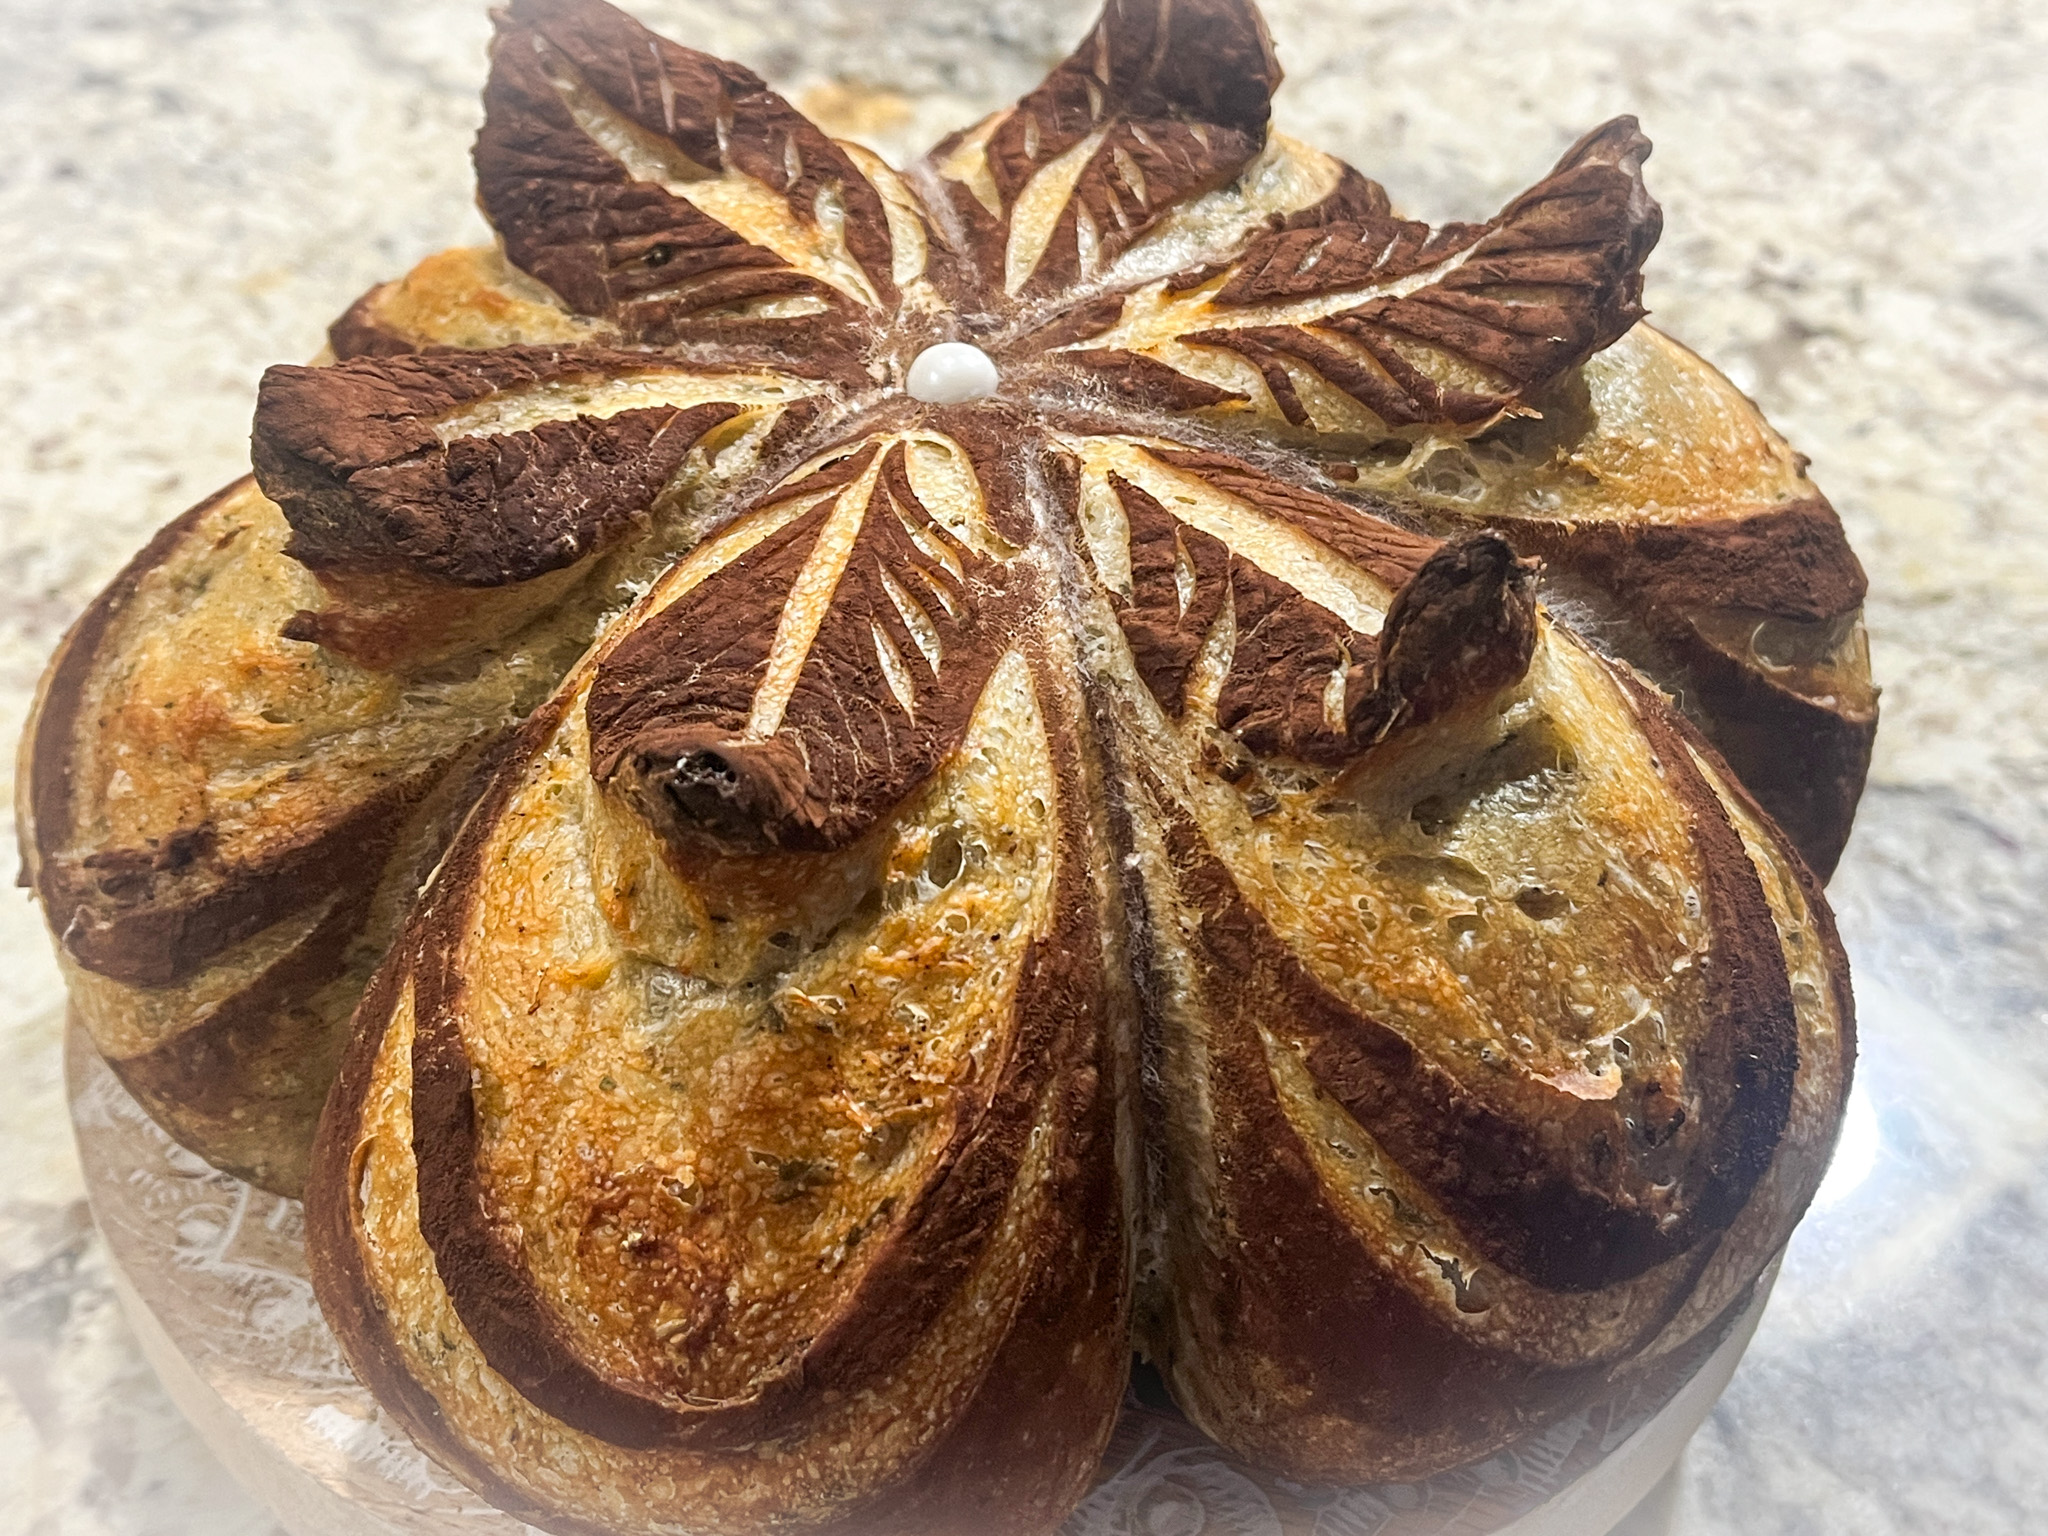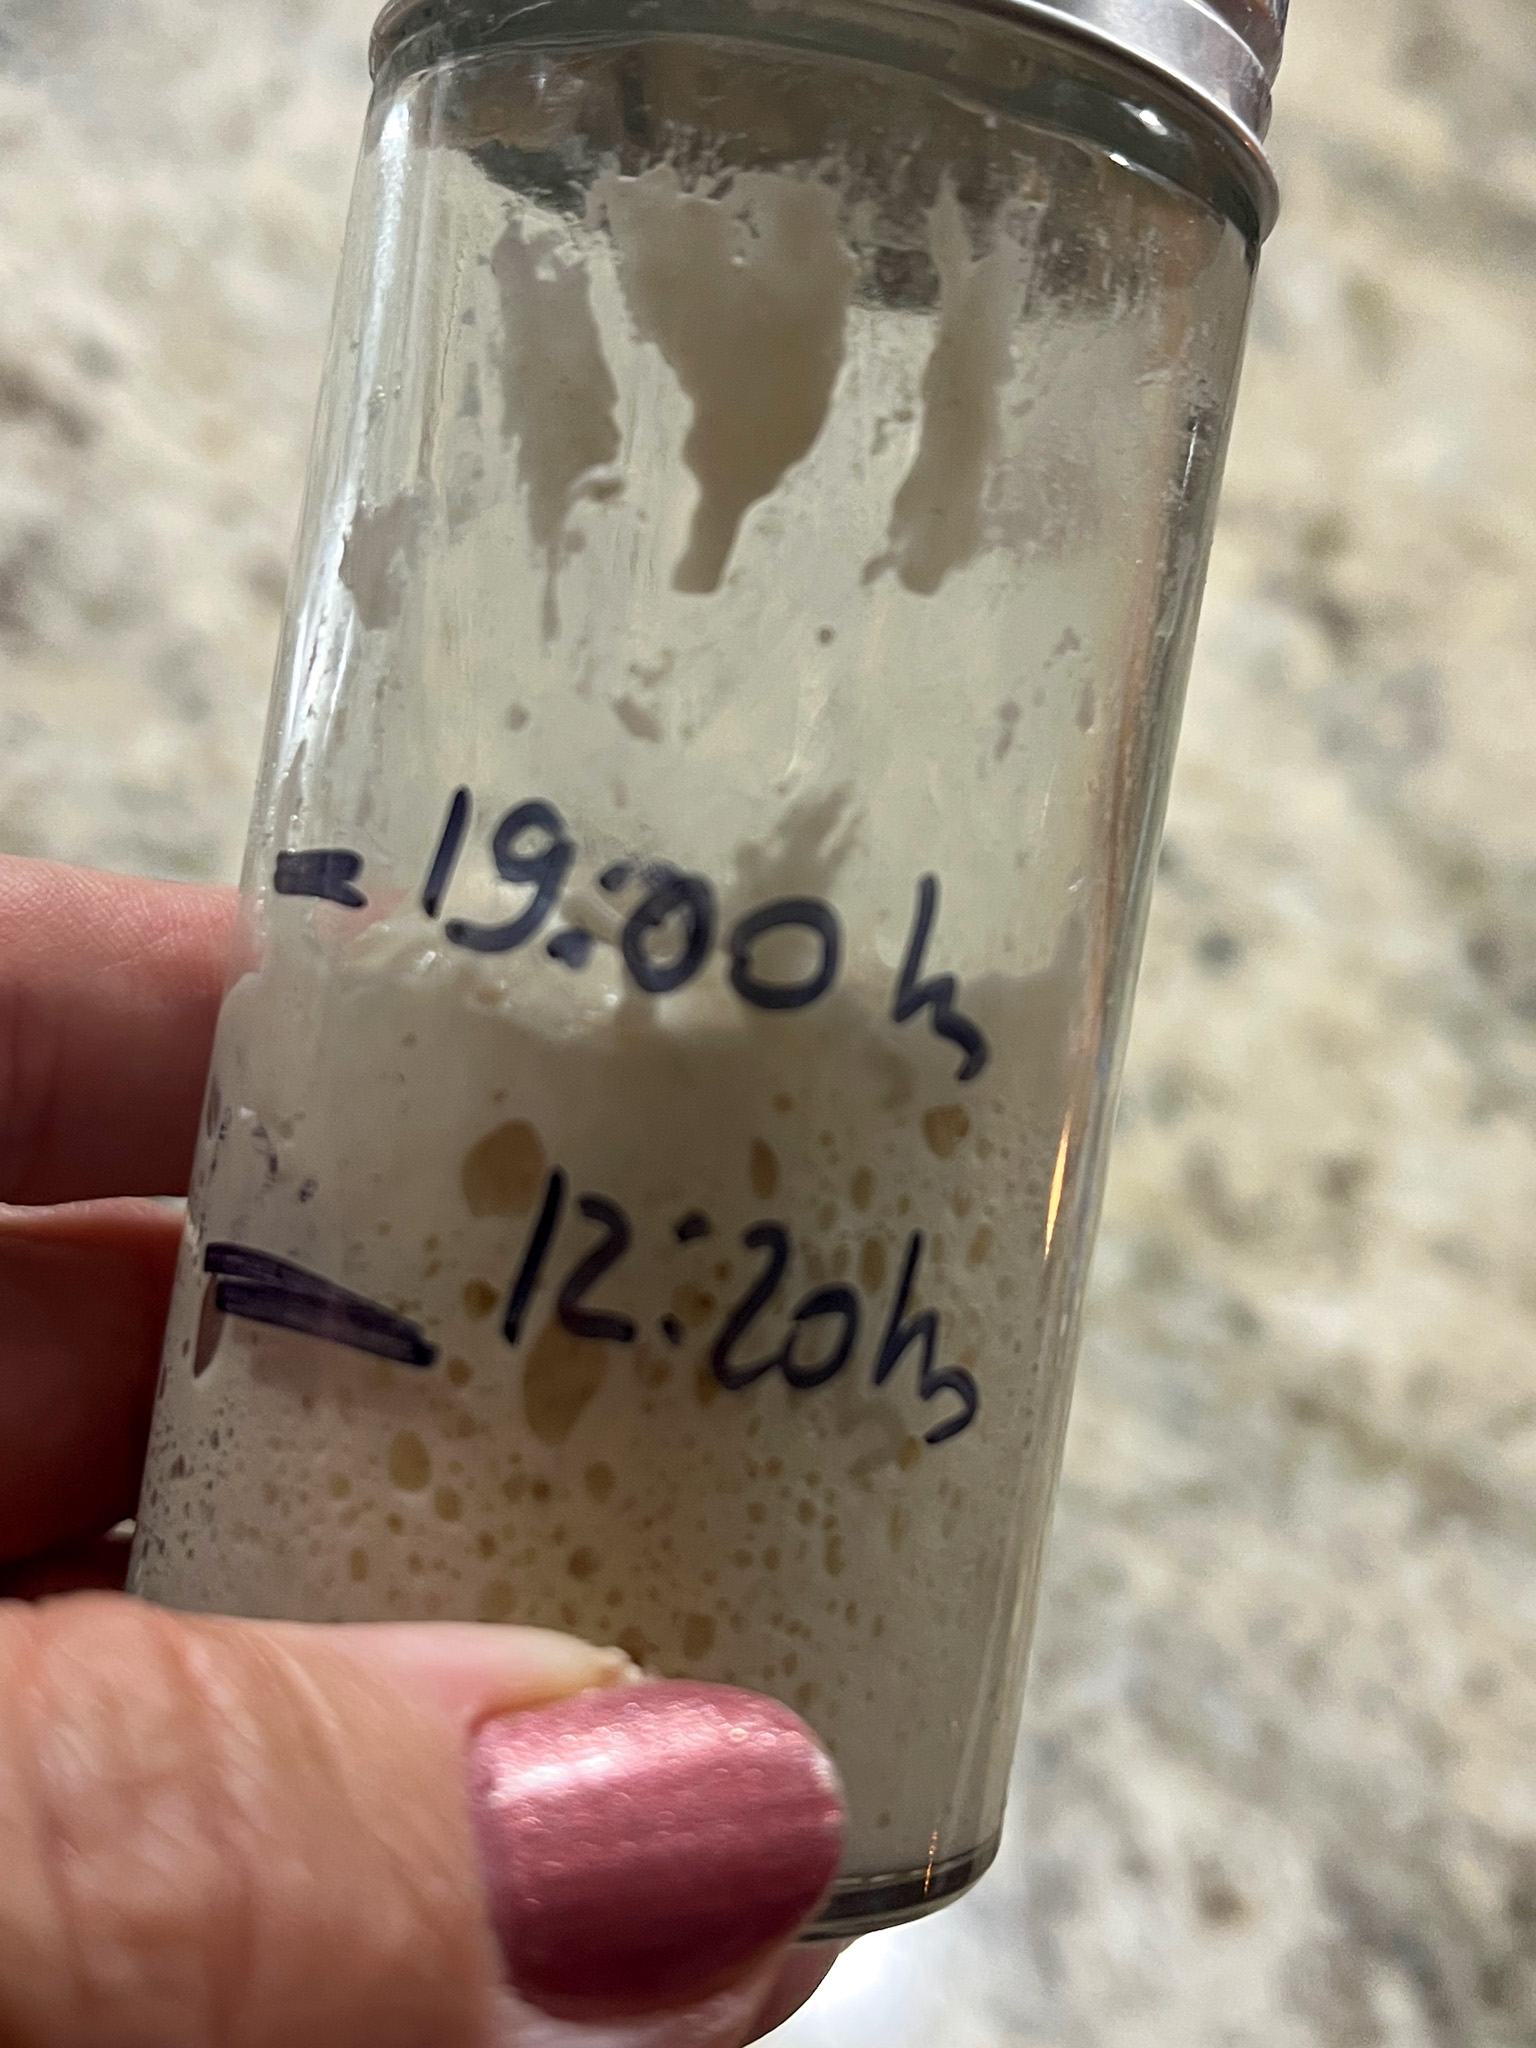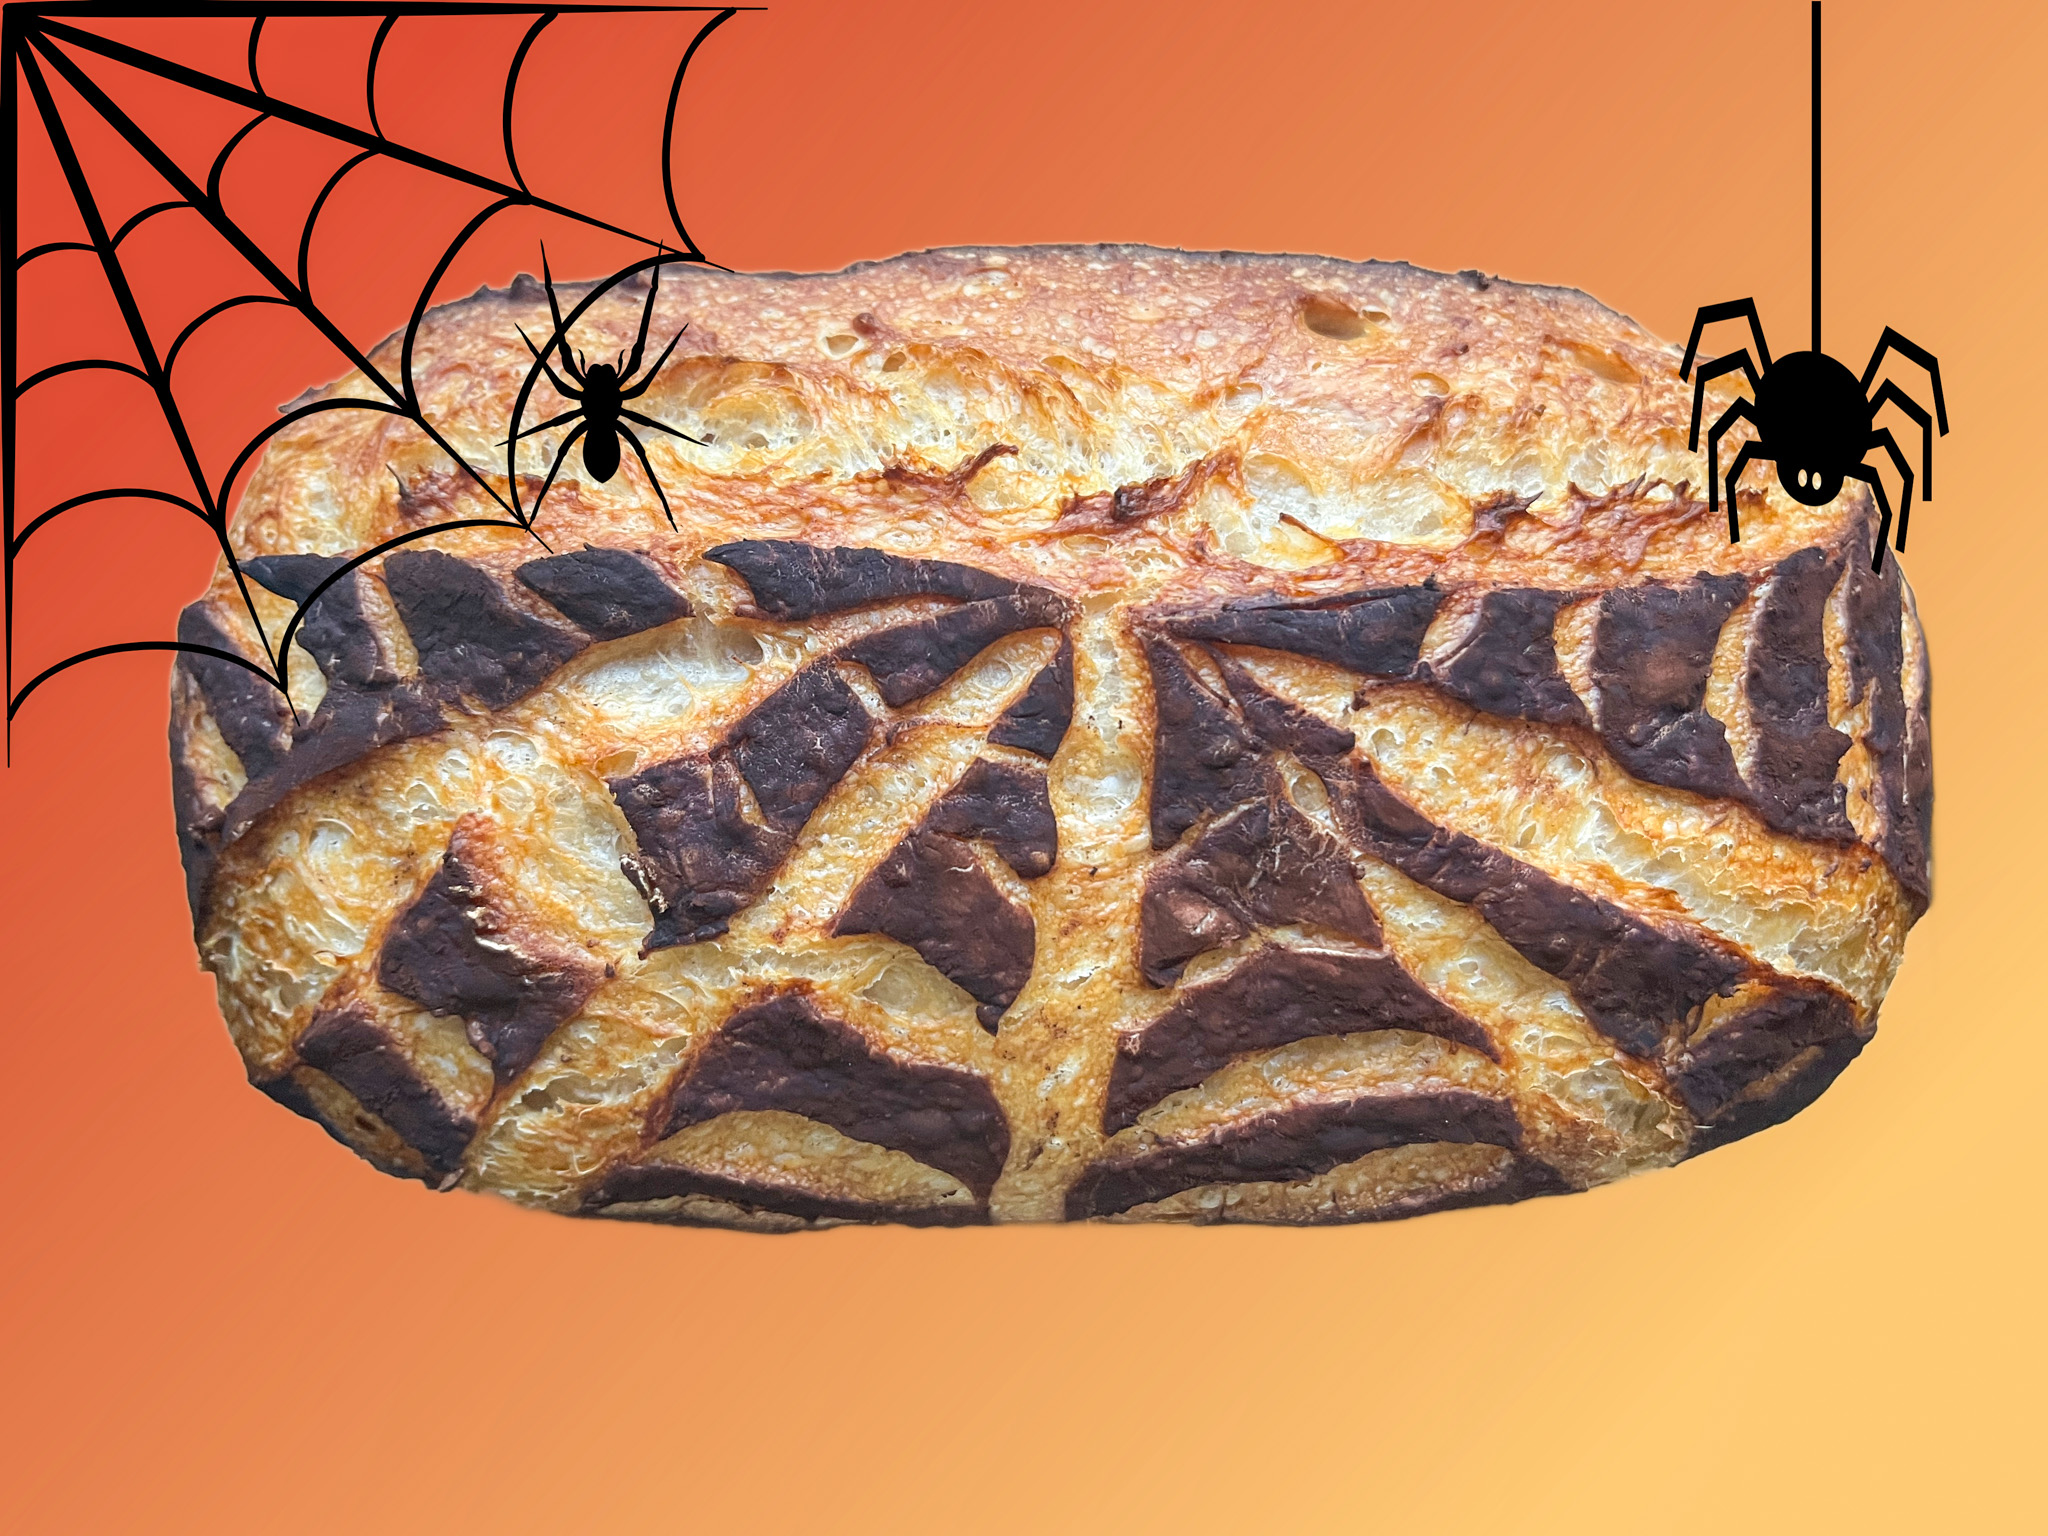
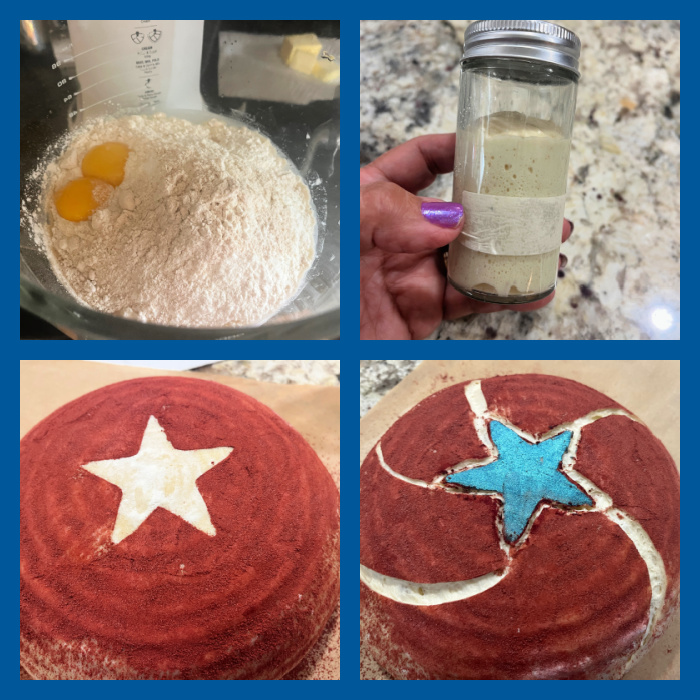
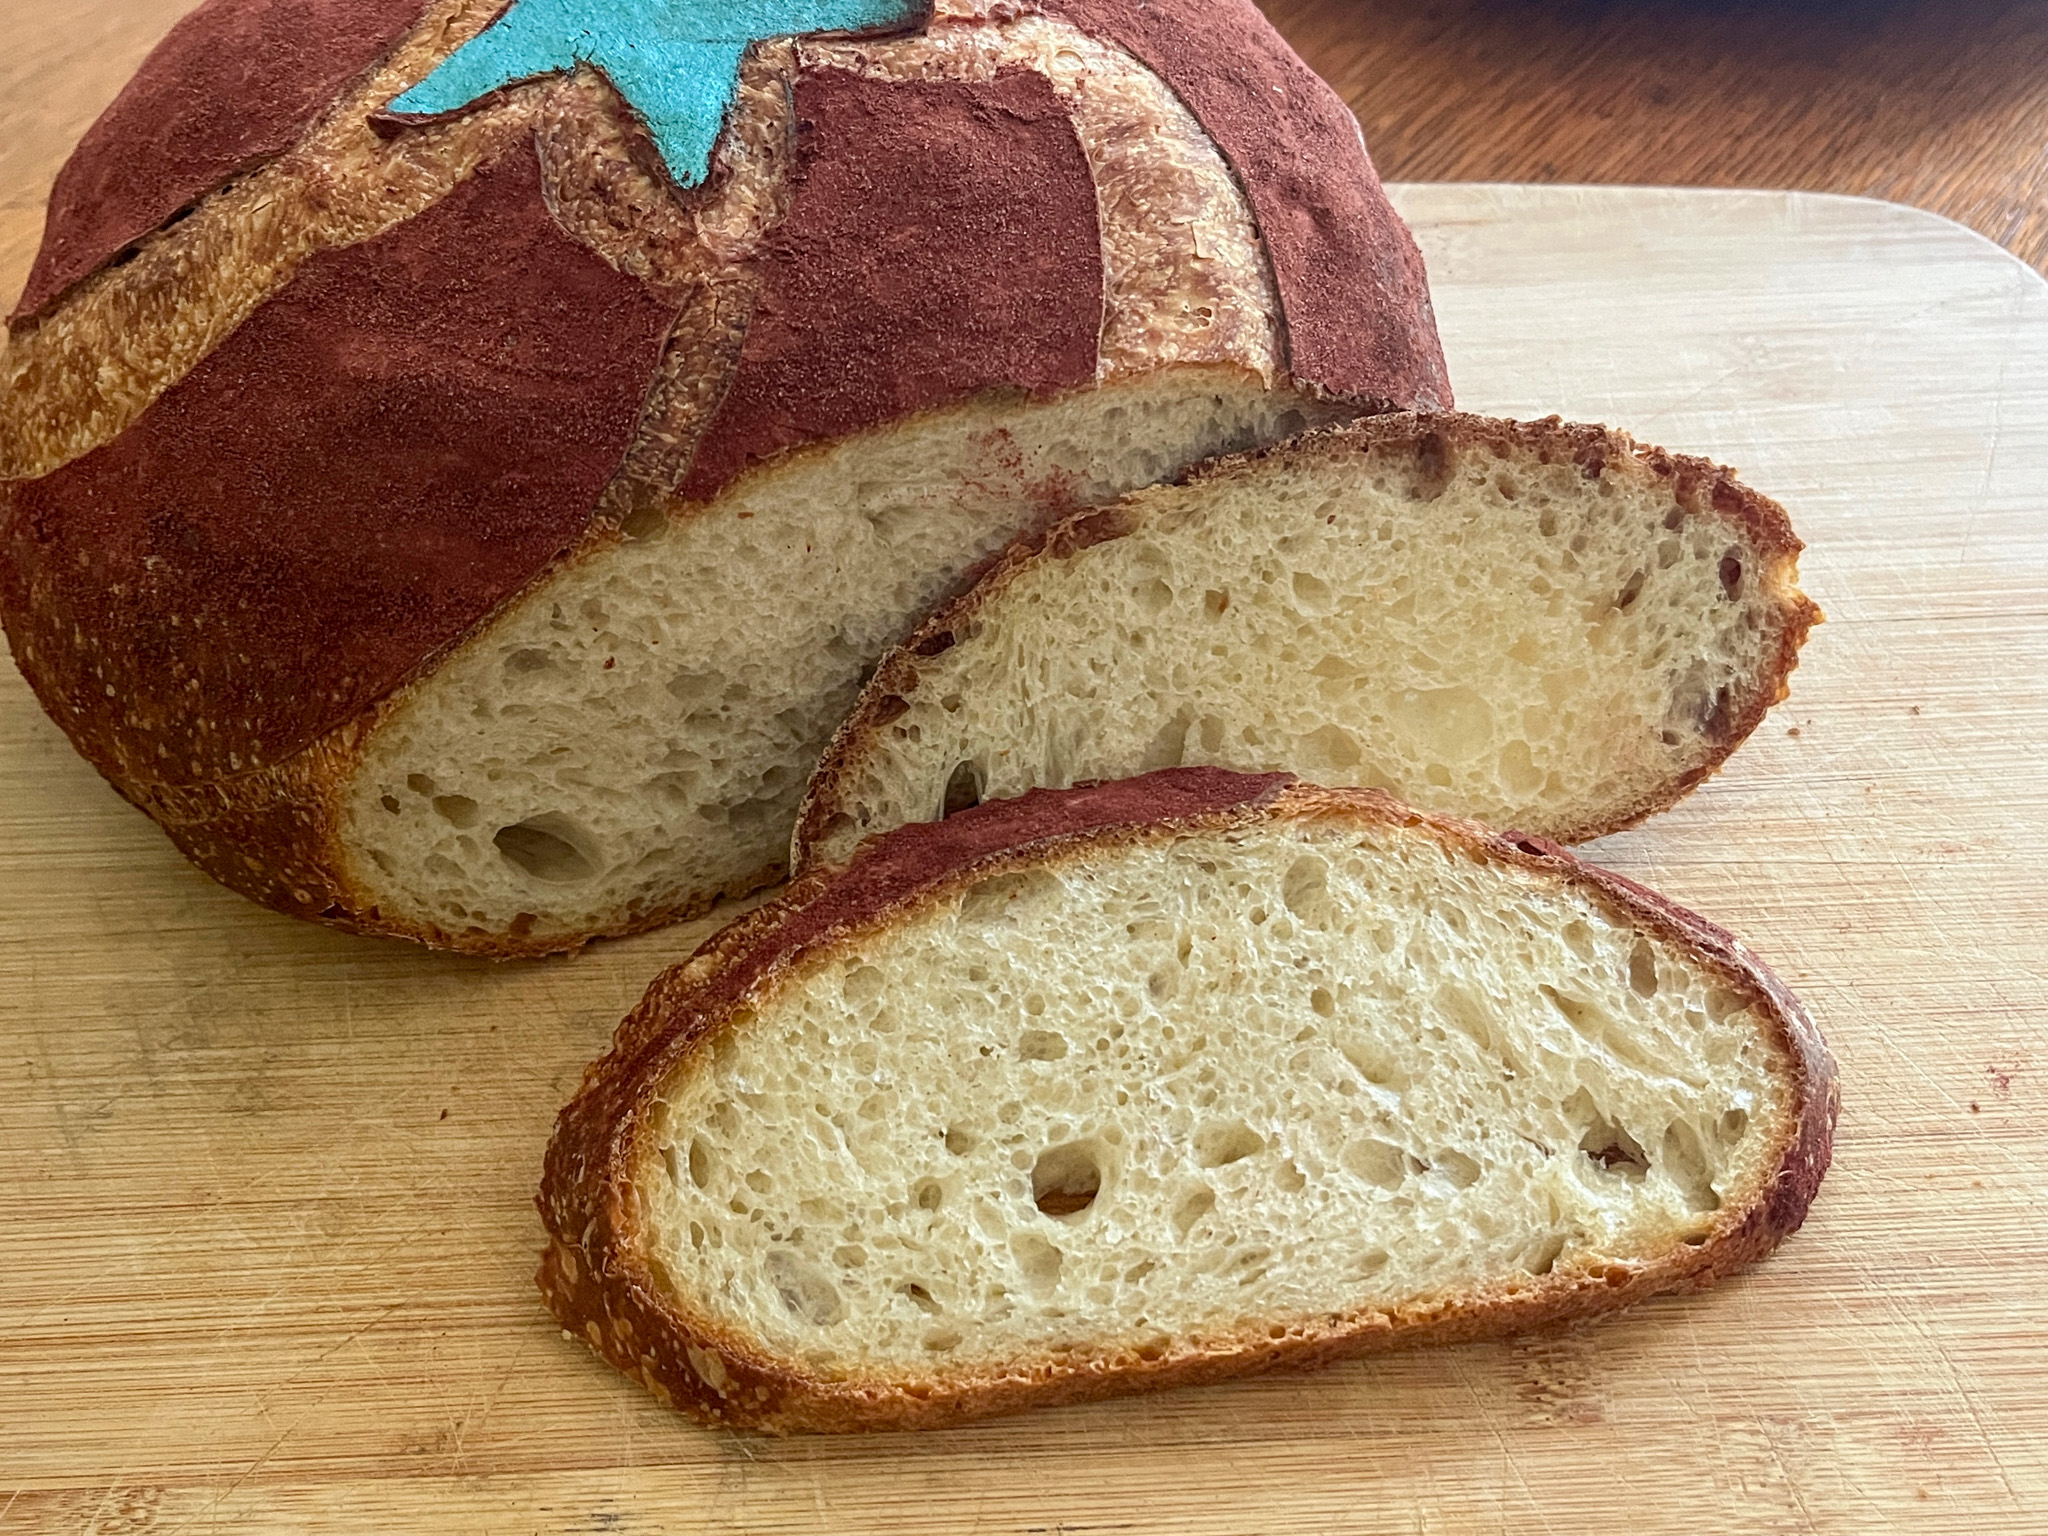
I’ve baked quite a few 4th of July inspired goodies in the past couple of weeks, but the only new recipe is the one I share today. Quite excited about this sourdough, not for the design, which is quite simple and easy, but for the formula: 2 egg yolks were added to the dough right at the beginning stage. I follow the bulk fermentation by removing a small amount of dough to a glass vial, and was amazed at the way it rose like a rocket. It doubled in size in 5 hours, which is definitely a first for me. Normally it takes 7 to 8 hours to get to that point.
DOUBLE-EGG YOLK SOURDOUGH BREAD
(from The Bewitching Kitchen)
475g white bread flour
25g spelt flour
70g sourdough starter at 80% hydration (you can use 100% if you prefer)
350g water
10g salt
2 egg yolks
for rubbing on surface:
red yeast powder (I used this product)
to paint:
blue luster powder + vodka
star shape cut from parchment or regular paper
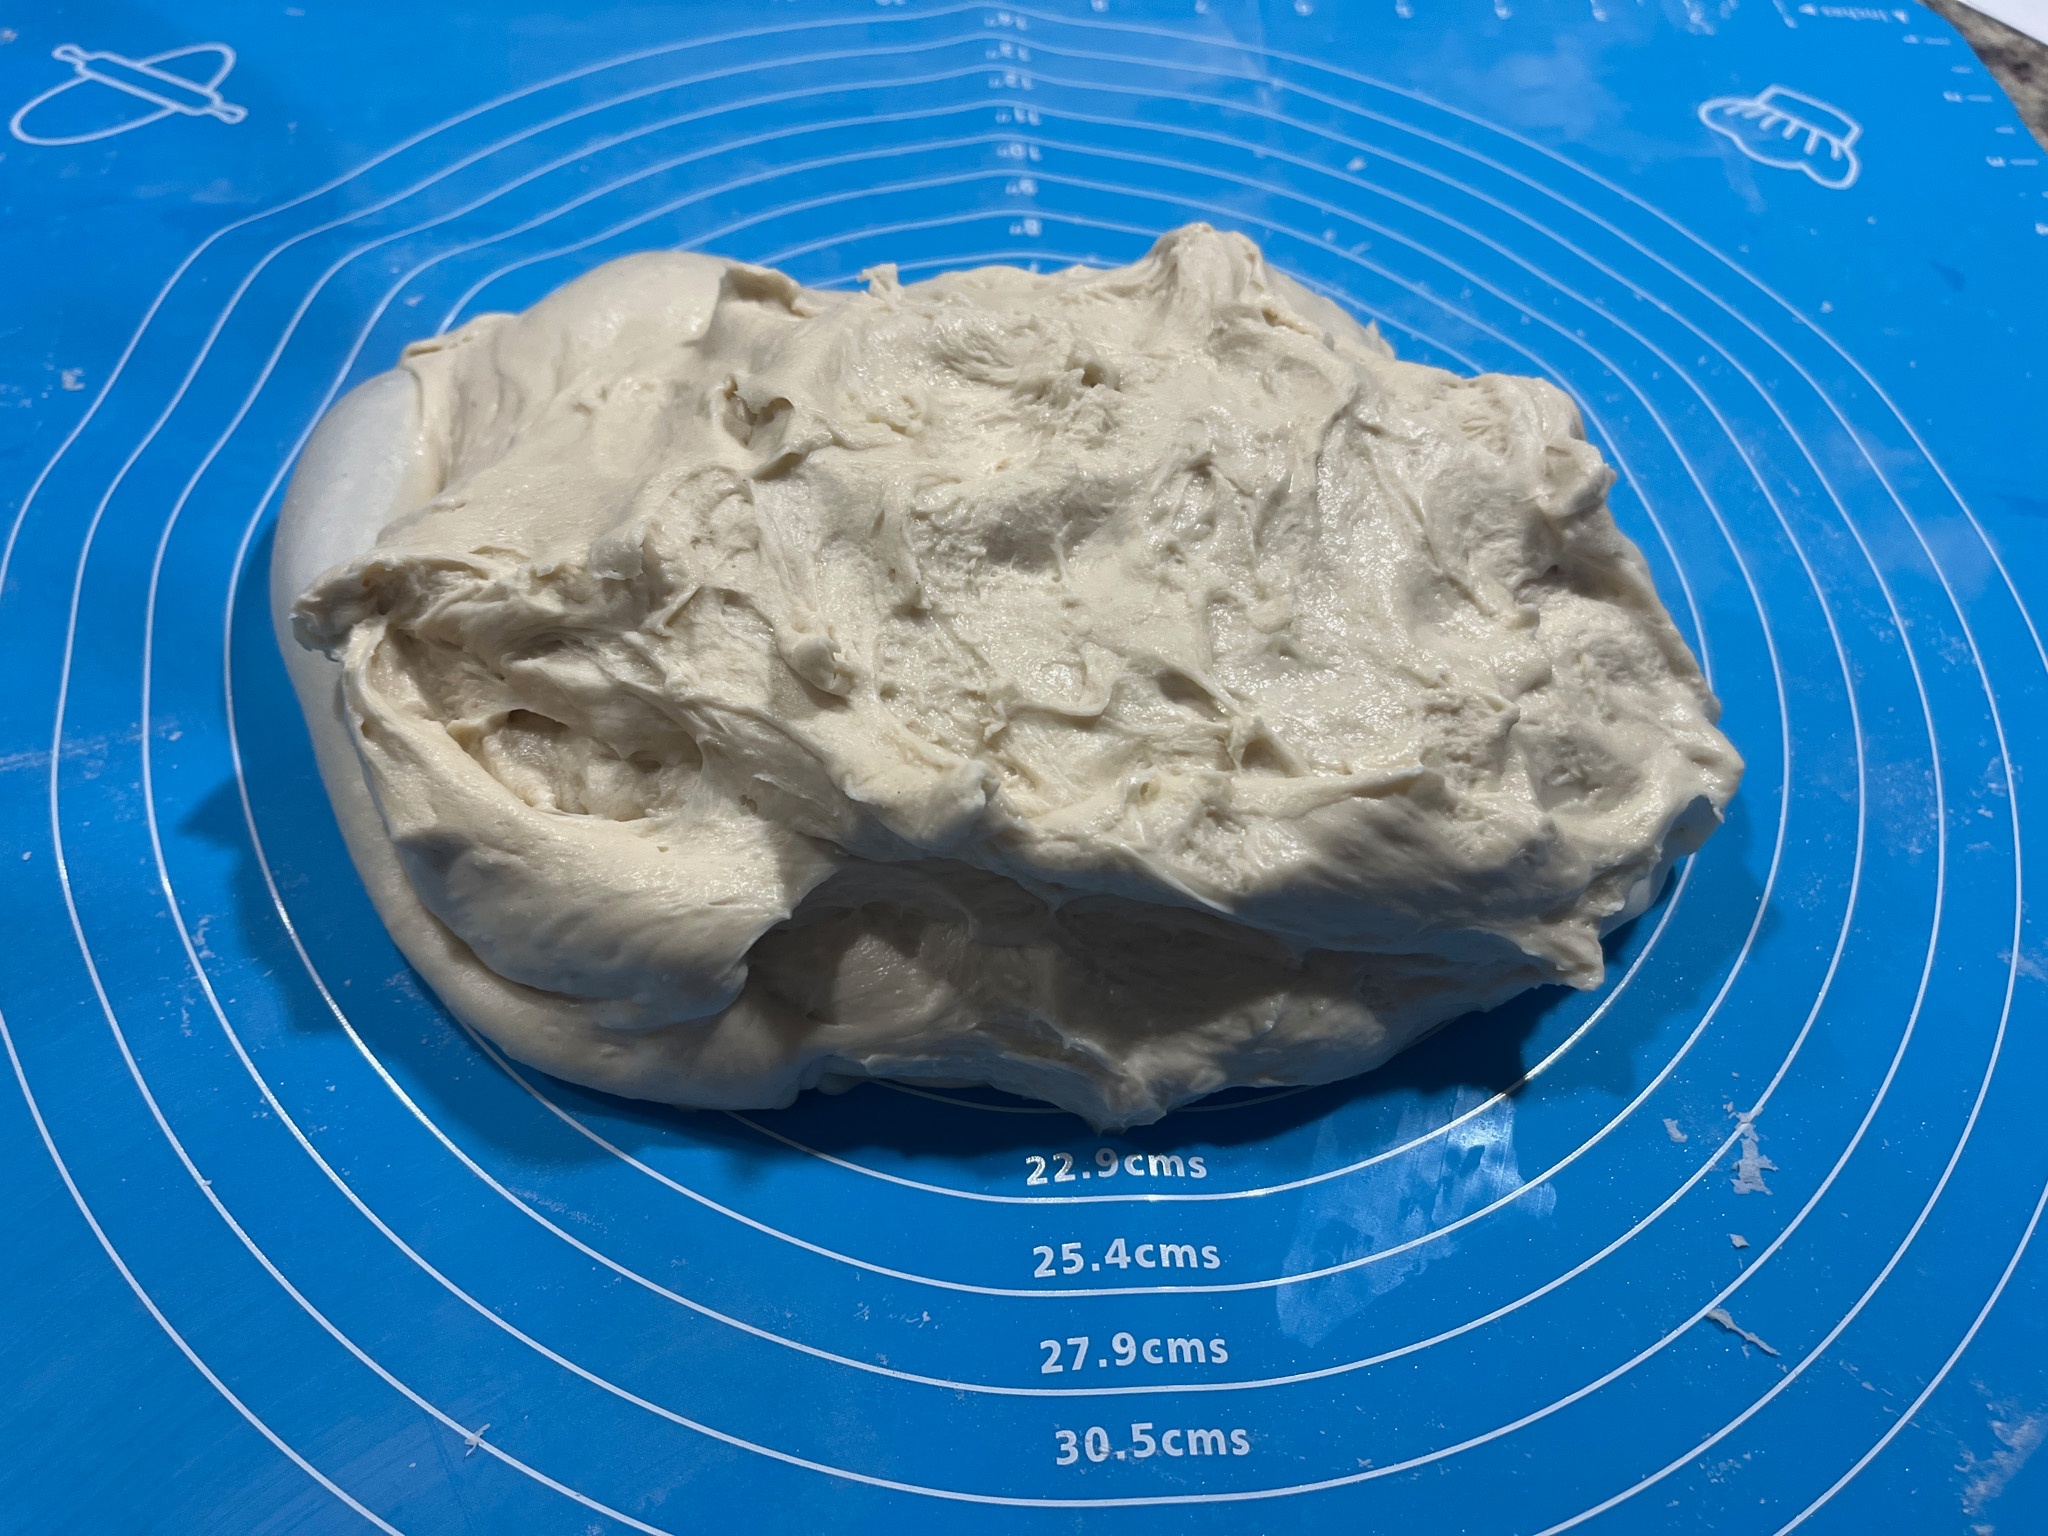
Mix all ingredients in the bowl of a KitchenAid type mixer fitted with the dough hook. Knead gently for about 4 minutes (first or second speed maximum).
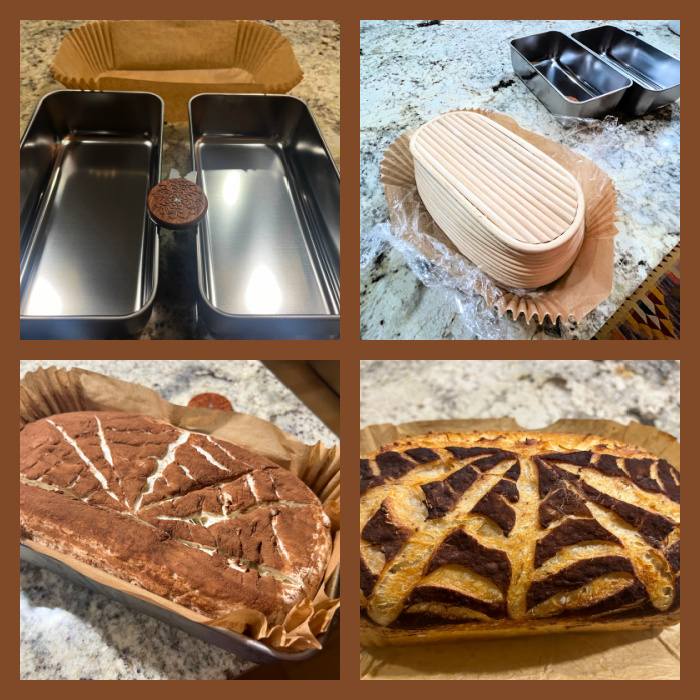
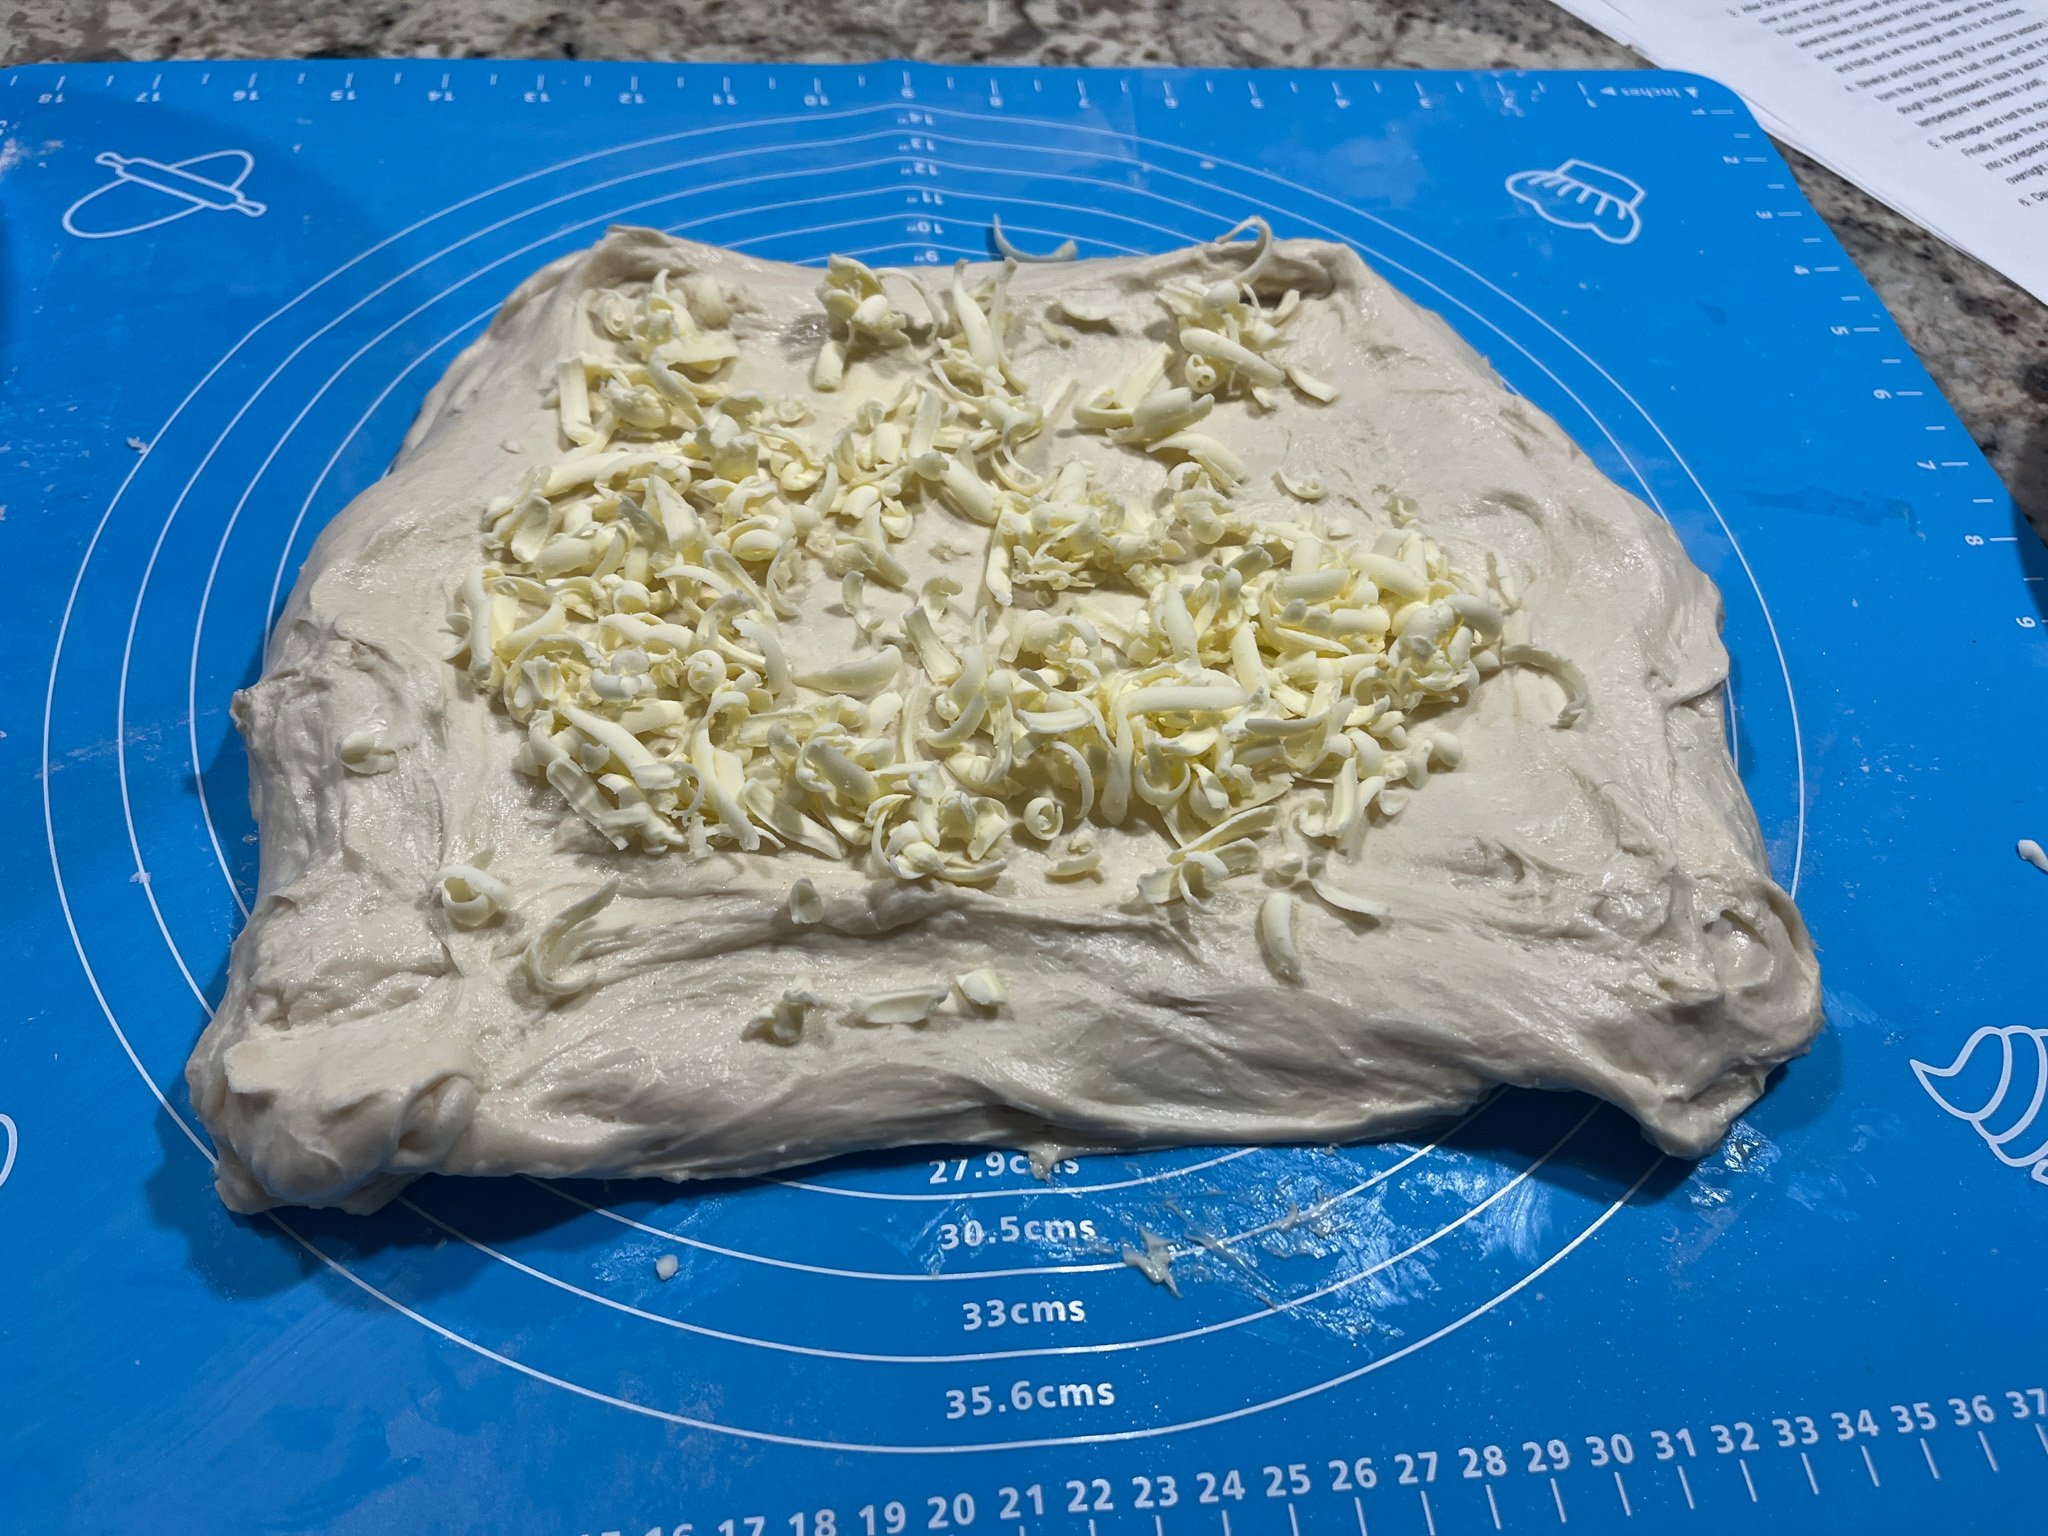
Transfer dough to a lightly oiled bowl and do a bulk fermentation with 4 to 5 folds made 45 minutes apart. Before you start the fermentation , remove a very small amount of dough to a small glass container (like those that hold spices), and mark where the level of the dough is with a permanent marker. Keep that at room temperature to monitor fermentation.
After the last folding cycle, keep an eye on the fermentation using the small vial. Ideally you want to let the dough ferment until it is double in size. The inclusion of egg yolks will considerably speed up the process.
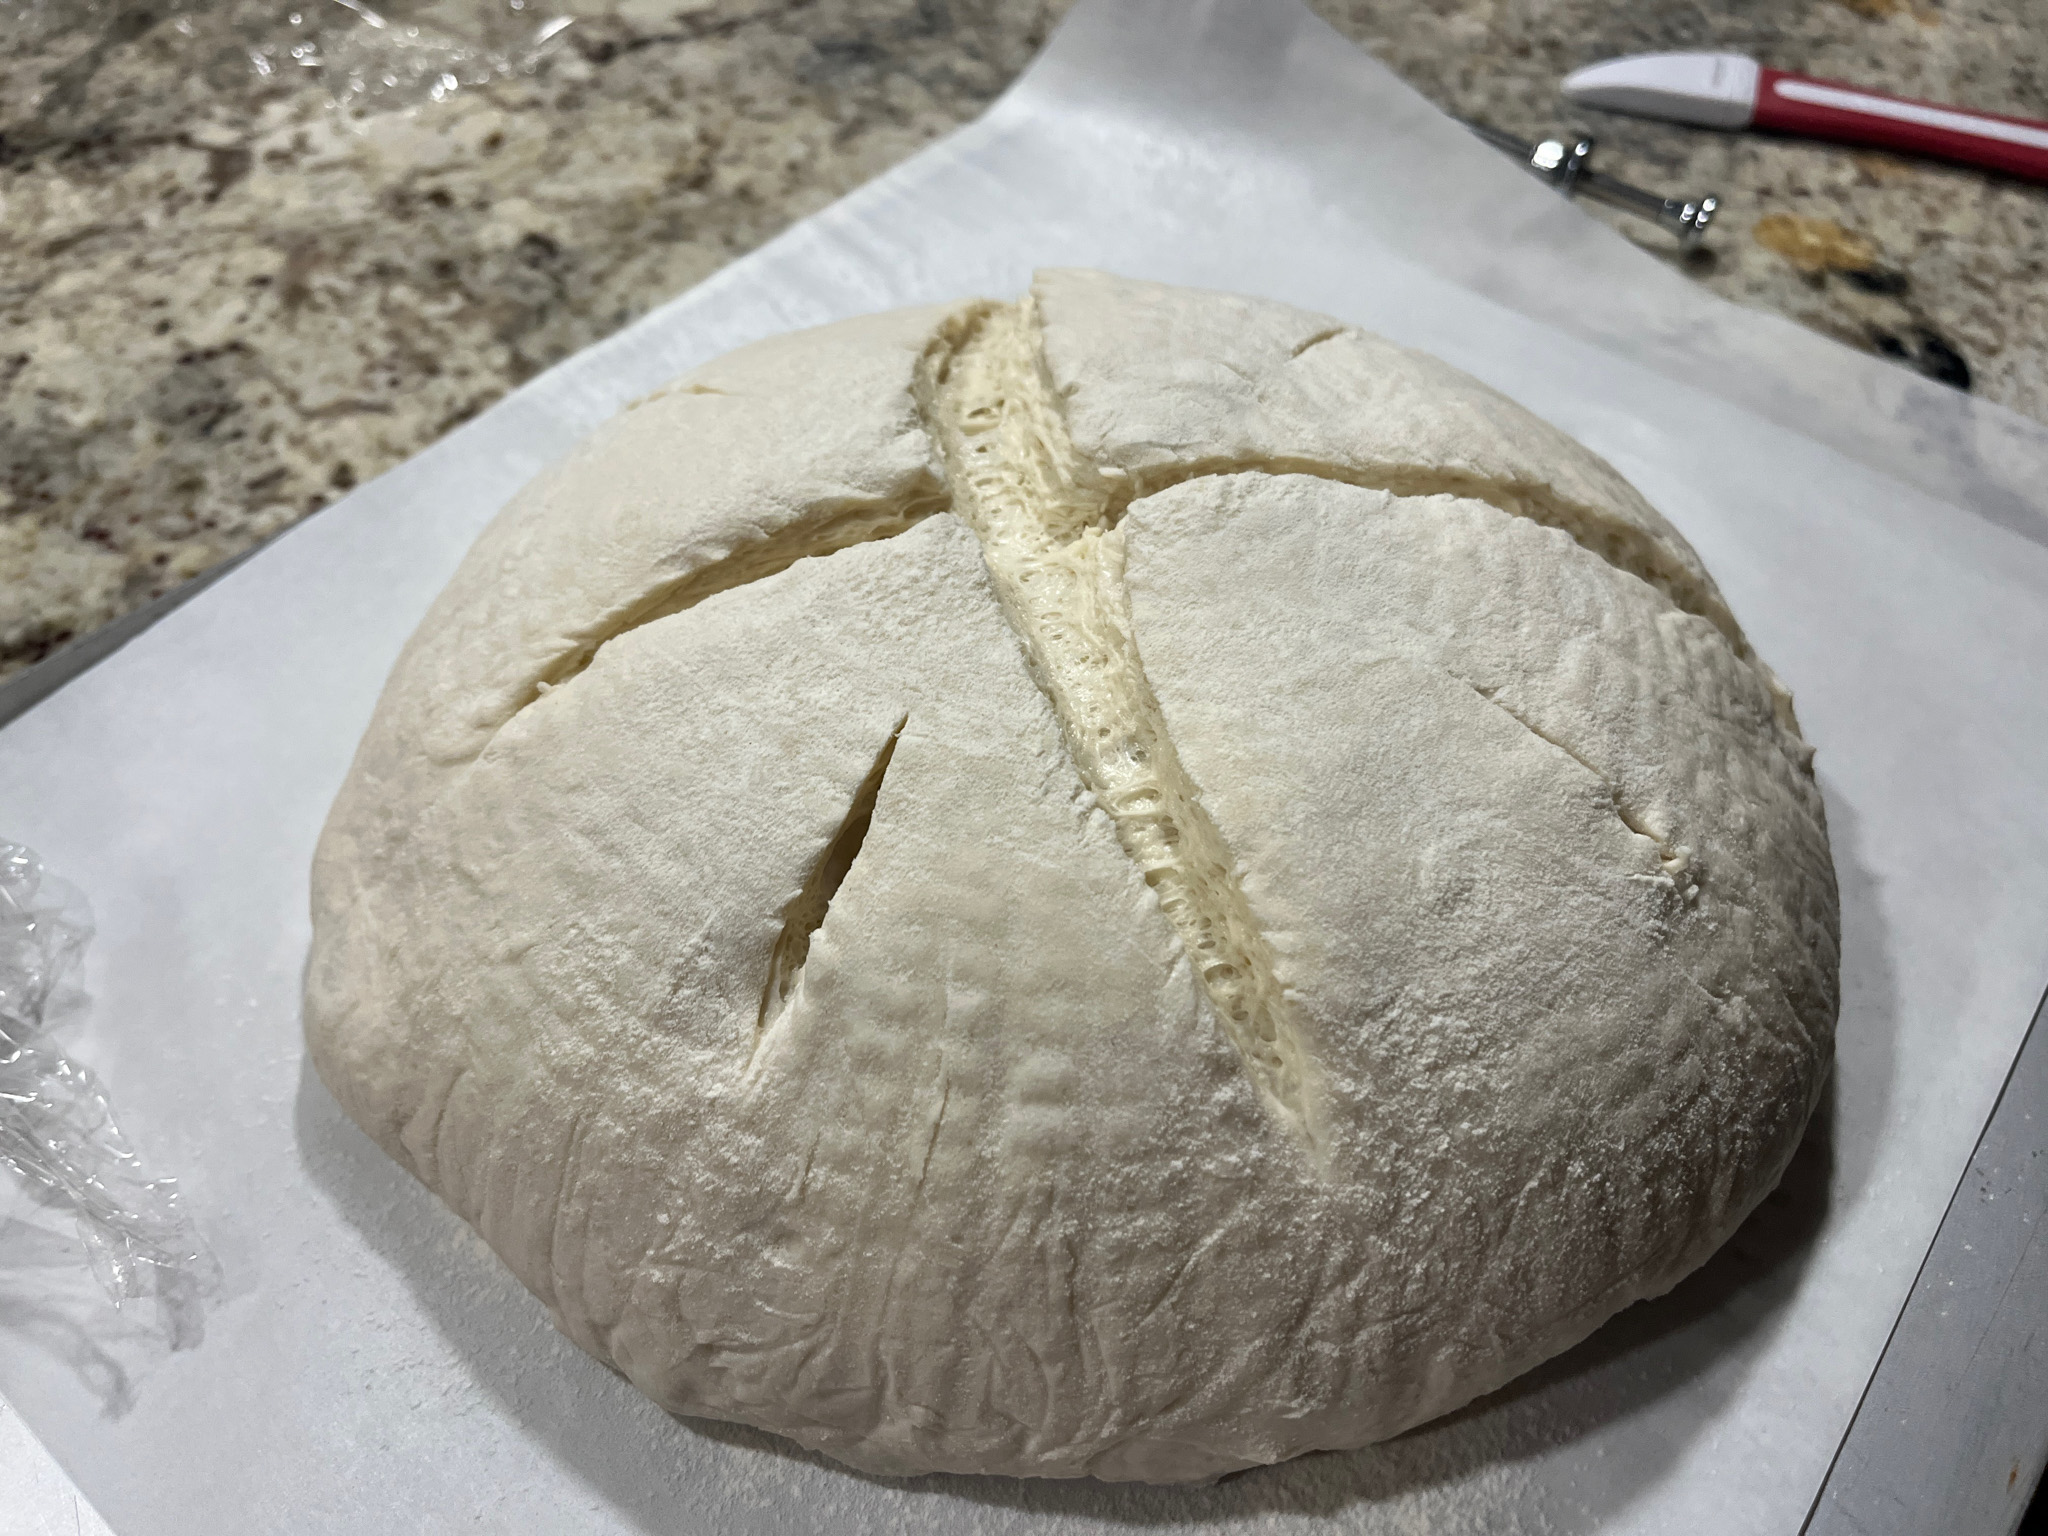
Once bulk fermentation is over, shape the dough as a boule and place in a banneton. Move it to the fridge, covered, and leave it there overnight.
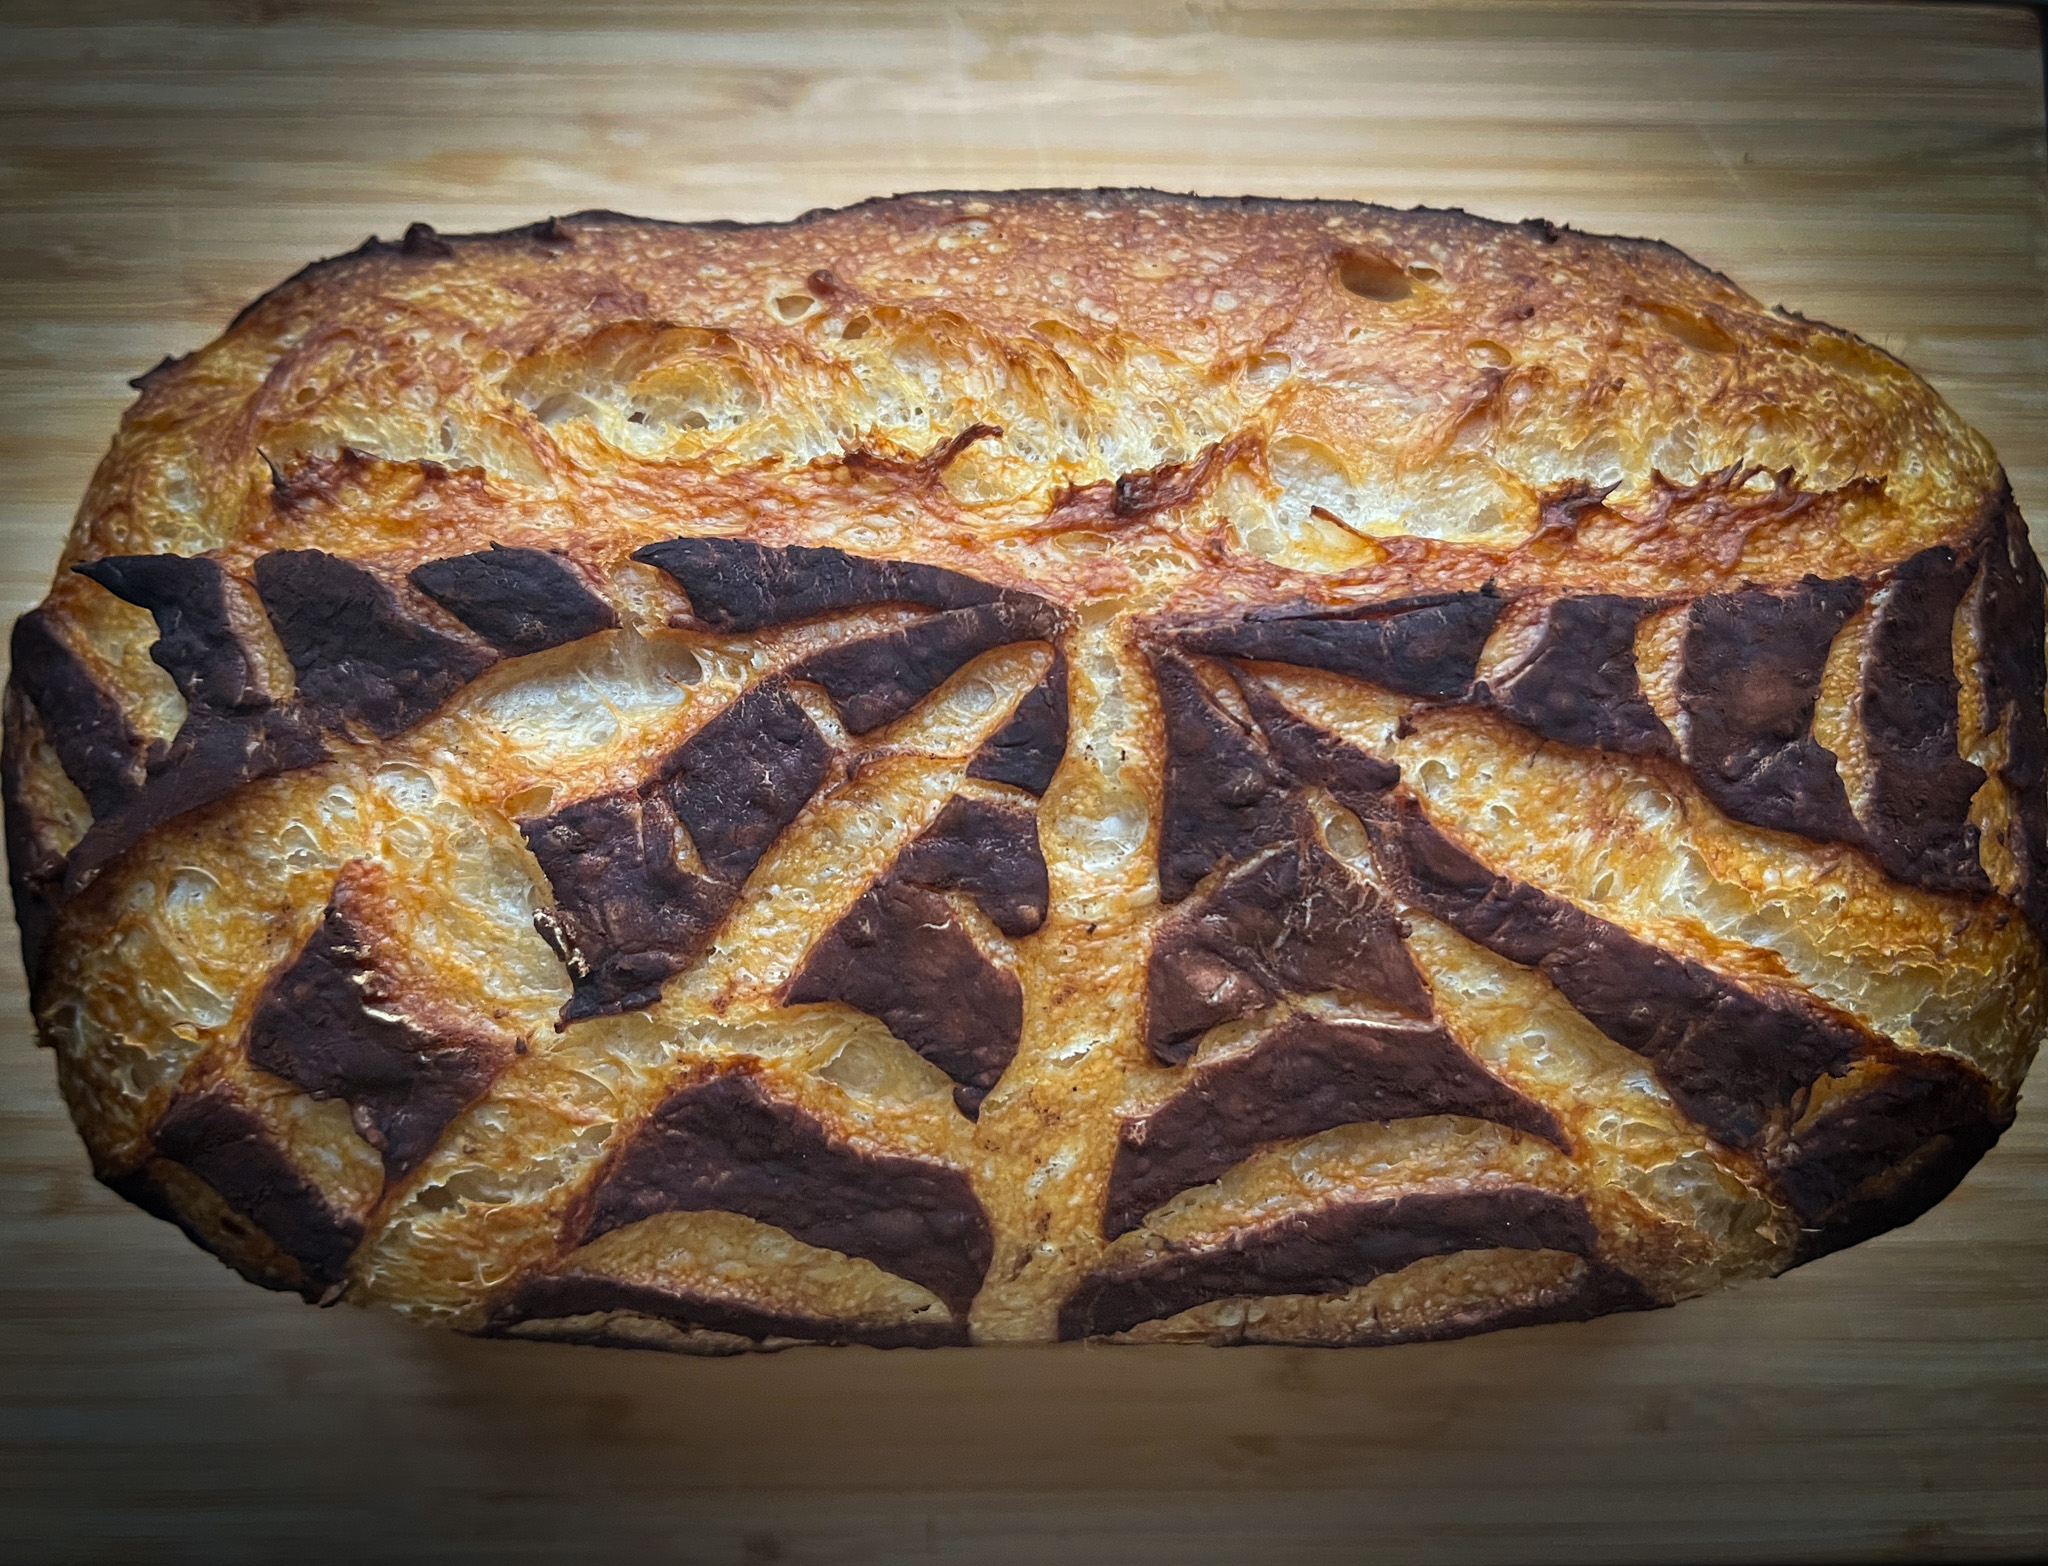
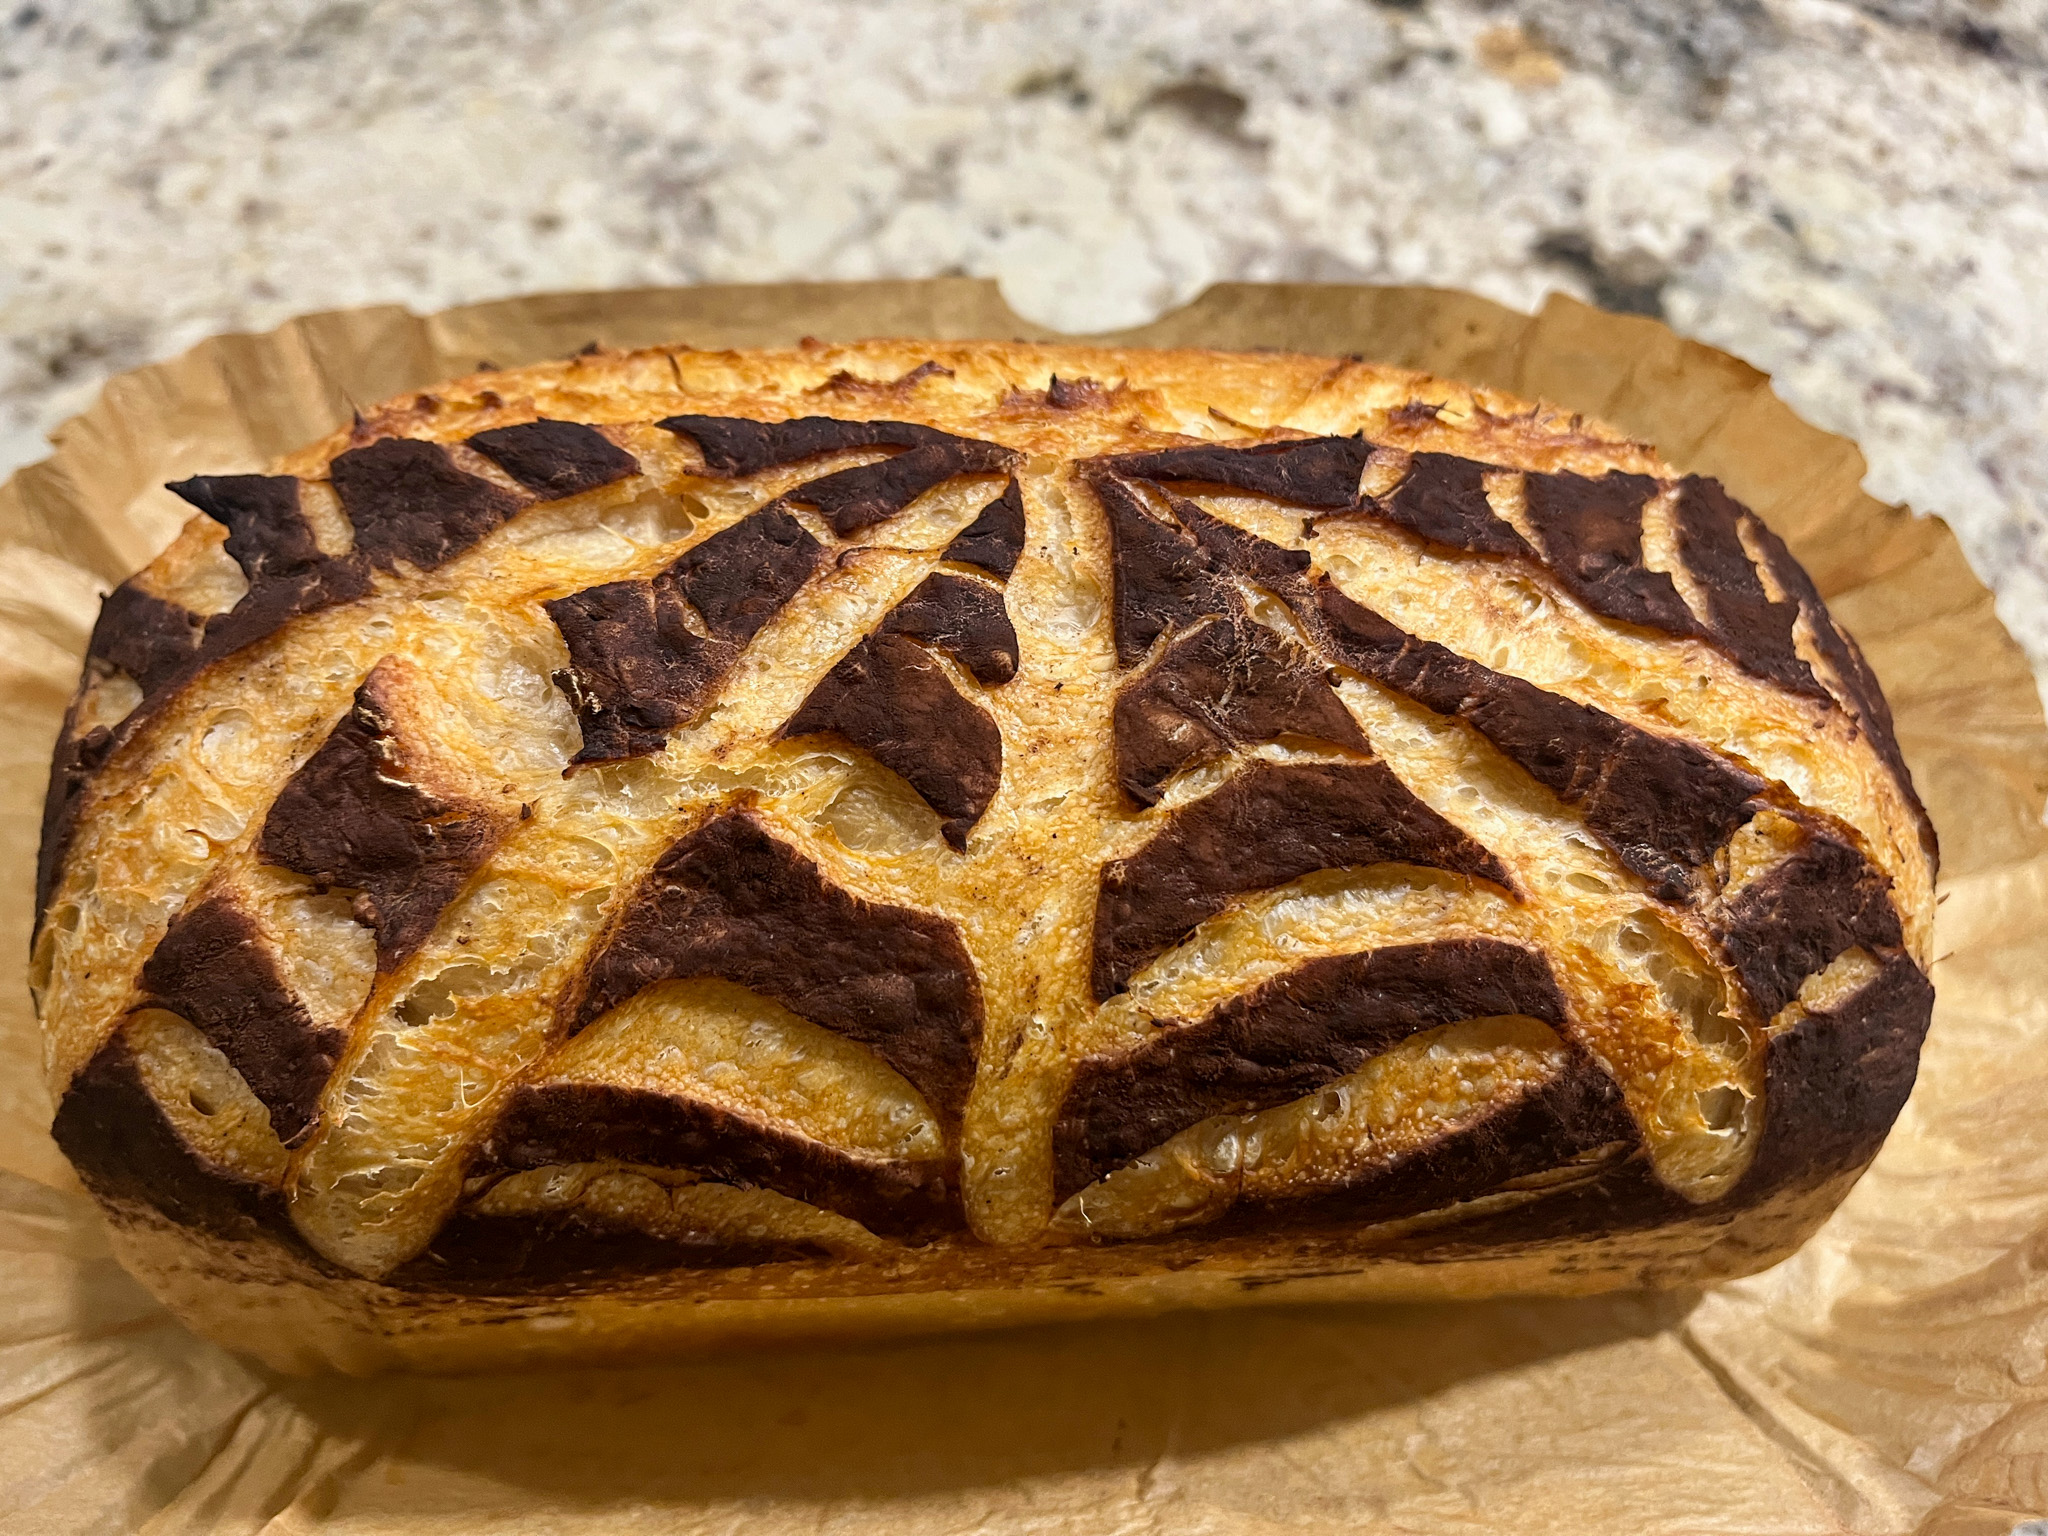
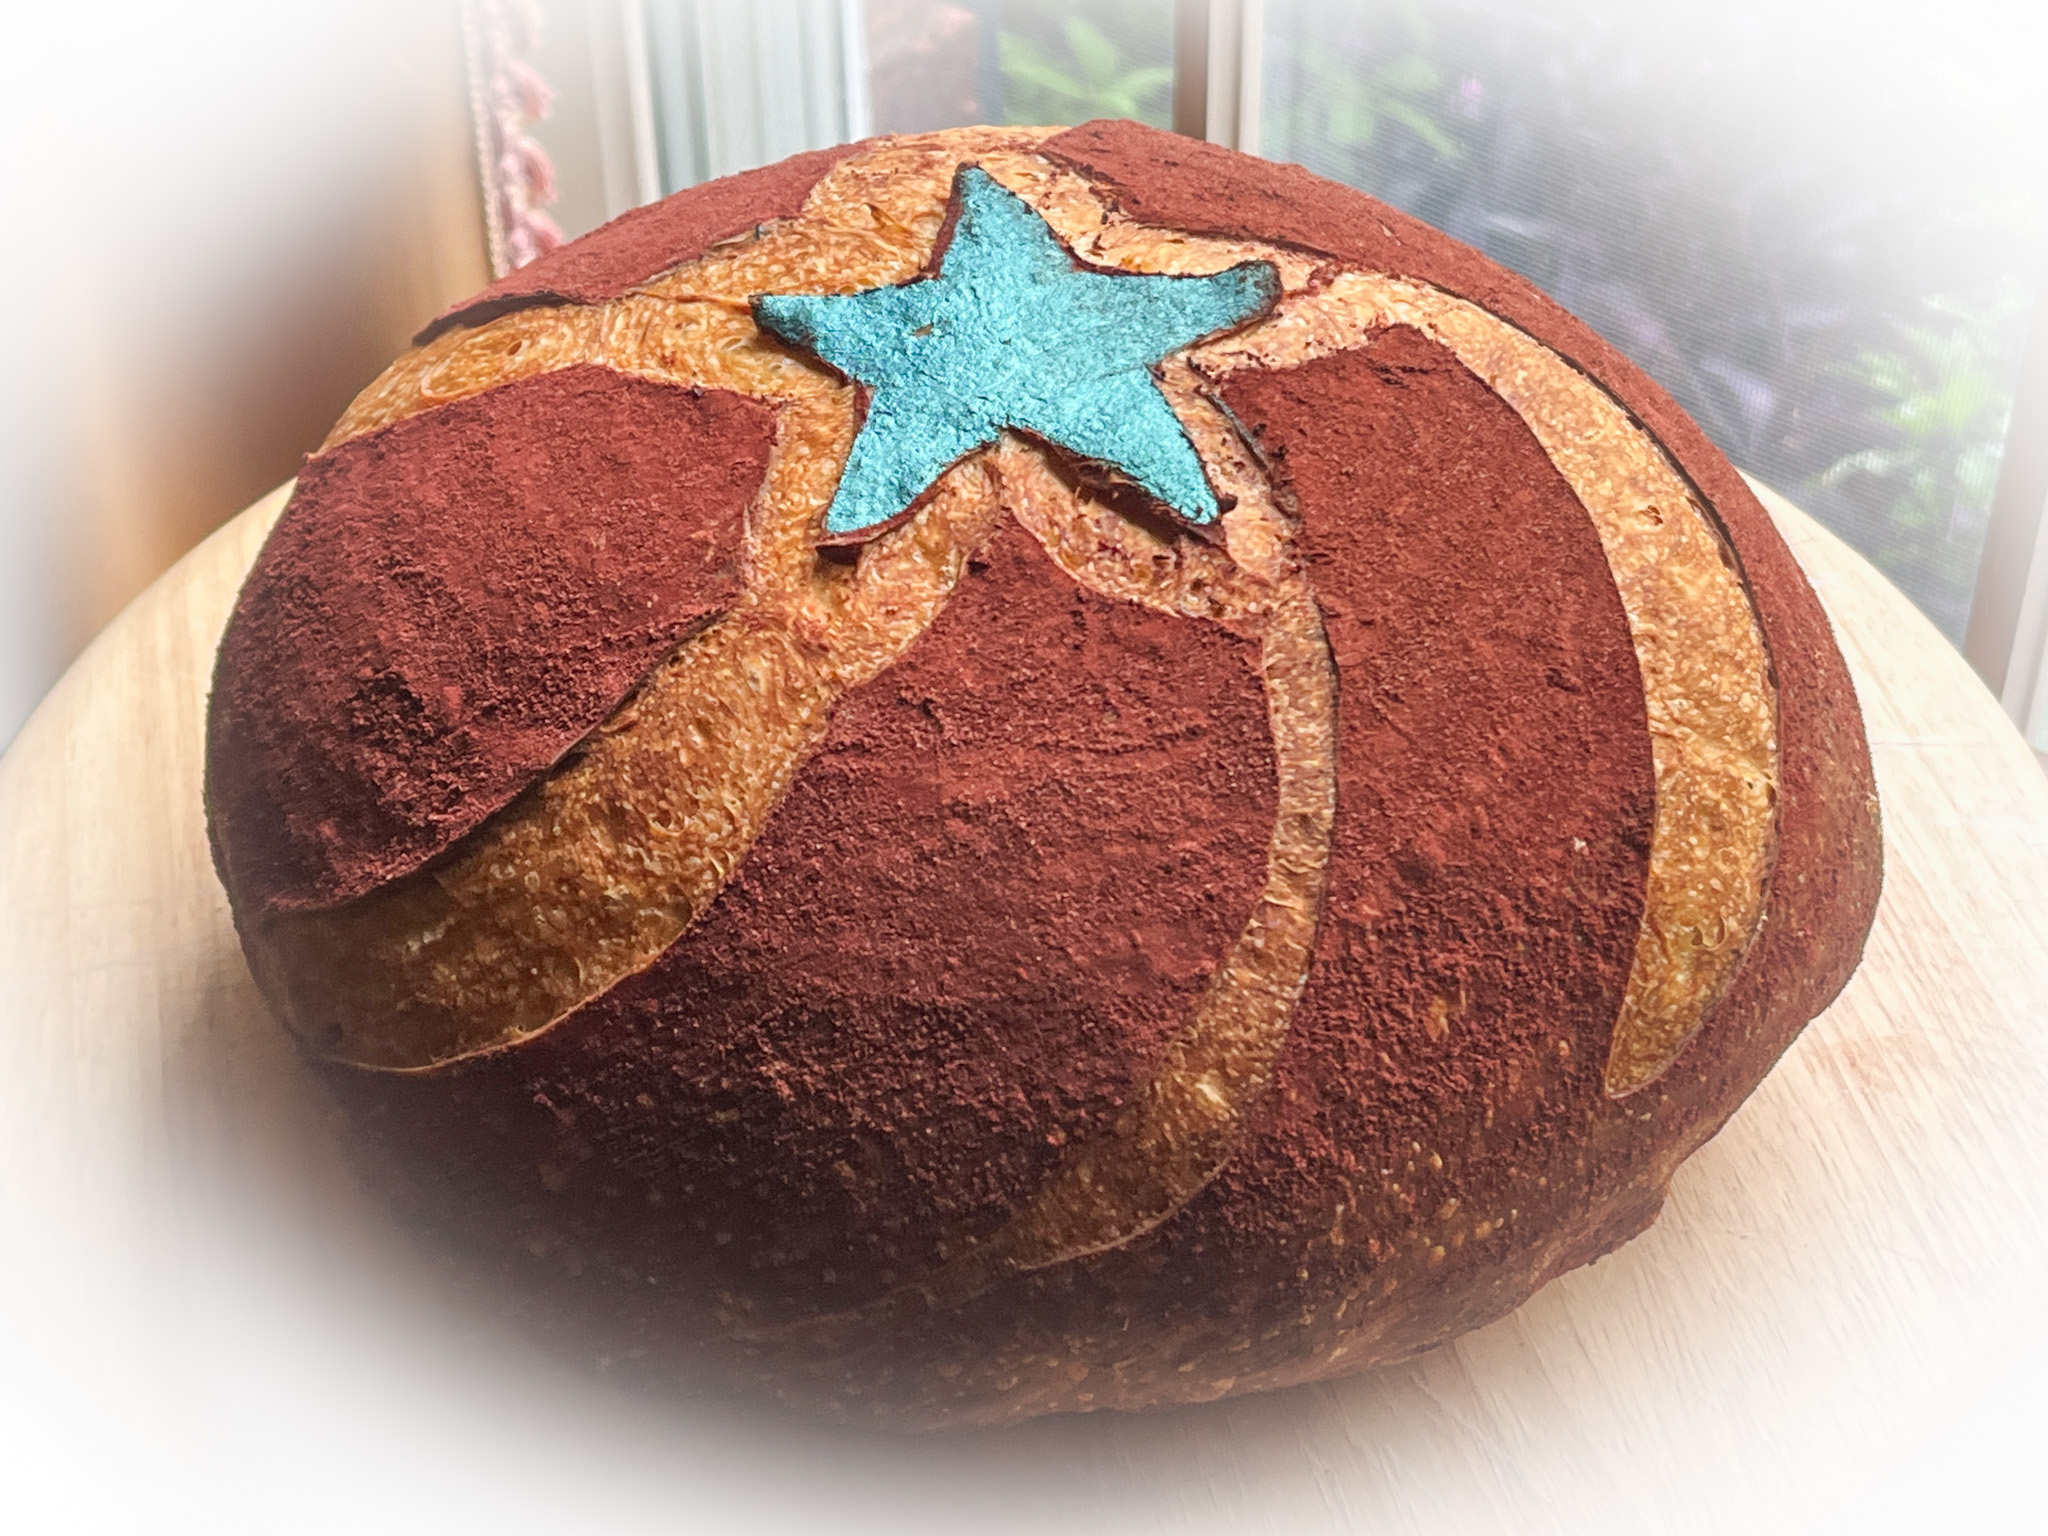
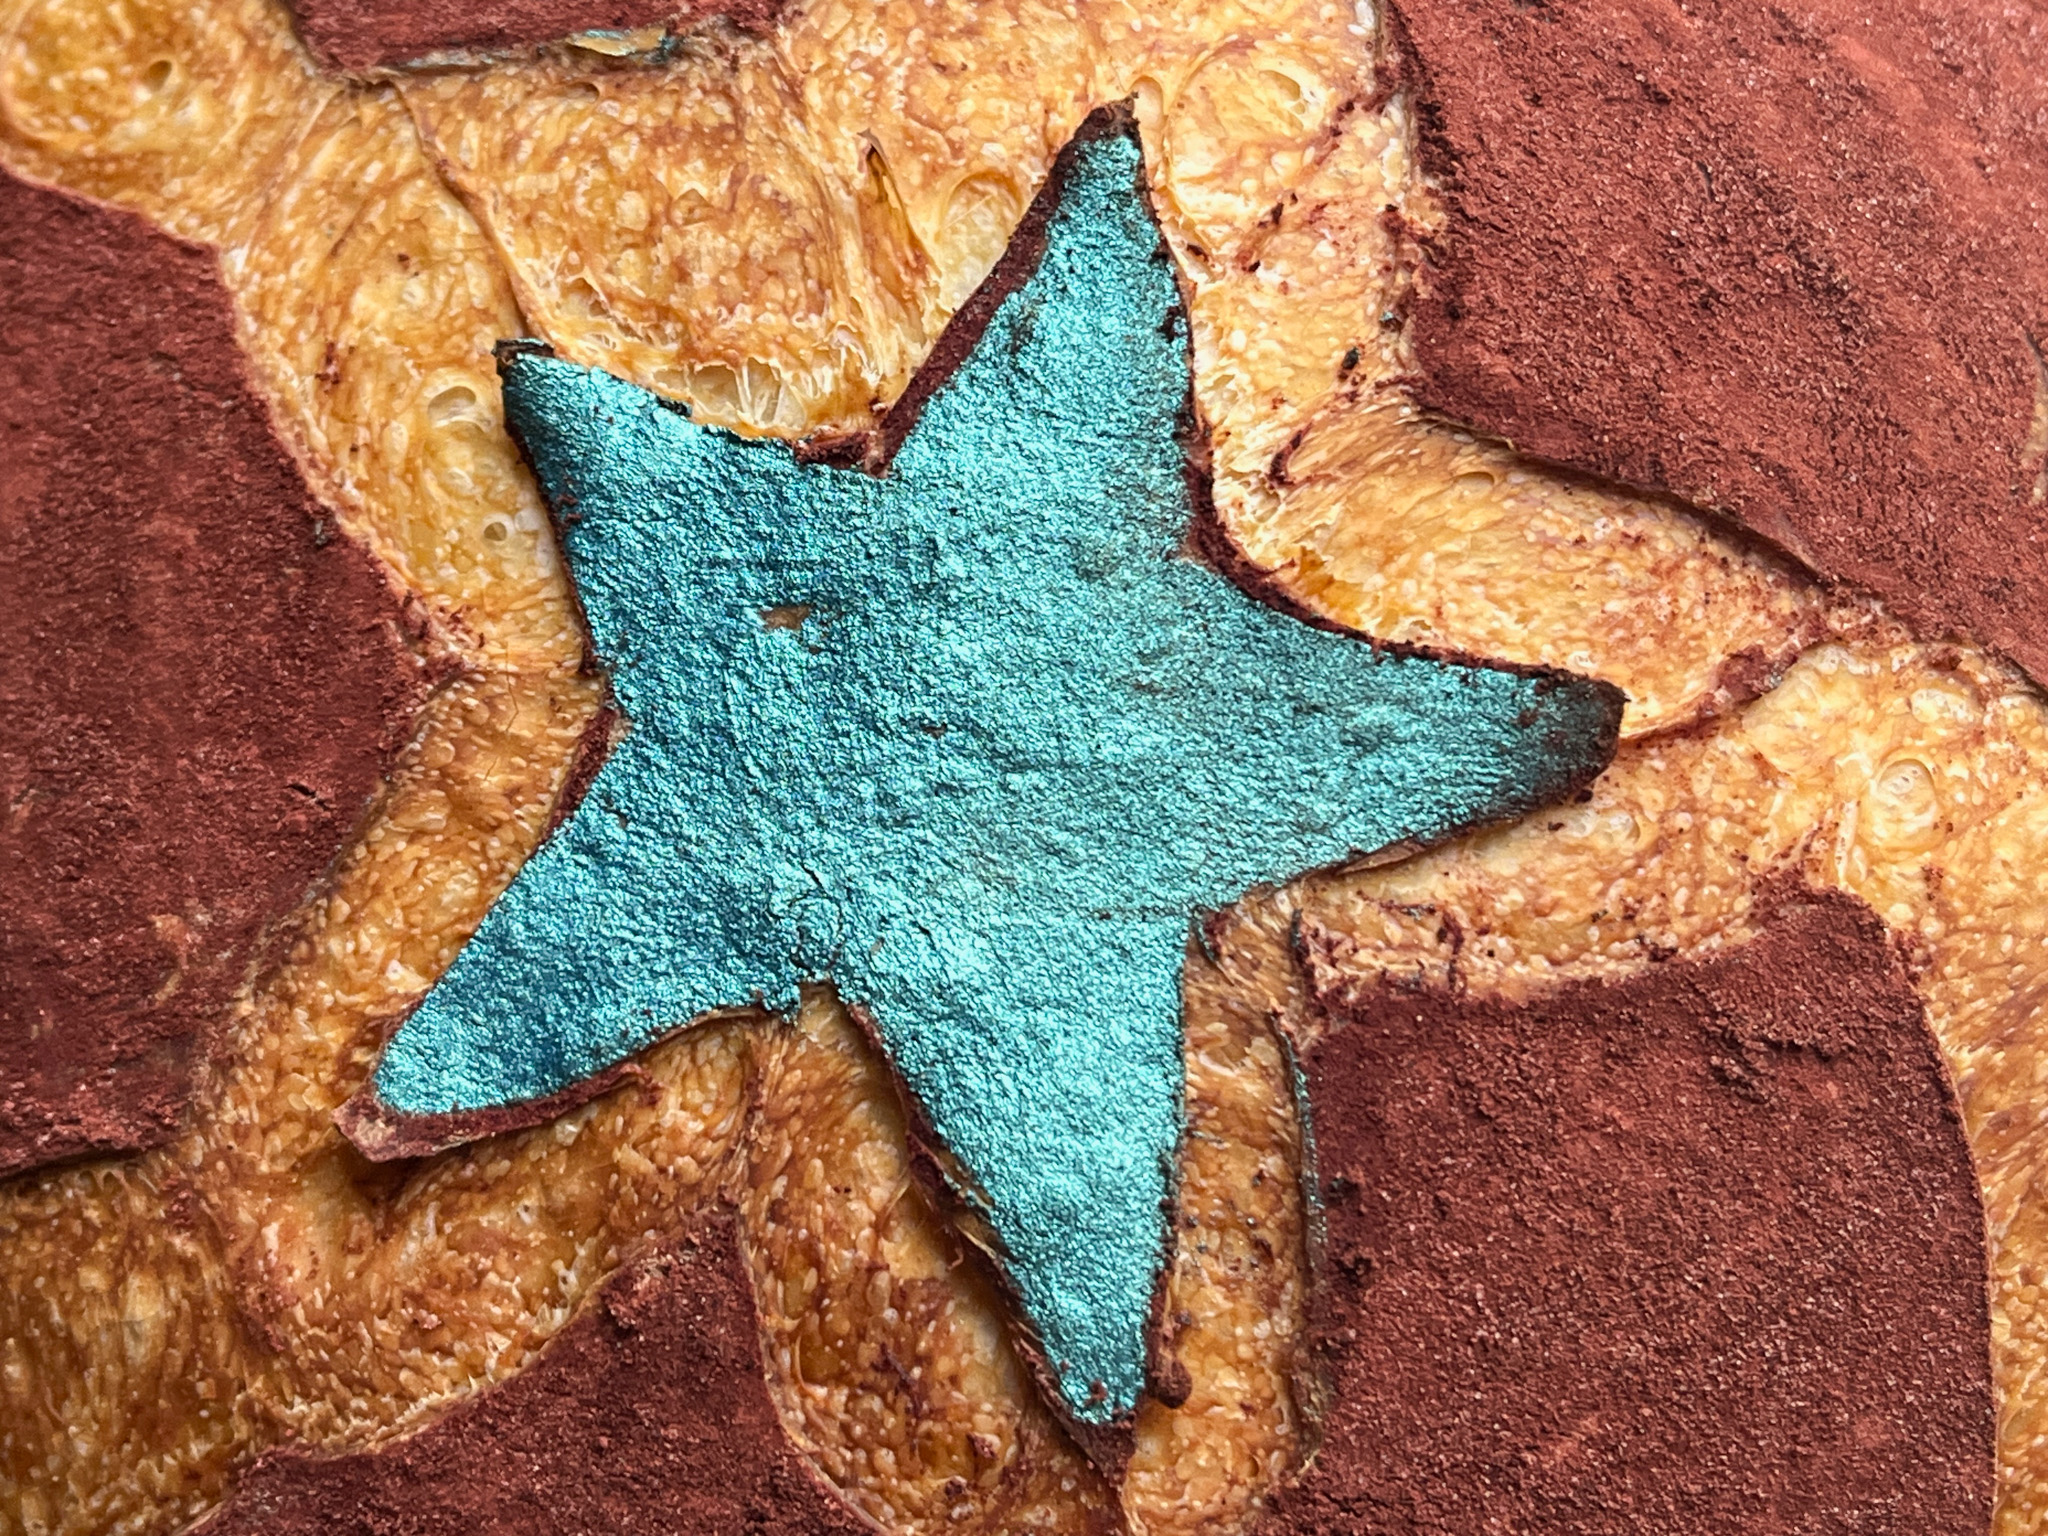
Next day, freeze the dough for 30 minutes in the banetton, to make it easier to score later. Invert the dough on a paper liner, place the piece of paper shaped as a star on top of the shaped dough, wetting it just lightly to make it glue to the surface. Sprinkle red yeast powder all over, rubbing it gently. Remove the paper, and paint that area with blue luster powder. Score with a sharp razor blade in any pattern you like.
Bake in a Dutch oven with the lid on at 450F for 30 minutes, open and allow the bread to brown for a further 15 minutes.
Cool completely over a rack before slicing.
ENJOY!
to print the recipe, click here
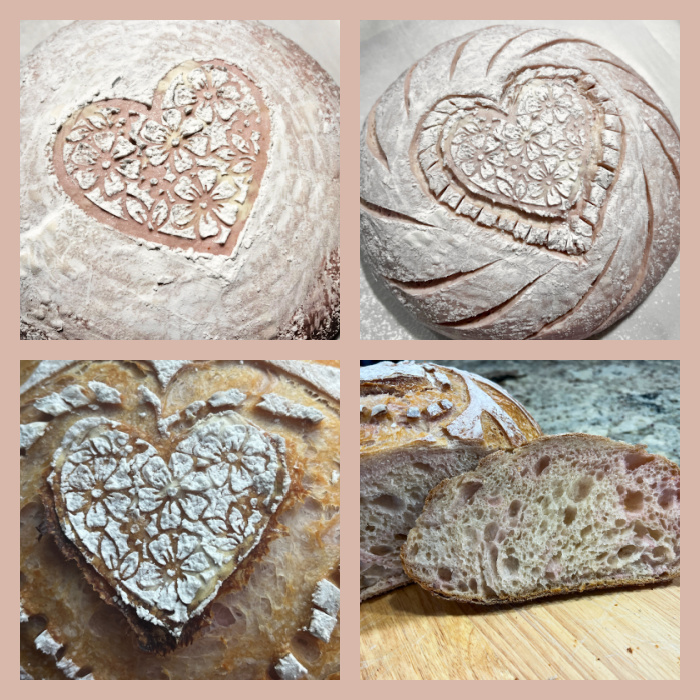
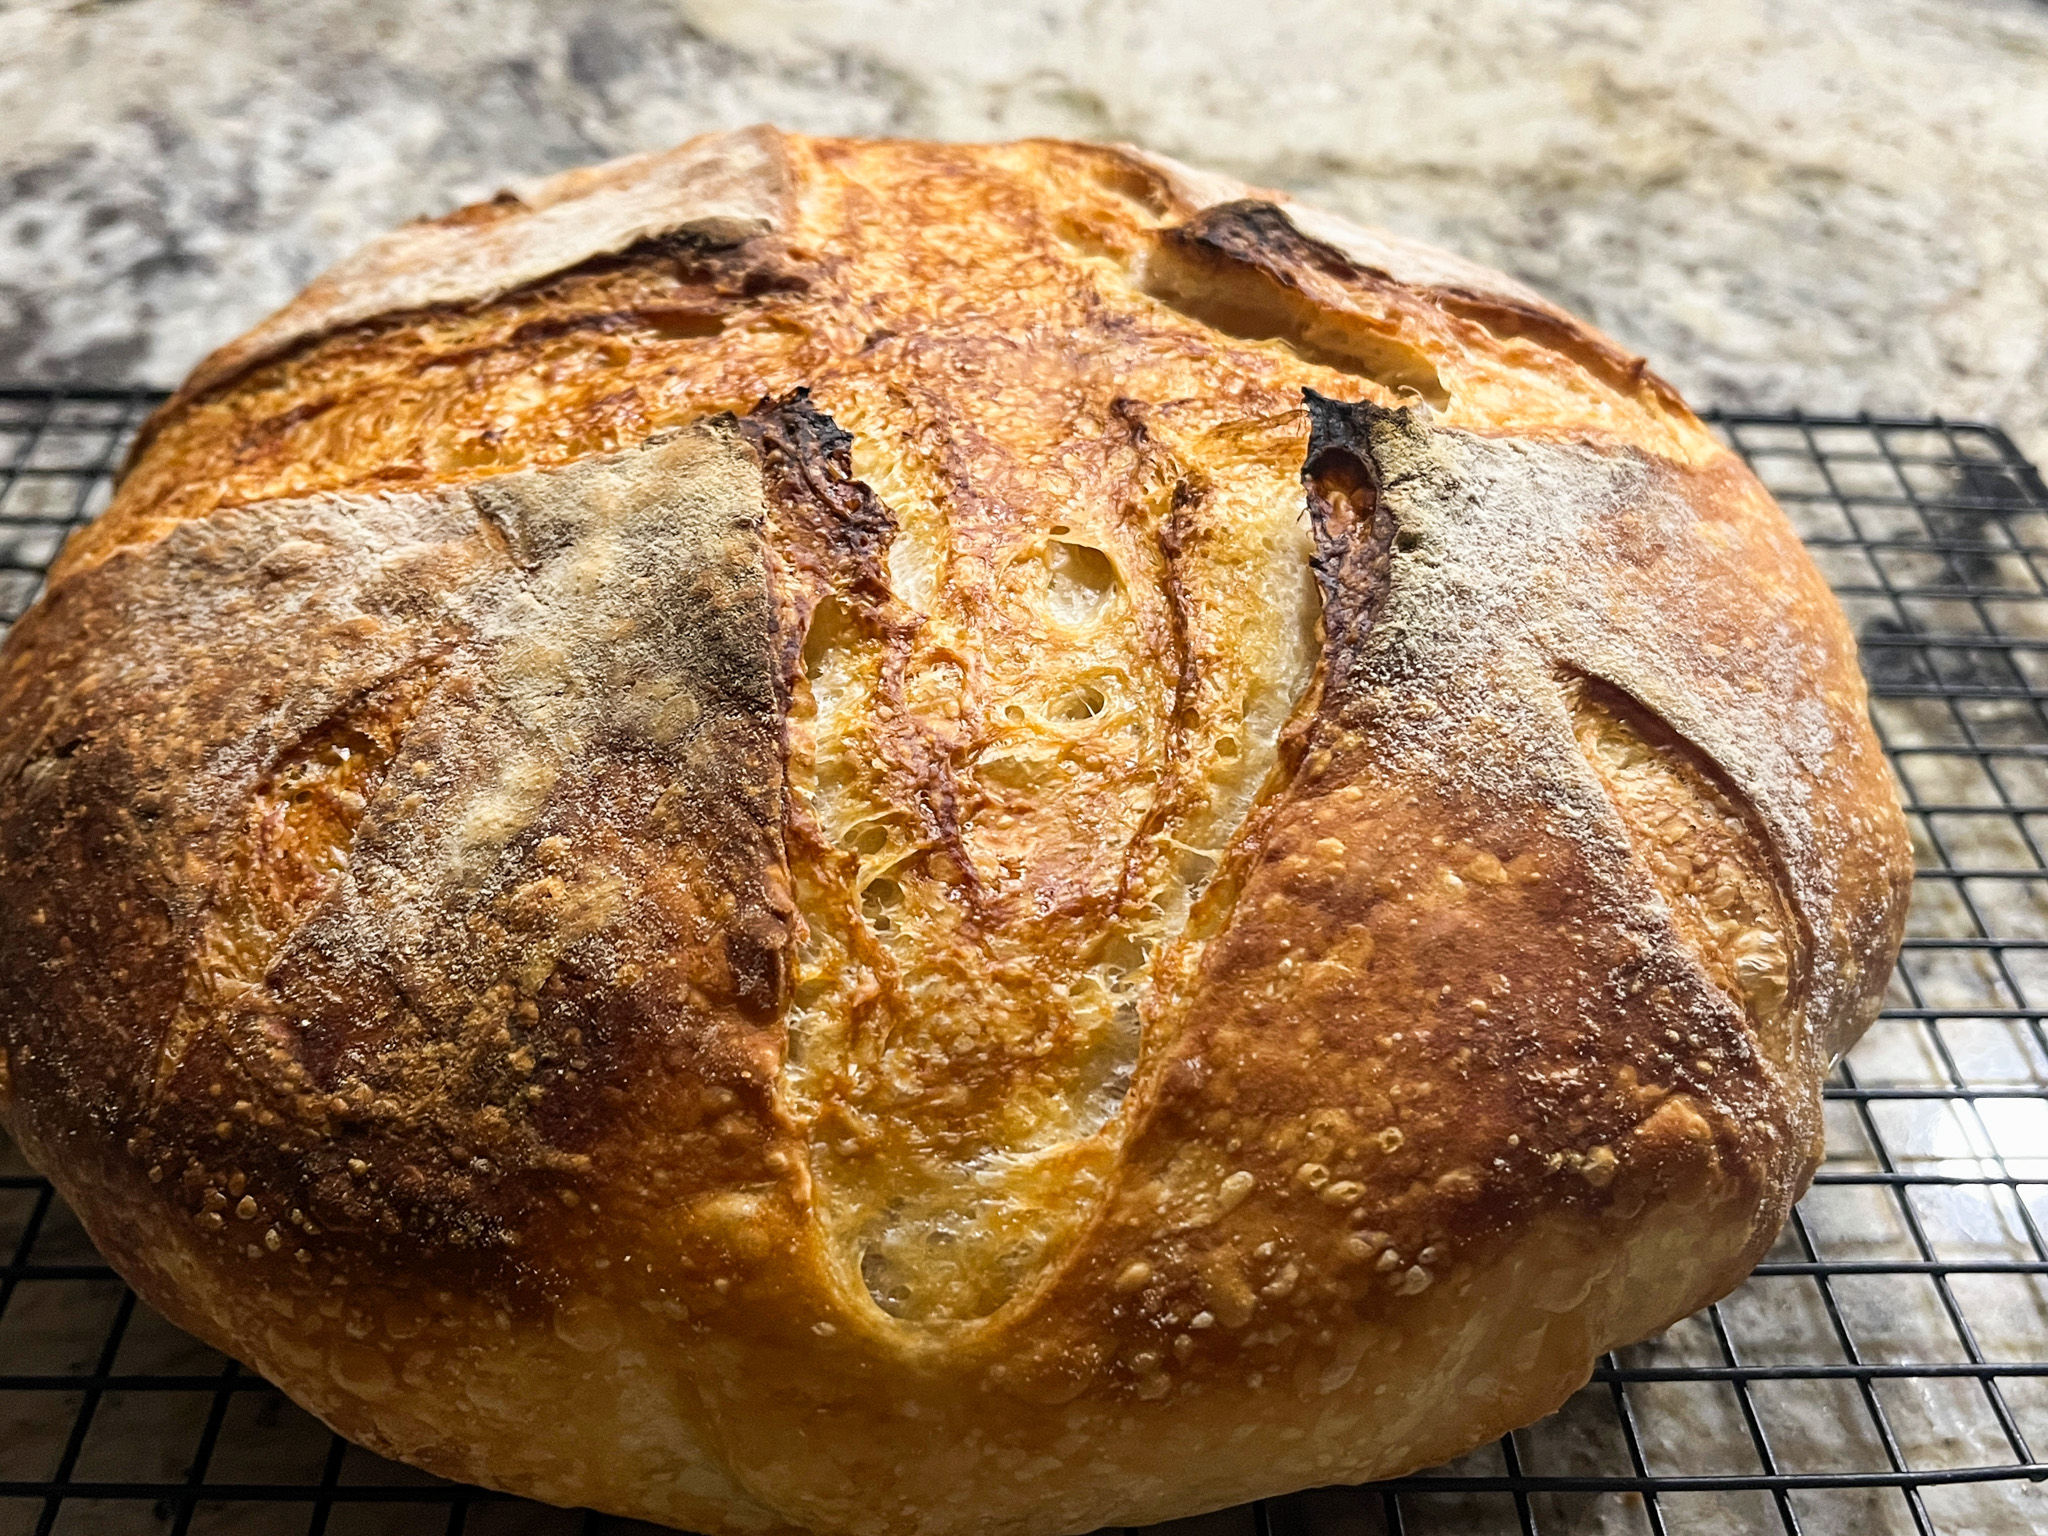
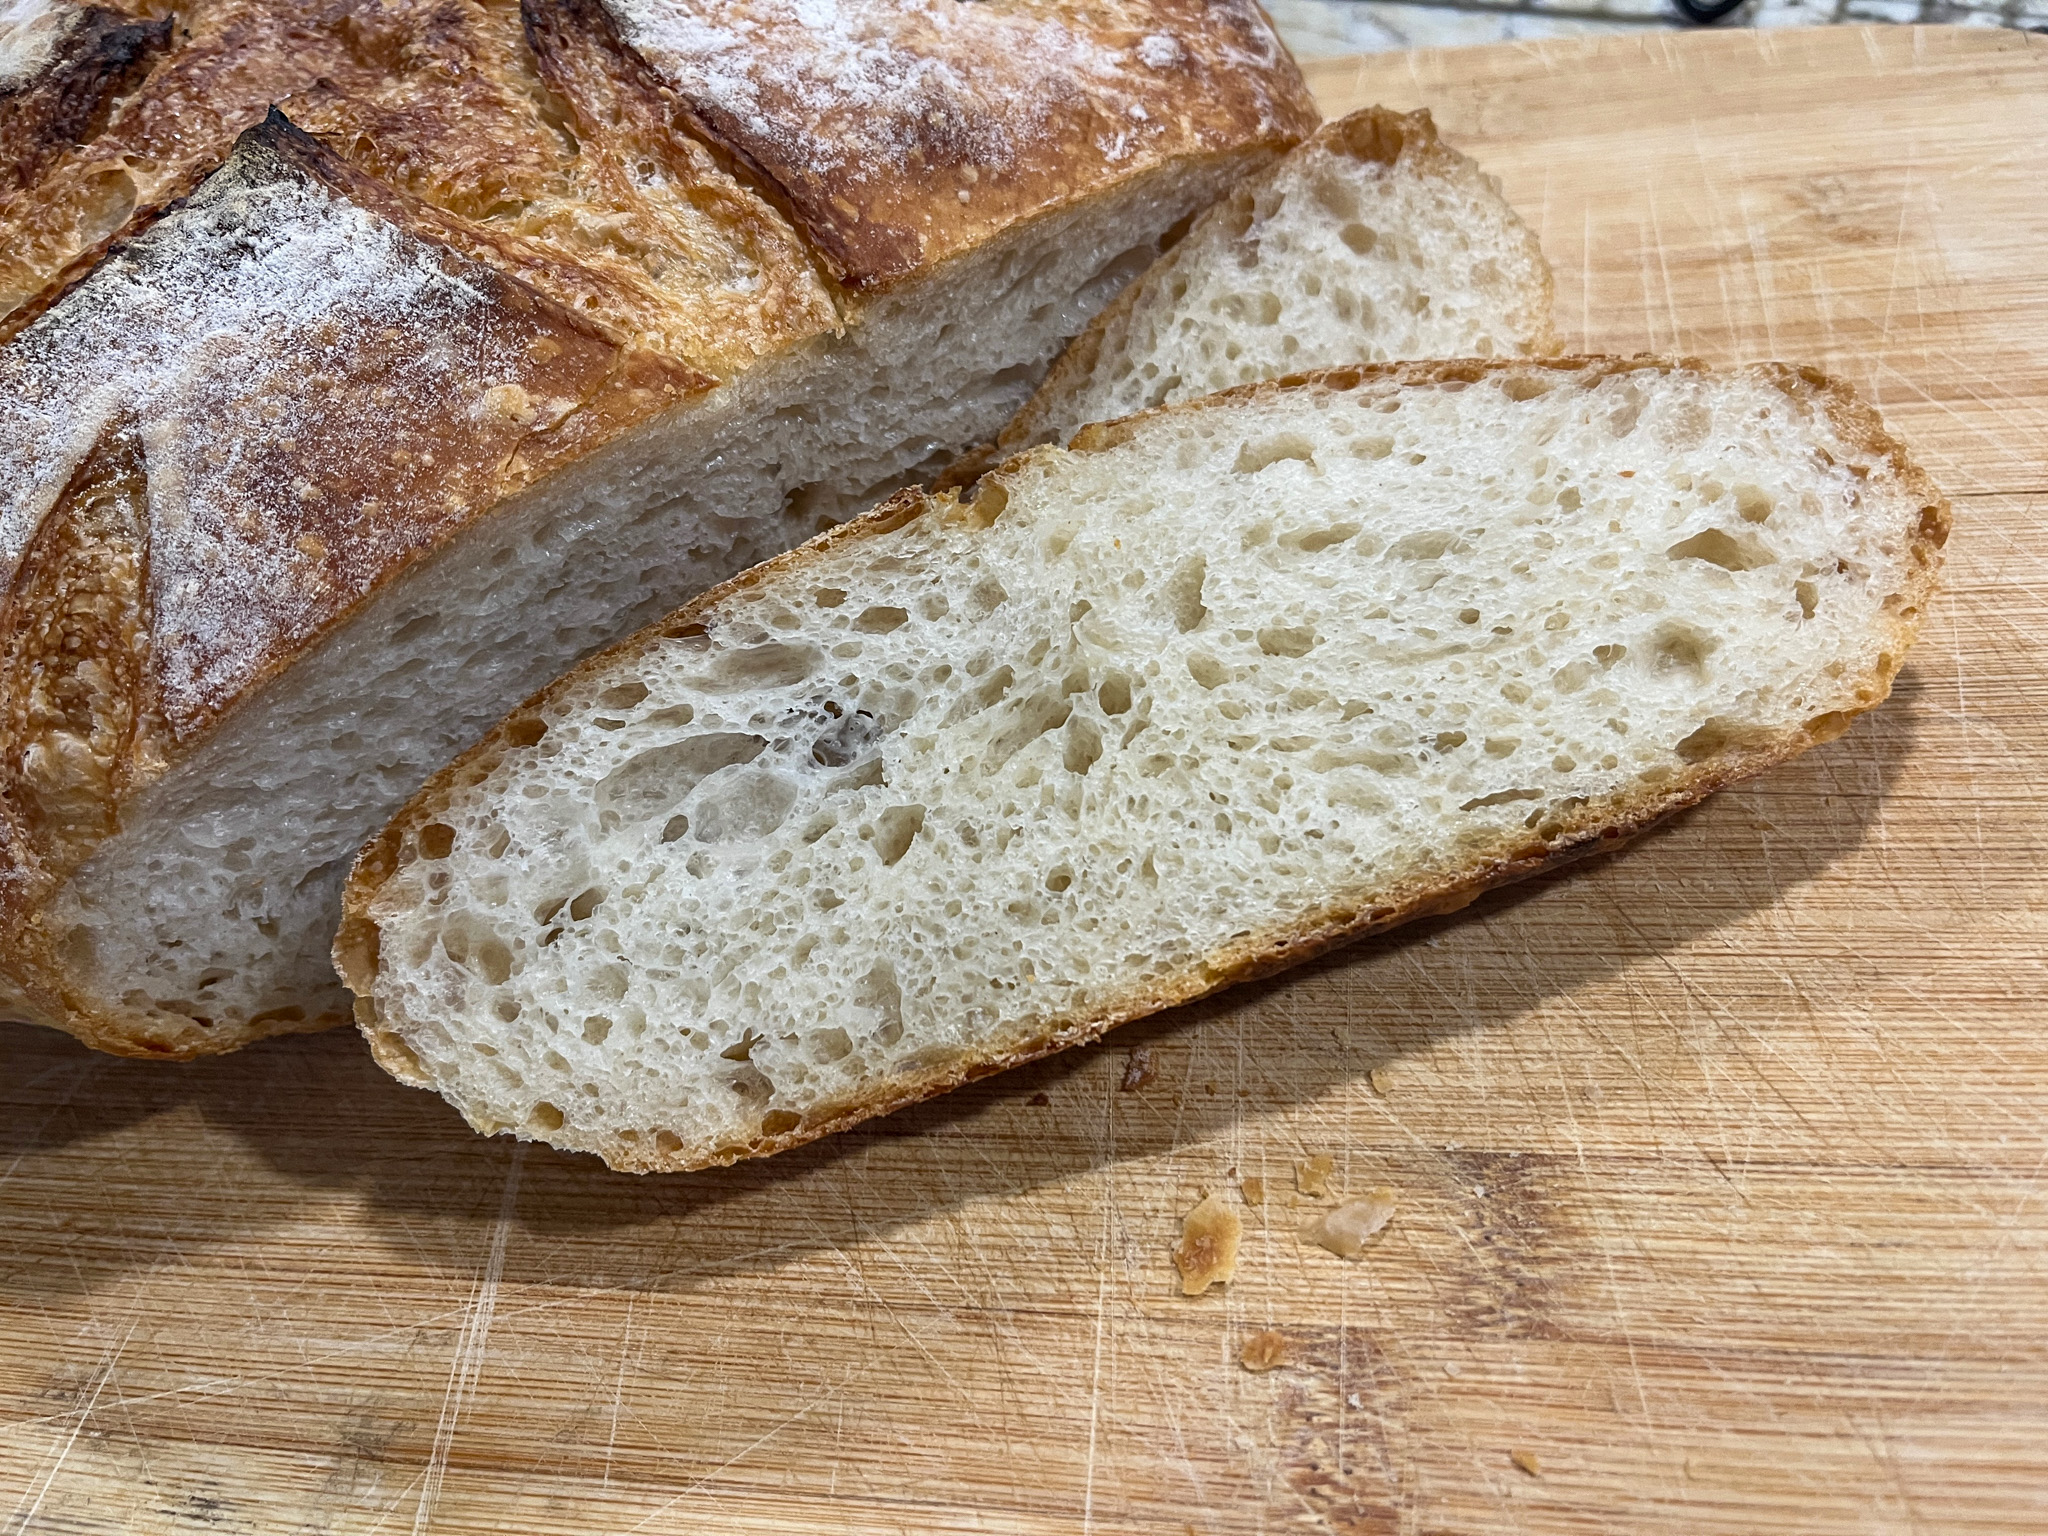
Comments: The dough is particularly smooth and nice to work with. I still cannot quite get over how much faster it rose during bulk fermentation. The temperature in our house does not change much during the year, thanks to air-conditioning and a bread proofing box for the winter months. The crumb has a slightly yellow hint, and the taste is a tad richer than your regular sourdough bread. I really liked it a lot, and so did the husband. If you are into sourdough baking, consider playing with this recipe.
I was ready to re-paint the bread once it was out of the oven, but much to my delight, the luster powder kept its intensity throughout the baking process! How cool is that?
.
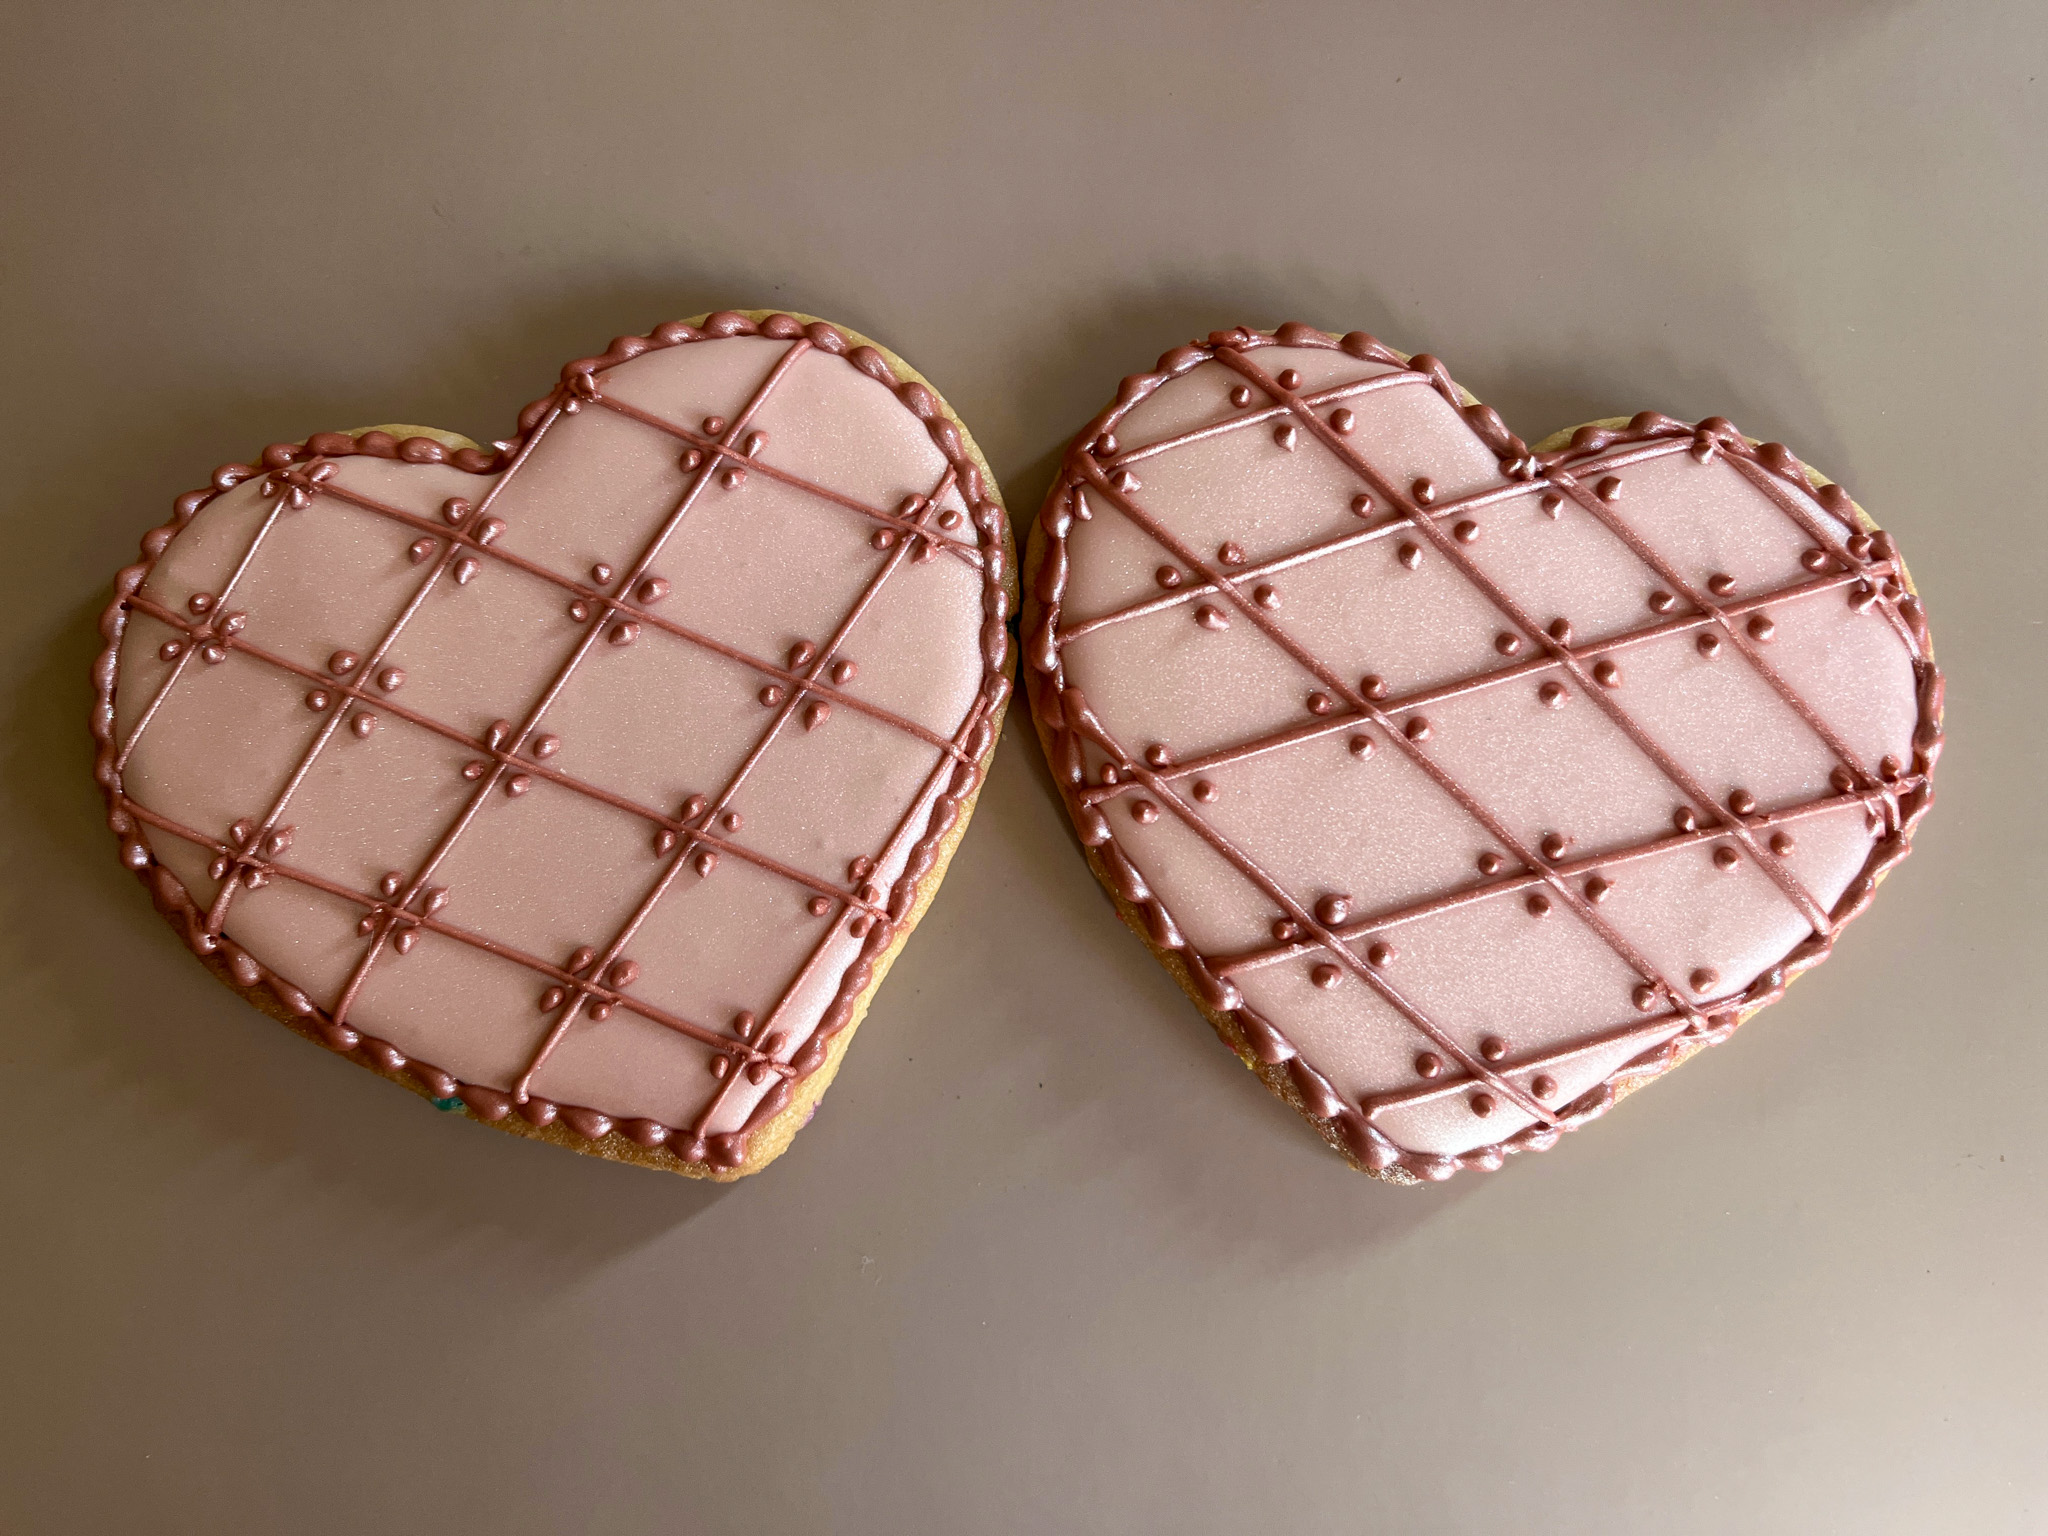
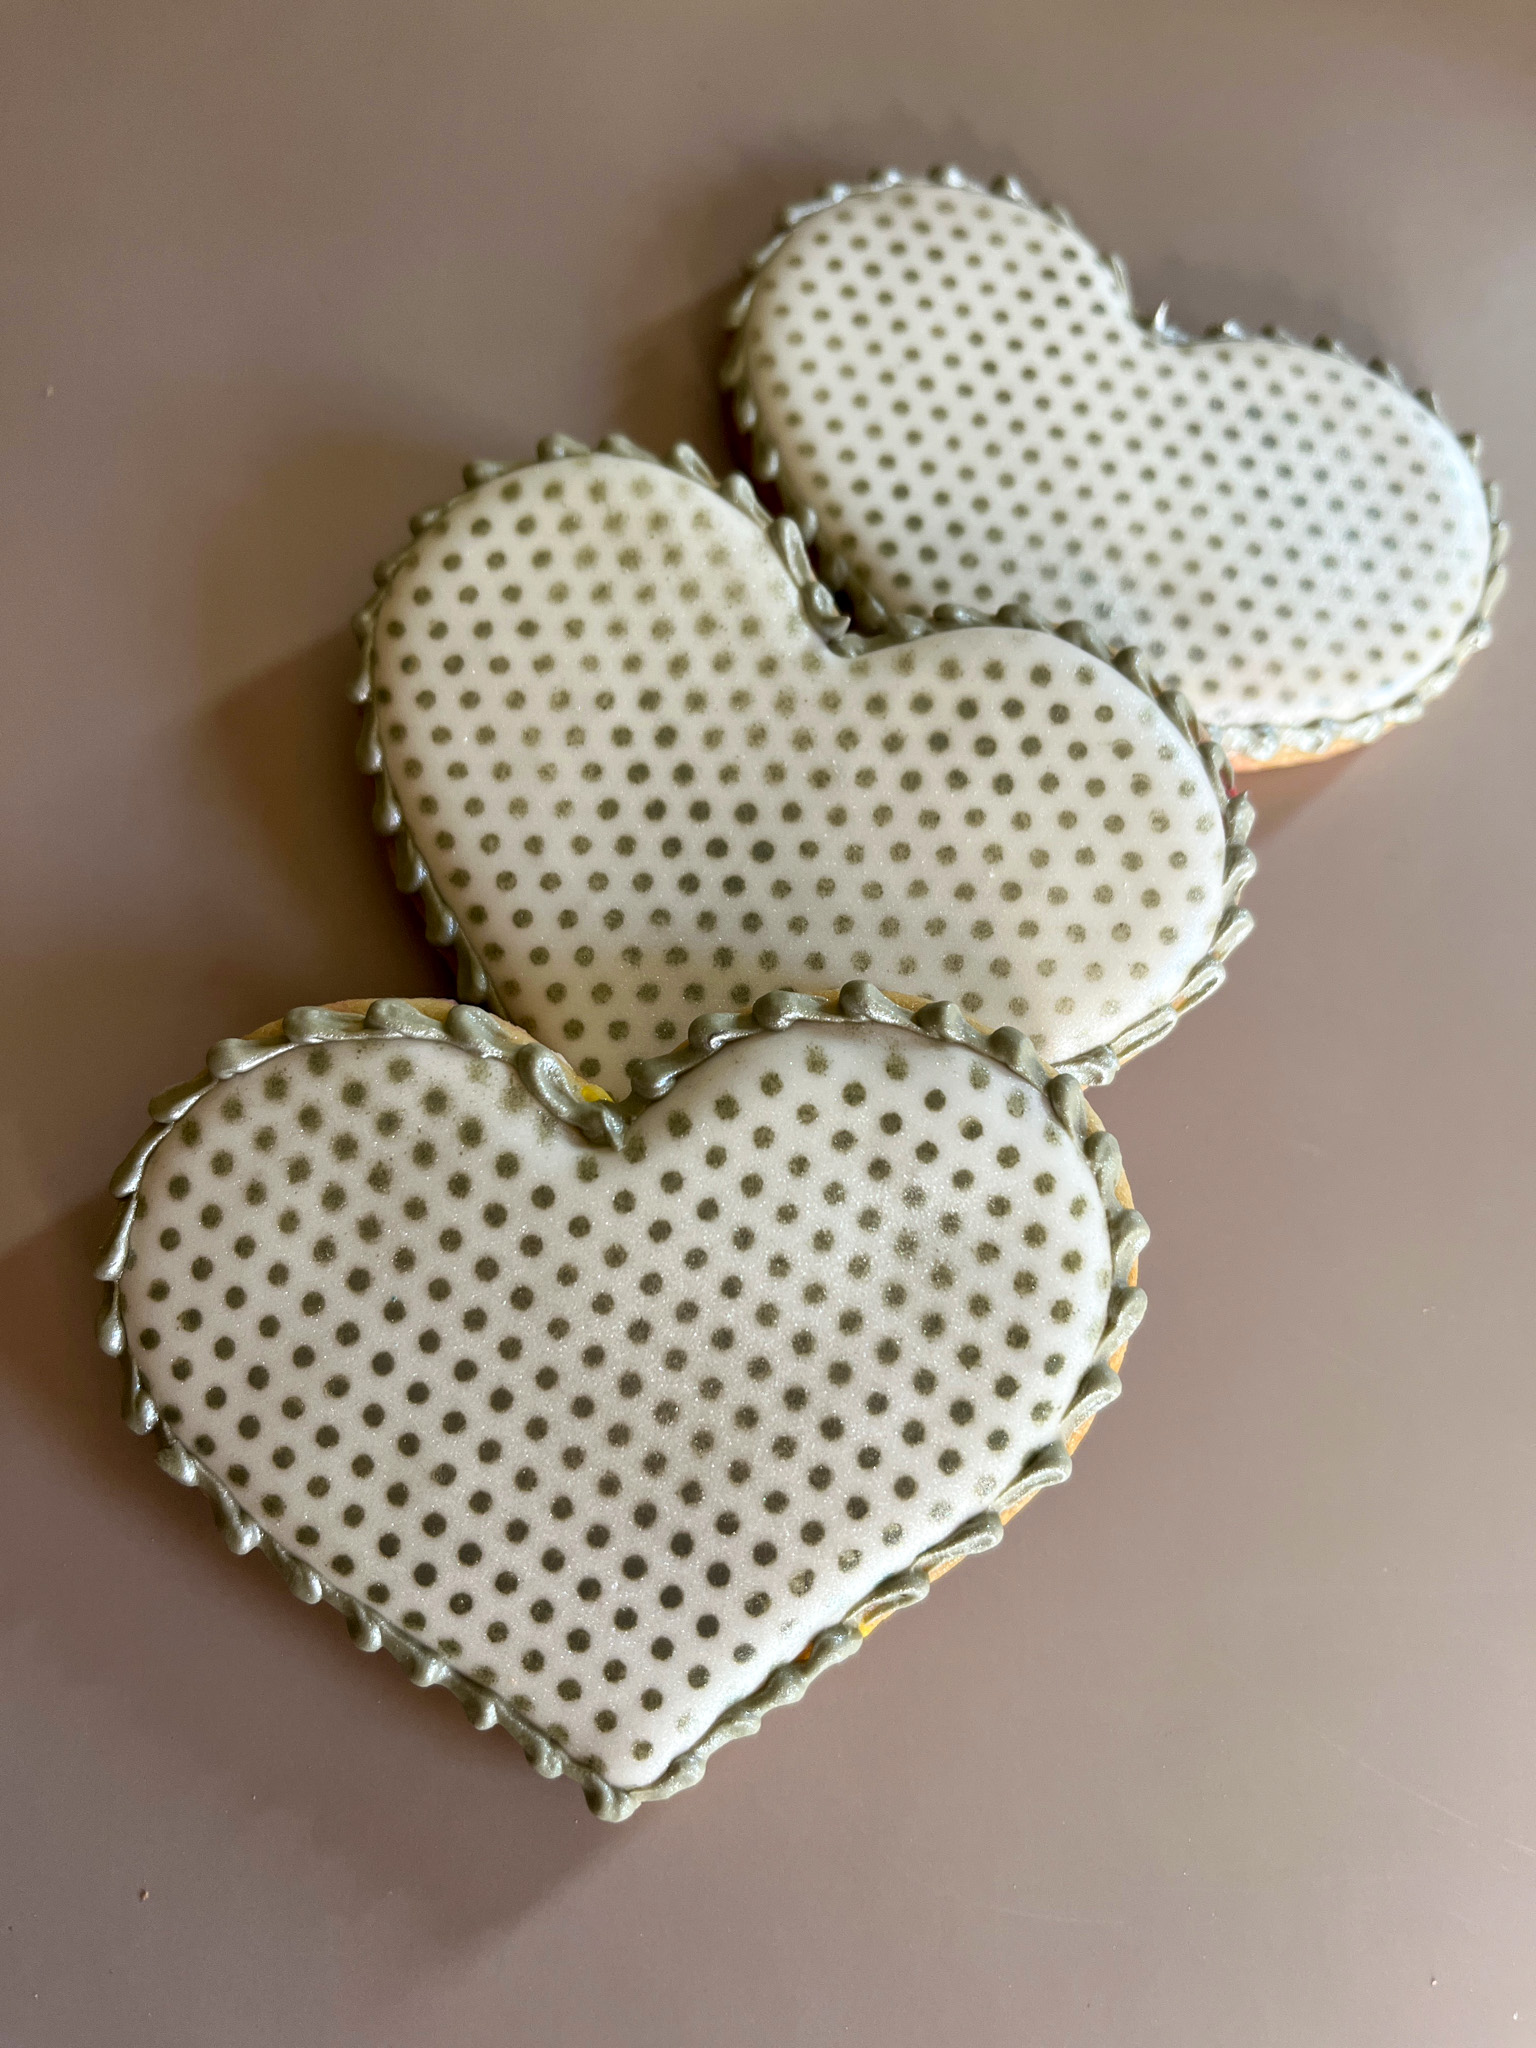
I close this post with a few more bakes made to celebrate the 4th. Crinkle Sugar Cookies, Chocolate-Covered Oreos, Decorated Sugar Cookies and Red Velvet Cupcakes.

1 YEAR AGO: In My Kitchen, Summer 2025
2 YEARS AGO: In My Kitchen, Summer 2024
3 YEARS AGO: In My Kitchen, Summer 2023
4 YEARS AGO: In My Kitchen, Summer 2022
5 YEARS AGO: In My Kitchen, July 2021
6 YEARS AGO: In My Kitchen, July 2020
7 YEARS AGO: In My Kitchen, June 2019
8 YEARS AGO: In My Kitchen – July 2018
9 YEARS AGO: In My Kitchen, July 2017
10 YEARS AGO: Secret Recipe Club: Falafel and a Bonus Recipe
11 YEARS AGO: Chocolate Toffee Banana Bread
12 YEARS AGO: In My Kitchen, June 2014
13 YEARS AGO: Strawberry Frozen Yogurt
14 YEARS AGO: Baked Coconut and “The Brazilian Kitchen”
15 YEARS AGO: Honey-Glazed Chicken Legs
16 YEARS AGO: French-Style Rolls
17 YEARS AGO: Chicken Breasts, Coffee, and Serendipity