Maybe you know Haniela from her amazing cookie decorating skills, but she goes way beyond that: she is an accomplished baker on all sorts of areas. One of her husband’s favorite desserts is the Australian classic, Lamington. Hani has used this recipe for a long, long time and her blog post about it makes this potentially intimidating concoction pretty straightforward to make. Check her detailed article here.

COCONUT LAMINGTONS
(from Haniela’s blog)
for the sponge cake:
2 + 1/3 cup all purpose flour (330 grams)
1 tbsp baking powder
1/2 tsp salt
4 large eggs, at room temperature
1 + 1/4 cup powdered sugar (150 grams)
6 tbsp oil (82-85 grams)
2 tbsp honey (45 grams)
1 tsp Vanilla Extract
1 cup milk, at room temperature (240-250 grams)
for the chocolate glaze:
2 + 1/2 cup powdered sugar (300 grams)
1/2 cup cocoa powder (50 grams)
6 tbsp milk (90-95 grams)
1 cup unsalted butter (226 grams)
1/2 tsp Vanilla Extract
unsweetened coconut (1 + 1/2 5oz bags)
Heat oven to 350°F.
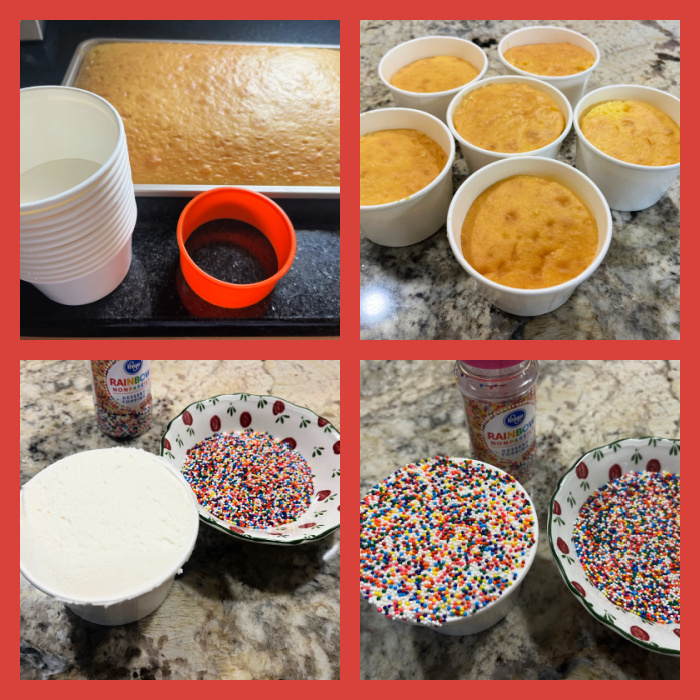
Line a 9×13-inch cake pan with parchment. Into a bowl, combine all-purpose flour, baking powder and salt. Set aside.
In a large bowl, beat 4 large eggs with powdered sugar on medium-high, for 5-8 minutes, until pale in color. Then gradually beat in oil untill well combined. Then beat in honey and lastly add vanilla extract. Beat well. Gradually, on medium speed beat in flour mixture, alternating with room-temperature milk.
Pour cake batter into a prepared 9×13 inch cake pan. Use a spatula to evenly distribute the batter into a pan. Bake the cake for 20-25 minutes, until a toothpick inserted in the center comes out clean. Cool the cake in the pan for 5-10 minutes. Invert the cake onto a cooling rack, cover it with a kitchen towel, and cool completely.
Trim the sides of the cake, about 1/4 to 1/2 inch off each side. Then cut the cake into 2-inch squares. Cover with a towel while you prepare the chocolate glaze so teh cake doesn’t crust around the edges.
Make the glaze: In a saucepan, combine powdered sugar, cocoa powder and milk. Heat on low heat until completely melted and smooth. Then, gradually add cut-up butter and heat the glaze until all the butter is melted. Whisk until the glaze is homogeneous. Remove from the heat, stir in vanilla extract. Keep chocolate glaze warm for dipping. Glaze thickens as it cools, simply warm it up as needed.
Pour glaze into a bowl, dip one square cake at a time. Use a fork to help you turn the cake to coat. Then let the cake sit on a fork and tap the fork or your wrist to release any excess glaze, allowing it to drip back into a bowl. Coat each glazed cake square in coconut.
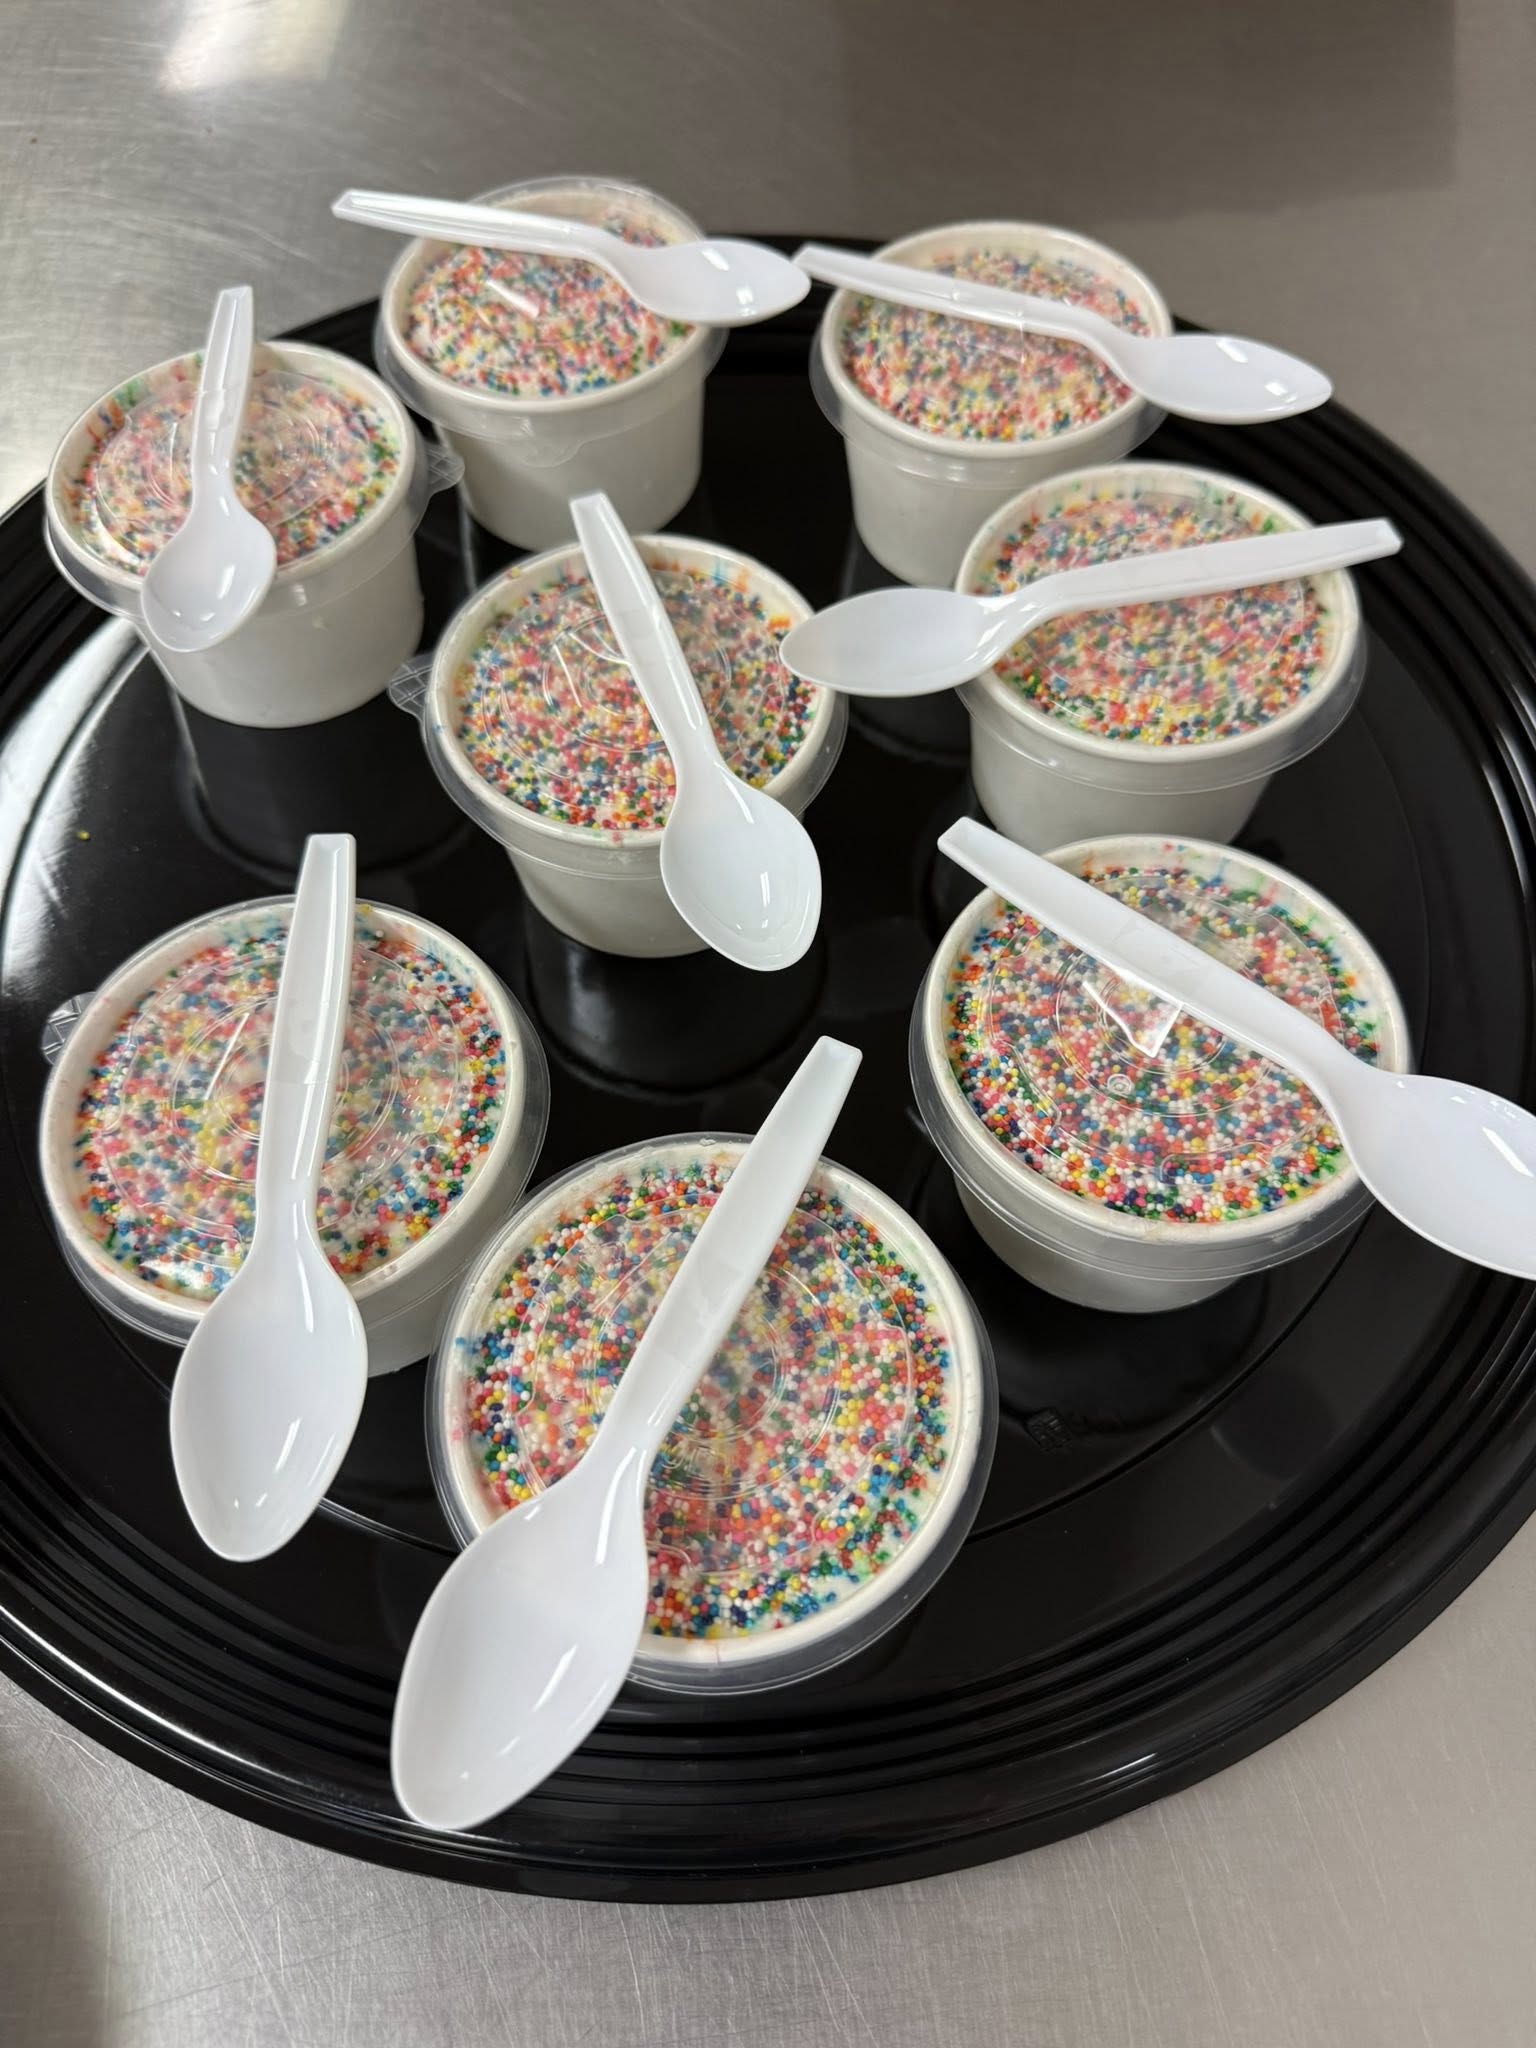
ENJOY!
to print the recipe, click here

Comments: The sponge cake component was a total dream to work with, perfect bake, flat, allowing me to cut square pieces without any struggle. I made the cake the day before, kept it covered with Saran wrap and a towel at room temperature. Next morning I cut the pieces, glazed and coated them with coconut. My advice is to work near a sink, rinse and dry your fingers after each piece that gets coated. It is a messy process but I thought it was going to be much worse. To coat in coconut, I dropped the glazed piece on the bowl, then used a fork to flip it. At that point I could hold the piece with my fingers touching the two sides that already had coconut on them, and coated the sides turning the piece with my hand. That worked well, using a fork was just too awkward for me. I donated the whole batch, but whenever I make a recipe for the first time, I save one for me and the husband to taste. Two thumbs all the way up, moist cake, delicious coating, chocolate and coconut make a wonderful match. I really hope you give Haniela’s recipe a try, it is a nice baking project to tackle, and you will feel quite accomplished later…

1 YEAR AGO: Mexican Conchas
2 YEAR AGOS: Red Velvet Sugar Cookies, Three Ways
3 YEARS AGO: Lemon Macarons
4 YEARS AGO: Thai Chicken with Peanut Sauce
5 YEARS AGO: Baharat Flower Sourdough
6 YEARS AGO: Biscoitinhos de Canela
7 YEARS AGO: Salmon Tacos
8 YEARS AGO: The Chignon
9 YEARS AGO: Rack of Lamb Sous-Vide with Couscous Salad
10 YEARS AGO: Focaccia with Grapes, Roquefort and Truffled Honey
11 YEARS AGO: Moroccan Carrot Dip over Cucumber Slices
12 YEARS AGO: White Chocolate Macadamia Nut Cookies
13 YEARS AGO: Cilantro-Jalapeno “Hummus”
14 YEARS AGO:A Moving Odyssey
15 YEARS AGO:Hoegaarden Beer Bread
16 YEARS AGO: Ancho-Chile Marinade: Pleased to Meat you!
17 YEARS AGO: Shrimp Moqueca