It’s been incredibly hot in this neck of the woods, so our dinners are for the most part light and easy to prepare. This frittata was inspired by a recipe from Elle a la Table. Delicious, even if the cucumber sauce seemed a bit unusual to be paired with it. They worked well together, much to my delight.
ZUCCHINI FRITTATA WITH CUCUMBER-YOGURT SAUCE
(inspired by Elle a la Table)
5 eggs
1 shallot, minced finely
1 zucchini (you might not need the whole zucchini, depending on its size)
20 g butter, divided
1 tablespoon grape seed oil
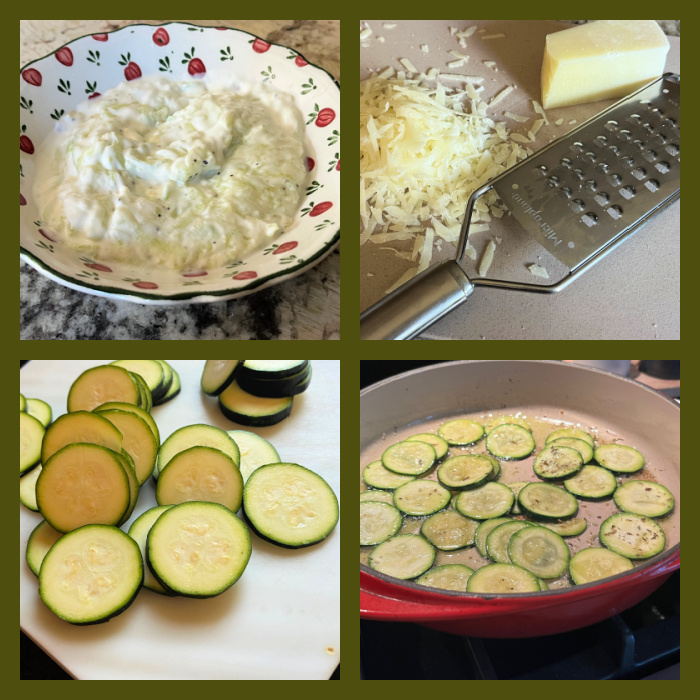
50 g pecorino cheese, grated
1/2 cucumber
150 g thick Greek yogurt
Herbes de Provence to taste
salt and pepper to taste
Prepare the sauce: peel and grate the cucumber. Mix them with the yogurt, Herbes de Provence, salt and pepper. Reserve in the fridge until needed.
Wash the zucchini and cut in very thin rounds, do not peel it. In a large frying pan, cook the shallot and zucchini slices with half the butter and the olive oil over medium heat for 10 minutes, stirring regularly.
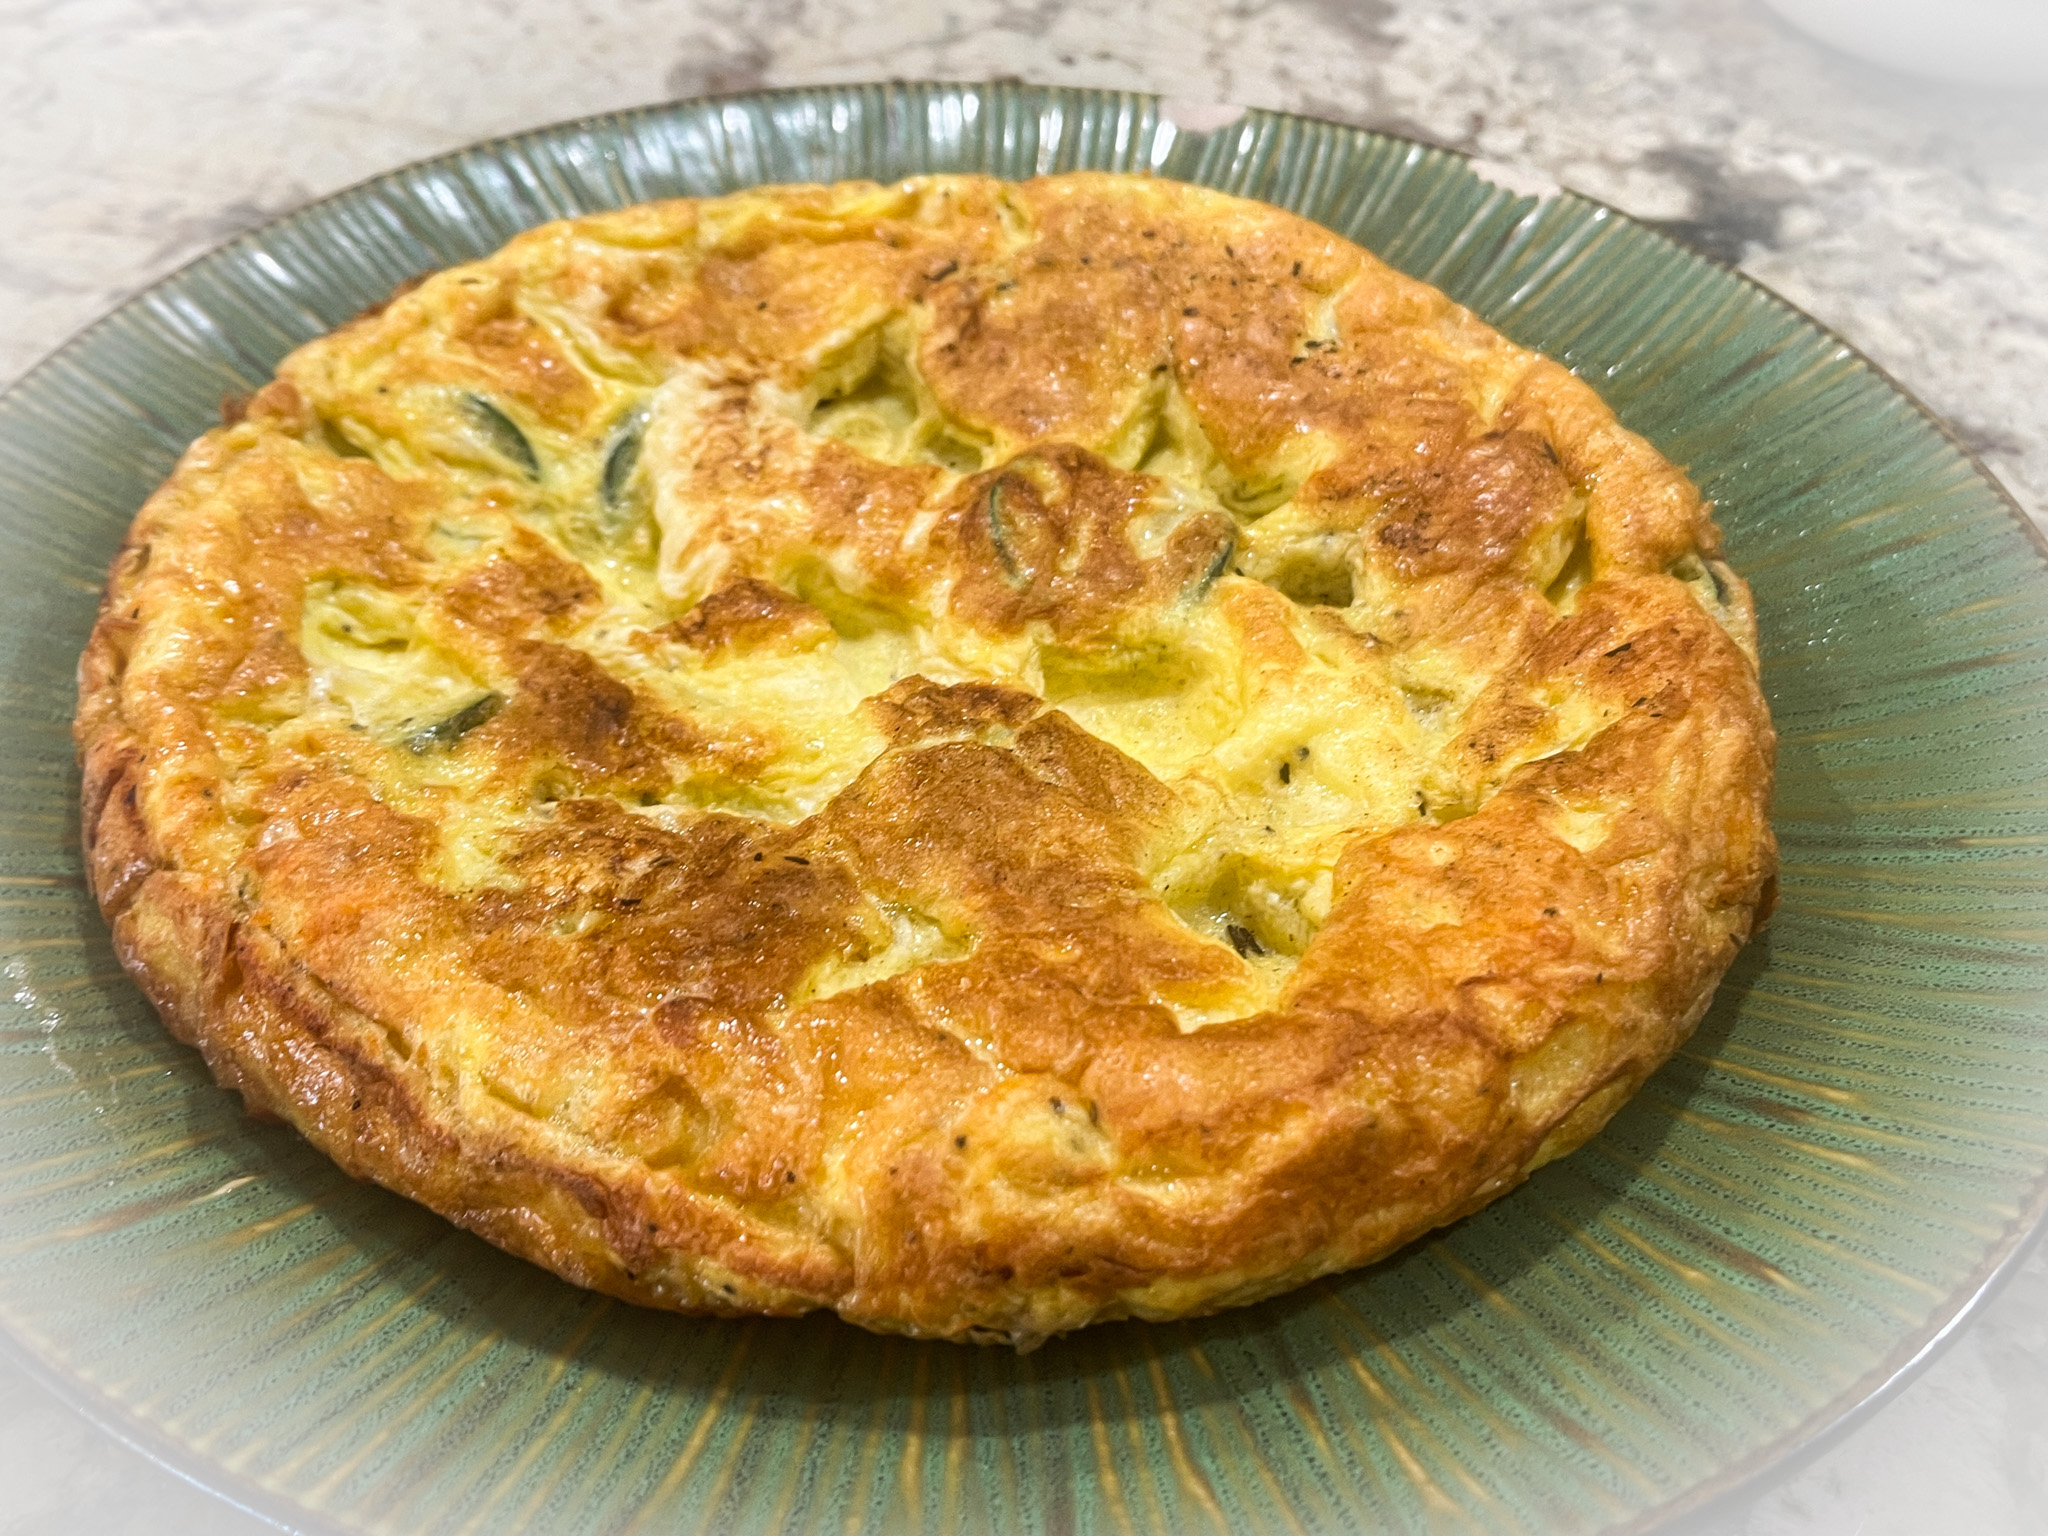
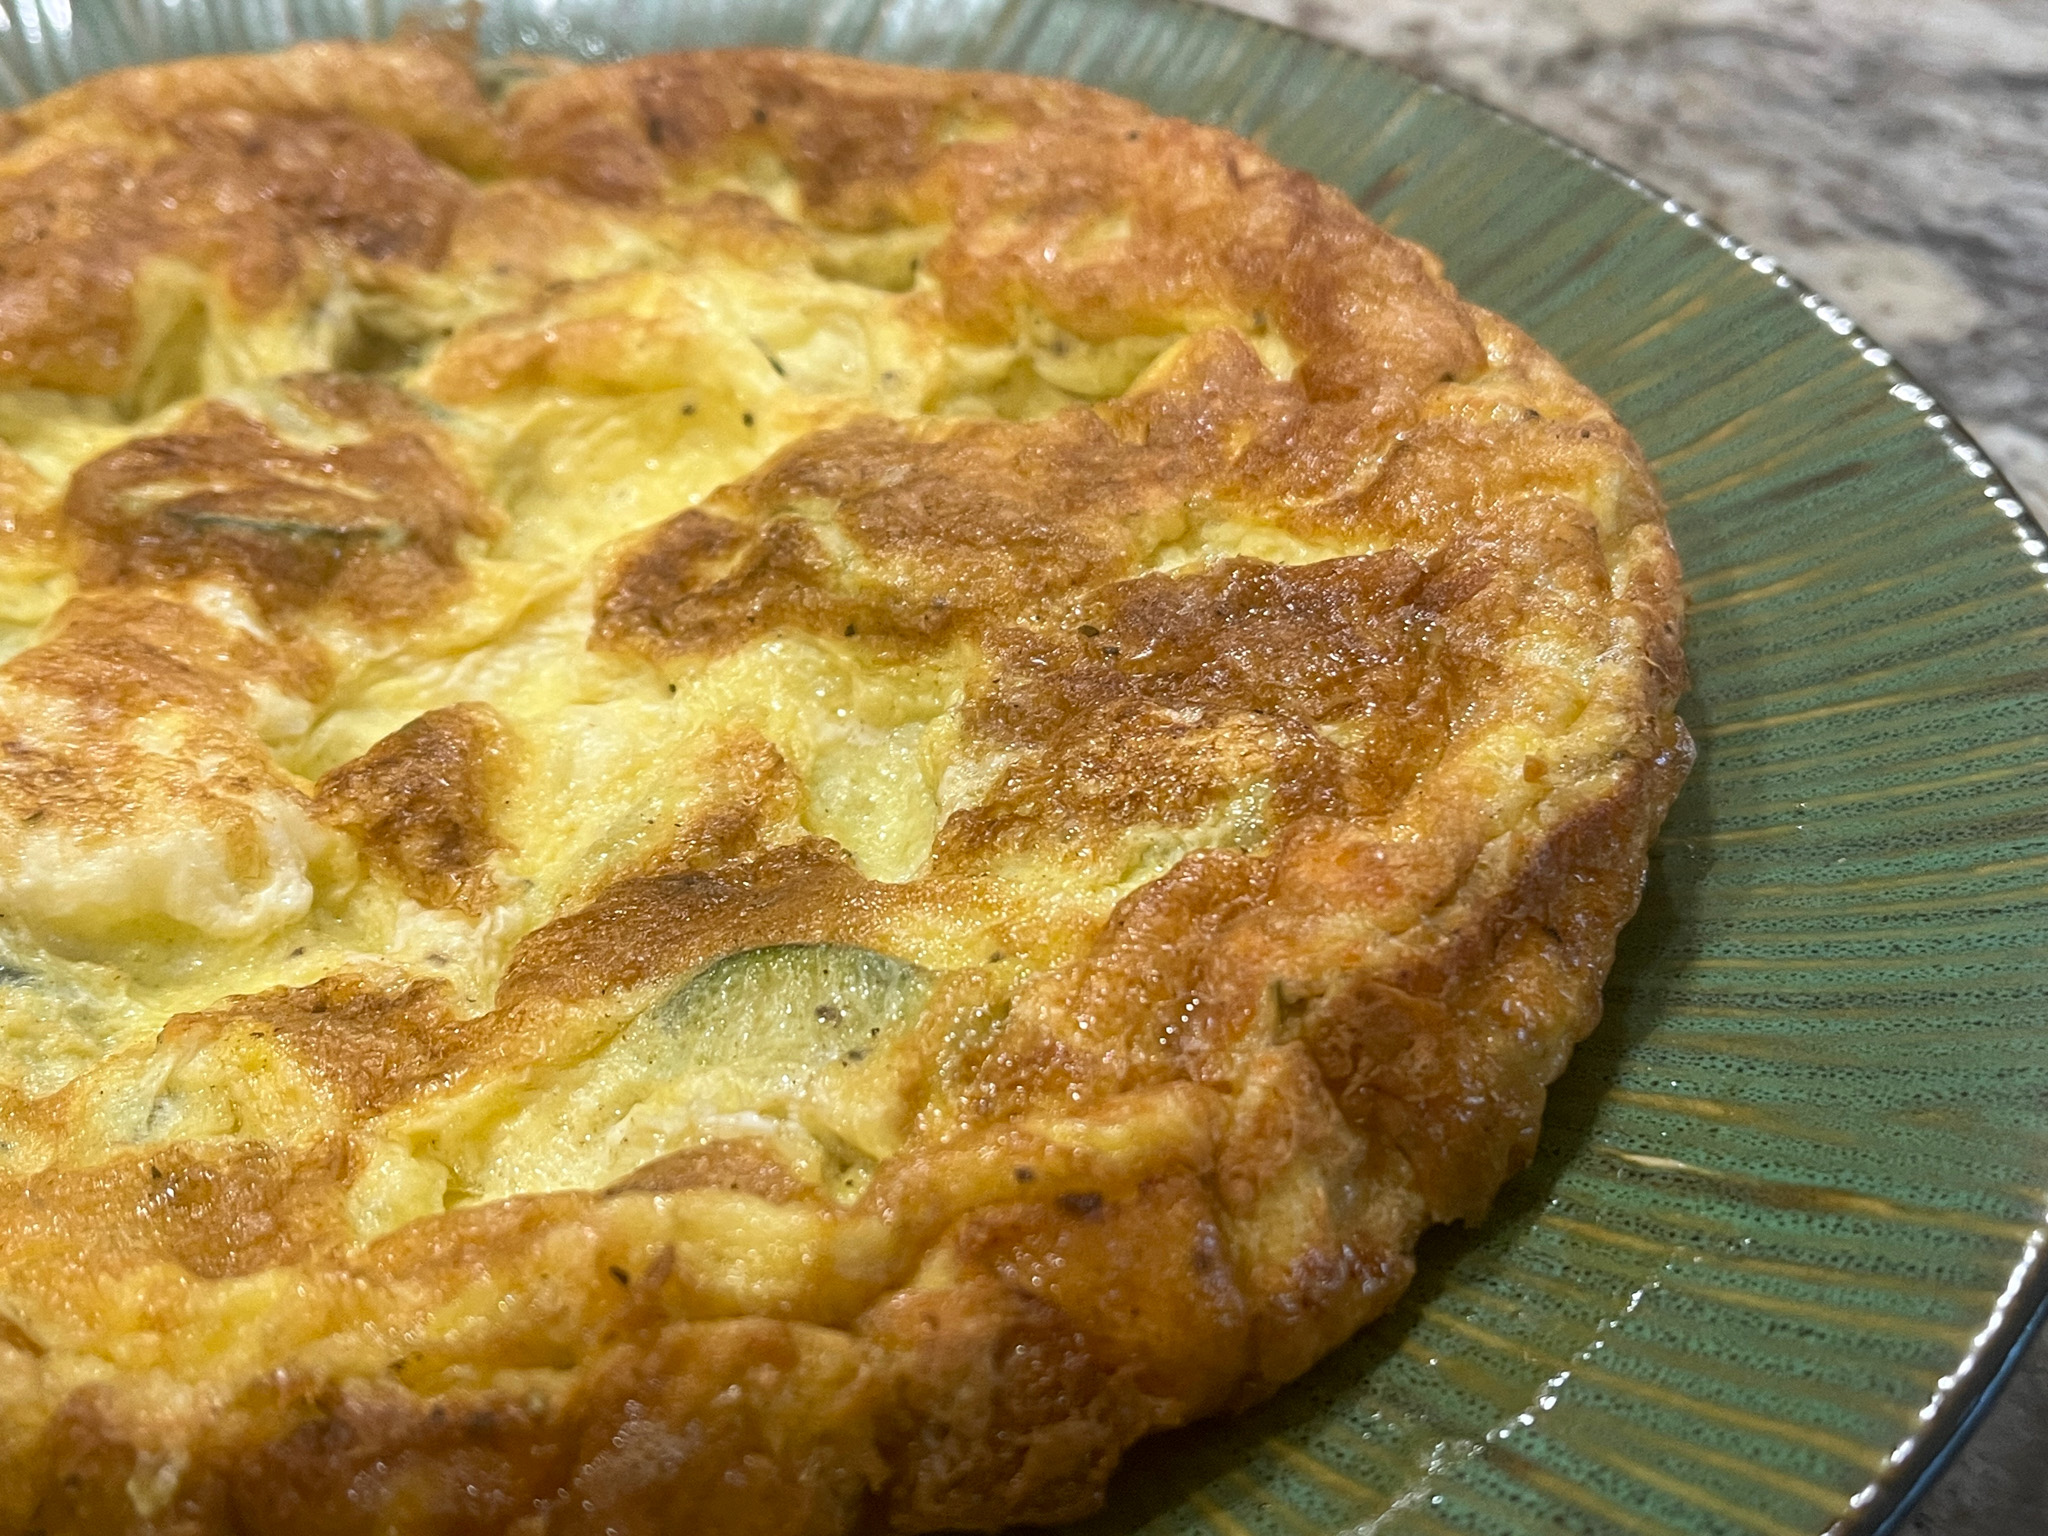
Meanwhile, beat the eggs. Stir in the grated pecorino. Season with salt and pepper to taste. Increase the heat under the pan, add the remaining butter, and pour in the eggs. Cook until the bottom is fully set, cover the pan to allow steam to help start setting the top. Flip the frittata with the help of a plate, and cook the second side for a few minutes, util just set.
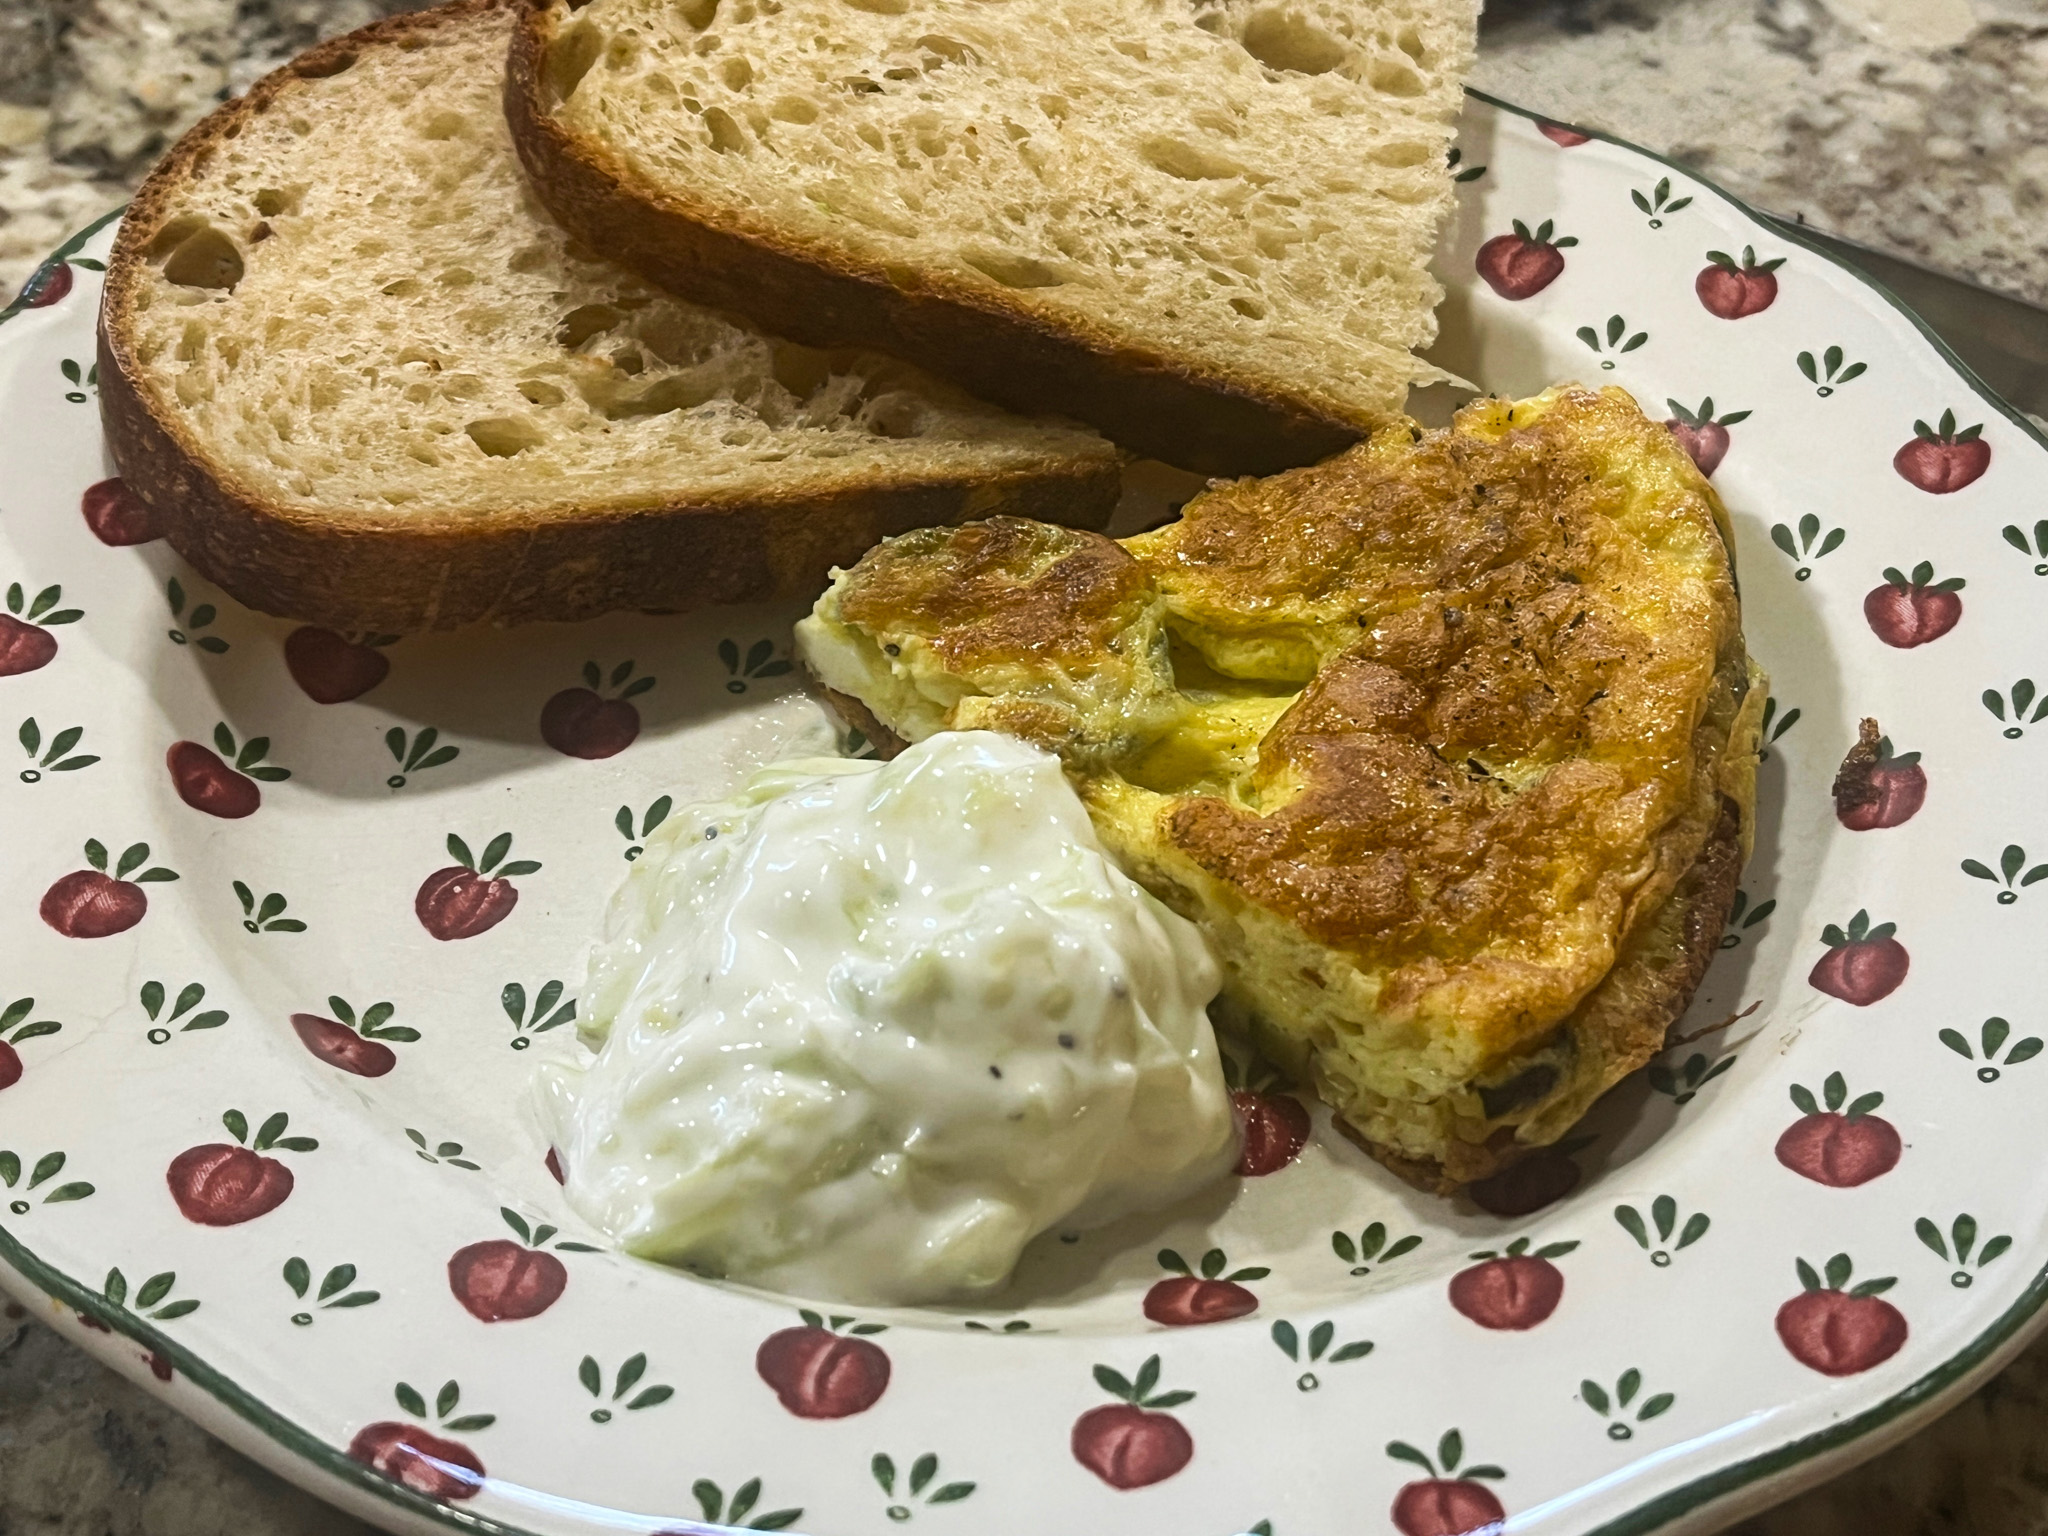
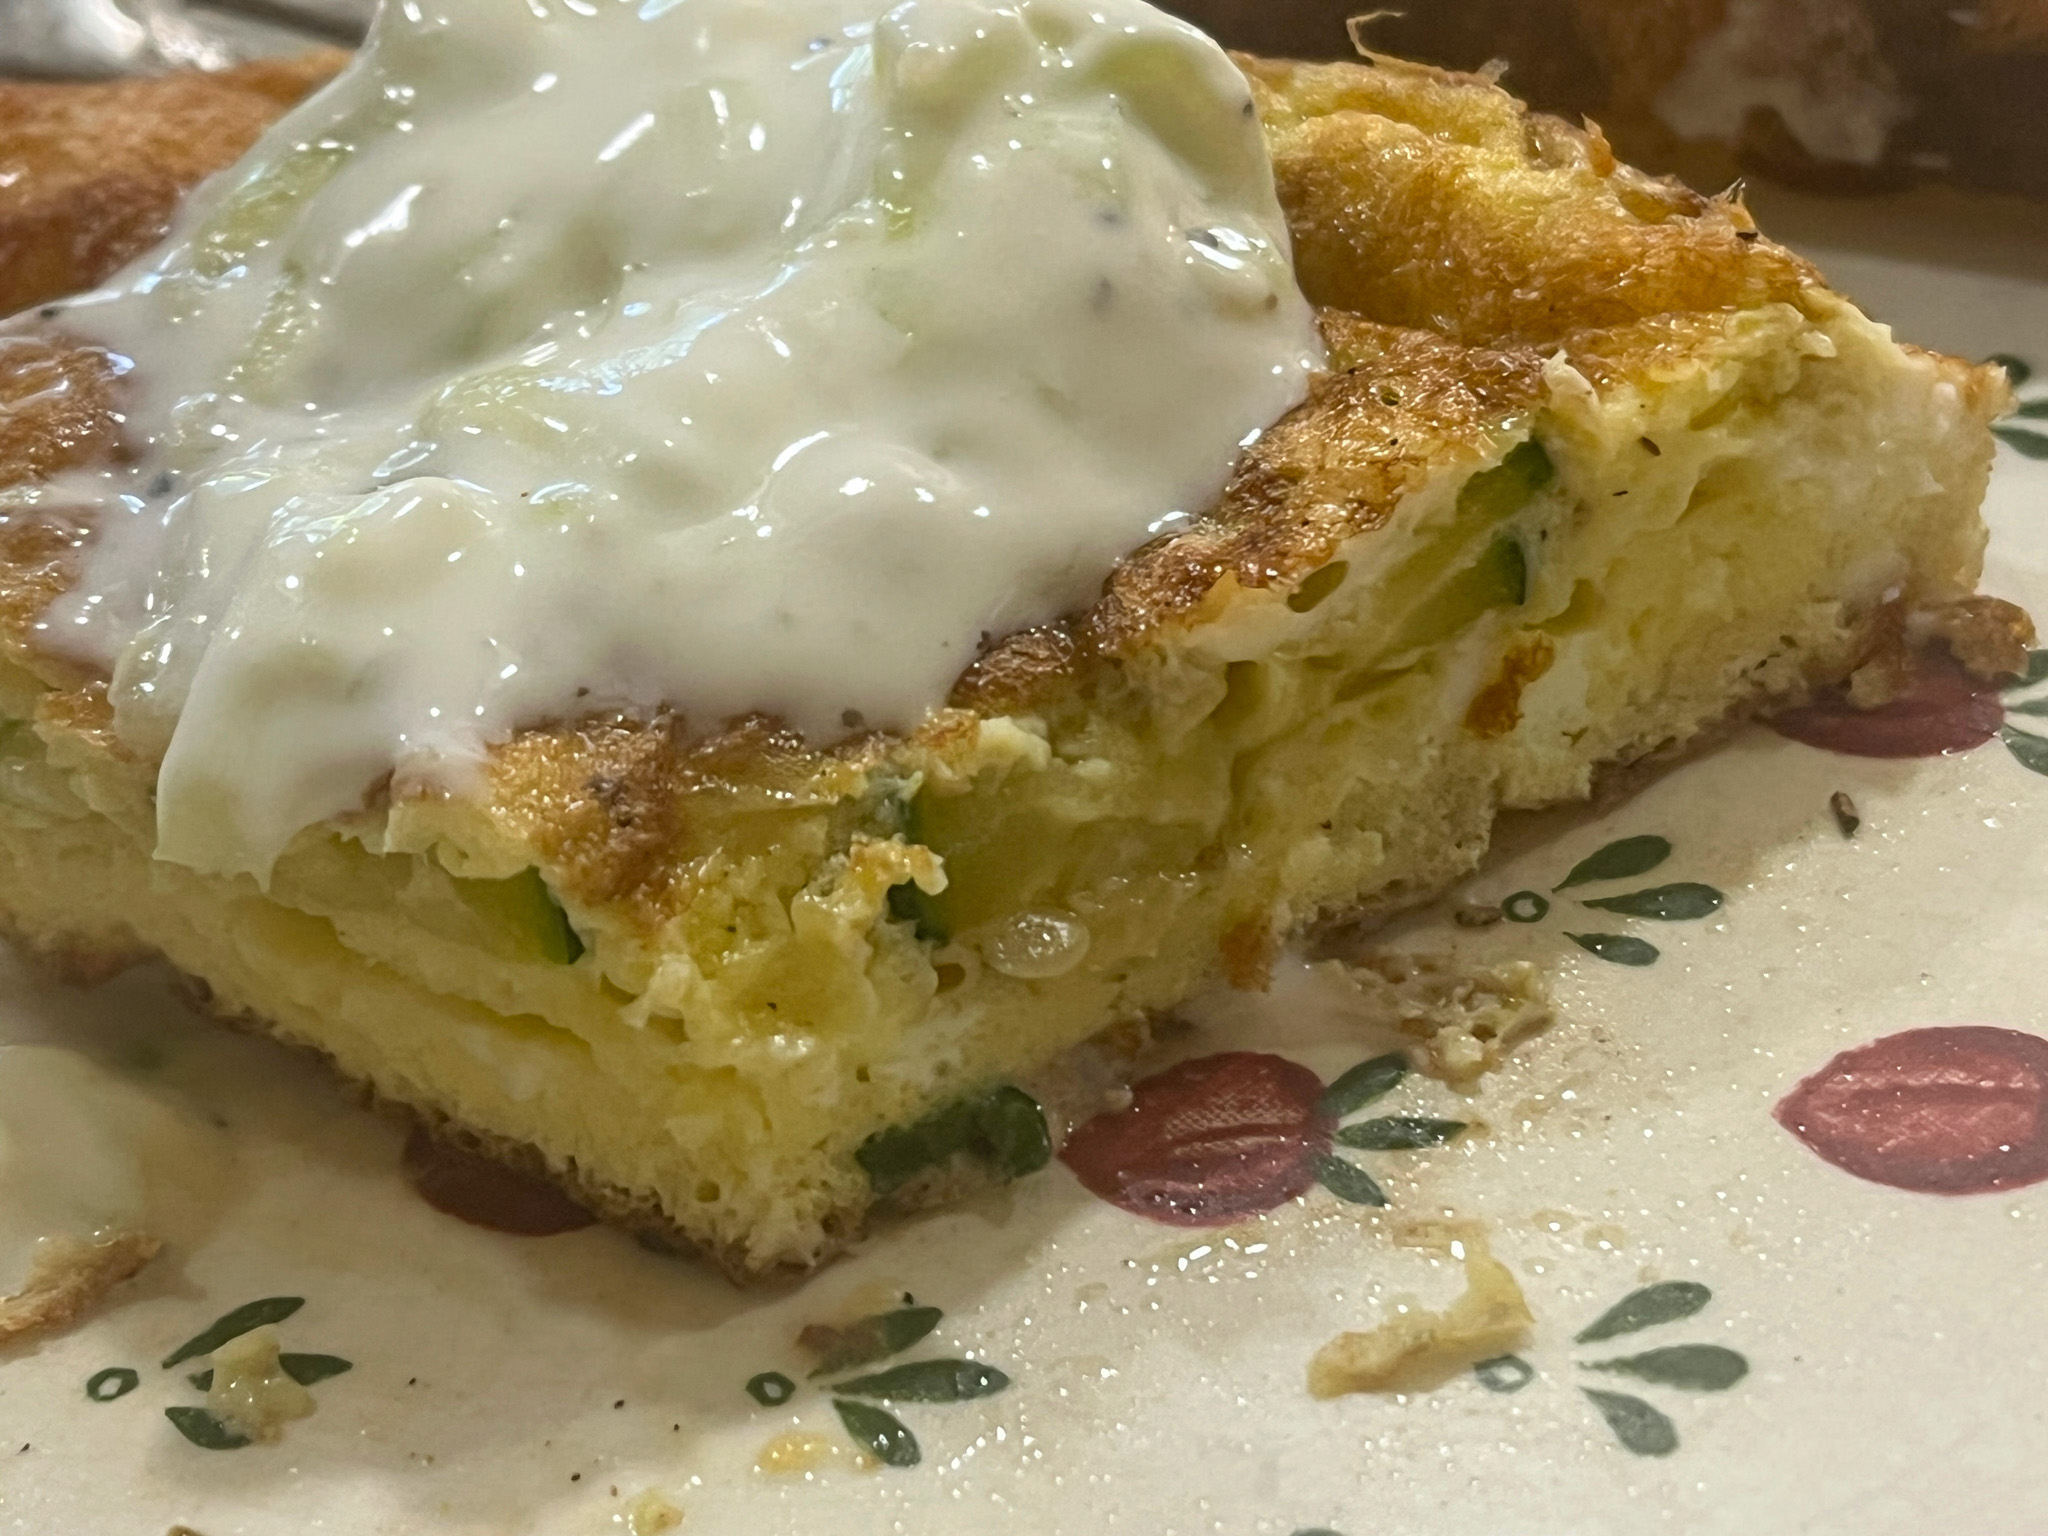
Serve with the cucumber sauce. It is also very good cold.
ENJOY!
to print the recipe, click here
Comments: I don’t buy Pecorino cheese that often, but I probably should. It has such a sharp bite, sometimes it’s exactly what you need. For the frittata I used my Tarte Tatin pan, which is quite appropriate with the handles that allow for efficient “flipping”. The diameter is 9 3/4 inch, 2 inches high. You will have to use the amount of zucchini slices that fully cover your pan, and also play with the number of eggs. Full coverage is needed, but you cannot add a large volume or it will be a mess to try and flip it. For our pan, five eggs was the perfect amount.
The cucumber sauce is quite refreshing, you can use it as a side dish for all sorts of meals, I am dreaming of grilled salmon next. I was not sure if I was going to like the combination, so I added alongside. But here’s my second helping…
.
Very delicious, simple and light dinner. Slices of sourdough were of course much appreciated also…
1 YEAR AGO: A Trio of Brownies
2 YEARS AGO: A Typical Dinner at The Bewitching Kitchen
3 YEARS AGO: Rolled Buttercream
4 YEARS AGO: Miso-Ginger Turkey Meatballs with Cabbage “Noodles”
5 YEARS AGO: Smoked Shrimp Tacos with Roasted Jalapeño Salsa
6 YEARS AGO: Corn Fritters
7 YEARS AGO: Minnie Macarons
8 YEARS AGO: Air-Fried Mexican Meatloaf
9 YEARS AGO: Mimi’s Sticky Chicken, a Call from my Past
10 YEARS AGO: Perfect Soy-Grilled Steak
11 YEARS AGO: The Devil’s Bread
12 YEARS AGO: Heart of Palm Salad Skewers
13 YEARS AGO: Potluck Frittata and Lavoisier
14 YEARS AGO: Home-made Corn Tortillas
15 YEARS AGO: Whole-Wheat Spaghetti with Peanut Sauce
16 YEARS AGO: Brigadeiros: A Brazilian Party!
17 YEARS AGO: Lemony Asparagus