This recipe has Ottolenghi written all over, as it should because he created it. Available online clicking here. It was my first time using black lime powder, an ingredient I recently showcased in In My Kitchen.
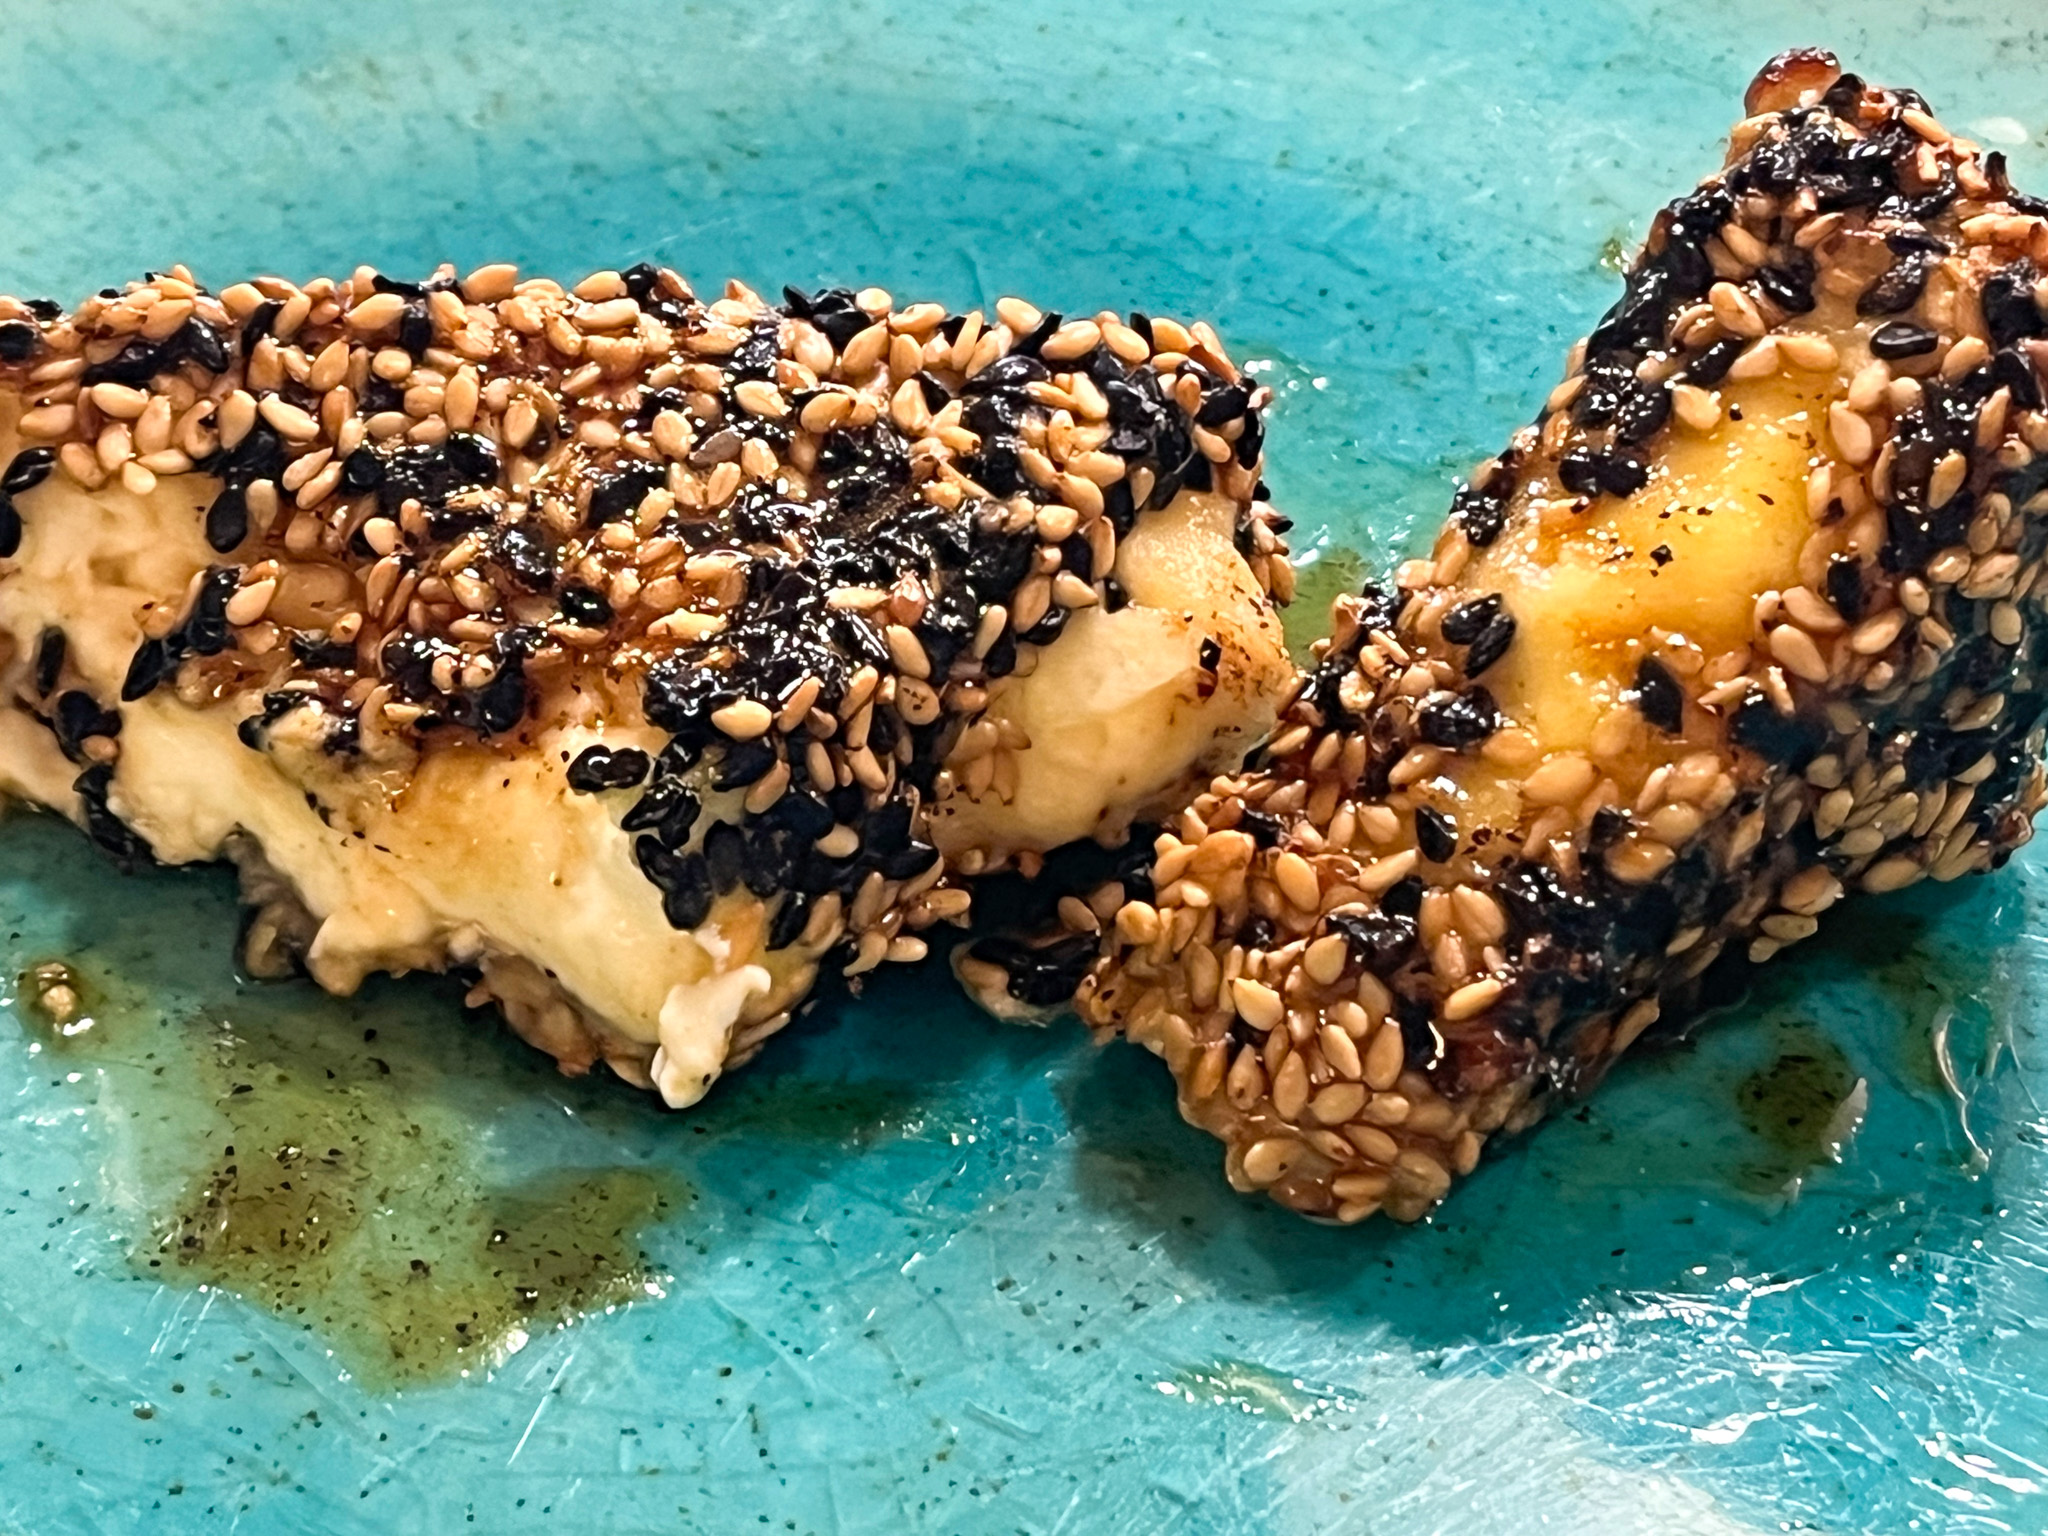
SESAME-CRUSTED FETA WITH BLACK LIME HONEY SYRUP
(slightly modified from Ottolenghi)
serves 2
for the cheese:
1 block of Greek feta (360g), cut into 4 triangles
35g rice flour
1 large egg, well beaten
100g mixed black and white sesame seeds, lightly toasted
olive oil spray
for the honey syrup:
120g honey
1 tsp ground black lime
juice of 1 lemon
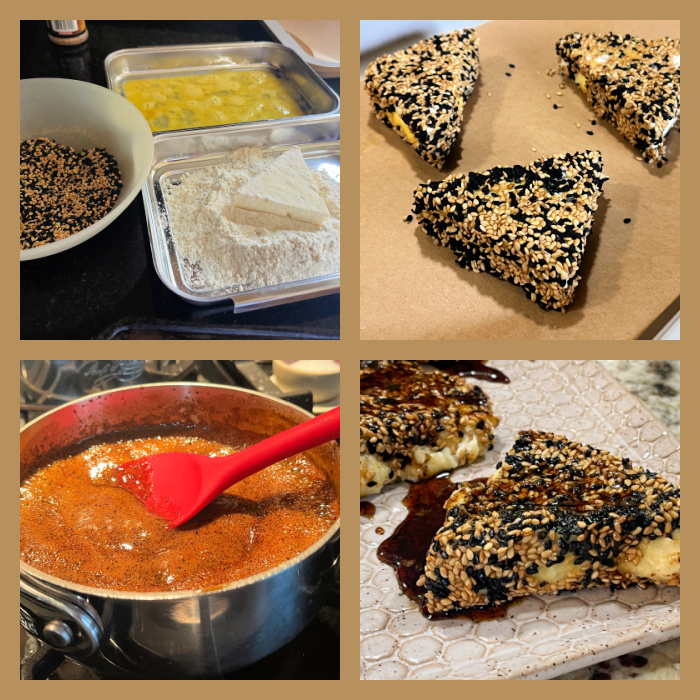
Line a small, shallow baking dish with parchment paper. Pat dry the feta pieces, then dip each piece in the flour, gently shaking off the excess. Coat in the egg, followed by the sesame seeds,
making sure the feta pieces are completely coated. Transfer each piece to your prepared dish and refrigerate for 2 hours.
Heat the oven to 425 or use an air-fryer. Spray the coated feta pieces with the oil and bake from cold, for 18 minutes, very gently flipping the pieces over halfway, or until golden and warmed.
.
While the feta is baking, put the honey and black lime into a small saucepan on a medium-high heat. Once it starts to bubble, turn the heat to medium and cook, stirring occasionally, until it turns a deep amber caramel, about 5 minutes. Take off the heat and stir in the lemon juice. Set aside to cool for 5 minutes.
When the feta triangles are ready, pour the lemon syrup directly over the feta in the baking
dish and serve.
ENJOY!
to print the recipe, click here
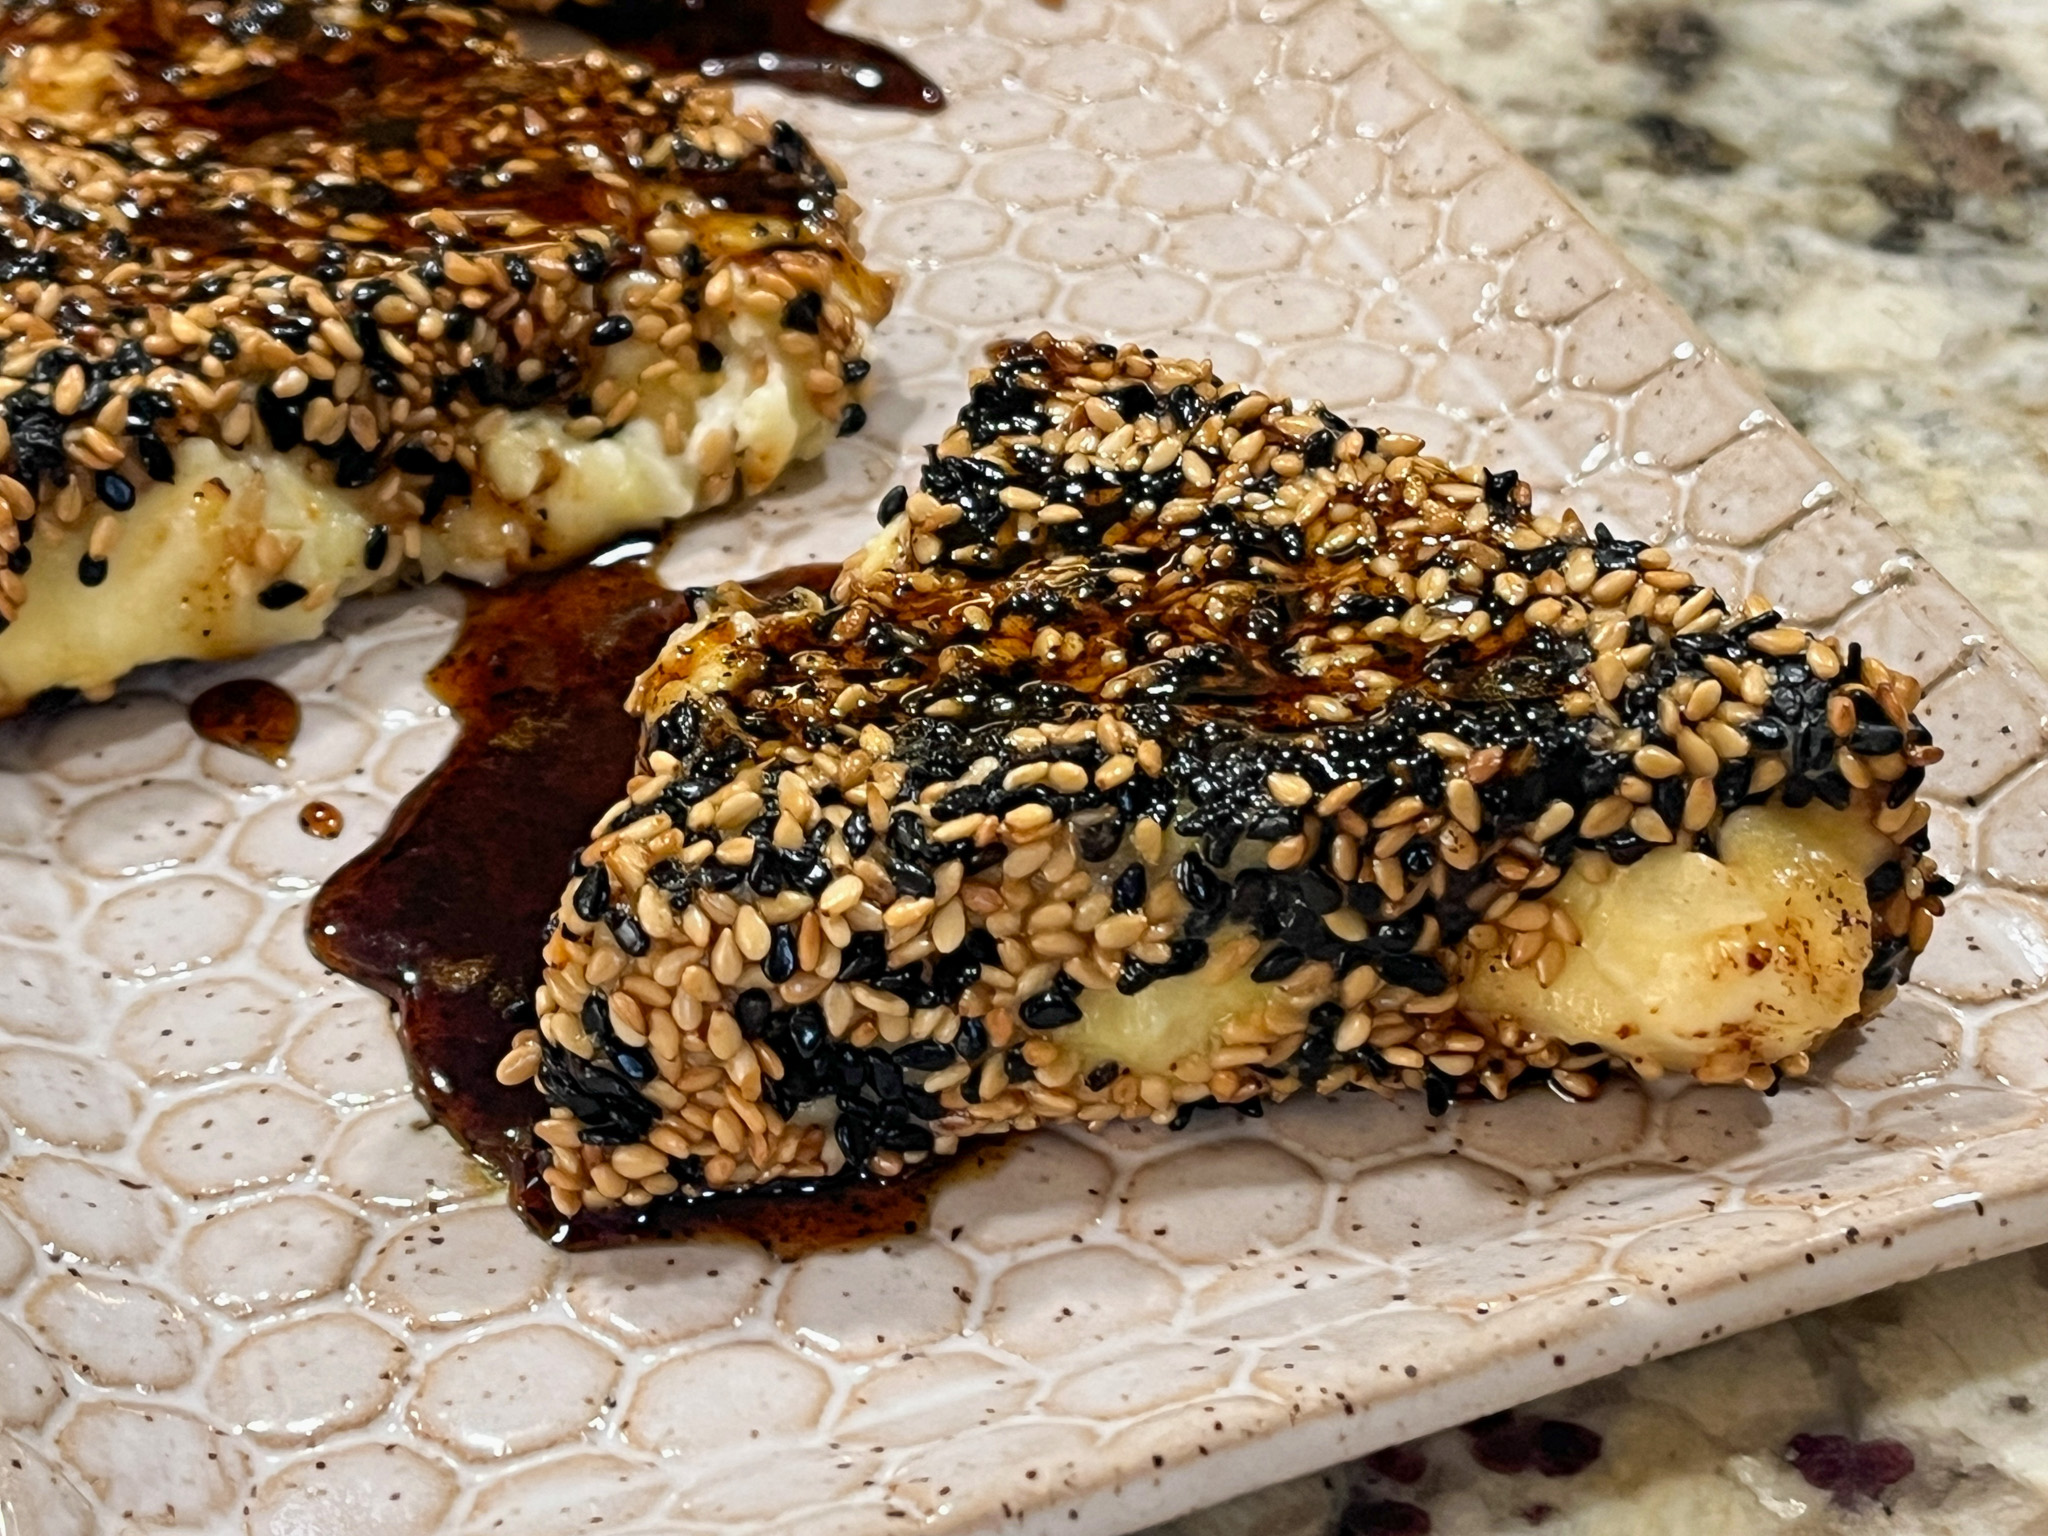
Comments: It is really important to cool the feta triangles in the fridge, they need to be absolutely firm before baking or they will be too soft and melt too quickly. The honey syrup: you will make more than you need, but it is hard to scale it down, so just keep it in the fridge, and I am sure you will find plenty of ways to use it. You can also make more triangles, like in the original recipe from Ottolenghi’s website. Even when cool to almost room temperature these feta concoctions are tasty, with a very complex mixture of flavors. A lovely simple appetizer or brunch item.
I don’t think the honey should be reduced for more than five minutes, because it might get a little bitter. But that might also depend on the kind of honey you start with. I used an all-natural raw honey from a farm in Kansas.
1 YEAR AGO: Pan de Cristal
2 YEARS AGO: Raspberry Vovo and Savour Online Classes
3 YEARS AGO: Egyptian Goulash
4 YEARS AGO: Steamed Chicken with Black Bean Sauce
5 YEARS AGO: Ginger-Dill Salmon
6 YEARS AGO: Eleven Years, Time for Goodbye
7 YEARS AGO: Salmon Tacos
8 YEARS AGO: A Dream that did not come true
9 YEARS AGO: Kaleidoscopic Macarons
10 YEARS AGO: Zucchini Noodles with Sun-dried Tomato Pesto
11 YEARS AGO: In My Kitchen, July 2015
12 YEARS AGO: Sous-vide Pork Chops with Roasted Poblano Butter
13 YEARS AGO: Roasted Strawberry-Buttermilk Sherbet
14 YEARS AGO: Amazing Ribs for the 4th of July!
15 YEARS AGO: Baby Back Ribs on the 4th of July
16 YEARS AGO: Blueberry Muffins
17 YEARS AGO: A Pie for your 4th of July