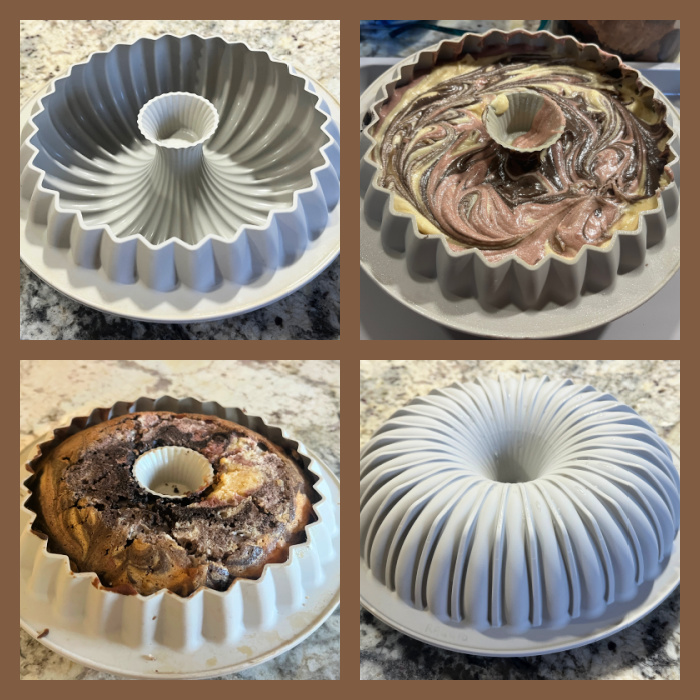
This cake is made with a special silicone pan from Silikomart, called Raggio. For some reason, I am always a bit insecure to try a recipe unless I see it made in that exact pan, so when I found this version years ago, I was thrilled. Promptly saved it in my files. Took me a while, but here I am to share the outcome. It is a bit sad that Barbara, the Polish-Italian food blogger behind it, does not seem to be publishing new recipes anymore, but if you want to pay her a visit and see the wonderful bakes she shared in the past, click here.
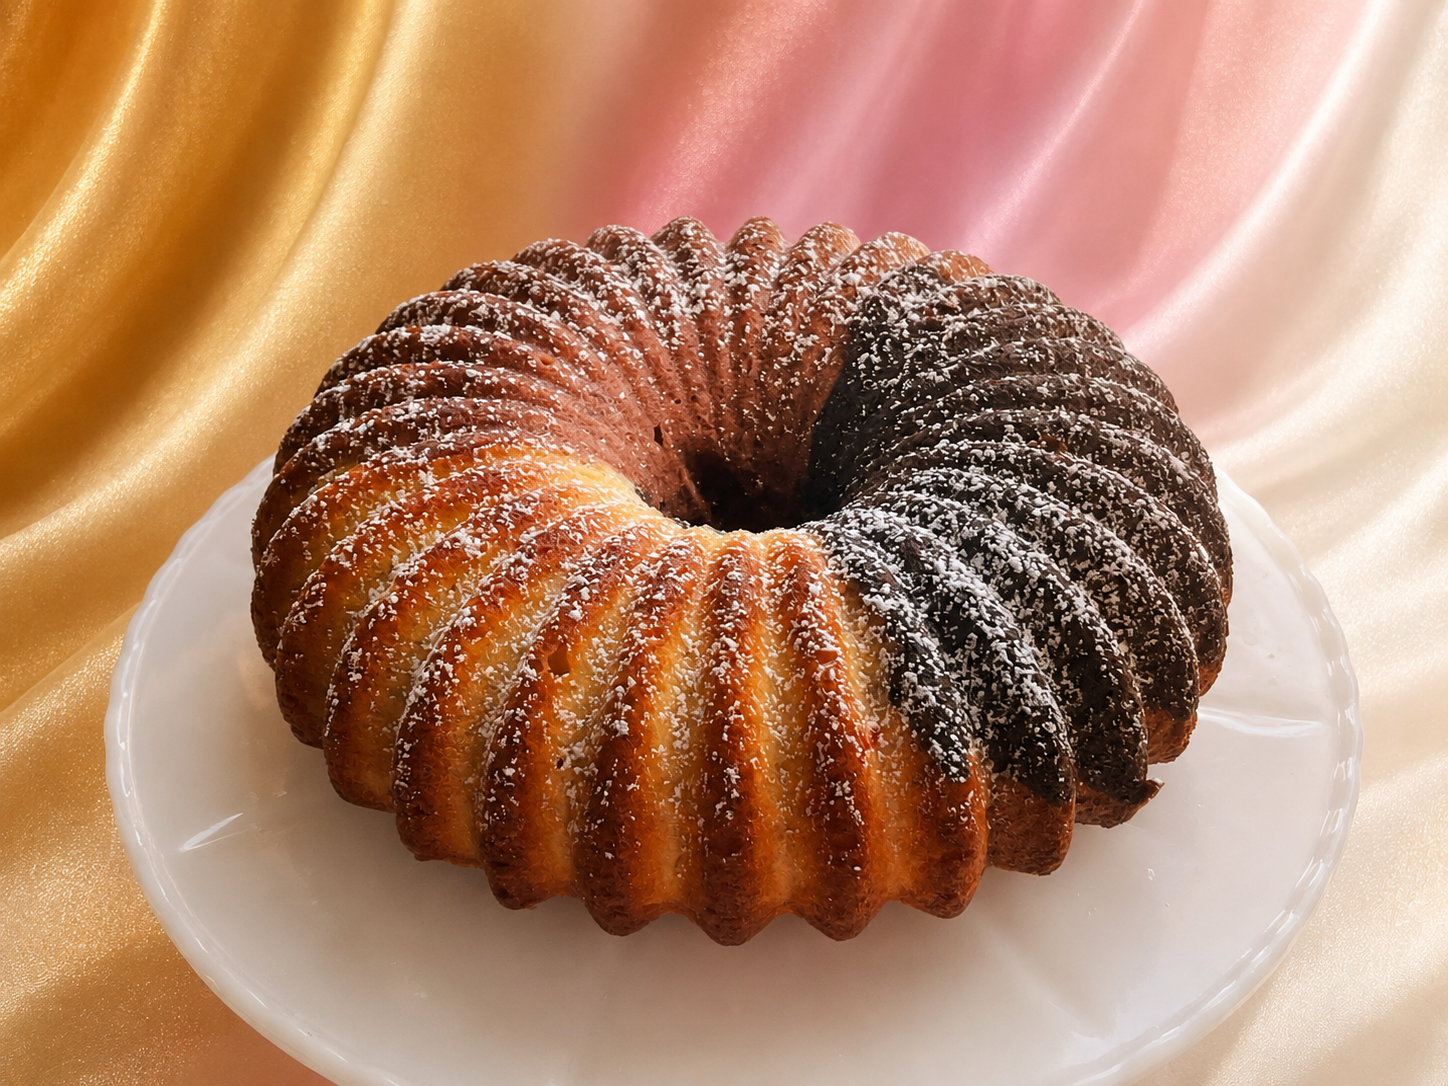
RAGGIO TRICOLOR YOGURT CAKE
(sightly modified from FoodOhFood)
450 g flour
2 tsp of baking powder
1 pinch of salt
220 g of soft butter
450 g white sugar
125 g strawberry yogurt
1 tsp of vanilla extract
5 eggs at room temperature
120 ml buttermilk
for the dark batter:
2 + 1/2 tbsp of unsweetened cocoa powder
2 + 1/2 tbsp of milk
for the red batter:
1 tbsp of milk
1 tbsp of cocoa
1 tsp strawberry emulsion (optional, I used this one)
red food dye
Powdered sugar, for dusting (optional)
In a KitchenAid type mixer, whisk soft butter along with sugar for 4-5 minutes or until it becomes light and fluffy. Add yogurt and whip again. Then gradually add eggs and finally vanilla extract. Sift flour, baking powder and salt into a second bowl.
Now, gradually add buttermilk and dry ingredients into the mixture with the eggs. Do it in 3 or 4 times, always whipping at low speed until all the ingredients are well blended.
Weigh the batter and divide it into three equal parts. For the chocolate part, take a cup or a small bowl and mix a tablespoon of light mixture with 2 and a half tablespoons of milk and 2 and a half tablespoons of unsweetened cocoa powder. Add this color to the first third of the batter and stir in gently.
For the red color, mix a generous tablespoon of the light mixture with 1 tablespoon of milk, 1 teaspoon of unsweetened cocoa powder, the strawberry emulsion (if using) and just enough of the red food dye. The teaspoon of cocoa is used to darken the red color. Add the prepared mix to the second third of the batter and stir in.
To give a desired tricolor effect, place the mould so that it remains slightly inclined. Add several spoonfuls of the red batter into the mould. Add some of the dark mixture to the bottom of the red color and some of the light mixture to the top. Fill the mold almost to the brim, alternating the colors, then place it on the flat surface and add a few more layers of colored batter. Fill the mould to about three quarters in hight. You will have leftover batter, that you can use to make cupcakes.
Bake at 350F for 50 – 60 minutes for the Raggio cake and 25 minutes for cupcakes. Or bake until a toothpick inserted into the cake comes out clean. Once removed from the oven, let them cool completely before removing from the mould.
Serve with a light dust of powdered sugar, if so desired.
ENJOY!
to print the recipe, click here
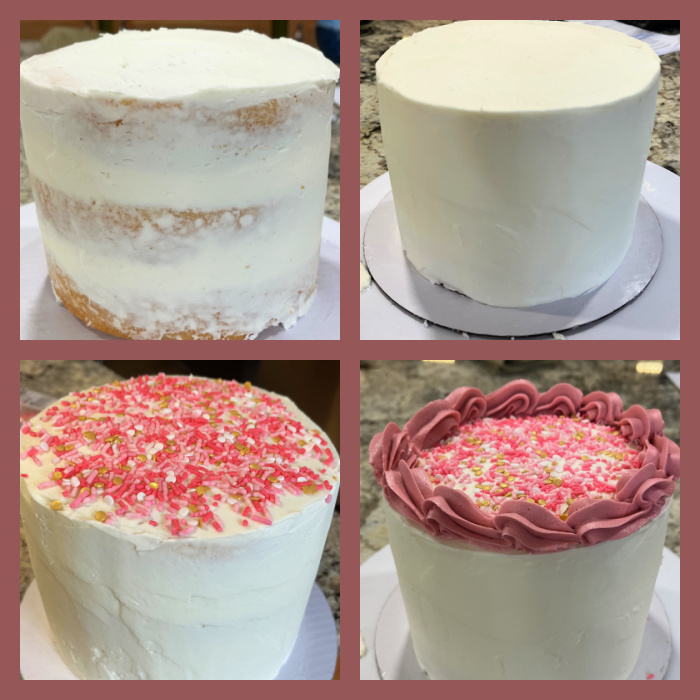
Comments: I confess intricate silicone pans intimidate me. Bundt pans are always a little stressful to un-mold, but silicone pans are like Bundts on steroids. The secret is to allow the cake to cool for a long time before releasing from the pan. Some people like to even stick it in the freezer for 30 minutes after cooling just to make sure. But when that cake comes out perfect, it’s the most amazing thrill…
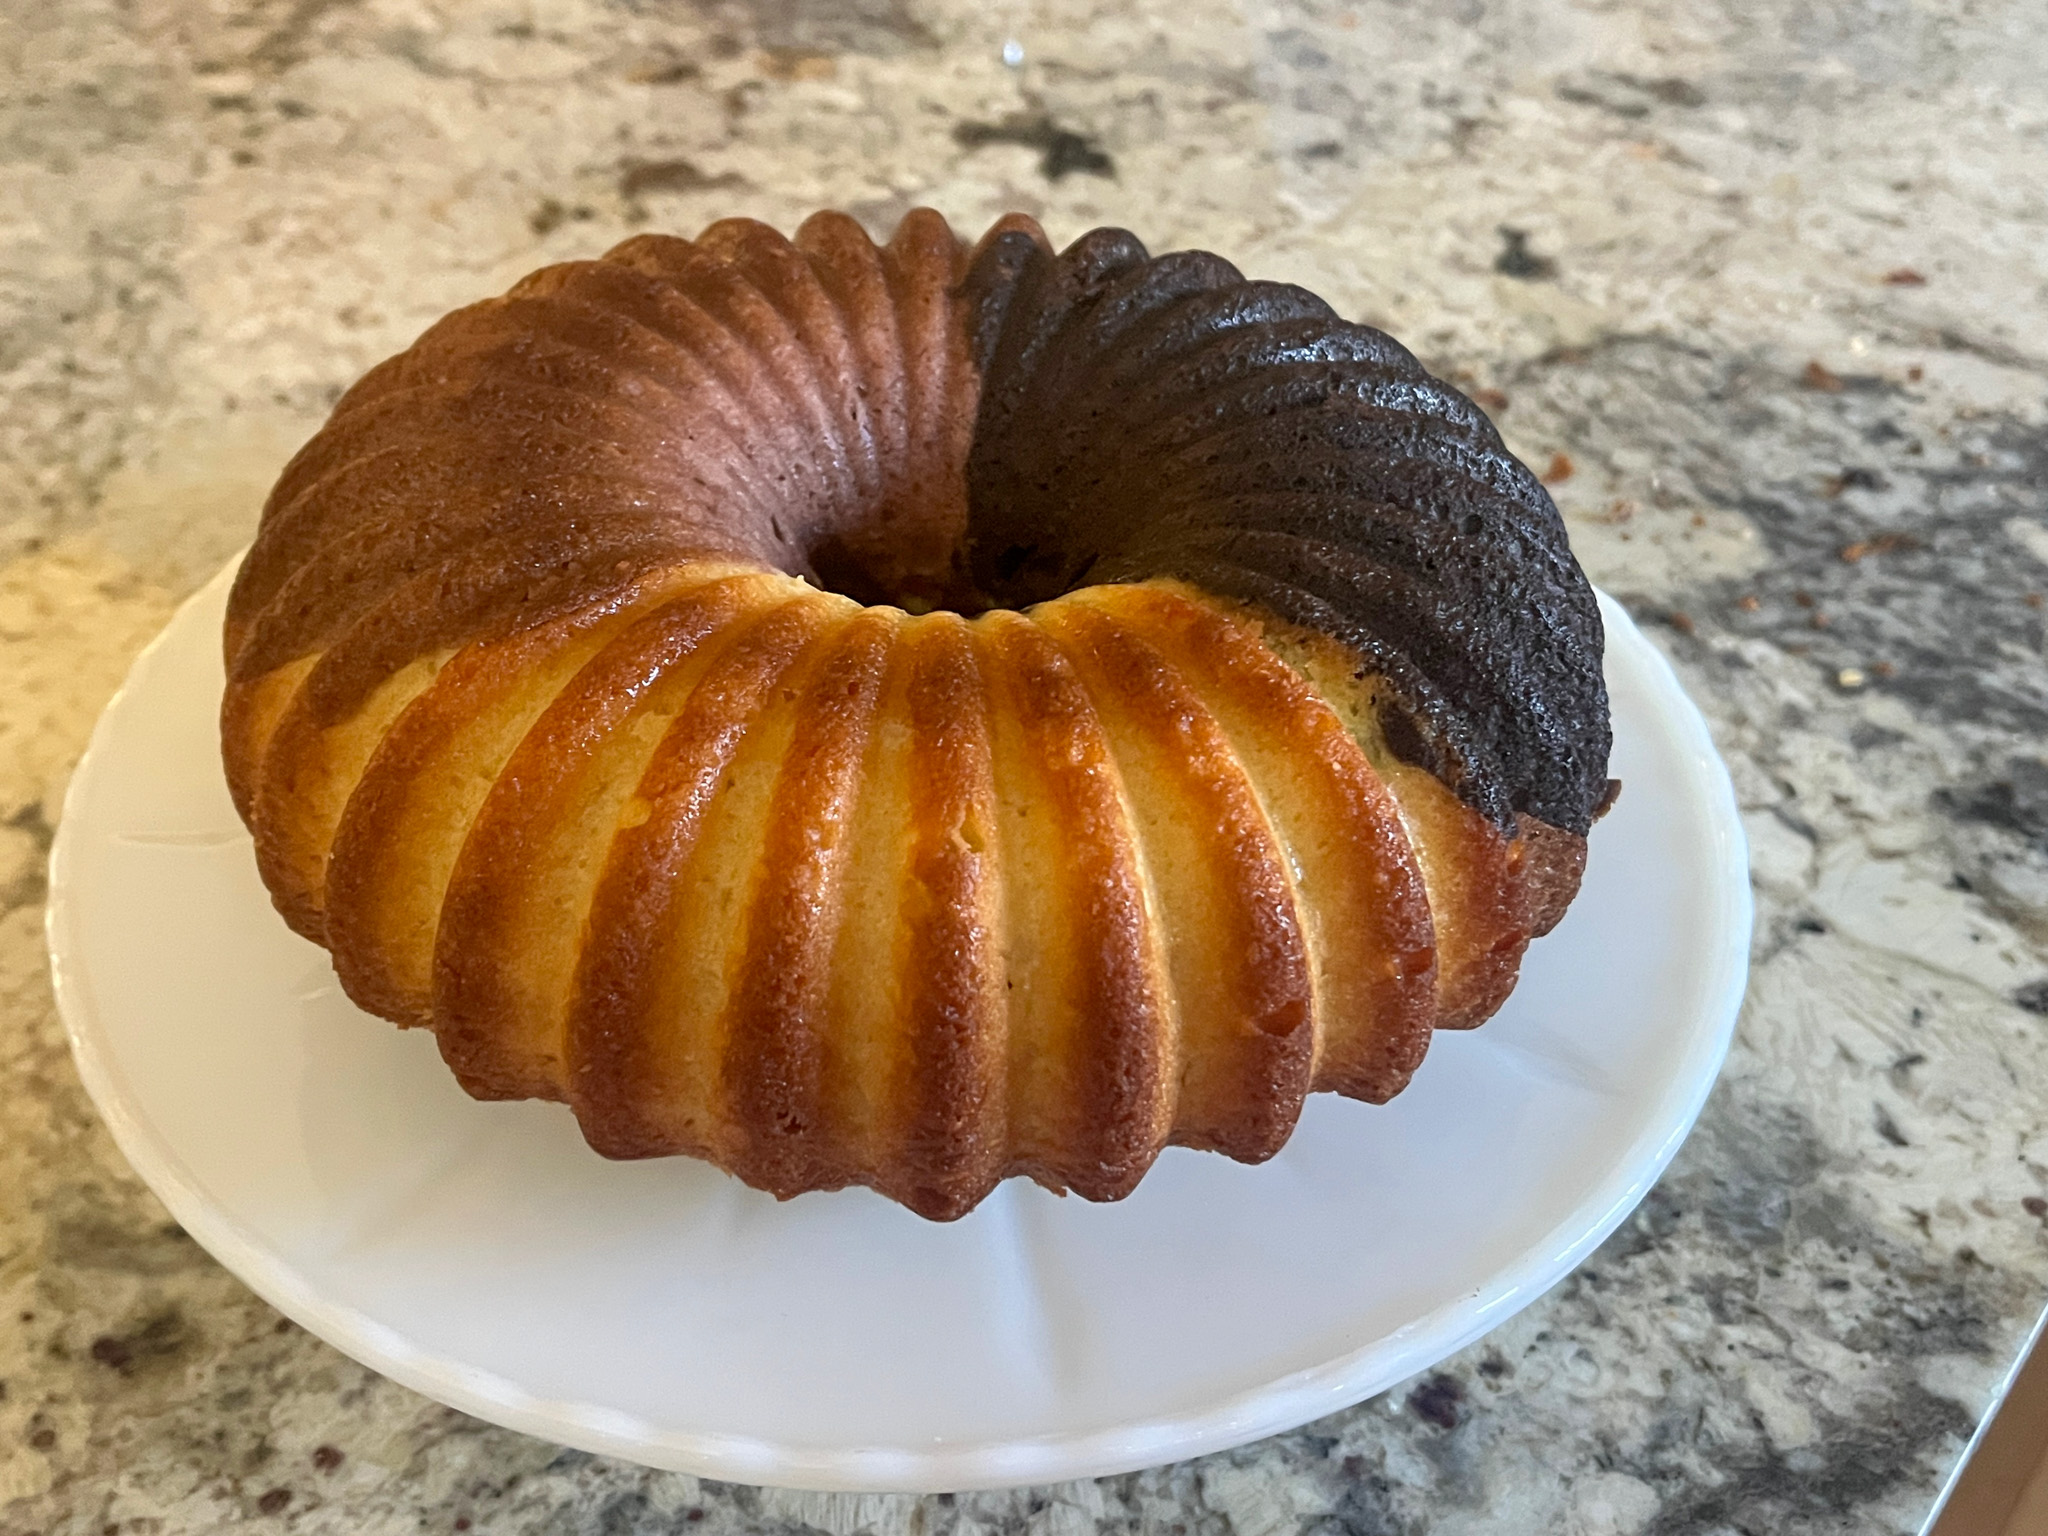
This cake is super simple to make, and smells amazing as it bakes. I donated it whole, so apologies for not showing it cut. It is a small price to pay when you don’t eat your own concoctions…
1 YEAR AGO: Sourdough Feast
2 YEARS AGO: Cake Pucks, my New Adventure
3 YEARS AGO: Rolled Buttercream
4 YEARS AGO: Miso-Ginger Turkey Meatballs with Cabbage “Noodles”
5 YEARS AGO: Smoked Shrimp Tacos with Roasted Jalapeño Salsa
6 YEARS AGO: Corn Fritters
7 YEARS AGO: Minnie Macarons
8 YEARS AGO: Air-Fried Mexican Meatloaf
9 YEARS AGO: Mimi’s Sticky Chicken, a Call from my Past
10 YEARS AGO: Perfect Soy-Grilled Steak
11 YEARS AGO: The Devil’s Bread
12 YEARS AGO: Heart of Palm Salad Skewers
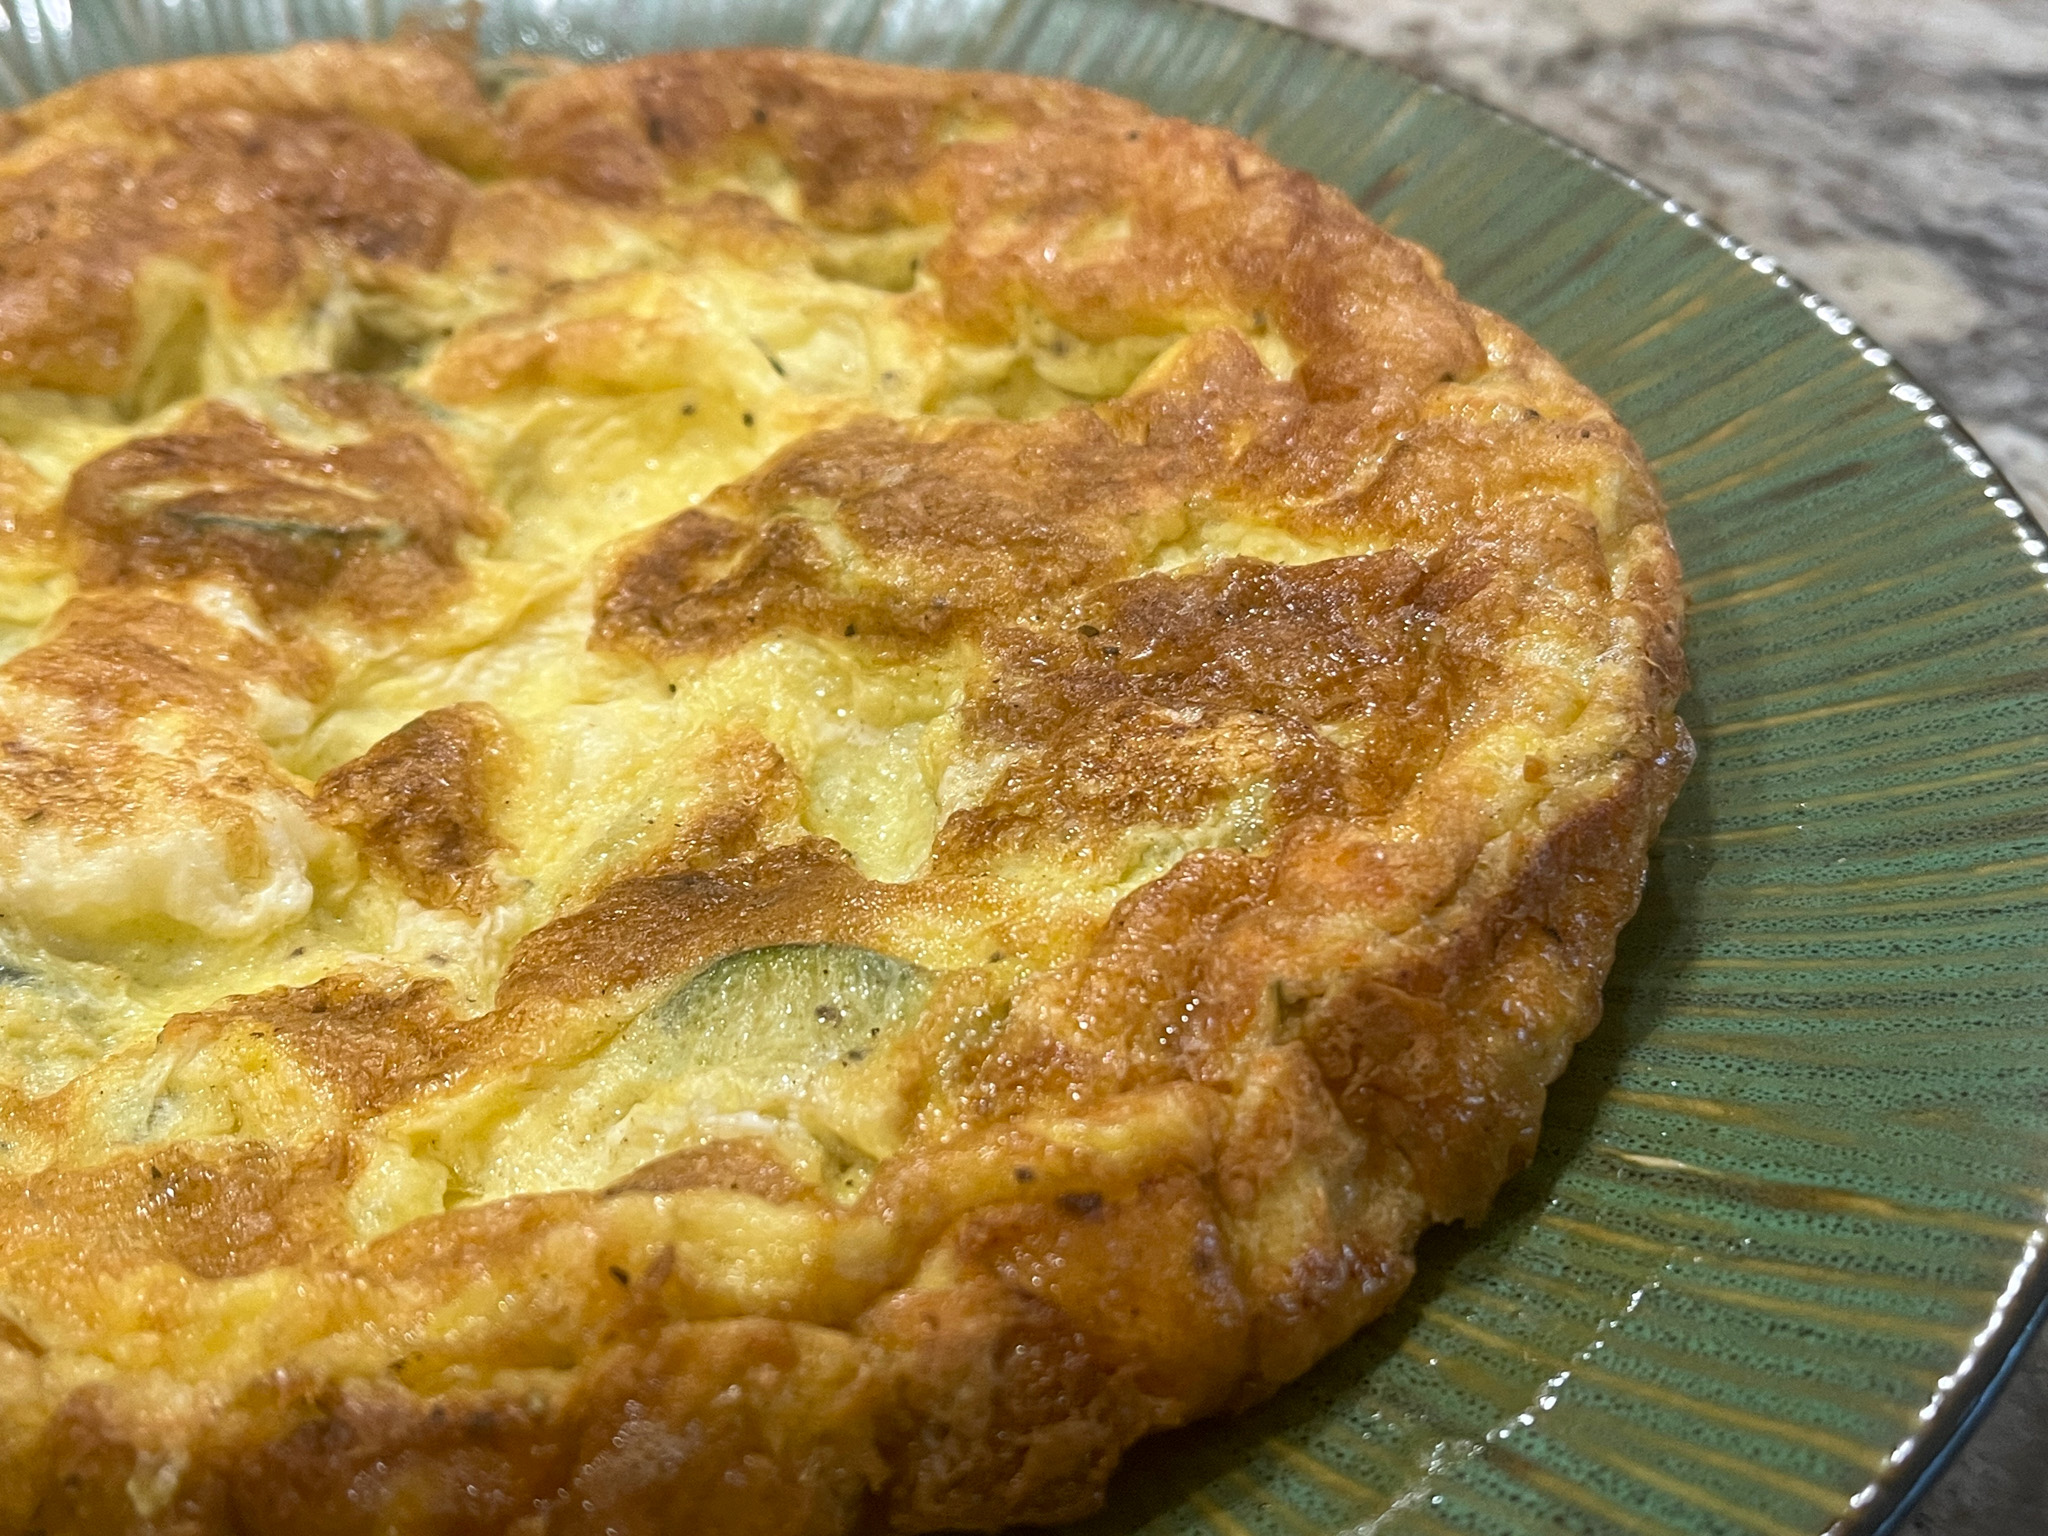
13 YEARS AGO: Potluck Frittata and Lavoisier
14 YEARS AGO: Home-made Corn Tortillas
15 YEARS AGO: Whole-Wheat Spaghetti with Peanut Sauce
16 YEARS AGO: Brigadeiros: A Brazilian Party!
17 YEARS AGO: Lemony Asparagus