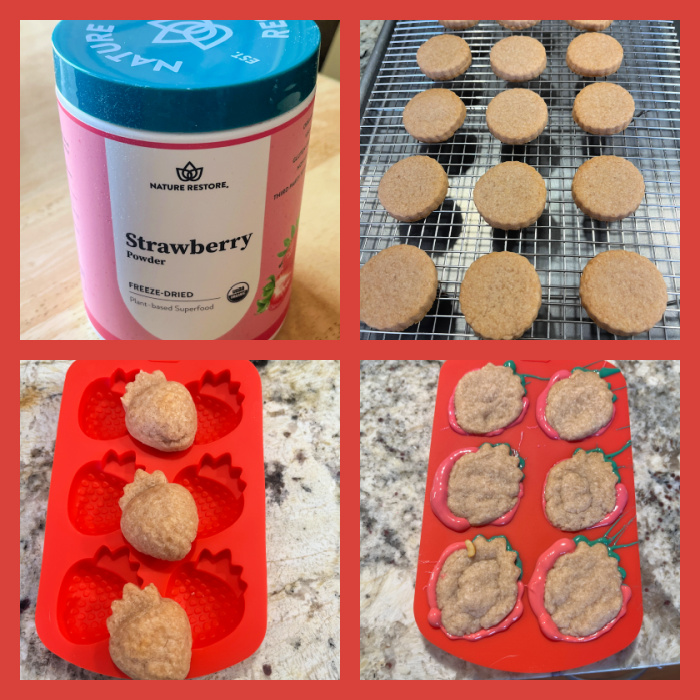
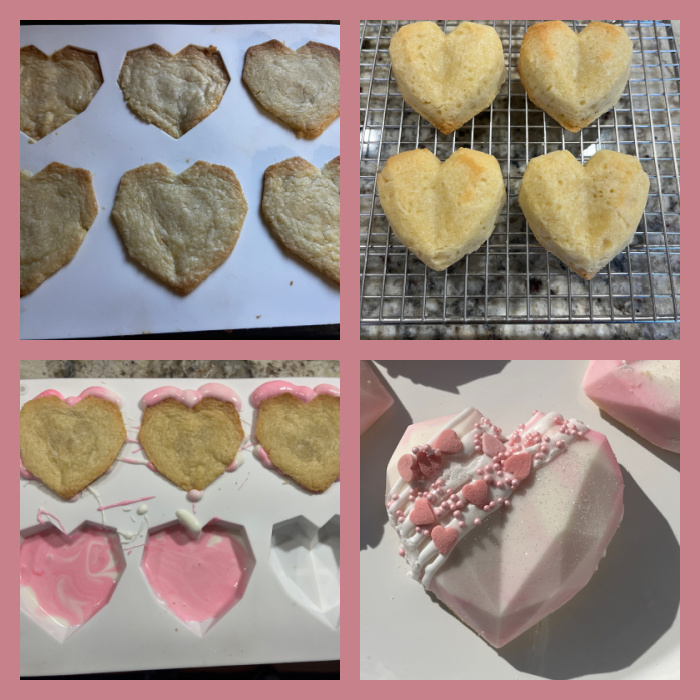
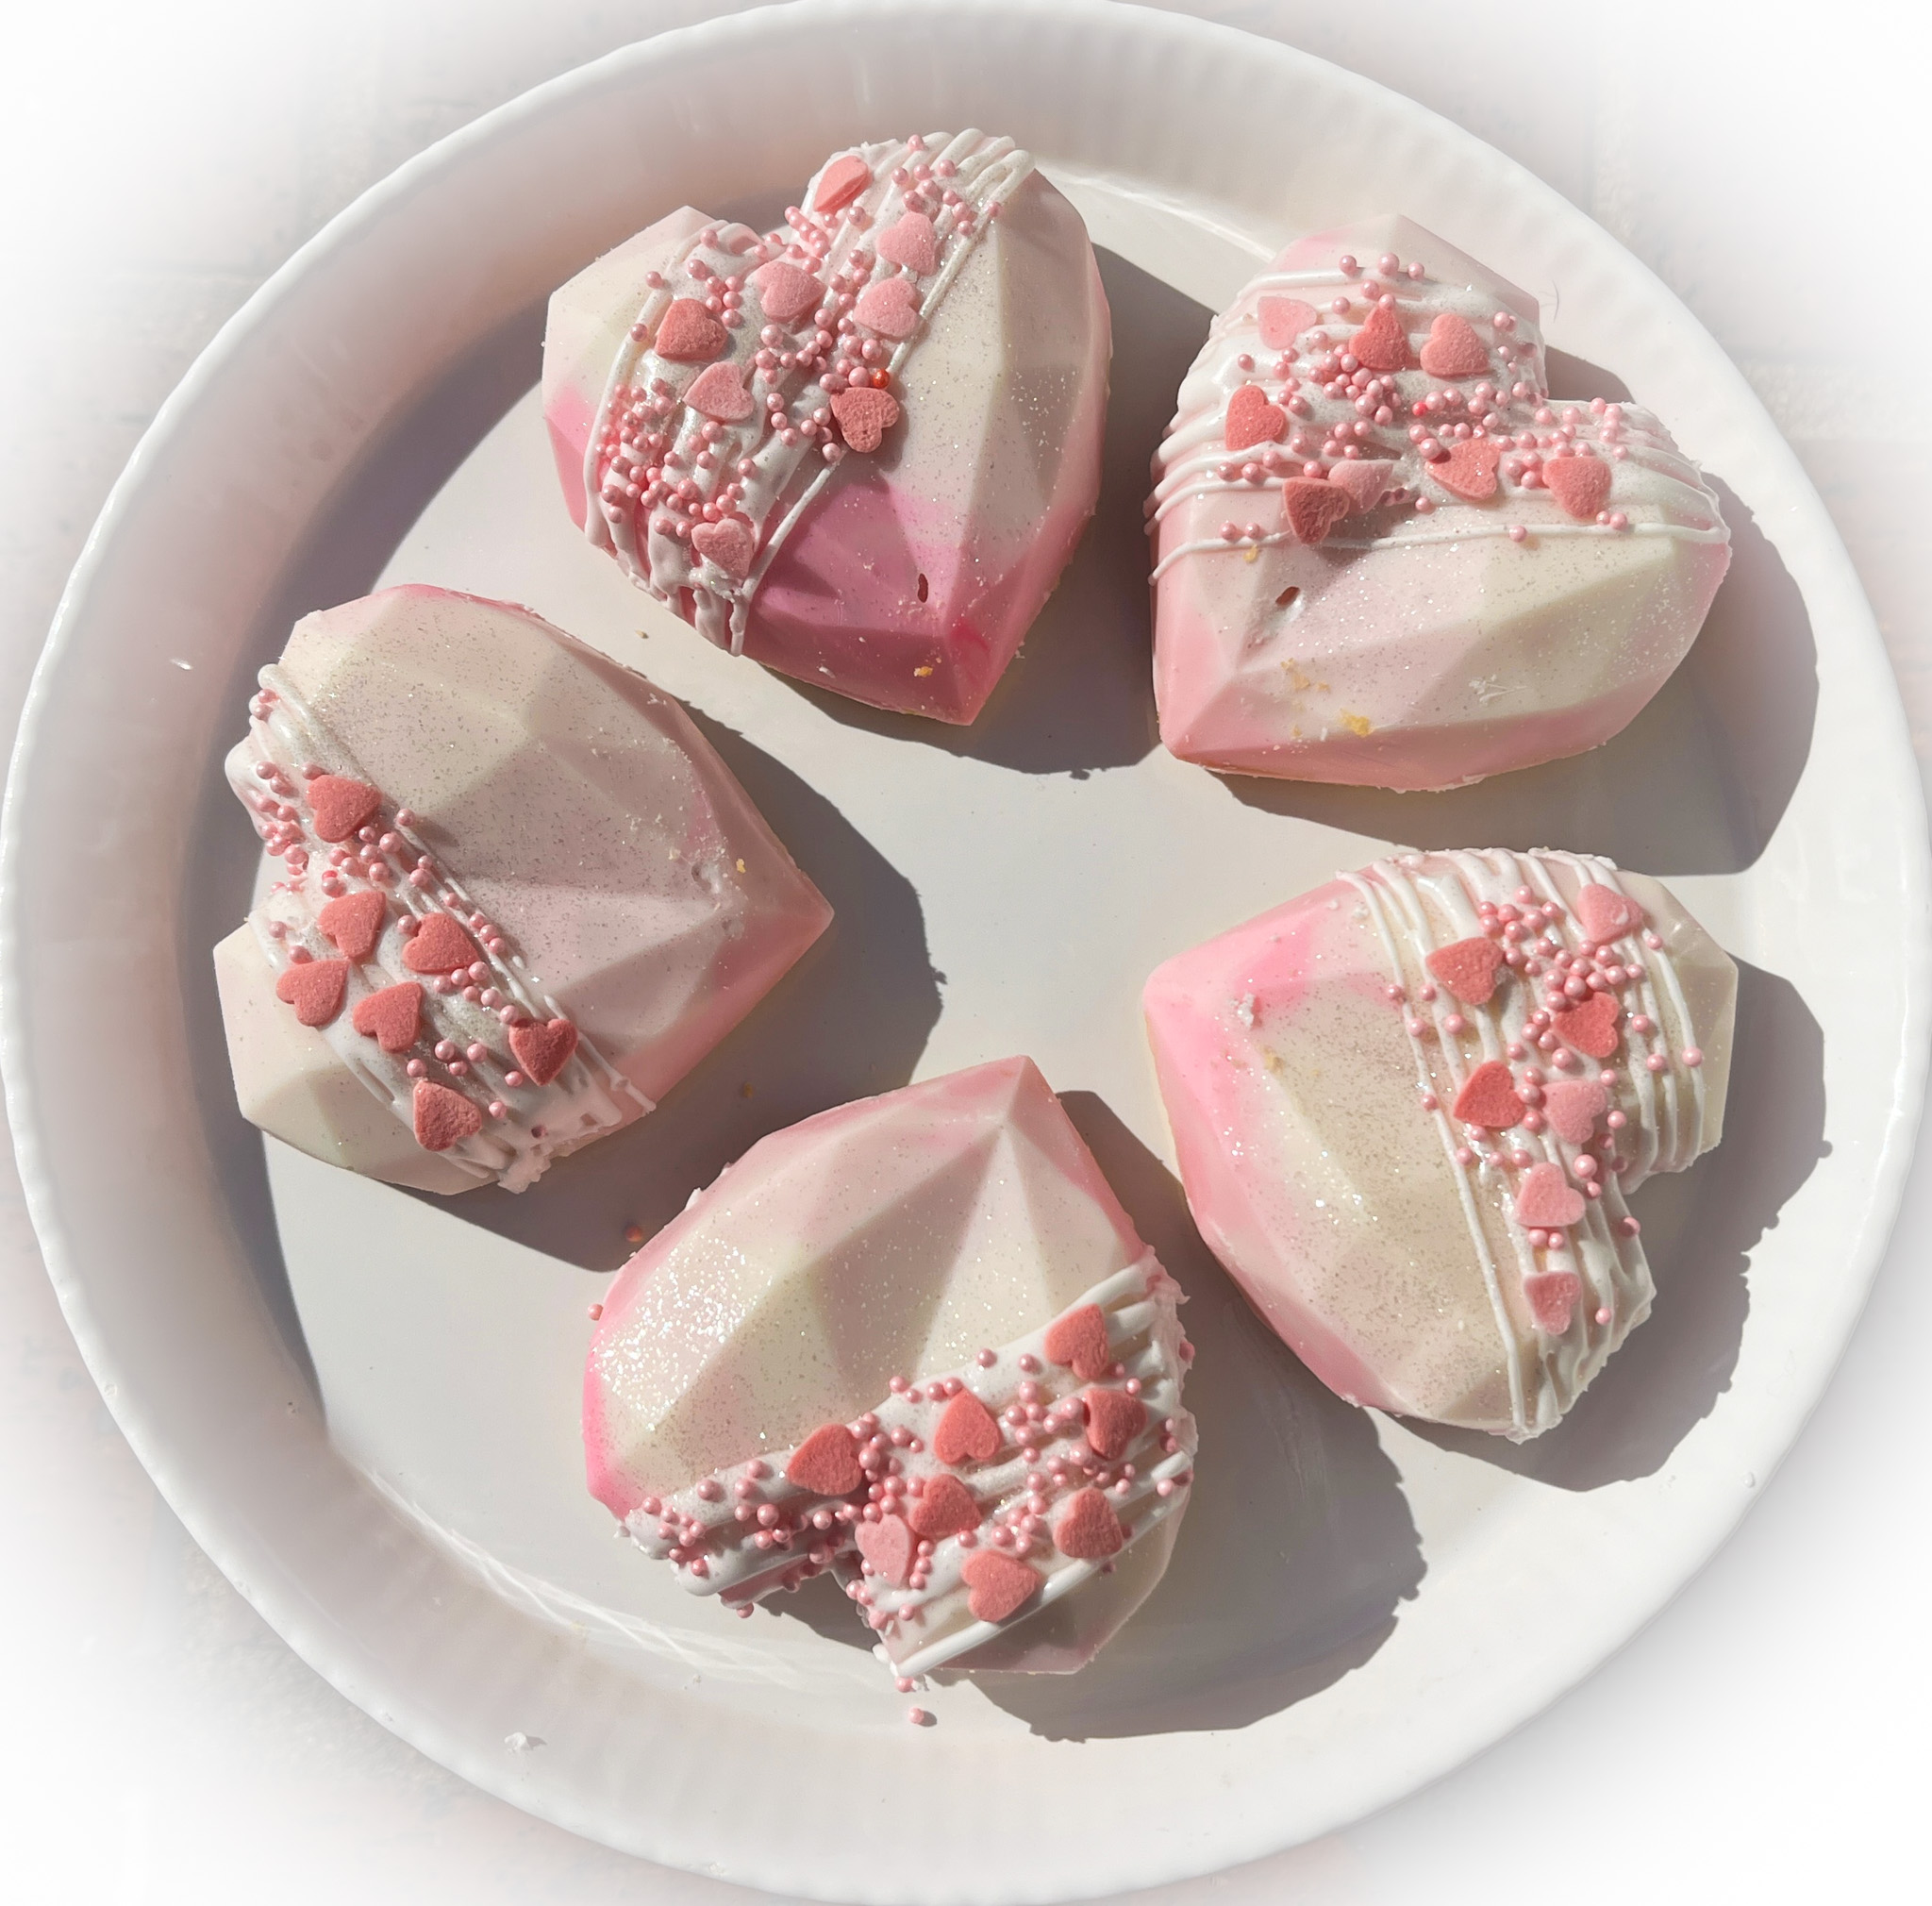
One cookie dough, two outcomes. Rolled out and cut in circles, or baked in a silicone mold, then covered with chocolate. This approach is similar to a strawberry version I made not too long ago (check it out here).

LAVENDER-LEMON SUGAR COOKIE
(inspired by 100 Cookies, by Sarah Kieffer)
1 cup granulated sugar
1/2 teaspoon culinary lavender
zest of 1 lemon
1 cup unsalted butter, at room temperature
1/2 teaspoon salt
1 large egg yolk
1 teaspoon lemon extract or paste
2 cups all-purpose flour
for the glaze:
1/3 cup milk (you won’t need the full amount)
1/8 tsp lemon extract
1 + 1/2 cup powdered sugar
to coat the roses:
compound chocolate, white
purple oil-soluble food dye, tiny amount
sprinkles to decorate the cutout cookies (optional)
In the bowl of a food processor, process the granulated sugar, lavender and lemon zest together until the lavender buds are broken down. In the bowl of a stand mixer fitted with a paddle, beat the butter on medium speed until creamy, about 1 minute. Add the lavender-sugar and salt, and beat again on medium speed until light and fluffy, 2 to 3 minutes. Add the egg yolk and vanilla, and mix on low speed until incorporated. Add the flour and mix on low speed until just combined. Remove the dough, form into a circle and place in the fridge for 1 hour.
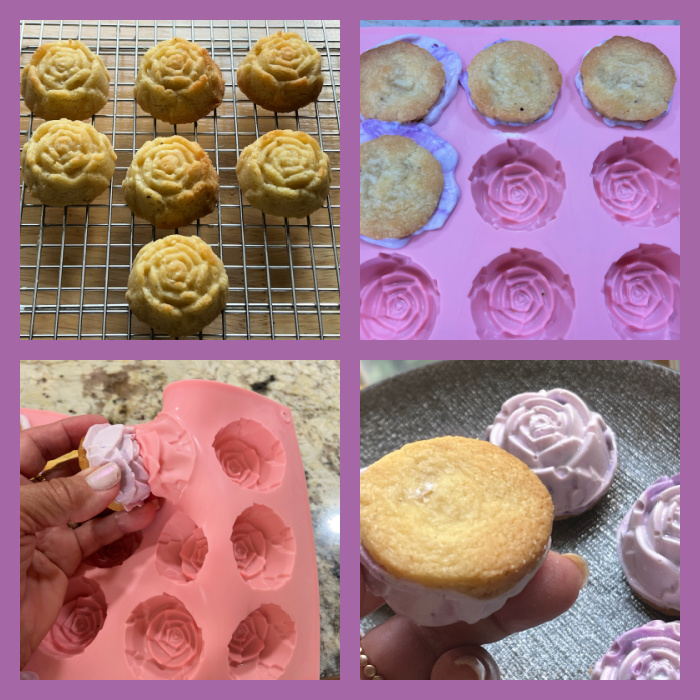
Roll the cookie dough and cut circles, about 3 inches in diameter. Use a portion of the dough to form small balls and stick in a rose shaped silicone mold. Bake the cookies in a 350F oven, circles until lightly golden at the edges (about 15 minutes), small roses until firm to the touch, it might take a little longer than the cutout cookies.
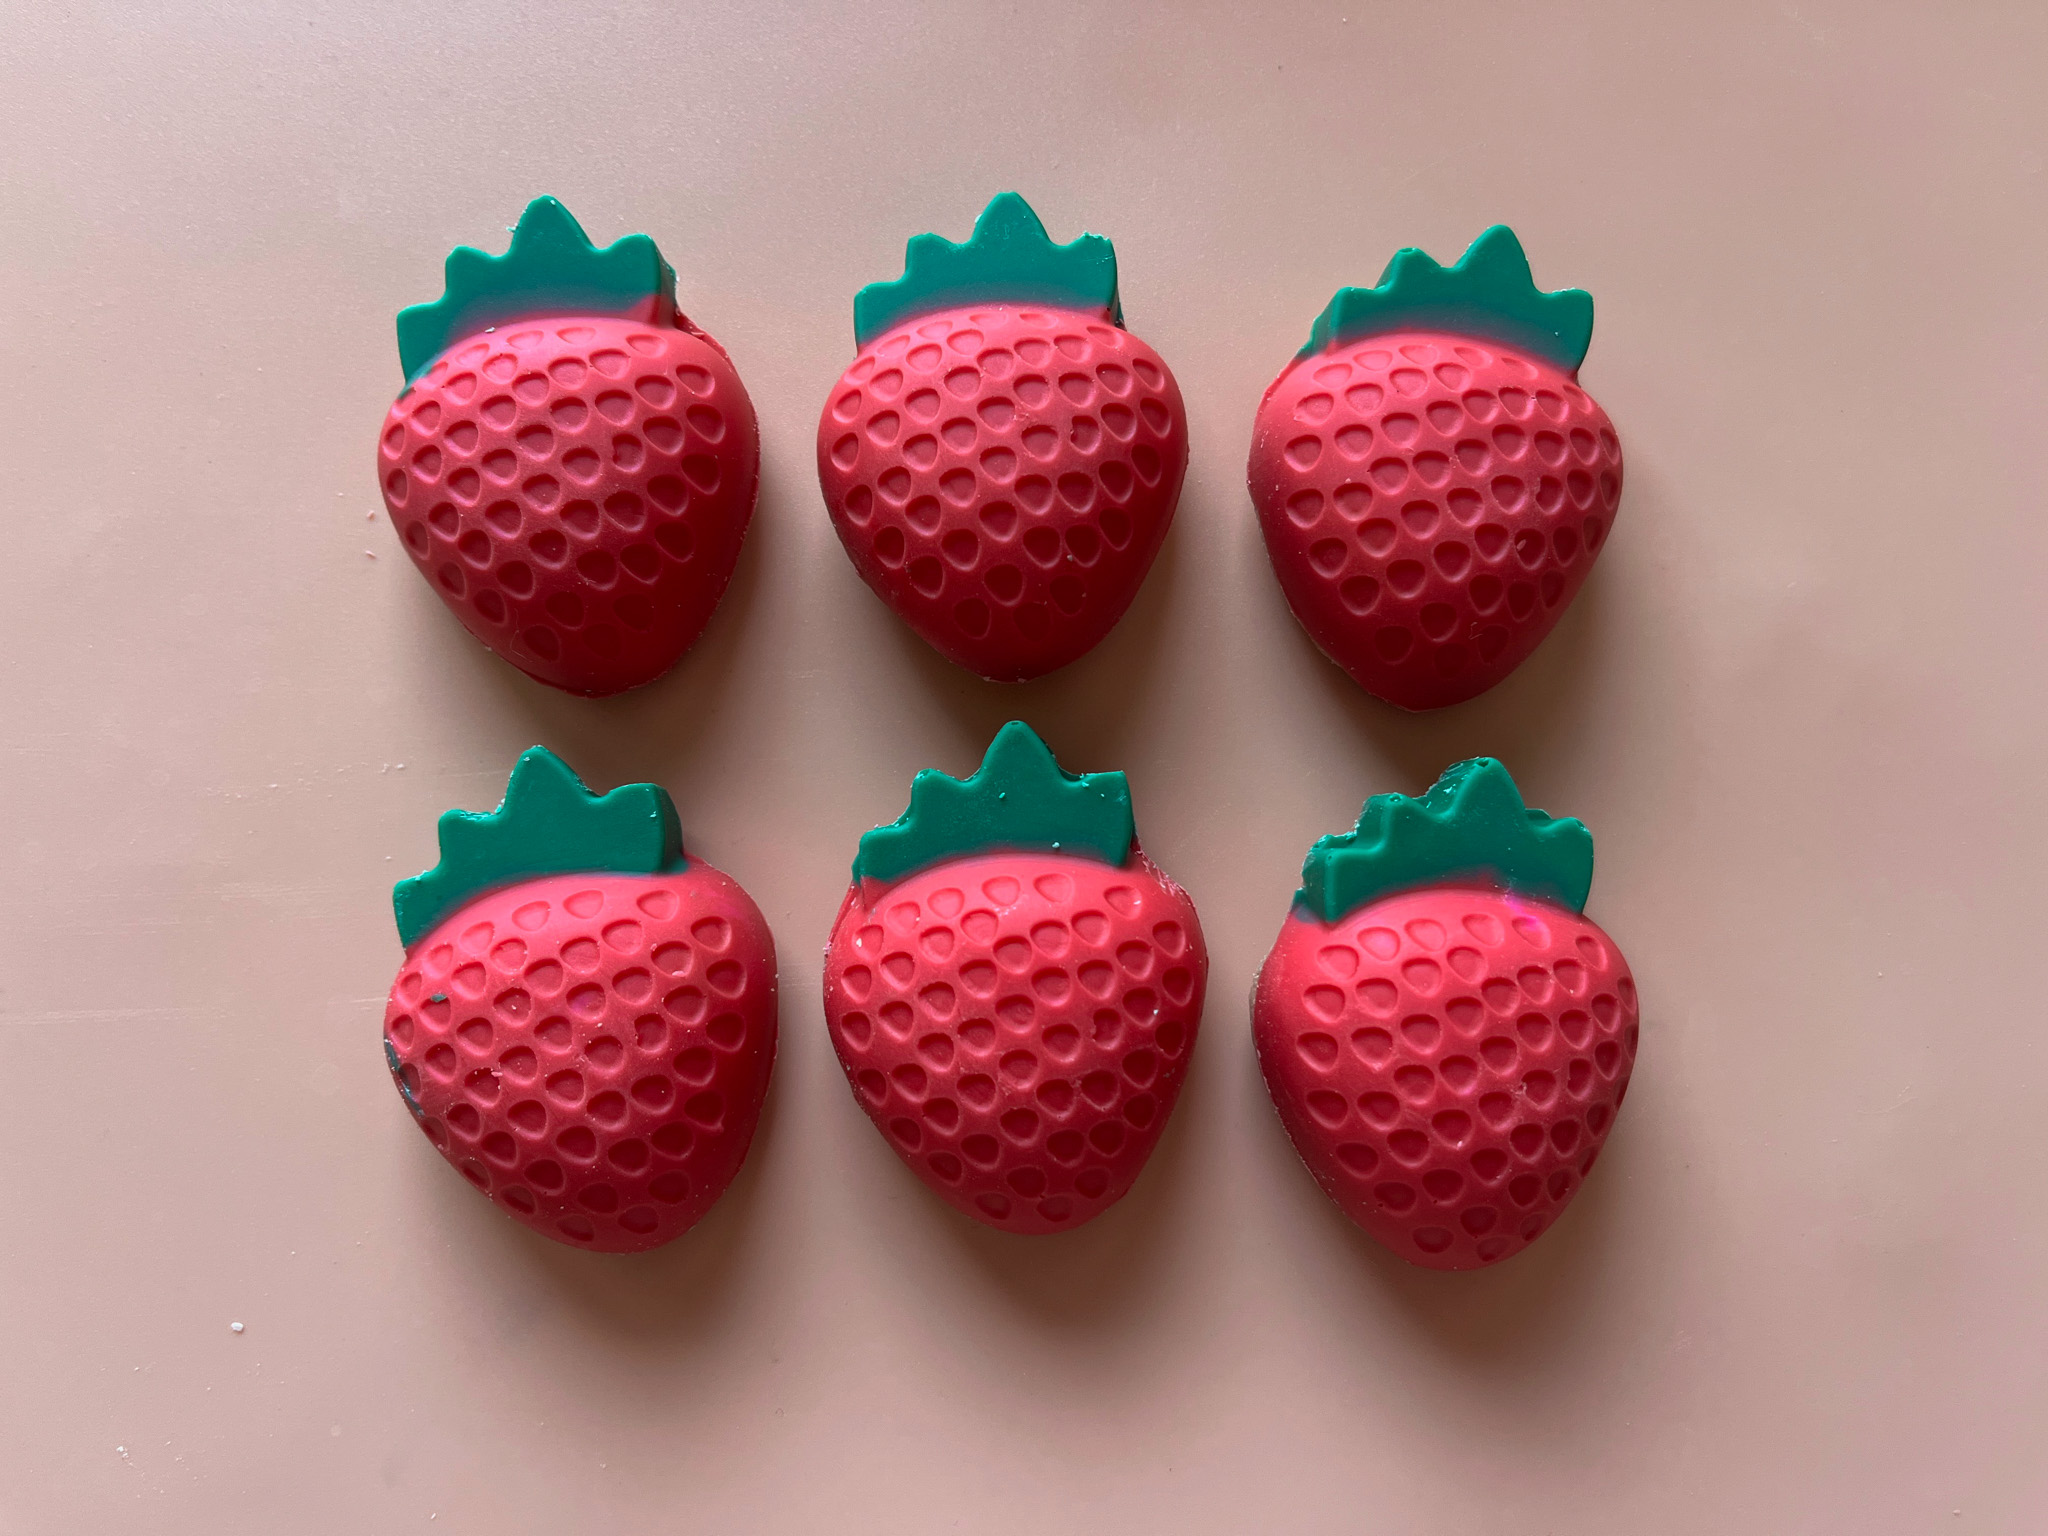
To finish the little rose cookies: Once the roses are cold, place the mold in the freezer for 10 minutes and then remove the baked cookies to a rack. Wash the mold, dry well. Melt white compound chocolate, divide in two portions. Leave one white, dye the other purple (using very little oil-soluble color). Marble them together, pour into the mold and immediately stick the shaped cookies. Place in the freezer for 15 minutes, un-mold and if needed shave the bottom with a Microplane to tidy the edges.
To finish the rolled out cookies: make a glaze mixing the powdered sugar with milk and lemon extract until the consistency is right, not too thick, not too thin. Add the milk, a little bit at a time to the powdered sugar. Coat the baked, room temperature cookies with the glaze, then add sprinkles to decorate, if so desired. Let it set for a couple of hours.
ENJOY!
to print the recipe, click here
Comments: These cookies are very flavorful, the lavender won’t be too pronounced, just right. In the cookbook, she uses a different type of glaze, that did not work very well for me, and she sprinkled the cookies with lavender, that was a bit much for my taste. Do what you feel agrees with your tastebuds.

It is not very easy to get the chocolate coating to be fully smooth, at least I seem to have some problems with it. Maybe pouring the chocolate while warmer and banging the mold a bit on the countertop could help, but keep in mind you’ll need to work reasonably fast, as you will have several cookies to coat at once. I would not try to make more than eight at a time. Even if not fully smooth, these are delicious and I love the way they turned out…
1 YEAR AGO: Spaetzle, a Classic Made Lighter
2 YEARS AGO: Chicken Roll-ups with Asparagus
3 YEARS AGO: Flower-Shaped Dinner Rolls
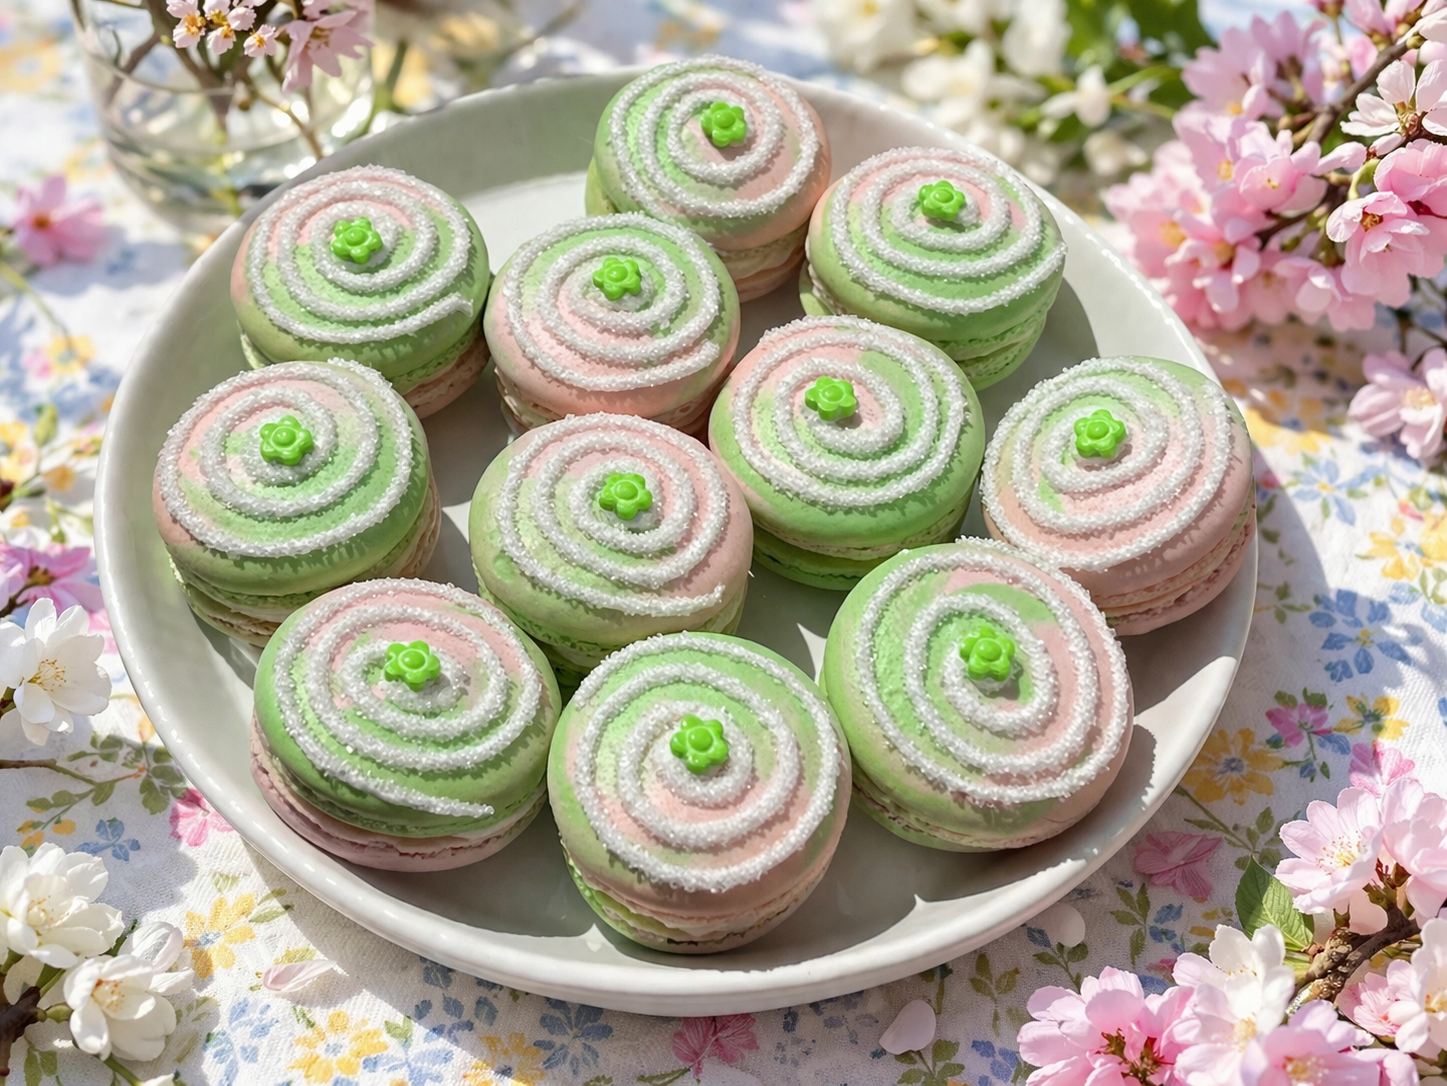
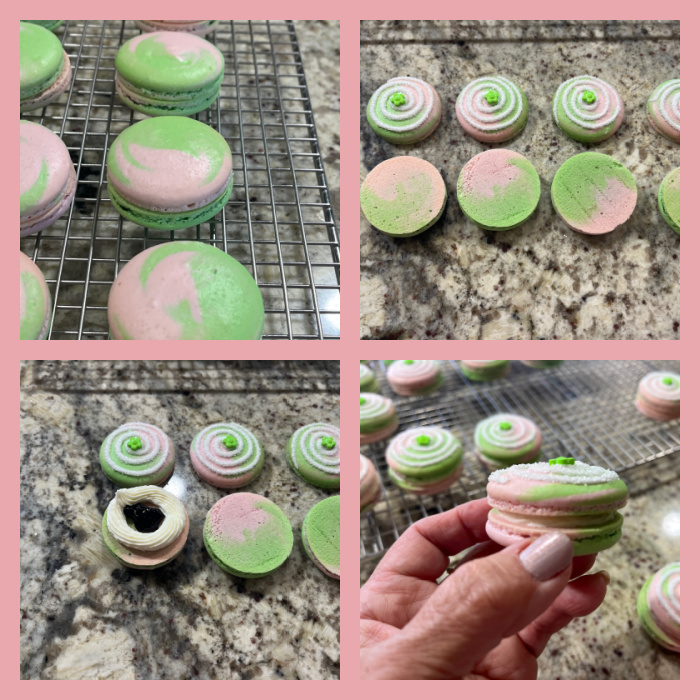
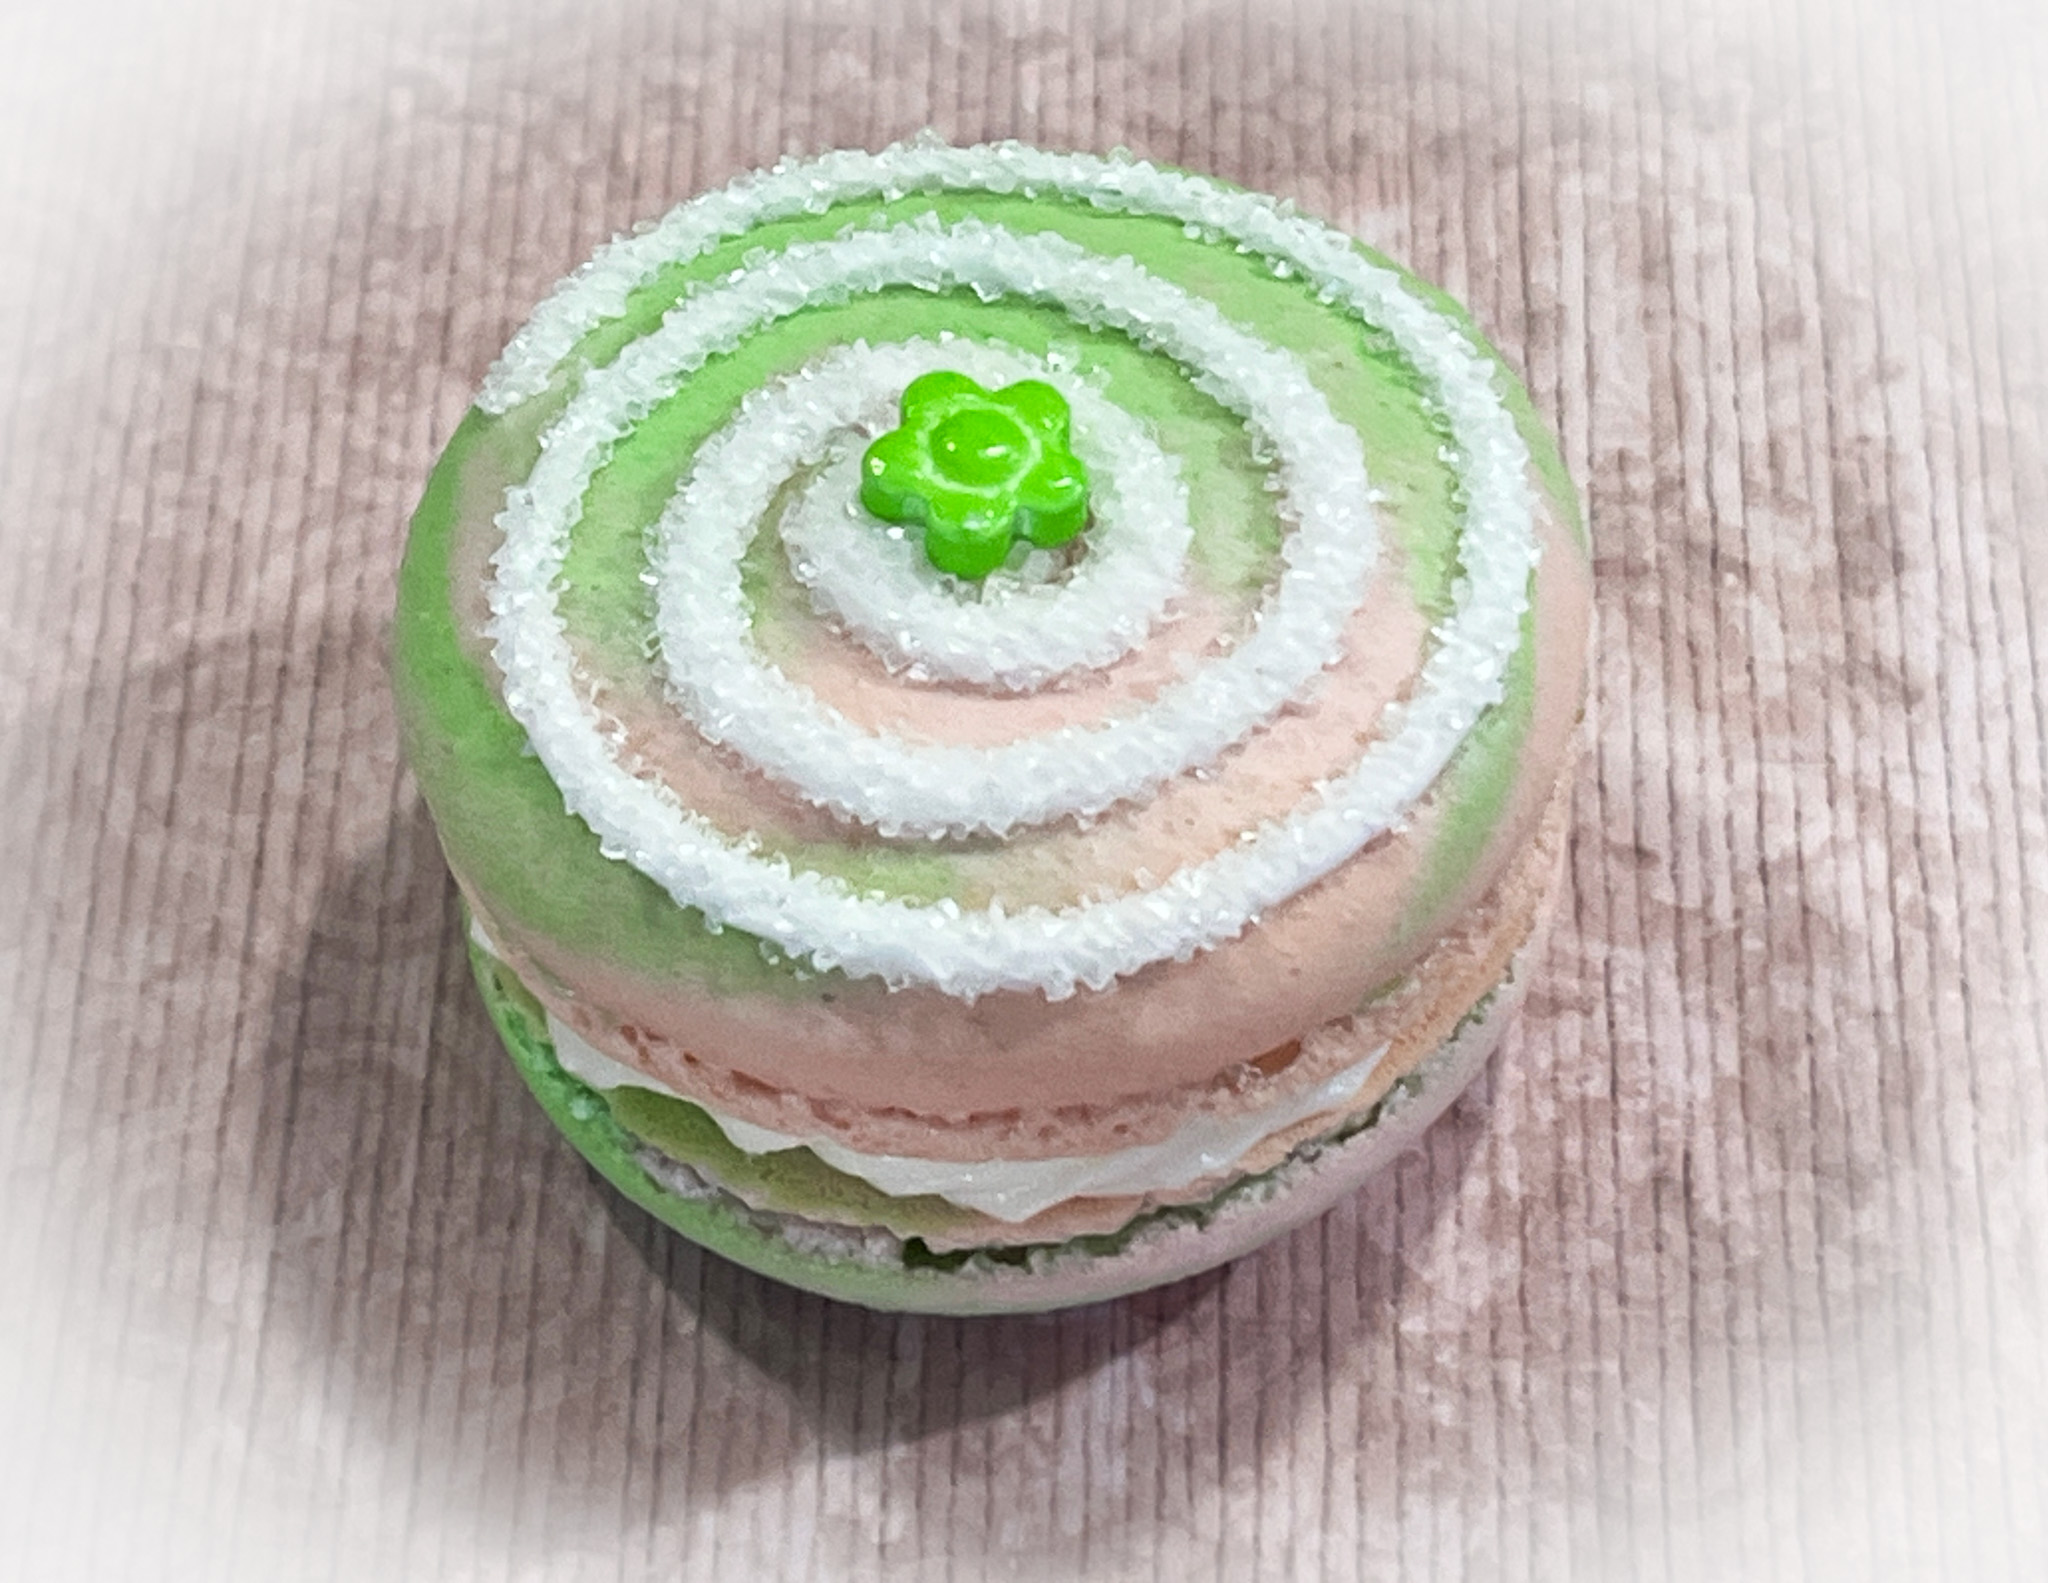
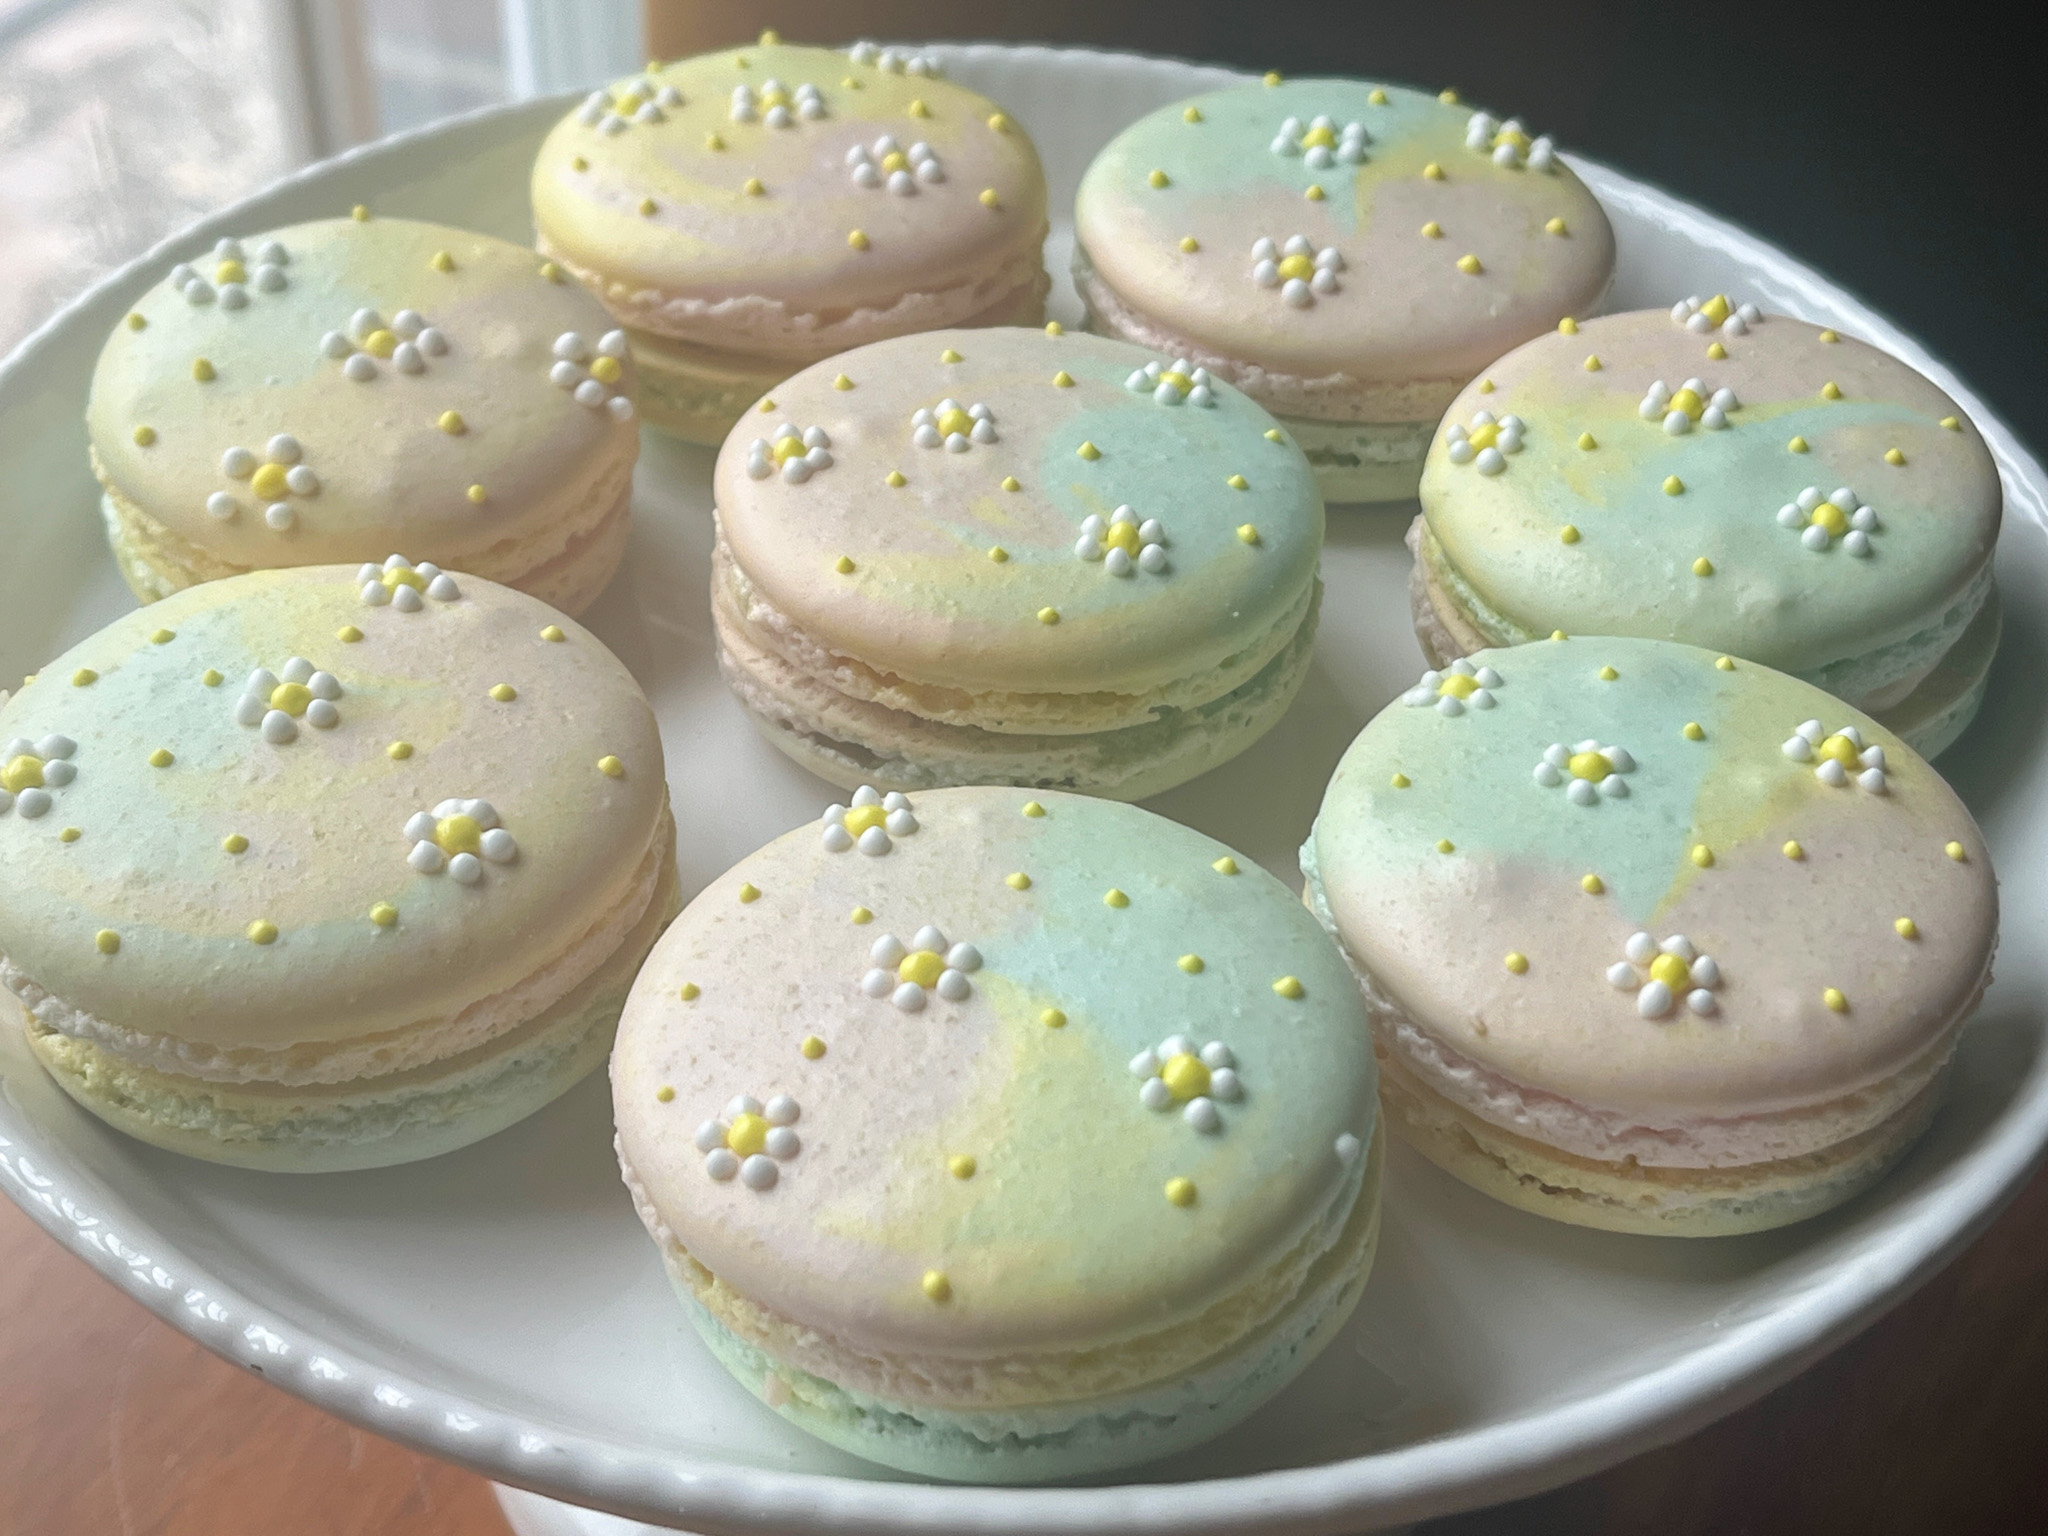
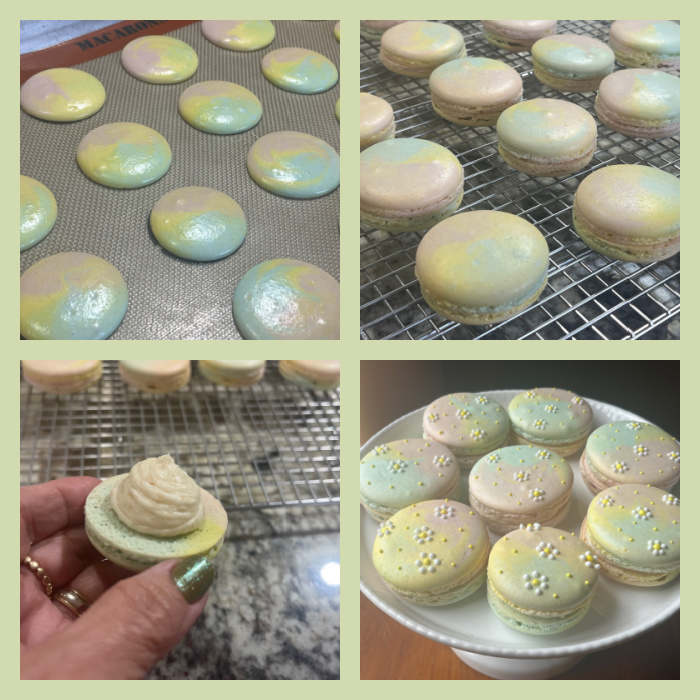
4 YEARS AGO: Pride Macarons
5 YEARS AGO: Blood Orange Macarons
6 YEARS AGO: One-Two-Three Macarons
7 YEARS AGO: Marshmallow Macarons
8 YEARS AGO: Fujisan Bread
9 YEARS AGO: Air-Fried Tomatoes with Hazelnut Pesto & Halloumi Cheese
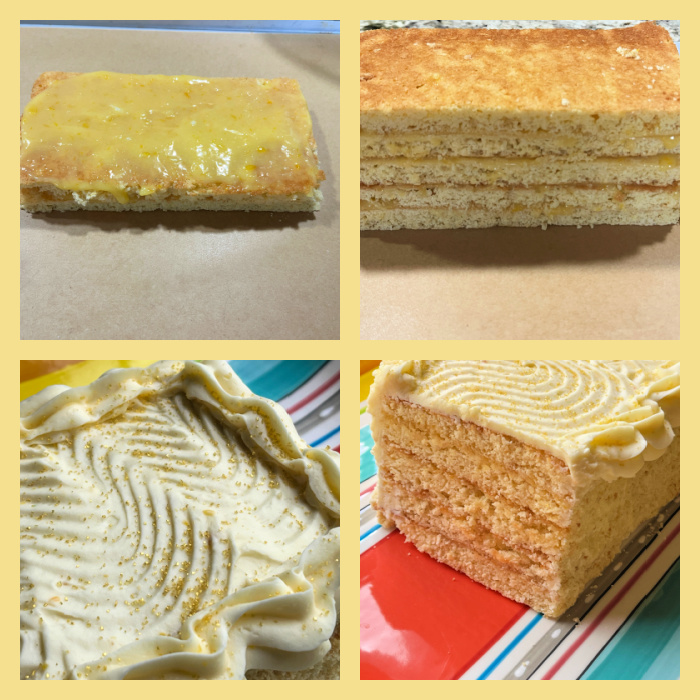
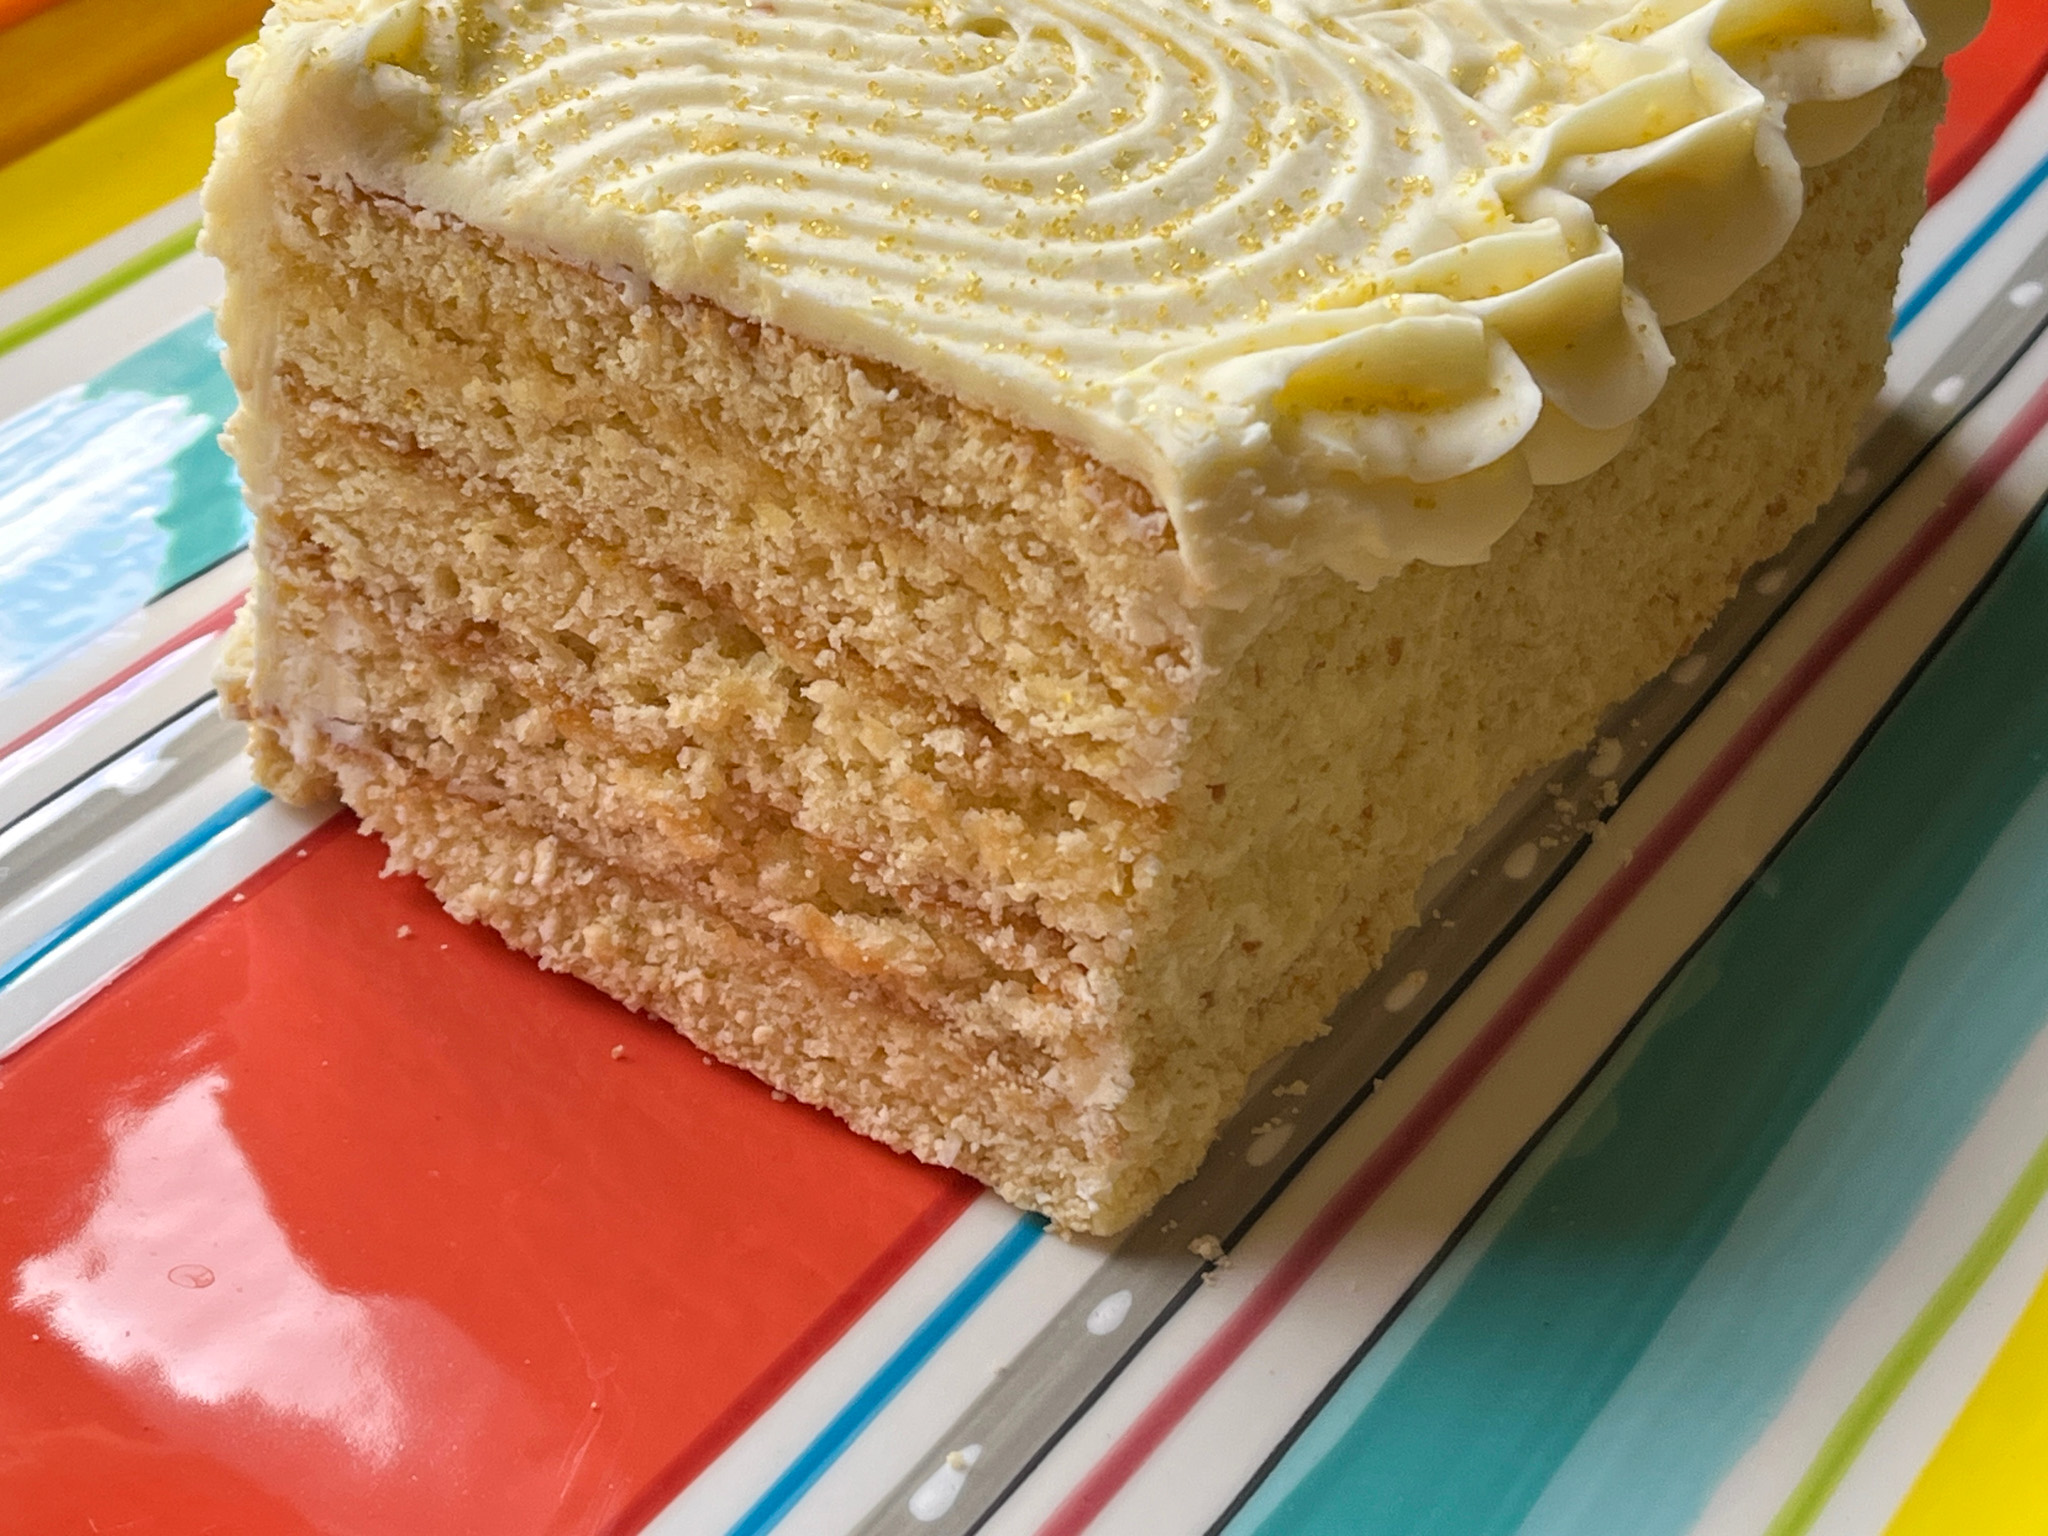
10 YEARS AGO: Red Velvet Layered Cake
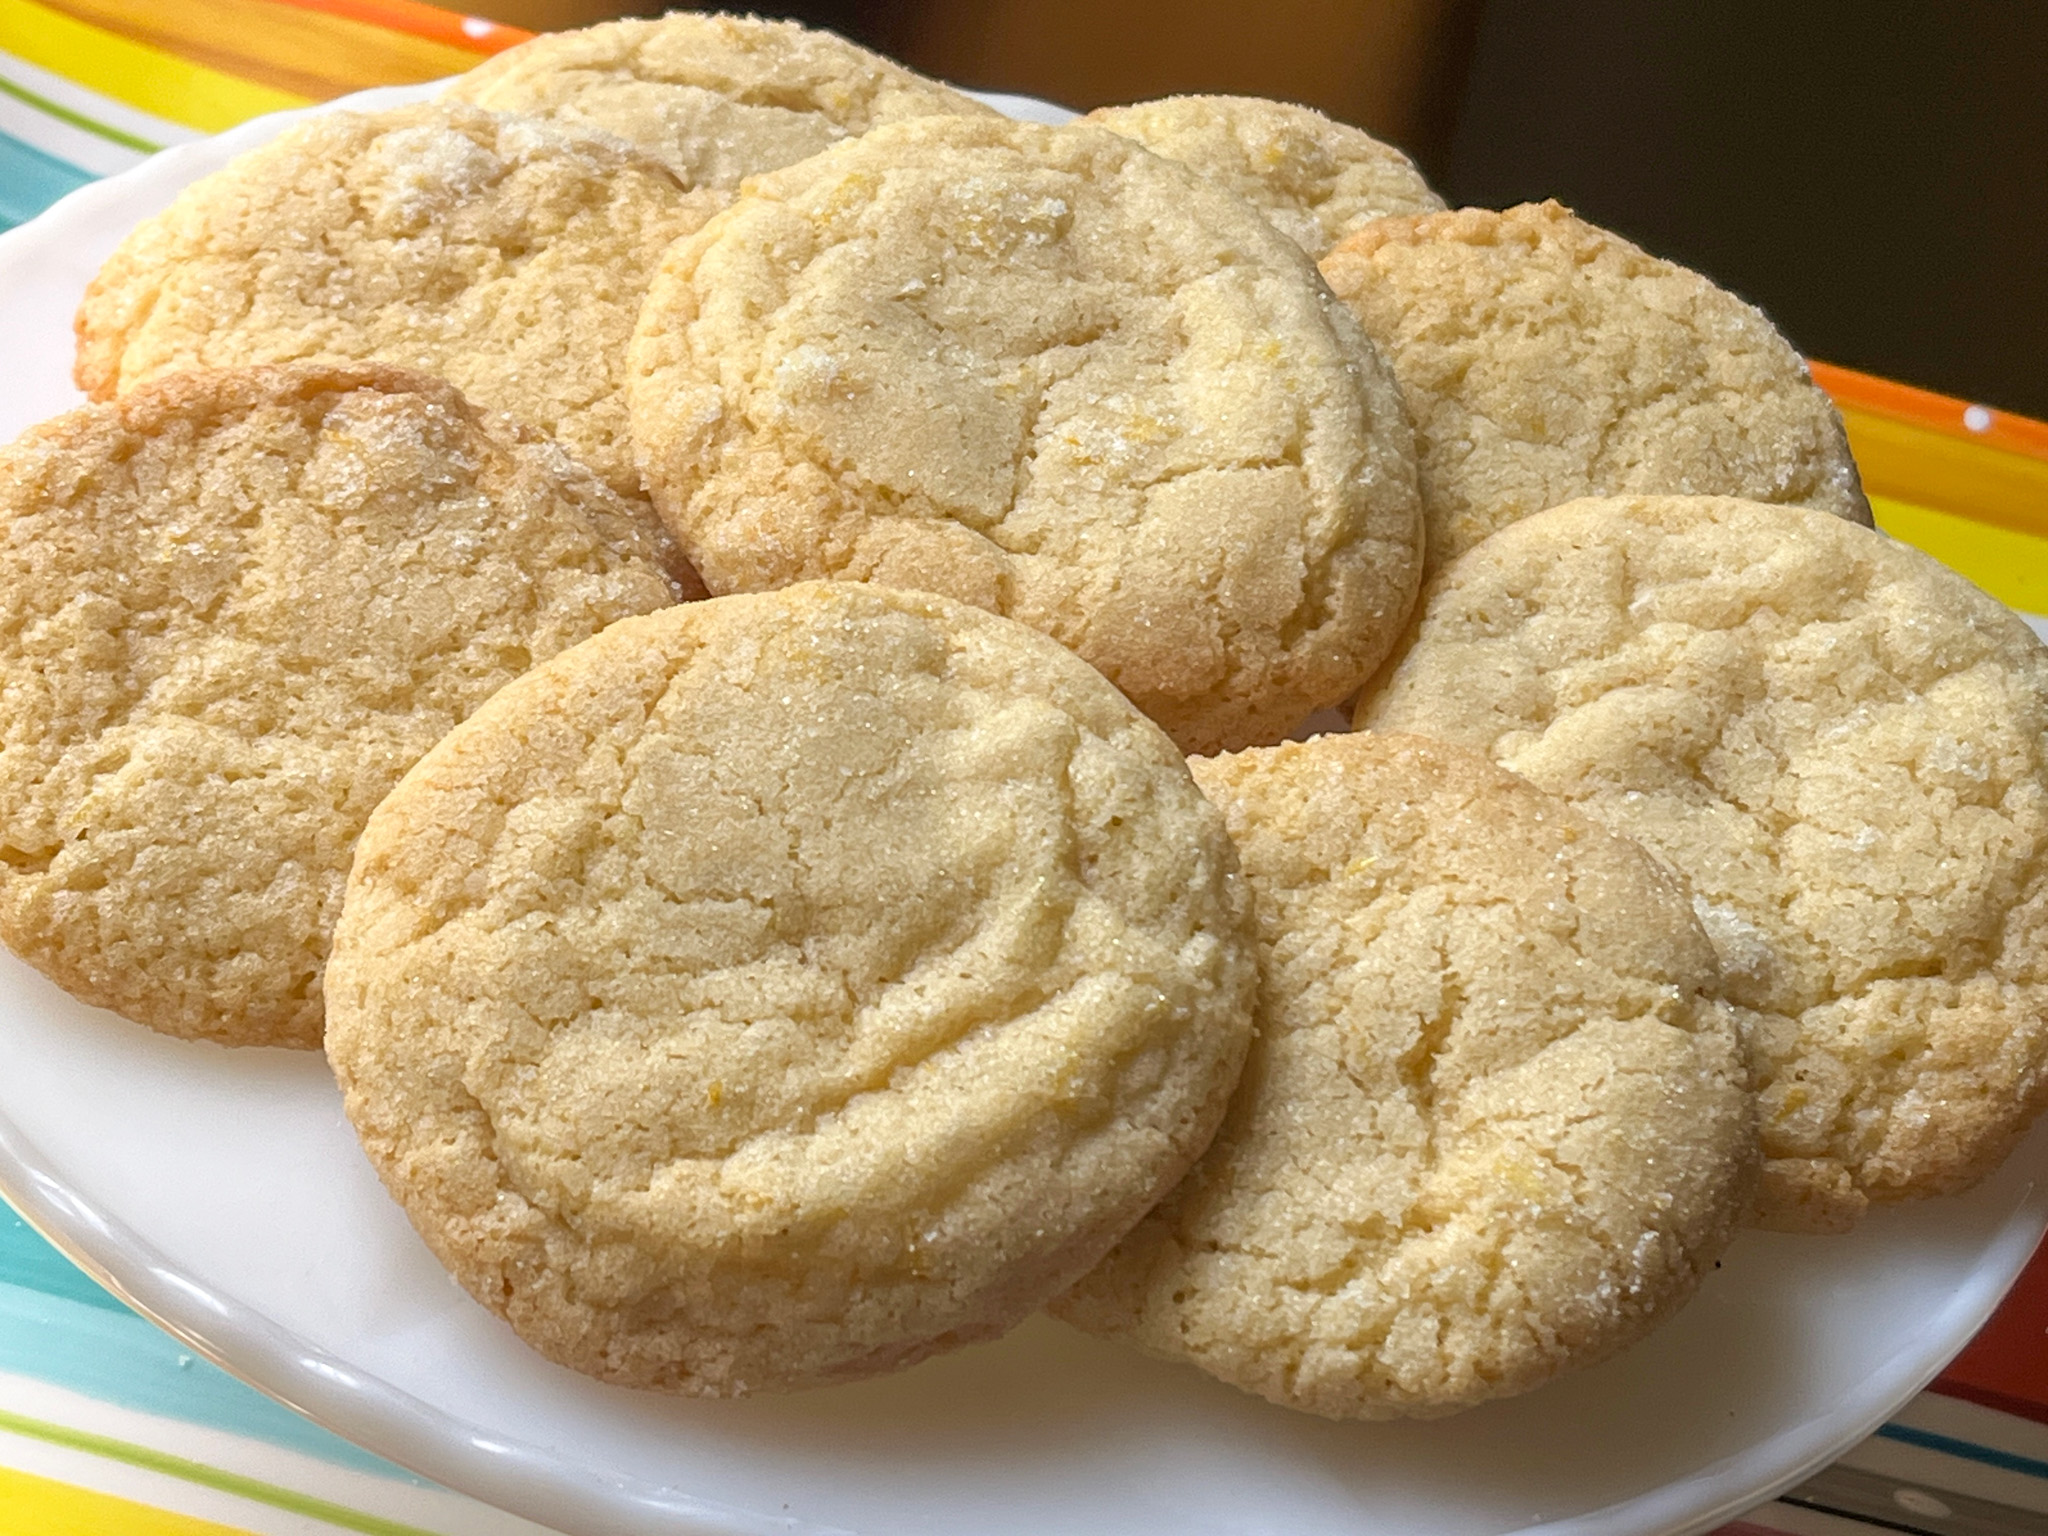
11 YEARS AGO: Lemon-Lavender Bars
12 YEARS AGO: Quinoa Fried Rice
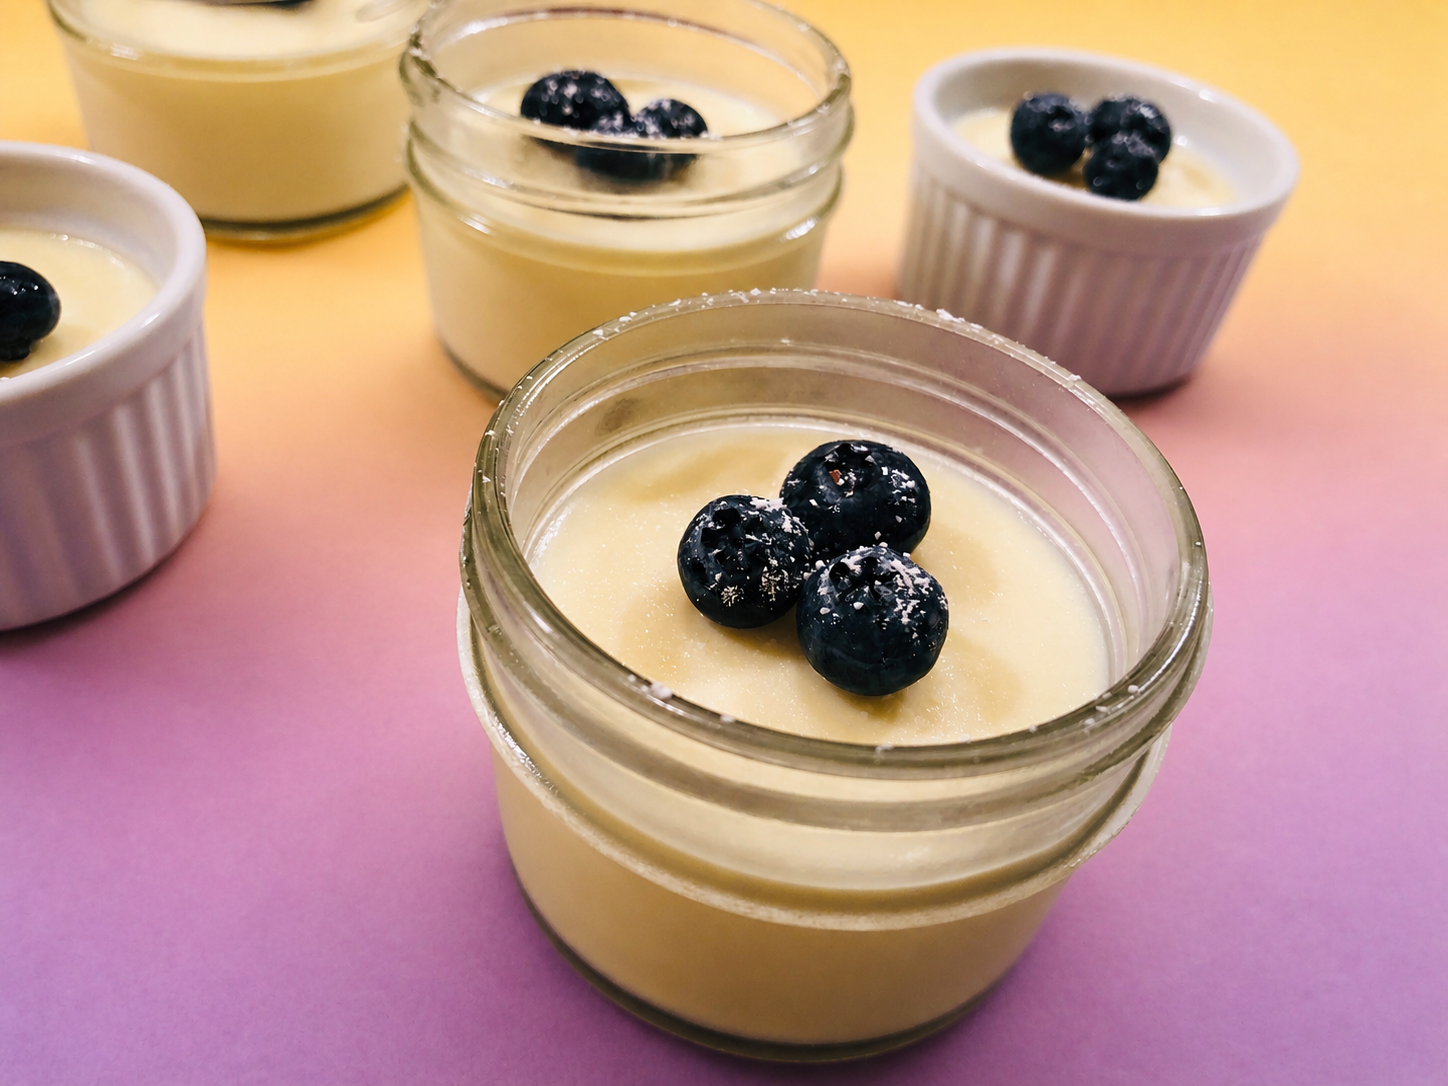
13 YEARS AGO: Carrot Flan with Greens and Lemon Vinaigrette
14 YEARS AGO: The Secret Recipe Club: Granola Bars
15 YEARS AGO: Awesome Broccolini
16 YEARS AGO: A Twist on Pesto
17 YEARS AGO: Ciabatta: Judging a bread by its holes