This is very rich with heavy cream, but if you don’t mind splurging a bit for a special meal, totally worth it. Boneless chicken breasts can dry up easily but in this method they stay moist and tender.

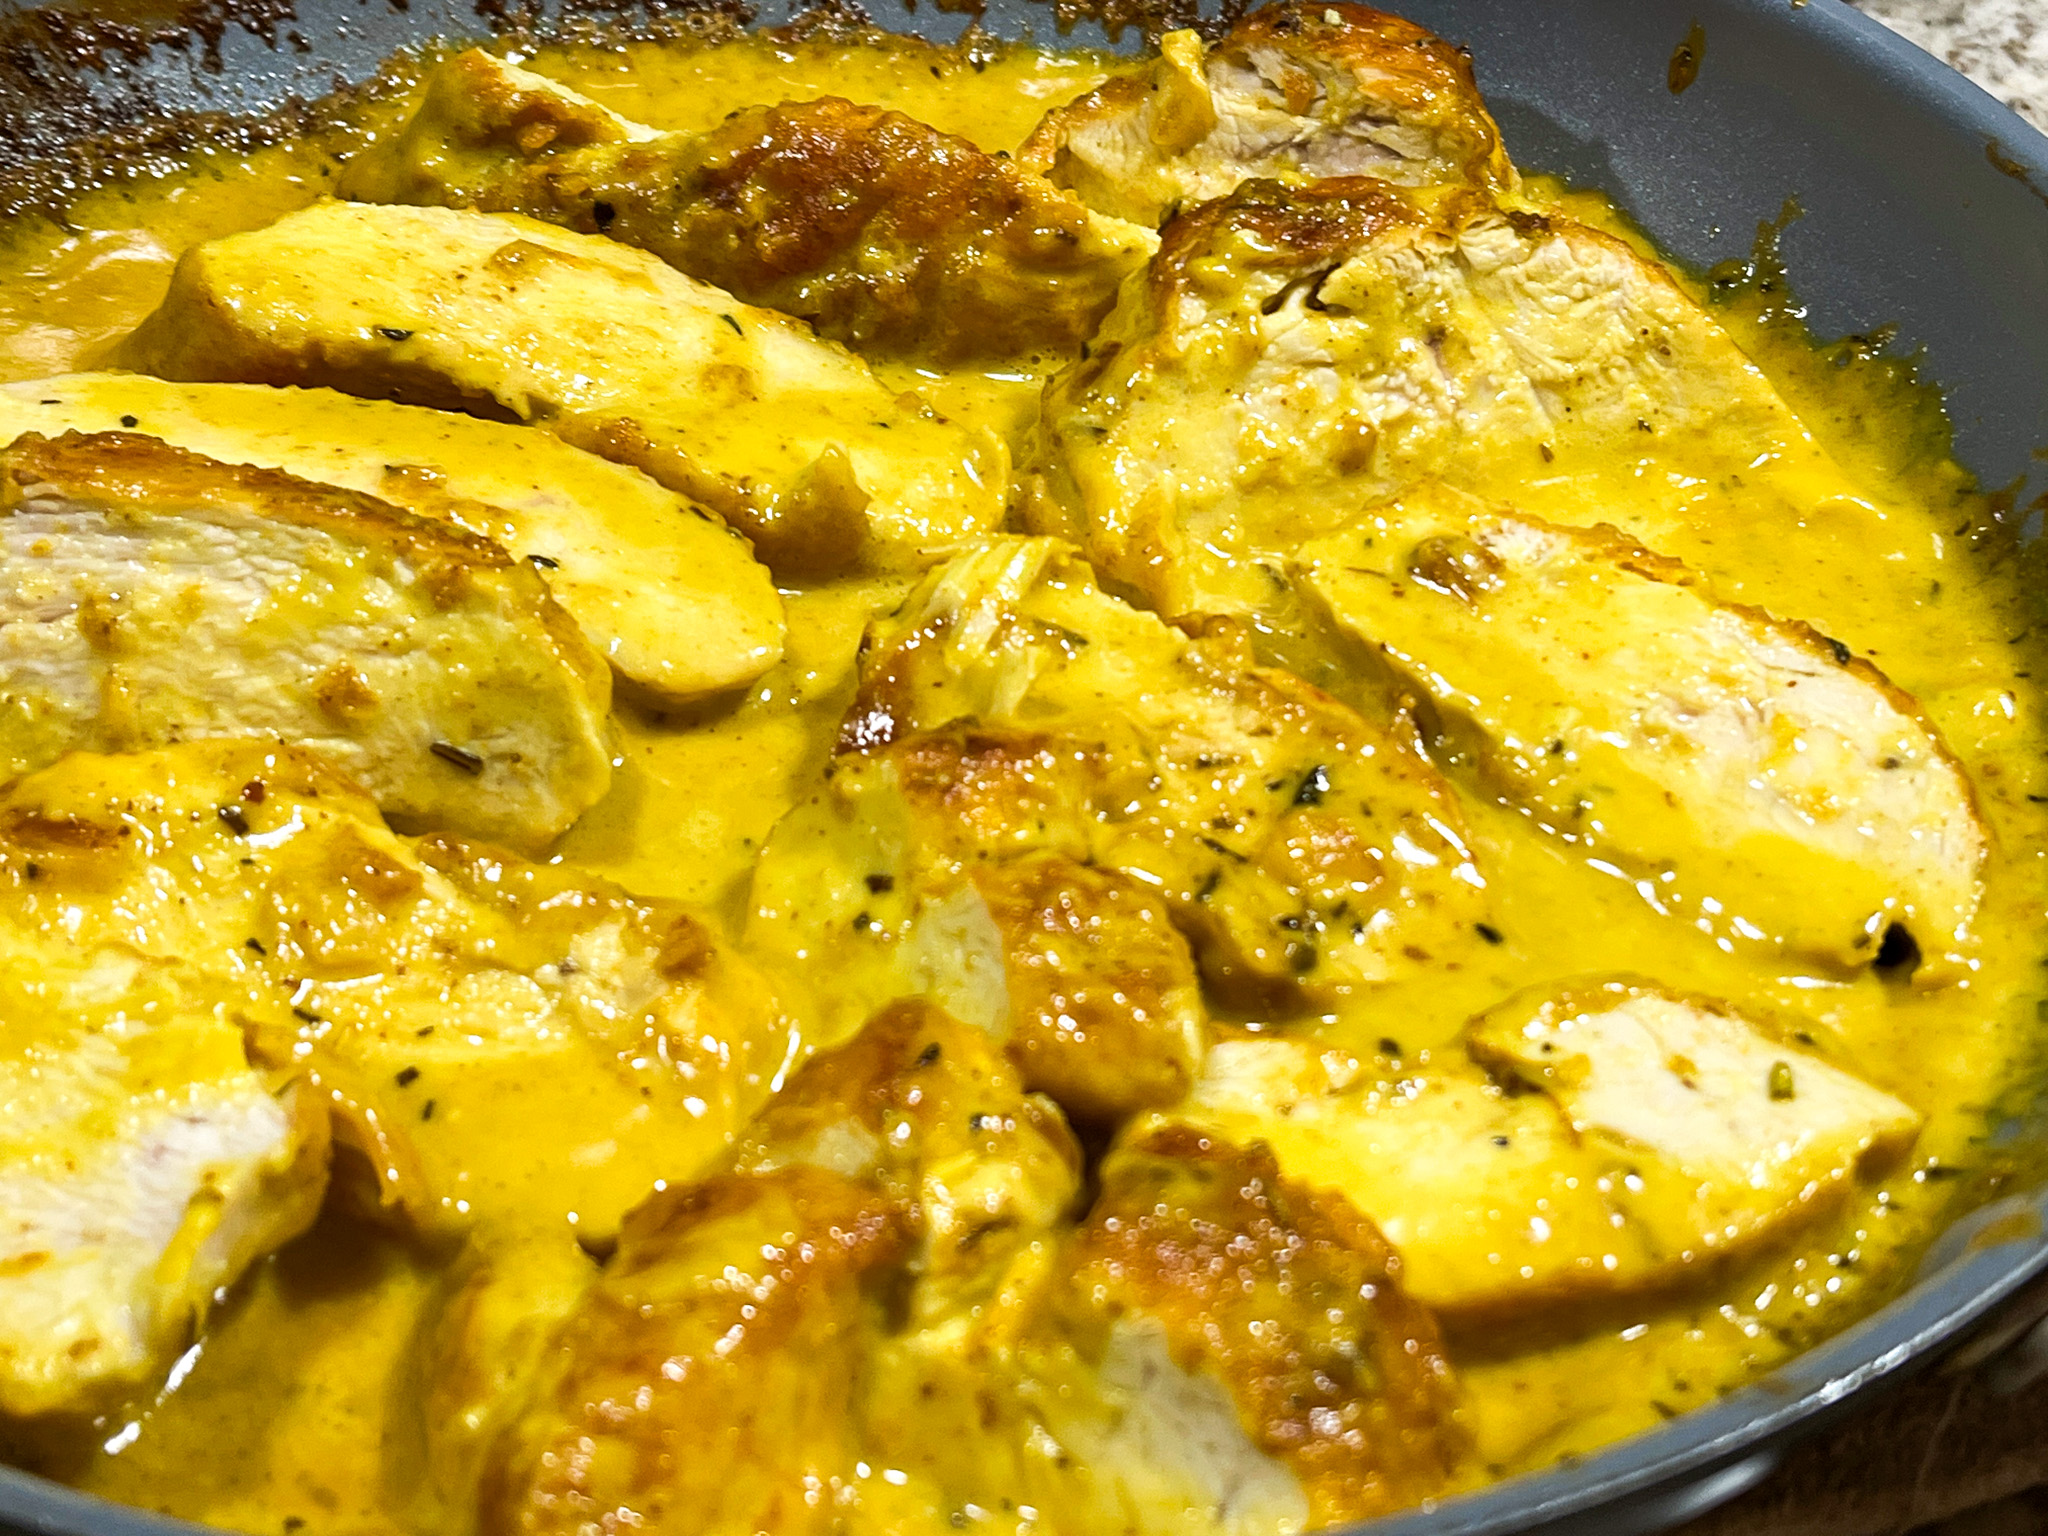
CHICKEN BREASTS IN CREAMY TURMERIC-MUSTARD SAUCE
(adapted from epicurious)
1 Tbsp. all-purpose flour
¾ tsp kosher salt, divided
1 + ½ tsp. ground turmeric, divided
2 skinless, boneless chicken breasts
2 Tbsp. extra-virgin olive oil, divided
2 medium shallots, thinly sliced
Herbes de Provence, to taste
1 cup heavy cream
2 Tbsp. whole grain mustard
1 Tbsp. honey
1 tsp. freshly ground pepper
Heat oven to 375°. Mix 1 Tbsp. all-purpose flour, ½ tsp salt and 1 tsp. ground turmeric in a small bowl to combine. Sprinkle 2 skinless, boneless chicken breasts all over with flour mixture.
Heat 1 Tbsp. extra-virgin olive oil in a medium ovenproof skillet over medium-high. Cook chicken until golden brown on both sides, about 5 minutes per side; transfer to a plate. Reduce heat to medium; heat remaining 1 Tbsp. extra-virgin olive oil in same skillet. Cook the shallots sprinkled with Herbes de Provence until soft and fragrant. Add the heavy cream, turmeric, mustard, honey, black pepper and the remaining salt. Bring to a simmer, then return chicken and any accumulated juices to skillet.
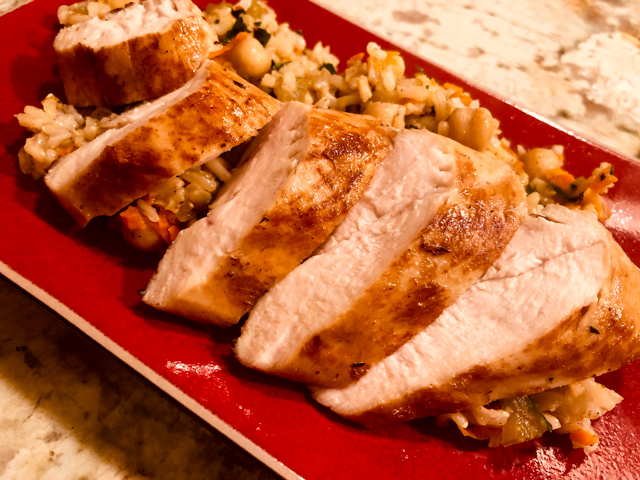
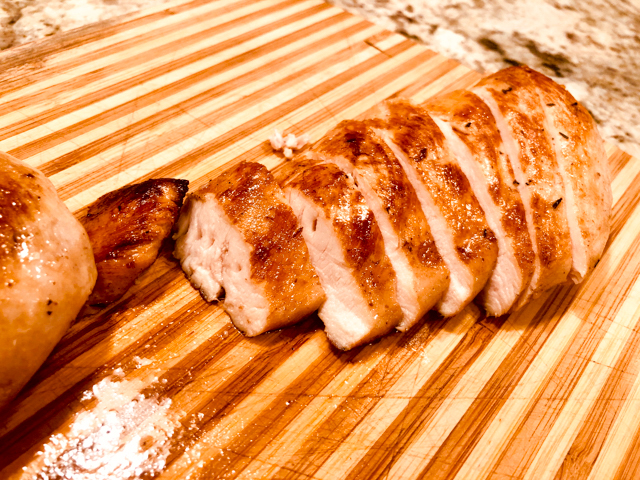
Transfer skillet to oven and bake until sauce is slightly reduced and chicken is cooked through, 20–25 minutes.Remove skillet from oven (HANDLE WILL BE HOT!) and transfer chicken to a cutting board. Let rest 5 minutes, then slice against the grain ¼” thick. Return chicken to sauce, place back on the stove for a couple of minutes just to warm up the slices in the sauce. Serve right away.
ENJOY!
to print the recipe, click here

Comments: Normally I do not make recipes with so much cream and saturated fat, so this was a departure from the way we eat. It was delicious indeed! I was afraid the heavy cream would dry out too much during baking, uncovered, but it was not the case. Keep an eye on it, add a little water if it is getting burned. I love turmeric… And PLEASE be sure to remember the handle will be hot. I did not, and paid a painful price. Enough said.
ONE YEAR AGO: Shokupan Marbled Black Sesame Bread
TWO YEARS AGO: Chicken with Pasilla-Pecan Sauce
THREE YEARS AGO: A Versatile Silicone Pan
FOUR YEARS AGO: Buffalo Chickpeas
FIVE YEARS AGO: Bi-Color Croissant and Pain au Chocolat
SIX YEARS AGO: Lemon-Blueberry Entremet Cake
SEVEN YEARS AGO: Walk Strong3: Jessica Smith’s latest workout program
EIGTH YEARS AGO: Pork Medallions with Black Berry Compote
NINE YEARS AGO: Indian-Spiced Chicken with Chickpeas and Spinach
TEN YEARS AGO: Curry Cardamon Cookies
ELEVEN YEARS AGO: In My Kitchen, March 2014
TWELVE YEARS AGO: Boeuf Bourguignon for a Snowy Evening
THIRTEEN YEARS AGO: Chickpea Salad
FOURTEEN YEARS AGO: Soft Spot for Chevre
FIFTEEN YEARS AGO: Roasted Onion and Asiago Cheese Miche