When we lived in Paris, having a “croque madame” or a “croque monsieur” was pretty much a weekly event. Thick, crusty bread, with cheese, ham, bechamel sauce, a tomato or fried egg on top. This is a much lighter version and quite fun to make, as rice paper does the job of bread, and I omitted the bechamel sauce. Once I became interested in this method, the Algorithm Gods started flooding me with ways to use (and sometimes abuse) rice paper. I loved this little adventure so much, I might play with the concept again soon.
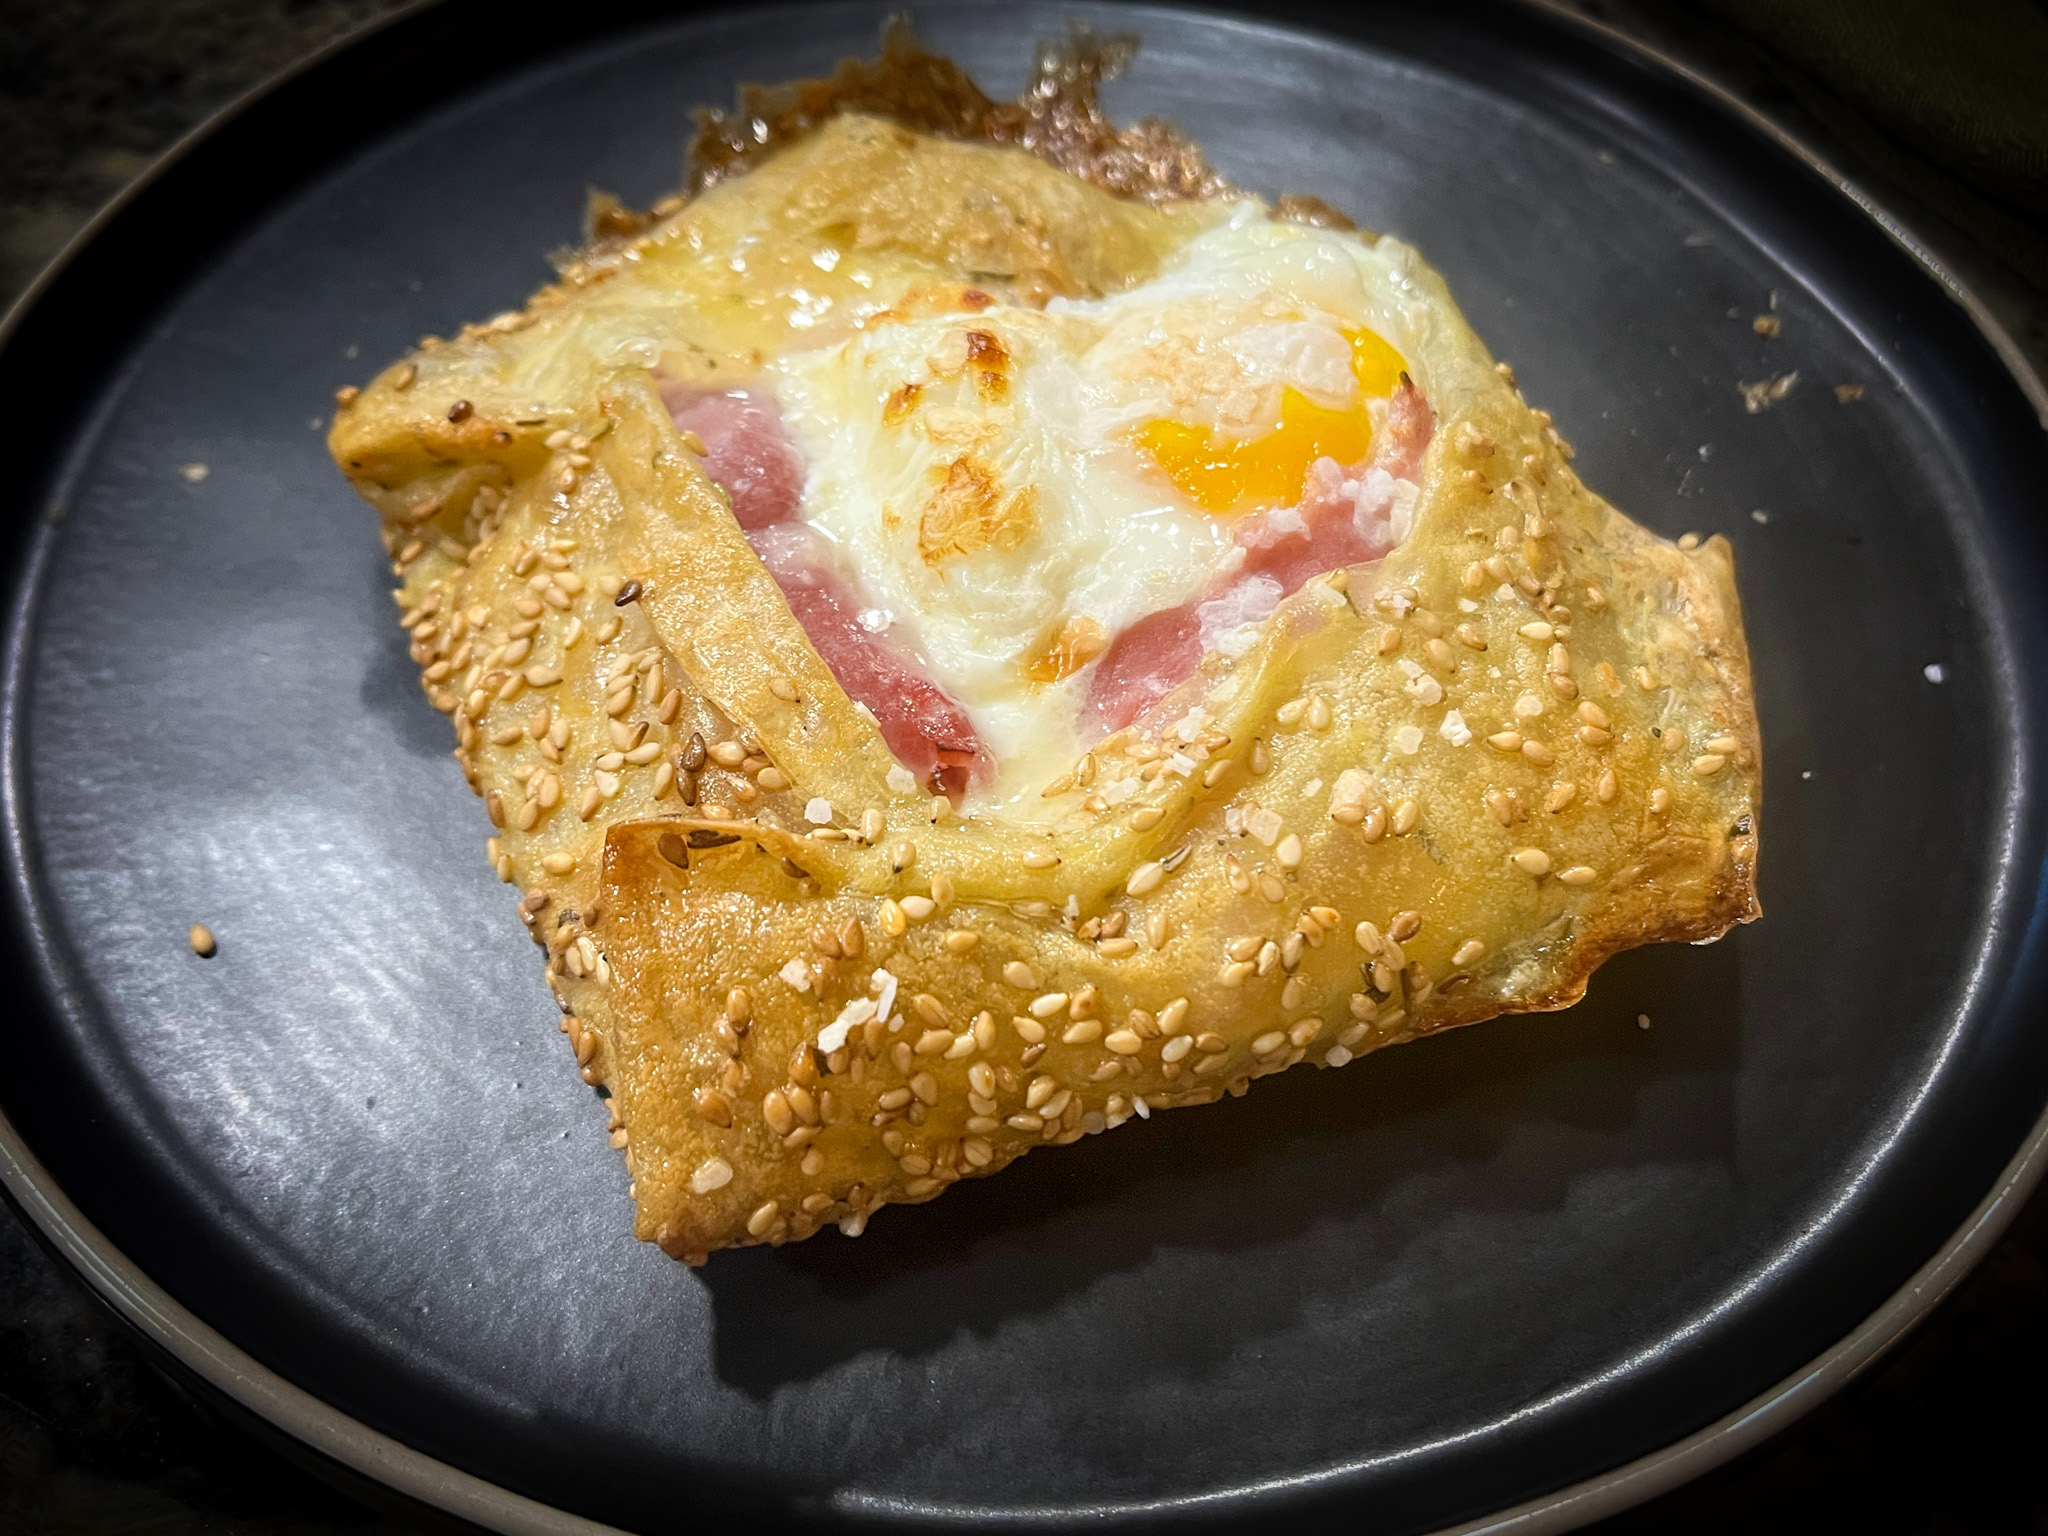
RICE PAPER CROQUE MADAME
(from The Bewitching Kitchen)
for one serving
2 sheets of rice paper
1 cup water + 1 tablespoon white vinegar
sesame seeds to cover the extension of the rice paper
2 tsp Dijon mustard
2 thin slices mozzarella cheese
1 thin slice ham
1 egg
salt and pepper to taste
olive oil spray
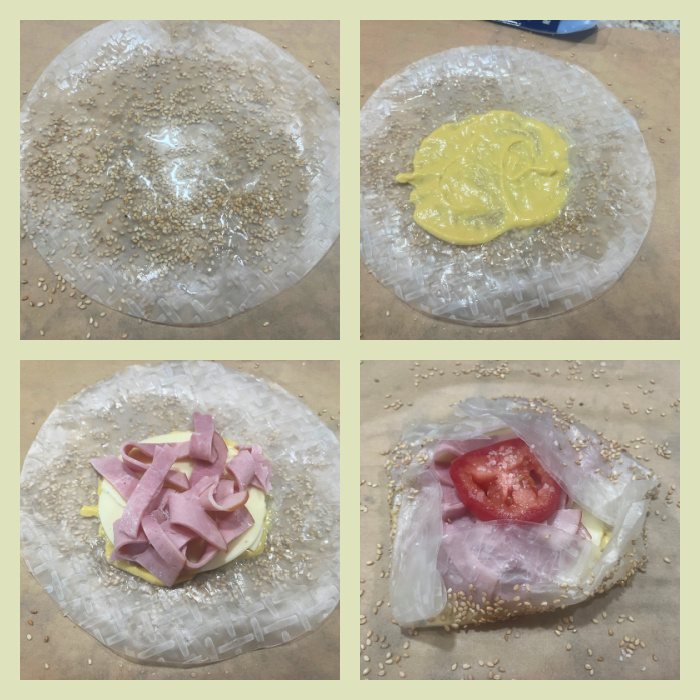
Lay a piece of parchment paper over a baking sheet. Pour sesame seeds covering more or less the dimension of a rice paper round.
Brush both sides of a rice paper sheet with the water-vinegar mixture. Lay on top of the sesame seeds, and repeat the process with a second rice paper, placing it on top of the first. Add a little mustard to the center, brush to form a thin layer. Add the slices of cheese on top, then the ham. You can do a full slice but it is best to cut it into strips and mound them over the cheese, leaving a space at the center. Delicately fold the edges of the rice paper, enclosing the filling, but leaving the center open. Gently crack an egg in the center, season with salt and pepper. Spray some olive oil on top, and either bake at 425F for about 12 minutes, or air-fry for slightly less time.
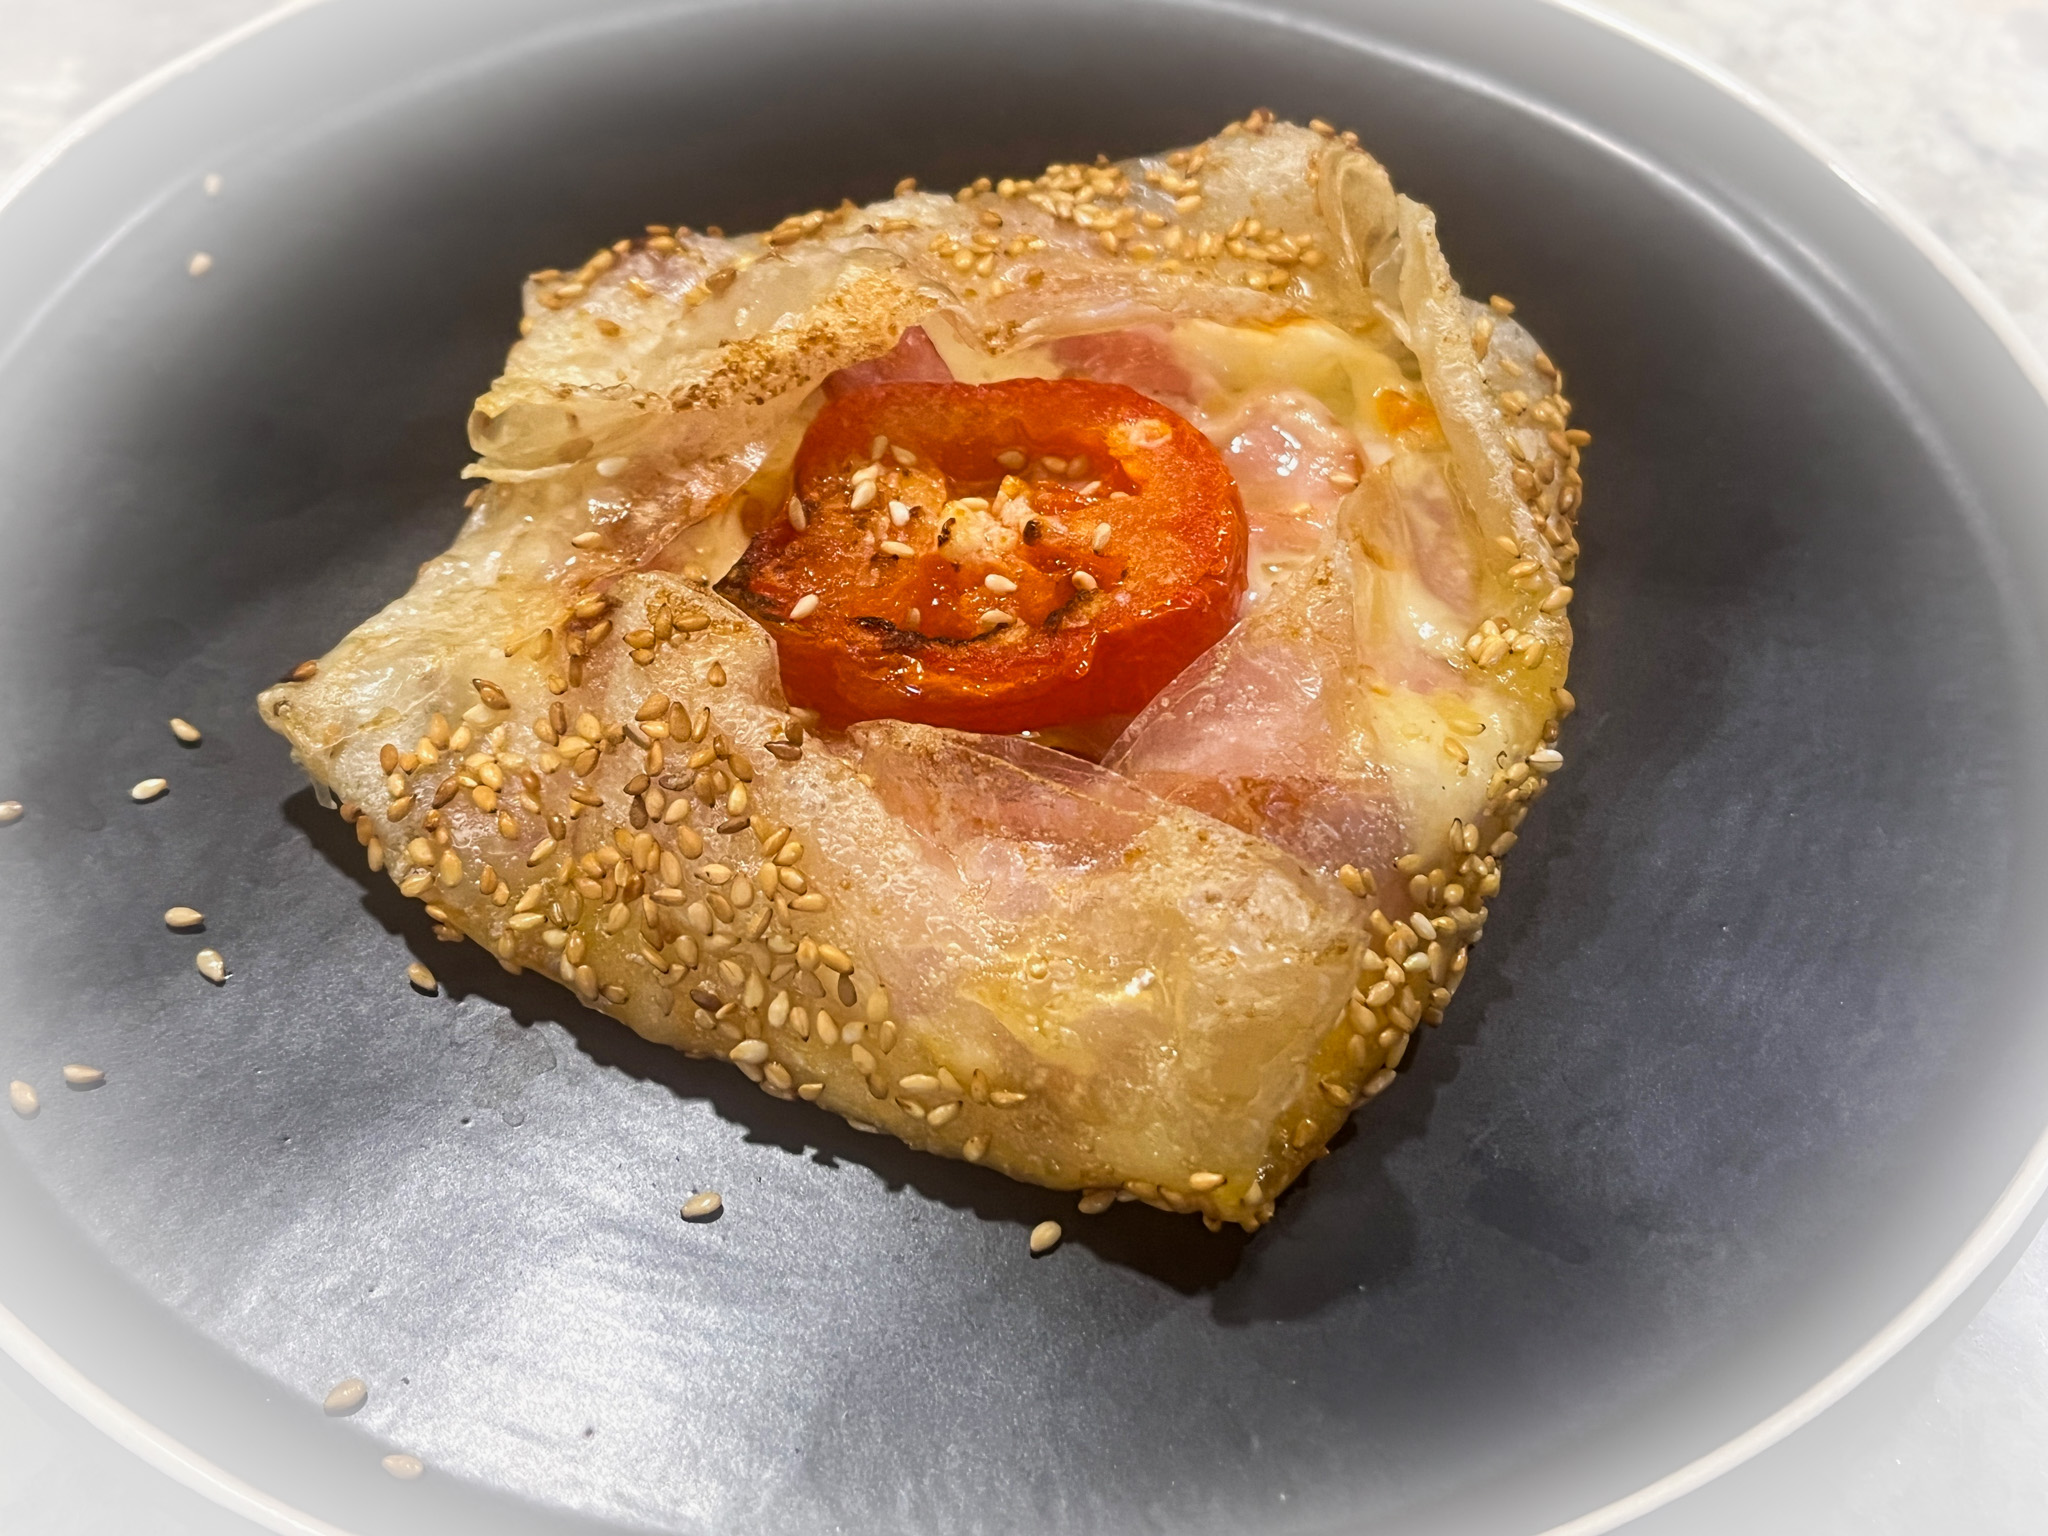
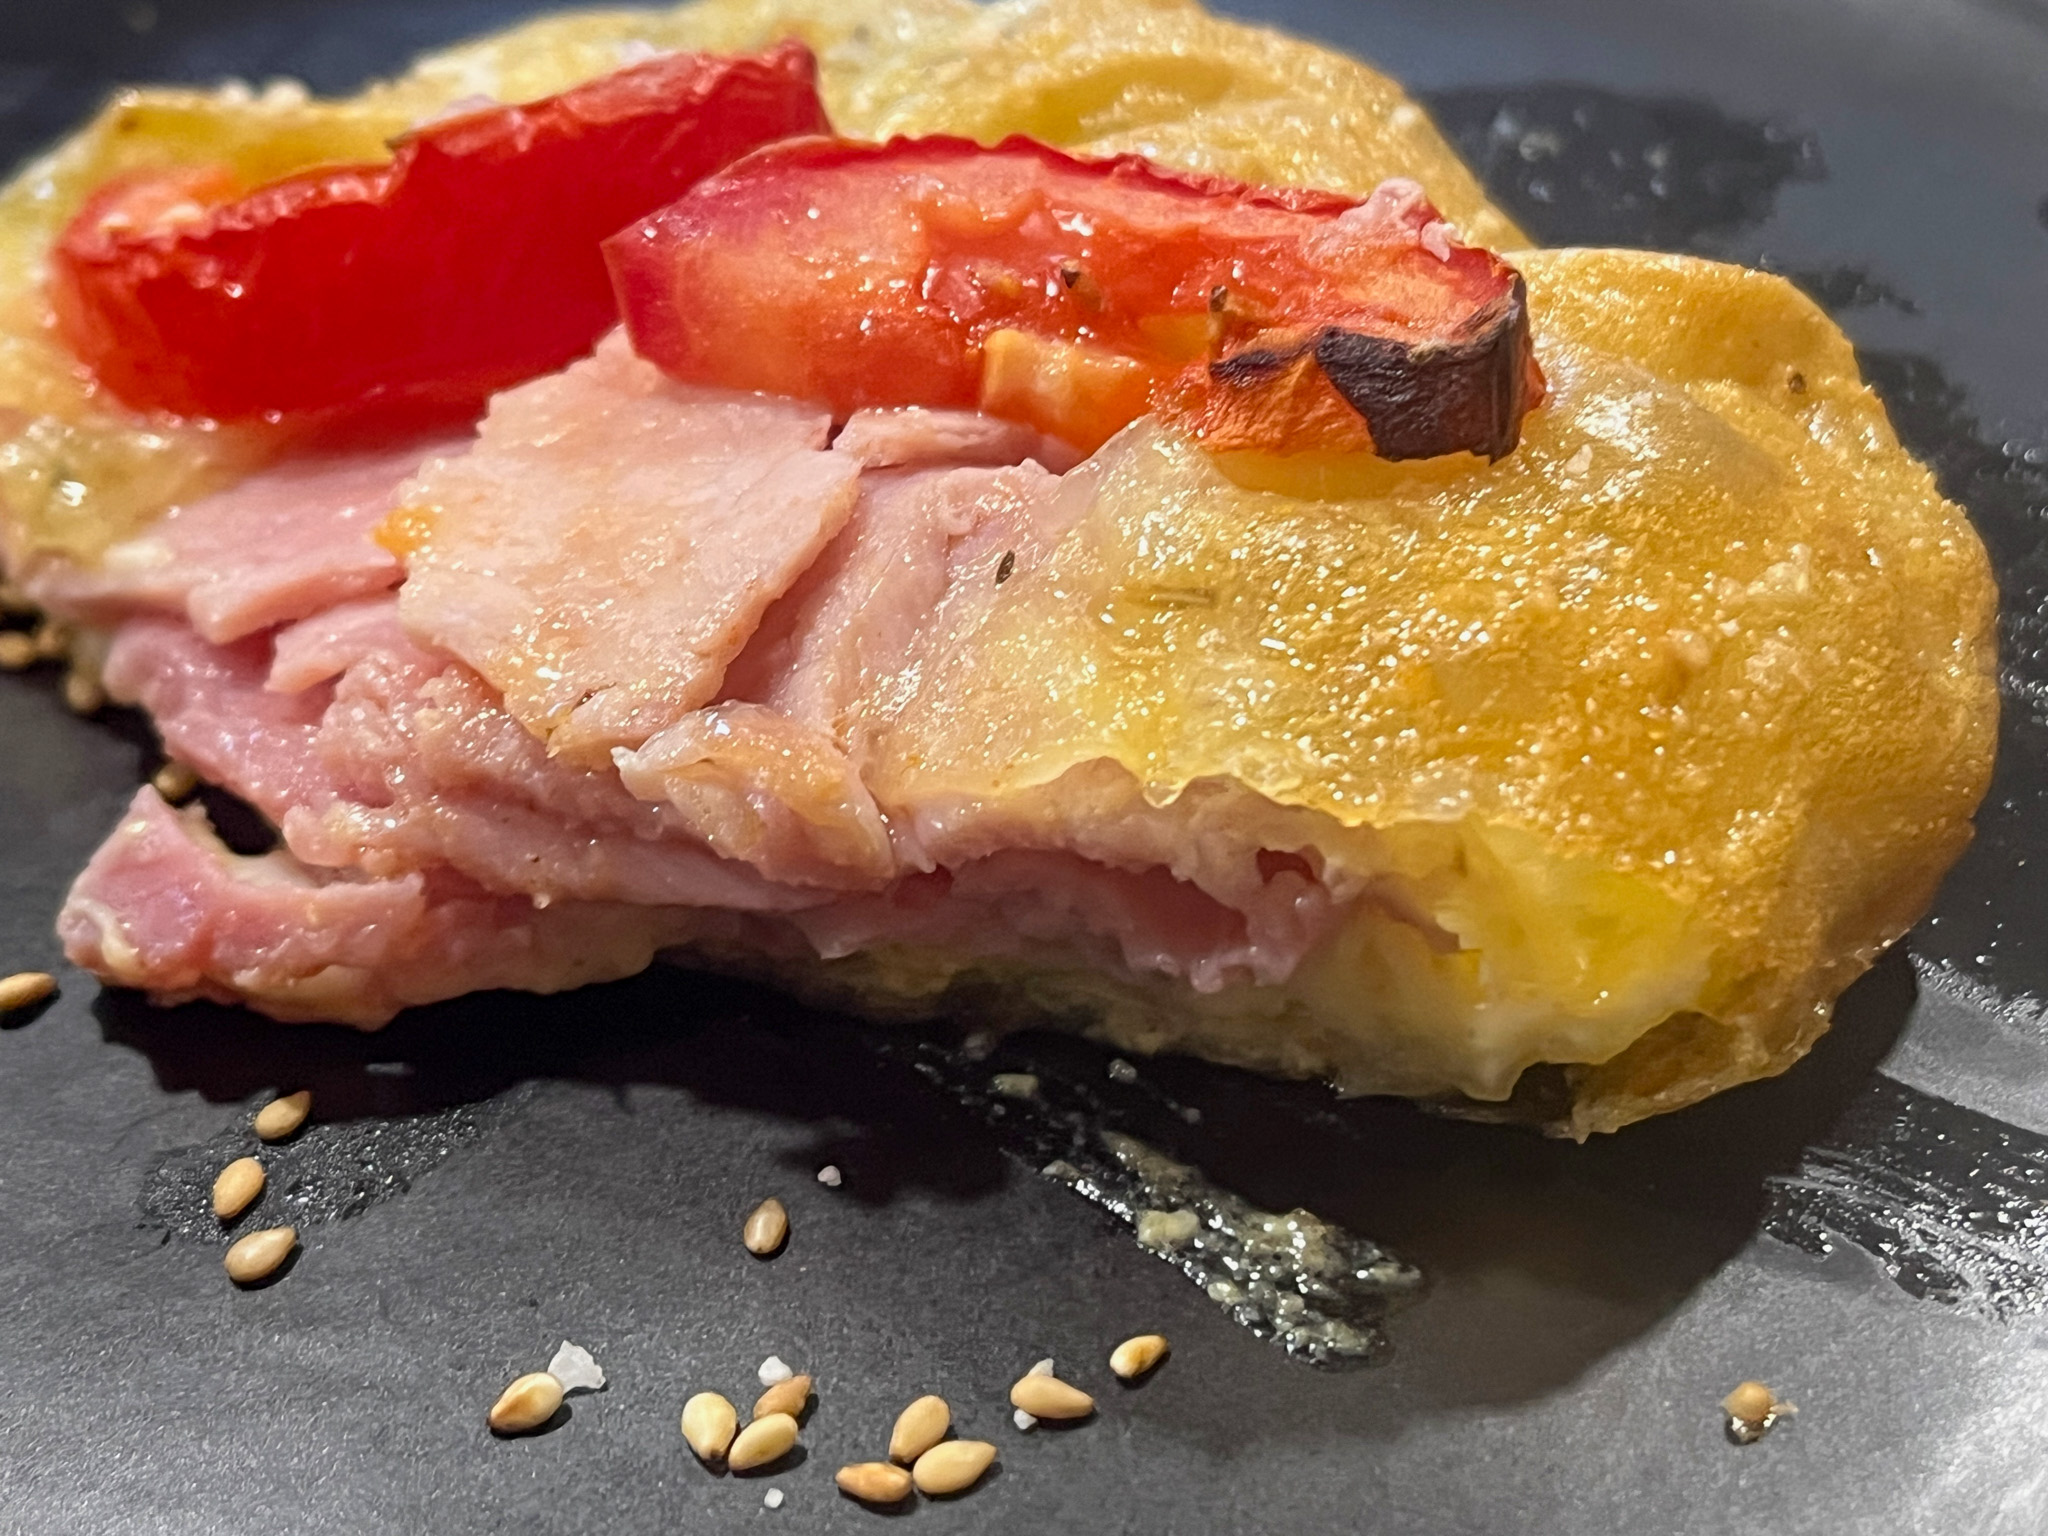
You can use tomatoes instead of the egg, or keep it simple with ham and egg only.
Bake until crispy and the egg is cooked.
ENJOY!
to print the recipe, click here
Comments: In many versions around, the rice paper is wet with a beaten egg. I tried that, but I have this odd reaction to the smell of egg wash as it bakes. To me it is very unpleasant, even if the taste is ok in the end. I opted to brush with water/vinegar, which is better than soaking if your goal is to have a crispy outcome. Plus, it is easier to do also. The egg version is a little tricky because there is a tendency of the egg white to spill out of the center, and there is also a risk of overcooking the egg yolk. You’ll need to play with the method a bit and figure out what works best for your oven. Air-fryer is much better than regular oven, by the way.
I absolutely loved these concoctions, and will definitely be making them often for my lunch!
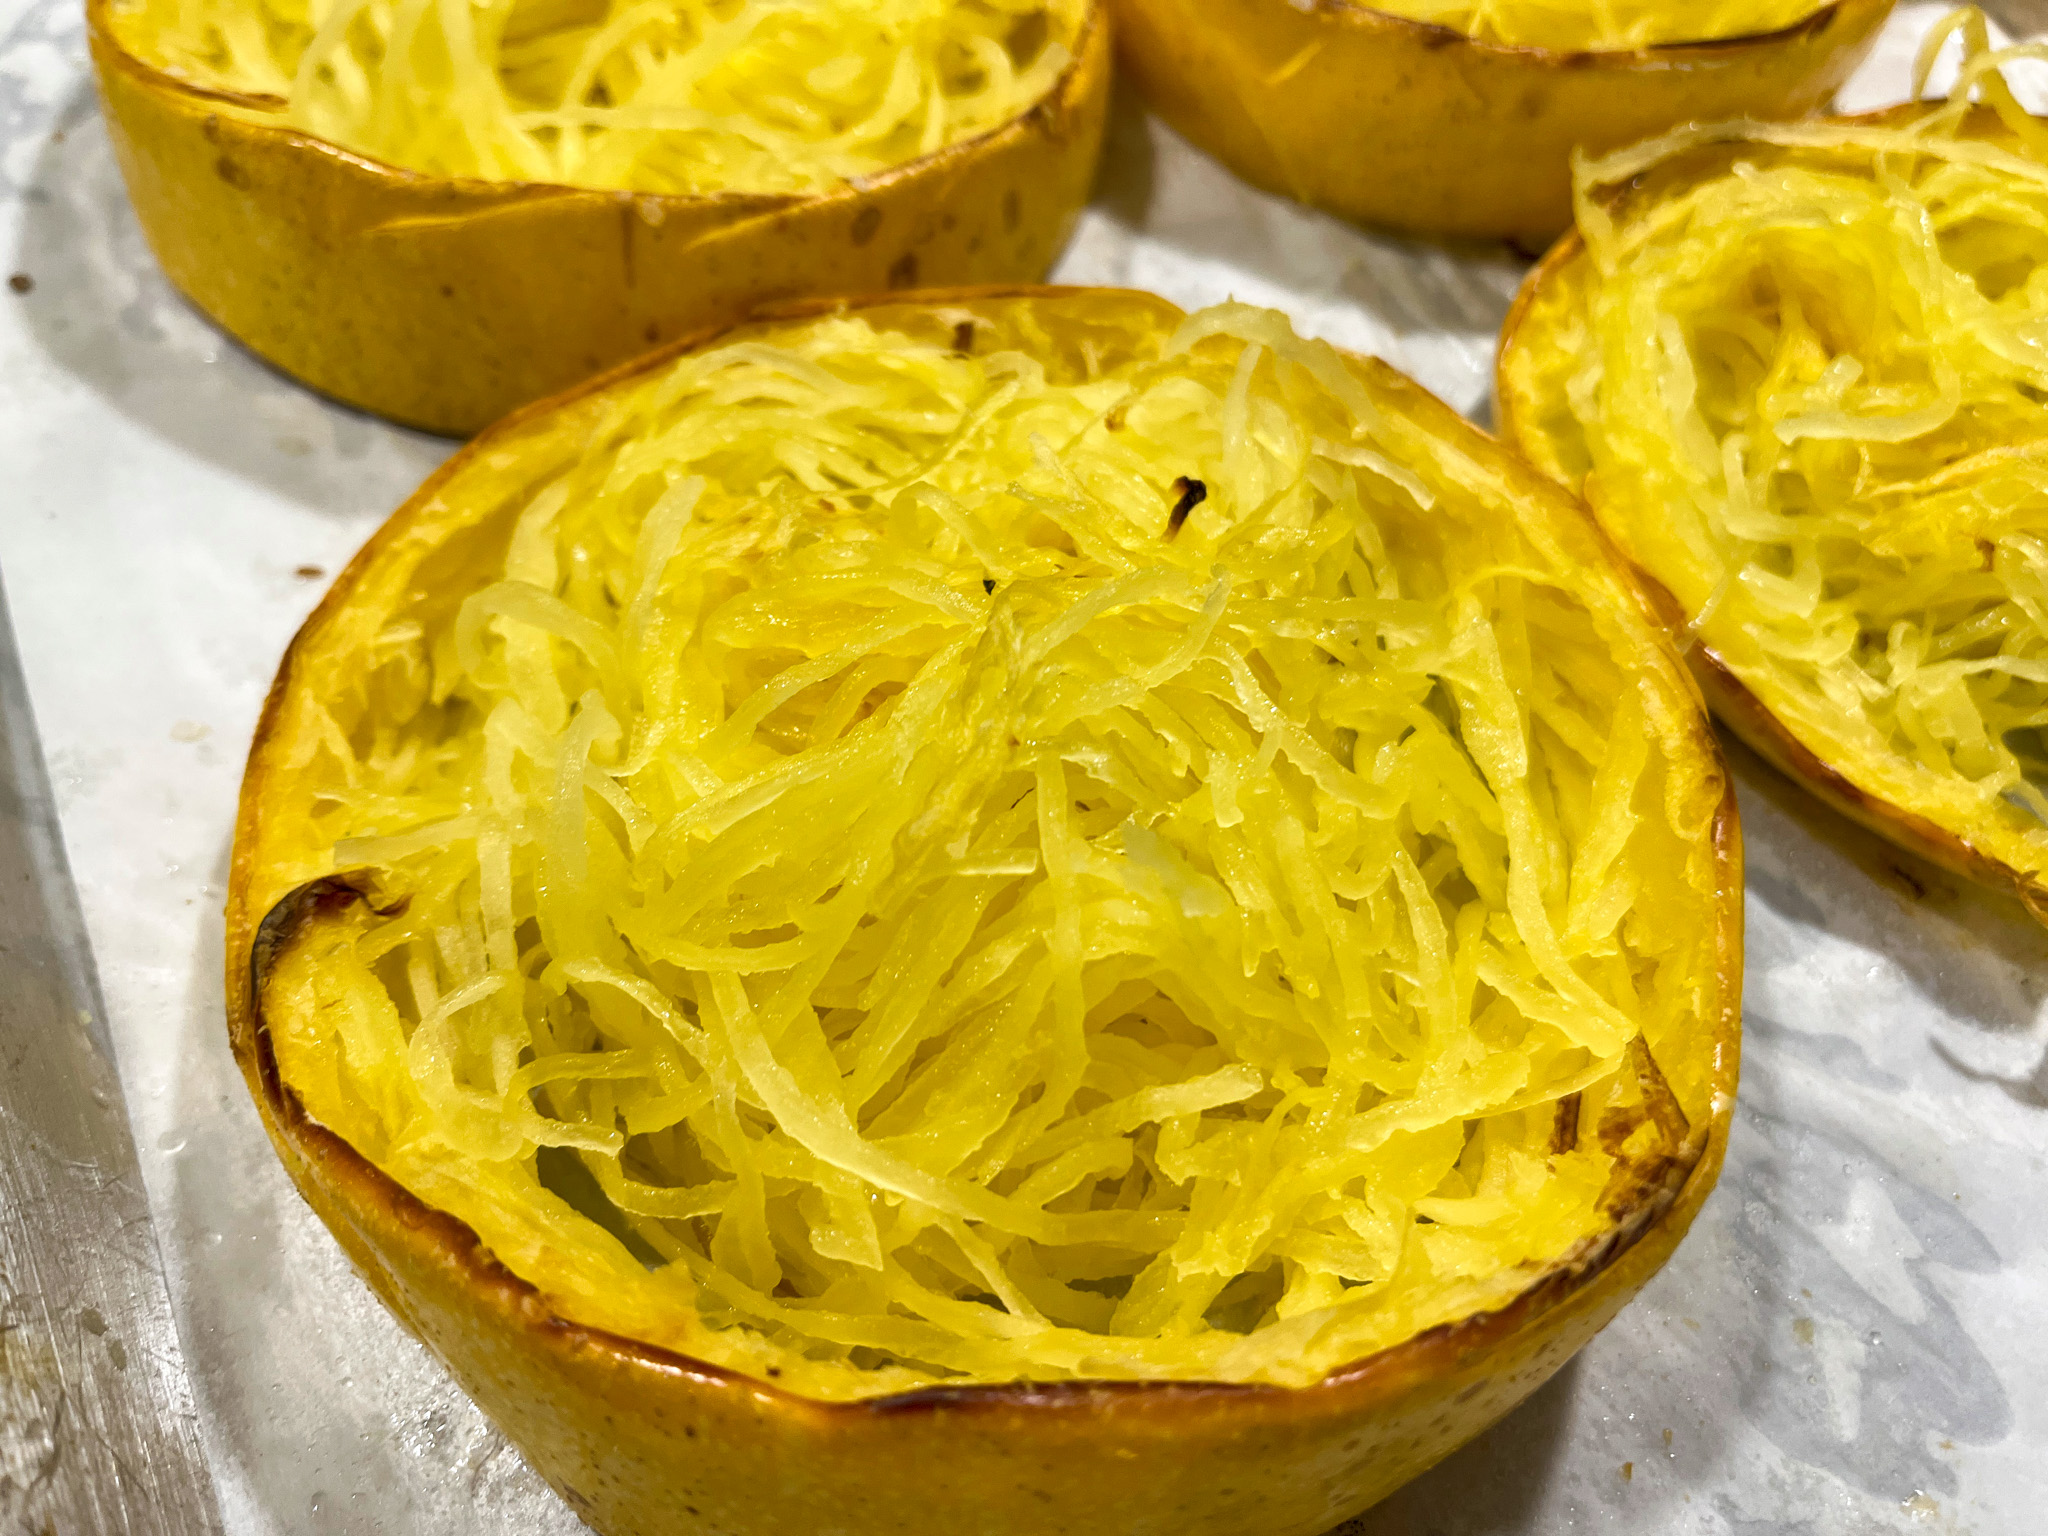
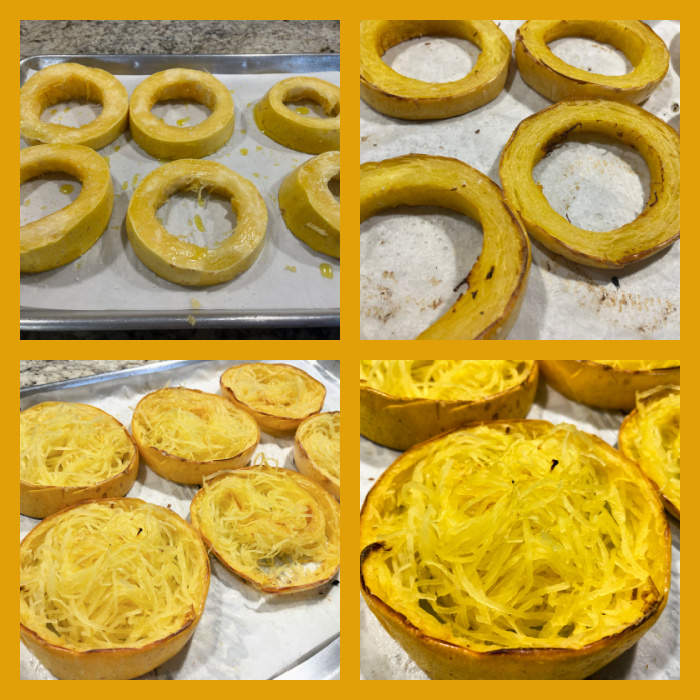
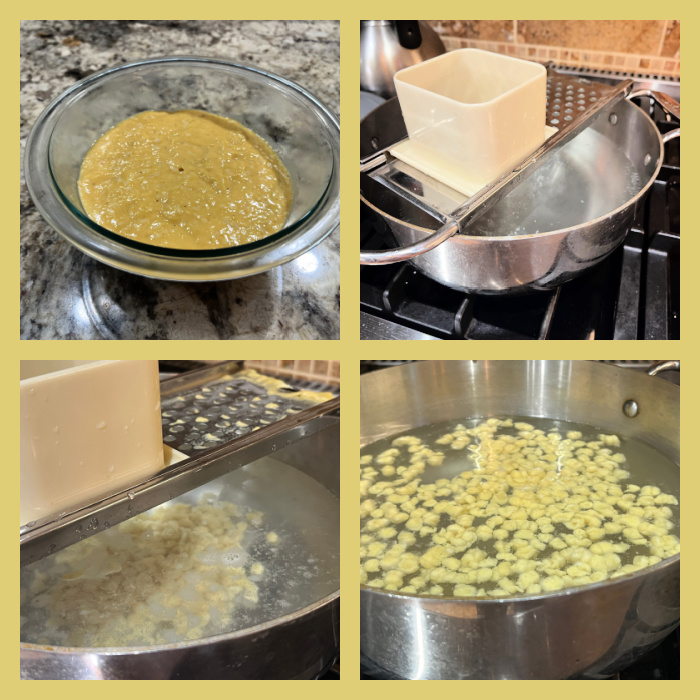
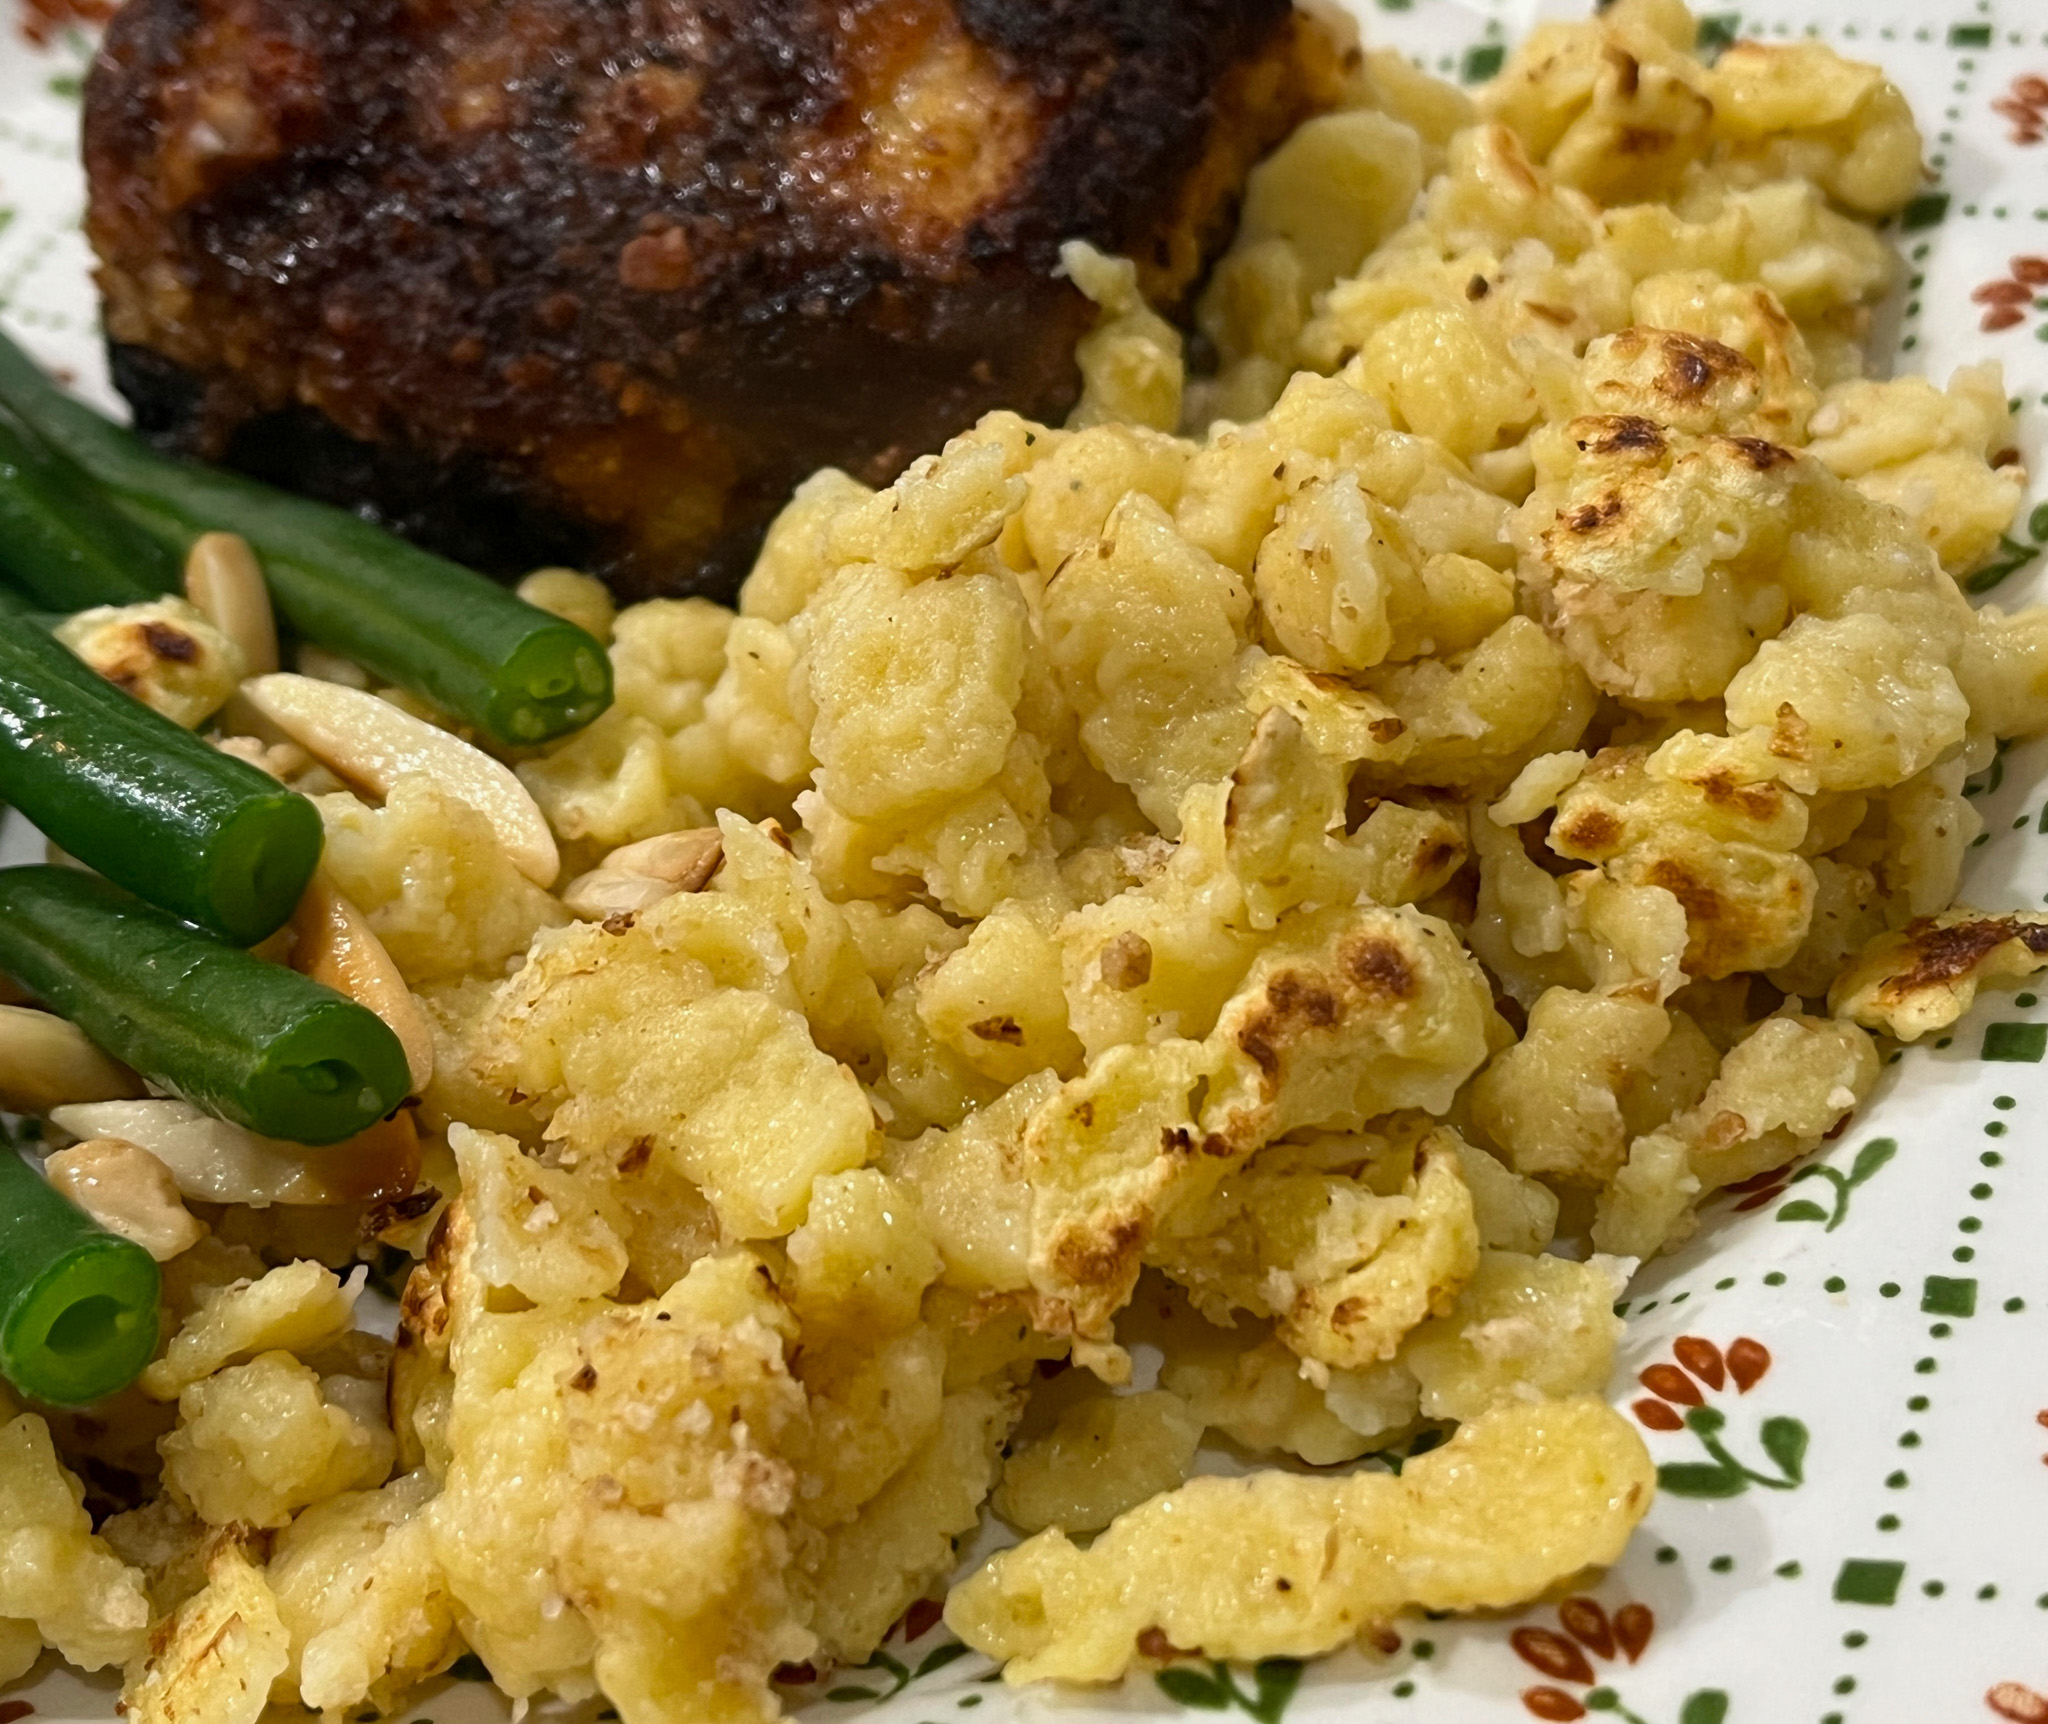
1 YEAR AGO: Spaetzle, a Classic Made Lighter
2 YEARS AGO: Chicken Roll-ups with Asparagus
3 YEARS AGO: Flower-Shaped Dinner Rolls
4 YEARS AGO: Pride Macarons
5 YEARS AGO: Blood Orange Macarons
6 YEARS AGO: One-Two-Three Macarons
7 YEARS AGO: Marshmallow Macarons
8 YEARS AGO: Fujisan Bread
9 YEARS AGO: Air-Fried Tomatoes with Hazelnut Pesto & Halloumi Cheese
10 YEARS AGO: Red Velvet Layered Cake
11 YEARS AGO: Lemon-Lavender Bars
12 YEARS AGO: Quinoa Fried Rice
13 YEARS AGO: Carrot Flan with Greens and Lemon Vinaigrette
14 YEARS AGO: The Secret Recipe Club: Granola Bars
15 YEARS AGO: Awesome Broccolini
16 YEARS AGO: A Twist on Pesto
17 YEARS AGO: Ciabatta: Judging a bread by its holes