Huge thank you to my dear friend Margie, who recommended this recipe. In fact, she often sends me recipes she loves, and they are always winners. This one I found particularly unusual because apart from the use of dill, which is a traditional match with salmon, corn and green beans seemed unexpected to me. And you know what? They work like a charm! Margie is a fantastic cook, world-traveler and great writer. I take this opportunity to share her substack site (click here), so you can subscribe (it is free!) and read about her adventures.

COCONUT-DILL SALMON WITH GREEN BEANS AND CORN
(slightly modified from New York Times)
1 (2-pound) salmon fillet (skin on or off)
2 tablespoons plus 1 teaspoon olive oil
salt and pepper to taste
1/2 cup unsweetened coconut cream
1tablespoons dark brown sugar
2 tsp sherry vinegar
1 teaspoon Dijon mustard
1 lemon
chopped fresh dill to taste (you can use up to 1/2 cup)
8 ounces green beans, trimmed
1 cup fresh corn kernels
1 pint cherry tomatoes, sliced into halves or quarters if large
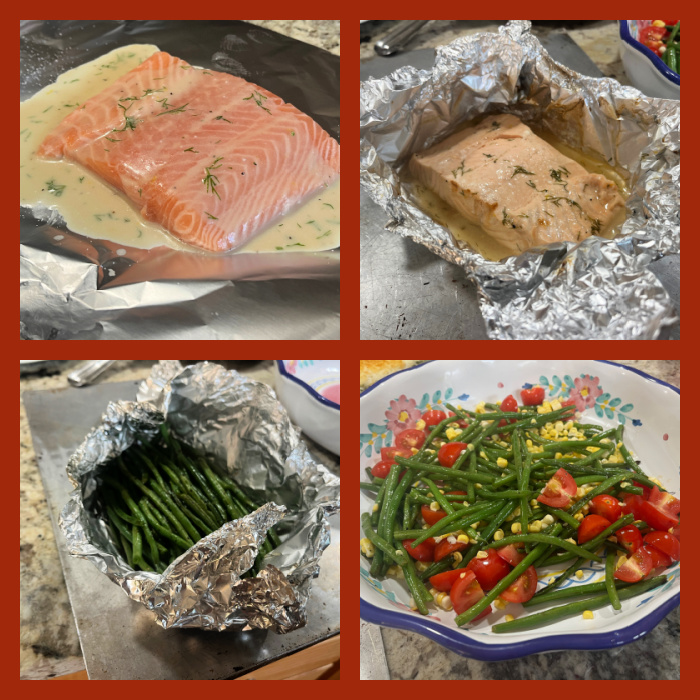
Heat an outdoor grill. Pat the fish dry with paper towels and place on a large strip of heavy-duty aluminum foil on a sheet pan. Drizzle with 1 tablespoon oil and sprinkle lightly with salt.
In a small bowl, combine the coconut cream, brown sugar, vinegar, mustard, 1 tablespoon oil, salt and pepper. Zest the lemon right into the bowl and squeeze in 1 tablespoons juice. Stir in the fresh dill. Pour half of the dressing over the fish and set the other half aside. Wrap the fish in the foil by turning up the sides and crimping them together to form a packet.
On another large strip of foil, toss the green beans with oil and a pinch each of salt and pepper. Wrap the beans in the foil to form a packet. Place both the salmon and green bean packets on the grill and cover if using a gas grill. Grill until the green beans and salmon are cooked through, about 10 minutes. Transfer the fish packet to a large serving platter and open the top.
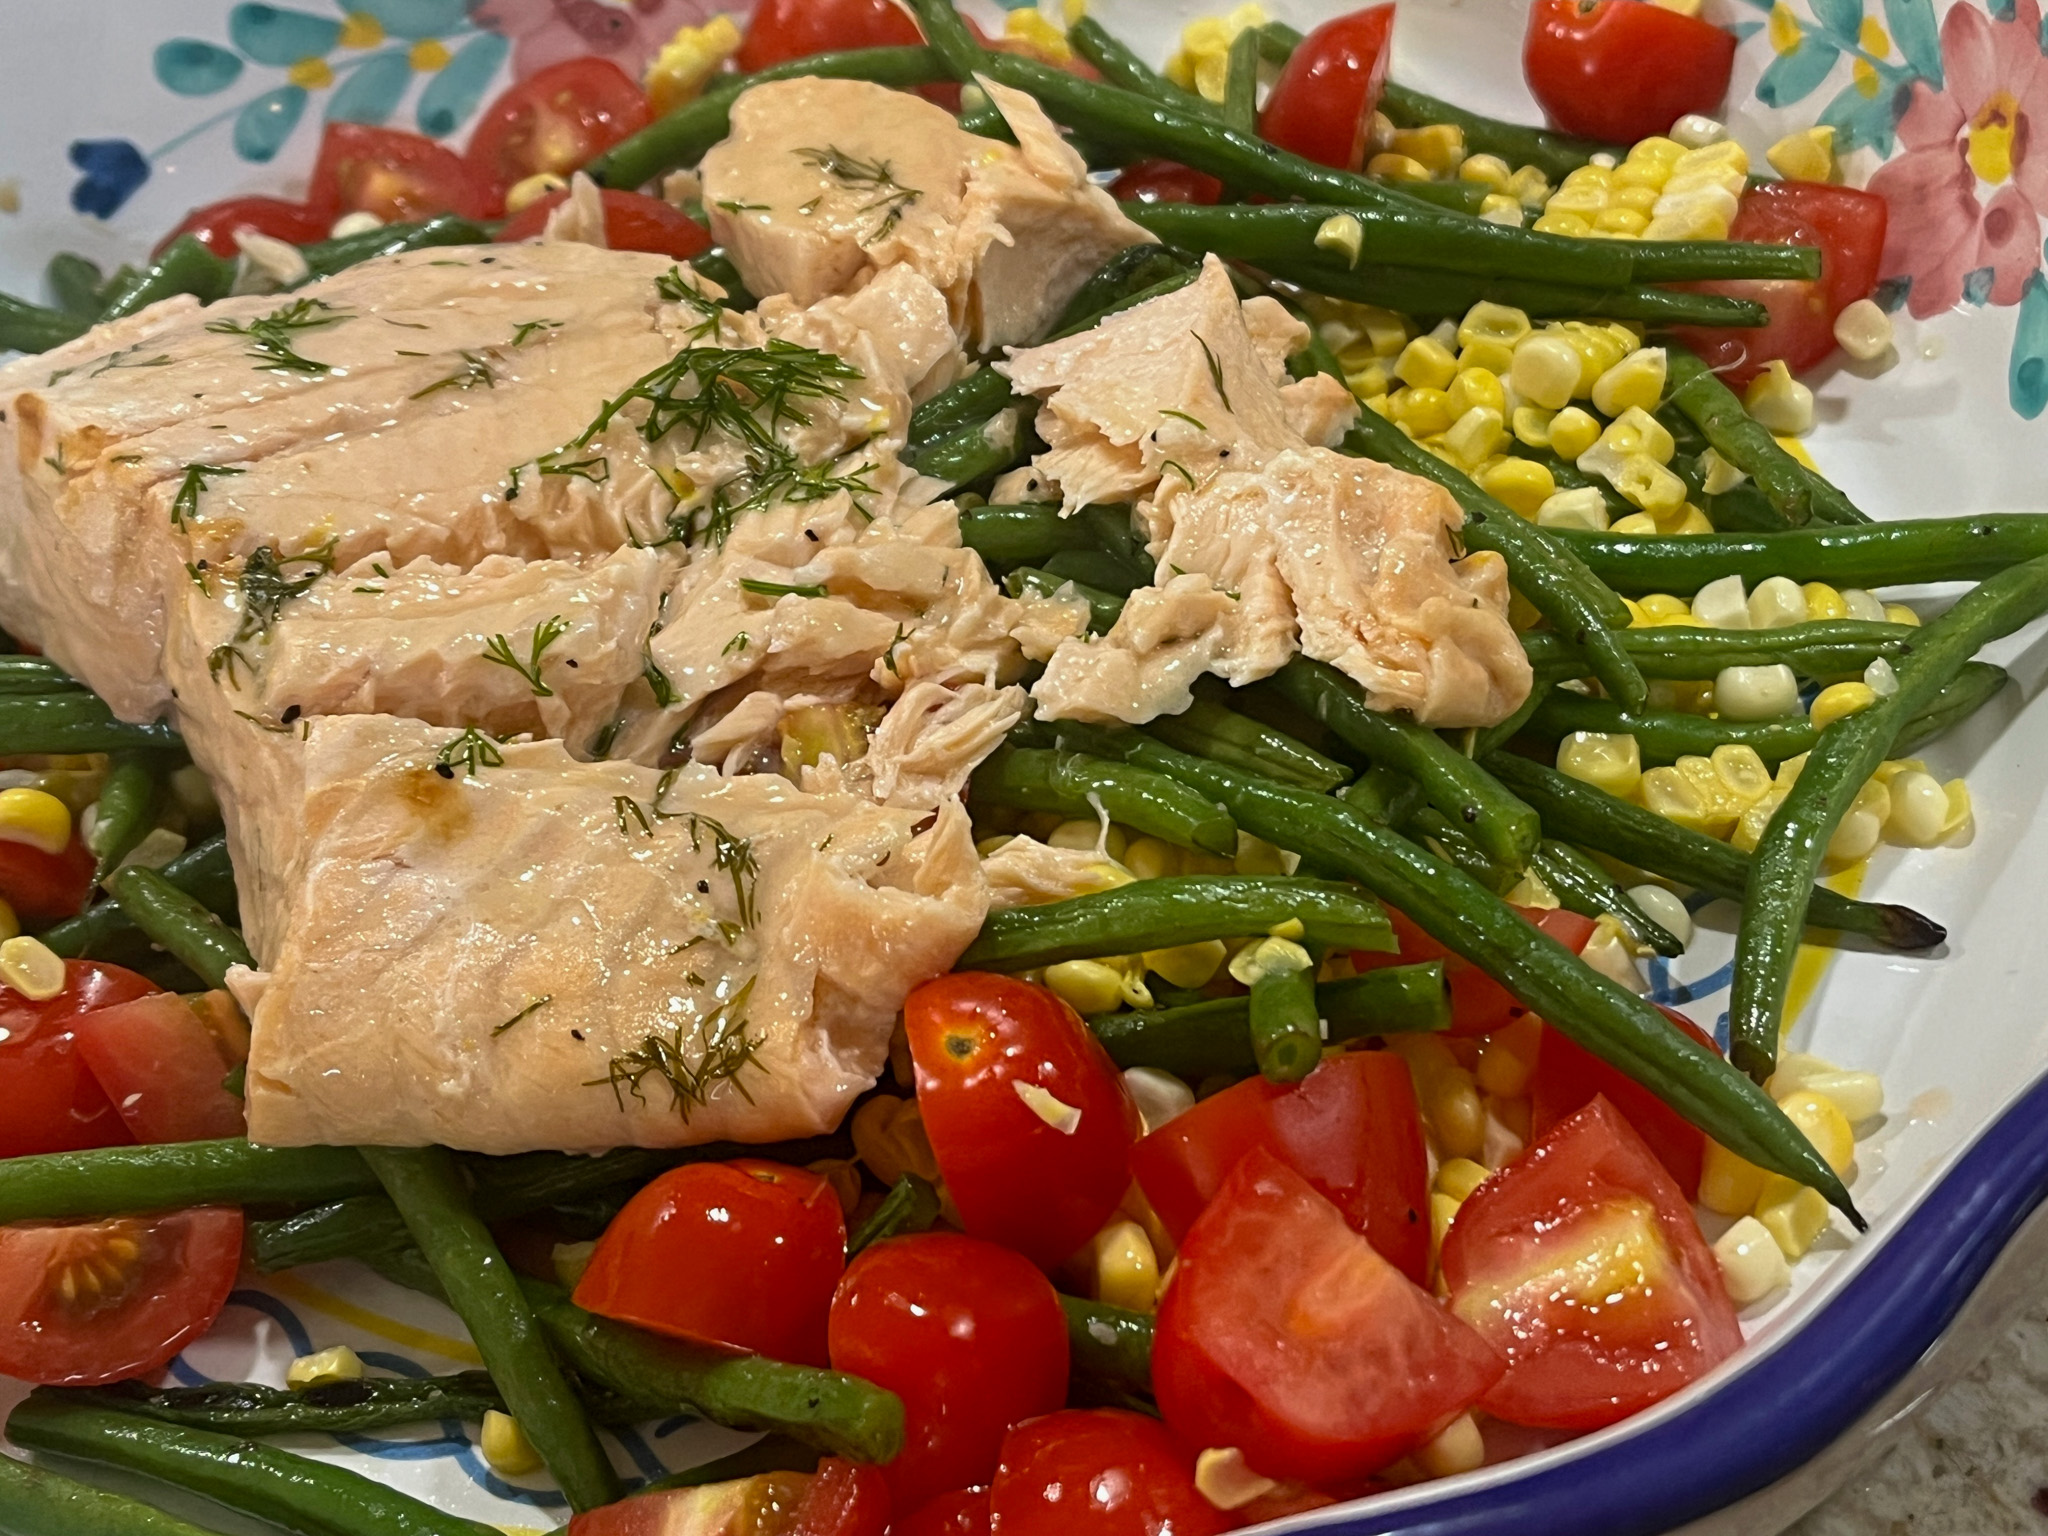
Open the green bean packet, transfer the beans to a large bowl and add the corn, tomatoes, more fresh dill, half of the reserved dressing and a pinch of salt. Toss to coat. To serve, top the fish with some of the vegetables and remaining dressing.
ENJOY!
to print the recipe, click here
Comments: I had never grilled green beans in a packet like that, and loved the result, it is so easy and mess-free, I will be making it often, whenever the main dish involves grilling. The salmon, cooked in the foil, developed a very soft texture, with the nice added bonus of the coconut sauce, a bit on the sweet-and-sour path. Perfect! If you have a ton of dill available use it, I did not and was a bit shocked at the price of dill at the grocery store, so I reduced the amount considerably. Margie told me she made the recipe again and used cilantro, and thought it was a nice twist, consider that as another possibility. Hardest part of the recipe? Getting the corn kernels off the cob, I am not particularly fond of that, but nothing beats the freshness of corn prepared that way. Go for it. I do have a perfect tool to help that job, so not sure why I am winning….
x
Margie, thanks for always inspiring me!
.
1 YEAR AGO: Salmon and Baby Bok Choy over Sushi Rice
2 YEARS AGO: The Pizzsalad
3 YEARS AGO: Prosciutto-Wrapped Chicken Breasts with Pickled Jalapeños
4 YEARS AGO: Dressing Up the Roll Cakes
5 YEARS AGO: Roasted Carrot and Barley Salad
6 YEARS AGO: Ode to Halva
7 YEARS AGO: Brazilian Pao de Queijo (re-blogged)
8 YEARS AGO: Apricot Linzer Torte
9 YEARS AGO: A Trio of Air-Fried Goodies
10 YEARS AGO: Focaccia with Grapes, Roquefort and Truffled Honey
11 YEARS AGO: Moroccan Carrot Dip Over Cucumber Slices
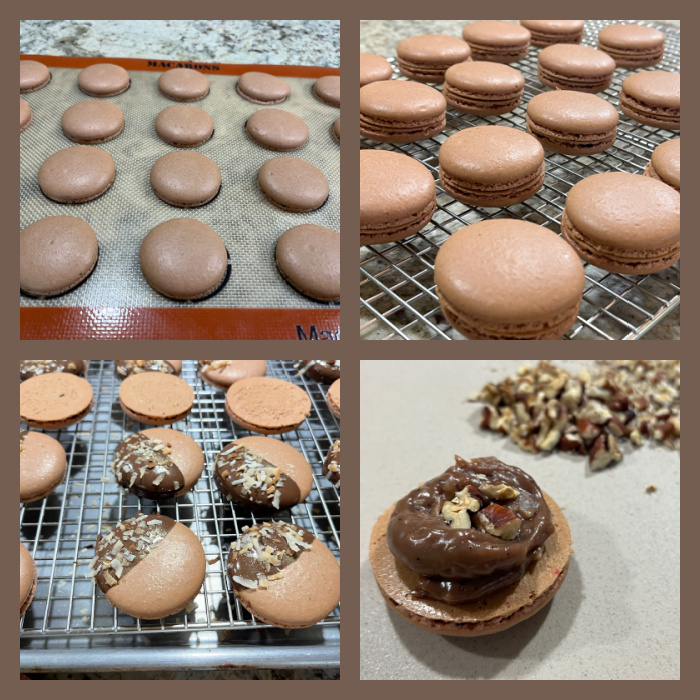
12 YEARS AGO: White Chocolate Macadamia Nut Cookies
13 YEARS AGO: Cilantro-Jalapeno “Hummus”
14 YEARS AGO:A Moving Odyssey
15 YEARS AGO:Hoegaarden Beer Bread
16 YEARS AGO: Ancho-Chile Marinade: Pleased to Meat you!
17 YEARS AGO: Shrimp Moqueca