COCONUT LAMINGTONS

Maybe you know Haniela from her amazing cookie decorating skills, but she goes way beyond that: she is an accomplished baker on all sorts of areas. One of her husband’s favorite desserts is the Australian classic, Lamington. Hani has used this recipe for a long, long time and her blog post about it makes this potentially intimidating concoction pretty straightforward to make. Check her detailed article here.

COCONUT LAMINGTONS
(from Haniela’s blog)

for the sponge cake:
2 + 1/3 cup all purpose flour (330 grams)
1 tbsp baking powder
1/2 tsp salt
4 large eggs, at room temperature
1 + 1/4 cup powdered sugar (150 grams)
6 tbsp oil (82-85 grams)
2 tbsp honey (45 grams)
1 tsp Vanilla Extract
1 cup milk, at room temperature (240-250 grams)

for the chocolate glaze:
2 + 1/2 cup powdered sugar (300 grams)
1/2 cup cocoa powder (50 grams)
6 tbsp milk (90-95 grams)
1 cup unsalted butter (226 grams)
1/2 tsp Vanilla Extract
unsweetened coconut (1 + 1/2 5oz bags)

Heat oven to 350°F.

Line a 9×13-inch cake pan with parchment. Into a bowl, combine all-purpose flour, baking powder and salt. Set aside.

In a large bowl, beat 4 large eggs with powdered sugar on medium-high, for 5-8 minutes, until pale in color. Then gradually beat in oil untill well combined. Then beat in honey and lastly add vanilla extract. Beat well. Gradually, on medium speed beat in flour mixture, alternating with room-temperature milk.

Pour cake batter into a prepared 9×13 inch cake pan. Use a spatula to evenly distribute the batter into a pan. Bake the cake for 20-25 minutes, until a toothpick inserted in the center comes out clean. Cool the cake in the pan for 5-10 minutes. Invert the cake onto a cooling rack, cover it with a kitchen towel, and cool completely.

Trim the sides of the cake, about 1/4 to 1/2 inch off each side. Then cut the cake into 2-inch squares. Cover with a towel while you prepare the chocolate glaze so teh cake doesn’t crust around the edges.

Make the glaze: In a saucepan, combine powdered sugar, cocoa powder and milk. Heat on low heat until completely melted and smooth. Then, gradually add cut-up butter and heat the glaze until all the butter is melted. Whisk until the glaze is homogeneous. Remove from the heat, stir in vanilla extract. Keep chocolate glaze warm for dipping. Glaze thickens as it cools, simply warm it up as needed.

Pour glaze into a bowl, dip one square cake at a time. Use a fork to help you turn the cake to coat. Then let the cake sit on a fork and tap the fork or your wrist to release any excess glaze, allowing it to drip back into a bowl. Coat each glazed cake square in coconut.

ENJOY!

to print the recipe, click here

Comments: The sponge cake component was a total dream to work with, perfect bake, flat, allowing me to cut square pieces without any struggle. I made the cake the day before, kept it covered with Saran wrap and a towel at room temperature. Next morning I cut the pieces, glazed and coated them with coconut. My advice is to work near a sink, rinse and dry your fingers after each piece that gets coated. It is a messy process but I thought it was going to be much worse. To coat in coconut, I dropped the glazed piece on the bowl, then used a fork to flip it. At that point I could hold the piece with my fingers touching the two sides that already had coconut on them, and coated the sides turning the piece with my hand. That worked well, using a fork was just too awkward for me. I donated the whole batch, but whenever I make a recipe for the first time, I save one for me and the husband to taste. Two thumbs all the way up, moist cake, delicious coating, chocolate and coconut make a wonderful match. I really hope you give Haniela’s recipe a try, it is a nice baking project to tackle, and you will feel quite accomplished later…

1 YEAR AGO: Mexican Conchas

2 YEAR AGOS: Red Velvet Sugar Cookies, Three Ways

3 YEARS AGO: Lemon Macarons

4 YEARS AGO: Thai Chicken with Peanut Sauce

5 YEARS AGO: Baharat Flower Sourdough

6 YEARS AGO: Biscoitinhos de Canela

7 YEARS AGO: Salmon Tacos

8 YEARS AGO: The Chignon

9 YEARS AGO: Rack of Lamb Sous-Vide with Couscous Salad

10 YEARS AGO: Focaccia with Grapes, Roquefort and Truffled Honey

11 YEARS AGO: Moroccan Carrot Dip over Cucumber Slices

12 YEARS AGO: White Chocolate Macadamia Nut Cookies

13 YEARS AGO: Cilantro-Jalapeno “Hummus”

14 YEARS AGO:A Moving Odyssey

15 YEARS AGO:Hoegaarden Beer Bread

16 YEARS AGO:
 
Ancho-Chile Marinade: Pleased to Meat you!

17 YEARS AGO: Shrimp Moqueca

NUTELLA TARTLETS

I saw these adorable tartlets on Instagram, fell in love and could not wait to try and make them myself. I invite you to follow Joyce, she is a wonderful baker, endless source of inspiration.

NUTELLA TARTLETS
(from @joyfulhomecooking)

for the dough:
1¾ cups flour
½ cup sugar
1 tsp baking powder
1 egg, room temperature
1 egg yolk, room temperature
½ cup + 2 tbsp butter, room temperature

for the filling:
1 cup Nutella

In a bowl mix the flour, sugar and baking powder, add the egg, yolk and butter and bring the dough together. Wrap and chill for 30 minutes.

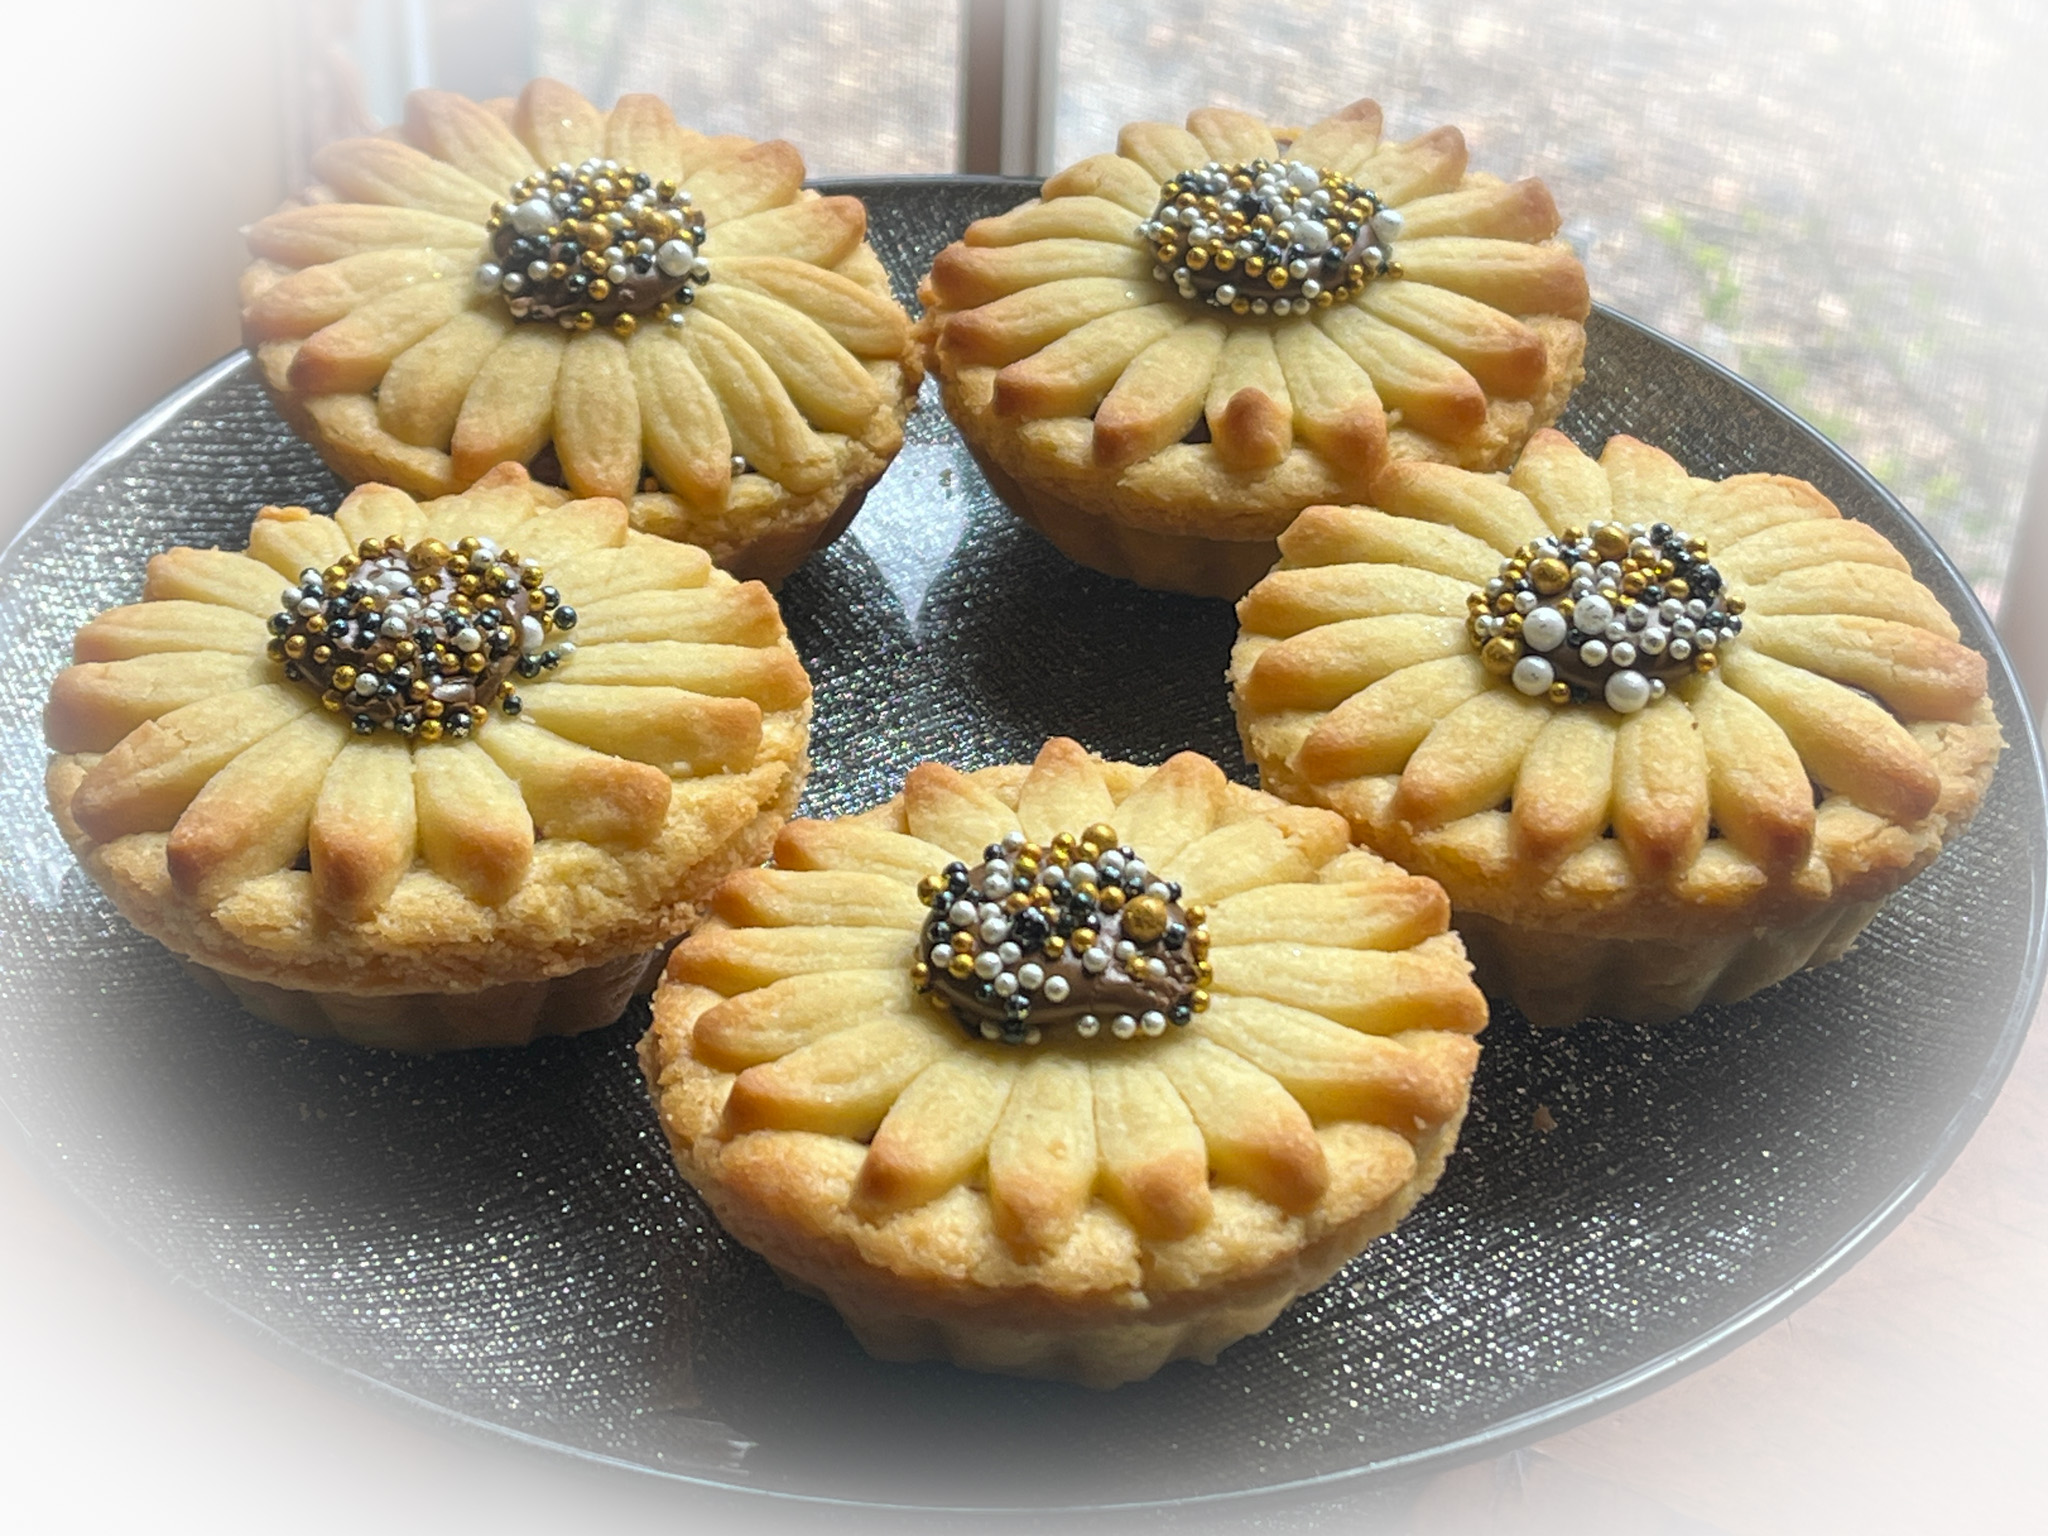
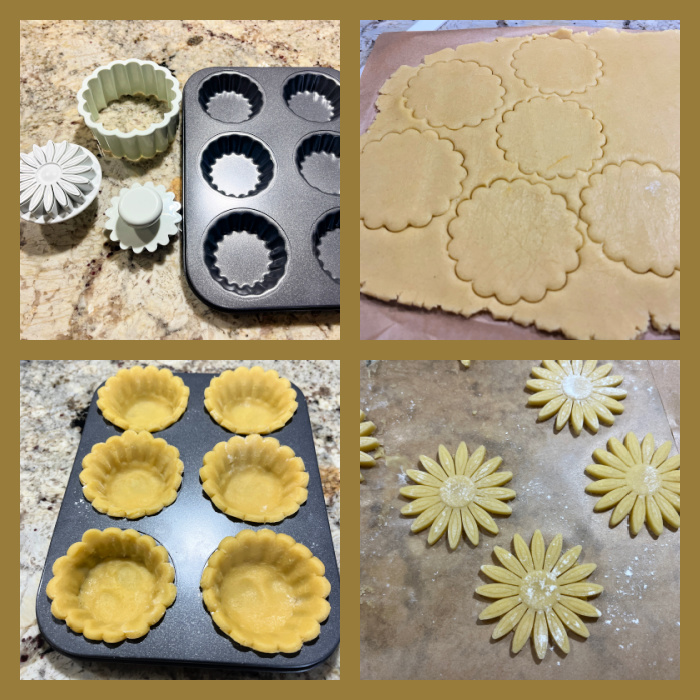
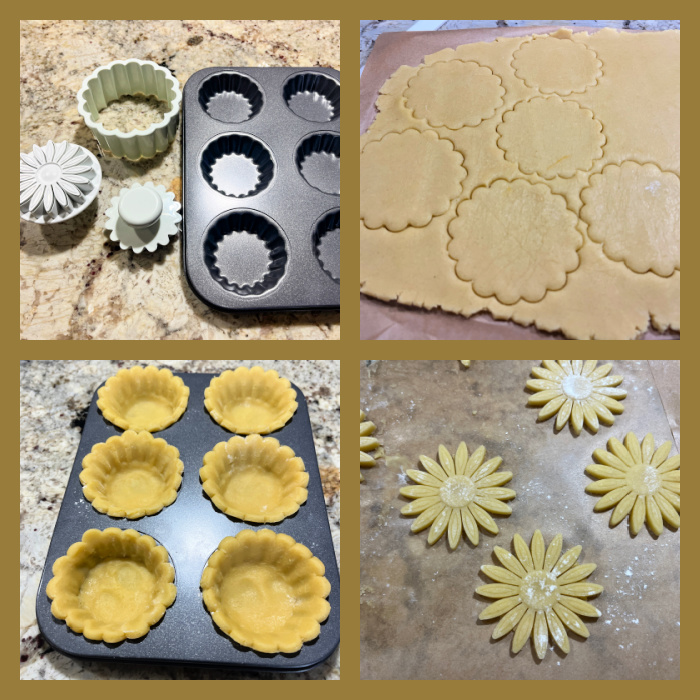
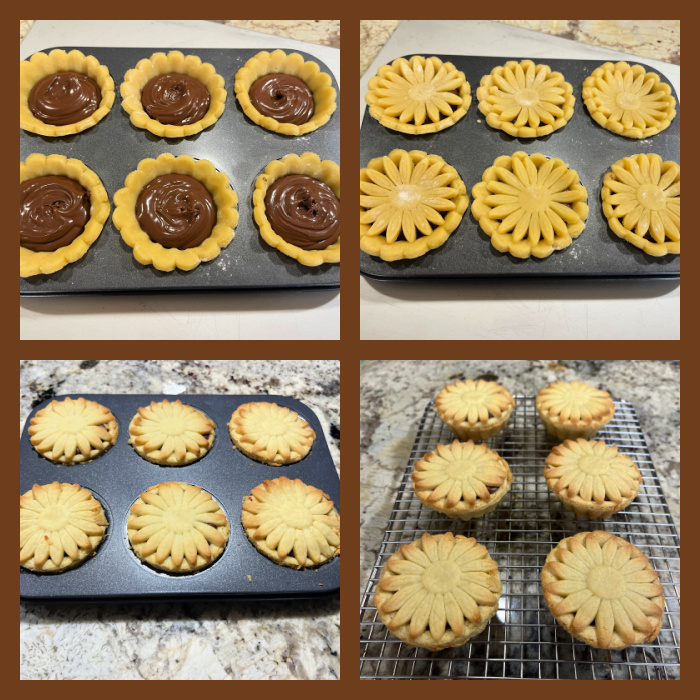
Roll the dough and cut circles, place them in a muffin pan. Fill with hazelnut spread. Cut sunflower shapes from the remaining dough using a cookie cutter and place on top.

Bake at 350F until lightly golden.

ENJOY!

to print the recipe, click here

Comments: To make these tartlets, I used two special gadgets: this set of baking pan from Evilcakegenius and this cookie cutter from PME. The dough was a pleasure to work with, I had no issues to roll, shape and cut the top shape.

It does get soft quickly, so you need to work with it while still cold and try to be fast, but if at any moment things get out of control, stick everything in the fridge for 10 minutes. Make sure to chill the cut daisy tops before moving them around, and be gentle, use a thin spatula to help you out.

I did not cut the center out as Joyce did, because I forgot. So I just improvised a little decoration on top instead. I intend to make them again in the near future, as they were a big hit. However, I might use a shallower tartlet format because they were truly super rich with the Nutella filling. Maybe a smaller version will work even better. Keep that in mind. One last thought, after Eha’s comment on the problems of Nutella and palm oil, I realize that not only there is a palm-free alternative, but I do have it in my pantry and it is pretty delicious: Soom spread, available here. You can avoid palm oil, but it is almost impossible to avoid the Amazon Evil Empire (sigh).
.

1 YEAR AGO: Air-Fried Eggplant Sticks with Tahini Sauce

2 YEARS AGO: Savory Crepes for a Light Dinner

3 YEARS AGO: My First Video Tutorials

4 YEARS AGO: Citrus and Herbs Roasted Chicken Thighs

5 YEARS AGO: Springtime Piped Flower Macarons

6 YEARS AGO: Charcoal Sourdough

7 YEAR AGO: Smokin’ Hot Meatloaf and Homemade Ketchup

8 YEARS AGO: Ispahan Macarons

9 YEARS AGO: Banana Bread with Espresso Glaze

10 YEARS AGO: Slow-Cooker Carnitas & Paleo Planet Cookbook Review

11 YEARS AGO: The Making of a Nobel Reception

12 YEARS AGO: Fennel Soup with Almonds and Mint 

13 YEARS AGO: Green Curry Pork Tenderloin

14 YEARS AGO: Farfalle with Zucchini and Ricotta

15 YEARS AGO: Slow-baked Salmon with Lemon and Thyme

16 YEARS AGO: Hoisin Explosion Chicken

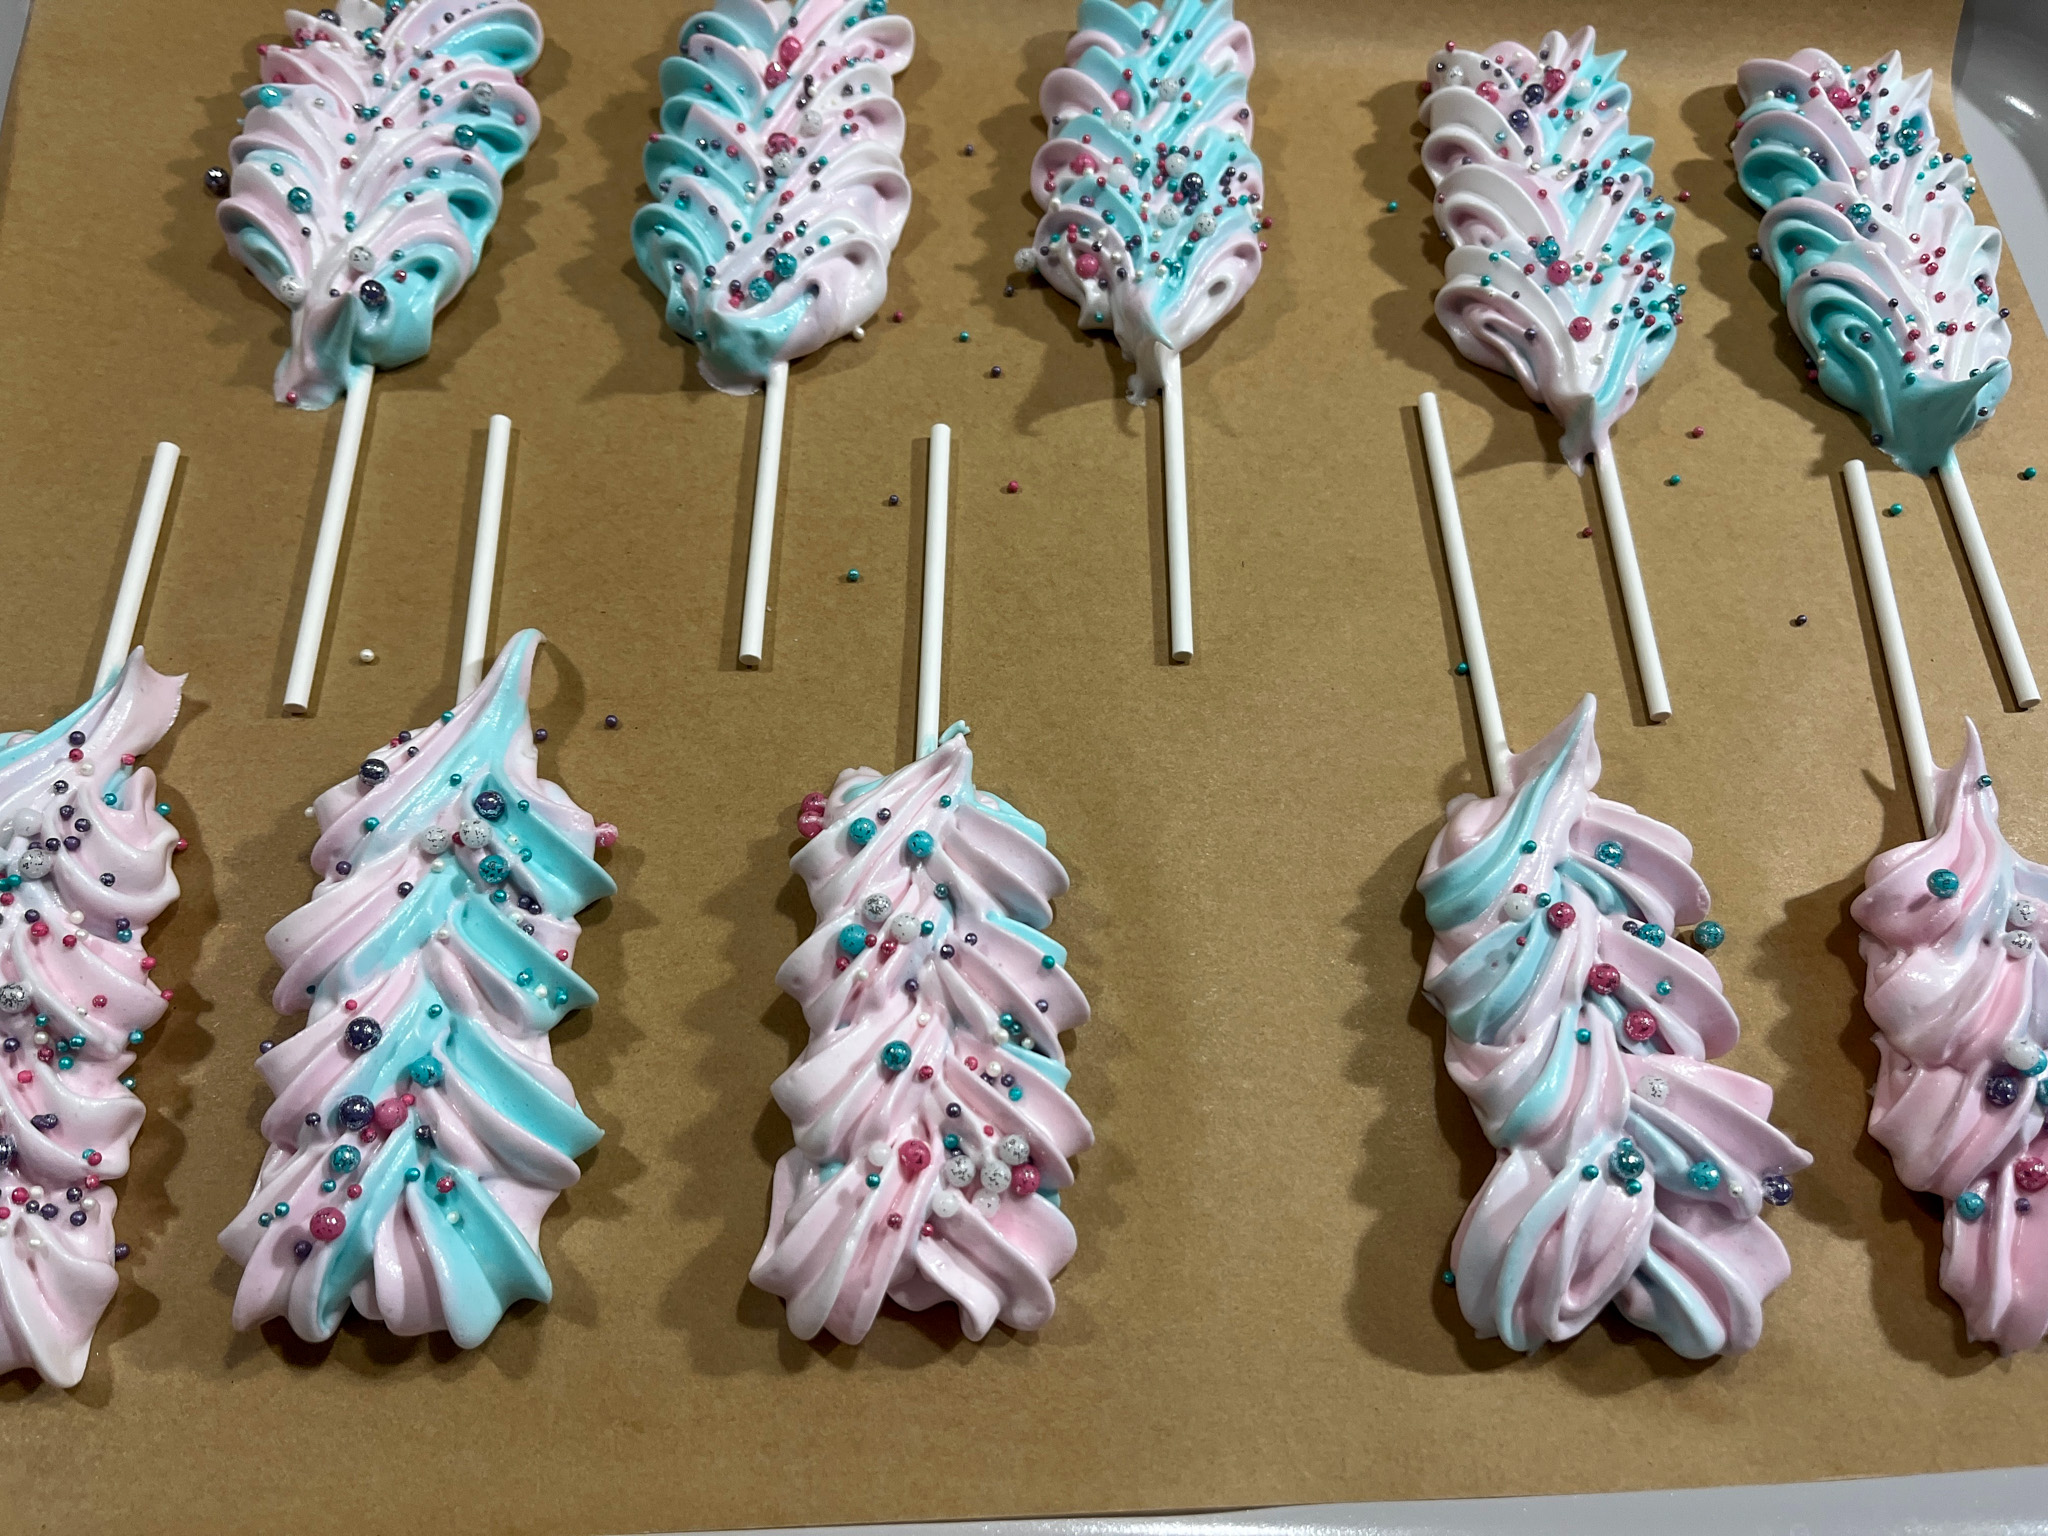
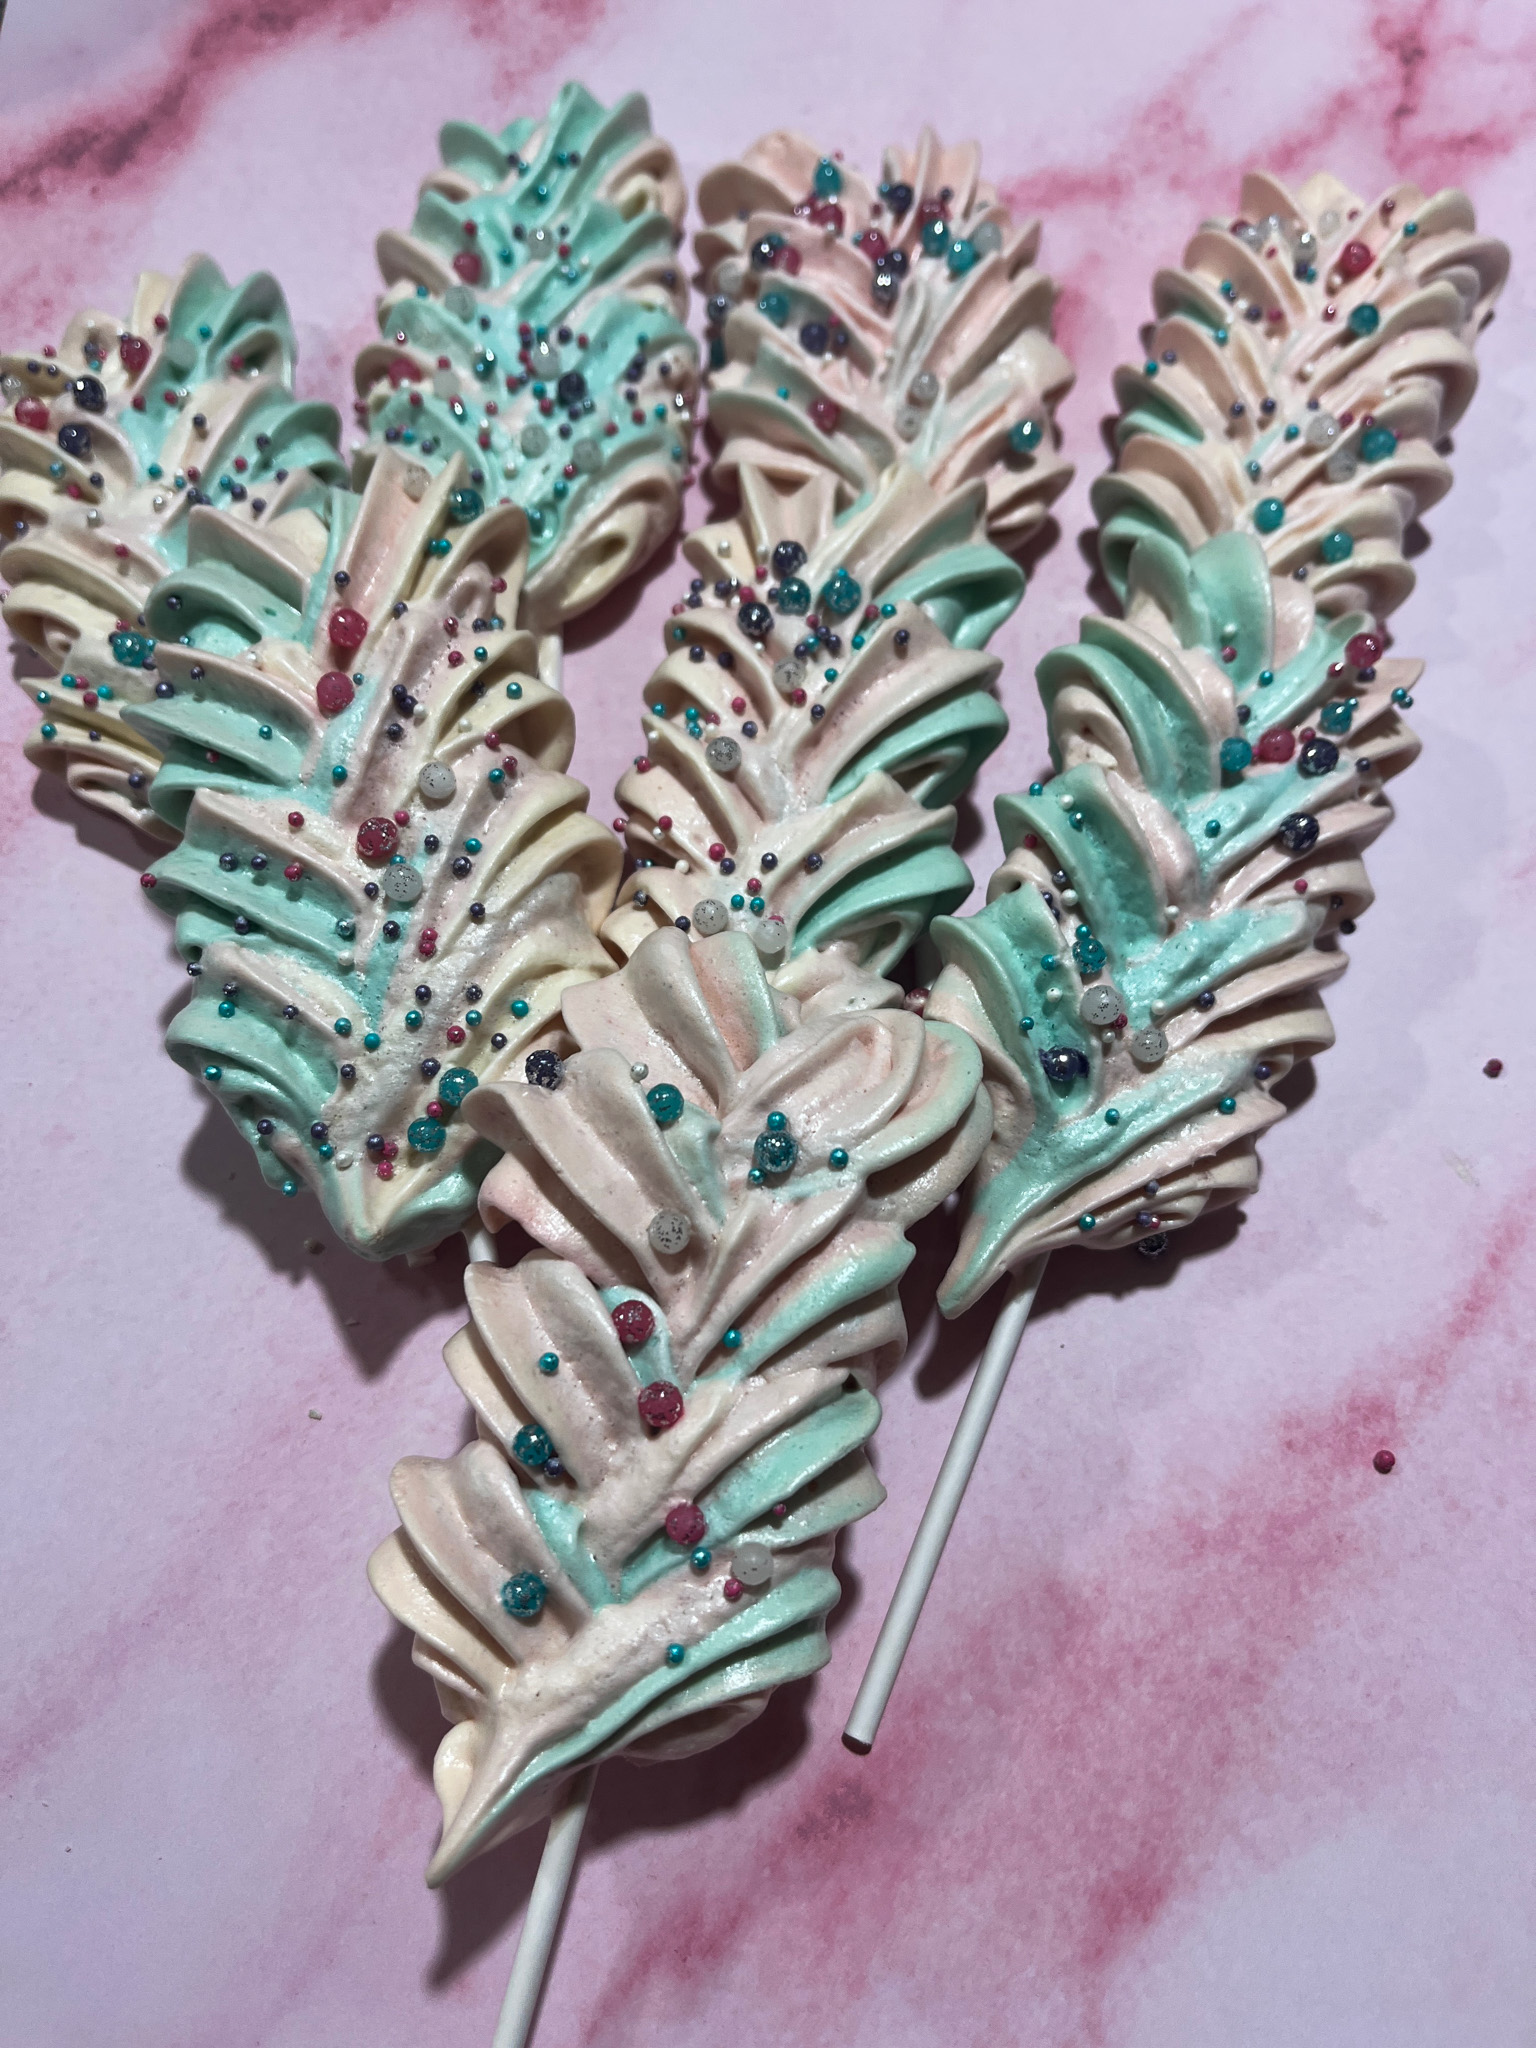
MERINGUE LOLLIPOPS

These could easily fit into the Incredibly Simple category, but the outcome will make you seem like the most accomplished baker ever!

MERINGUE LOLLIPOPS
(from The Bewitching Kitchen)

2 large egg whites
1/8 teaspoon cream of tartar
Pinch of salt
1/2 cup granulated sugar (100g)
1 teaspoon vanilla extract
pink and turquoise gel color


Position two oven racks towards the center of the oven and heat the oven to 200ºF. Cover a large baking sheets with parchment paper aside.

To the bowl of a stand mixer fitted with a whisk attachment, add the egg whites, cream of tartar, and salt. Begin mixing on low speed gradually increasing to medium. Once the egg whites start to become frothy, about 30 seconds, slowly add the granulated sugar in three portions, continuing to whisk. Once all the sugar is incorporated, add the vanilla.

The meringue is done once the sugar has fully dissolved and it has a thick texture that holds a nice peak, about 10 to 15 minutes. Separate the batter in three portions, dye 1/3 pink, 1/3 turquoise, leave 1/3 plain. You are aiming for a pastel tone, so use just a small amount, preferably adding the color with the tip of a toothpick.

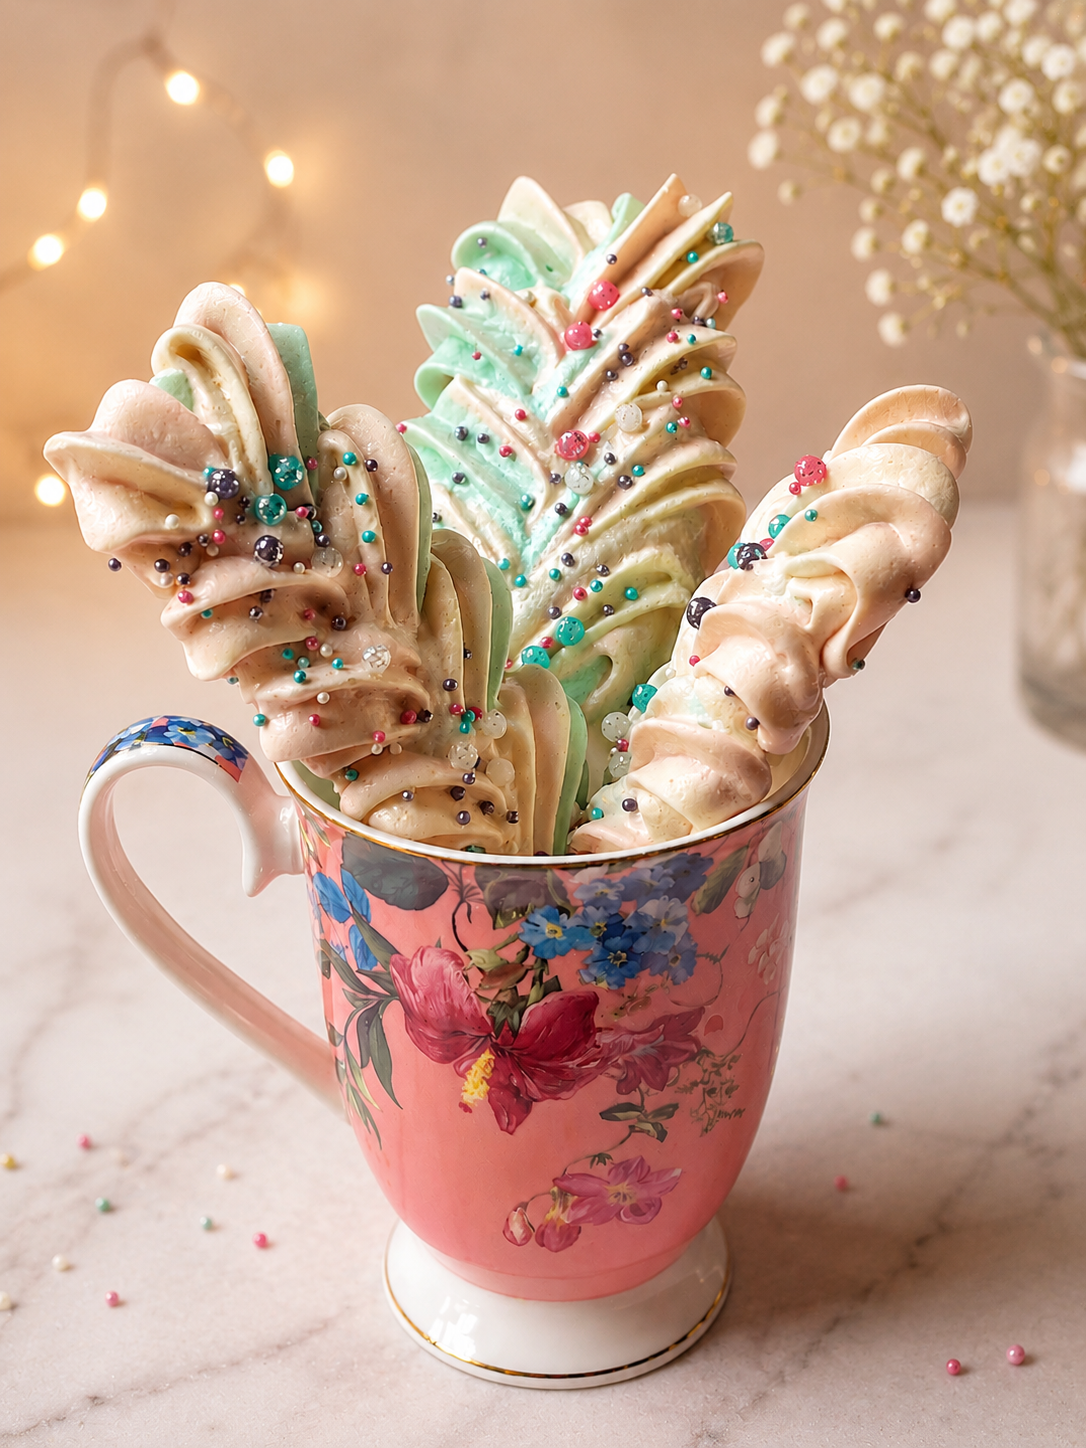
Transfer the meringue as three lines side by side on a plastic wrap. Roll the wrap like a sausage and insert into a large piping bag fitted with 1M tip. Lay small sticks (oven-safe) on the parchment paper and pipe swirls over the sticks. Immediately add decorative sprinkles.

Bake for 1 hour to 1h and 30 minutes. Turn the heat off and leave the lollipops in the oven for another hour to fully dry. They will lift easily from the paper once they are fully cool.

ENJOY!

to print the recipe, click here

Comments: Meringue recipes are a lot more forgiving than many people imagine. The ratio of sugar to egg whites will determine how dry the meringue will turn out, but also the amount of time you bake it influences that outcome. You can start – if you want to do it by weight – with 1 part of egg whites to 2 parts of sugar – although my version used slightly higher amount of sugar. It all works in the end. If you prefer a softer bite, use less sugar and bake for a shorter amount of time. It is important to dry them fully so that they can be handled without any sticky moisture on the surface.

And the cuteness level of meringue on a stick? Impossible to beat!

1 YEAR AGO: Happy Mother’s Day!

2 YEARS AGO: Mini-Turkey Loaves with Mushrooms

3 YEARS AGO: Baking Through the Blogosphere

4 YEARS AGO: Oriental Style Sesame Slaw

5 YEARS AGO: Revelation Veggie-or-Not Egg-Roll Bowl

6 YEARS AGO: Covid Update and Stayin’ Alive

7 YEARS AGO: A Brazilian Hummingbird

8 YEARS AGO: A Cookbook Review

9 YEARS AGO: Air-Fried Carrots, Two Ways

10 YEARS AGO: Sweet Potato Crust Quiche

11 YEARS AGO: Chicken Thighs with Artichokes and Capers

12 YEARS AGO: Pea Pancakes with Herbed Yogurt

13 YEARS AGO: Mushroom Stroganoff

14 YEARS AGO: Tomato Sourdough

15 YEARS AGO: Gamberetti con rucola e pomodori

16 YEARS AGO: Flirting with Orzo

BAKING WITH LOVE

Valentine’s Day is just about here! Today I share a few ideas to sweeten up this special weekend… Make sure to visit my cookie blog tomorrow for a series of cookies that celebrate love. And now, let’s get started, shall we?

.

x


VANILLA POUND CAKE WITH HIBISCUS GLAZE
(from The Bewitching Kitchen)

for the cake:
3 sticks (339g) unsalted butter, softened (room temperature)
8 oz Cream Cheese, at room temperature (one regular package)
2 + 1/2 cups (500g) sugar
1 tsp salt
2 tsp vanilla paste or extract
6 Eggs, at room temperature
3 cups (375g) flour

for the glaze:
3 tablespoons hibiscus tea
200g powdered sugar
squeeze of lemon juice

Heat oven to 325F.

Cream butter, cream cheese and sugar with hand mixer until light and fluffy. Pound cakes do not contain leavening agent, so make sure to work the butter until fluffy. Add salt and vanilla, beat well.
Add eggs one at a time, mixing after each addition. Gradually mix in the three cups of flour.

Pour into well greased bundt pan. Bake for about 90 minutes, covering with foil if the top gets too brown before a toothpick inserted in the center comes out clean.

Wait for 15 minutes before un-molding over a rack. Let the cake cool completely, then make a glaze whisking all the ingredients. Pour the glaze over the cake, decorate with sprinkles, if desired.

ENJOY!

to print the recipe click here


Comments: The Bundt pan I used is this one. Any cake will look good with a simple dusting of powdered sugar, but I decided to go with a light glaze and sprinkles.

x


If your heart is set on chocolate, but you don’t feel like a simple tray of brownies, here is a very cute idea… Bake the brownies in a heart-shape silicone mold, then use the same mold to coat each piece in chocolate (I went with compound chocolate dyed red). I used these molds to bake and coat the brownies. And my favorite recipe for the little cakes (check here).

When you bake the brownies, the bottom side, that touches the mold, will be super flat. You can flip them when you coat and place the non-flat side touching the chocolate. That will end up smooth, so both sides of your little cakes will be nice and flat.

So the process goes like this: bake the brownies, cool them completely in the mold. Freeze for 10 minutes to make sure the brownie will be nice and firm. Remove cakes. Wash the mold, dry well. Melt compound chocolate in the color of your choice, add a layer to the bottom of the mold and immediately insert the cake back. Push gently all the way down. Make sure you see the chocolate coming up a bit around the edges, no need to come all the way to the top. Freeze for 15 minutes. Un-mold, and decorate.

Once they are coated, you can pipe a drizzle of melted chocolate and add sprinkles.

.

.

x

No need for recipe, just a little festive decoration, made with Royal icing and sanding sugar. Leftover melted chocolate was used to form little hearts using this mold.

x

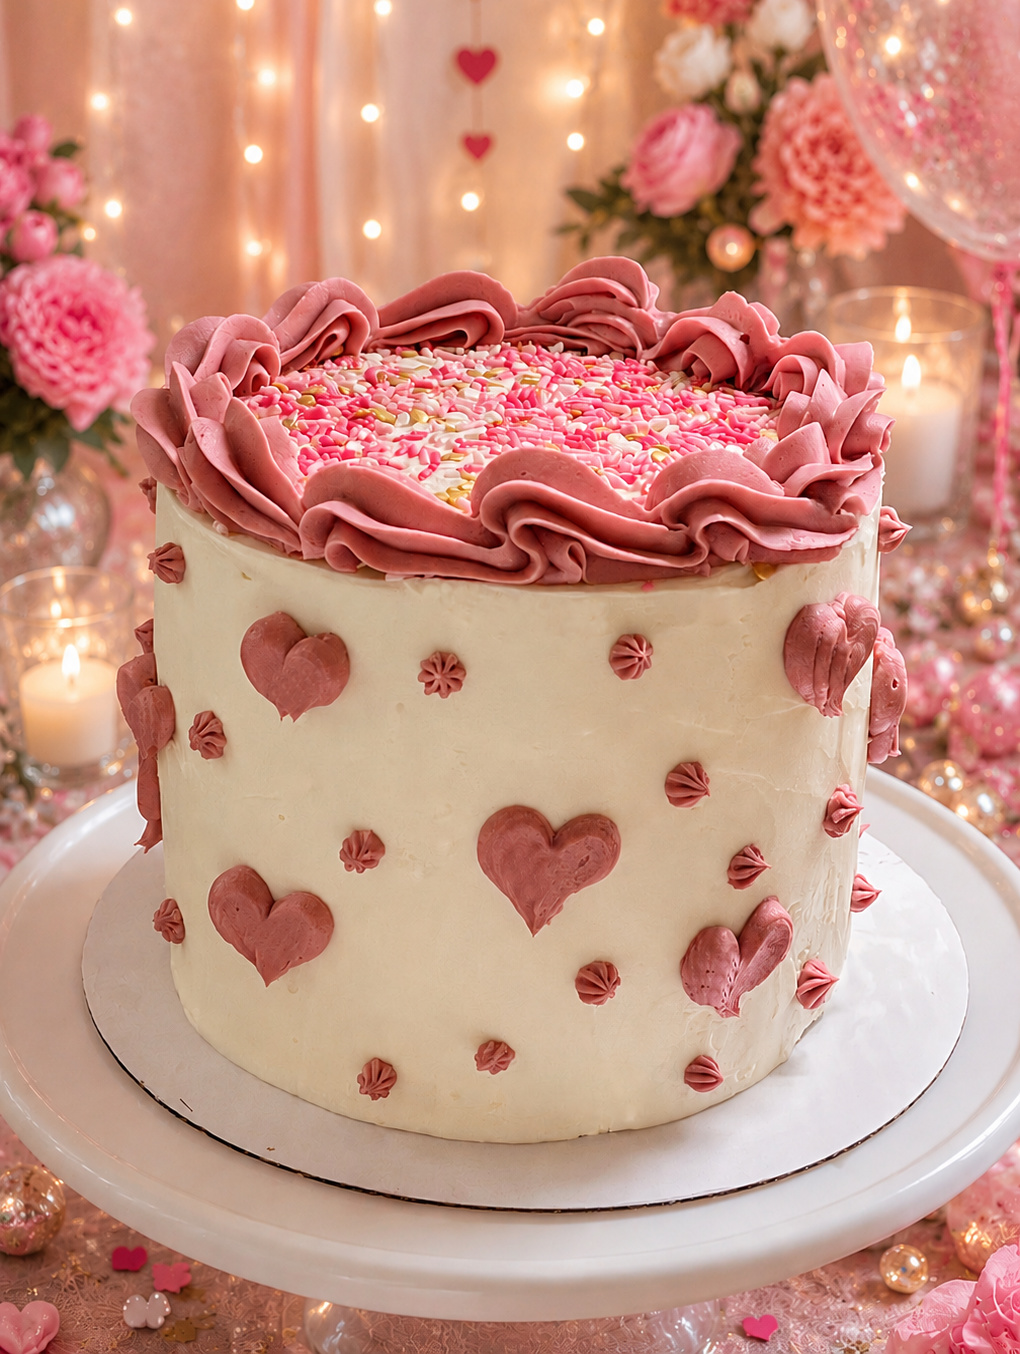
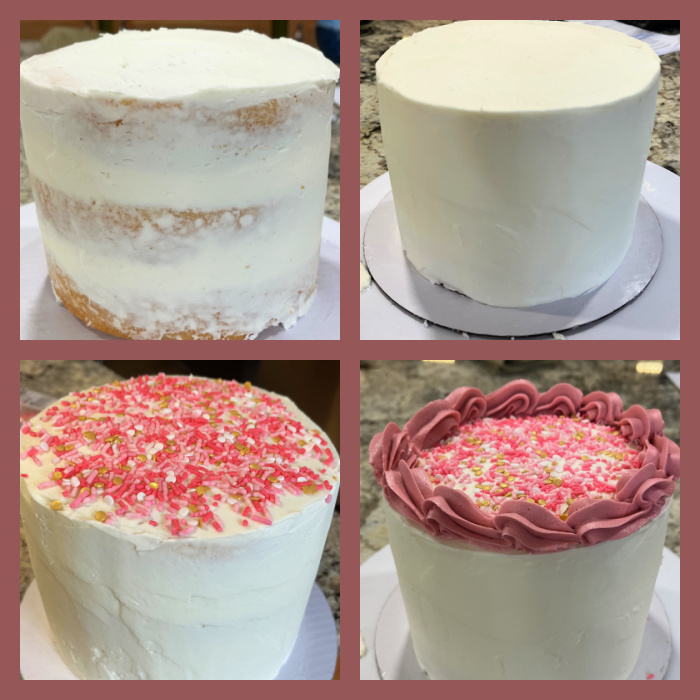
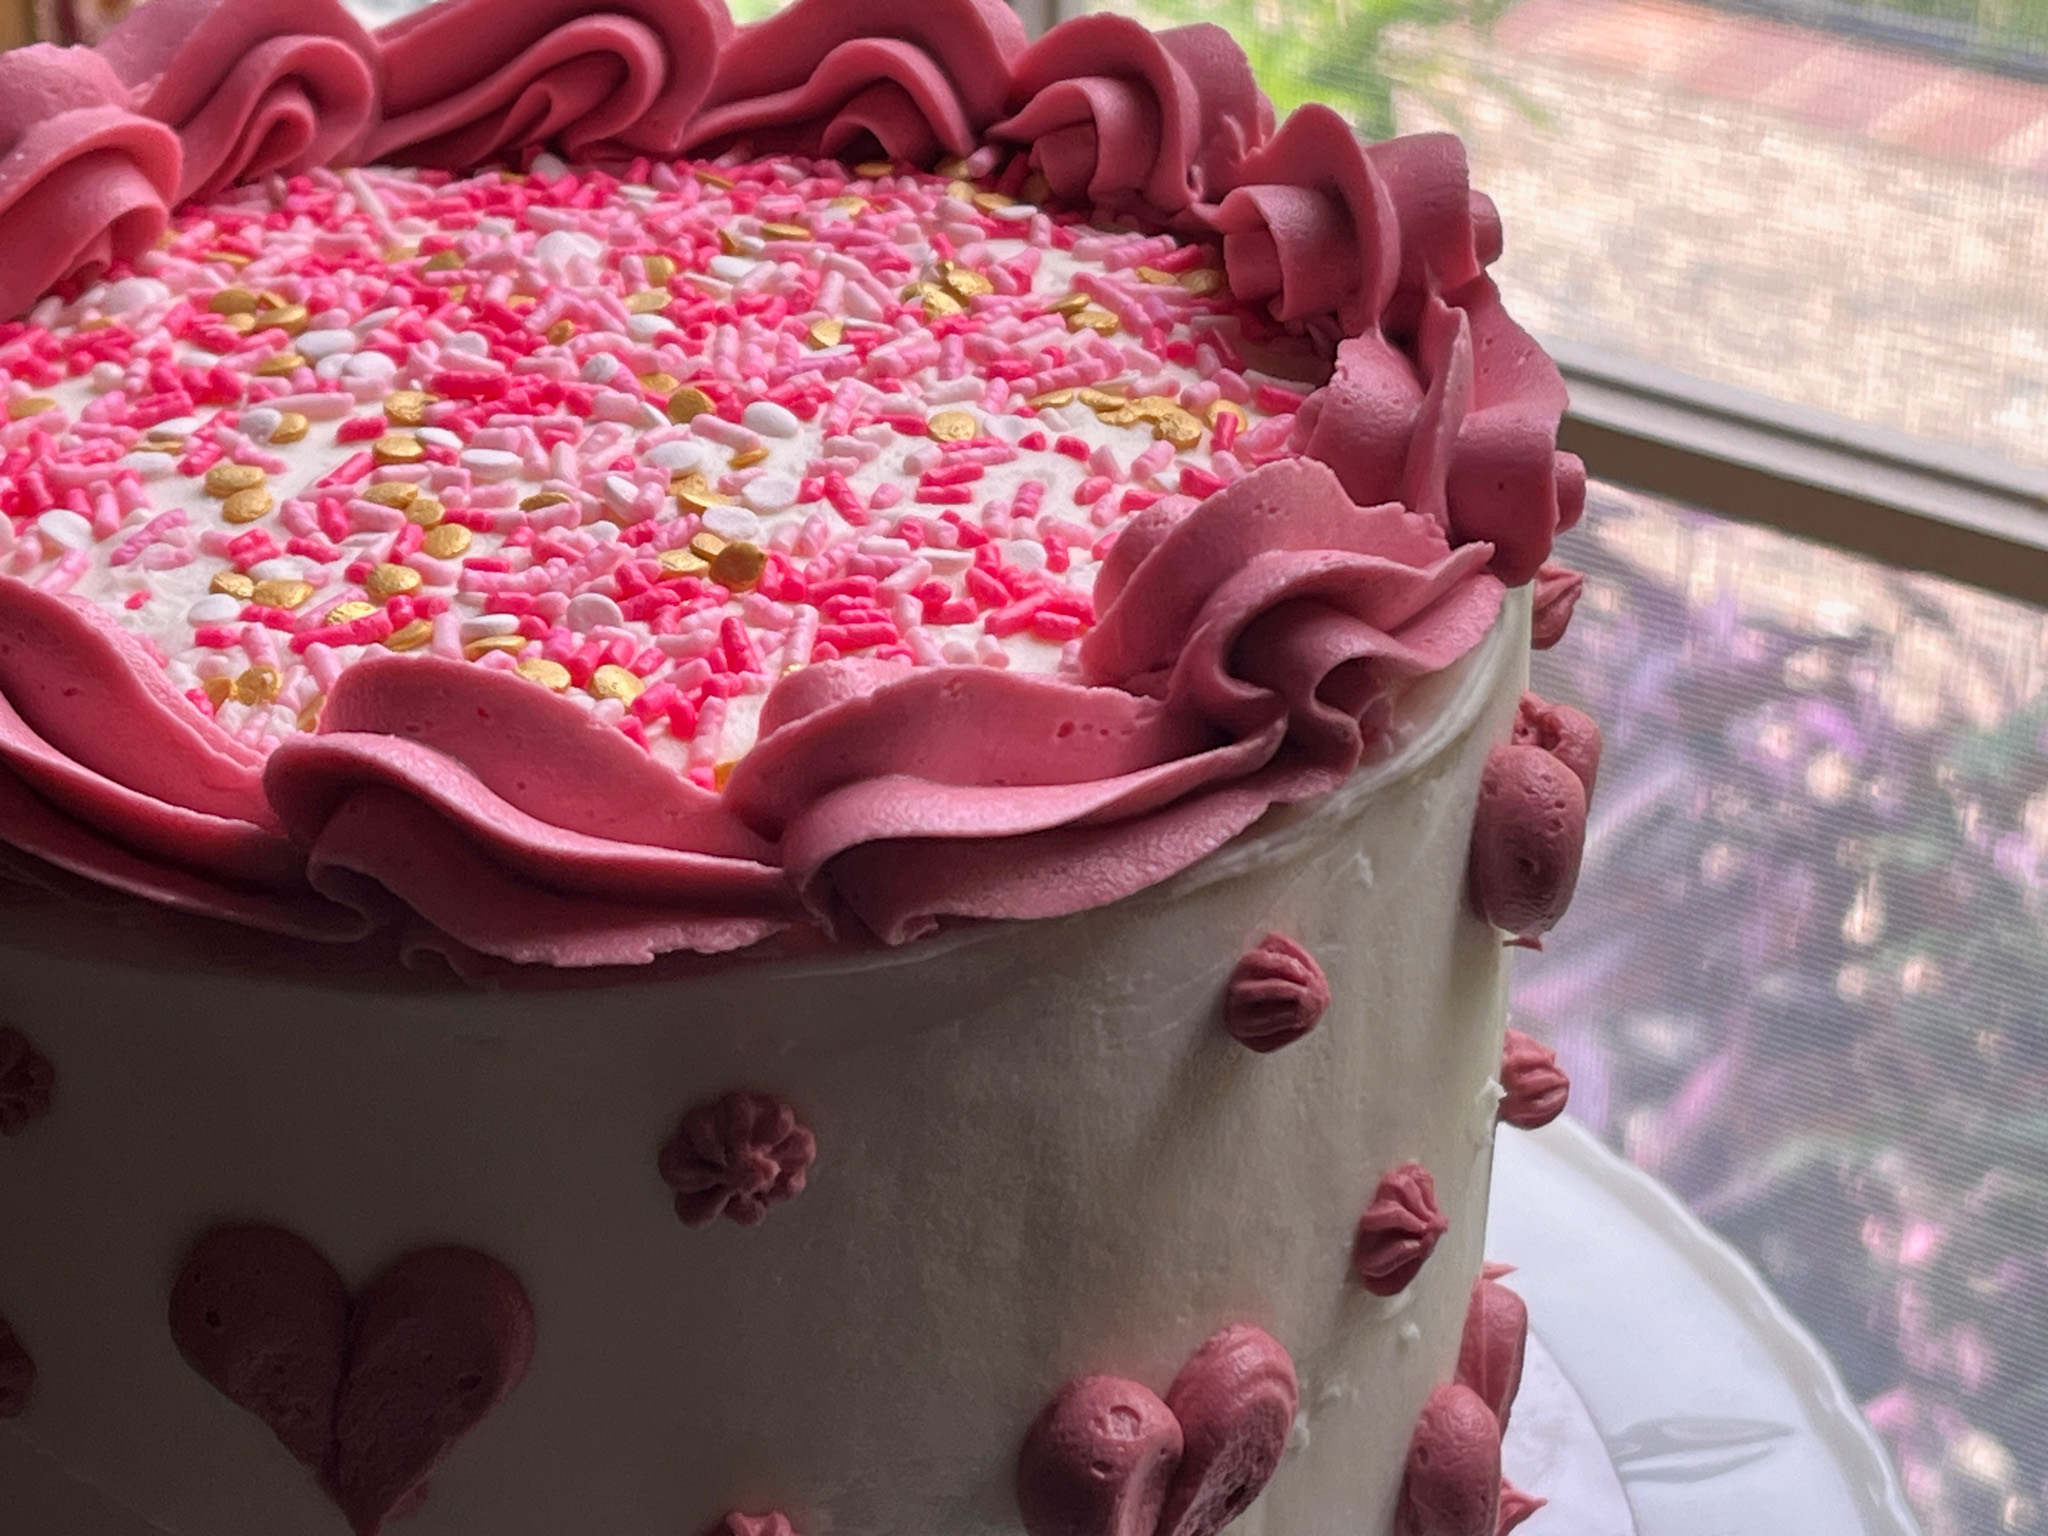
I cannot share the recipe, as it is copyrighted. Published as Sunny Sprinkle Layer Cake, it is in a great book by Molly Gilbert called Sheet Pan Sweets. I baked it in a half-sheet pan, then cut 4 squares to make the layers, used a simple American Buttercream to frost it. It was not easy to frost smoothly a square cake, but oh, well. What does not kill you, makes you stronger.

.

ONE YEAR AGO: Baking with the Heart

TWO YEARS AGO: Baking with the Heart

THREE YEARS AGO: Roasted Cauliflower with Chickpeas and Quinoa

FOUR YEARS AGO: A Savory Phyllo Pie

FIVE YEARS AGO: Nut-Free Lady Grey Macarons

SIX YEARS AGO: Mini-Heart Cakes for your Valentine

SEVEN YEARS AGO: Blue Moon Milk

EIGHT YEARS AGO: Slow-Cooked Chicken Meatballs

NINE YEARS AGO: Zesty Flourless Chocolate Cake

TEN YEARS AGO: Maple Pumpkin Pecan Snacking Cake

ELEVEN YEARS AGOSilky Gingered Zucchini Soup

TWELVE YEARS AGO: Sweet Fifteen!

THIRTEEN YEARS AGO: Sesame and Flaxseed Sourdough

FOURTEEN YEARS AGO: Green Beans with Miso and Almonds

FIFTEEN YEARS AGO: Saturday Morning Scones

SIXTEEN YEARS AGO: White Bread

CAKES TO CELEBRATE EASTER


I am thrilled to share these because they were my first cakes frosted using my electric turntable, a wonderful gift from my hubby last month (check it out at my last In My Kitchen post). Amazing how much easier it was to get a smooth frosting! Without further ado, here is the first cake, fully dressed for an Easter Party.

.

VANILLA-ALMOND CAKE WITH RASPBERRY FILLING
(from The Bewitching Kitchen)

345 grams (3 cups) cake flour
2 teaspoons)baking powder
½ teaspoon baking soda
½ teaspoon salt
226 grams (2 sticks) unsalted butter, softened
375 grams (1 + 3/4 cups) granulated sugar
2 teaspoons vanilla extract
1 teaspoon almond extract
160 grams egg whites (about 5 eggs)
170 grams (¾ cup) sour cream
170 grams (¾ cup) whole milk
Swiss meringue buttercream for frosting
seedless Raspberry jam for filling

Prepare three 6-inch round cake pans lining them with parchment and spraying with baking spray.

Heat oven to 350F.

Sift together the cake flour, baking powder, baking soda and salt. Reserve. Mix the sour cream and milk together, making sure they are at rom temperature and well incorporated. Reserve.

n the bowl of a stand mixer fitted with the paddle attachment, combine the butter and sugar. Cream together on medium speed until very light and fluffy, about 5 minutes. Stop the mixer and scrape down the sides and bottom of the bowl halfway through mixing. Slowly pour in the egg whites while the mixer continues running.

Alternate adding the dry ingredients into the bowl in three additions with the milk/sour cream mixture in two additions, starting and ending with the dry ingredients. Mix on medium speed between additions until almost fully incorporated. Finish mixing by hand with a spatula.

Transfer the batter into the prepared pans. Bake for about 25 minutes, until a tester comes out clean or with just a few moist crumbs attached. Cool the cakes in their pan completely on a cooling rack before turning out of the pan.

SWISS MERINGUE BUTTERCREAM

Basis formula: 1X egg whites + 2X sugar + 2X butter

For the three layer 6-inch cake I started with 200g egg whites. The magic is all in the temperature control.

Start by dicing your butter and placing at room temperature for at least a couple of hours before making the buttercream. The reason for that is the closer the temperature of the egg whites/sugar and the butter match each other, the smoother the whole preparation will go. All problems with Swiss meringue buttercream happen when there is a sharp difference between those temperatures.

Mix sugar and egg whites and whisk well, then over a bain-marie bring them to 140 F minimum. I take it to 149F because I find it makes a nicer emulsion to work with. Place in a KitchenAid type mixer fitted with the whisk attachment and whisk on high speed for about 10 minutes. You want a stiff meringue.

Most recipes will tell you that it will be enough to bring the mixture to room temperature level, or not feeling warm if you touch the bowl. However, if you measure the temperature inside the bowl you will notice it will probably still be at mid 90’s Fahrenheit, way above the butter that is waiting to be incorporated.

My advice is to turn the mixer off and walk away. Come back in 10 minutes, give it a 20 sec mix, check, the temperature. Still a bit too high? Walk away and repeat the process. I find that if the egg white mixture is around 80F it will be ok to incorporate with the butter, which might be around 72F or so.

Now start incorporating the butter with the mixer running, you can squish it with your fingers as you drop them to help incorporate even better. Once all the butter is added, whisk at high speed for a couple of minutes, change to the paddle attachment and mix for another couple of minutes to smooth out air bubbles.

Two problems might happen if the temperature was not a real good match: buttercream will be grainy (butter too cold), or soupy (meringue too hot). Both can be fixed by either warming the bowl (hair-dryer works great), or placing it in the fridge for 15 minutes and whisking again. Contrary to popular belief, Swiss meringue is not that tricky and can always be salvaged even if it looks like Armageddon in a bowl.

For the layers I added a circle of white buttercream on the perimeter of the cake, filled the center with raspberry jam, and repeated that for the upper layer. I crumb coated with white frosting, then dyed most of the buttercream with Sky Blue (just a couple of drops), and the tiniest amount of black to mute the tone. A small portion was dyed brown for the nest. Malted chocolate eggs and sprinkles finished the decor.

ENJOY!

to print the recipe, click here

Comments: This is pretty much like a wedding type cake, very white because you omit using egg yolks. It is delicate and moist, truly one of my favorites for layered cakes. I adapted the recipe from versions that call for more sugar, I prefer the cake a little less sweet. Sugar is important for structure so there is a limit of how much you can reduce, but this formula works great. My rookie mistake was to use parchment paper to add the sprinkle border at the bottom, and it took me so long to do it, that the buttercream warmed up and the paper got stuck at places. All my hard work to get the smooth surface was a bit compromised, but nothing that strategically placed sprinkles would not fix!

Feedback on the cake was wonderful, I cannot show you the cut cake as I dropped it whole and it was cut later in the evening. But I hope it looked ok inside…

Moving on…

LEMON POPPY SEED LAYERED CAKE WITH BLACKBERRY FILLING

I cannot share this recipe because it is copyrighted from a very interesting book called “I’LL BRING THE CAKE” by Mandy Merriman. It is unusual in the sense that all cakes start from a boxed mix, but they are heavily doctored. If you are totally against boxed mixes, the book is not for you, but I wanted to give those a try and her cakes are quite delicious.

This was my very first cake using the turntable, and I opted for a watercolor effect, which started by adding blotches of darker color all over the frosted cake.

Then you just turn the cake and allow the color to mingle with the background until you are satisfied. For the decorations on top I mixed the white with the mauve-dyed buttercream and used the trusty 1D tip for rosettes.

I hope you found some inspiration for your Easter festivities with this post!

ONE YEAR AGO: Flower Stencil Sourdough

TWO YEARS AGO: Happy Easter!

THREE YEARS AGO: Mini-Blueberry Cakes

FOUR YEARS AGO: Wood Plank Cookies, Learning from the Best

FIVE YEARS AGO: OMG Spinach Pies

SIX YEARS AGO: Avgolemono Soup, My Way

SEVEN YEARS AGO: Sourdough Chocolate Twist Bread

EIGHT YEARS AGO: Dan Lepard Times Three

NINE YEARS AGO: Turkey Portobello Burger

TEN YEARS AGO: Raspberry Ricotta Cake

ELEVEN YEARS AGO: In My Kitchen, April 2014

TWELVE YEARS AGO: Whole-Wheat Pasta with Lemony Tomatoes and Spinach

THIRTEEN YEARS AGO: Blood Orange Duck: A work in progress

FOURTEEN YEARS AGO: Grilled Mahi-mahi with citrus marinade

FIFTEEN YEARS AGO: Memories of Pastéis