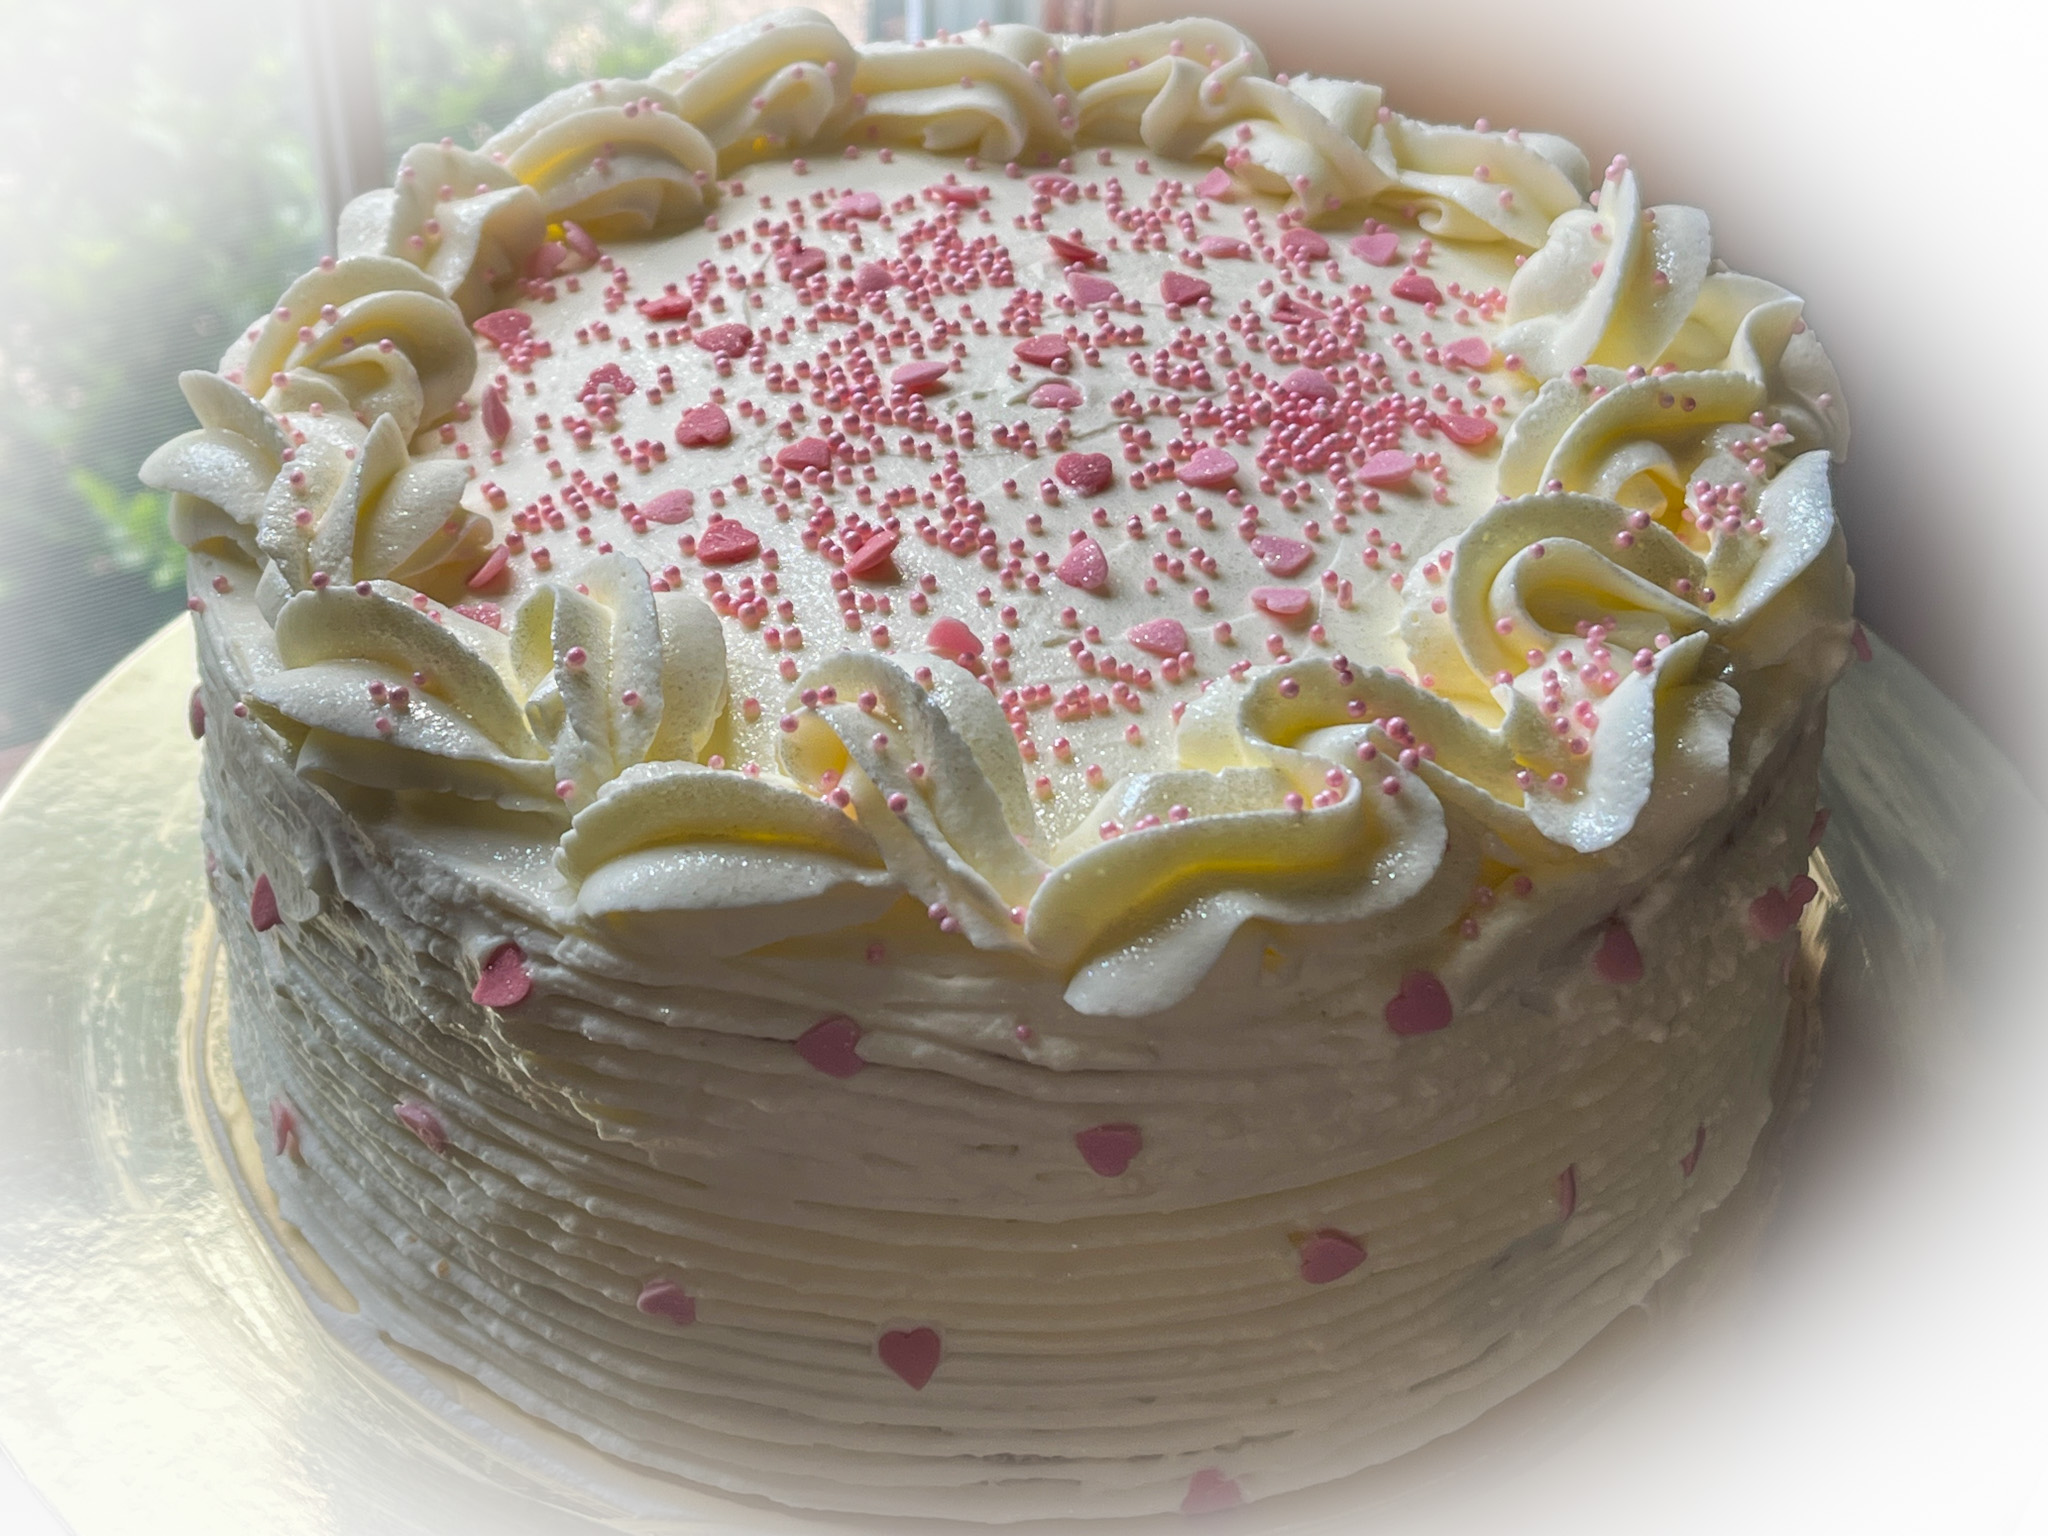
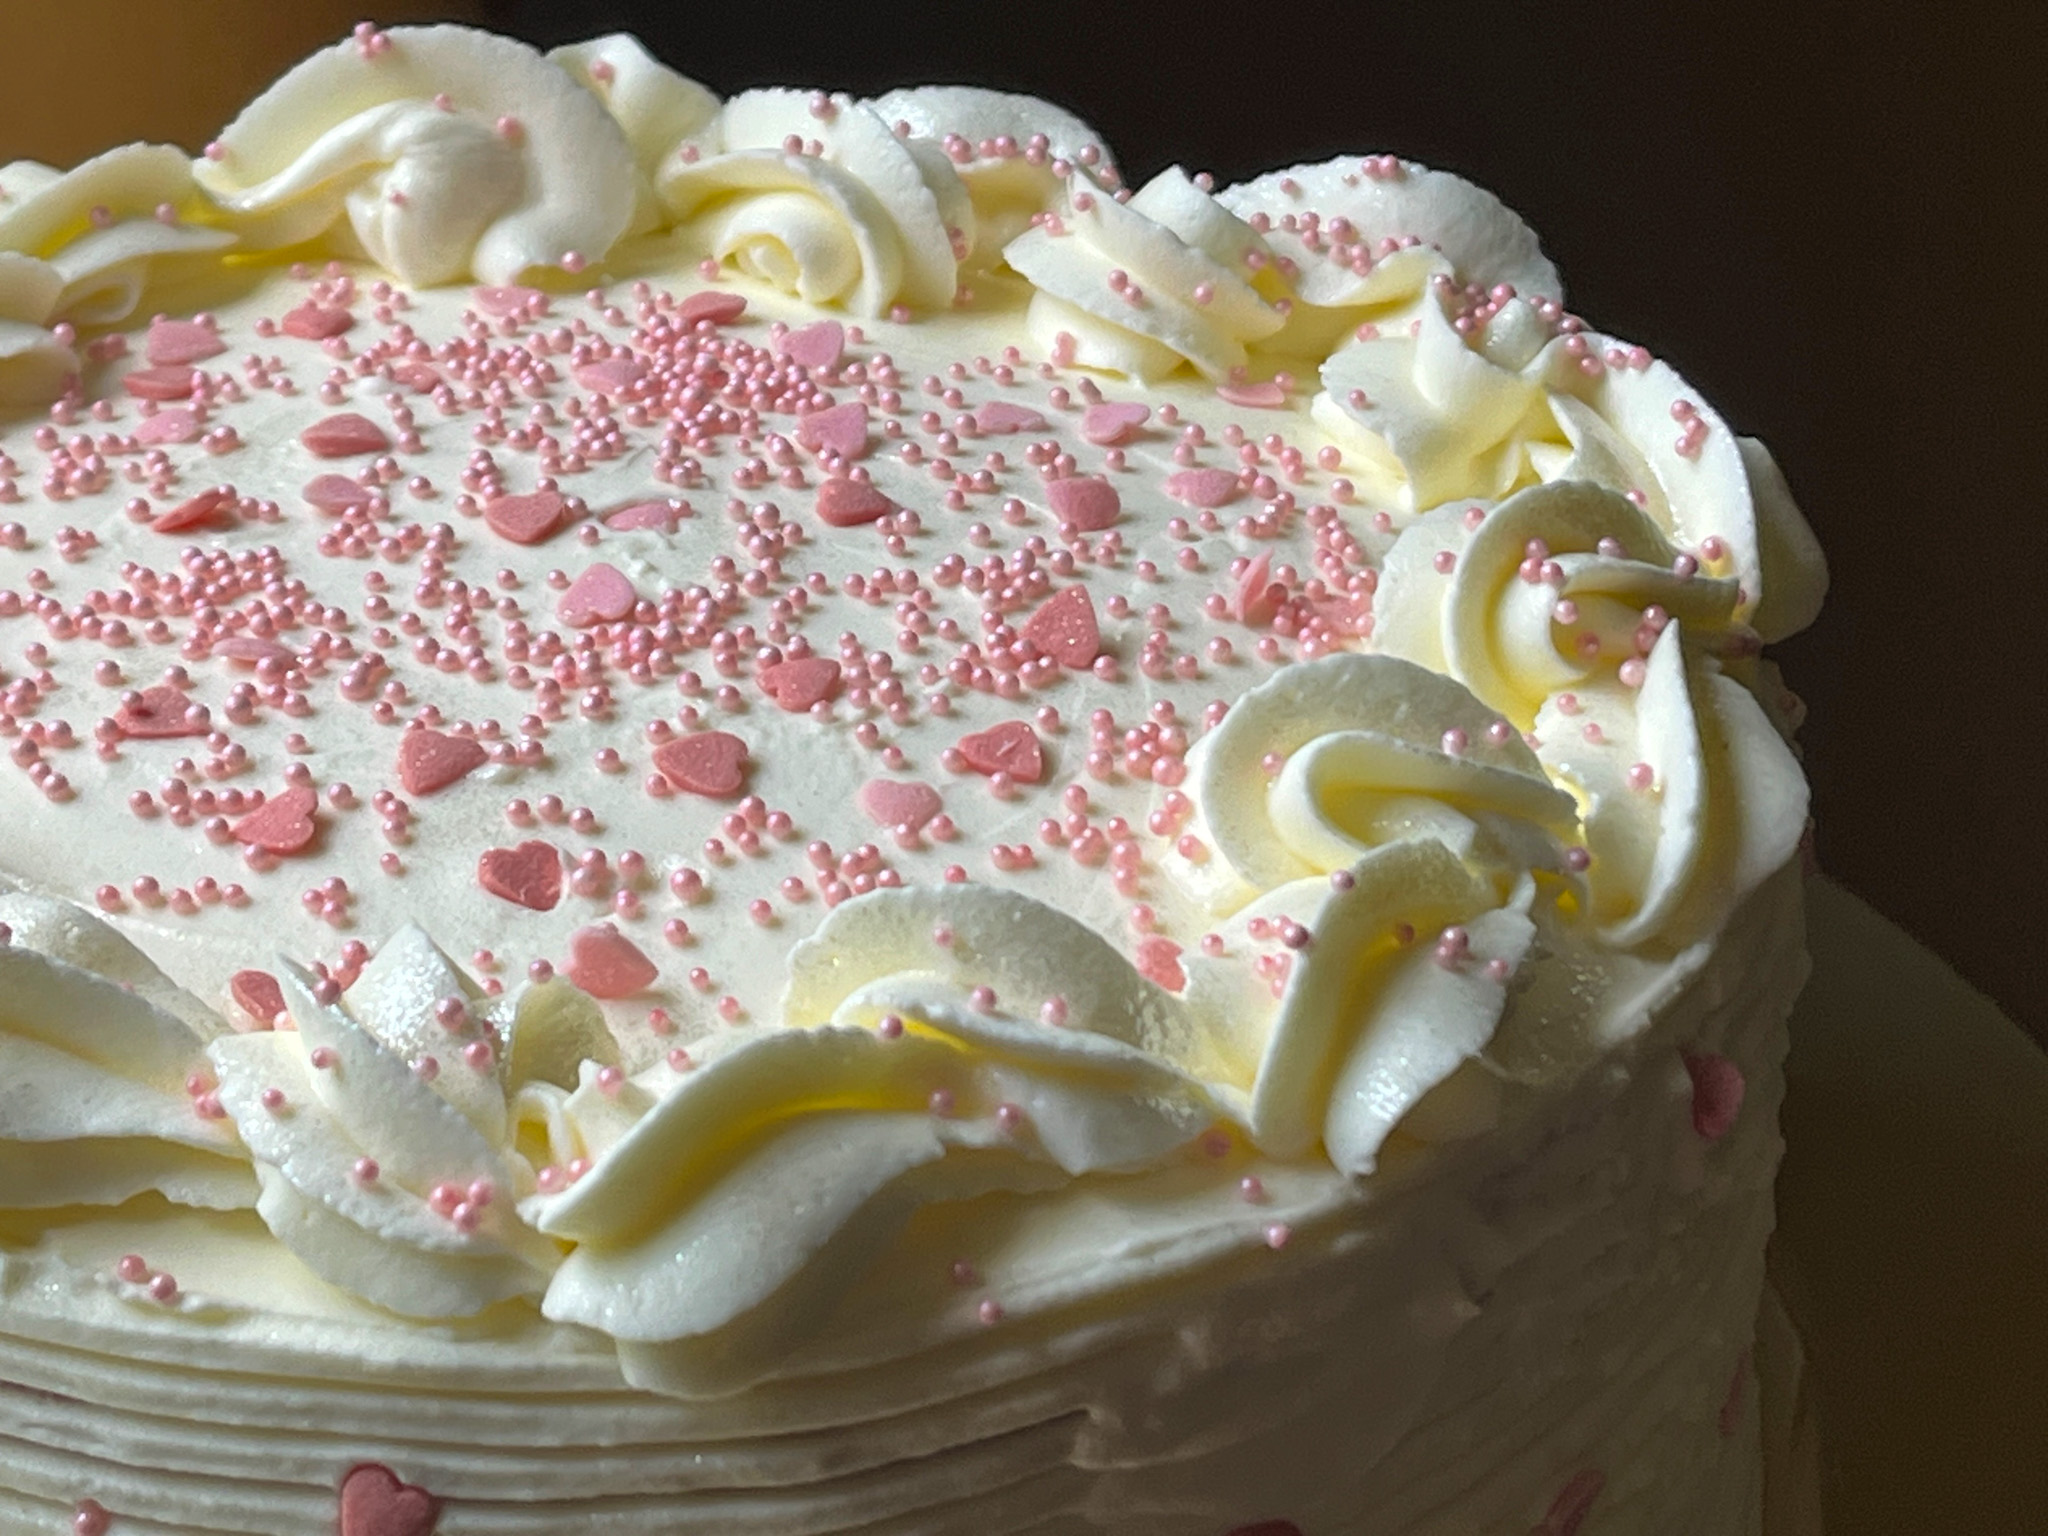
Cake is pretty much mandatory, right? This blog anniversary caught me by surprise, as we are currently away. I got a bit confused and thought that the big day was later in the month. My plan was to bake for the occasion once we arrived back home. Good thing I double-checked… Full disclosure: this cake was produced in a bit of a hurry as we prepared to leave for a 2-week trip to the East Coast. Without further ado, I share with you today a lemon cake with raspberry filling and Swiss meringue buttercream. Maybe made in a hurry, but with a huge amount of love!

LEMON LAYER CAKE WITH RASPBERRY FILLING
(adapted from The New York Times)
¾ cup/170 grams unsalted butter, softened
3 cups/385 grams all-purpose flour
2 cups/400 grams granulated sugar, divided
3 medium lemons
1½ cups/360 milliliters whole milk
2 teaspoons baking powder
½ teaspoon baking soda
1½ teaspoons kosher salt
¼ cup/60 milliliters neutral oil (I used grapeseed)
4 large eggs, at room temperature
1 cup raspberry jam (store-bought or home-made)
1 recipe for Swiss meringue buttercream, starting with 400g butter (details here)
Heat oven to 325 degrees. Spray three (8-inch) cake pans with baking spray and line each with parchment paper.
Make the cake: Add 350 grams of the granulated sugar to the bowl of a stand mixer fitted with the paddle, then zest the lemons directly into the sugar. Use your fingers to rub the zest into the sugar until it looks moist and sandy.
Juice the zested lemons into a small bowl. Transfer ¼ cup of juice to a large measuring cup and stir in the milk. Let it sit while you prepare the rest of the cake, reserving the remaining juice for the lemon syrup.
To the bowl with the lemon sugar, add the flour, baking powder, baking soda and salt, and mix on low to combine. Add the softened butter to the bowl all at once. Mix on low until the butter is evenly distributed and the mixture looks sandy. Add the oil and eggs to the measuring cup with the milk mixture and mix with a fork to combine. With the mixer on low, slowly stream in the milk mixture. When the batter is moistened, stop the mixer and scrape the bottom and sides of the bowl to ensure there aren’t any dry pockets. Adjust mixer speed to medium and mix for 1 minute more. Divide the batter among the prepared pans, spread evenly and tap the pans on a countertop to release any large air bubbles.
Bake the cakes until slightly risen and a toothpick inserted in the center comes out clean, 20 to 25 minutes. Set the pans on a wire rack and let the cakes cool for about 15 minutes. Then, run a thin knife along the edges of the pan and carefully turn the cakes out onto the rack to cool completely.
While the cakes cool, make the syrup: Measure ¼ cup lemon juice from the remaining reserved juice. Combine the juice and the remaining 50 grams sugar in a small saucepan and bring to a boil over medium-high, stirring occasionally. Cook until the sugar has dissolved, then pour into a heat-safe container to cool.
Make the Swiss meringue buttercream. Reserve 1/3 of the amount and dye red (I used Tulip Red). Dye a very small amount with green for the stems. I used Laurel color. Dye the rest of the buttercream with Fuchsia or any other color you like.
Assemble the cake: Place one layer of cake onto a serving plate, top side up. Brush the cake with lemon syrup. Spread raspberry jam over the top of the cake. Repeat with the second layer on top of the filling, top side down, and press gently. Add the final layer. Brush the cake with syrup, then cover the top and sides of the cake with a thin layer of fuchsia frosting. Refrigerate until firm, about 30 minutes. Frost the cake with fuchsia, smoothing the surface. Let that set for 30 minutes, then pipe stems with green buttercream and a tip 3. Using the tulip red buttercream, pipe the flowers with a petal 101 tip, a border at the bottom with an open star tip (like #20) and a border on top with 1M tip.
ENJOY!
to print the recipe, click here

Comments: Hard to believe it’s been 16 years. Hard to find what to say about it without getting cheesy or highly predictable. So I won’t say much. I’m still having fun blogging, I’m still excited every time I hit “publish” on a new post. I am not stopping quite yet. Let’s step into the 17th year of my blogging journey, and if you’ve been following me for a while, THANK YOU! If you are new here, I hope you’ll find things that inspire you to cook, bake, and be passionate about. Life is too short not to enjoy what each day brings.

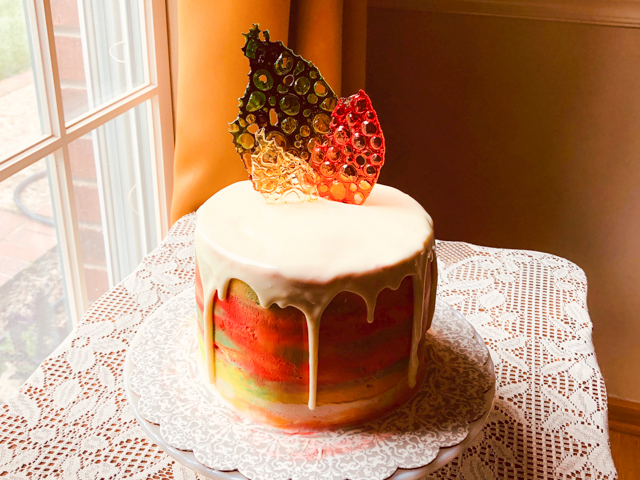
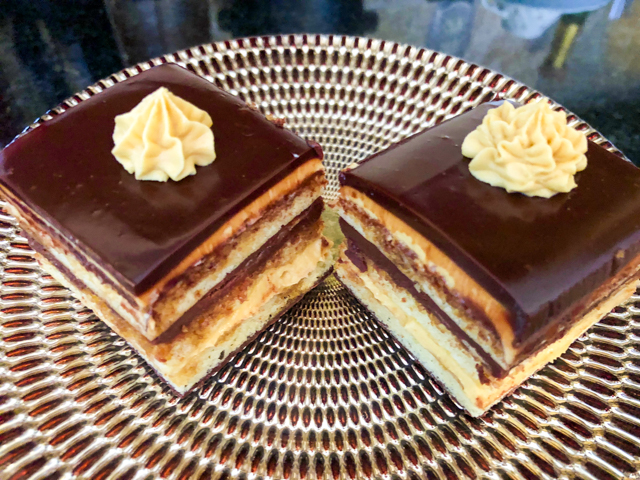
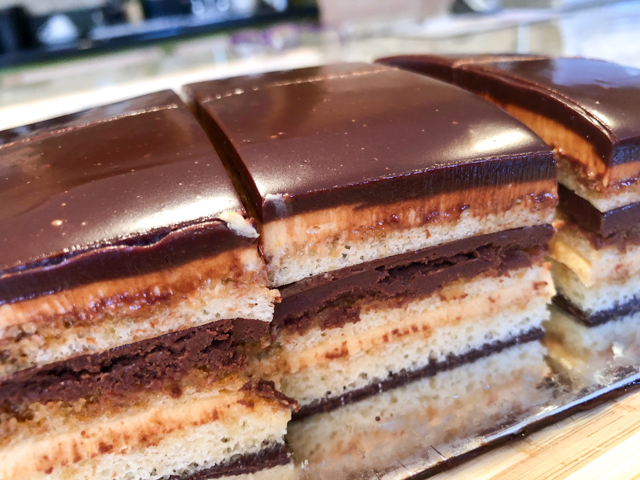
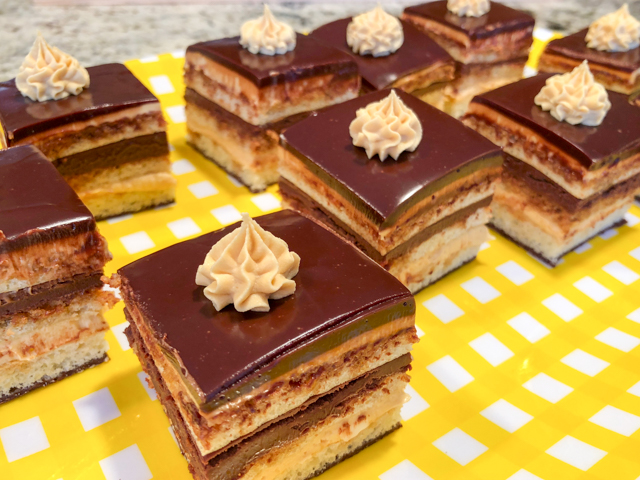
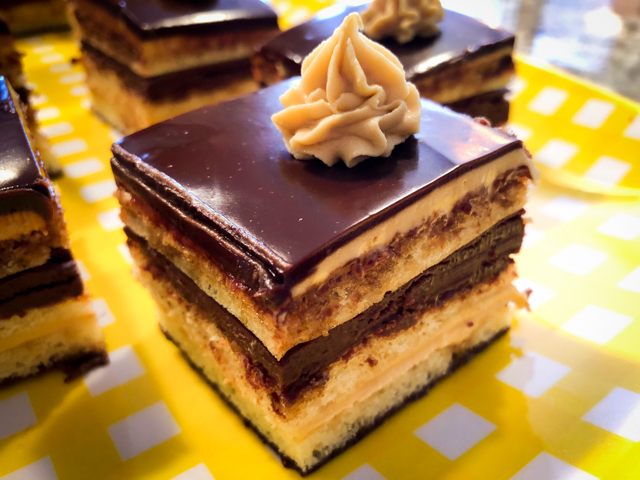
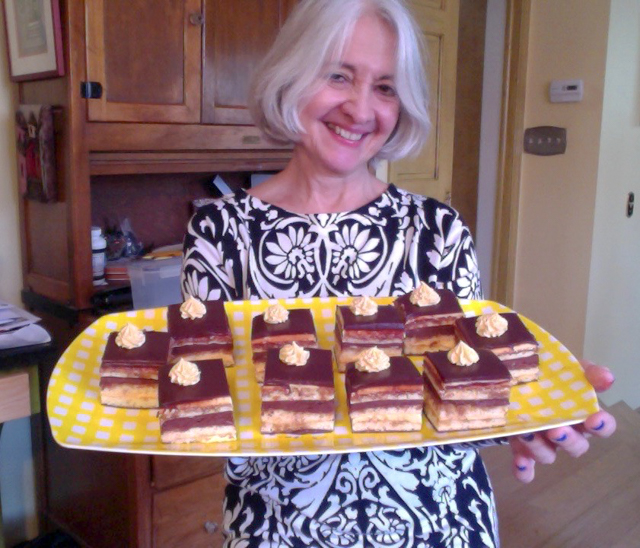
Apologies for not showing pictures of the cake cut to reveal the layers and filling. It was donated whole, so I also never got to see it. And that ends up as being part of its charm… Or so I hope…

.
ONE YEAR AGO: The Bewitching Kitchen turns 15 years old!
TWO YEARS AGO: The Bewitching Kitchen turns 14!
THREE YEARS AGO: The Bewitching Kitchen turns 13!
FOUR YEARS AGO: The Bewitching Kitchen Turns 12!
FIVE YEARS AGO: The Bewitching Kitchen turns 11!
SIX YEARS AGO: The Bewitching Kitchen Turns 10, and a Giveaway…
SEVEN YEARS AGO: The Bewitching Kitchen turns 9!
EIGHT YEAR AGO: The Bewitching Kitchen turns eight!
NINE YEARS AGO: The Bewitching Kitchen Turns Seven!
TEN YEARS AGO: Bewitching Kitchen Turns Six!
ELEVEN YEARS AGO: The Bewitching Kitchen turns Five!
TWELVE YEARS AGO: The Bewitching Kitchen turns Four!
THIRTEEN YEARS AGO: The Bewitching Kitchen Turns Three!
FOURTEEN YEARS AGO: The Bewitching Kitchen turns Two!
FIFTEEN YEARS AGO: Bewitching Birthday!
SIXTEEN YEARS AGO: Welcome to my blog!