.
COOKIE #1
VANILLA ELDERFLOWER PINWHEEL COOKIES
(from The Bewitching Kitchen)
2¼ cups (282 g) all-purpose flour
¼ teaspoon salt
7 tablespoons (98 g) unsalted butter, room temperature
3/4 cup (80 g) powdered sugar
1 large egg, room temperature
1 tablespoon (12.5 g) vanilla sugar
1 tablespoon elderberry powder (like this one)
tiny amount of purple food gel dye, if needed
white coarse sanding sugar
In a medium bowl, sift together the flour and salt; set aside.
In the bowl of a stand mixer fitted with the paddle attachment, beat the butter and powdered sugar together on medium-high until light and fluffy. With the mixer on low, add the egg and vanilla, mix to combine, and then scrape down the bowl using a rubber spatula. Add the flour mixture and use a rubber spatula to mix until well combined.
Divide the dough in half, add elderberry powder and food gel dye to one half, and mix until fully incorporated. Divide both halves of the dough in half again so you end up with two equal portions of vanilla dough and two equal portions of elderberry dough.
On a lightly floured work surface, roll each portion of dough out to a roughly 8-x-10-inch (20-x-25-cm) rectangle. Place a purple dough rectangle on top of a vanilla rectangle and use a rolling pin to gently press them together. Repeat with the other rectangles of vanilla and elderberry dough. Starting with the shorter side, roll the rectangles of dough into logs. Tightly wrap the two logs in plastic wrap and refrigerate for at least 1 hour and preferably overnight.
Heat the oven to 350°F. Line two baking trays with parchment paper or perforated silicone baking mats. Remove a cookie log from the refrigerator and let it warm up for a few minutes at room temperature. Roll on sanding sugar to coat the surface. Using a sharp knife, cut each log into ¼-inch slices. Place on the prepared baking trays and bake for 10 to 12 minutes, or until golden. Repeat with the remaining dough.
ENJOY!
to print the recipe, click here
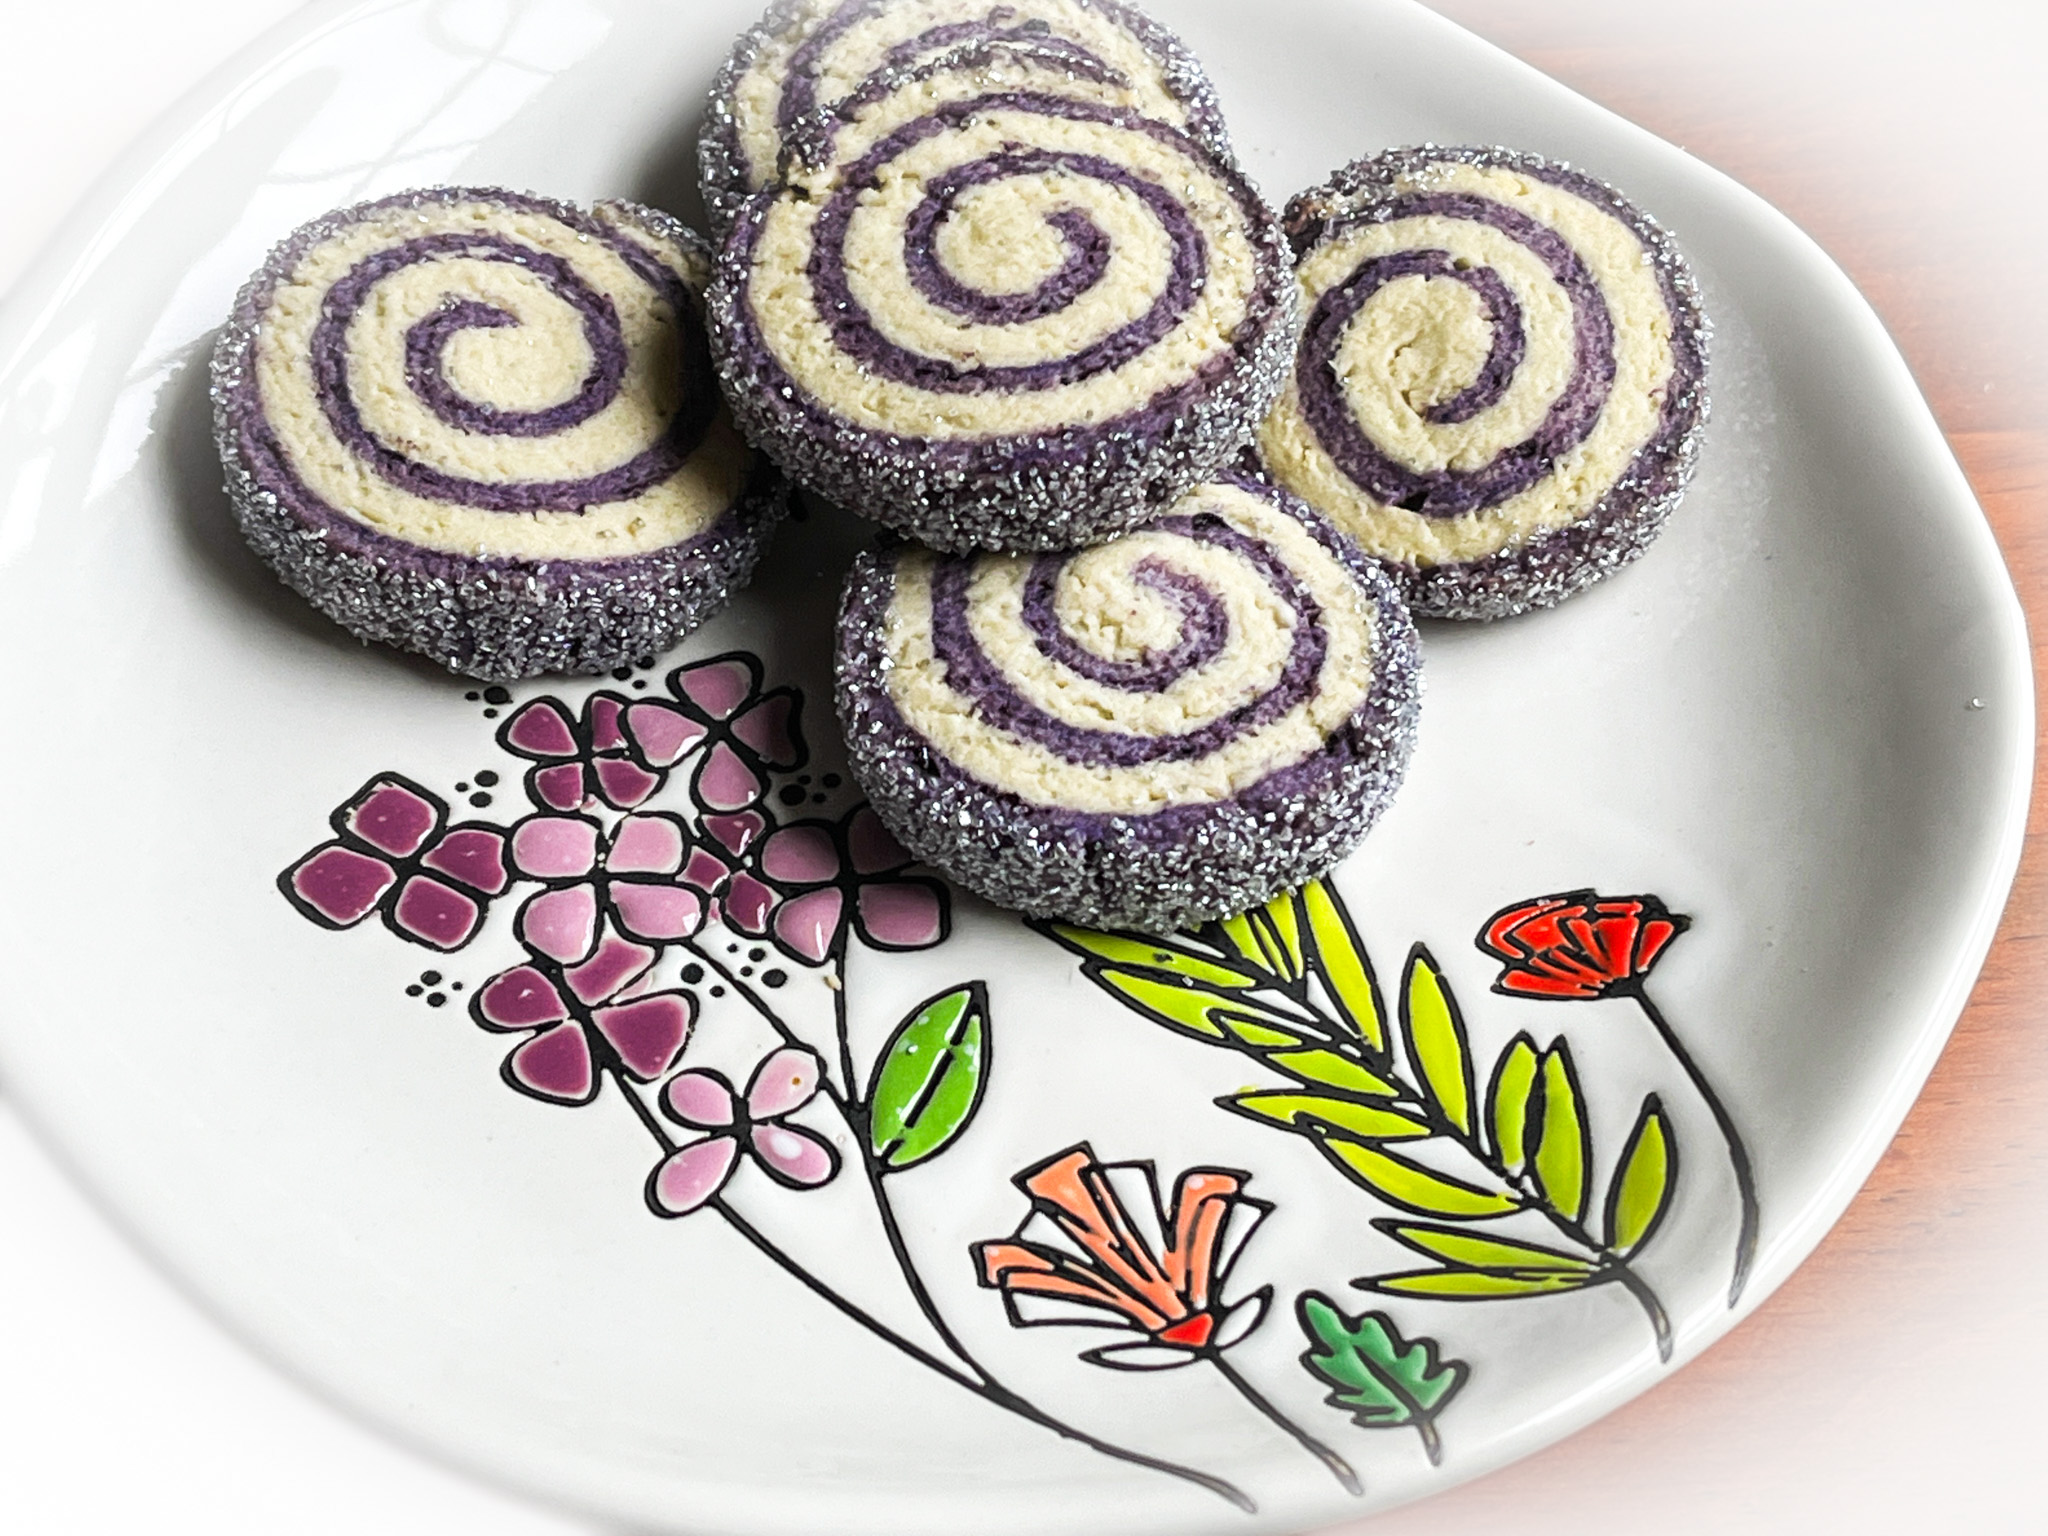
Comments: Depending on the brand of your elderberry powder, you might not need the food gel dye. I used a very small amount, delivered with a toothpick. The sanding sugar coating is optional but I think it adds a lot to the overall look of the cookie.
.
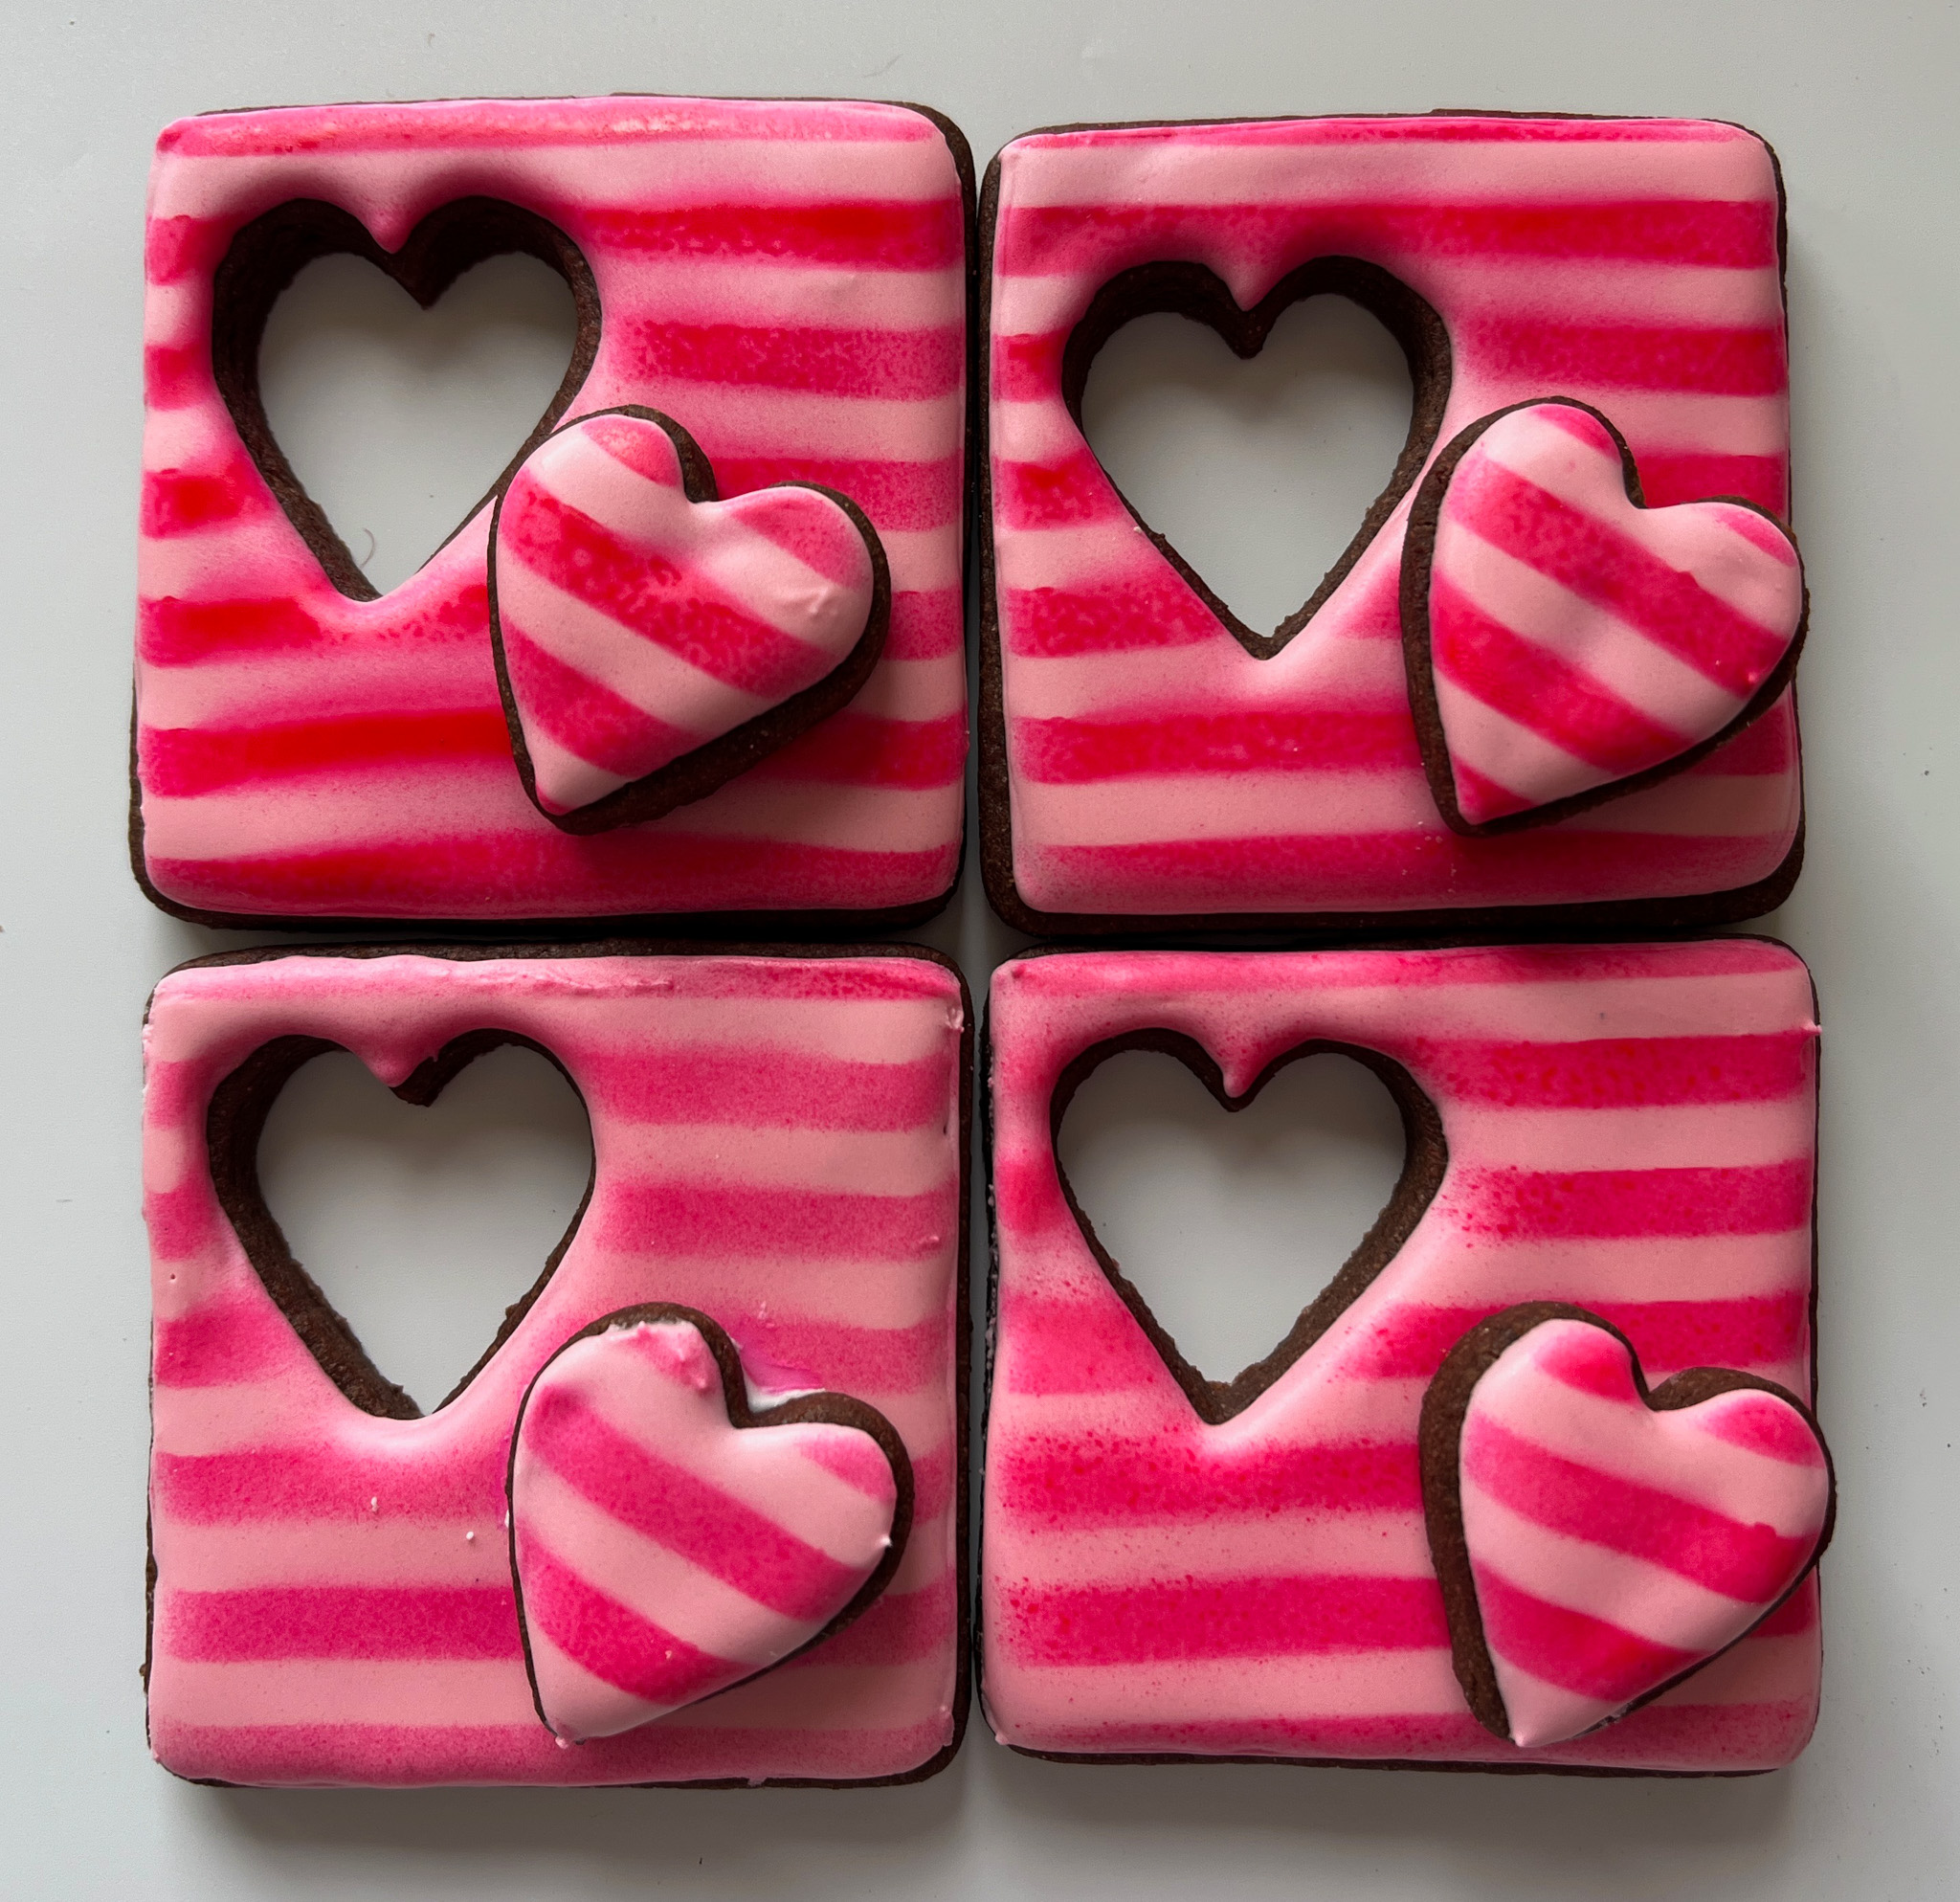
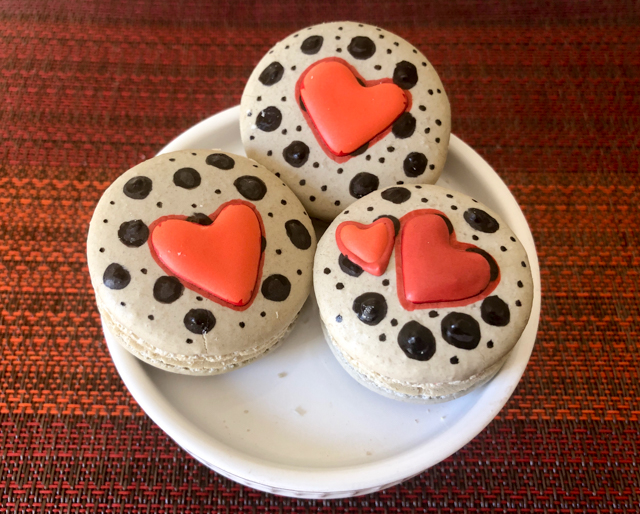
COOKIE #2
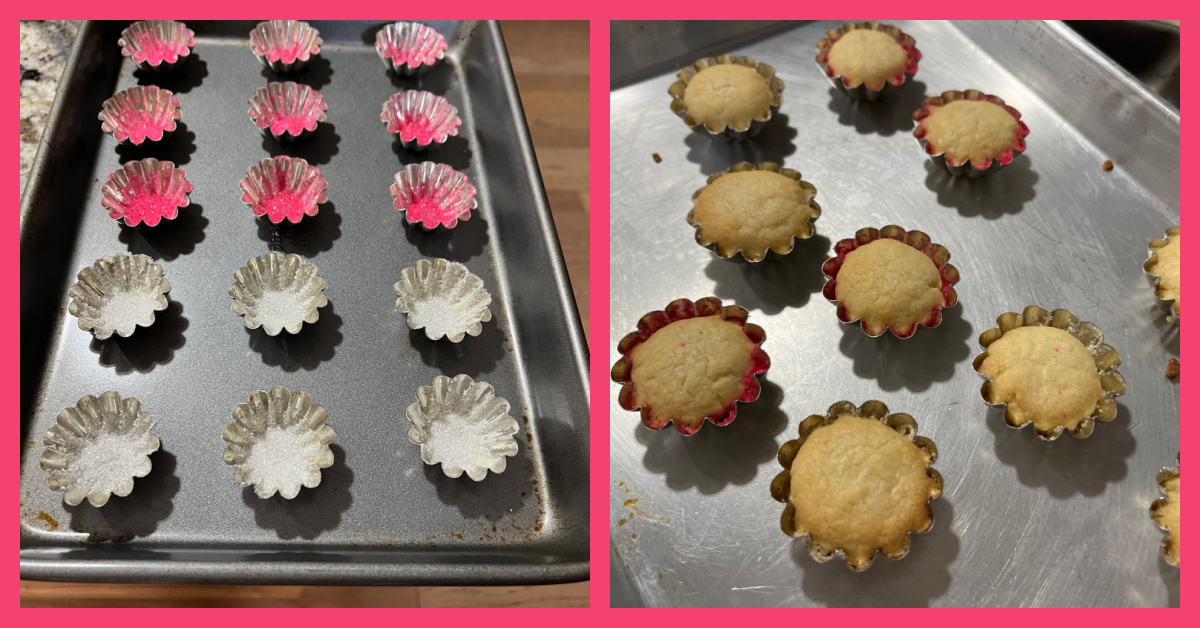
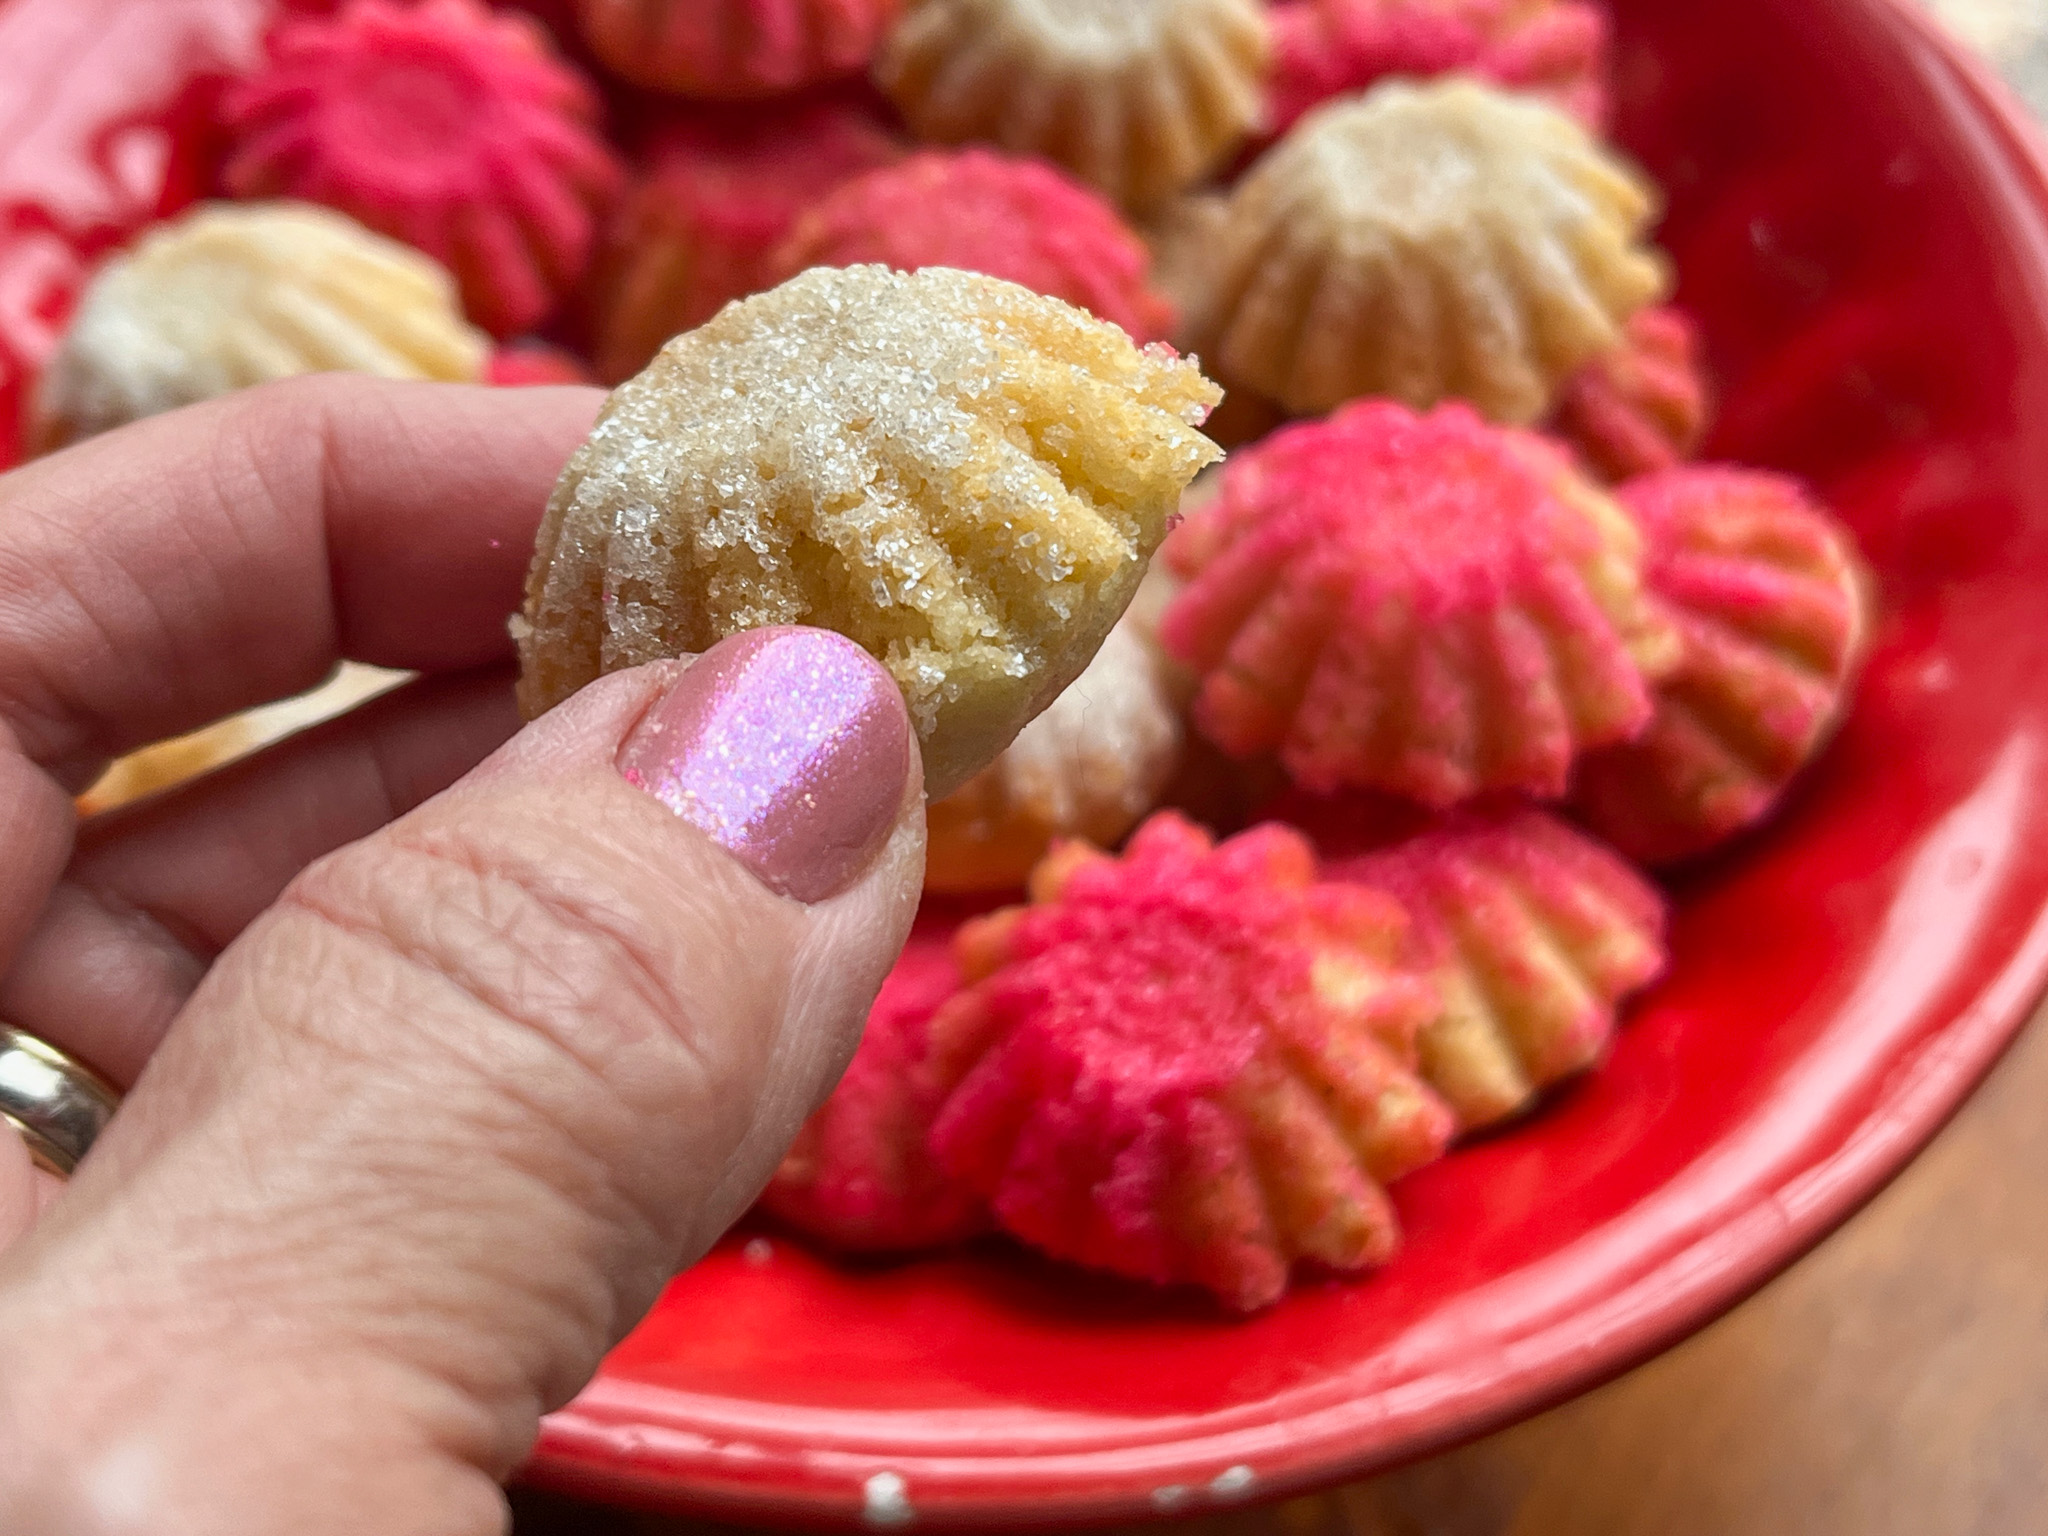
TARTLET MOLDED COOKIES
(adapted from The Art of the Cookie)
200g all-purpose flour
1 teaspoon baking powder
½ teaspoon salt
1/2 cup (113g) unsalted butter, at room temperature
150g granulated sugar
1/2 large egg (whisk and add about half, no need to be too precise)
1 teaspoons vanilla extract
1 tablespoon heavy cream
softened butter to coat tins
pink, red and white sanding sugar
In a bowl, whisk together the flour, baking powder, and salt. In a large bowl, using an electric mixer on medium-high speed, beat the butter and sugar until light and fluffy, 2—3 minutes. Add the egg, cream and vanilla and beat on low speed until the egg is completely incorporated. Beating on low speed, slowly add the flour mixture and continue to beat until almost incorporated.
Press the dough into a disc, wrap tightly in plastic wrap, and refrigerate until firm, at least 1 hour or up to overnight.
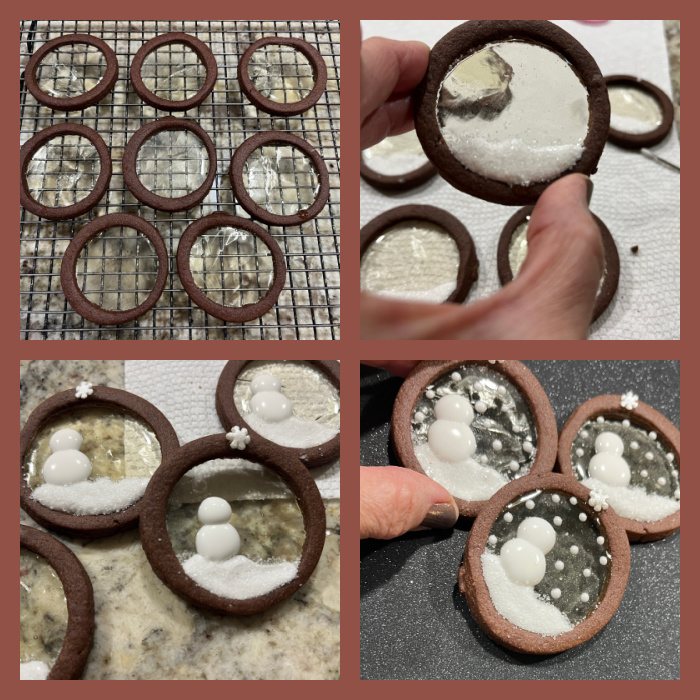
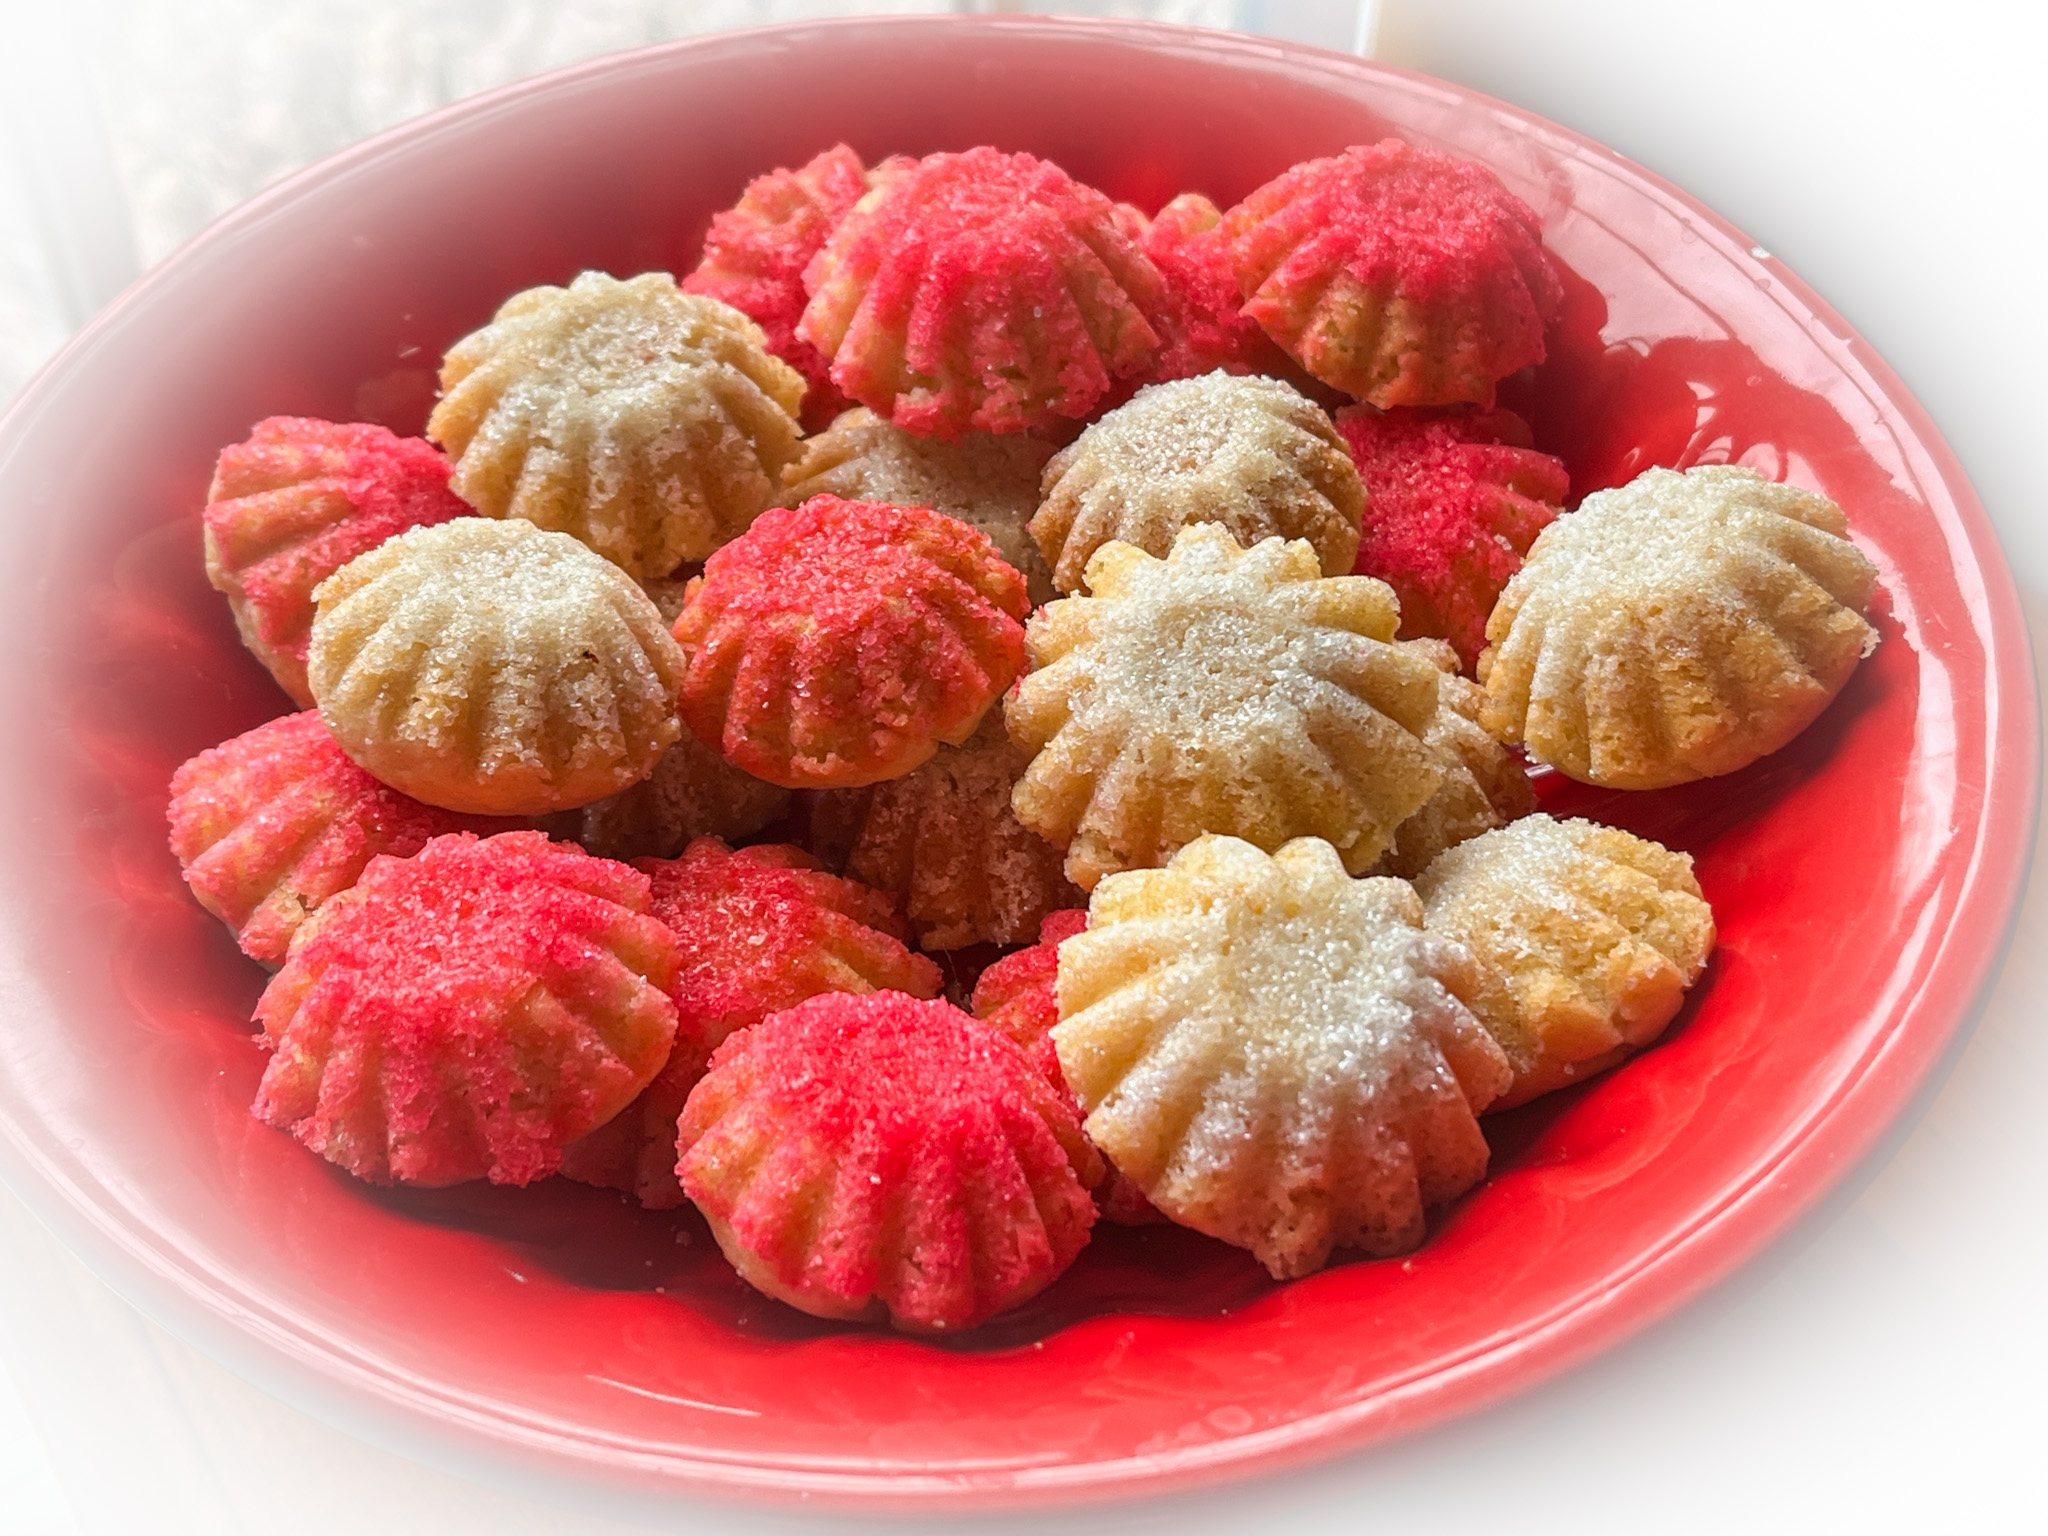
Coat the tartlet tins of your choice with softened butter using a brush. Shower them with sanding sugar to form a layer at the bottom and edges. Place the tins on a baking sheet. Press a ball of dough in the tin, filling each 3/4 of the volume. Bake at 350F until set but not getting too much color, 15 to 18 minutes. Let the cookies sit in the tartlets for five minutes then remove gently using a small spatula if needed to help. Tapping the tins should work fine. Careful, they stay hot for a while.
ENJOY!
to print the recipe, click here
Comments: Those are just adorable indeed. Best consumed the same day, but if you keep them tightly closed in a container they will be ok next day. Probably any cookie recipe will work, make sure to make it a little softer than usual for cutout cookies, that’s why the heavy cream is a good addition. Chocolate dough could be great, I intend to give it a try soon.
.
COOKIE #3
CHOCOLATE AND ORANGE PINWHEELS
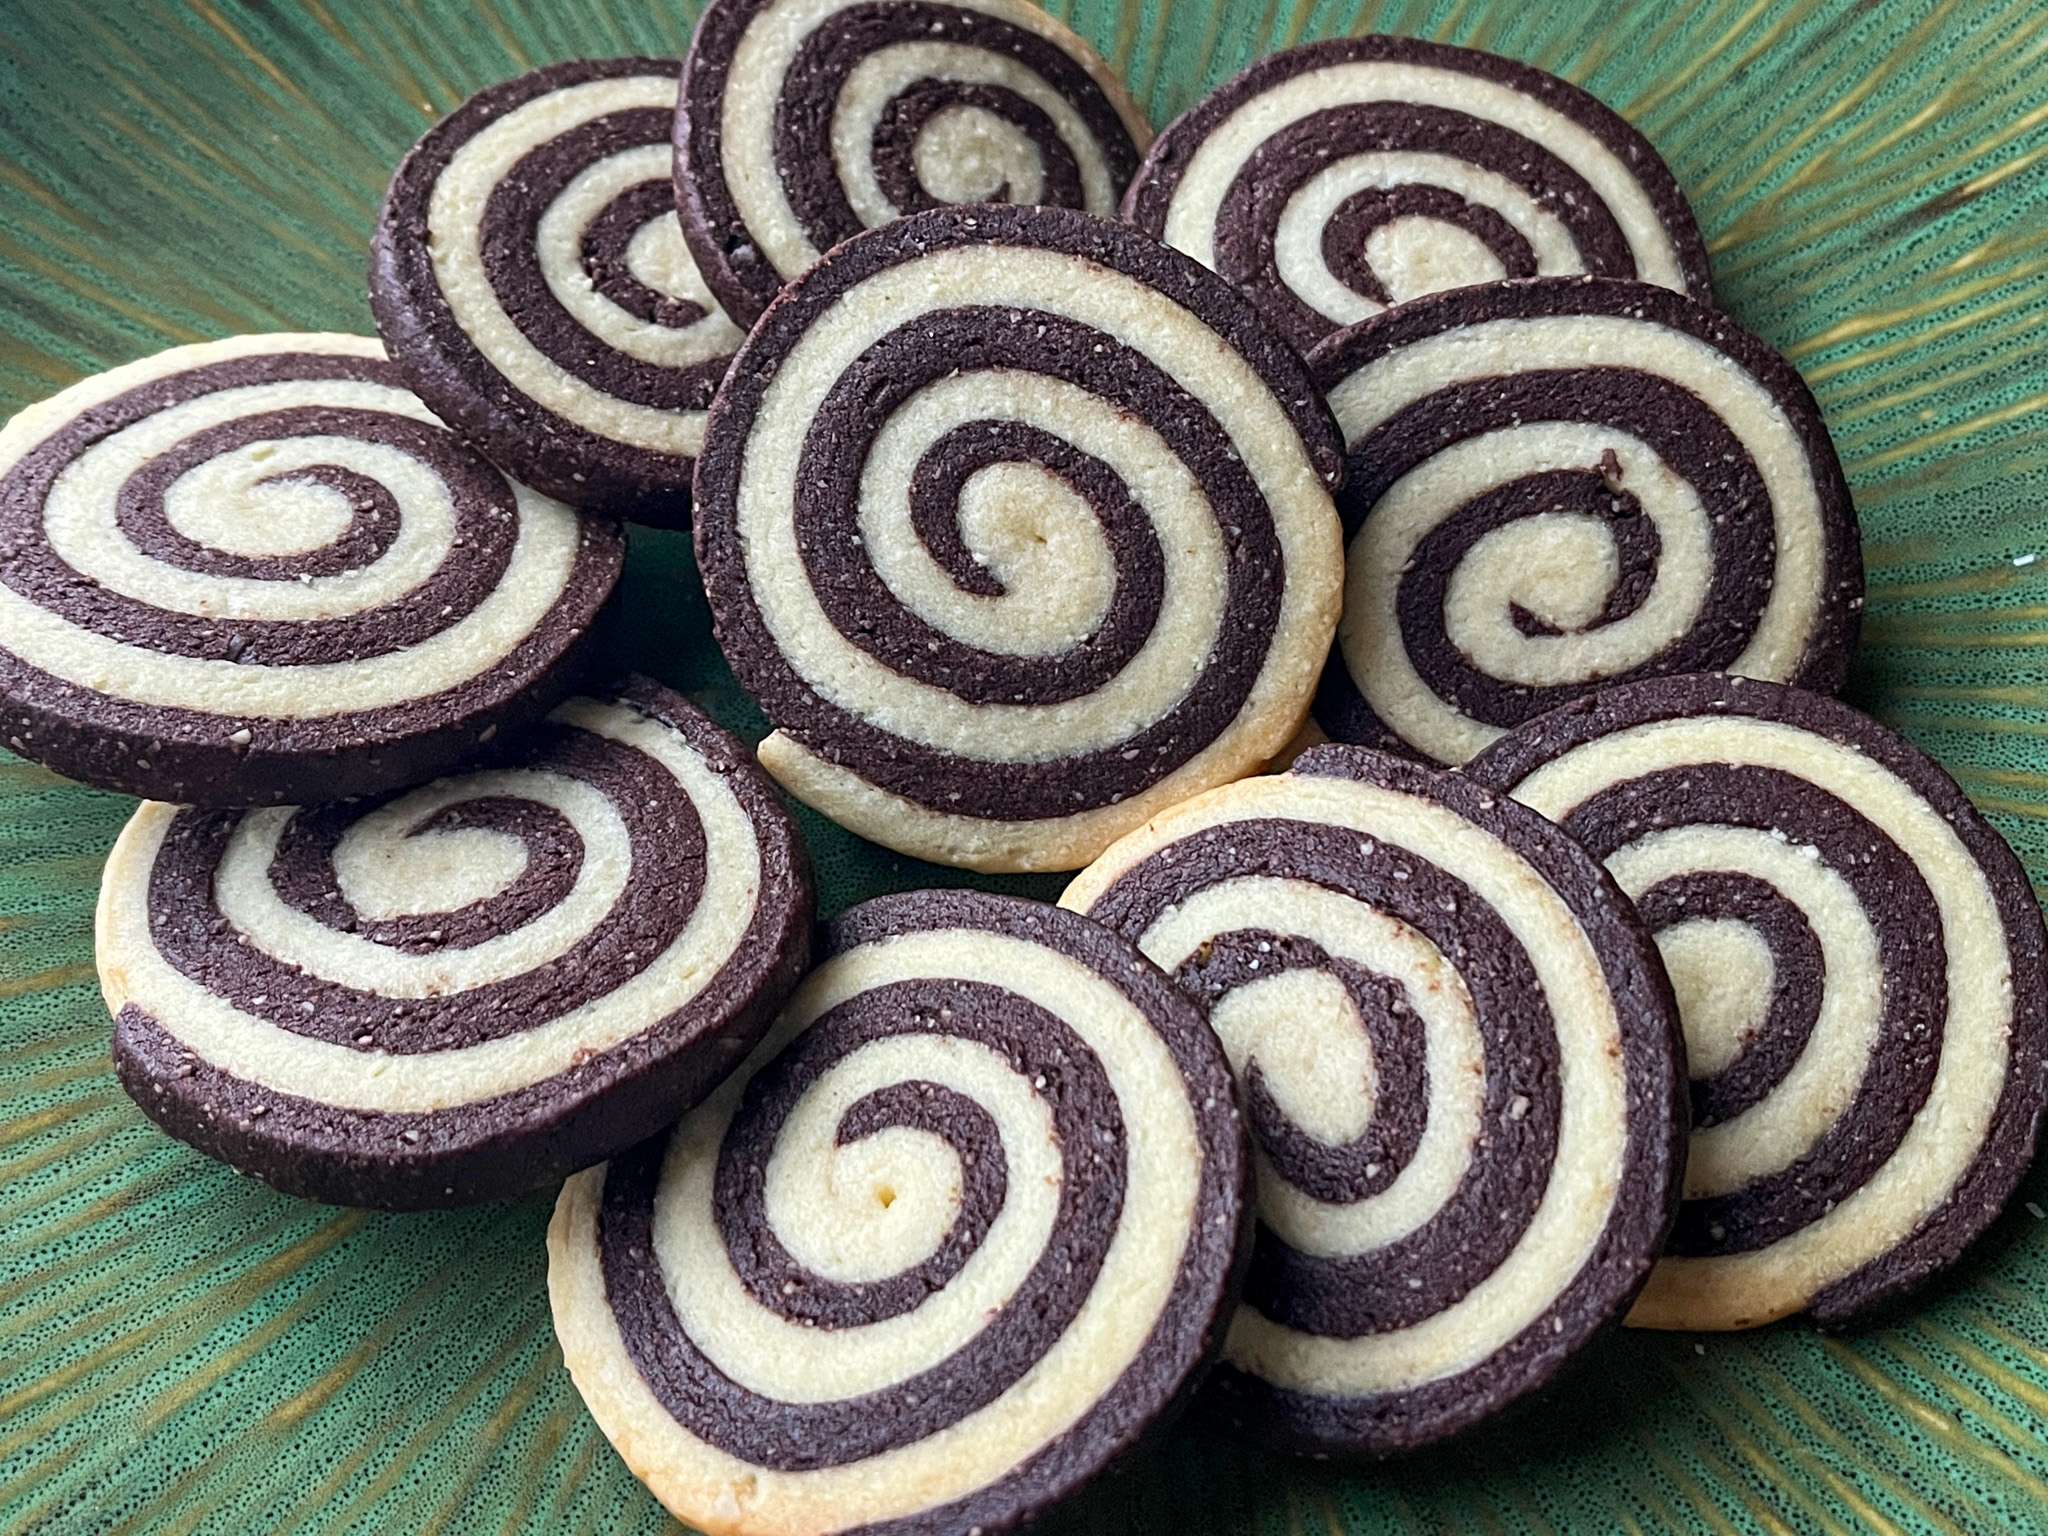
You’ll get a perfect swirl using Matt Adlard’s technique! I can’t share the recipe, you need to be part of his BAKE IT BETTER club, which is easy to do with a click here. Totally worth it!
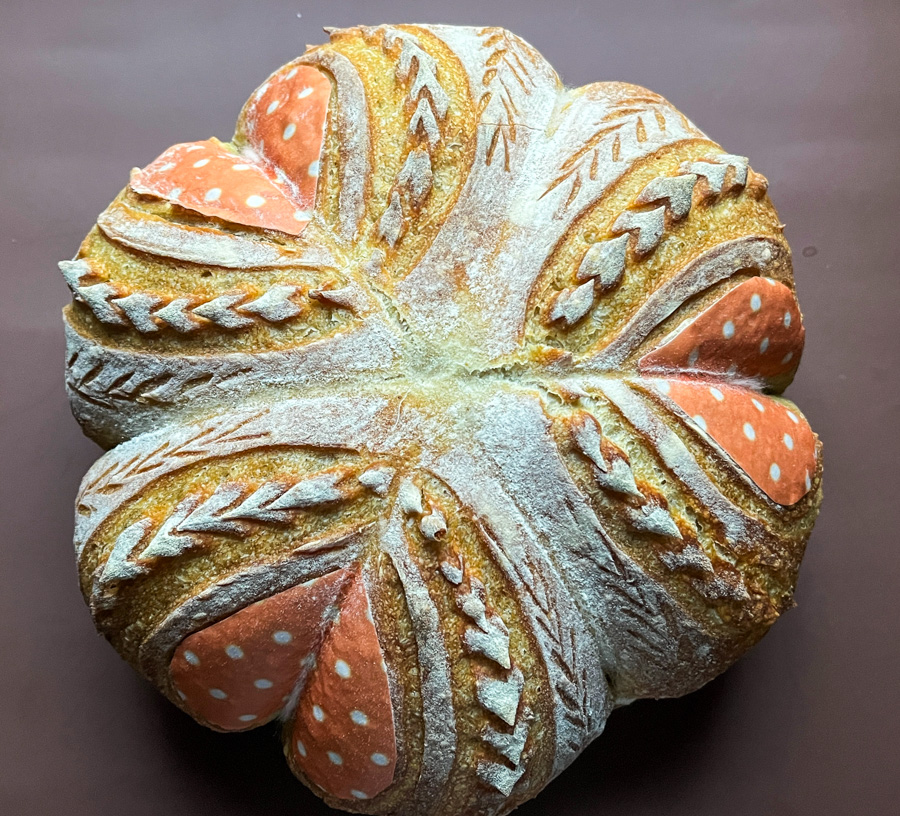
ONE YEAR AGO: Ube Sourdough, Two Ways
TWO YEARS AGO: Brown Butter Dulce de Leche Cookie Cups
THREE YEARS AGO: Chicken Poblano Tortilla Soup
FOUR YEARS AGO: Kung Pao Chicken
FIVE YEARS AGO: Galette de Rois
SIX YEARS AGO: Sous-Vide Overnight Oatmeal
SEVEN YEARS AGO: A Valentine’s Day Opera
EIGHT YEARS AGO: Incredibly Simple Times Four
NINE YEARS AGO: Walnut-Cranberry Sourdough Bread
TEN YEARS AGO: Ottolenghi in Brazil?
ELEVEN YEARS AGO: Roasted Winter Vegetables with Miso-Lime Dressing
TWELVE YEARS AGO: 2012 Fitness Report: P90X2
THIRTEEN YEARS AGO: Caramelized Bananas
FOURTEEN YEARS AGO: Roasted Lemon Vinaigrette
FIFTEEN YEARS AGO: Whole Wheat Bread