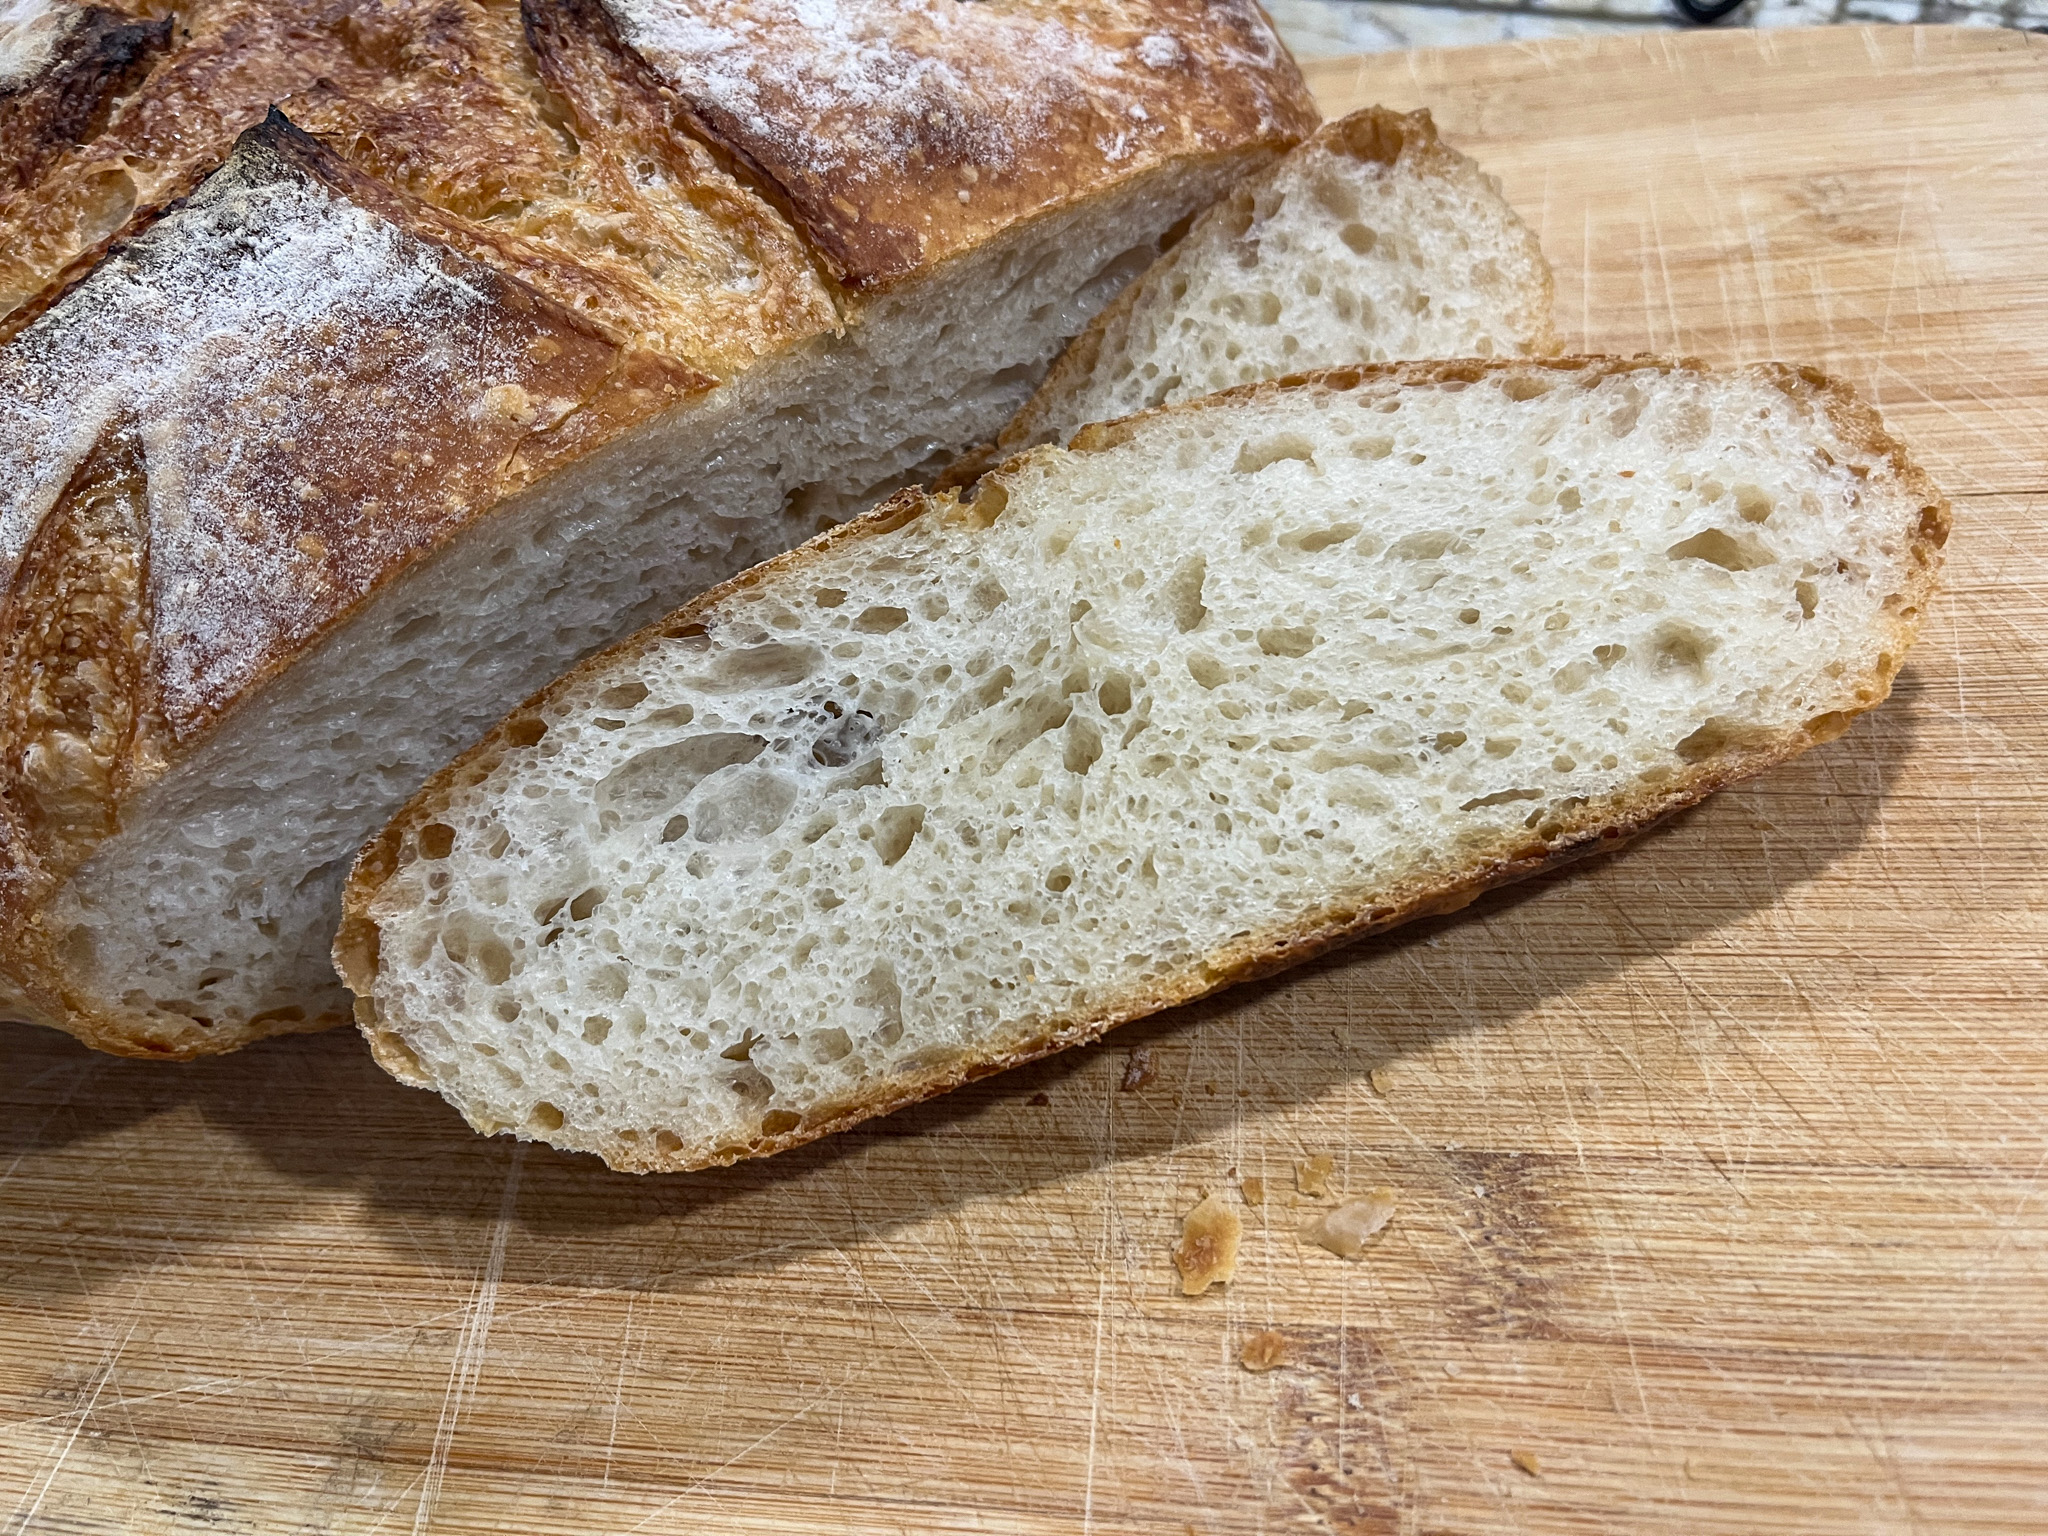
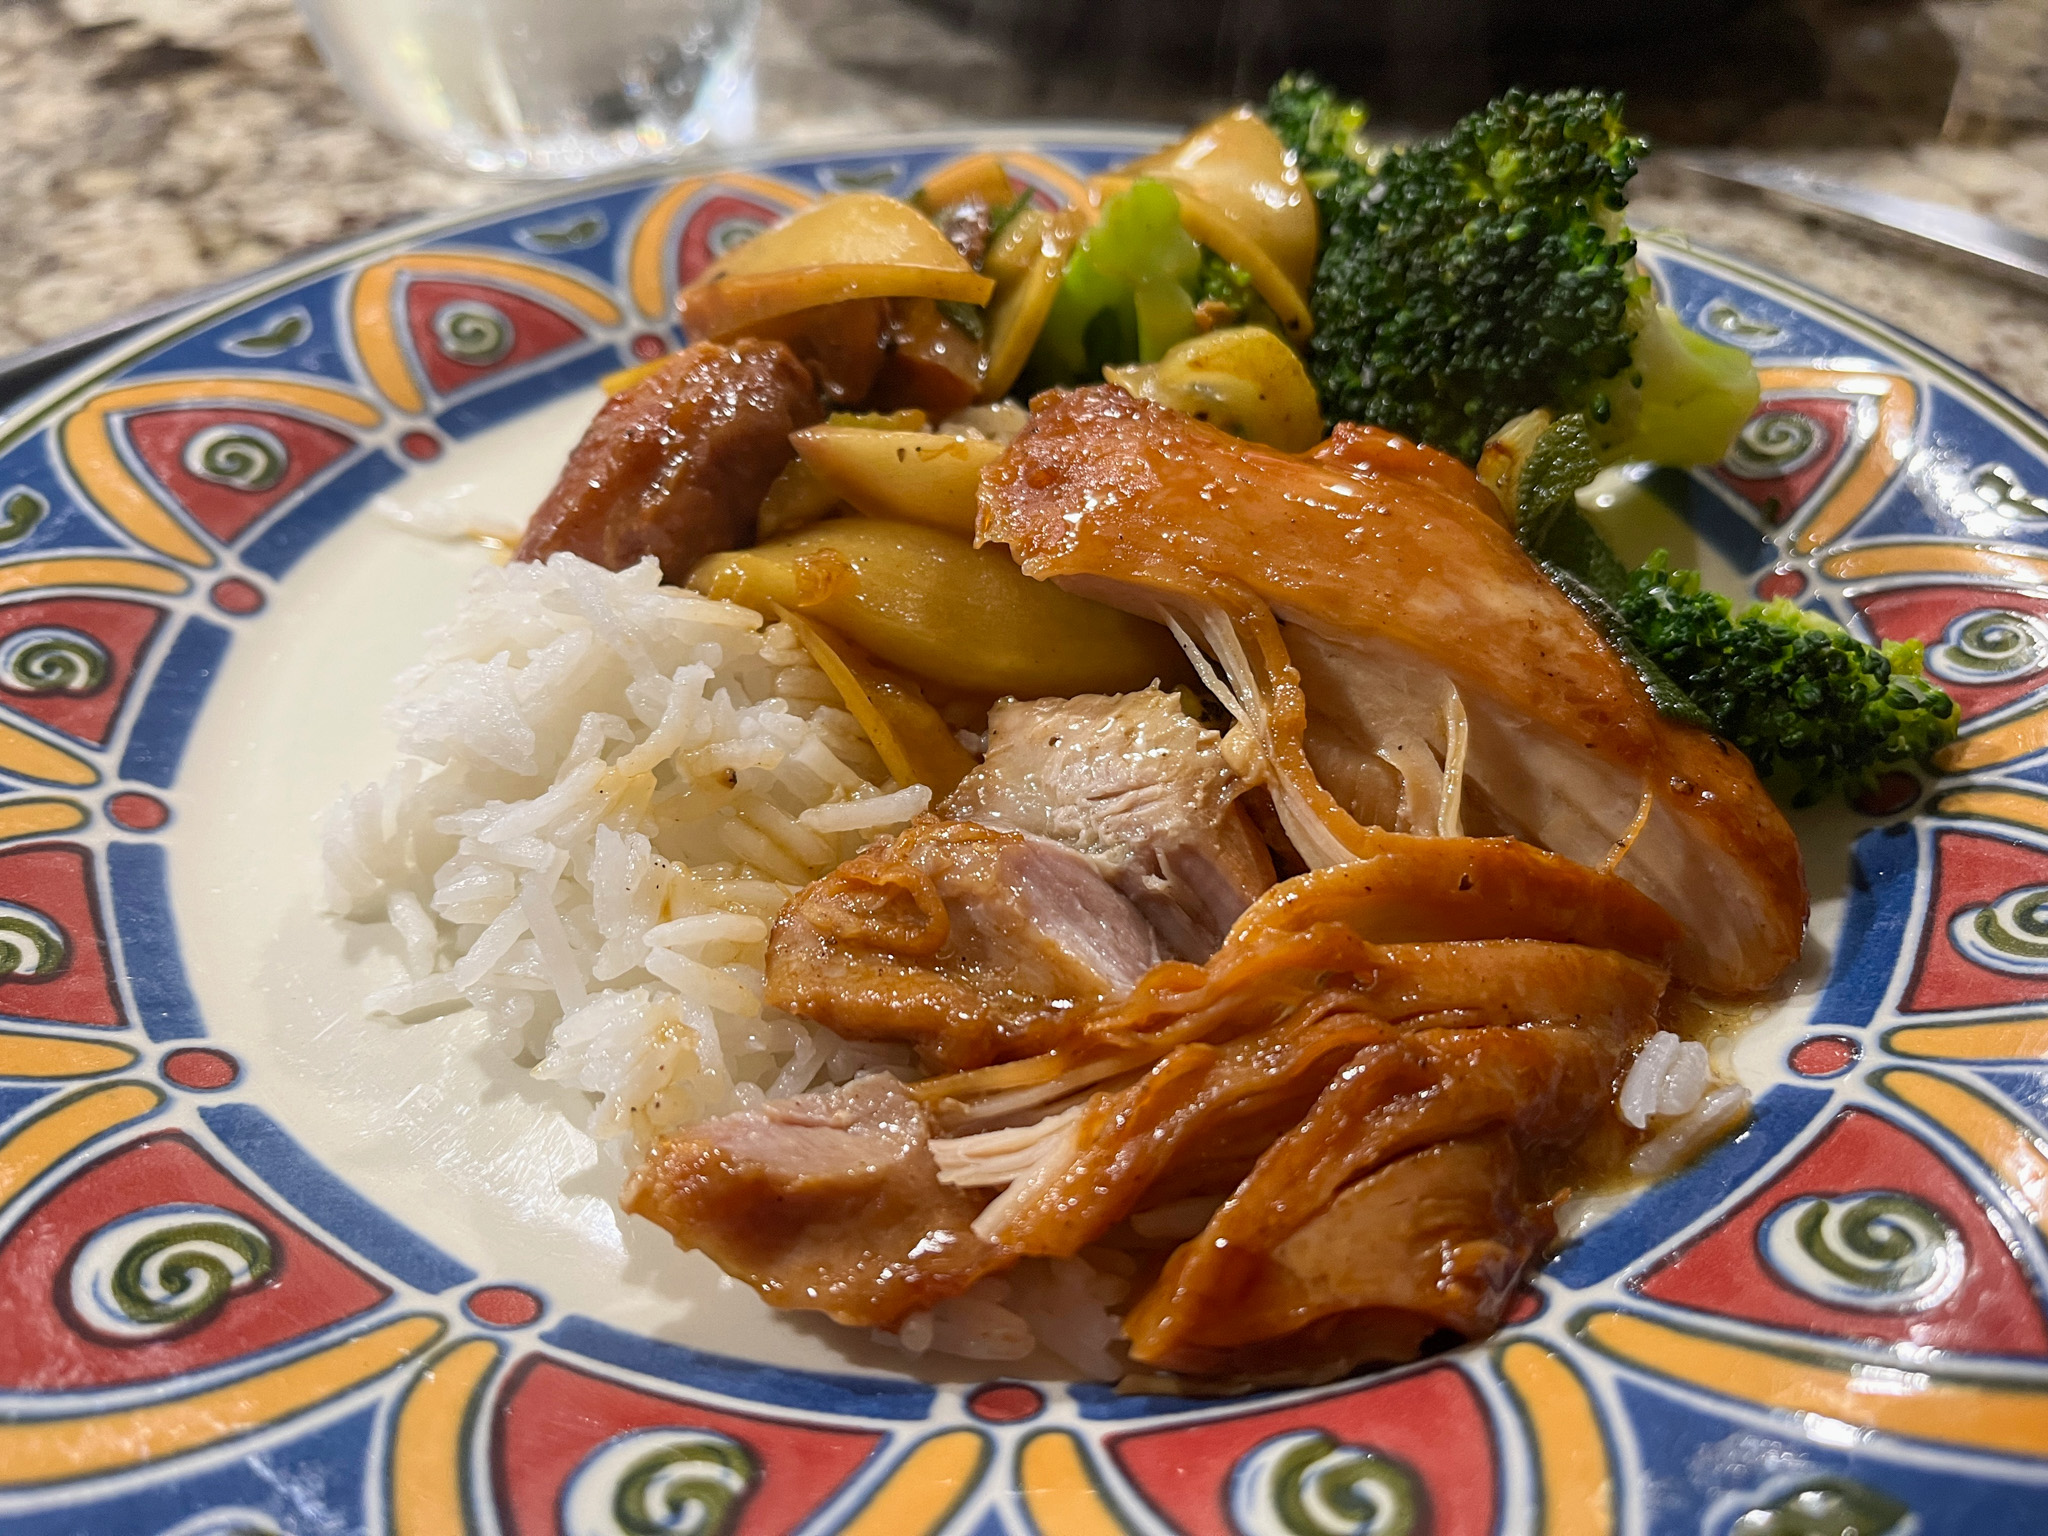
The first one is truly simple because you actually make the potatoes a day or two before, but the recipe itself qualified to be in this folder when I first published it in 2023. Check it out here. I always make one or two extra potatoes so that I have leftovers. Because, how could you resist these?
Simply grab the leftover roasted potatoes from the fridge, and cut in slices that should not be too thin, not overly thick, as they will warm up exclusively on the skillet. Add olive oil to the pan, once it is really hot, add the slices and brown them on both sides. Add a little more salt to serve. They will be super creamy inside and get that superb crust all over. Addictive, I tell you.
The second one was featured recently in the New York Times with a lot of praise by the readers. It seemed a bit odd, very few ingredients, kind of monochromatic. But we were both quite impressed by the flavor and texture. I share with you my version, which is slightly modified from the original one. A bit of olive oil and dill were brought to play.
1 large English cucumber Kosher salt 2 very ripe avocados 2 tablespoons fresh lime juice drizzle of olive oil fresh or dried dill to taste red pepper flakes for serving, to taste
Peel the cucumbers in alternating strips and trim ends. Halve lengthwise and slice thin. Transfer to a colander and sprinkle 1 to 2 tsp kosher salt all over the slices. Set aside for 15 minutes.
Halve the avocados and remove the pits. Using a spoon, remove the flesh from the skins, then cut the flesh into ½-inch cubes. Transfer to a large bowl, add the lemon juice and season with salt. Stir to combine.
Shake the cucumbers in the colander to get rid of any excess moisture, rinse briefly then transfer to the bowl with the avocado. Drizze olive oil, and add dill. Mix well but gently, the avocado should start getting creamy and cover all the slices of cucumber. That is a good thing. Serve with a sprinkle of red pepper flakes, if so desired.
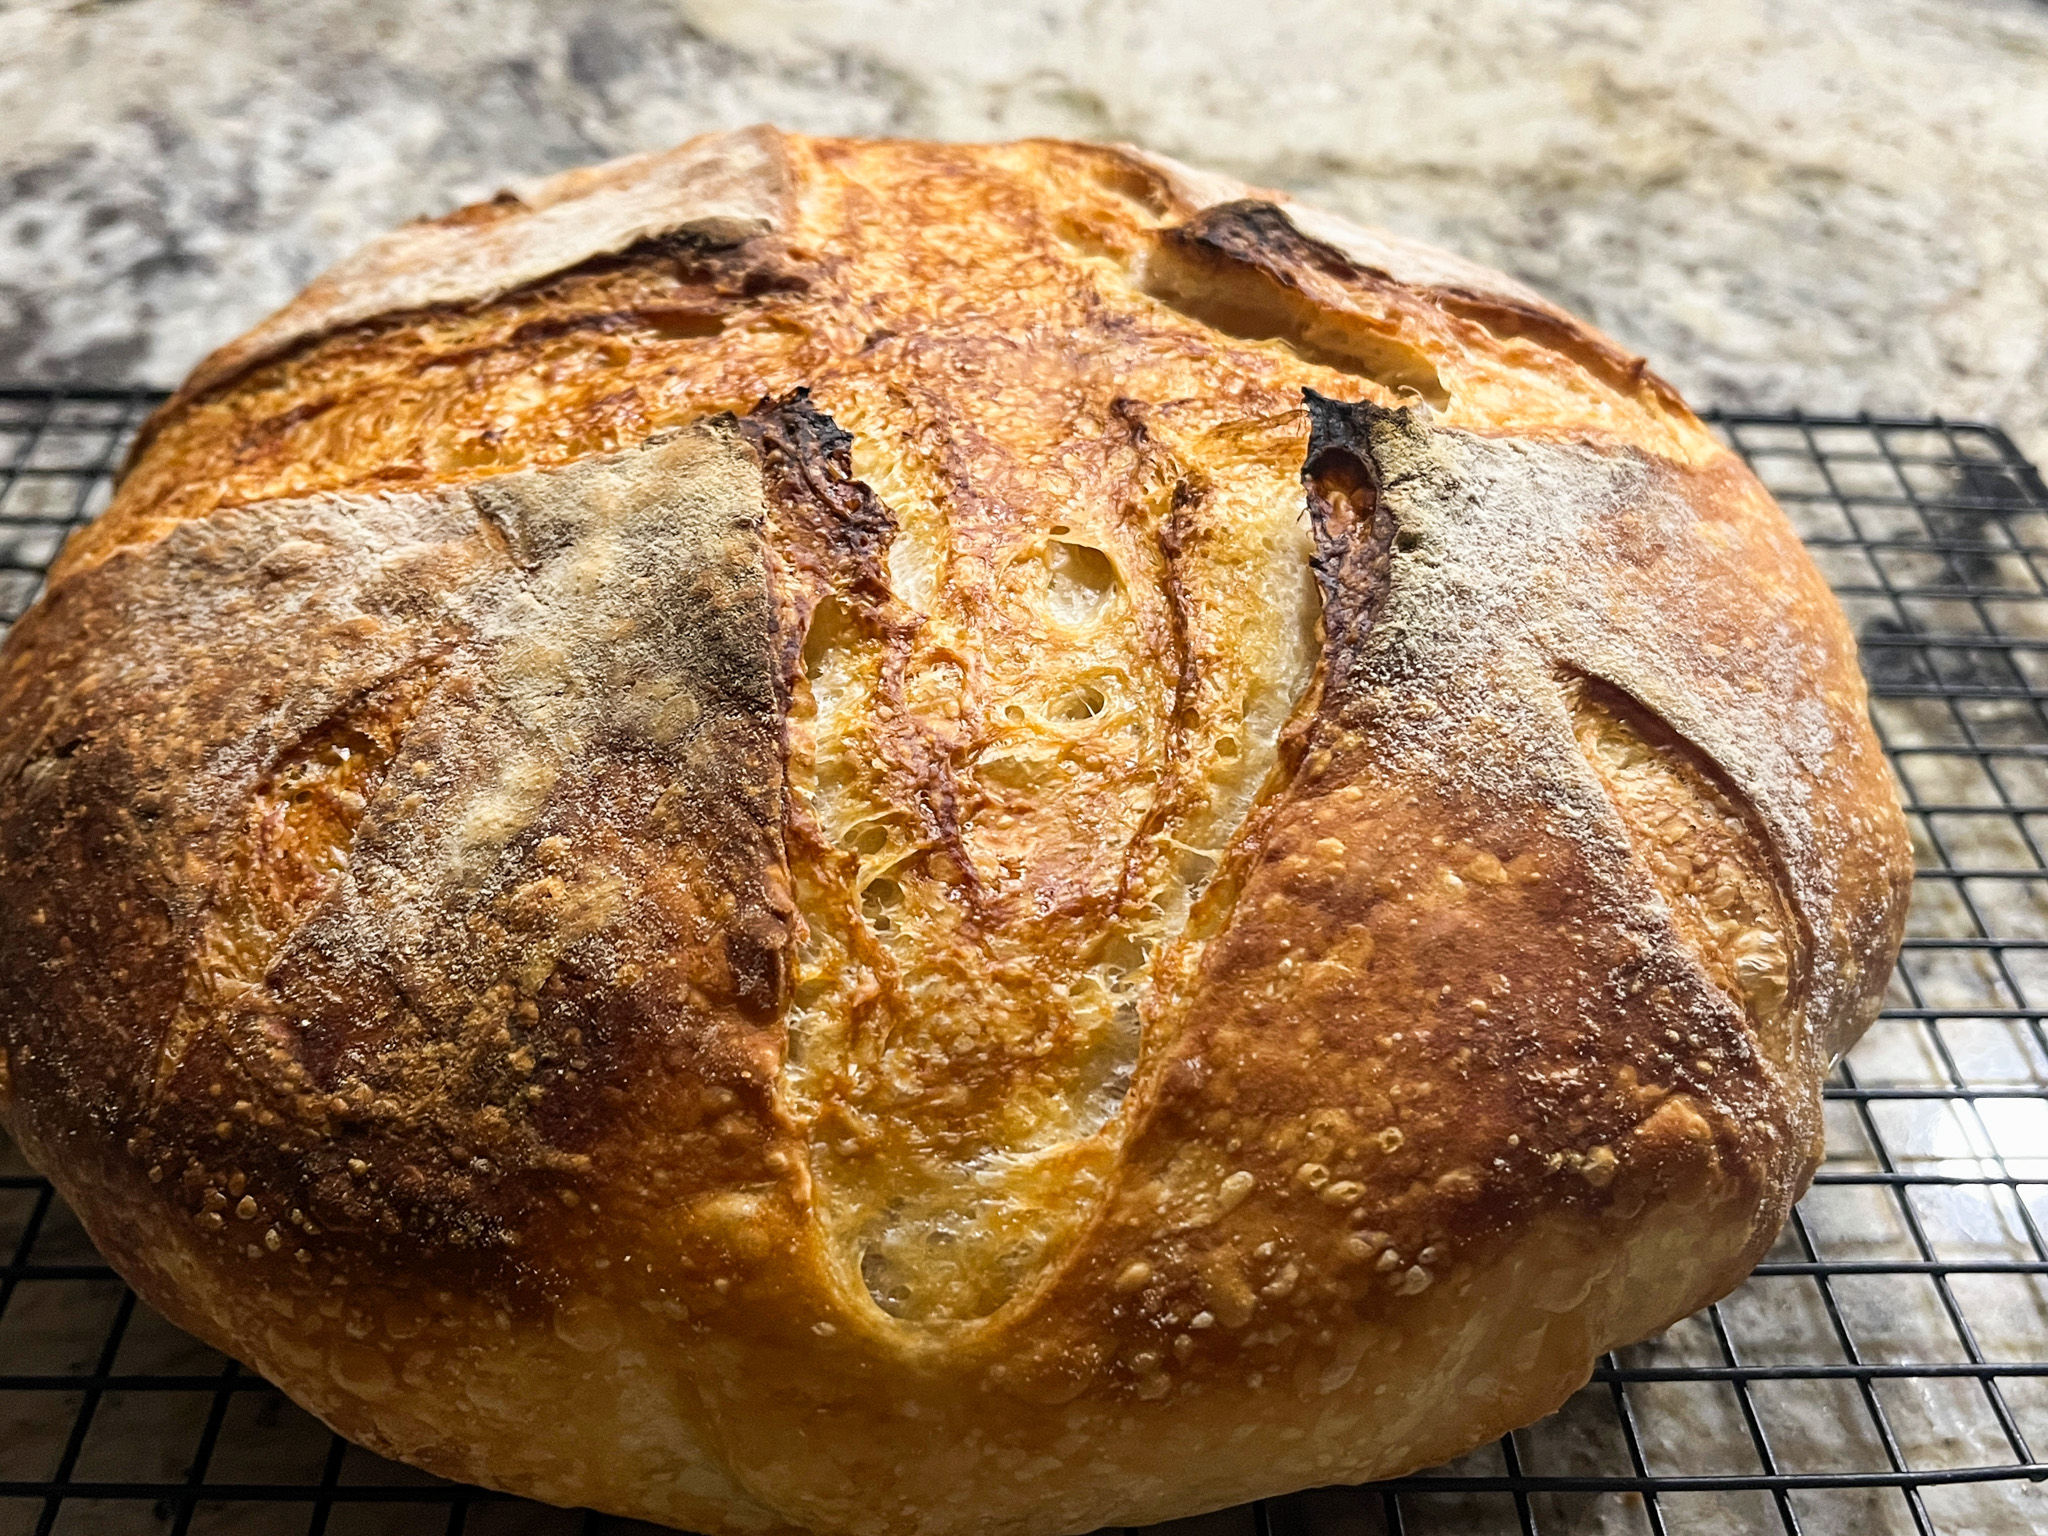
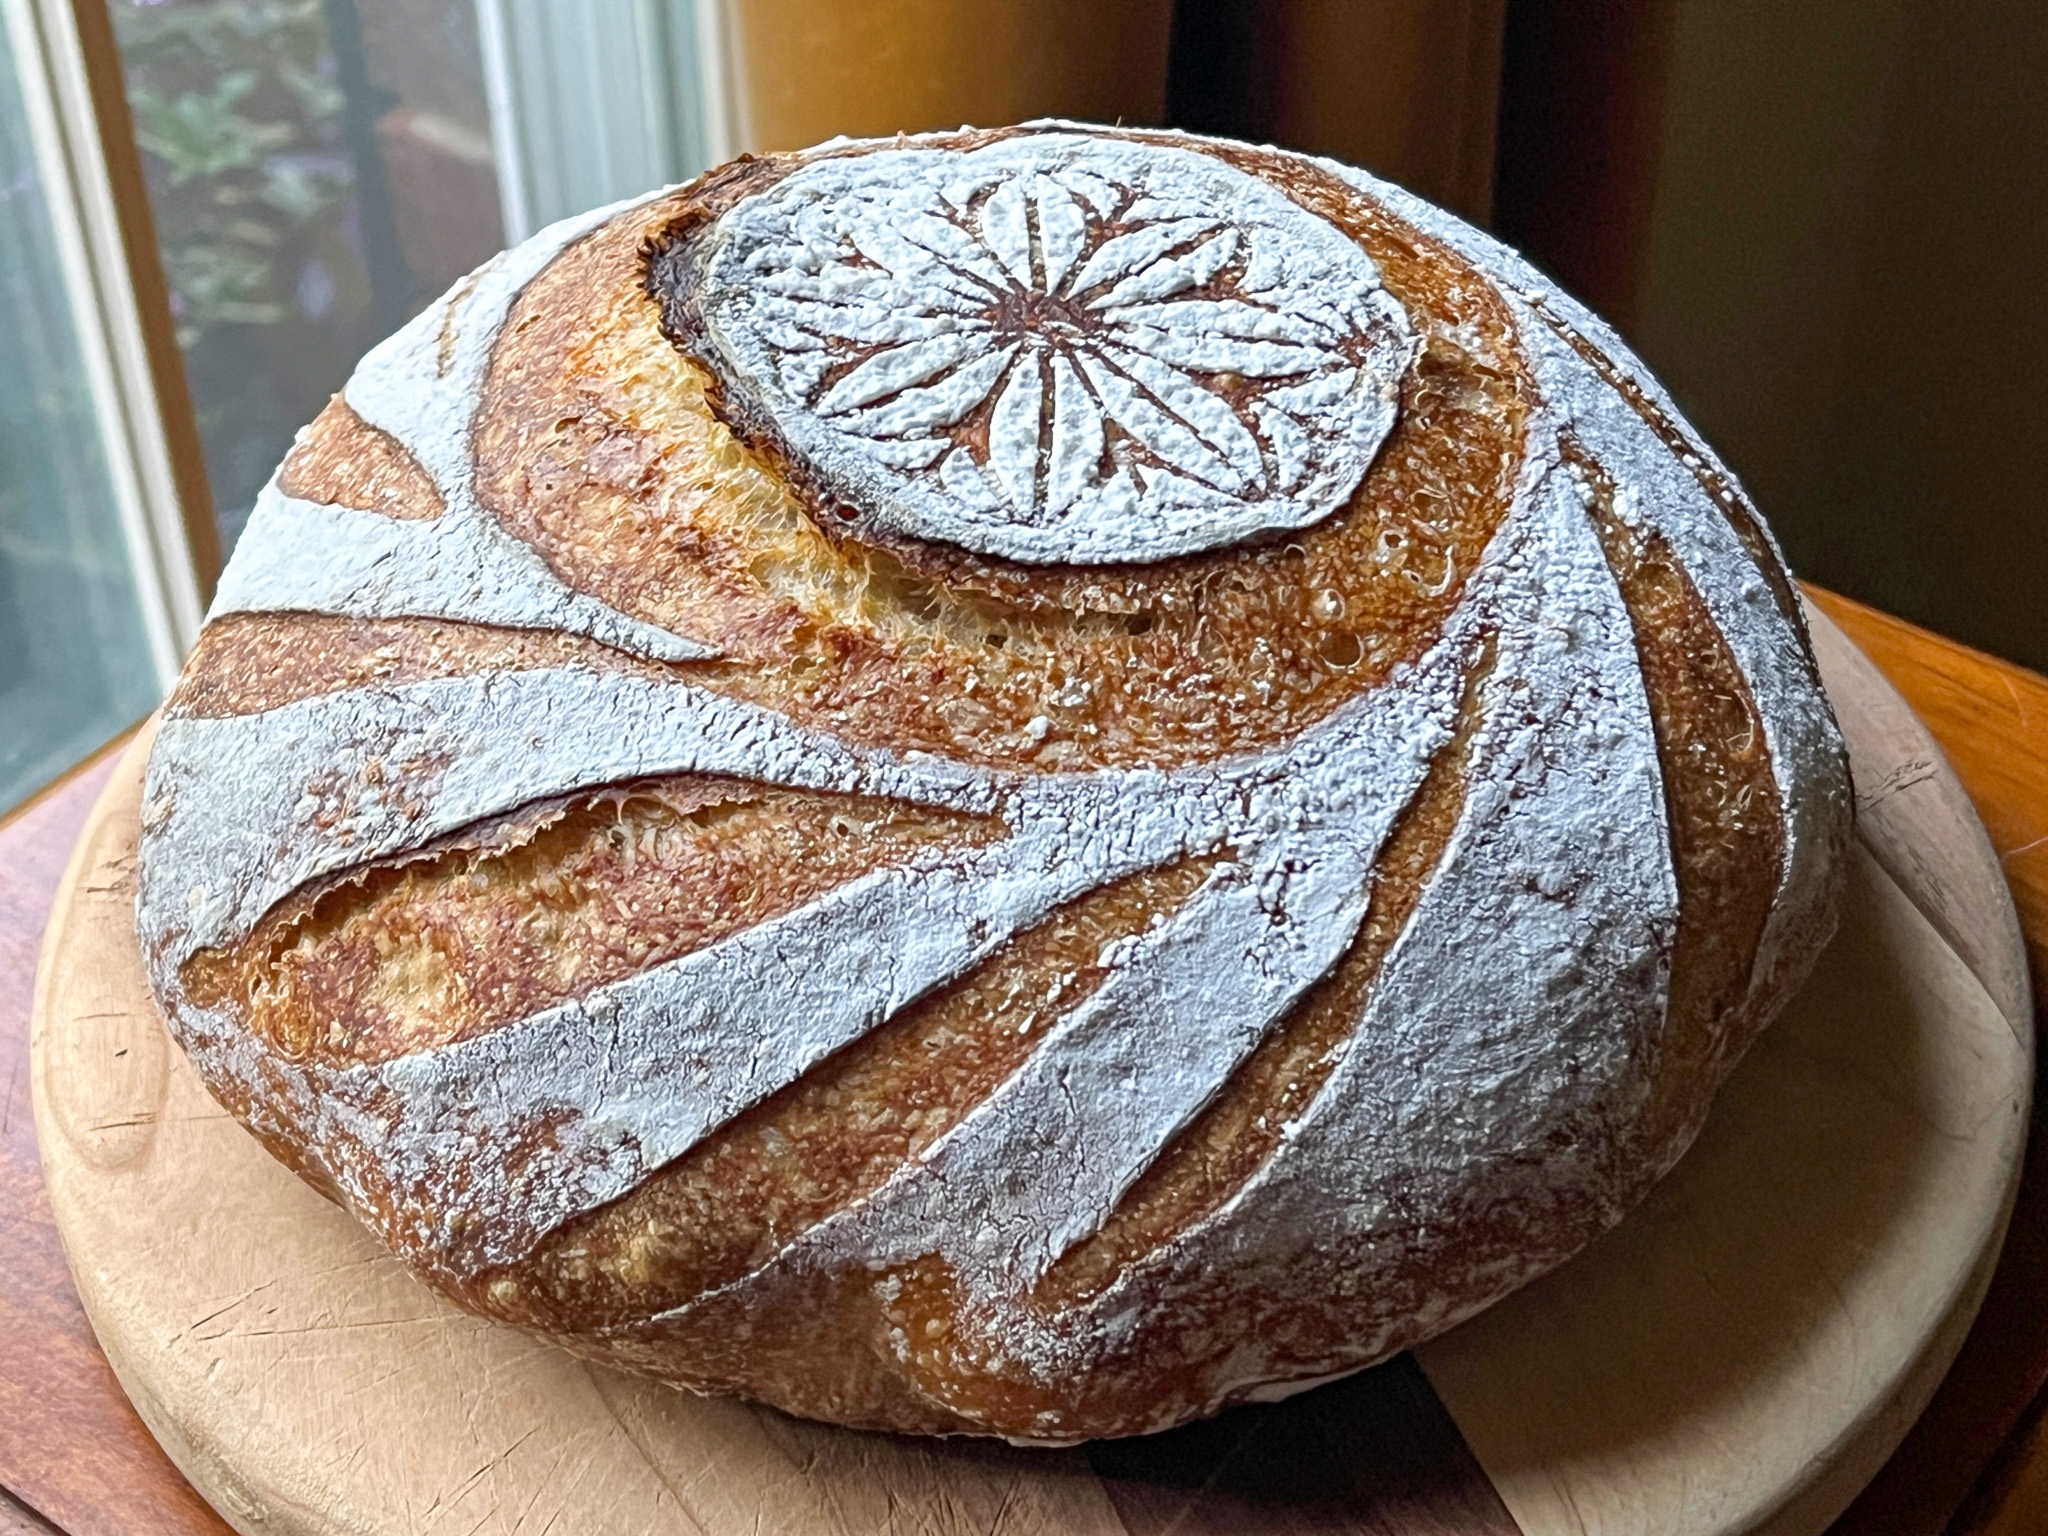
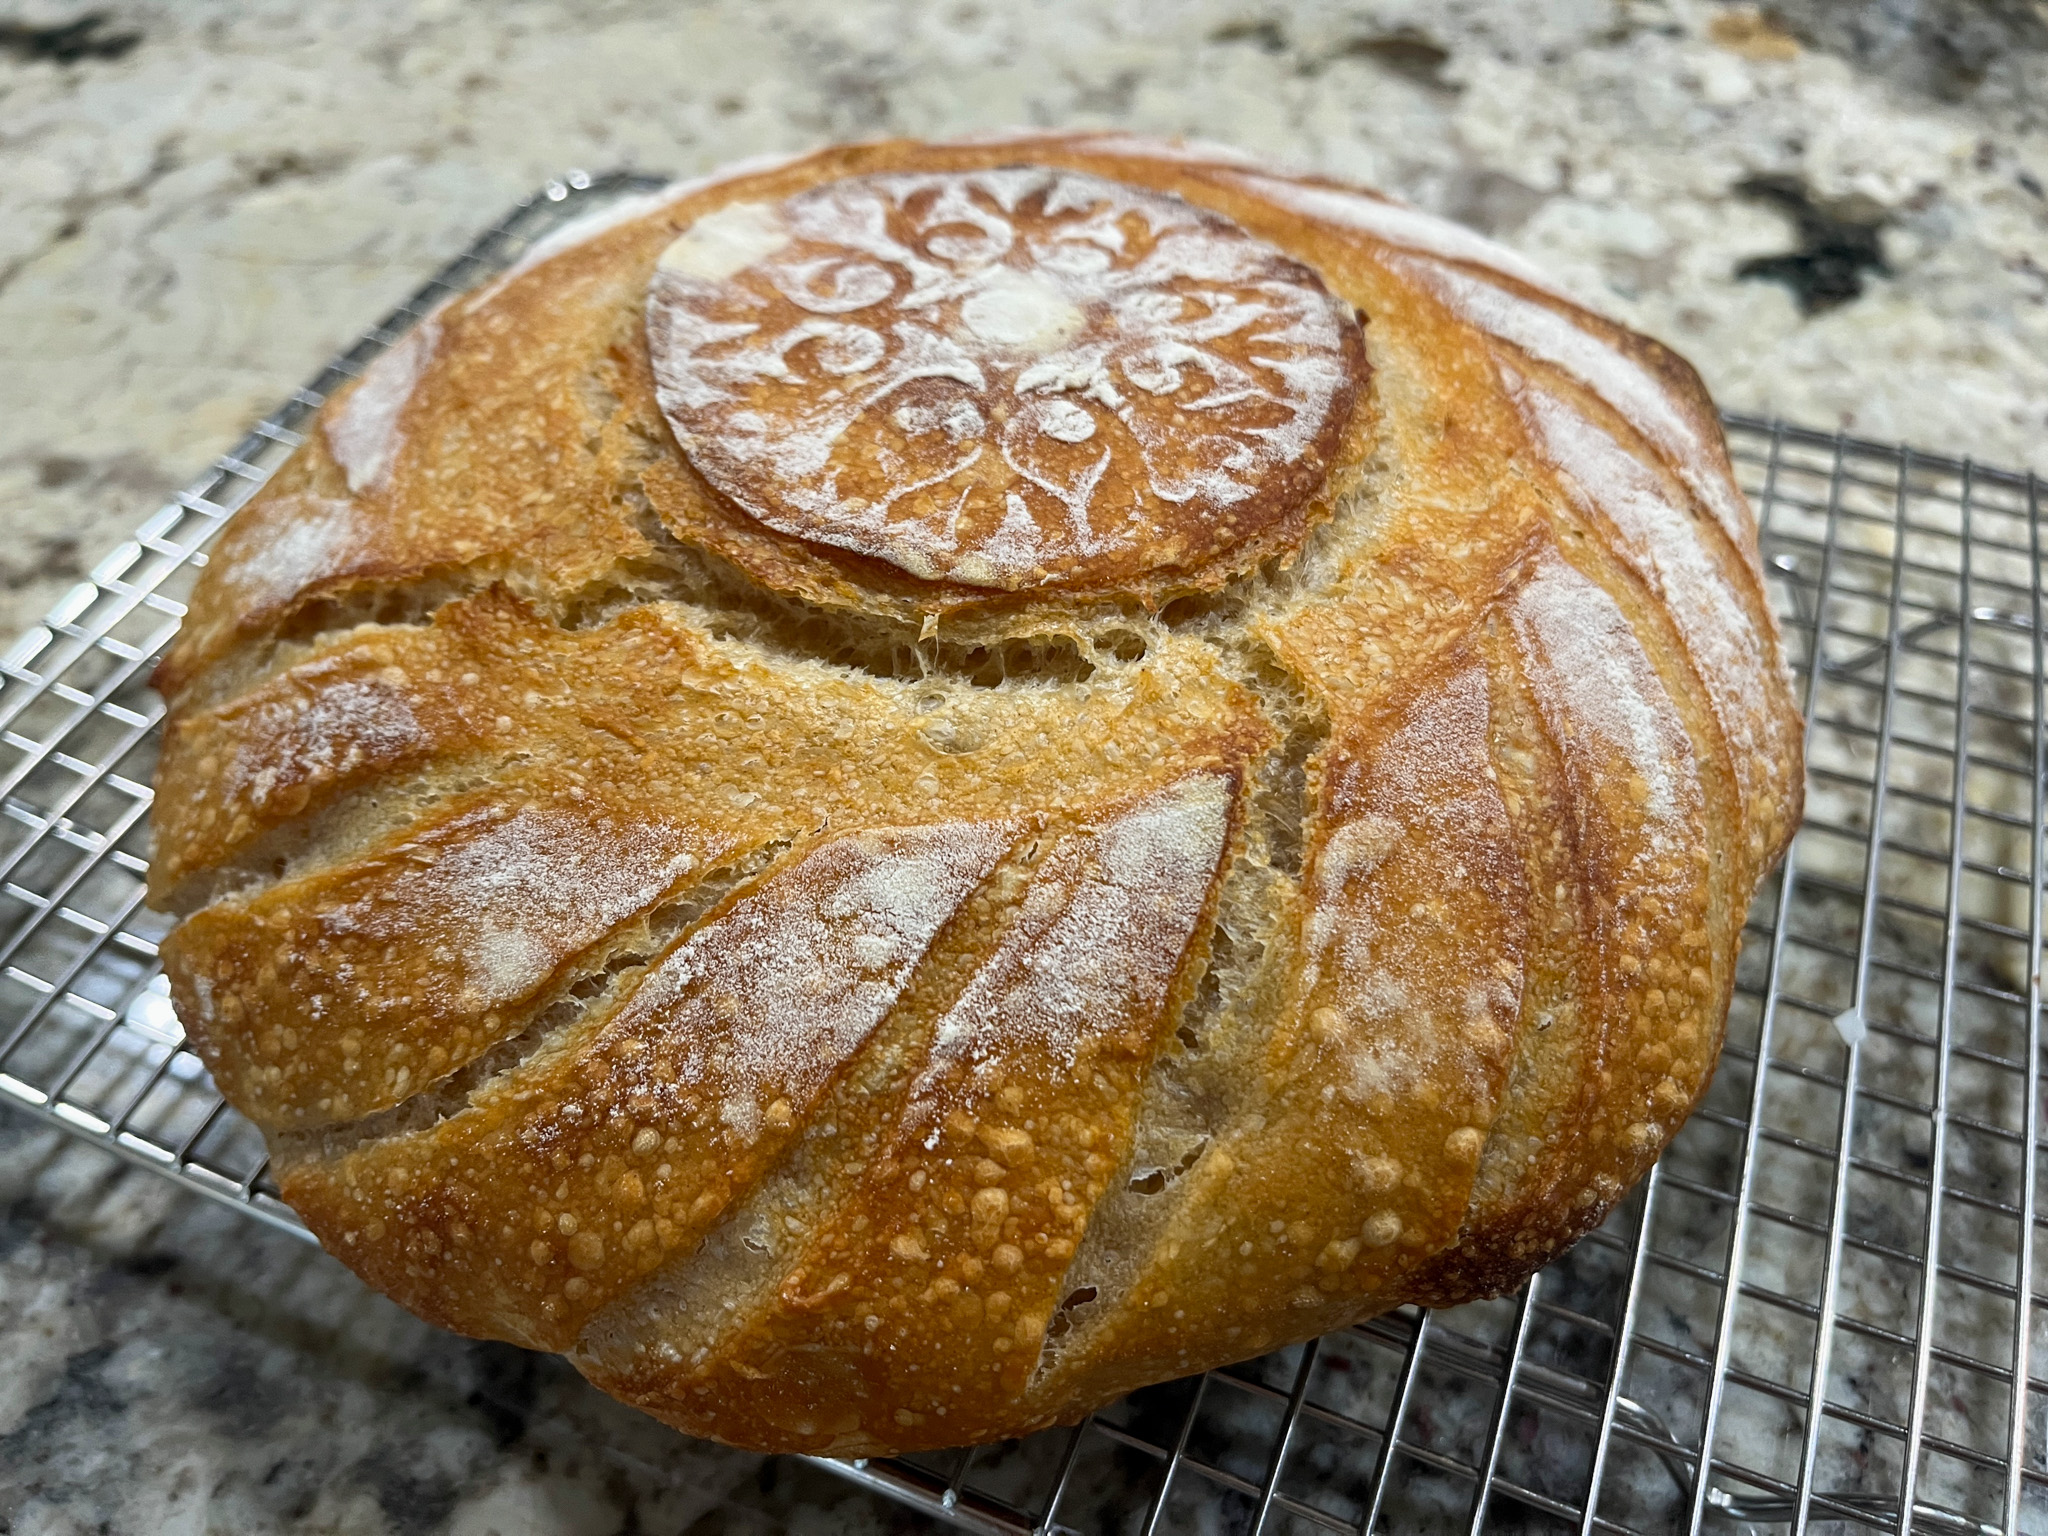
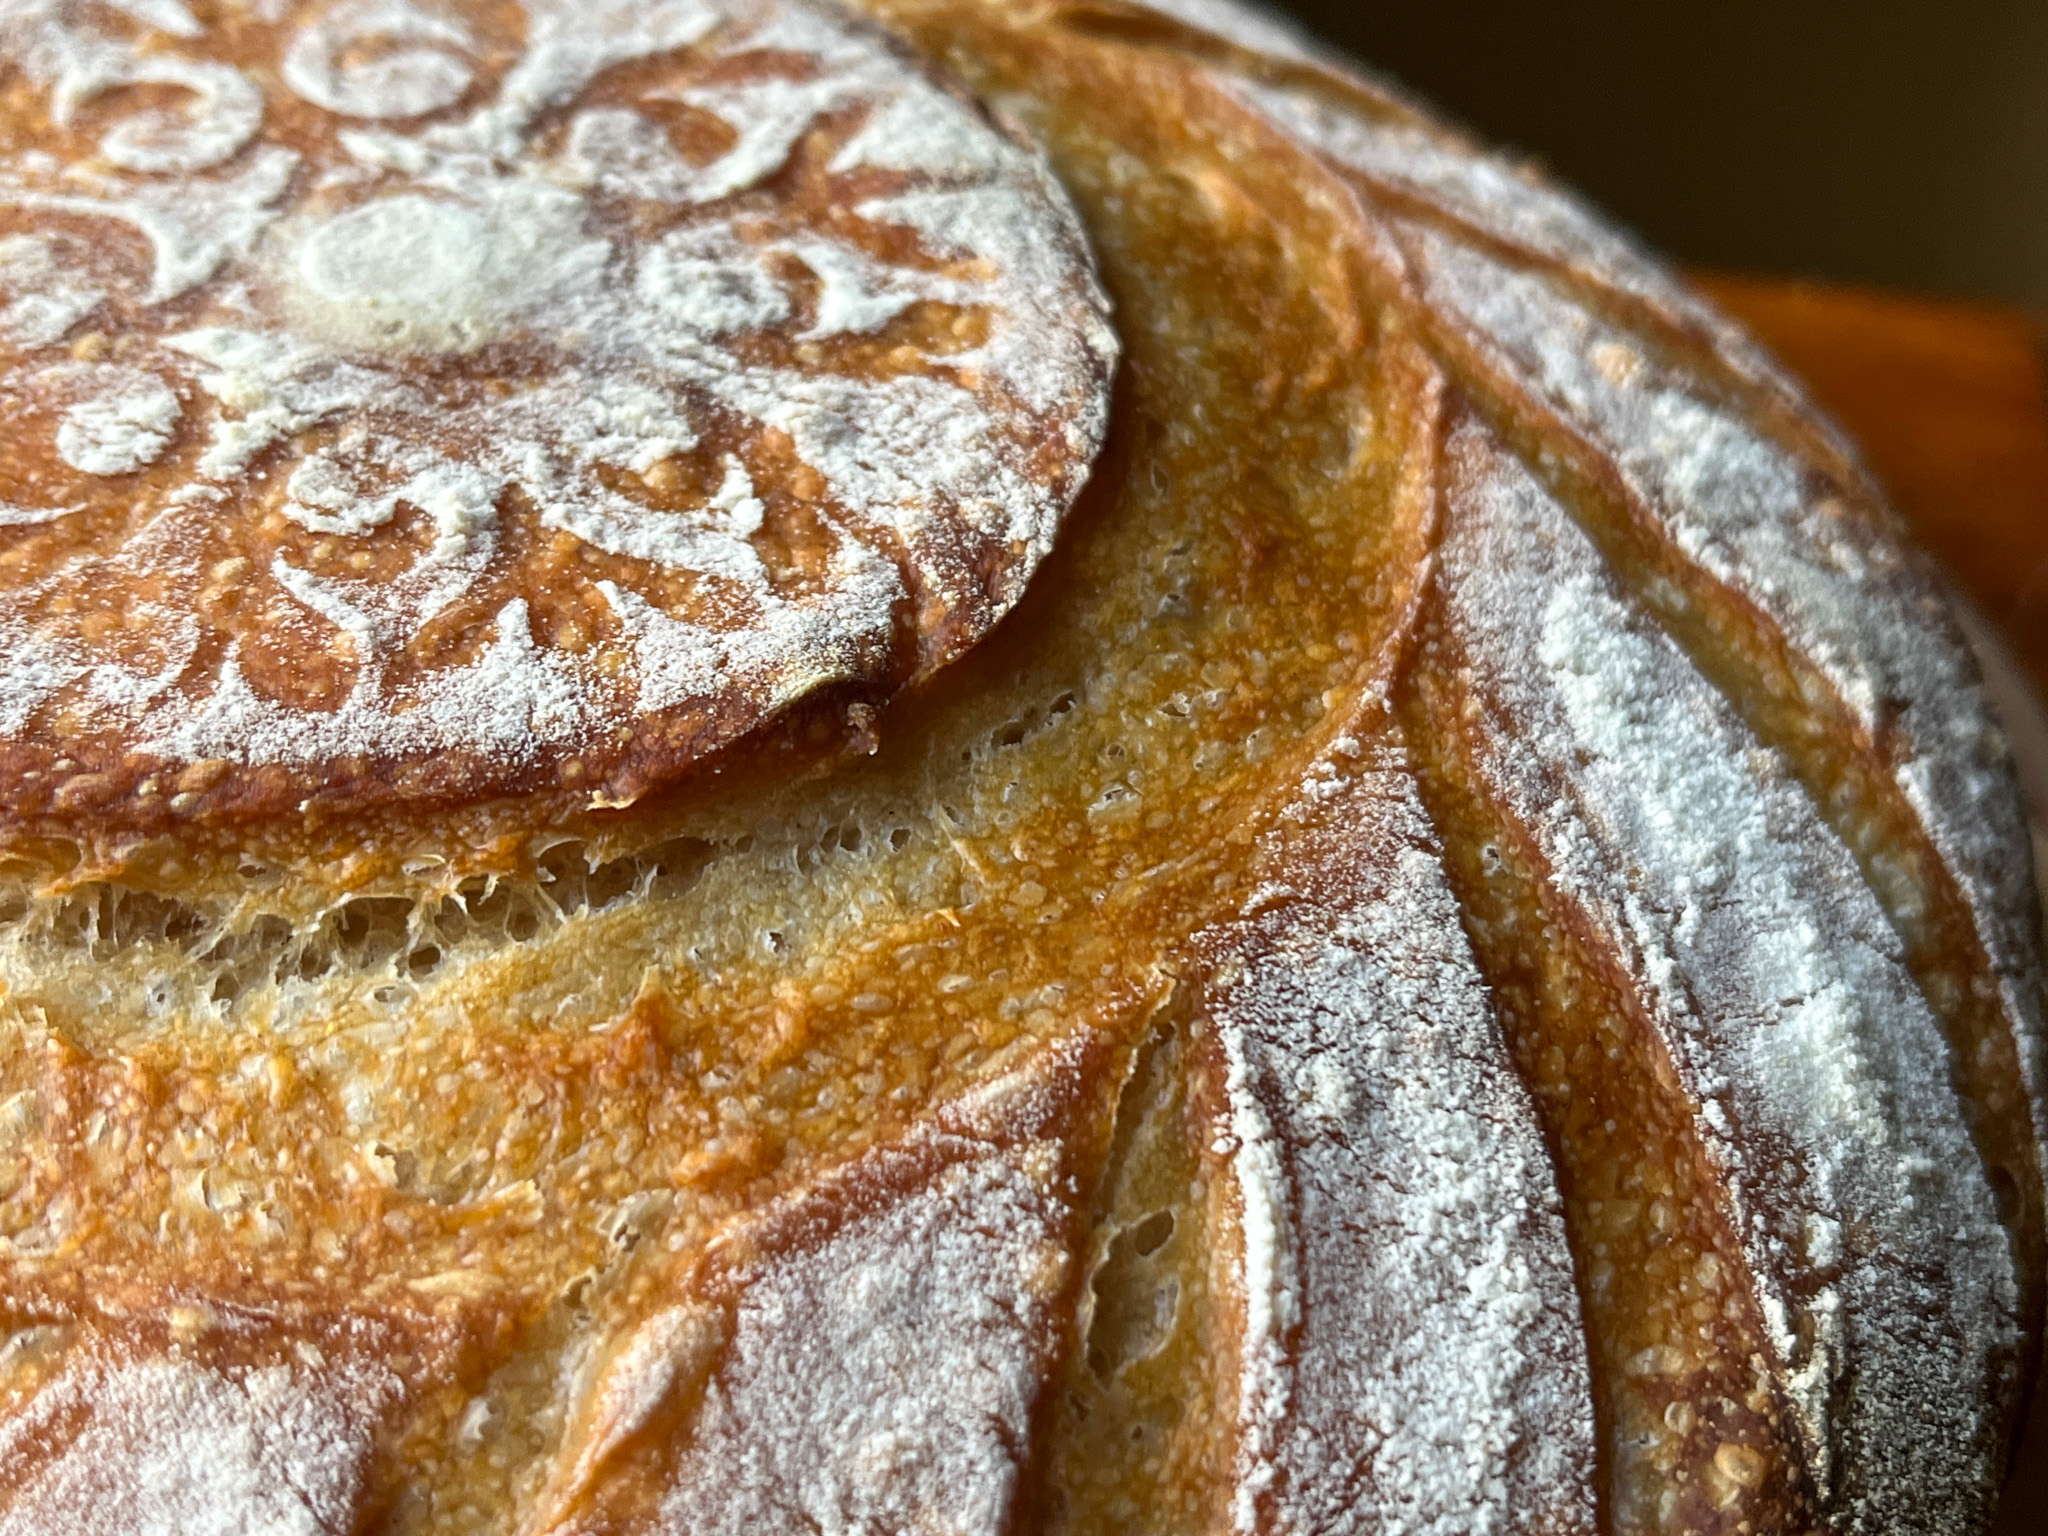
A few ideas for decorating your sourdough bread, no matter the recipe. My default favorite is this one.
RAZOR BLADE + SCISSORS + CHOPSTICKS
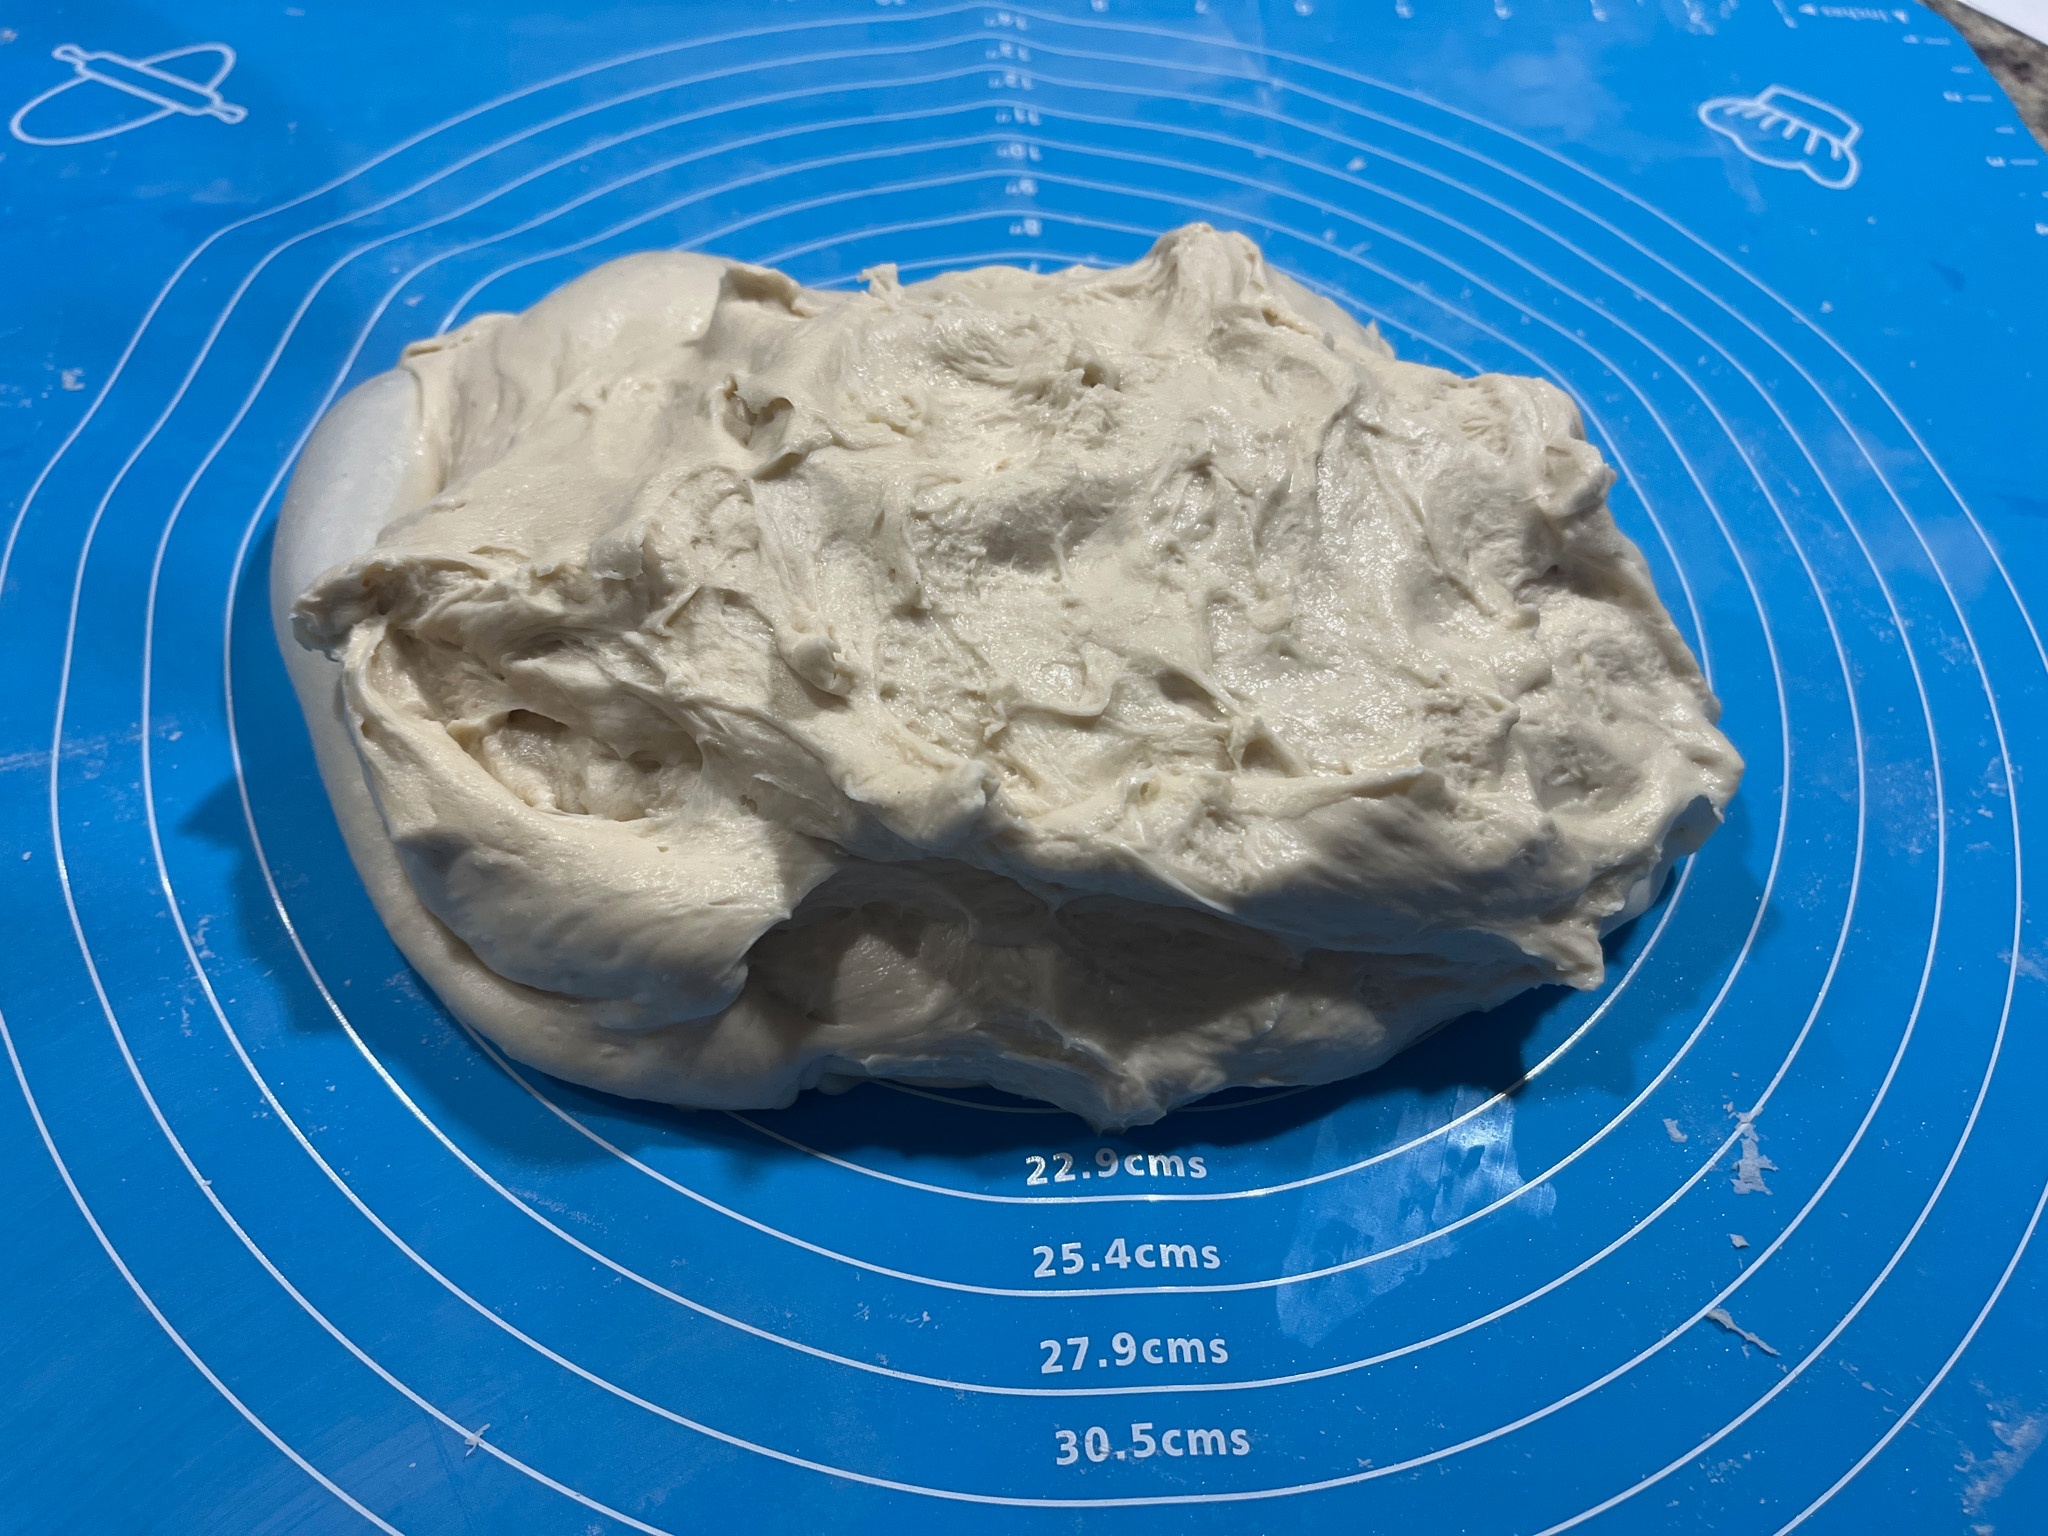
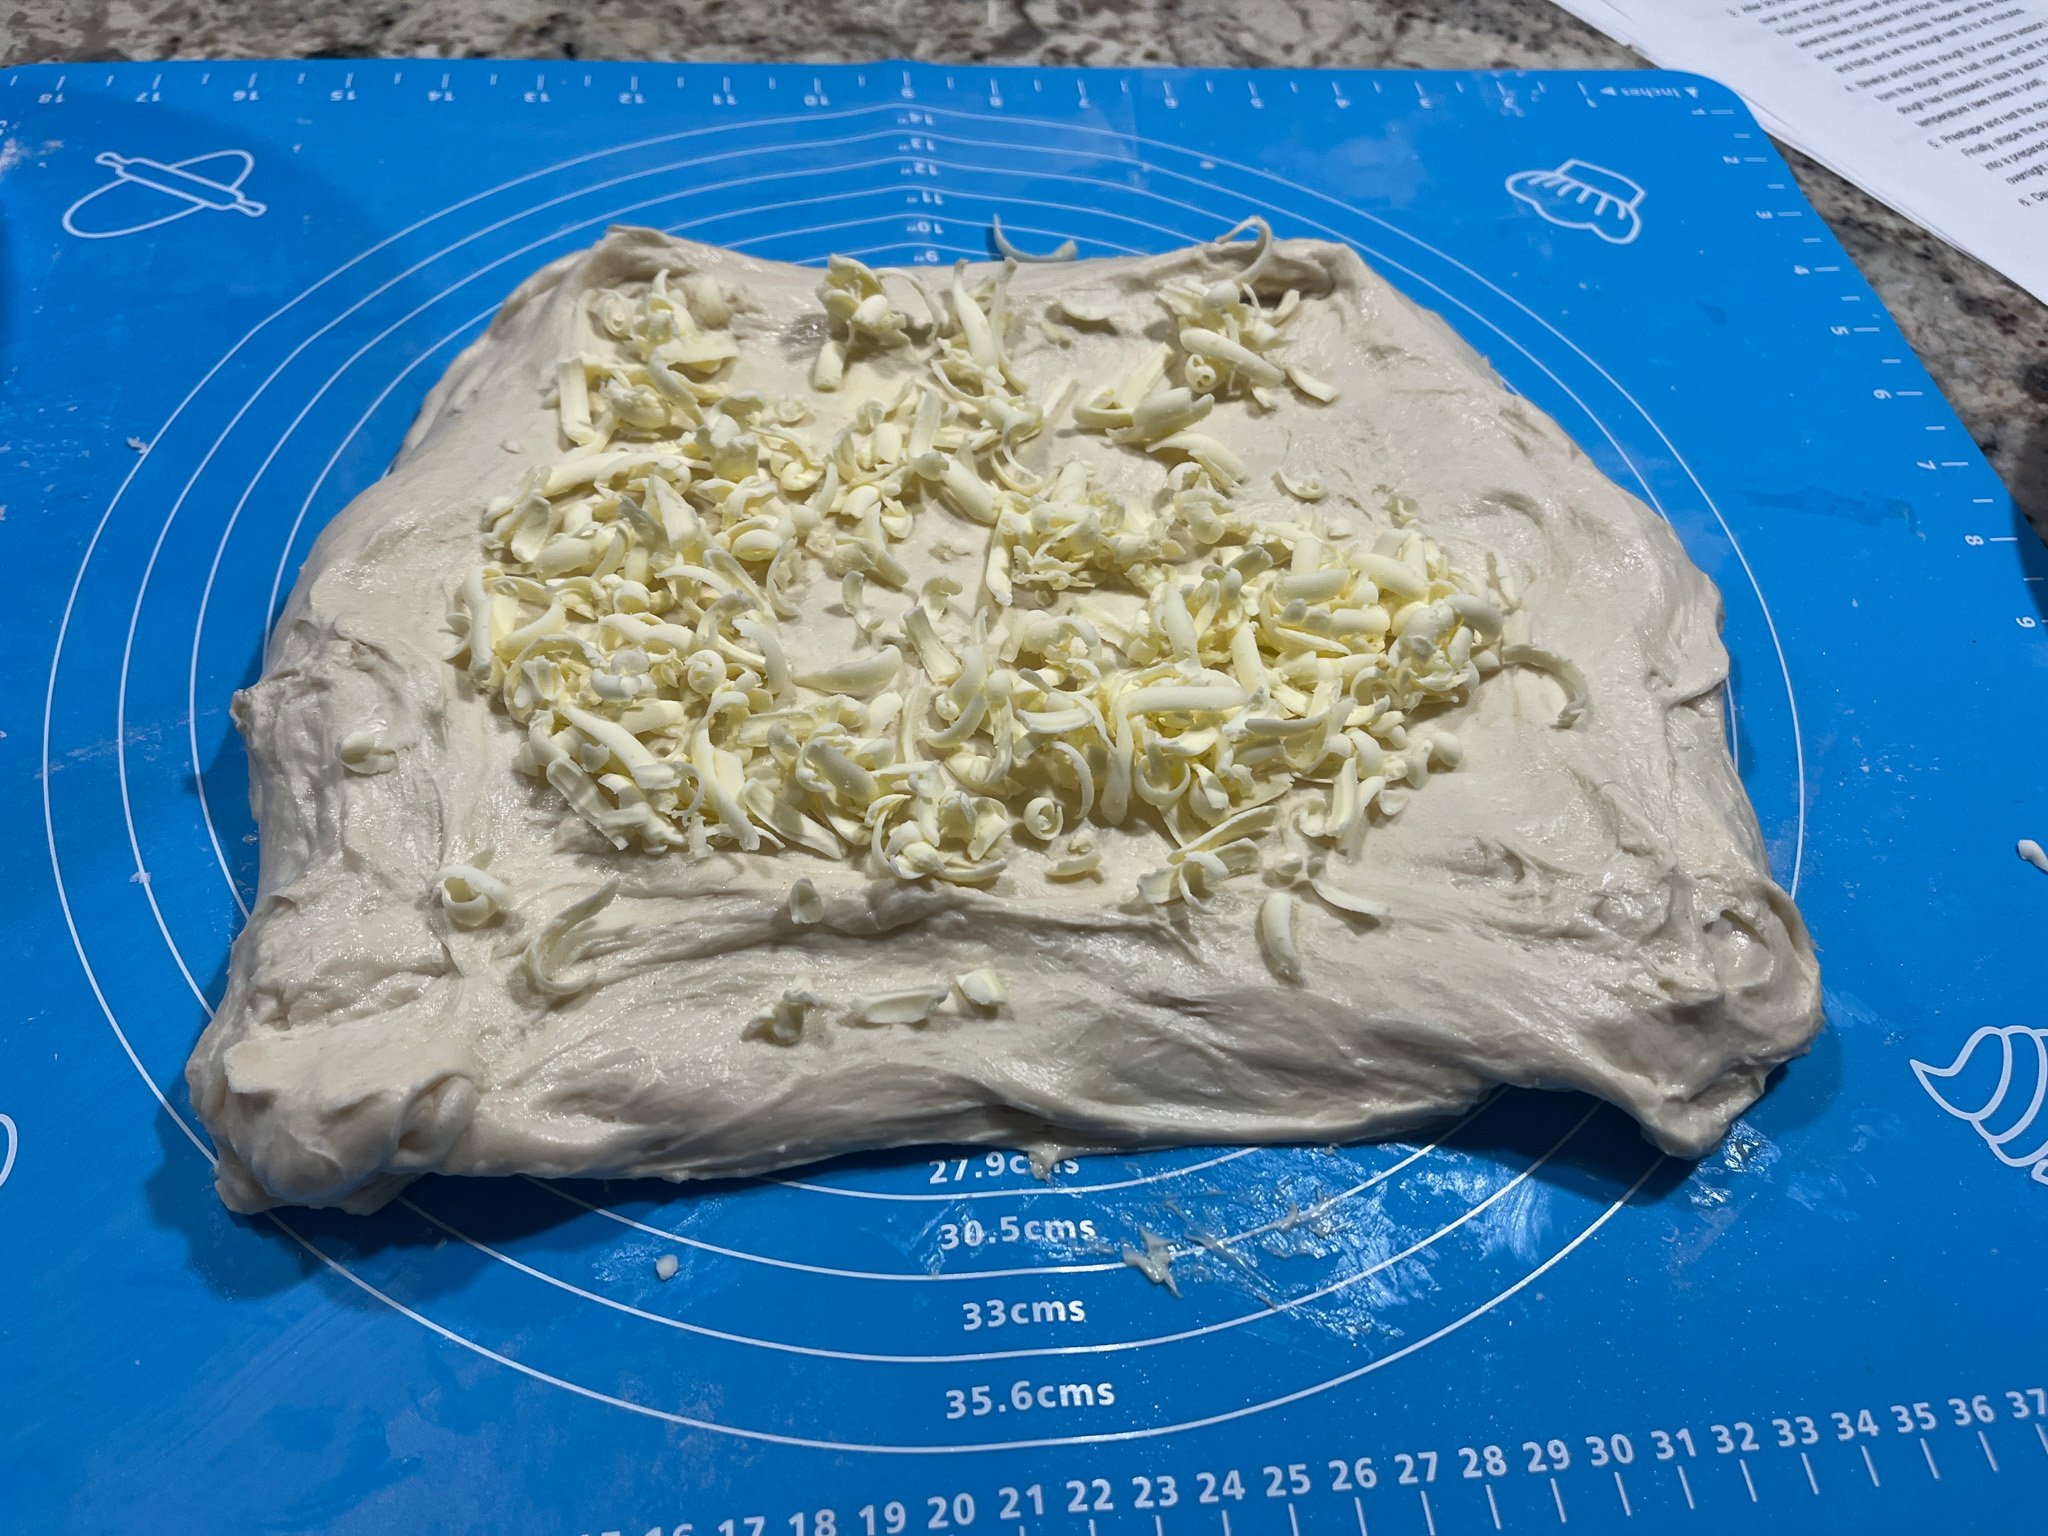
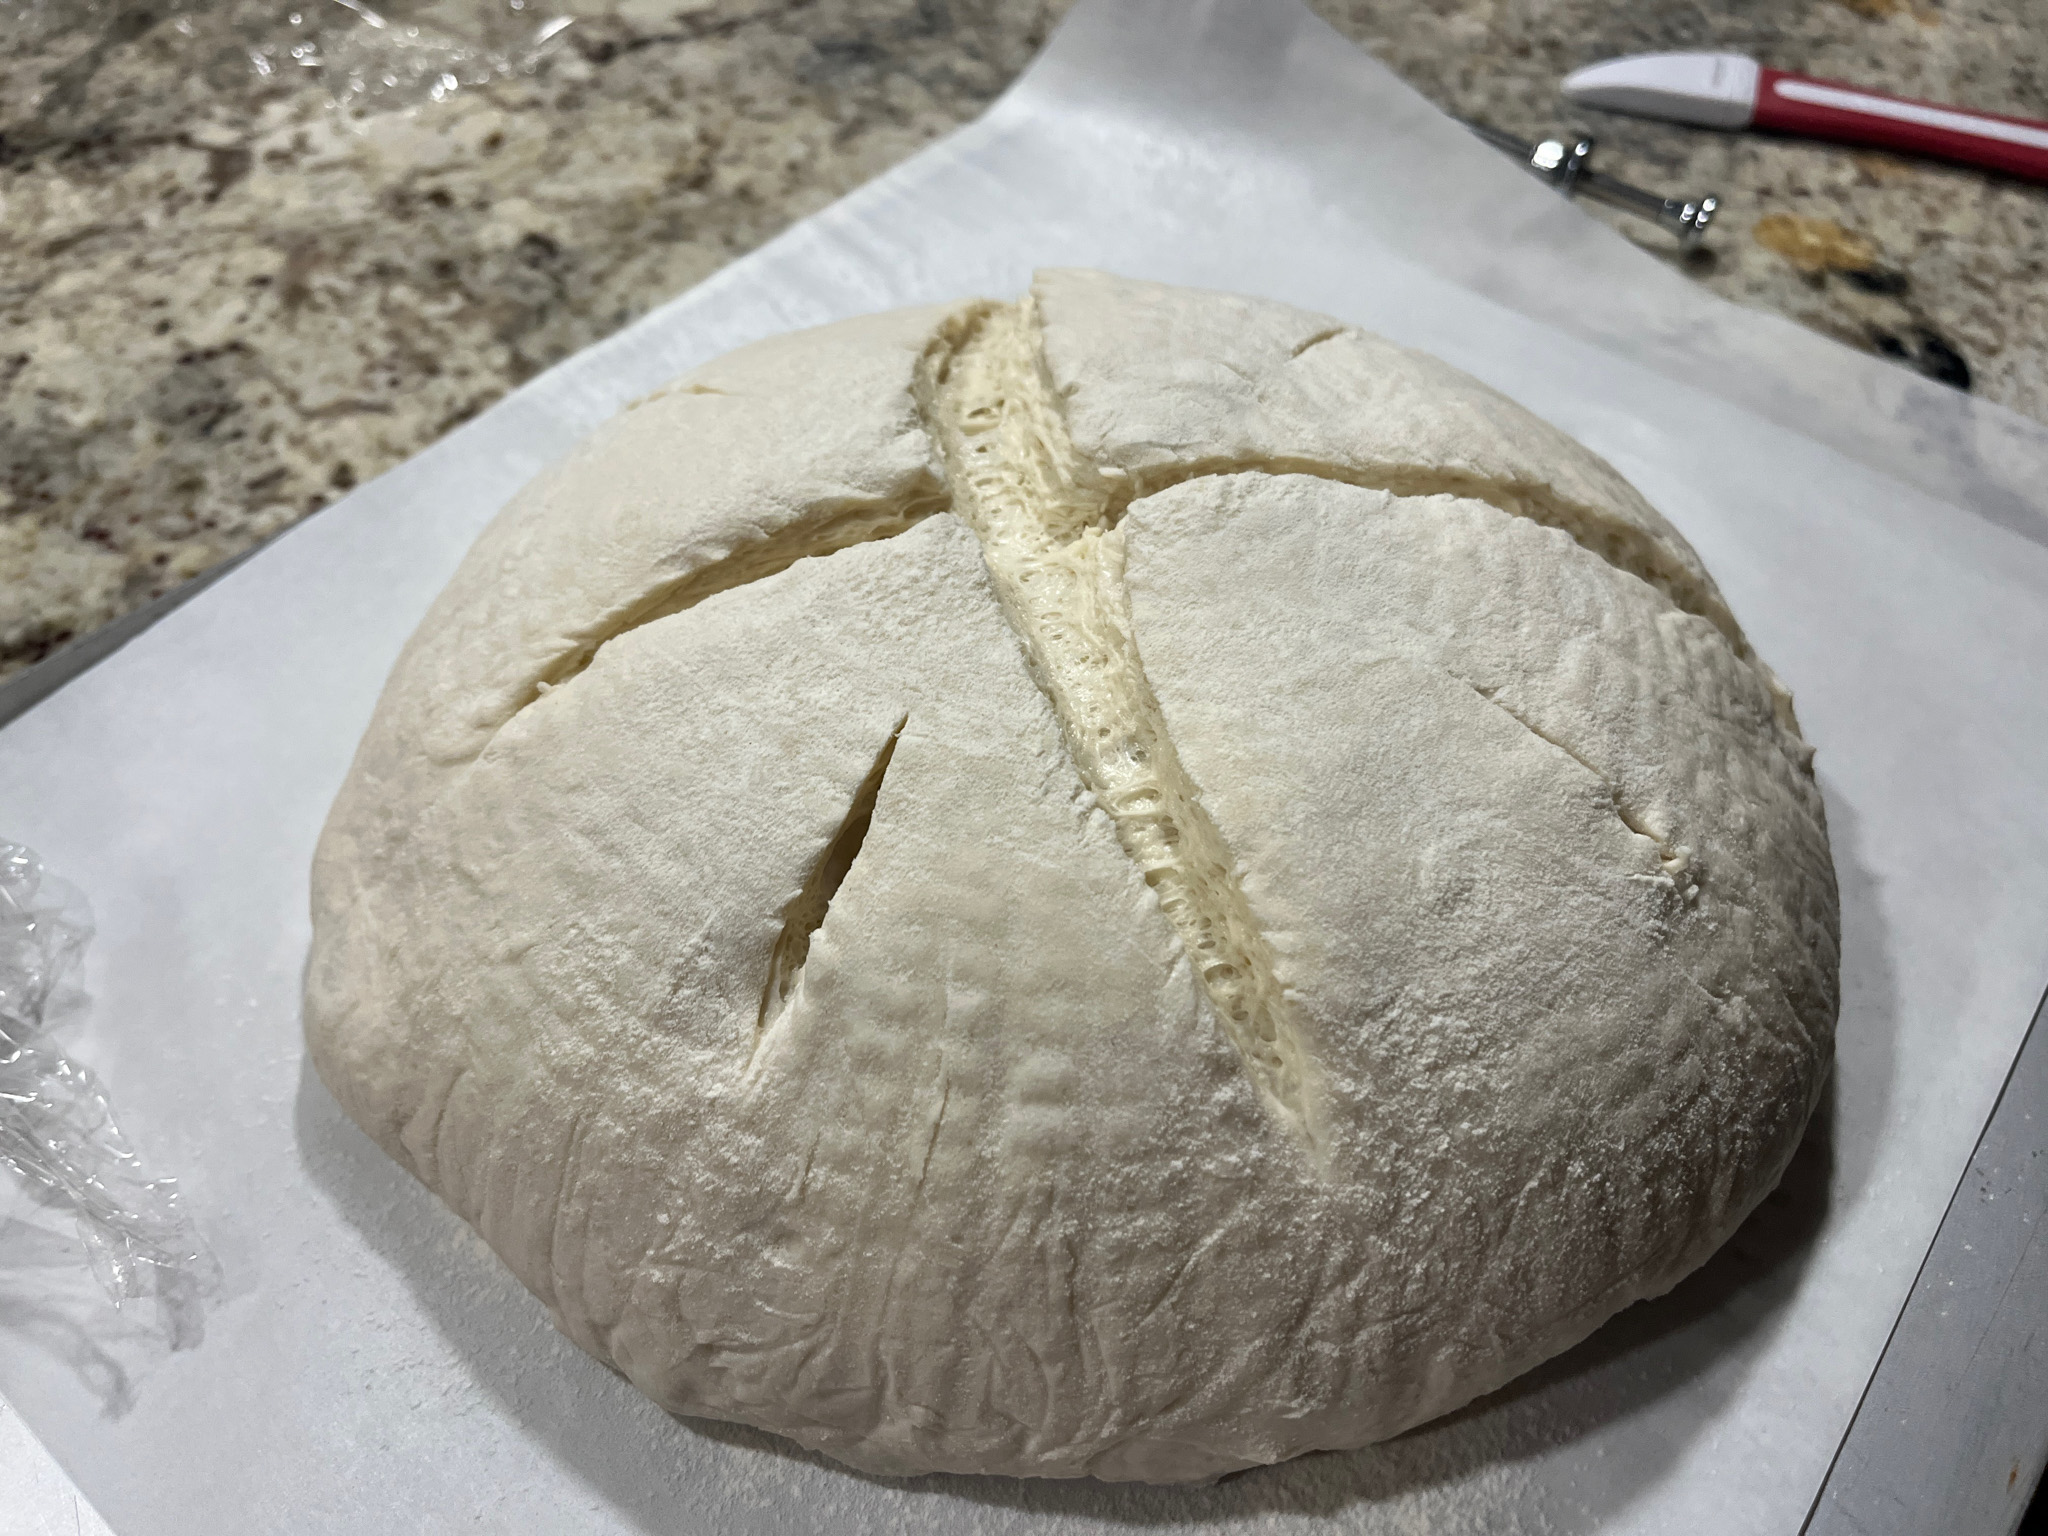
I love how you can mix different methods to score the surface. The steps for this one are shown below. I use a string to mark the four quadrants, the straight lines and leaf pattern are made with a razor blade. Scissors come to made the cuts on the crossed lines, and finally chopsticks make small holes to finish the decoration.
It is simple and effective….
Another version relying on razor blade + scissors…
The scoring is quite straightforward, following the steps in the diagram below…
.
STAR SHAPE + LEAVES
For this one only a razor blade was used, after marking the different sections with a string. Steps are shown below.
.
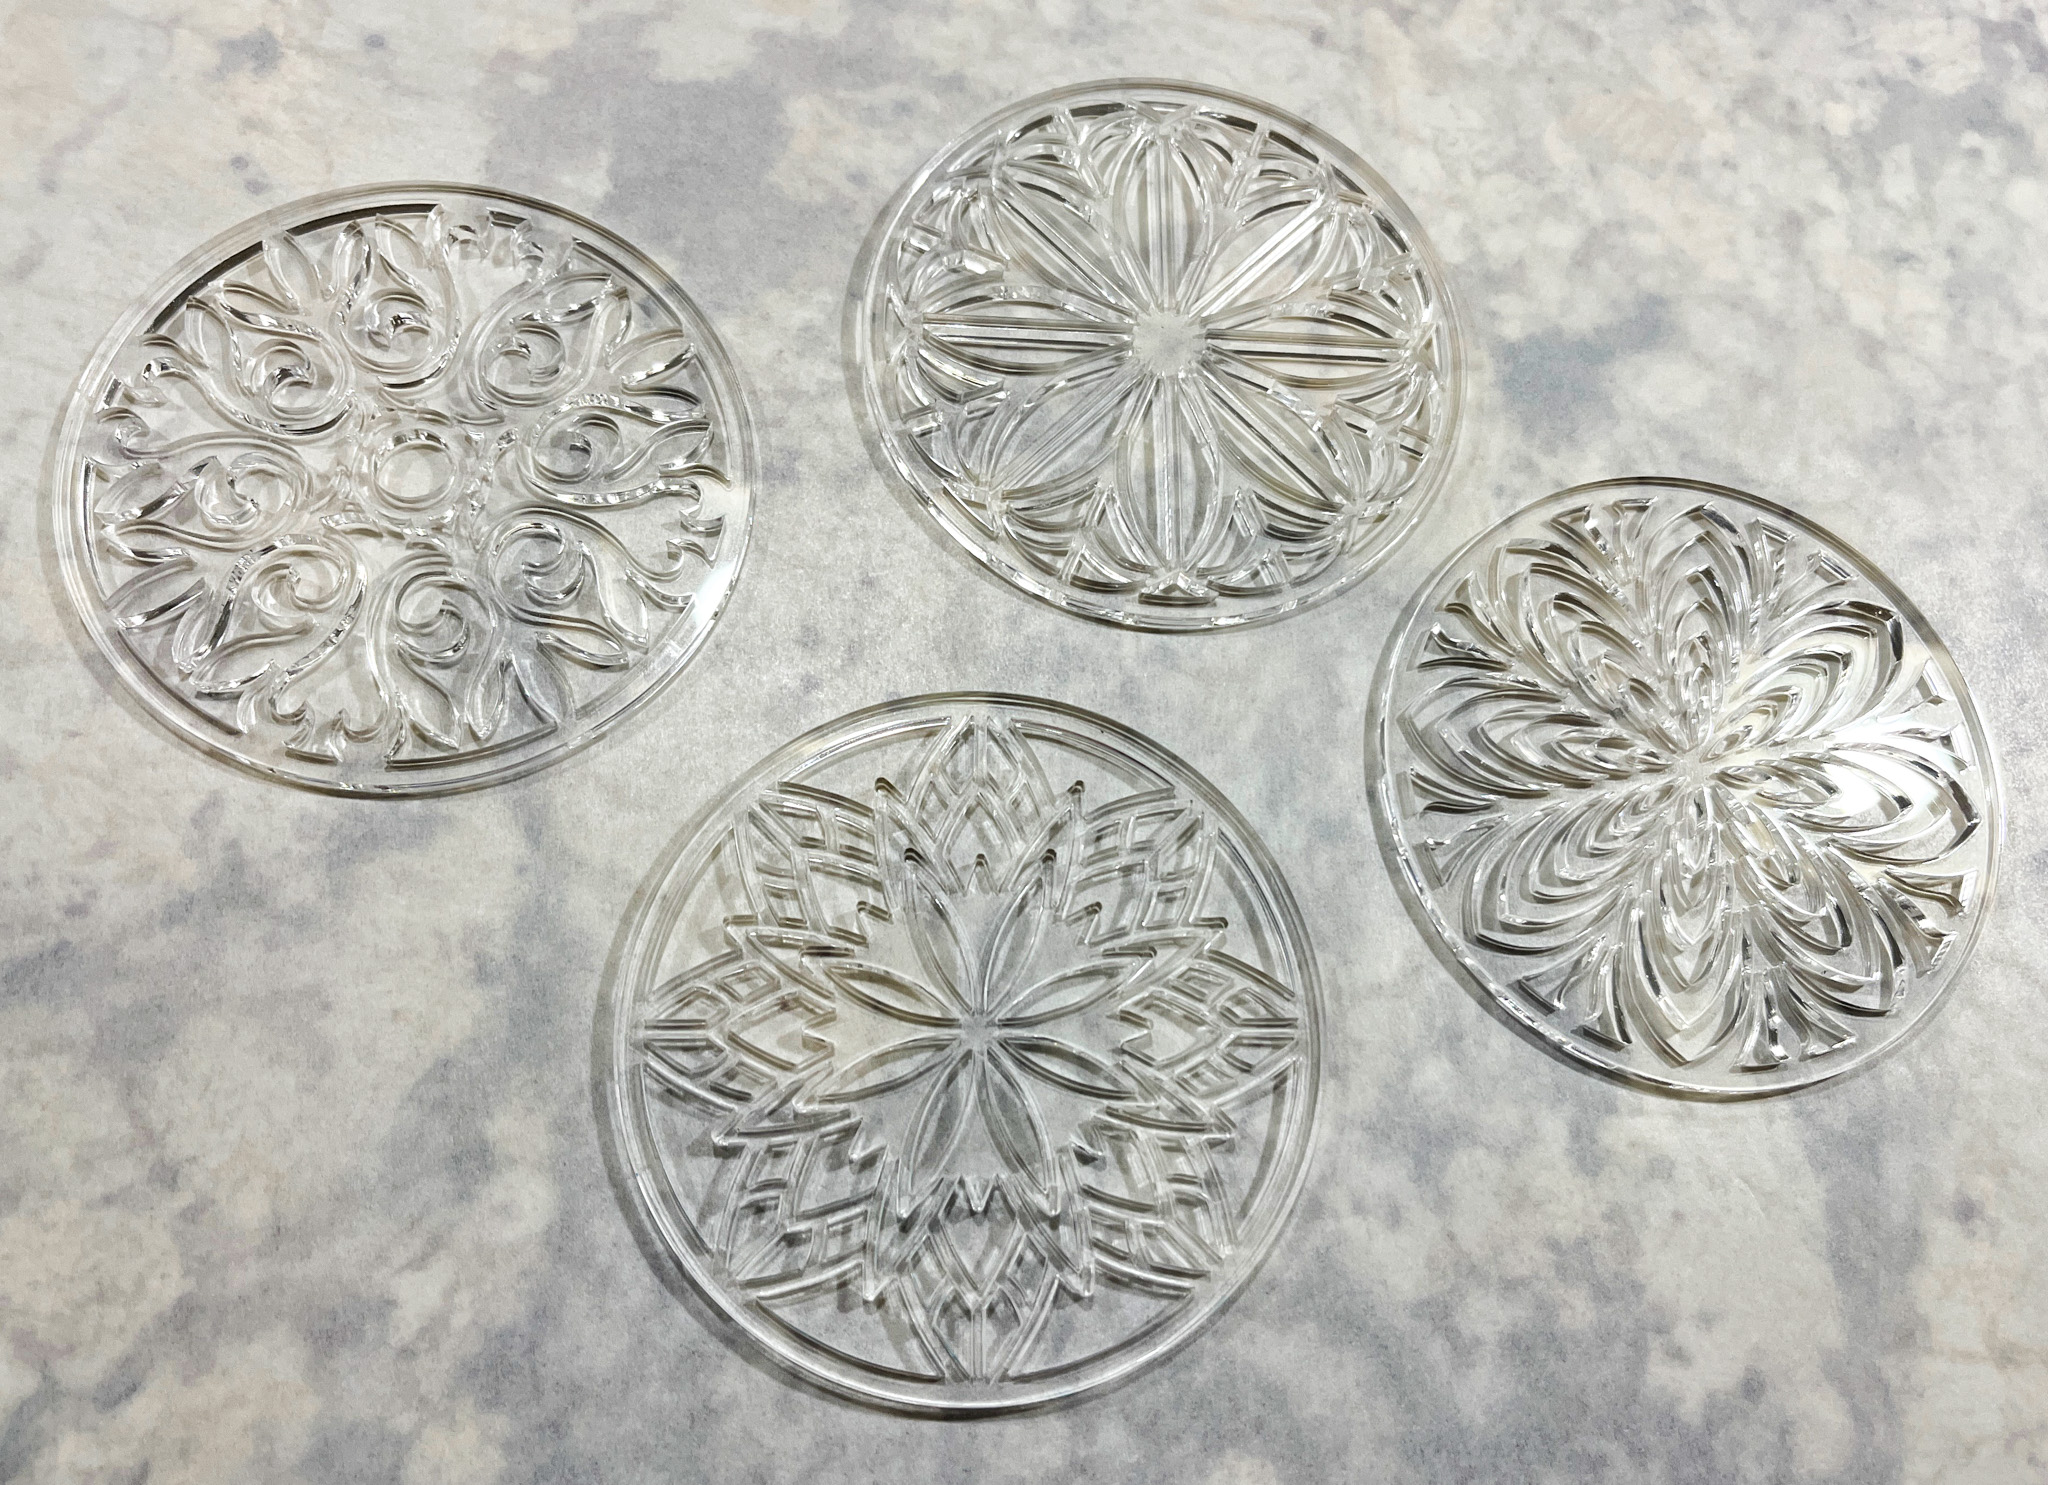
STENCIL + AIR-BRUSHING
I had a little problem with the air-brushing. The stencil was small and some of the edges of the bread were hit with a little spray of red. Something to keep in mind if you use this method, make sure to protect the surface before applying color. You can see the problem more clearly before baking.
.
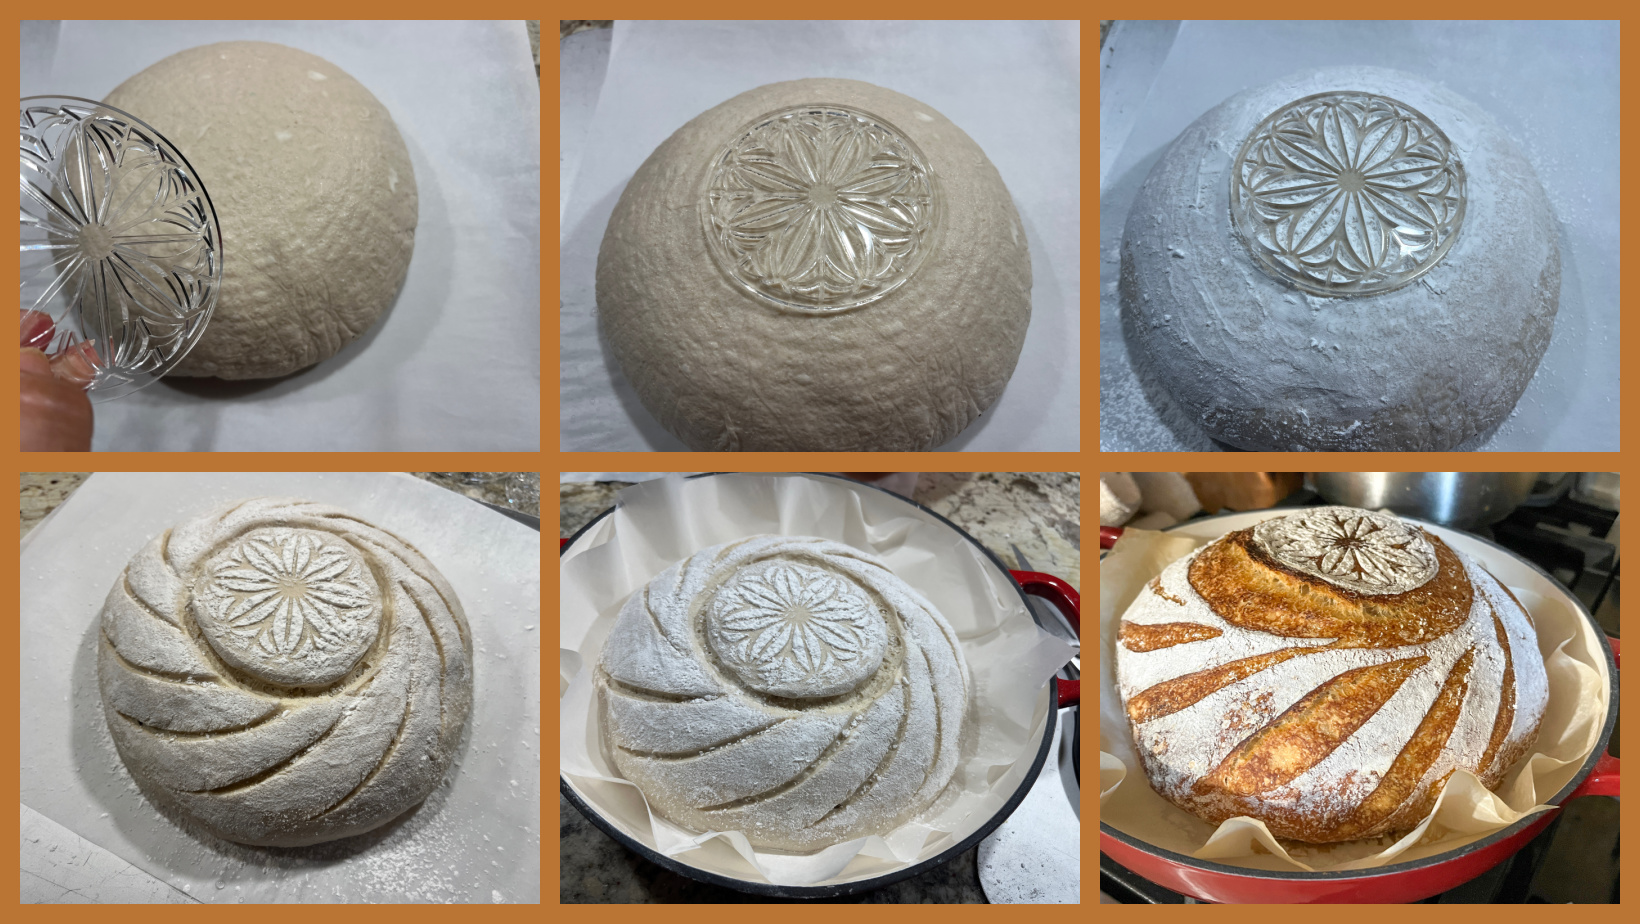
LACE DESIGN
After proofing the bread overnight in the fridge, I inverted it and placed a lace fabric on top, showered with tapioca flour, made a central slit and baked it.
.
SIMPLE SLITS
Super simple design, not even dusted with flour, just cut some slits all over the surface and bake….
I hope you enjoyed this little series, and found something to inspire your next sourdough baking adventure!
I cannot pick a favorite. Ok, one is not technically a brownie, but a blondie. Tomatoes, tomahtoes… They are all delicious, luscious, satisfying, rich, borderline decadent.
BISCOFF BLONDIES
If you are a lover of Biscoff cookies, these will bring a huge smile to your face. The recipe comes from thebiteofthebakes.com but for some reason it is unavailable, so I will cut and paste it from the file I had previously saved. I linked to the main site, but for some reason it won’t work in Safari, only in Chrome.
170g butter 170g white chocolate 110g brown sugar 110g granulated sugar 2 large eggs 1 egg yolk 30ml heavy cream 250g all-purpose flour 25g cornstarch 200g chocolate chips 150g chopped Biscoff cookies 200g Biscoff spread
Heat your oven to 350F. Line a 9×11″ rectangular baking dish with baking paper.
In a microwaveable bowl, melt together unsalted butter and white chocolate. Melt in short bursts stirring well each time until smooth. In a large bowl or stand mixer add your melted chocolate, butter and sugar and mix until combined.
Add the eggs, egg yolk and double cream and stir until combined, then add the flour, cornstarch, fold gently. Add the chocolate chips and Biscoff pieces. Pour the mixture into your lined baking tin and swirl on some melted biscoff spread and top with more biscoff biscuits.
Bake for 25-30 minutes. Once baked, let the blondies cool completely in the pan, then place the blondie (still in the tin) in the fridge for a few hours or overnight before slicing.
½ cup unsalted butter ½ cup light brown sugar ¾ cup granulated sugar 2 large eggs room temperature 1 large egg yolk room temperature ¼ cup vegetable oil 2 tsp vanilla extract 2 tsp red gel food coloring ½ tsp white vinegar 1 cup all-purpose flour ¼ cup unsweetened cocoa powder ½ tsp salt 1 ½ cups roughly chopped Oreo cookies 8 Oreo cookies
Heat the oven to 350℉. Prepare a 9×9 baking pan with nonstick cooking spray and cover with parchment paper.
In a microwave-safe bowl, combine the unsalted butter and brown sugar. Microwave for 90 seconds until the butter is melted, and then whisk until the mixture is well combined and smooth. Set aside.
In a large mixing bowl, combine the granulated sugar, eggs, and egg yolk. Use an electric hand mixer to whip the eggs and sugar for 2 to 3 minutes until light and pale. While mixing on low speed, slowly drizzle in the brown sugar mixture to temper the egg mixture. Add in the vegetable oil, vanilla extract, red gel food coloring, and white vinegar and mix until well combined.
Add in the all-purpose flour, cocoa powder, and salt, and mix on low speed until combined and smooth. Scrape the sides and bottom of the bowl. Fold in the roughly chopped Oreo cookies.
Pour the red velvet brownie batter into the prepared baking pan and spread evenly with an offset spatula. Add additional broken Oreo cookies to the top of the brownie batter. Bake the brownies for 24-26 minutes until set. An inserted toothpick in the center of the brownies should come out with moist crumbs. Remove the pan from the oven and cool the brownies to room temperature. Cut the brownies into 16 squares.
½ cup/113 grams unsalted butter, at room temperature, divided 135 grams honey graham crackers (about 9 whole crackers) 1 tablespoon granulated sugar 113 grams semisweet chocolate, broken into pieces ½ cup (100 grams) packed dark brown sugar ½ teaspoon salt 2 large eggs 1 tablespoon vanilla extract ½ cup (60 grams) all-purpose flour 170 grams marshmallows
Heat oven to 400 degrees.
Grease a 9-inch square metal baking pan with ½ tablespoon of the butter. Line the pan with parchment paper leaving an overhang to make it easier to remove the brownies after baking. Use another 1/2 tablespoon of butter to grease the paper.
Line the bottom of the pan with a single layer of graham crackers, breaking them as needed to fit, then crush the rest of the crackers over and sprinkle with the granulated sugar.
Melt the remaining 7 tablespoons butter and chocolate gently in the microwave at 50% power. Stir in the brown sugar and salt, then let the mixture cool slightly until the bowl is no longer hot to the touch. Whisk in the eggs and vanilla, then continue whisking until smooth and shiny, about 1 minute. Whisk in the flour until no white streaks remain. Pour the batter over the graham crackers lining the pan.
Top the brownie batter with the marshmallows in a single layer and bake until the top is toasted and a toothpick or cake tester inserted into the center of the brownie comes out smudged with a little chocolate, 15 to 20 minutes. Cool completely, then refrigerate in the pan until ready to serve.
To serve, lift the brownie out of the pan and slice into squares or bars. Enjoy chilled, or at room temperature.
I am often inspired by Molly Yeh and her fun show Girl Meets Farm on FoodTV Network. This is dinner in a single pan, filling and nutritious. I made the salmon in two different ways, as the husband prefers a simpler seasoning for his fish. See the comments for what I would change next time.
SALMON AND BABY BOK CHOY OVER SUSHI RICE (adapted from Molly Yeh’s recipe)
1 + 1/2 cups sushi rice 4 small heads of baby bok choy, halved 1 tablespoon grapeseed oil 1 tablespoon toasted sesame oil 2 tablespoons grated fresh ginger 1 limes, zested and halved 2 teaspoons kosher salt plus more for seasoning the salmon 2 + 3/4 cups water 2 tablespoons light miso paste 2 tablespoons Japanese mayonnaise 4 skinless center cut salmon fillets Sriracha, for drizzling
Heat the oven to 425 degrees F.
Put the rice in a fine strainer and rinse until the water runs clear. Drain well and spread in a braiser. Lay the bok choy in an even layer over top. Drizzle with the neutral oil, sesame oil, ginger, lime zest, and salt. Drizzle the water into the braiser. Bring to a boil.
Cover tightly with a lid and bake for 15 minutes.
While the rice and bok choy bakes, stir together the miso and Japanese mayonnaise. Season the salmon lightly with salt and brush with the miso sauce. After 15 minutes, carefully uncover the braiser and lay the salmon pieces over the rice and bok choy. Cover again and continue to bake until the rice is tender and the salmon is just cooked through, about 15 minutes more.
Uncover the braiser and broil on the top rack just until the top of the salmon is nicely glazed, about 1 minute. Squeeze the halved lime over top. Serve with a drizzle of Sriracha.
Comments: First things first, I really loved the Japanese mayo-based topping for the filets. It is salty, a tad sweet, super flavorful. But the husband was happier with the more austere version I made for him, just olive oil, lemon juice, salt and Herbes de Provence. Do what suits you best. The rice was perfectly cooked using the timing suggested by Molly. Now, comes the full disclosure: the bok-choy disappointed us. It turned mushy and not at all the type of veggie we enjoy as a side dish. It is a nice idea to have everything in a single pan, but next time I will keep just the rice and salmon, and cook whatever veggie separately. Sautéed, air-fried, roasted. Anything to give it better texture.
We enjoyed it with air-fried carrots, so in the end it was a super nice meal for a Saturday night…
This recipe has been waiting for a long time in that list of “To Make Soon”. Better late than never, I actually made it twice, because I wasn’t totally happy with my first attempt. This is a classic Mexican sweet bread, with a colorful coating that is sweet and addictive…
In the bowl of a KitchenAid type mixer, add the flour, sugar, cinnamon, salt, yeast, and butter cut into pieces. Using the hook, mix for a few minutes until the butter is fully incorporated. Add one egg at a time, mixing for a minute after addition. Slowly add the milk, and once the mixture is smooth, knead it for a full 15 minutes, until the dough is super smooth and elastic.
Transfer to a buttered bowl, and let it rise until doubled. About 2 hours.
Make the topping by kneading (by hand is fine) flour, powdered sugar and butter until a dough is formed. Divide it in four pieces, add cocoa powder to one of them fourths, strawberry powder to the second half, vanilla to the remaining pieces. Add food color of your choice, if so desired. You can leave one of the vanilla pieces plain. Place in the fridge to set while the dough rises.
Punch the risen dough down, divide in 8 pieces and form little balls. Place them over parchment paper, four per baking sheet. Divide the colored dough into two, so you have a total of 8 pieces, 2 of each color. Use a tortilla press to roll them out, placing parchment paper squares on top and bottom to make it easy to move the dough around. Place the dough over the little rolls, and cut around to make it neat. Use the concha press to make the design on top. Cover, let them rise for 30 minutes and bake at 350F for about 25 minutes. Add a baking sheet with ice at the bottom of the oven to generate steam. You can also spray some water lightly over the dough after 2 minutes during baking.
Comments: Talk about a fun baking project, this is definitely it! When I made it the first time, I did not cover the breads fully with the colored dough, and later learned that the traditional way covers them fully. They get a more polished look that way. Below you see my first attempt, I used a heavier hand with the colors also…
When I make them again, I will either make half the recipe and form 6 little breads, or make the full recipe and shape 12 because I think these turned out slightly too big. Also, I think it would be fun to gather the different colors of topping and knead them slightly together to make a fun marbled topping. I just love the look of the bread as it goes through the final proofing.
I donated the whole batch, but of course had to ‘test taste” one. Love the cinnamon flavor, the bread is soft, tender, moist. And the topping, yes, addictive!