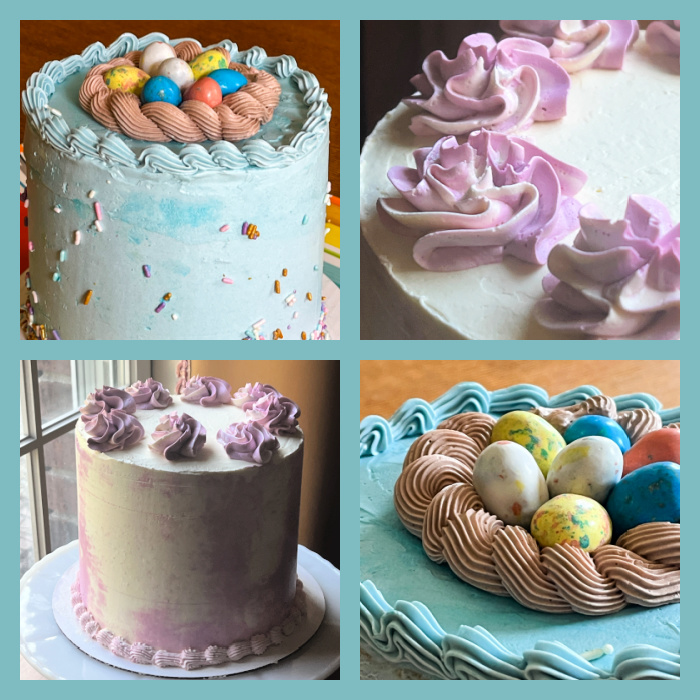
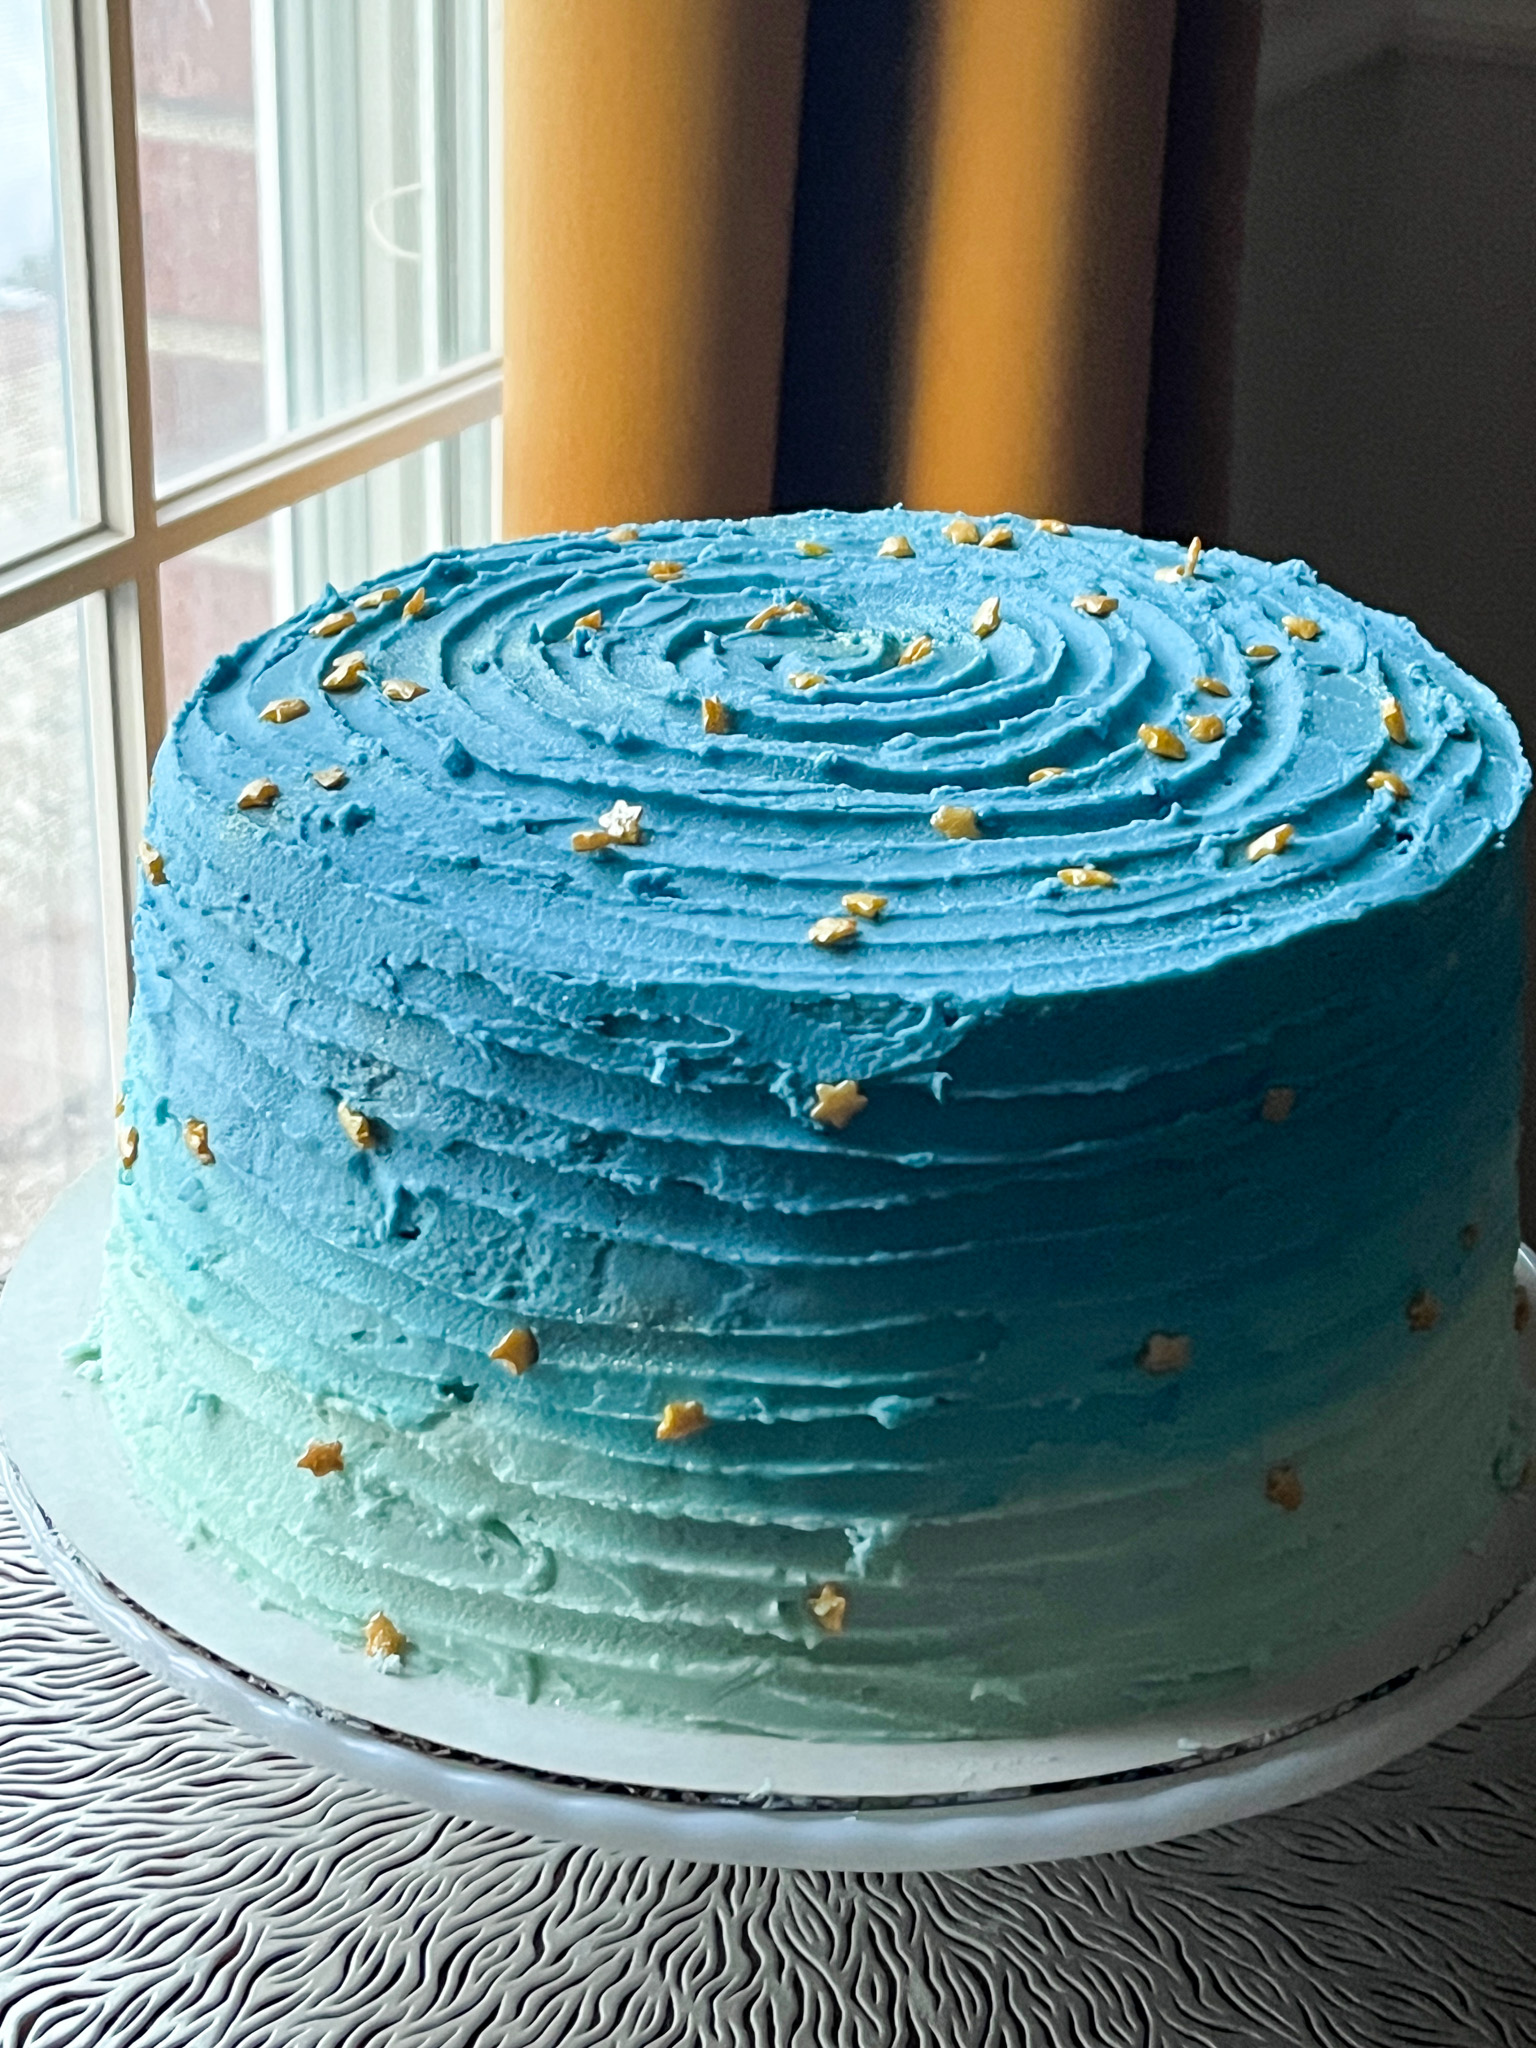
I am thrilled to share these because they were my first cakes frosted using my electric turntable, a wonderful gift from my hubby last month (check it out at my last In My Kitchen post). Amazing how much easier it was to get a smooth frosting! Without further ado, here is the first cake, fully dressed for an Easter Party.
.
VANILLA-ALMOND CAKE WITH RASPBERRY FILLING
(from The Bewitching Kitchen)
345 grams (3 cups) cake flour
2 teaspoons)baking powder
½ teaspoon baking soda
½ teaspoon salt
226 grams (2 sticks) unsalted butter, softened
375 grams (1 + 3/4 cups) granulated sugar
2 teaspoons vanilla extract
1 teaspoon almond extract
160 grams egg whites (about 5 eggs)
170 grams (¾ cup) sour cream
170 grams (¾ cup) whole milk
Swiss meringue buttercream for frosting
seedless Raspberry jam for filling
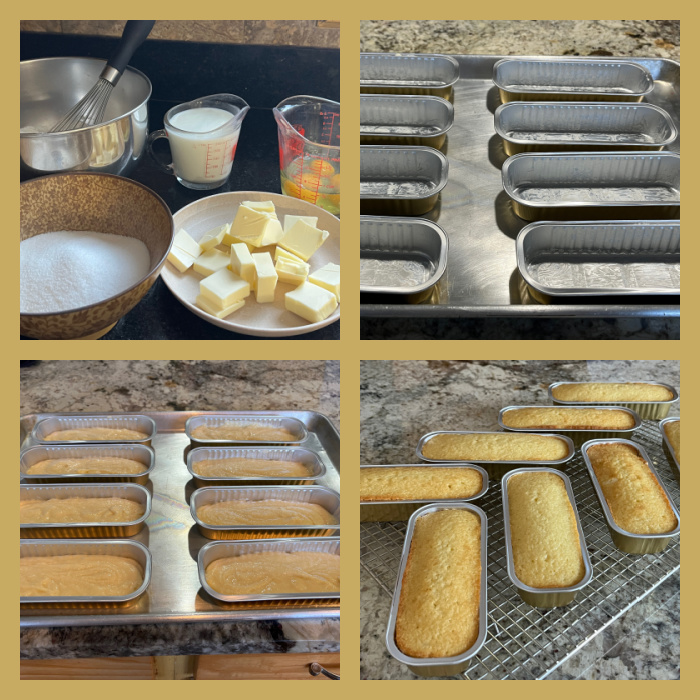
Prepare three 6-inch round cake pans lining them with parchment and spraying with baking spray.
Heat oven to 350F.
Sift together the cake flour, baking powder, baking soda and salt. Reserve. Mix the sour cream and milk together, making sure they are at rom temperature and well incorporated. Reserve.
n the bowl of a stand mixer fitted with the paddle attachment, combine the butter and sugar. Cream together on medium speed until very light and fluffy, about 5 minutes. Stop the mixer and scrape down the sides and bottom of the bowl halfway through mixing. Slowly pour in the egg whites while the mixer continues running.
Alternate adding the dry ingredients into the bowl in three additions with the milk/sour cream mixture in two additions, starting and ending with the dry ingredients. Mix on medium speed between additions until almost fully incorporated. Finish mixing by hand with a spatula.
Transfer the batter into the prepared pans. Bake for about 25 minutes, until a tester comes out clean or with just a few moist crumbs attached. Cool the cakes in their pan completely on a cooling rack before turning out of the pan.
SWISS MERINGUE BUTTERCREAM
Basis formula: 1X egg whites + 2X sugar + 2X butter
For the three layer 6-inch cake I started with 200g egg whites. The magic is all in the temperature control.
Start by dicing your butter and placing at room temperature for at least a couple of hours before making the buttercream. The reason for that is the closer the temperature of the egg whites/sugar and the butter match each other, the smoother the whole preparation will go. All problems with Swiss meringue buttercream happen when there is a sharp difference between those temperatures.
Mix sugar and egg whites and whisk well, then over a bain-marie bring them to 140 F minimum. I take it to 149F because I find it makes a nicer emulsion to work with. Place in a KitchenAid type mixer fitted with the whisk attachment and whisk on high speed for about 10 minutes. You want a stiff meringue.
Most recipes will tell you that it will be enough to bring the mixture to room temperature level, or not feeling warm if you touch the bowl. However, if you measure the temperature inside the bowl you will notice it will probably still be at mid 90’s Fahrenheit, way above the butter that is waiting to be incorporated.
My advice is to turn the mixer off and walk away. Come back in 10 minutes, give it a 20 sec mix, check, the temperature. Still a bit too high? Walk away and repeat the process. I find that if the egg white mixture is around 80F it will be ok to incorporate with the butter, which might be around 72F or so.
Now start incorporating the butter with the mixer running, you can squish it with your fingers as you drop them to help incorporate even better. Once all the butter is added, whisk at high speed for a couple of minutes, change to the paddle attachment and mix for another couple of minutes to smooth out air bubbles.
Two problems might happen if the temperature was not a real good match: buttercream will be grainy (butter too cold), or soupy (meringue too hot). Both can be fixed by either warming the bowl (hair-dryer works great), or placing it in the fridge for 15 minutes and whisking again. Contrary to popular belief, Swiss meringue is not that tricky and can always be salvaged even if it looks like Armageddon in a bowl.
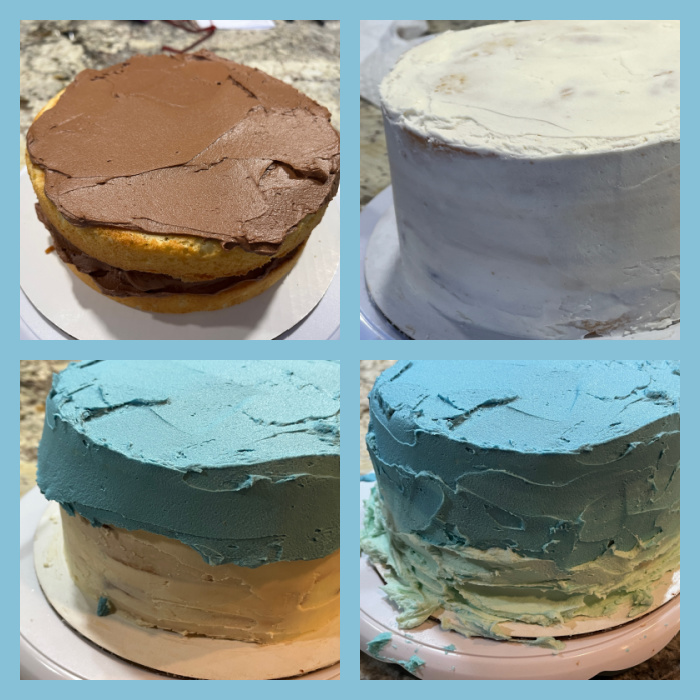
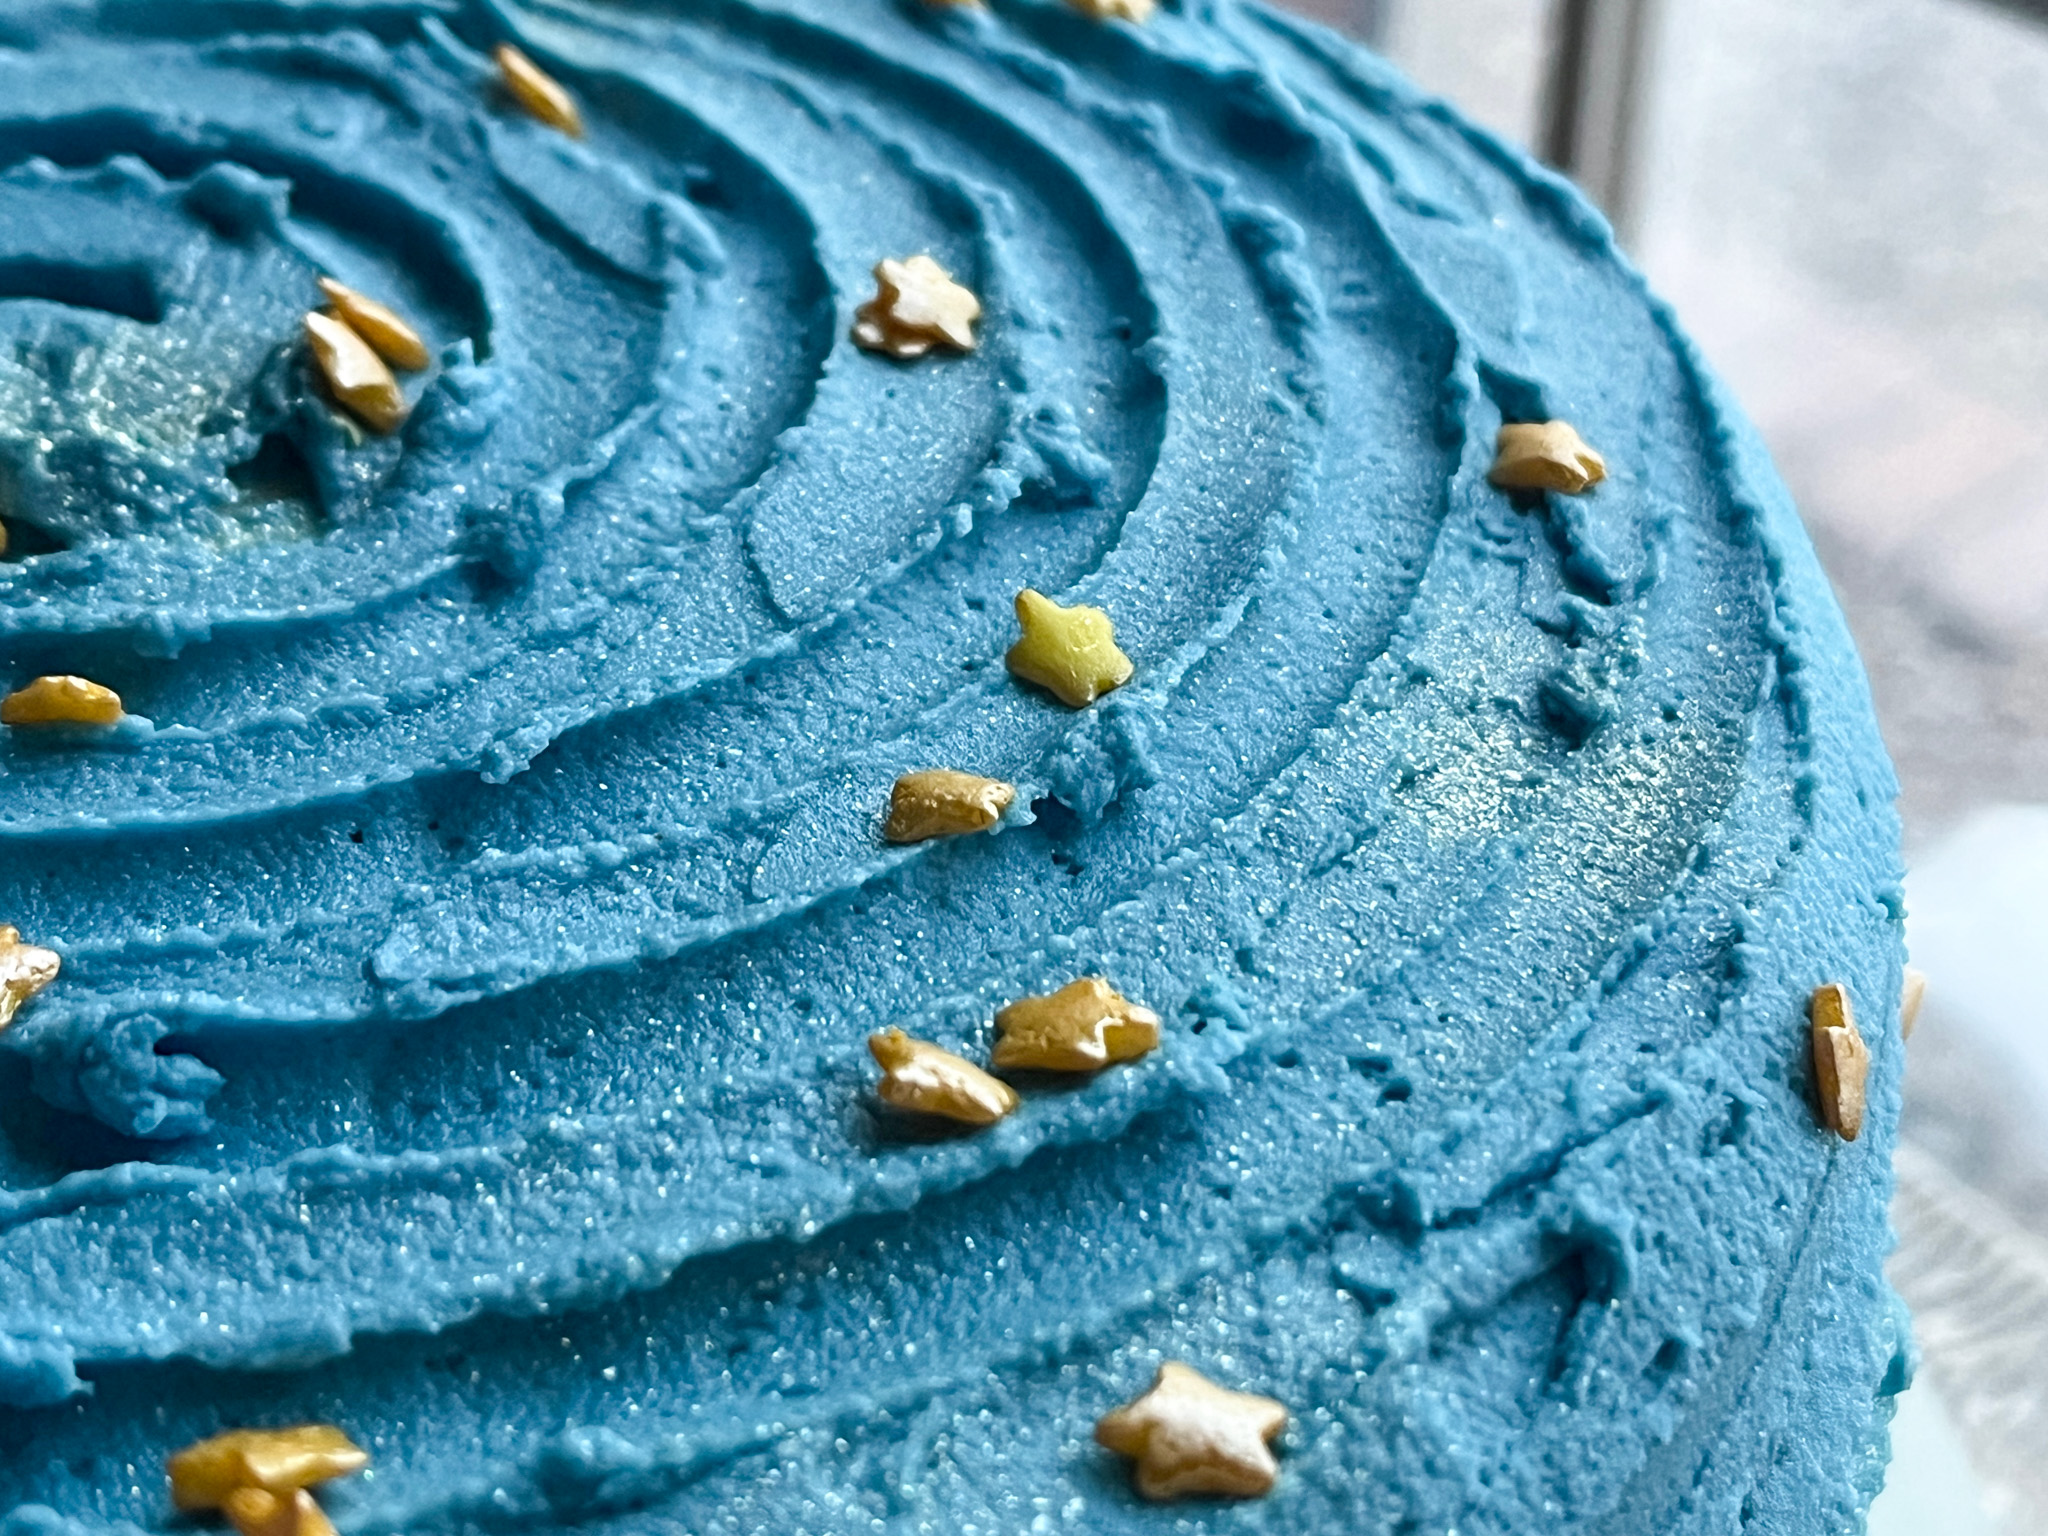
For the layers I added a circle of white buttercream on the perimeter of the cake, filled the center with raspberry jam, and repeated that for the upper layer. I crumb coated with white frosting, then dyed most of the buttercream with Sky Blue (just a couple of drops), and the tiniest amount of black to mute the tone. A small portion was dyed brown for the nest. Malted chocolate eggs and sprinkles finished the decor.
ENJOY!
to print the recipe, click here
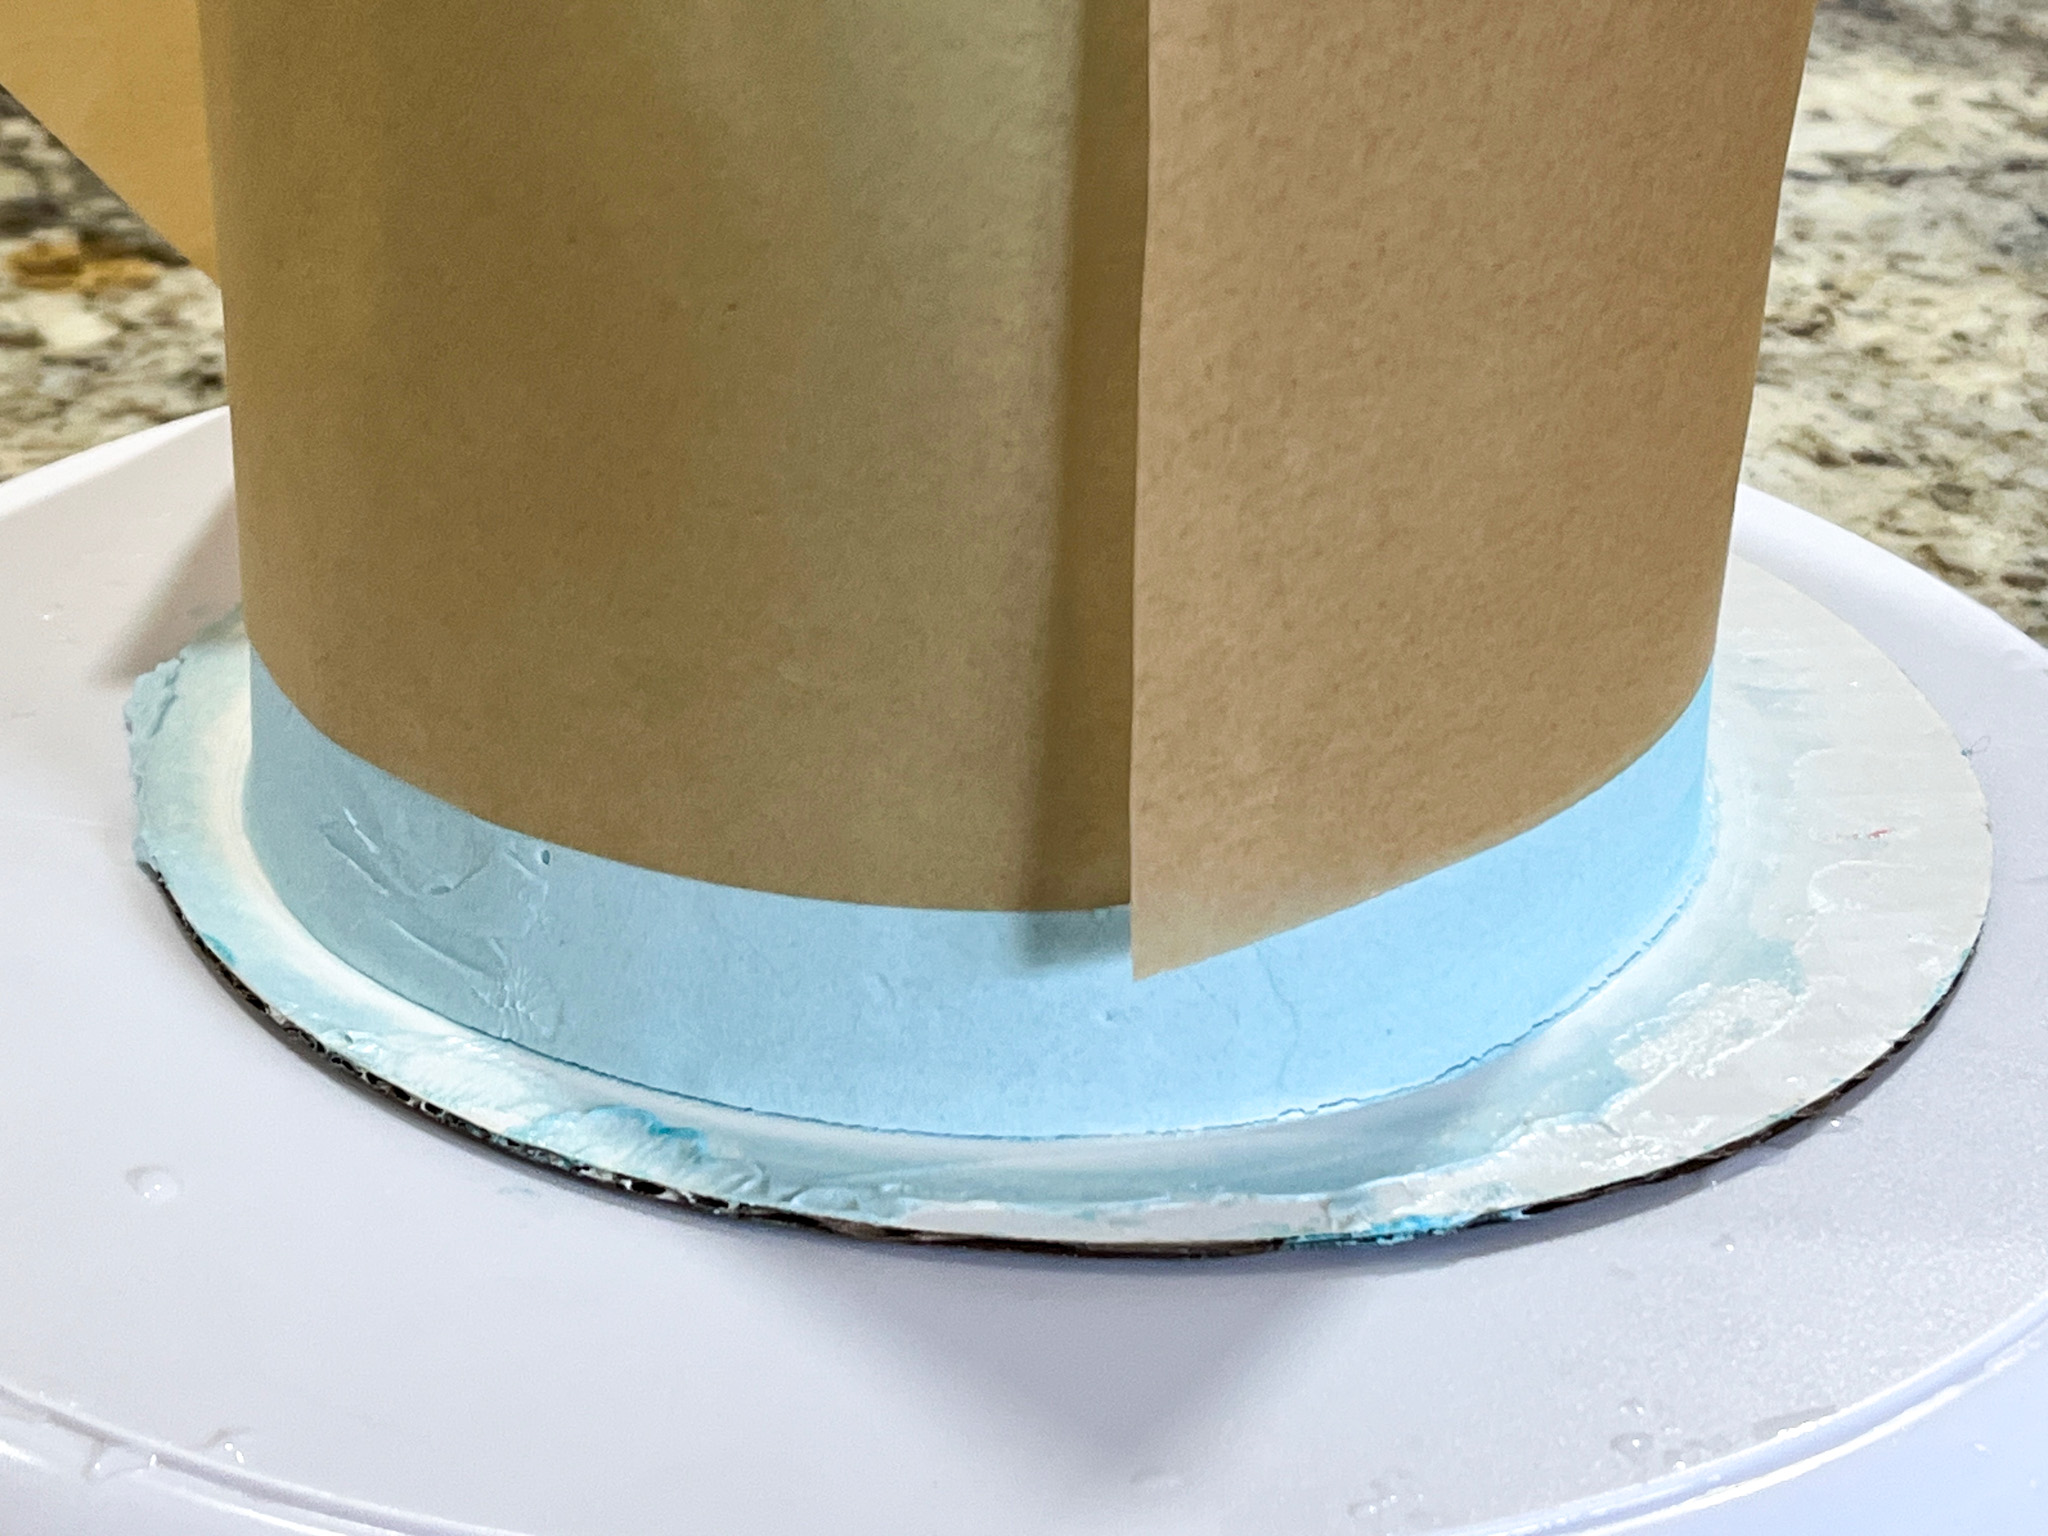
Comments: This is pretty much like a wedding type cake, very white because you omit using egg yolks. It is delicate and moist, truly one of my favorites for layered cakes. I adapted the recipe from versions that call for more sugar, I prefer the cake a little less sweet. Sugar is important for structure so there is a limit of how much you can reduce, but this formula works great. My rookie mistake was to use parchment paper to add the sprinkle border at the bottom, and it took me so long to do it, that the buttercream warmed up and the paper got stuck at places. All my hard work to get the smooth surface was a bit compromised, but nothing that strategically placed sprinkles would not fix!
Feedback on the cake was wonderful, I cannot show you the cut cake as I dropped it whole and it was cut later in the evening. But I hope it looked ok inside…
Moving on…
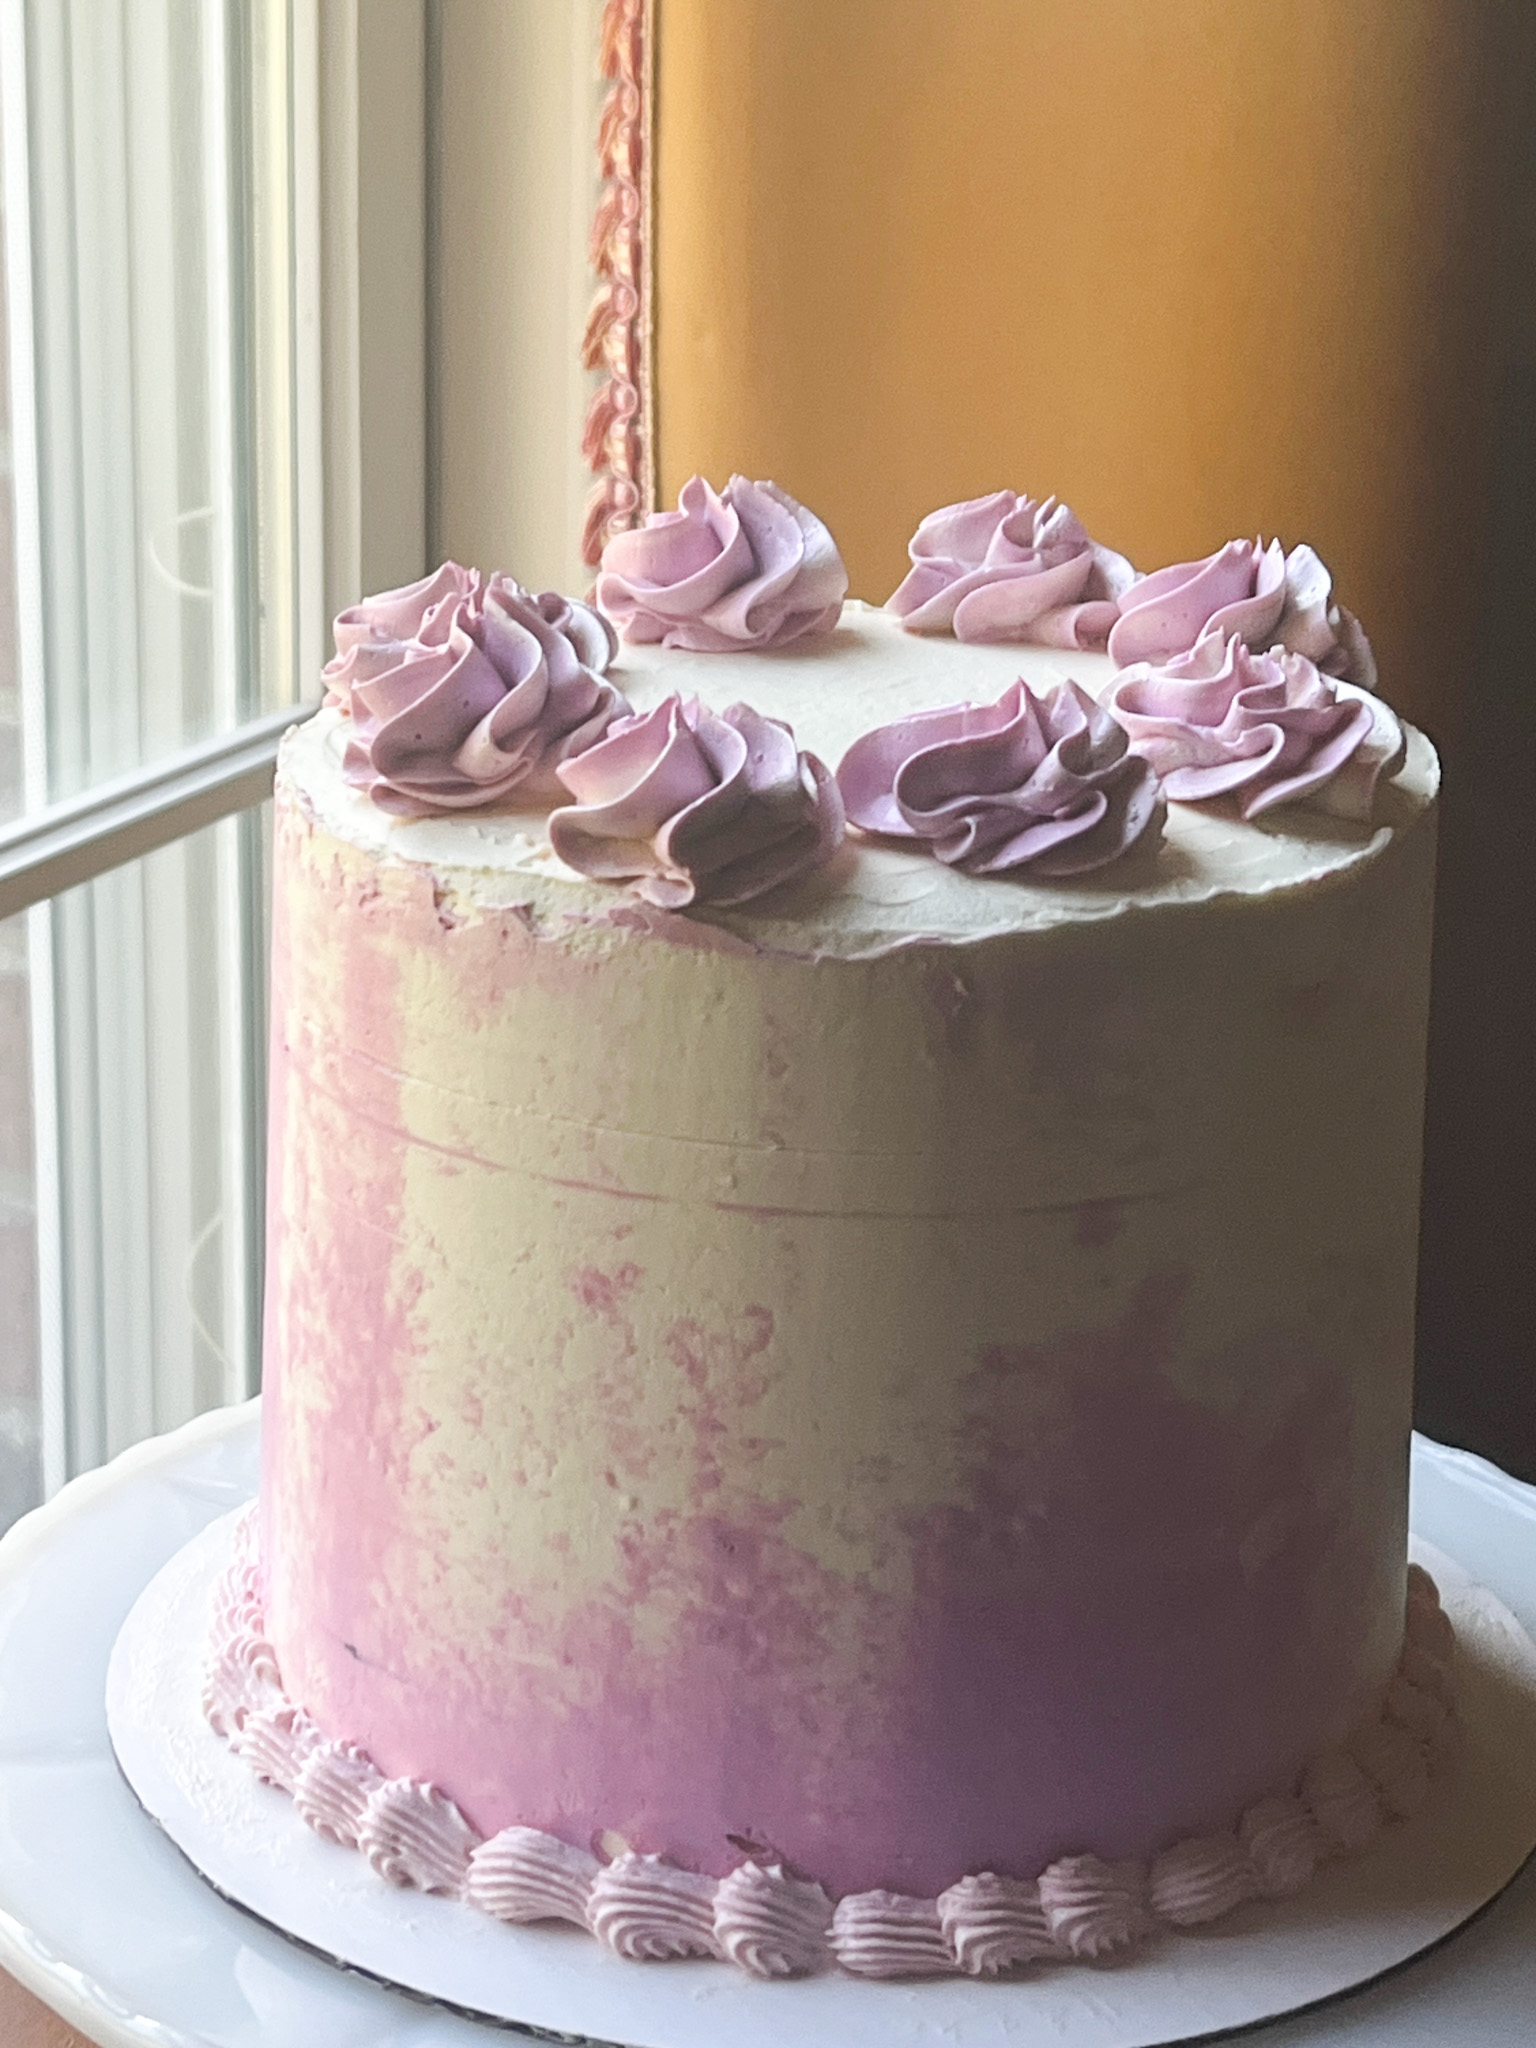
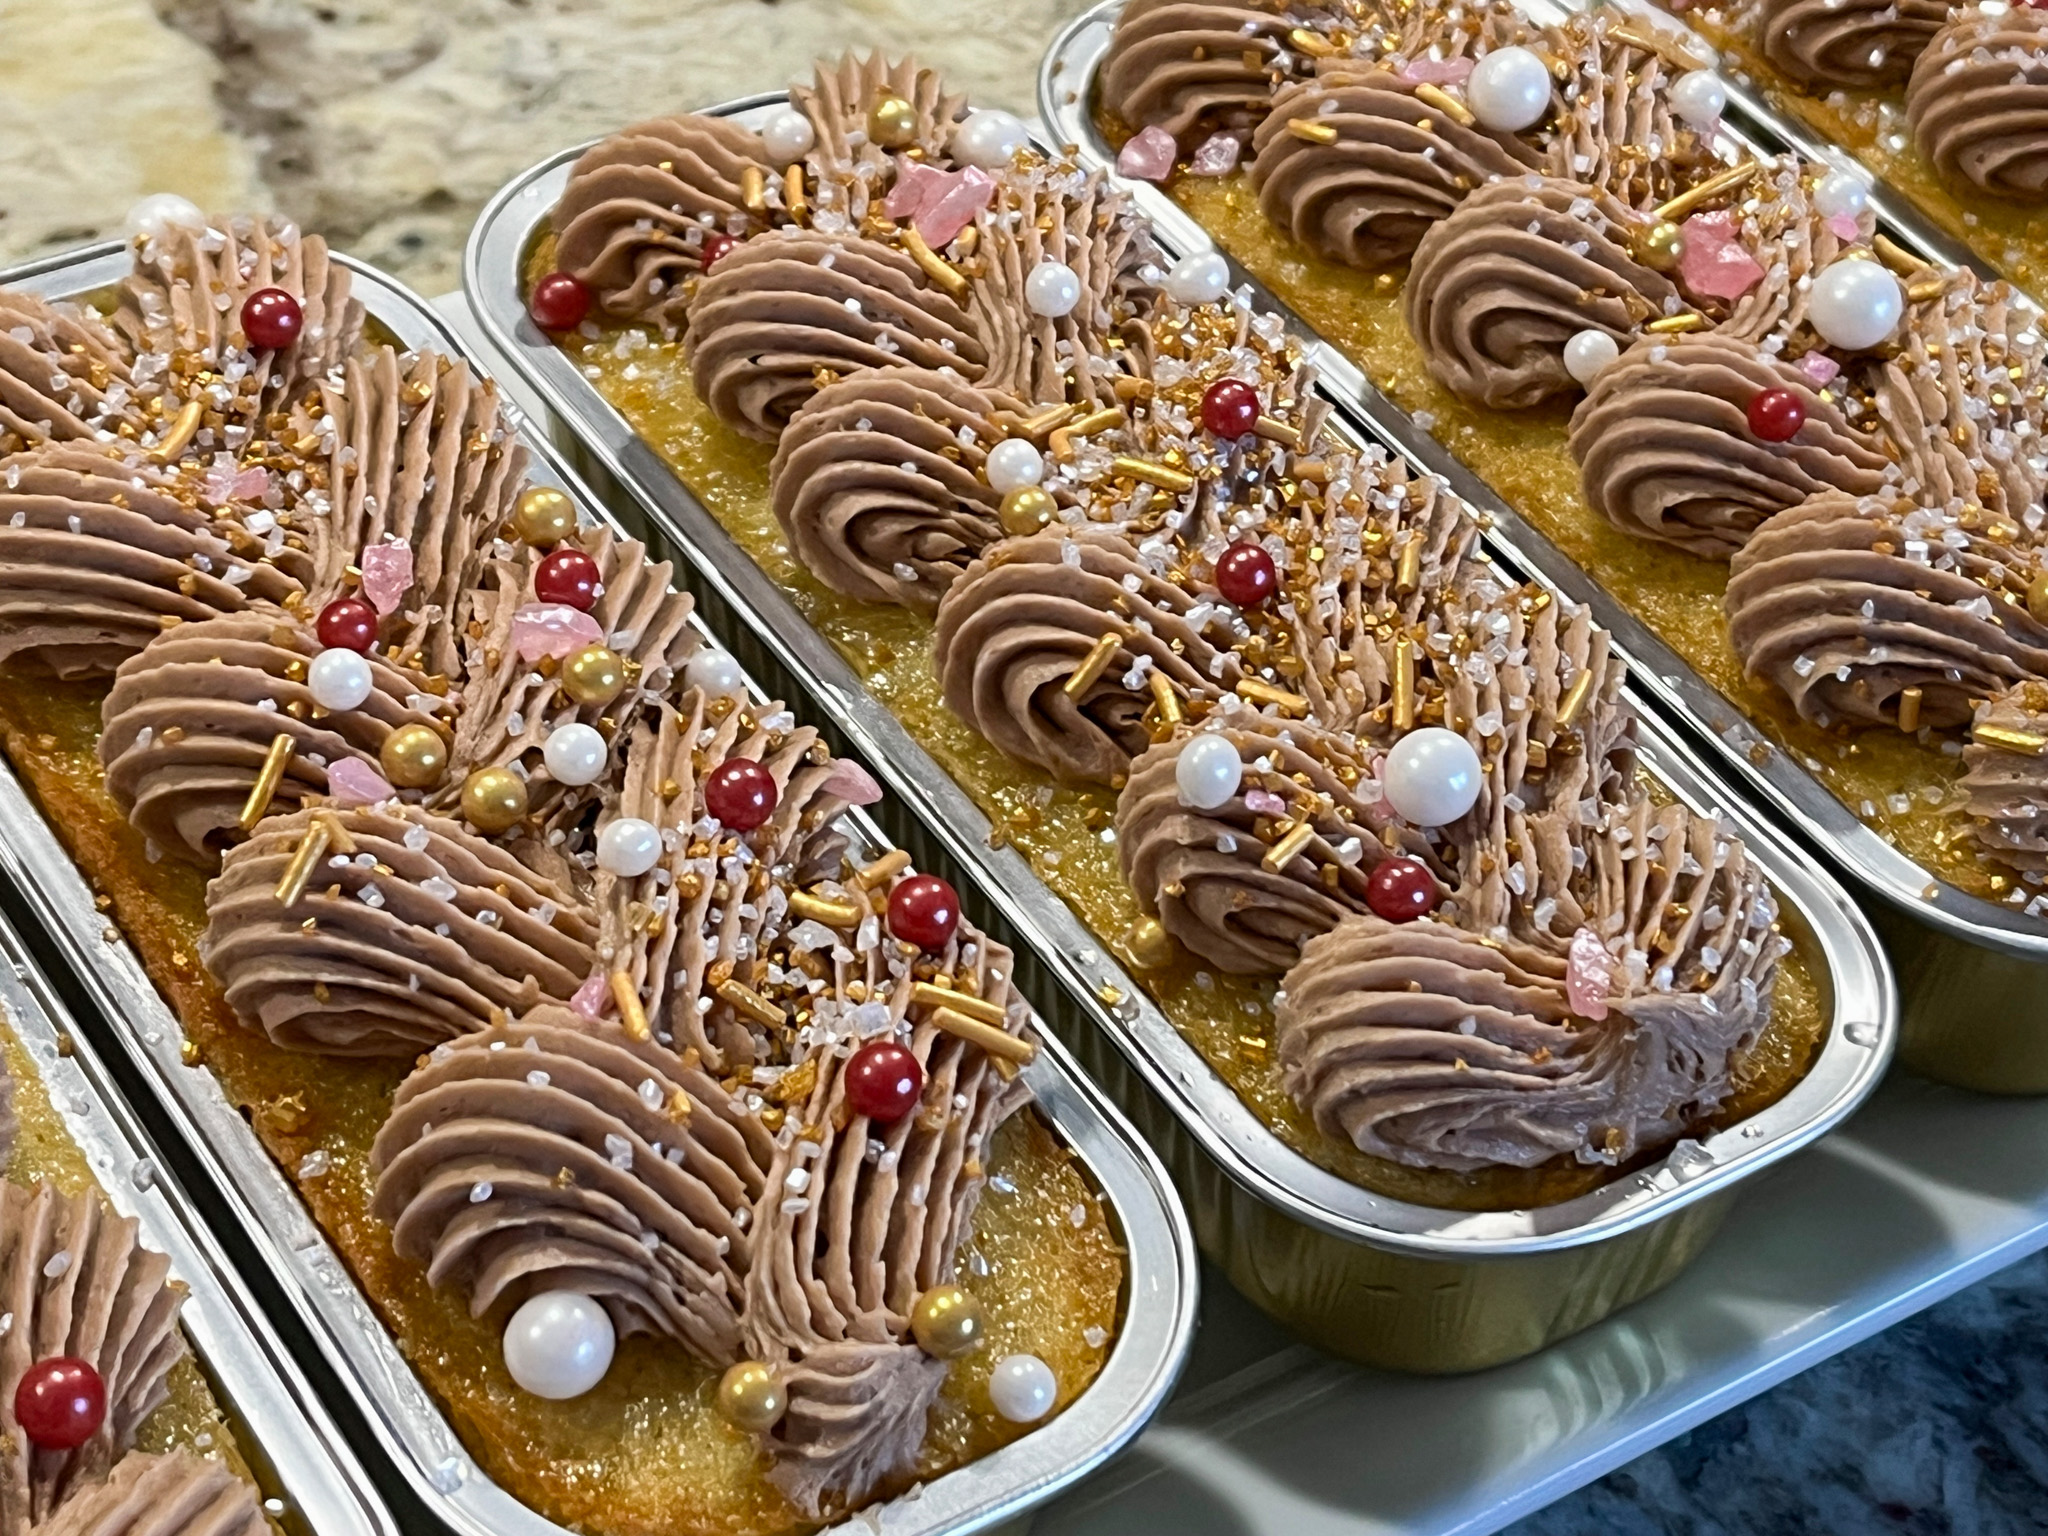
LEMON POPPY SEED LAYERED CAKE WITH BLACKBERRY FILLING
I cannot share this recipe because it is copyrighted from a very interesting book called “I’LL BRING THE CAKE” by Mandy Merriman. It is unusual in the sense that all cakes start from a boxed mix, but they are heavily doctored. If you are totally against boxed mixes, the book is not for you, but I wanted to give those a try and her cakes are quite delicious.
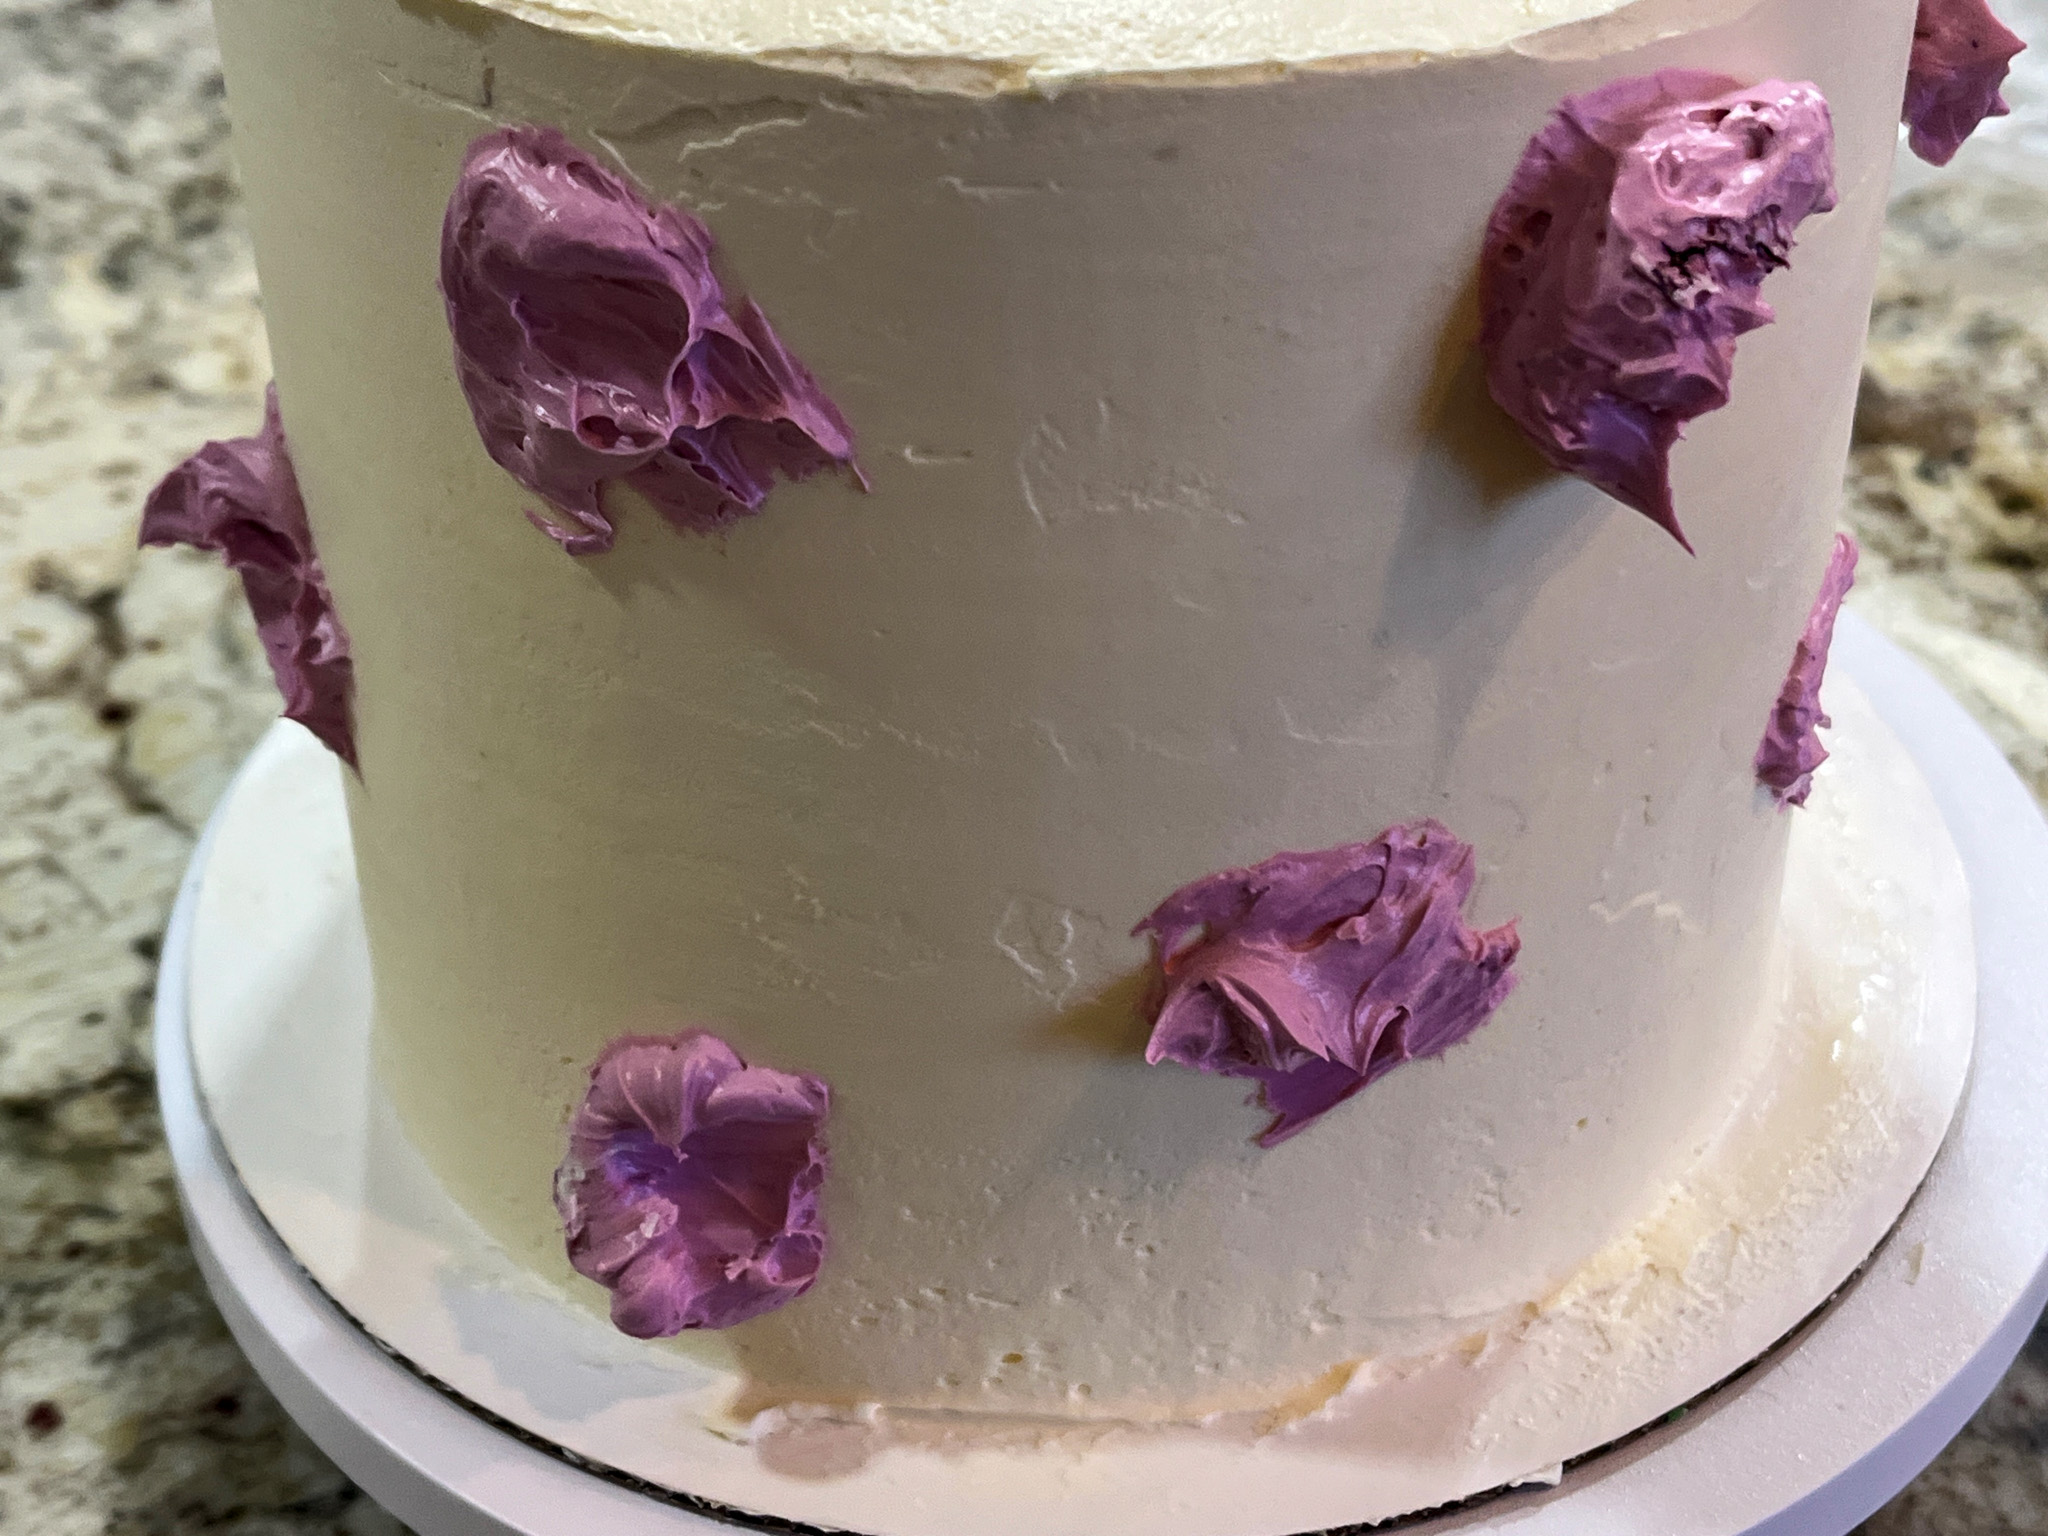
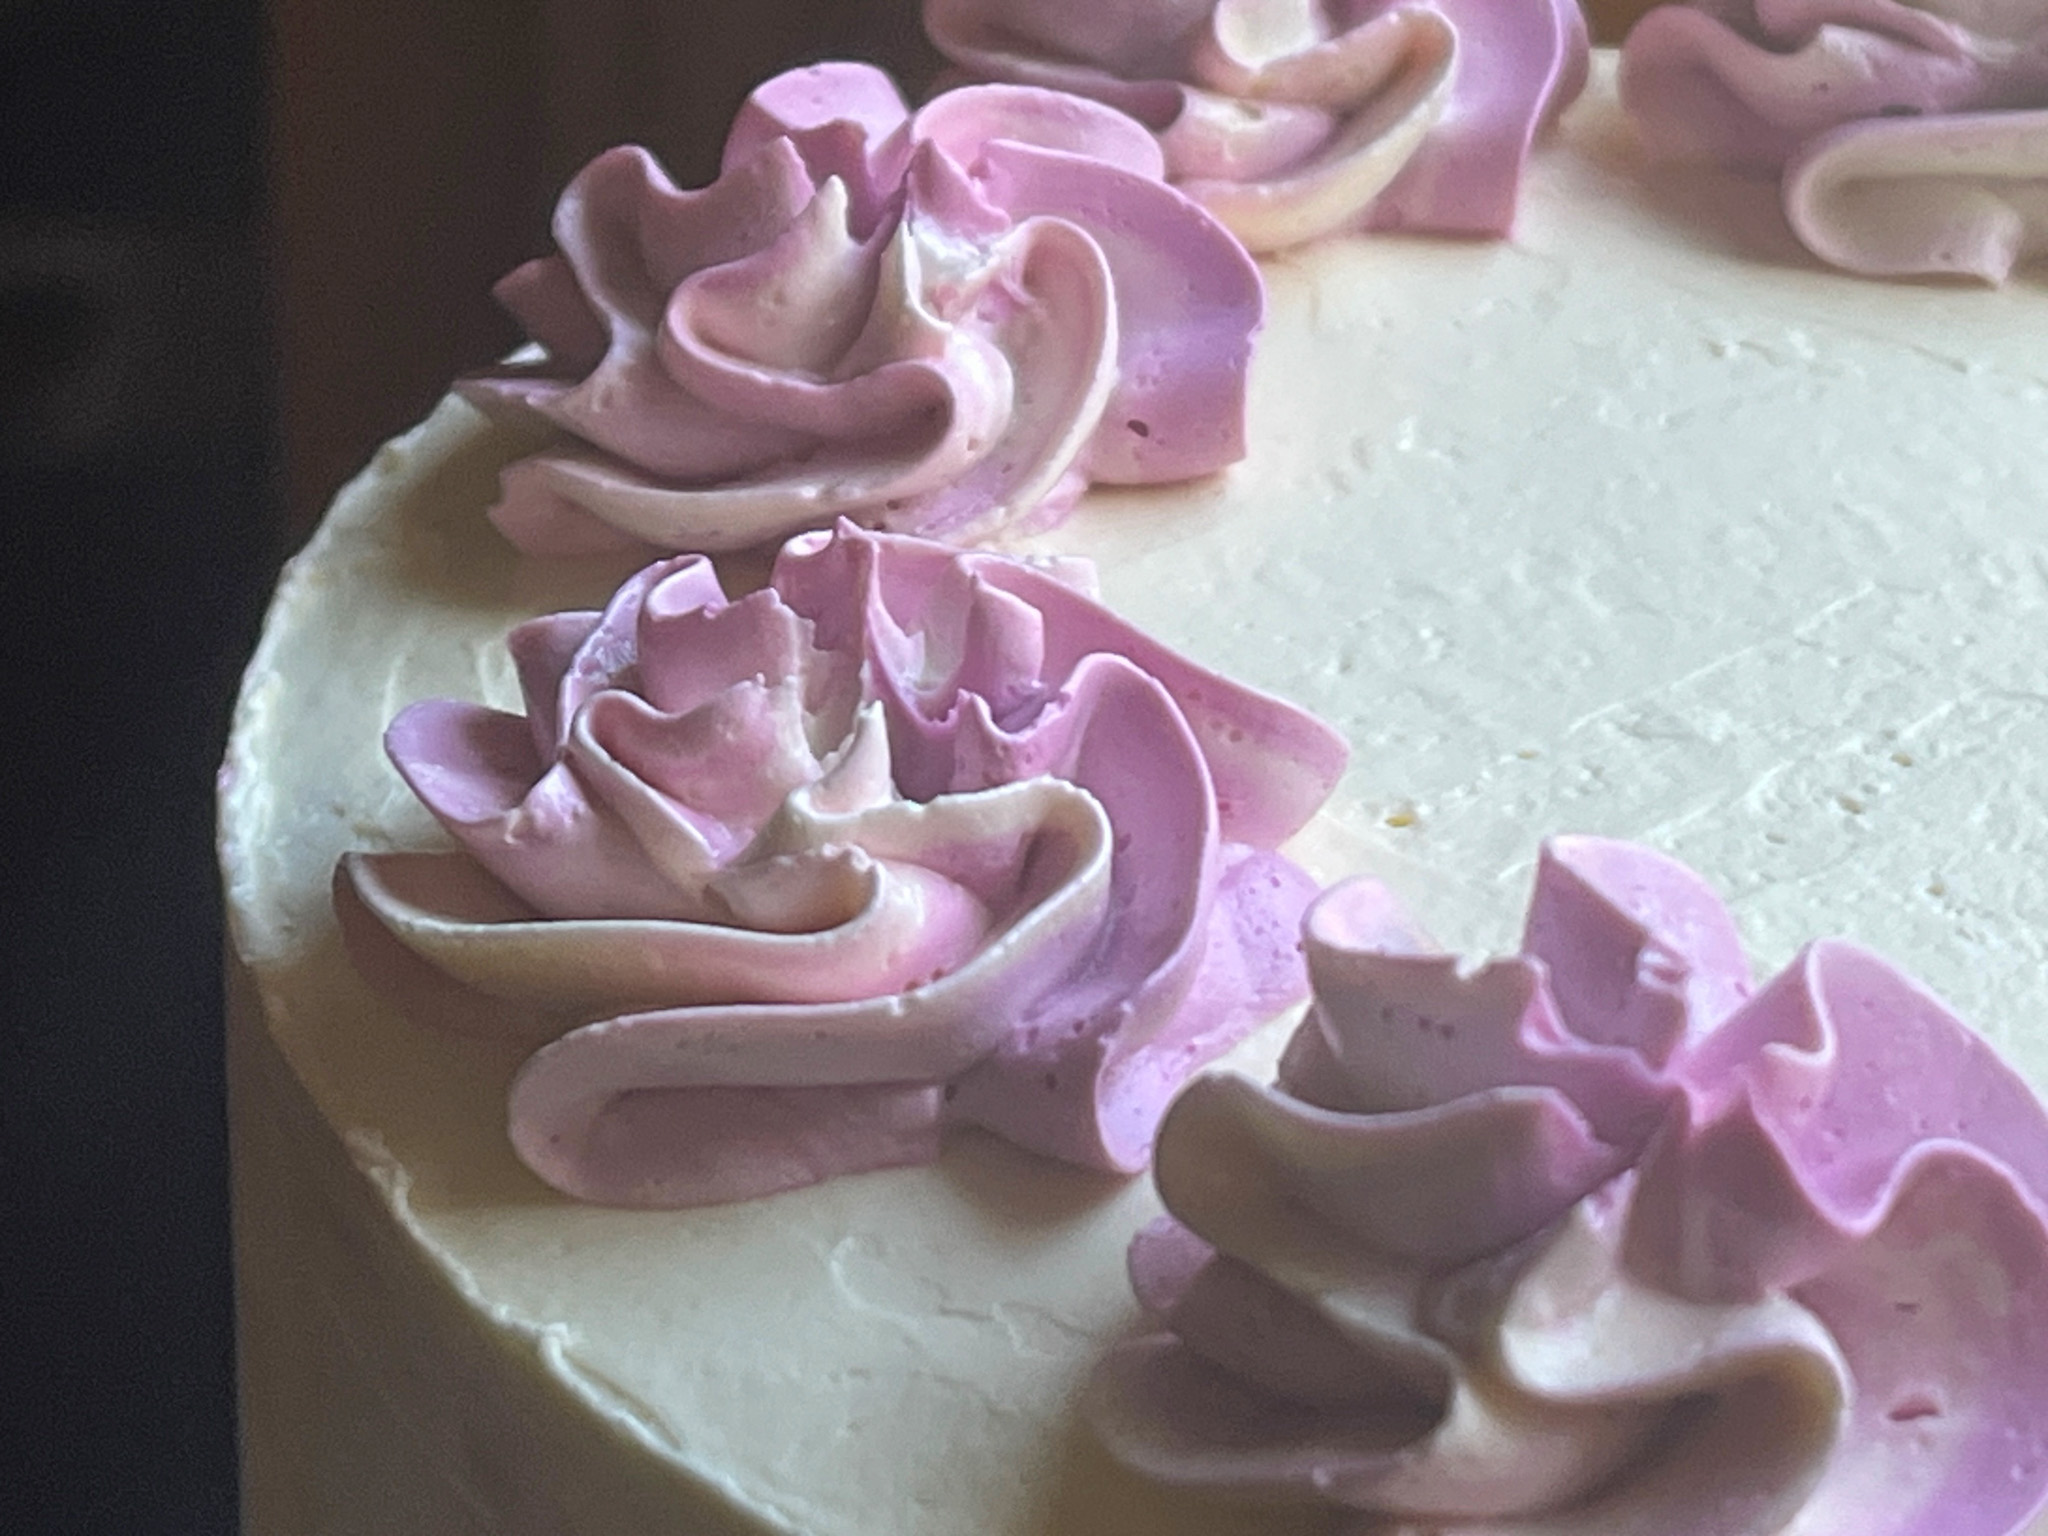
This was my very first cake using the turntable, and I opted for a watercolor effect, which started by adding blotches of darker color all over the frosted cake.
Then you just turn the cake and allow the color to mingle with the background until you are satisfied. For the decorations on top I mixed the white with the mauve-dyed buttercream and used the trusty 1D tip for rosettes.
I hope you found some inspiration for your Easter festivities with this post!
ONE YEAR AGO: Flower Stencil Sourdough
TWO YEARS AGO: Happy Easter!
THREE YEARS AGO: Mini-Blueberry Cakes
FOUR YEARS AGO: Wood Plank Cookies, Learning from the Best
FIVE YEARS AGO: OMG Spinach Pies
SIX YEARS AGO: Avgolemono Soup, My Way
SEVEN YEARS AGO: Sourdough Chocolate Twist Bread
EIGHT YEARS AGO: Dan Lepard Times Three
NINE YEARS AGO: Turkey Portobello Burger
TEN YEARS AGO: Raspberry Ricotta Cake
ELEVEN YEARS AGO: In My Kitchen, April 2014
TWELVE YEARS AGO: Whole-Wheat Pasta with Lemony Tomatoes and Spinach
THIRTEEN YEARS AGO: Blood Orange Duck: A work in progress
FOURTEEN YEARS AGO: Grilled Mahi-mahi with citrus marinade
FIFTEEN YEARS AGO: Memories of Pastéis