CHOCOLATE-COVERED OREOS

I make them weekly because they are very popular with the homeless dinner, and as you might imagine, I don’t like to repeat designs. I love variety. These can be decorated in countless ways, some easier than others. In fact, I have tried a few things that quickly went into the “Never Again Folder”… For previous collections, click here and here. Without further ado, here are some of the designs I made in the past couple of months, starting with perhaps my very favorite!

.
THE JAPANESE-MODERN

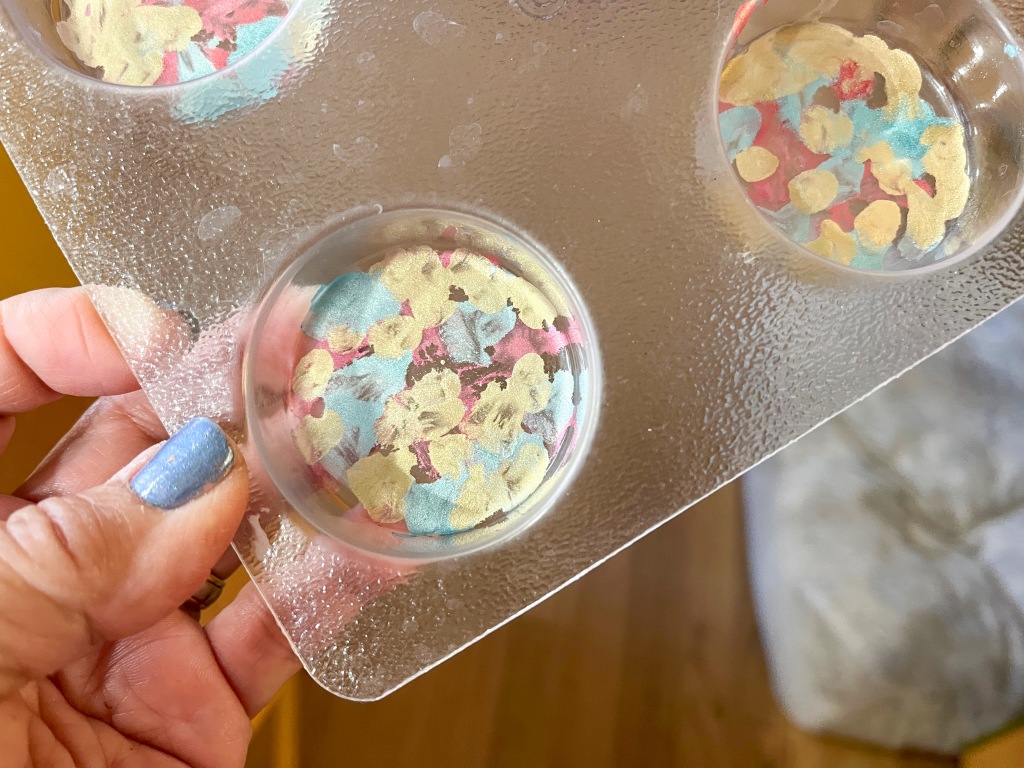
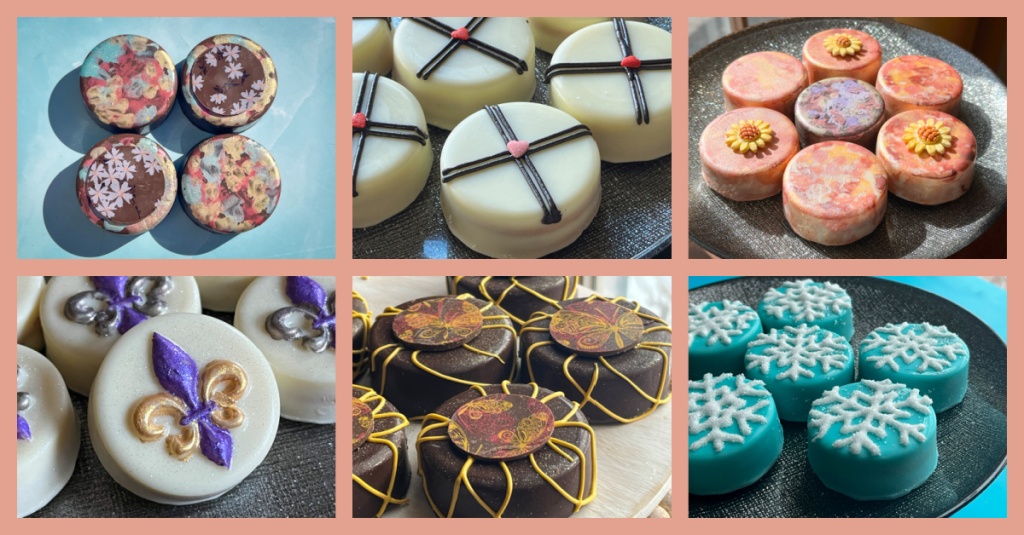
To make this design, all you need is some different colors of luster powder and a bit of vodka. Make a suspension and add small blotches on the surface of the mold. Let it dry for a few minutes and pour the melted compound chocolate. They will look good just with the colors, or you gild the lily with a small disc of chocolate decorated with a transfer sheet, in this case I used a cherry blossom pattern.

.


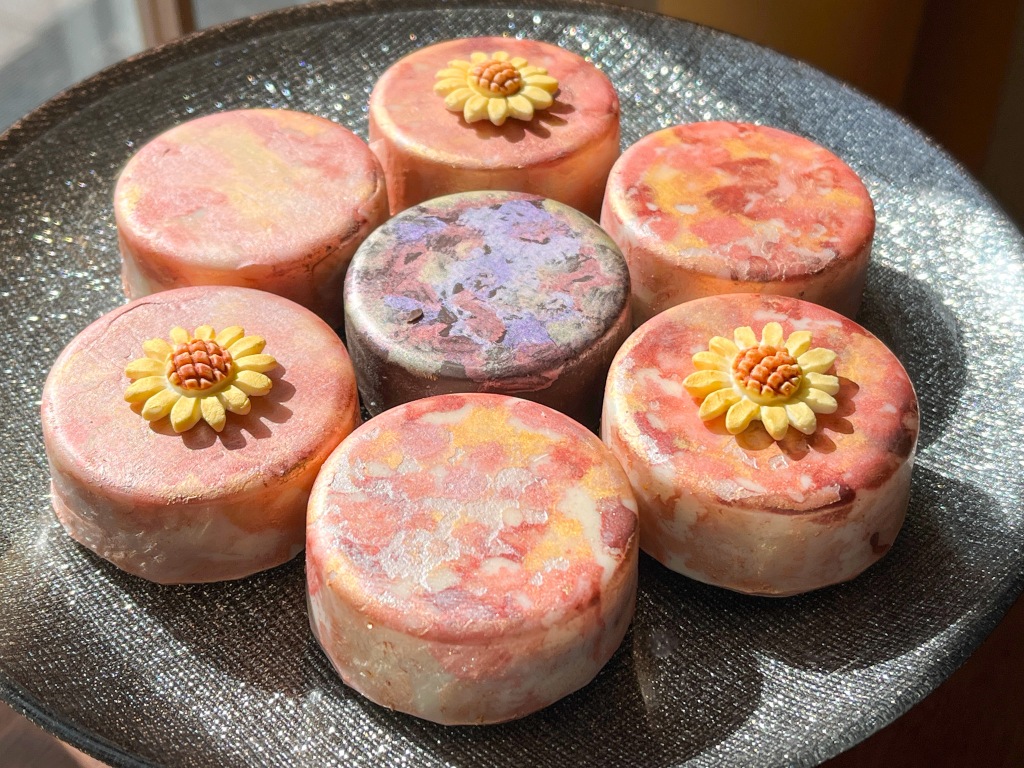
The same exact method works with white chocolate… In this case I added some fondant sunflowers I had from last year’s cookie projects. I have quite a few ideas for color combinations in the near future, so stay tuned!

Luster powder can also be used to paint the surface of the chocolate after it sets, as I did for the set below… It does not go into the “Never Again Folder”, but it is a bit time-consuming.

Another great way to decorate is Royal icing… For the ones below I made straight lines in black and before they set I glued a little sprinkle heart in the crossed section. I love their minimalist look.

You can also pipe thicker lines of Royal icing coupled with a little sanding sugar… For added contrast, I dyed the white chocolate poured into the mold with fat-soluble sky blue dye. These were a good match for some macarons I made in that same week (see post here).

Even easier is just making a random drizzle with icing, fast and straightforward..

Sharing perhaps my second favorite of this set: Royal icing in circular piping plus a disc of chocolate decorated with transfer sheet, also saved from a project last year. The Royal icing was dyed with Americolor Gold. And once all was set, I sprayed some gold dust all over because.. why not?

Finally, the method that I don’t recommend and it truly drove me crazy: spread the Royal icing with a stencil. It was very very tricky to hold the stencil over the small surface, I had to scrape it all and start all over many times, as it would smear and end up quite messy. I managed to get three reasonably good ones, but as I said before…. never again!

.

.

.

ONE YEAR AGO: Zucchini-Chickpea Baked Bites

TWO YEARS AGO: Slow-Cooker Hoisin Pulled Pork

THREE YEARS AGO: I Will Cracker you Up

FOUR YEARS AGO: Pickling Ribbons

FIVE  YEARS AGO: Green Beans and Carrots with Spicy Almonds

SIX YEARS AGO: Quiche 101

SEVEN YEARS AGO: Persian Butternut Squash Soup

EIGHT YEARS AGO: Walnut Cranberry Sourdough Bread

NINE YEARS AGO: Ottolenghi in Brazil?

TEN YEARS AGO: Roasted Winter Vegetables with Miso-Lime Dressing

ELEVEN YEARS AGO: 2012 Fitness Report: P90X2

TWELVE YEARS AGO: Caramelized Bananas

THIRTEEN YEARS AGO: Roasted Lemon Vinaigrette

FOURTEEN YEARS AGO: Whole Wheat Bread

OREOS DRESSED FOR THE HOLIDAY SEASON

Yes, the Bewitching Kitchen is in full festive mode! Today the Oreo cookie, brought home from a humble shelf in the grocery store, gets dressed up for major party time… Several ideas for you, but I will start with maybe my favorite, as it gives me a chance to talk about a new product I recently tried.


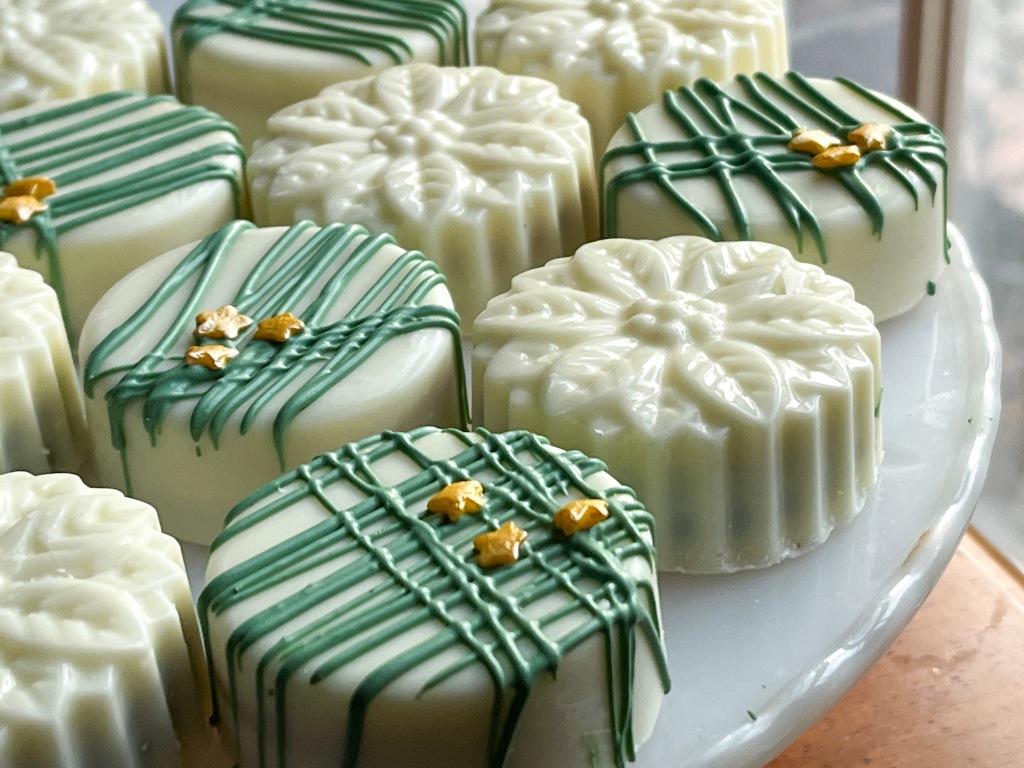
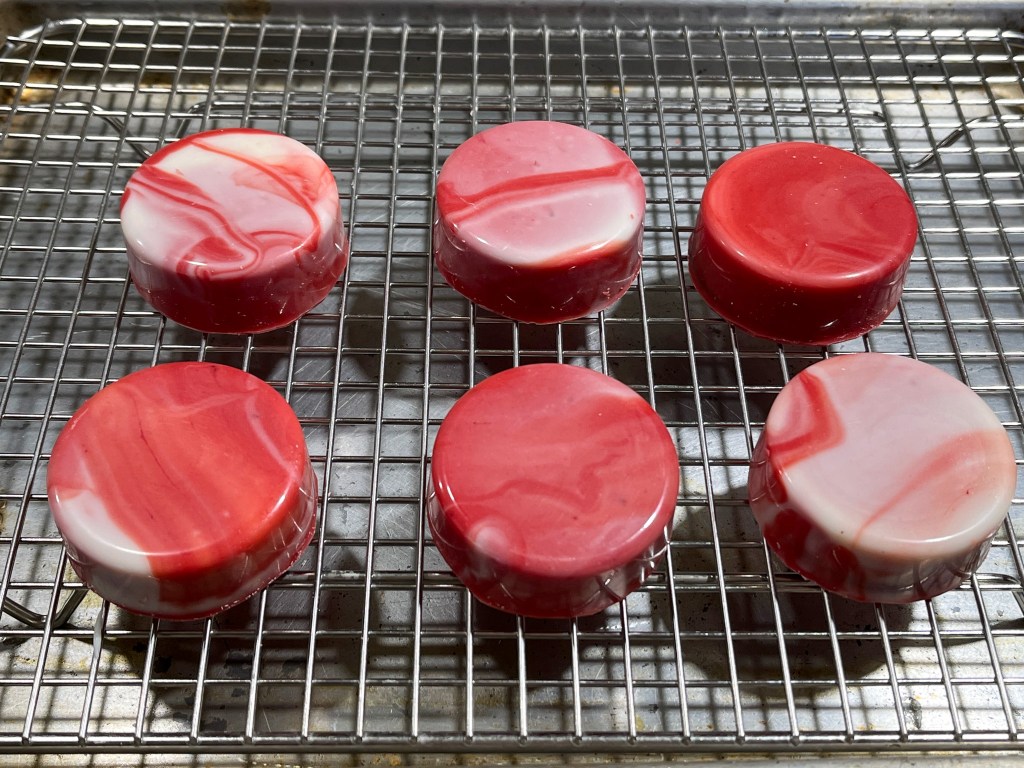
All my Oreos are made the same way, with compound chocolate (Wilton melting wafers, or other brands available at the grocery store or online). I also have very good luck with Almond Bark, which tends to dry super shiny. If you have issues melting the compound chocolate smoothly, just add a teaspoon or two of oil (refined coconut works great and has no coconut taste). Pour some in the Oreo mold, add the cookie, and cover with melted chocolate. But the possibilities to decorate are endless. For the red ones, I started dividing the white chocolate in two, leaving one portion white and one portion dyed with red fat-soluble color. I poured the two colors in a measuring cup and did not mix them completely, to try to get a marbled effect.

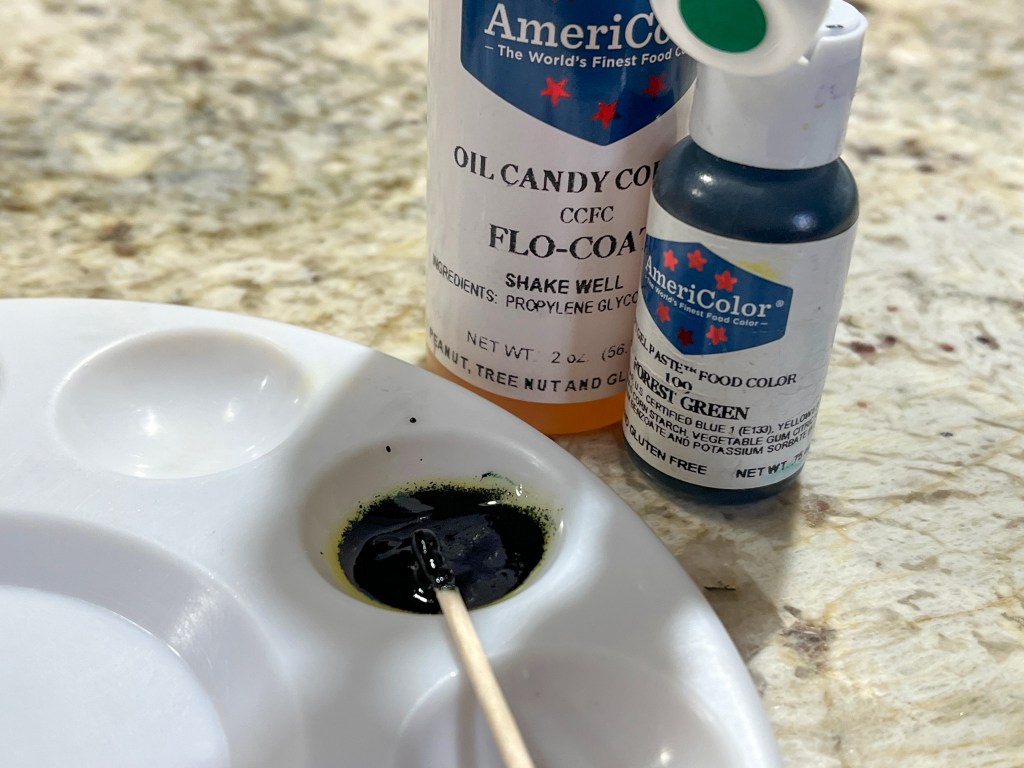
Once the chocolate set, I used this new trick, that turns any gel color into a fat-soluble product, so that all the big collection of gel dyes you own can be used to color chocolate. Isn’t that cool? It is a product by Americolor called FLO-COAT. You can find it here. Just a small amount, maybe 1/4 tsp and a couple of drops of your gel color, mix well and add to the melted chocolate. 

That is how I made the green used for the details, then added sprinkles.

For those I used dark chocolate to make the molds, then drizzled white chocolate with a piping bag, and glued small gold confetti sprinkles on some of the intersecting lines. 

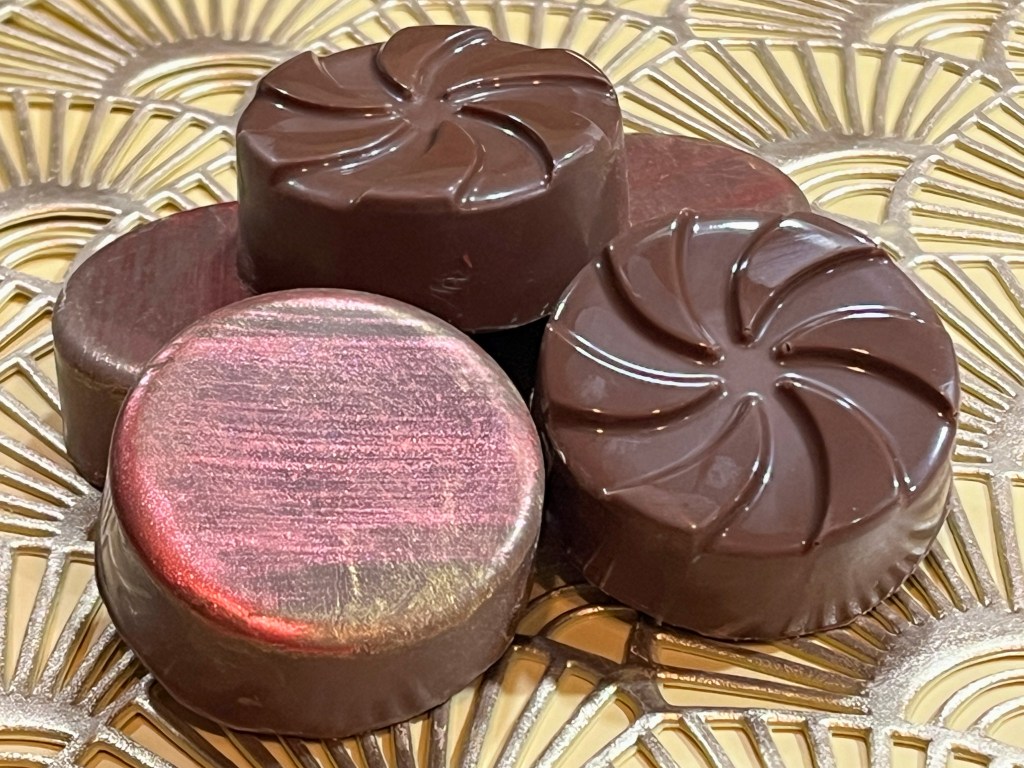
The metallic effect was luster power mixed with vodka, applied with a fan brush…

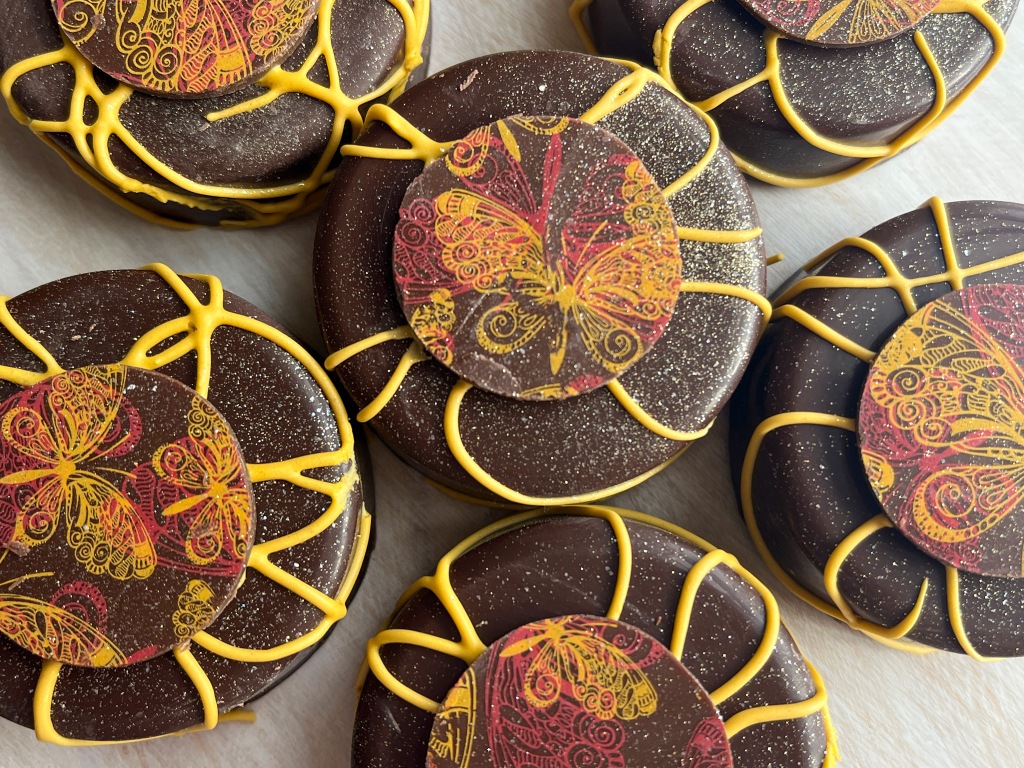
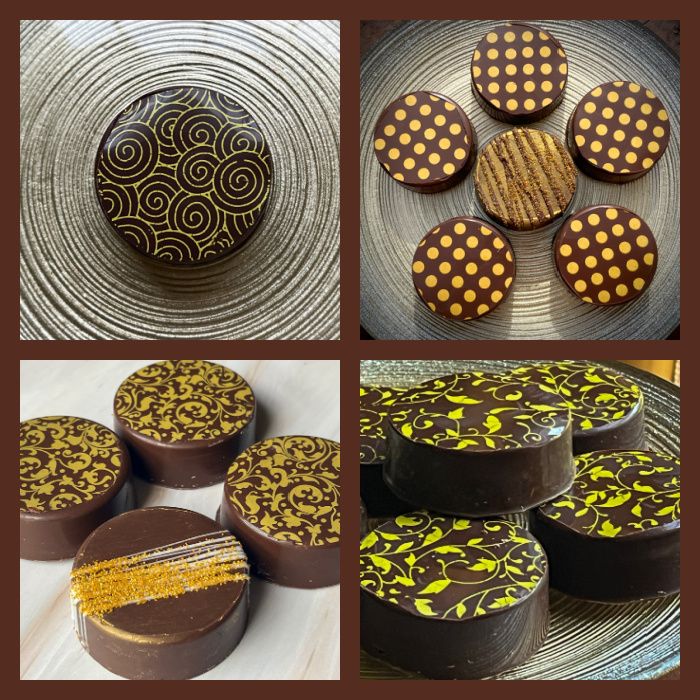
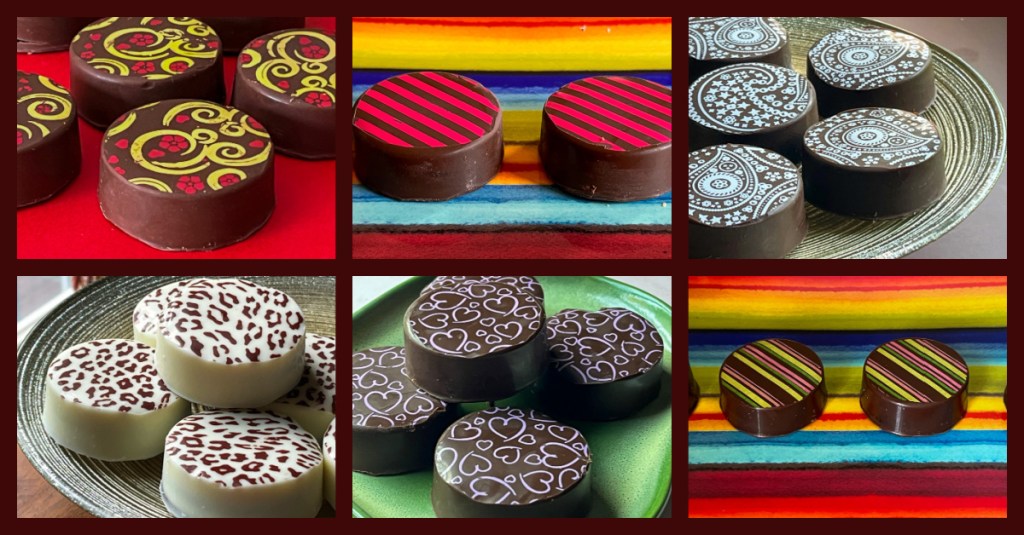
Finally, a few more designs relying on chocolate transfer sheets. You just cut circles, add to the bottom of the mold and pour the melted chocolate. Remember to peel off the plastic once you un-mold them!

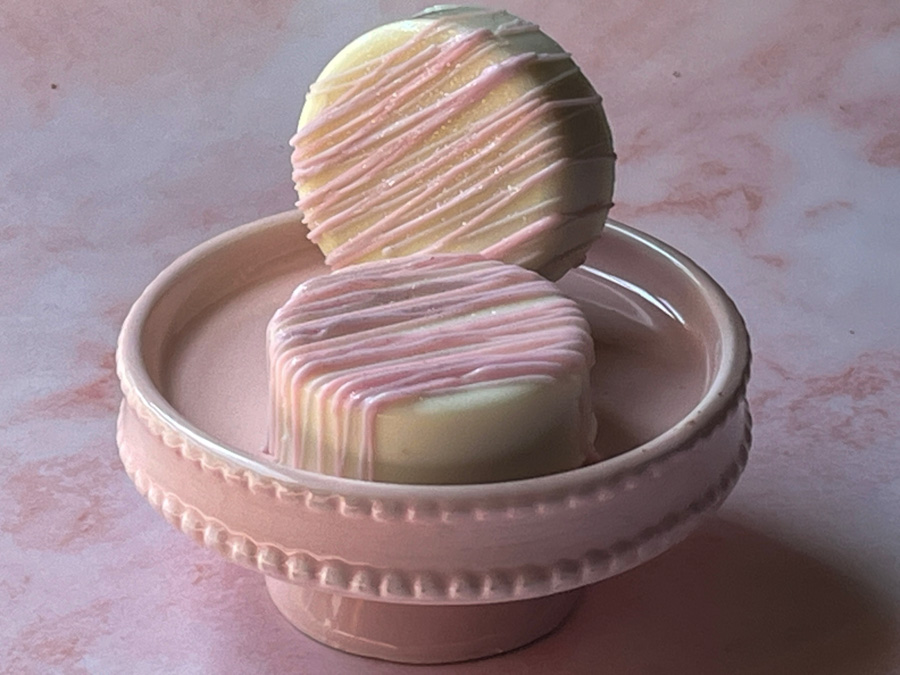
There you have it, many ideas to make the Oreo cookie shine! Keep in mind that you can use golden oreos (lemon flavor), or red velvet to make the cookie complement better the surrounding shell. Have fun with it!

ONE YEAR AGO: Peppermint Wreath Macarons

TWO YEARSAGO: Cornish Hens with Yogurt-Mace Marinade

THREE YEARS AGO: Cookies for the Holidays – Gingerbread

FOUR YEARS AGO: Incredibly Simple Times Four

FIVE YEARS AGO: White Chocolate and Raspberry Mousse Cake

SIX YEAR AGO: Panettone Time!

SEVEN YEARS AGO: Pistachio Creme Brulee

EIGHT YEARS AGO: Fast and Furious Bison Chili

NINE YEARS AGO: In My Kitchen, December 2014

TEN YEARS AGO: Braised Fennel with Saffron and Tomato

ELEVEN YEARS AGO: Revenge of the Two Derelicts

TWELVE YEARS AGO: Grilling Ribbons

THIRTEEN YEARS AGO: Peppery Cashew Crunch

FOURTEEN YEARS AGO: Baked Shrimp and Feta Pasta

DRESSING UP THE OREO COOKIE

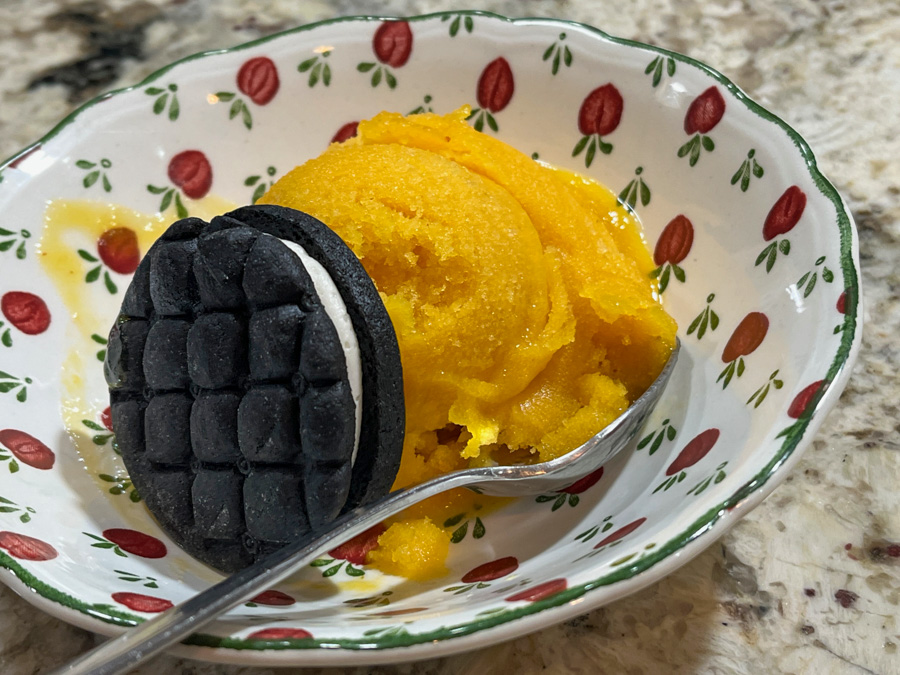
Talk about a classic cookie, loved in more than 100 countries, born as Hydrox in 1908, sold in many flavors, some do not exist anymore (Lemon Meringue, anyone?). More than 40 billion Oreos are made every year, so why not make 20 or so in your own kitchen? Here is how.


OREO COOKIES
(slightly modified from Tasty.com)

FOR THE COOKIES
1 cup (225g) unsalted butter, softened
1 cup (200g)white sugar
2 teaspoons salt
2 large eggs
2 cups (250g) all-purpose flour
1 heaping cup (140g) dark cocoa powder
½ teaspoon baking soda

CREAM FILLING
½ cup (113g) butter, softened
2 cups (240g) powdered sugar
1 teaspoon vanilla

Using a Kitchen Aid type mixer with a paddle attachment, cream together butter and sugar until light and fluffy. Beat in eggs until fully incorporated. In a bow, whisk together the flour, cocoa powder, and baking soda. Add the dry ingredients to the wet ingredients, and mix together until combined.


Turn the dough out onto your surface and push together into a flat square. Wrap the dough in plastic wrap and refrigerate for 1 hour.

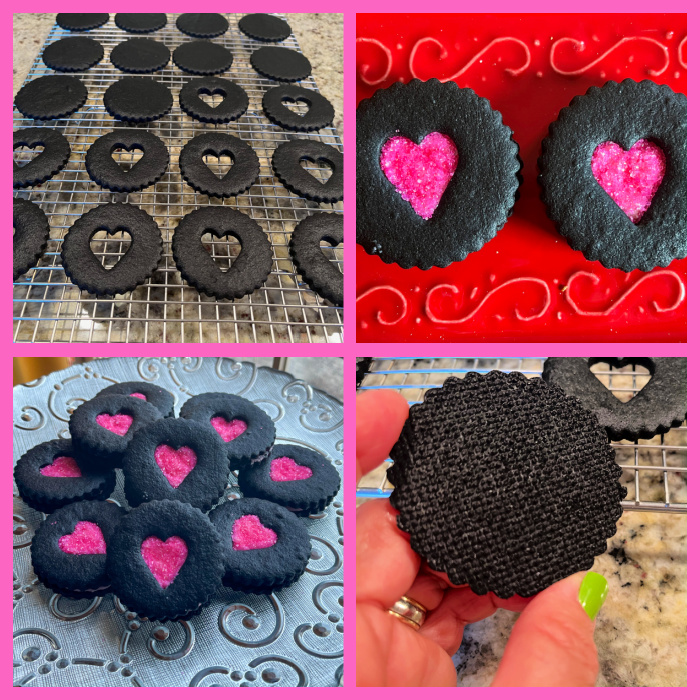
Heat oven to 325ËšF. Remove the dough from the fridge, roll out and if desired, use a patterned rolling pin or other embossing gadgets to create a pattern. Cut the cookie rounds and freeze for 10 minutes before baking for about 15 minutes.

To make the filling, combine butter, powdered sugar, and vanilla in a medium mixing bowl. Beat together until light and fluffy. Assemble the cookies by spreading a generous scoop of the icing onto one of the cookies and sandwiching it with another.

ENJOY!

to print the recipe, click here

Comments: These are definitely for intense chocolate lovers, as the black cocoa pushes the chocolate flavor to higher levels. They are of course, totally fine made plain, but I cannot help dressing them up a bit with the pattern on top.

And now, let me take you through a little Chocolate-Covered Oreo Adventure! You need to get the appropriate molds, either plain or with designs and go to work. When using plain molds, I like to add chocolate transfer sheets to make them more visually appealing.

TRANSFER SHEETS
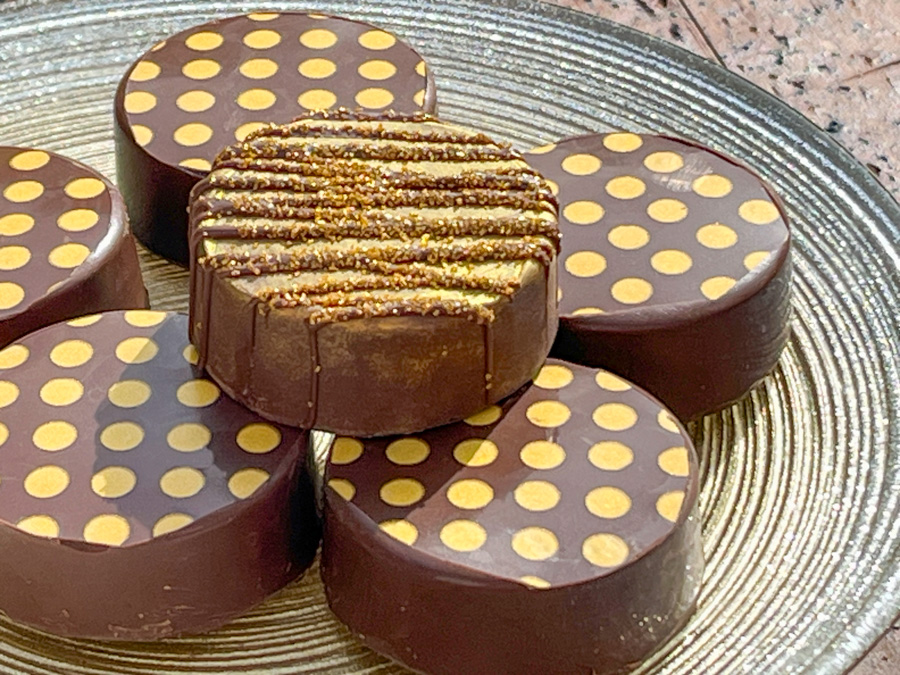
DARK AND GOLD

TRANSFER SHEETS
MISCELLANEOUS

The thing with transfer sheets is that unfortunately you get what you pay for. It is possible to find quite affordable options on amazon, etsy, but if you pay a little more you will be much happier with the results. Less flaking, sharper images. One great brand (the one I used for the ones below) is called LUCKS but apparently they are not in business anymore, it broke my heart. I had those golden dot sheets for years, and wanted to get some more.

SPECIAL MOLDS

All my molds with patterns are from Spinningleaf.com

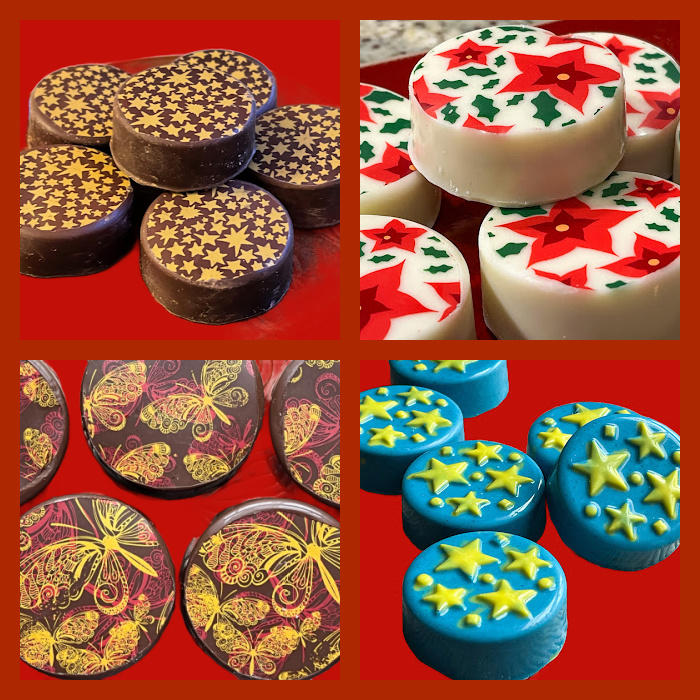
You can dress up Oreos using molds that generate a pattern. I sometimes dye a small portion of compound chocolate and paint areas of the mold before pouring the contrasting color. You need to let the painted area fully set before pouring the warm chocolate on top.

REACH FOR THE STARS

For the stars, I dyed some chocolate with yellow ad also brushed the inside of the mold with gold. Next time I will go for more contrast.

WORSHIP THE SUNFLOWER


One of my favorites, the sunflower mold, you just need to be careful painting the center so that the edges stay sharp.

BAKE WITH YOUR HEART

Making chocolate-covered Oreos is a weekly event for me, as it turns out they are THE most popular item with the homeless meals. That and a certain banana bread that I shared not too long ago. I hope you enjoyed this post, and consider playing with Oreos also.

ONE YEAR AGO: OMG Roasted Sweet Potatoes

TWO YEARS AGO: Air-Fried Eggplant Raita

THREE YEARS AGO: Turkey-Pumpkin Roulade with Cider Sauce

FOUR YEARS AGO: Strawberry-Vanilla Mini-Cakes

FIVE YEARS AGO: Bourbon-Glazed Pork Tenderloin with Pea Pesto

SIX YEARS AGO: Chocolate Chip Cookies from Naturally Sweet

SEVEN YEARS AGO: Little Bites of Paradise

EIGHT YEARS AGO: Maple-Glazed Pumpkin Bread

NINE YEARS AGO: In My Kitchen, October 2014

TEN YEARS AGO: Grilled Steelhead Trout

ELEVEN YEARS AGO: Brown Butter Tomato Salad

TWELVE YEARS AGO:  Spelt and Cornmeal Rolls

THIRTEEN YEARS AGO: Roasted Potato and Olive Focaccia

FOURTEEN YEARS AGO: Multigrain Bread Extraordinaire

WHEN OREOS FALL IN LOVE

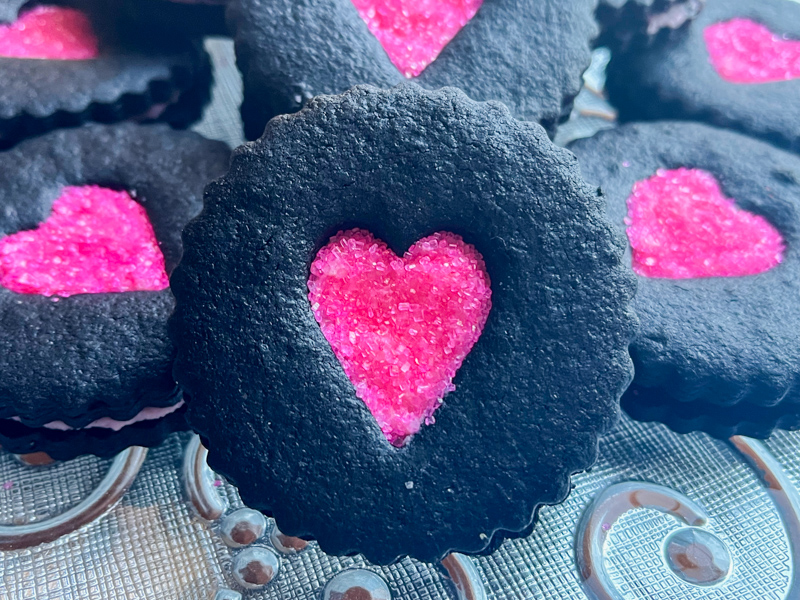
Yes, I do have a cookie blog, but when I try a new recipe, it will be here in my Bewitching Kitchen site. These cookies are a marriage of Oreos with Linzer, perfect for Valentine’s Day. They have a wonderful peppermint flavor, both in the cookie and the filling. Simply omit if you are not fond of it. I actually modified the filling a bit, because using the hard candy takes it too much into toothpaste-territory for my taste. Check the original recipe, you might prefer to follow that path. Remember, your kitchen, your cookies!

CHOCOLATE-PEPPERMINT COOKIES
(slightly modified from purewow.com)

for the filling:
1 bag of Moroccan mint tea
½ cup (115g) heavy cream
200g finely chopped white chocolate
Pinch of fine sea salt
pink gel food coloring

for the cookies:
10 tablespoons (142g) unsalted butter, at room temperature
135g granulated sugar
53g brown sugar
1 large egg, at room temperature
1 large egg yolk, at room temperature
1 teaspoon vanilla extract
¼ teaspoon peppermint extract
240g all-purpose flour
45g black cocoa powder
¼ teaspoon baking powder
½ teaspoon fine sea salt
pink sanding sugar to decorate

Place the tea bag and heavy cream in a small saucepan. Heat until simmering, close the pan and let it infuse for 5 minutes. Remove the tea bag, squeezing it hard. Re-heat the cream and when it is almost boiling, add to a bowl with the white chocolate, together with a pinch of salt. Let sit for a minute, then stir gently until fully dissolved. Add a tiny drop of pink gel food coloring (optional). Transfer to the fridge for several hours. When ready to use, whip it with a handheld blender but do not over-whip or the ganache might seize up.

Make the cookie dough: In the bowl of an electric mixer fitted with the paddle attachment, cream the butter, granulated sugar and brown sugar until light and fluffy, about 5 minutes. Add the egg and egg yolk; mix well to combine. Thoroughly scrape down the side of the bowl, then add the vanilla and peppermint extracts and mix to combine.

In a small bowl, whisk together the flour, cocoa powder, baking powder and salt; add to the mixer and mix until just incorporated. Scrape down the side of the bowl, then mix again briefly on low speed to make sure everything is combined. Divide the dough in half and form each half into a 1-inch-thick disk. Wrap each disk tightly in plastic wrap and refrigerate for at least 1 hour (and up to overnight).

Heat the oven to 325 F.

On a lightly floured surface, roll out one portion of dough to â…› inch thick. Use a 2-inch round cookie cutter to cut the dough and then transfer each round to one of the prepared baking sheets. Repeat with the second disk of dough. Use a mini cookie cutter to cut a shape from the center of each cookie on the second tray; remove the cutouts. Bake until the cookies are set at the edges, 8 to 10 minutes, rotating the trays between racks halfway through baking. Cool completely.

Assemble the cookies: Flip the cookies without cutouts over, then pipe the filling into the center of each cookie, leaving a ¼-inch border. Place one of the cookies with a cutout on top and press down slightly until the filling reaches the edge of the cookies. Sprinkle sanding sugar on the opening. Let set for 30 minutes before serving. They keep well at room temperature for several days.

ENJOY!

to print the recipe, click here

Comments: I used a small heart-shape cutter for the opening. You can use a simple round or another shape of your choice. I recommend using black cocoa if you really want to take those into the Oreo world. And the peppermint flavor was a nice twist. I visualize those with a Christmas aura, making the center as a round, or a star-shape and using red, white, and green non-pareils to decorate the center.

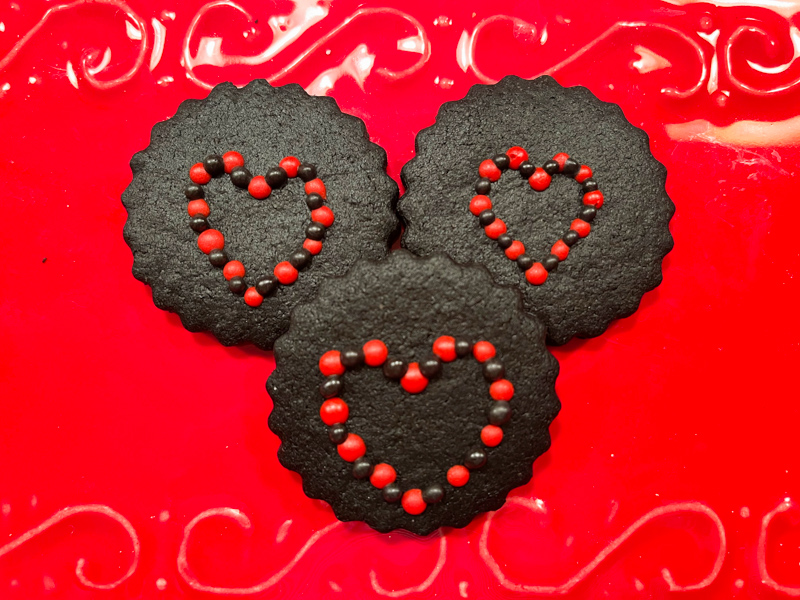
The cookie itself is very flavorful and I baked some in small little rounds, then decorated the top with dots of Royal icing I had leftover from another cookie adventure. That is of course totally optional, but oh so very cute, right?

If you like Oreos, I hope you give this version a try.

ONE YEAR AGO: Slow-Roasted Sweet Potatoes in Tomato Cardamon Sauce

TWO YEARS AGO: Sweet Potatoes in Tahini Sauce

THREE YEARS AGO: 30-Hour Leg of Lamb with Mashed Sweet Potatoes

FOUR YEARS AGO: Maple-Grilled Pork Tenderloin over Lemony Zucchini

FIVE YEARS AGO: Danish Rye Bread

SIX YEARS AGO: The Best Sourdough Recipe

SEVEN YEARS AGO: Mini-Quiches with Duxelles and Baby Broccoli

EIGHT YEARS AGO: Quinoa and Sweet Potato Cakes

NINE YEARS AGO: Pumpkin Bolo de Fuba’ Cremoso

TEN YEARS AGO: Citrus-crusted Tilapia Filets

ELEVEN YEARS AGO: Bran Muffins, not just for Hippies

TWELVE YEARS AGO: Flourless Chocolate Cake