This goes into our rotation for sure! The recipe for the salmon has been in my blog for a while and it is indeed something I cook often. But today I share one awesome way to enjoy it. Do not omit the mango pieces, and I actually strongly advise you to get frozen fruit. I am so tired of buying fresh mangoes just to be disappointed at the texture or taste. As long as you are careful about how you de-frost it, it will work perfectly (see the comments).
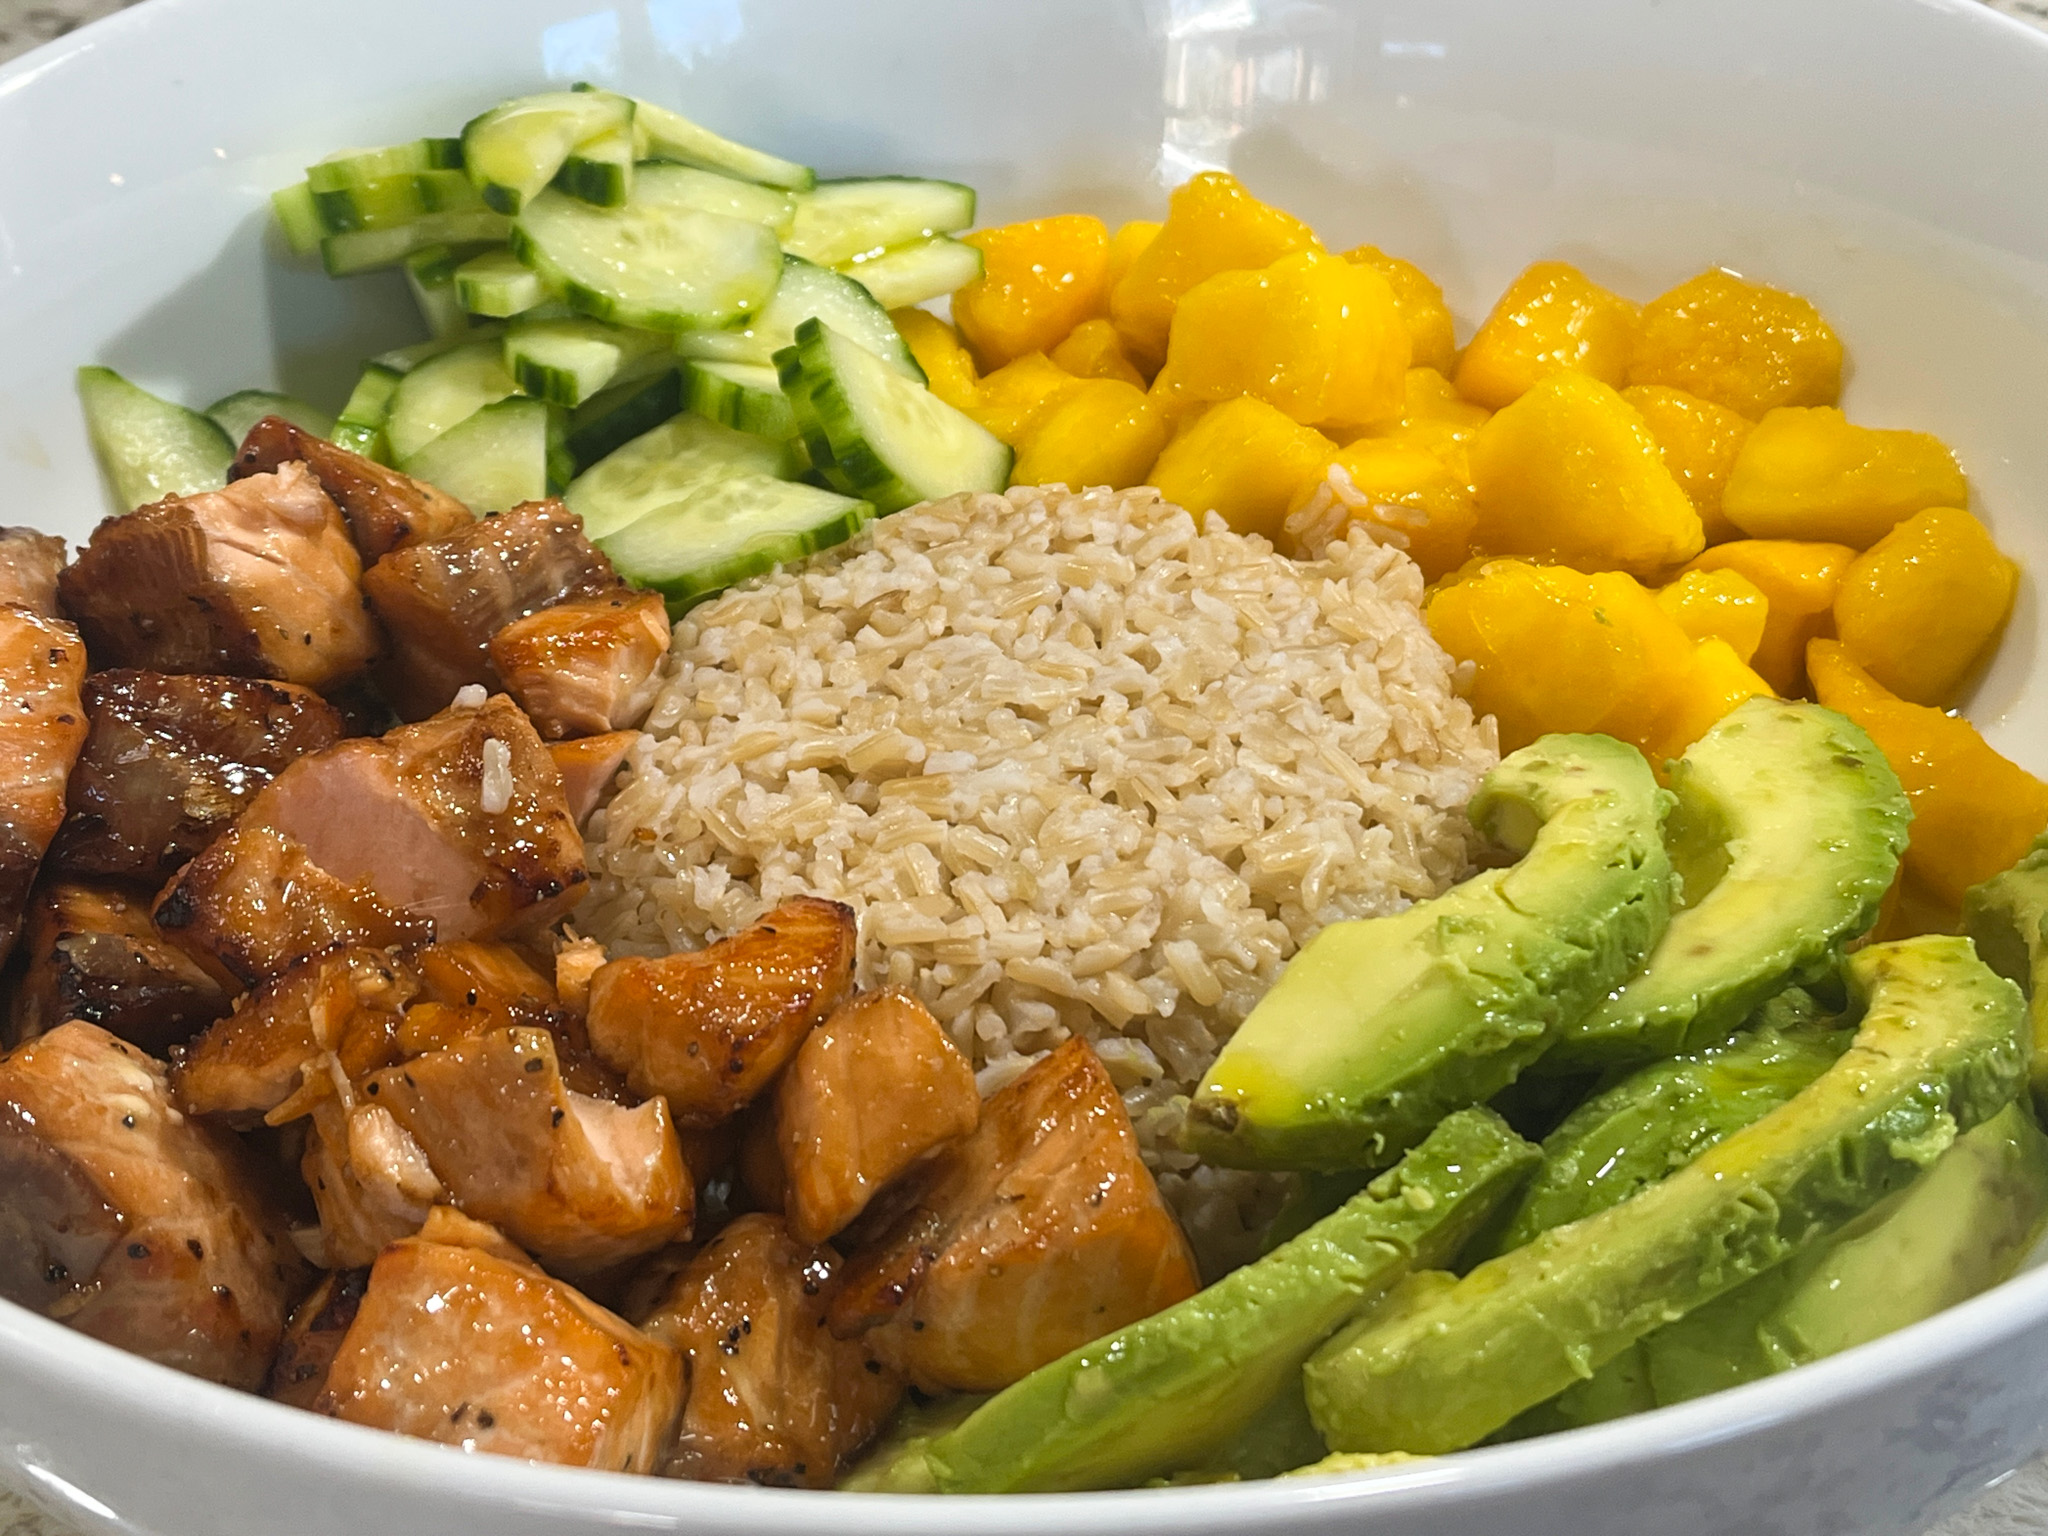
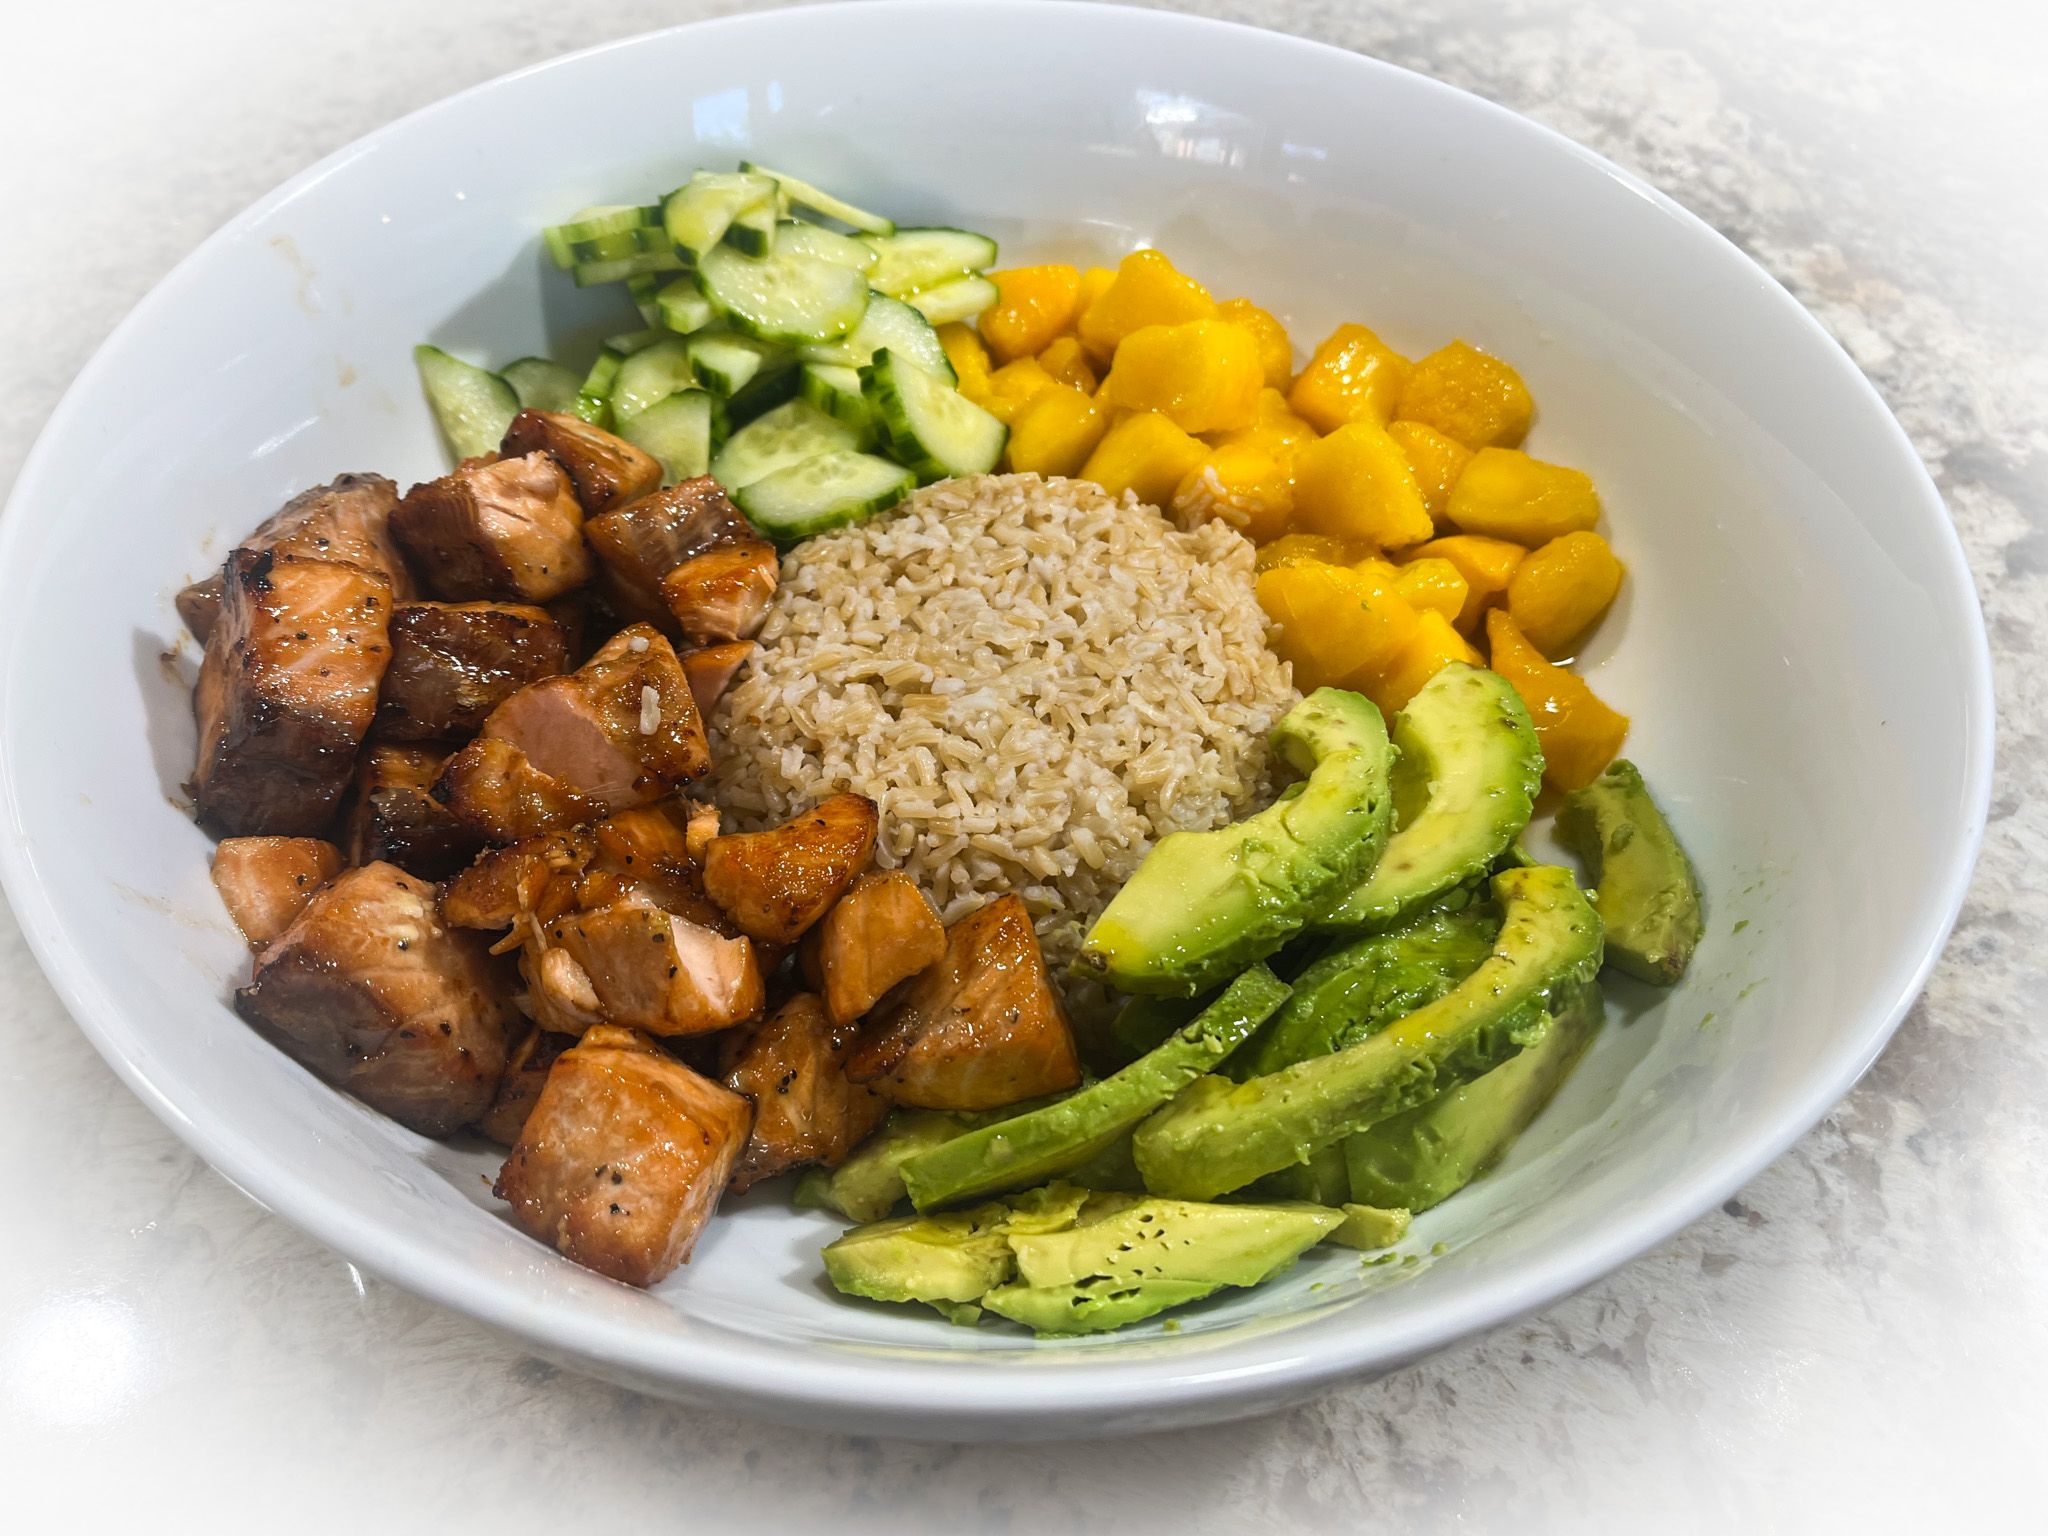
SALMON BOWL WITH BROWN RICE AND MANGO
(from The Bewitching Kitchen)
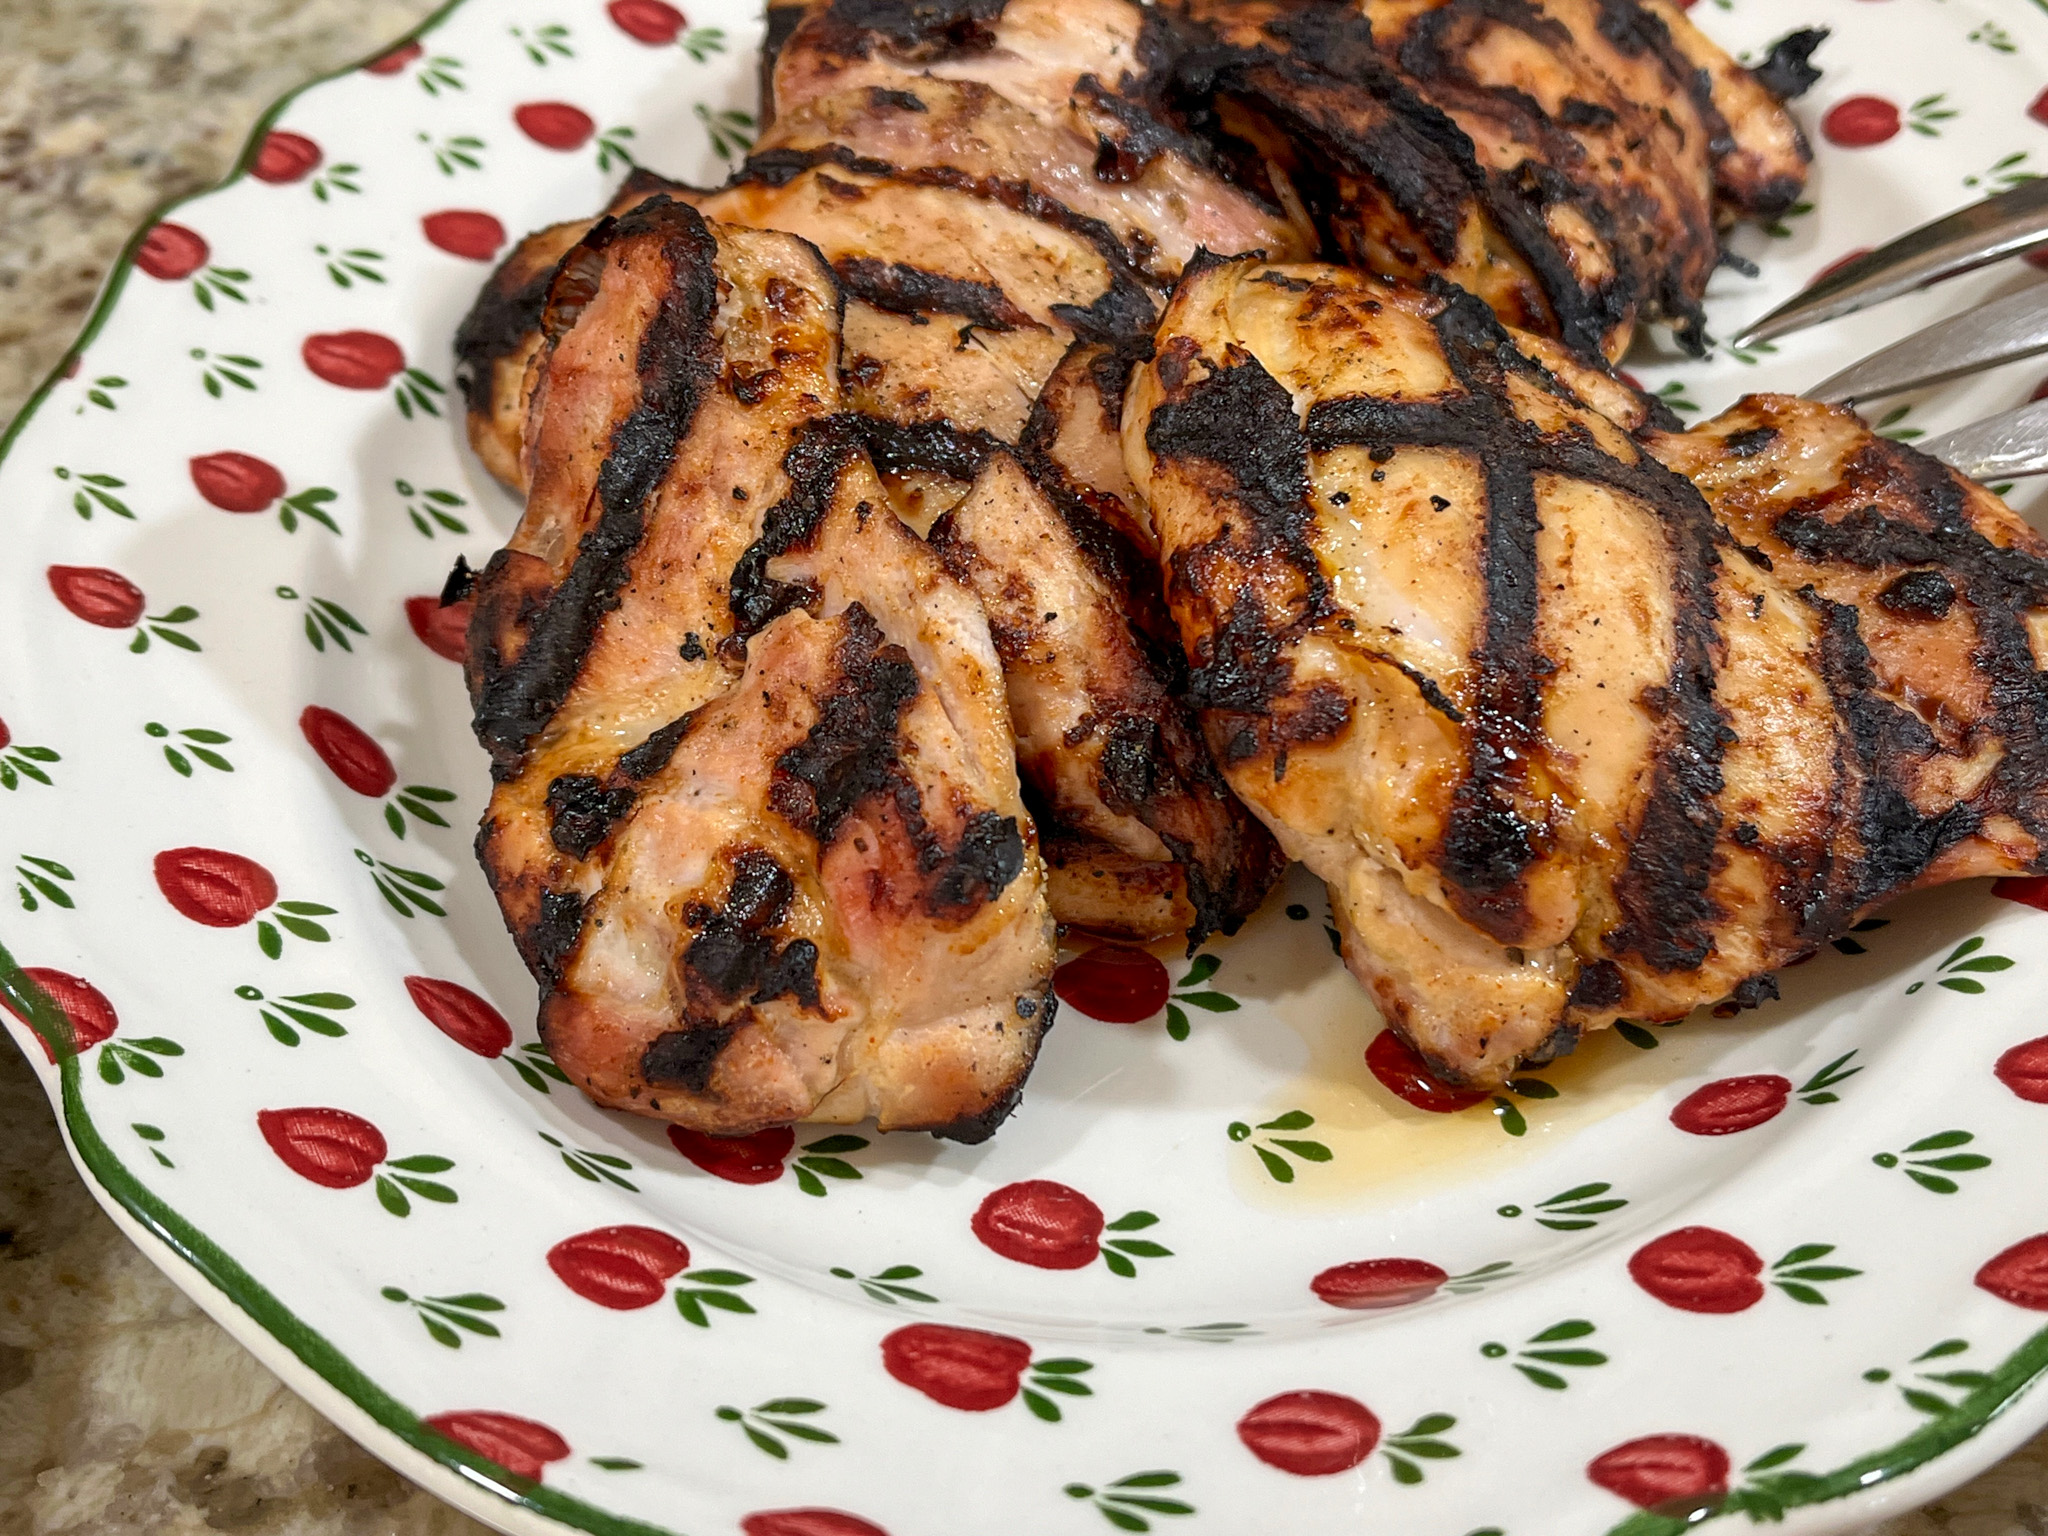
1 recipe for salmon bites (click here)
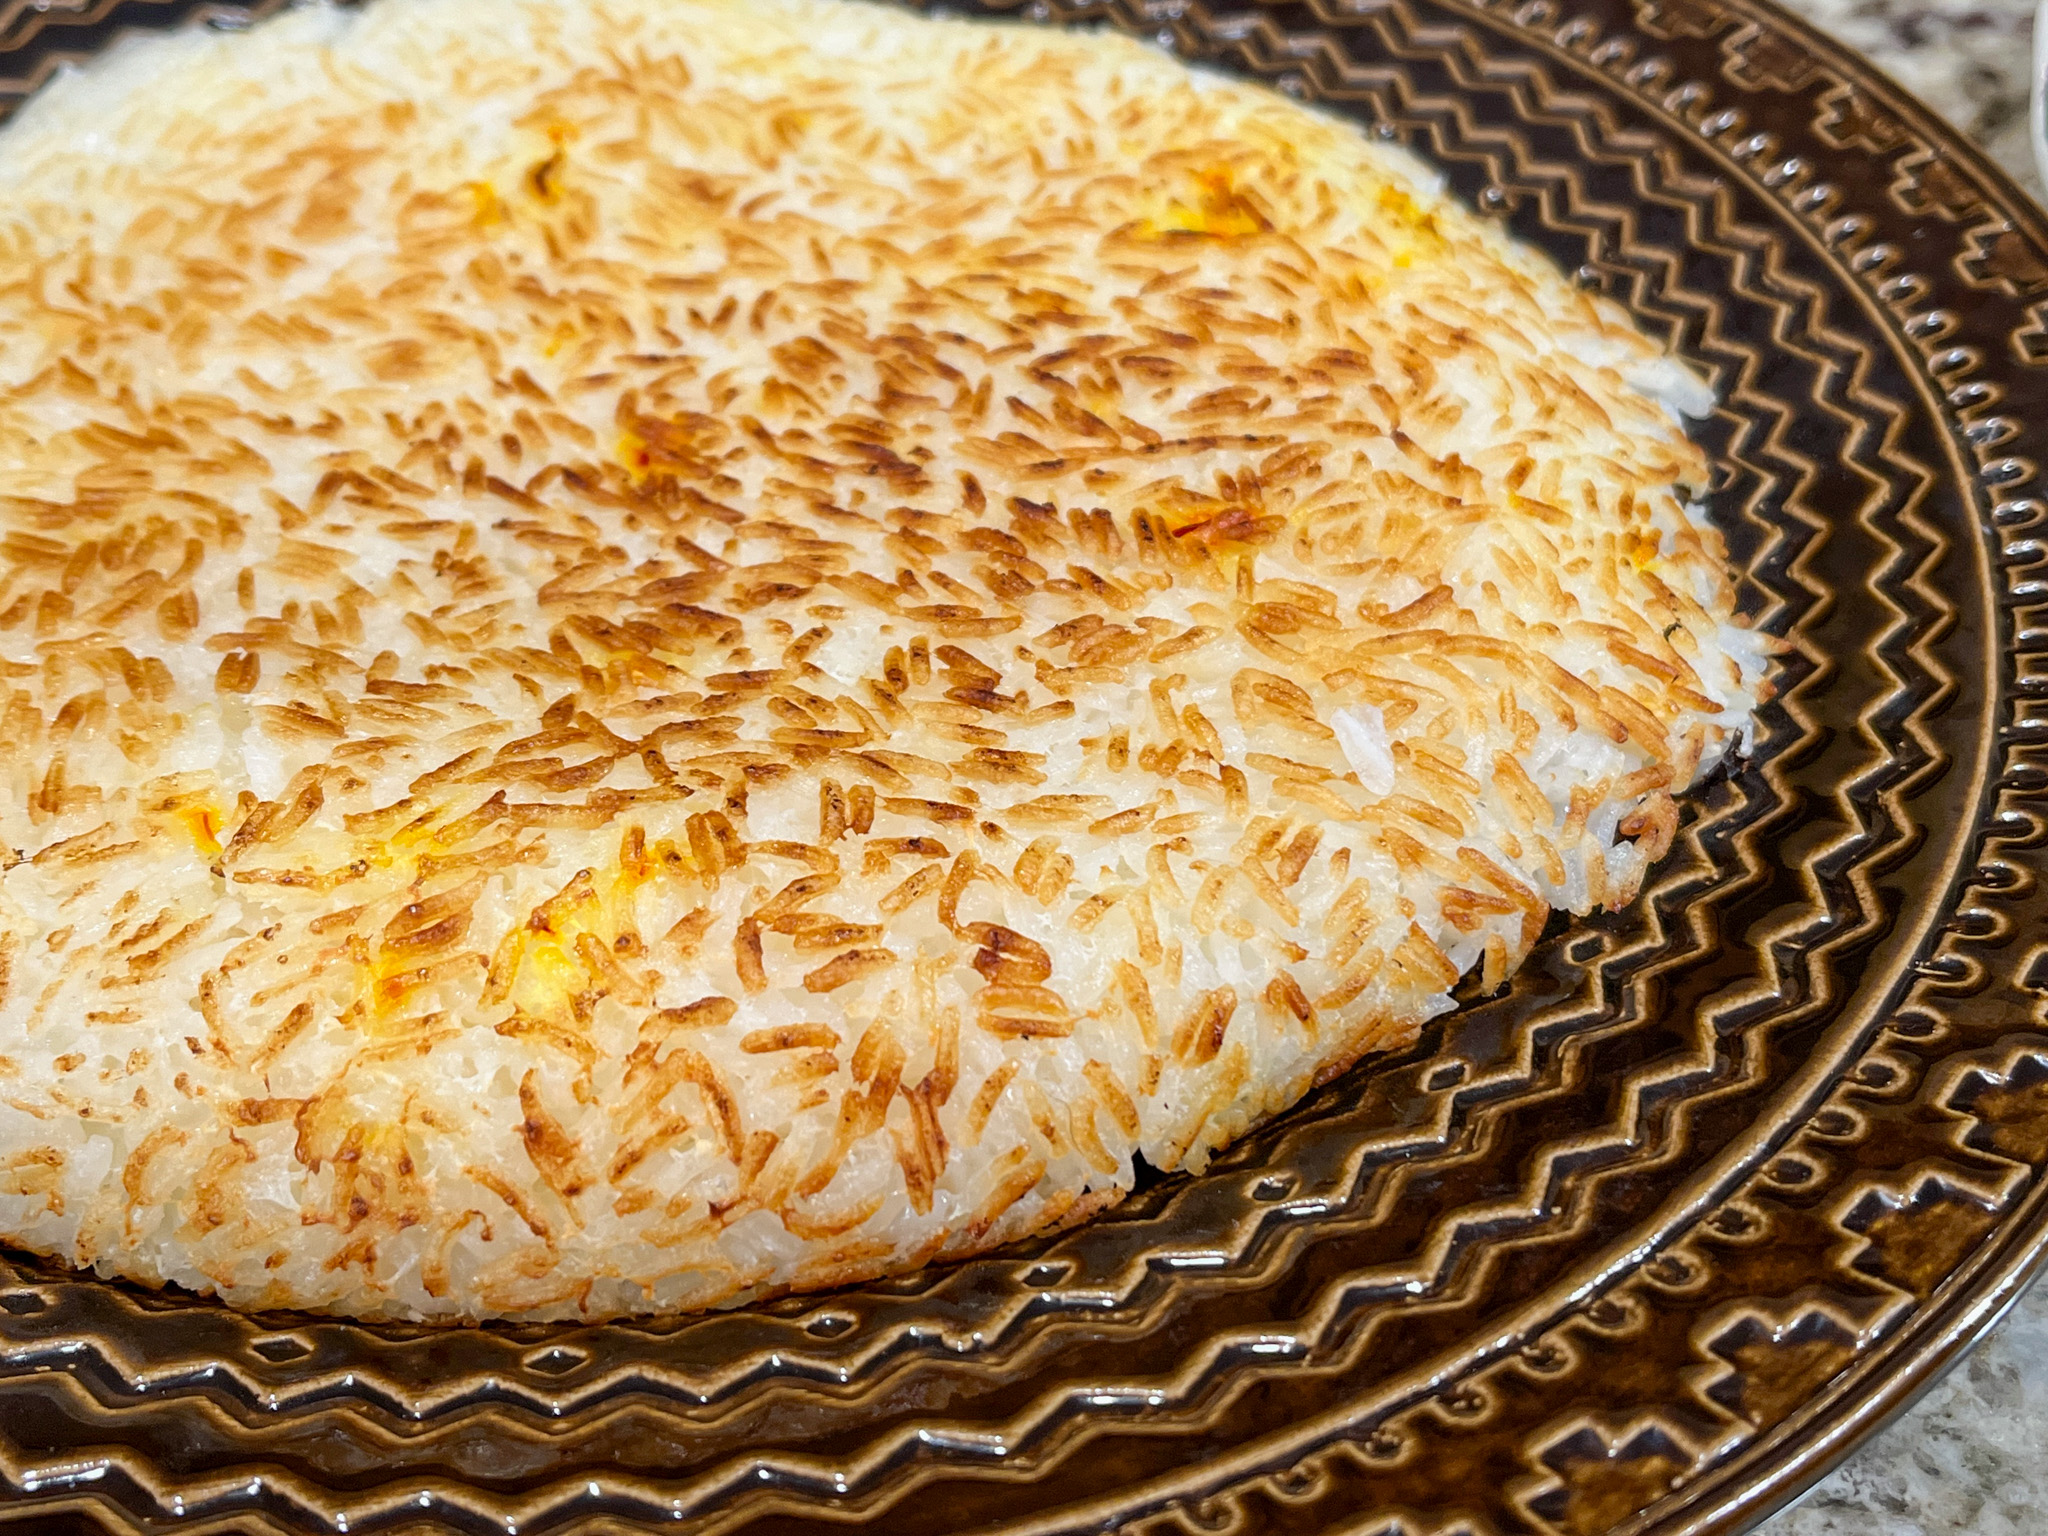
1 + 1/2 cups cooked brown rice
avocado slices
cucumber slices, salted and rinsed
fresh mango pieces
1/8 cup olive oil
juice of 1/2 lemon
salt and pepper to taste
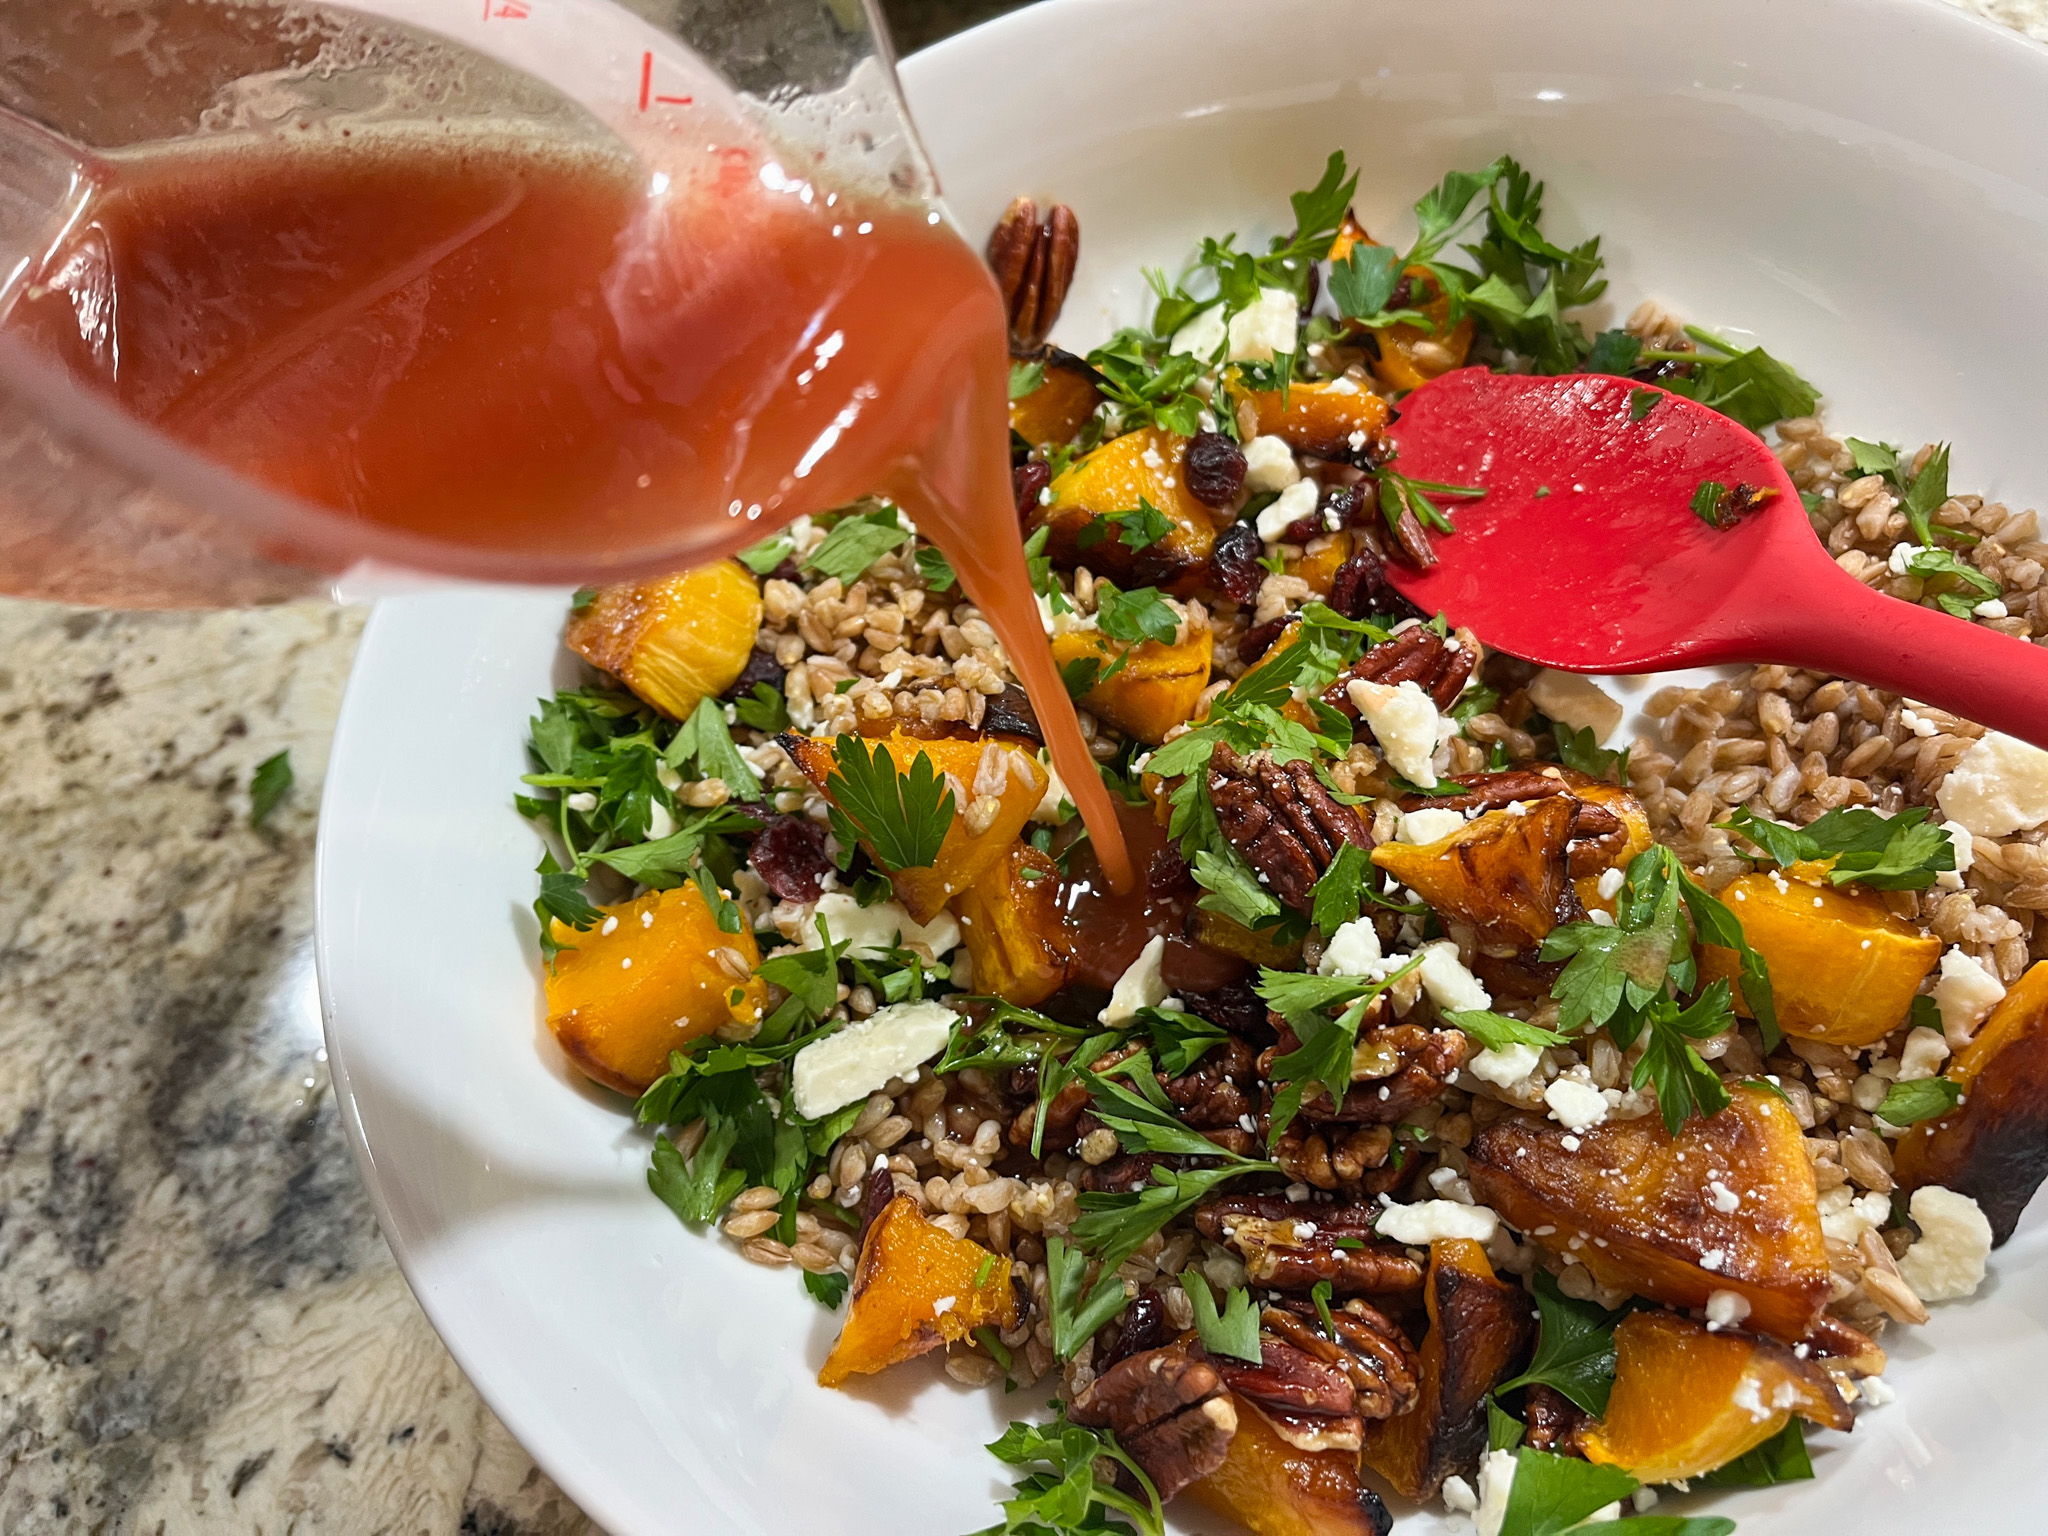
Prepare a quick dressing with the olive oil, lemon juice, salt and pepper. Amounts are flexible. You want enough to coat the fruit and veggies.
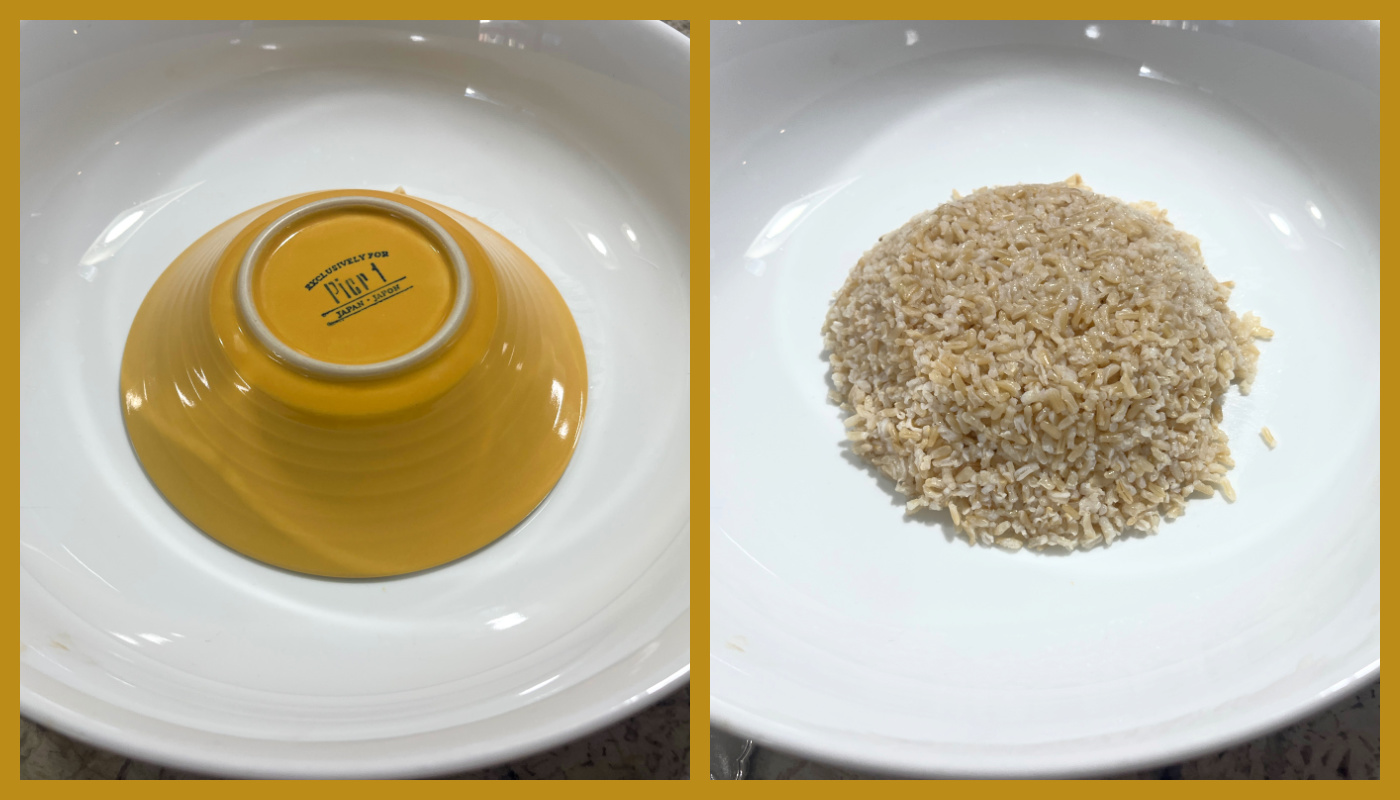
Place the cooked brown rice, still warm, in the center of a serving bowl, using a small bowl to shape it. Add the fruit and veggies around, drizzling the dressing all over them, and arrange the salmon pieces together as shown in the picture.
Serve right away.
ENJOY!
to print the recipe, click here
Comments: To use frozen mango, remove the amount you need from the package and lay over a paper towel to defrost. Do it about 30 minutes before your meal. By the time you plate it, it will be close to room temperature, still a bit cold in the center, but the texture won’t suffer. This was a delicious meal, very easy to put together, I highly recommend you give it a try. If you don’t have an air-frier, you can grill the salmon or roast it in the oven.
ONE YEAR AGO: A Cotton Candy Duet
TWO YEARS AGO: Helen Fletcher’s Pineapple Kolache
THREE YEARS AGO: Blood Orange and Cranberry Mini-Cakes
FOUR YEARS AGO: Simnel Cupcakes
FIVE YEARS AGO: Oat and Sesame Seed Sourdough
SIX YEARS AGO: Moroccan Turkey Pie with Olive Oil Crust
SEVEN YEARS AGO: Another Twisted Sister of the Shepherd’s Pie
EIGHT YEARS AGO: Cashew Chicken, My Way
NINE YEARS AGO: Two Deliciously Simple Salads
TEN YEARS AGO: In My Kitchen, April 2016
ELEVEN YEARS AGO: Spring has Sprung with Suzanne Goin
TWELVE YEARS AGO: Chai Brownies
THIRTEEN YEARS AGO: Pomegranate-Molasses Glazed Carrots
FOURTEEN YEARS AGO: Braised Brisket with Bourbon-Peach Glaze
FIFTEEN YEARS AGO: The Real Vodka Sauce
SIXTEEN YEARS AGO: Spring Rolls on a Spring Day