In case this interests anyone, it is a Whole-30 recipe, meaning that all the items forbidden from that diet are absent. No gluten, no legumes, no soy, no cornstarch. But it was super tasty and felt light and satisfying at the same time. I don’t follow any particular nutritional system but tend to explore alternatives especially if they reduce carbs and saturated fat. This recipe will definitely go in our rotation, don’t let the Whole30 label scare you away.

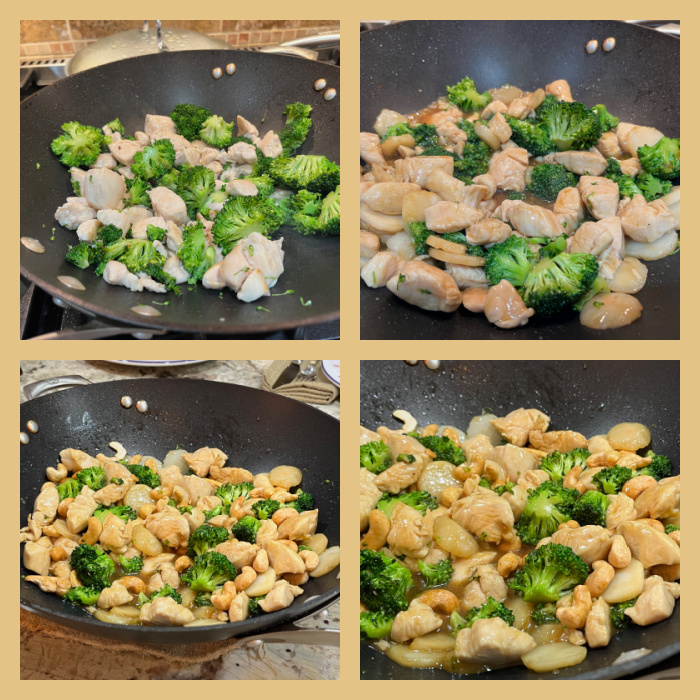
CHICKEN STIR-FRY WITH CASHEWS AND BROCCOLI
(from The Bewitching Kitchen)
Whole 30 Friendly
1.25 pounds chicken breast tenders, cut in bite size pieces
2 tablespoons olive oil, divided
salt and pepper to taste
1 shallot, minced
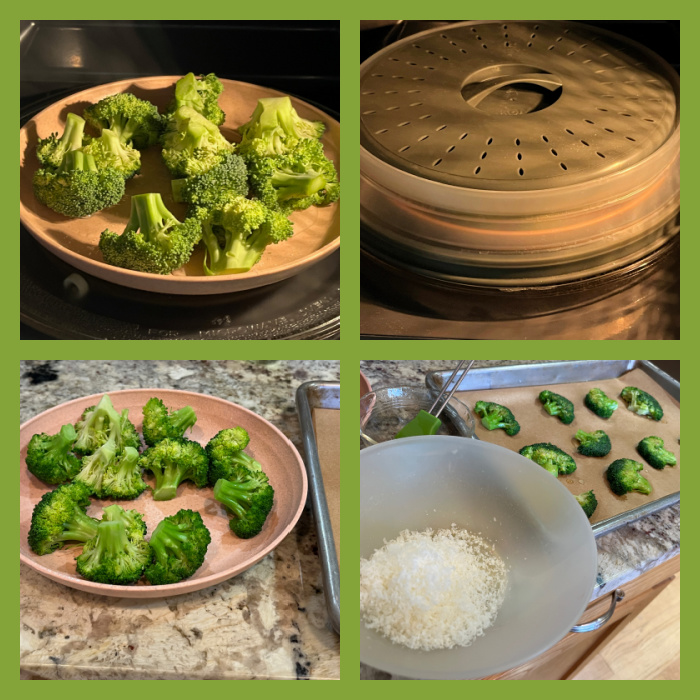
1 head broccoli, chopped into small florets
8 oz can sliced water chestnuts, drained
1 cup cashews (I used raw, slightly roasted in a 350F oven)
red pepper flakes to taste
For the sauce
1/4 cup coconut aminos
1/4 cup chicken broth or water
1 tablespoon fresh ginger, peeled finely minced
2 teaspoons sesame oil
2 teaspoons arrowroot powder
Squeeze of lemon juice to finish
Add 1 tablespoon of oil in a large skillet over medium high heat. When hot, add the chicken pieces and season with salt and pepper. Cook, stirring occasionally, until browned and just cooked through. Remove to a plate. To the same pan add the additional tablespoon of oil and then the broccoli, water chestnuts and shallot. Season very lightly with salt and pepper and cook, stirring often, until the veggies have softened a bit.
Make the sauce by whisingk all the ingredients together in a bowl and set aside.
When the veggies are almost ready, add the chicken back to the pan and then add the sauce. Cook for a few minutes until the sauce has thickened. Add the cashews, and squeeze some lemon juice right before serving.
ENJOY!
to print the recipe, click here
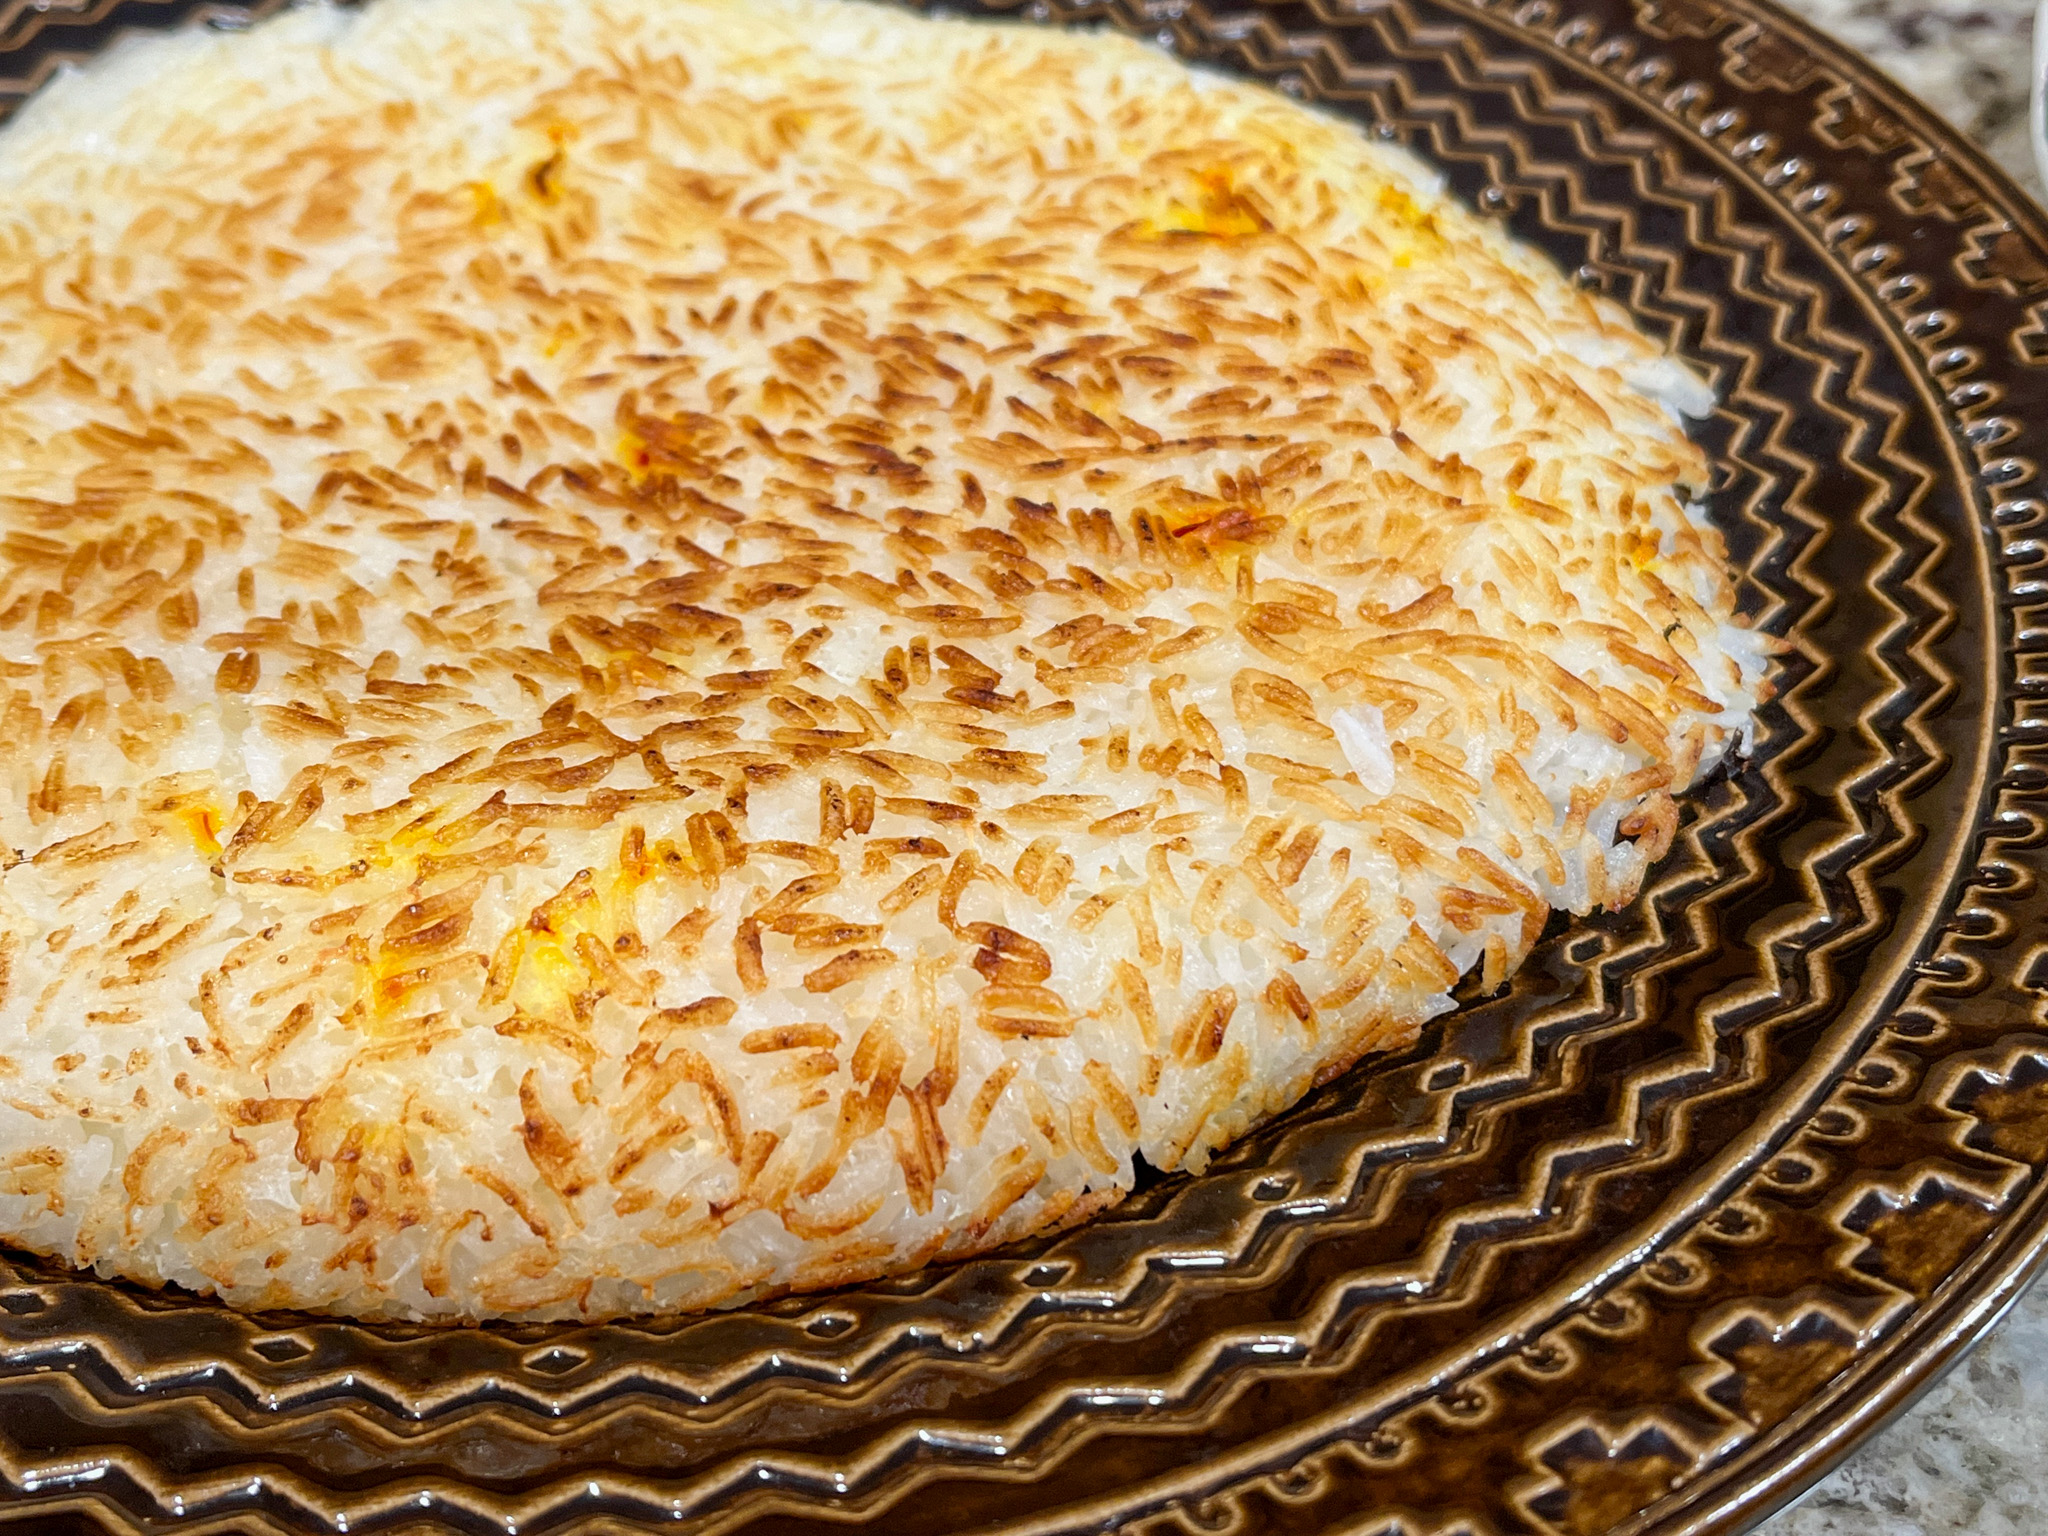
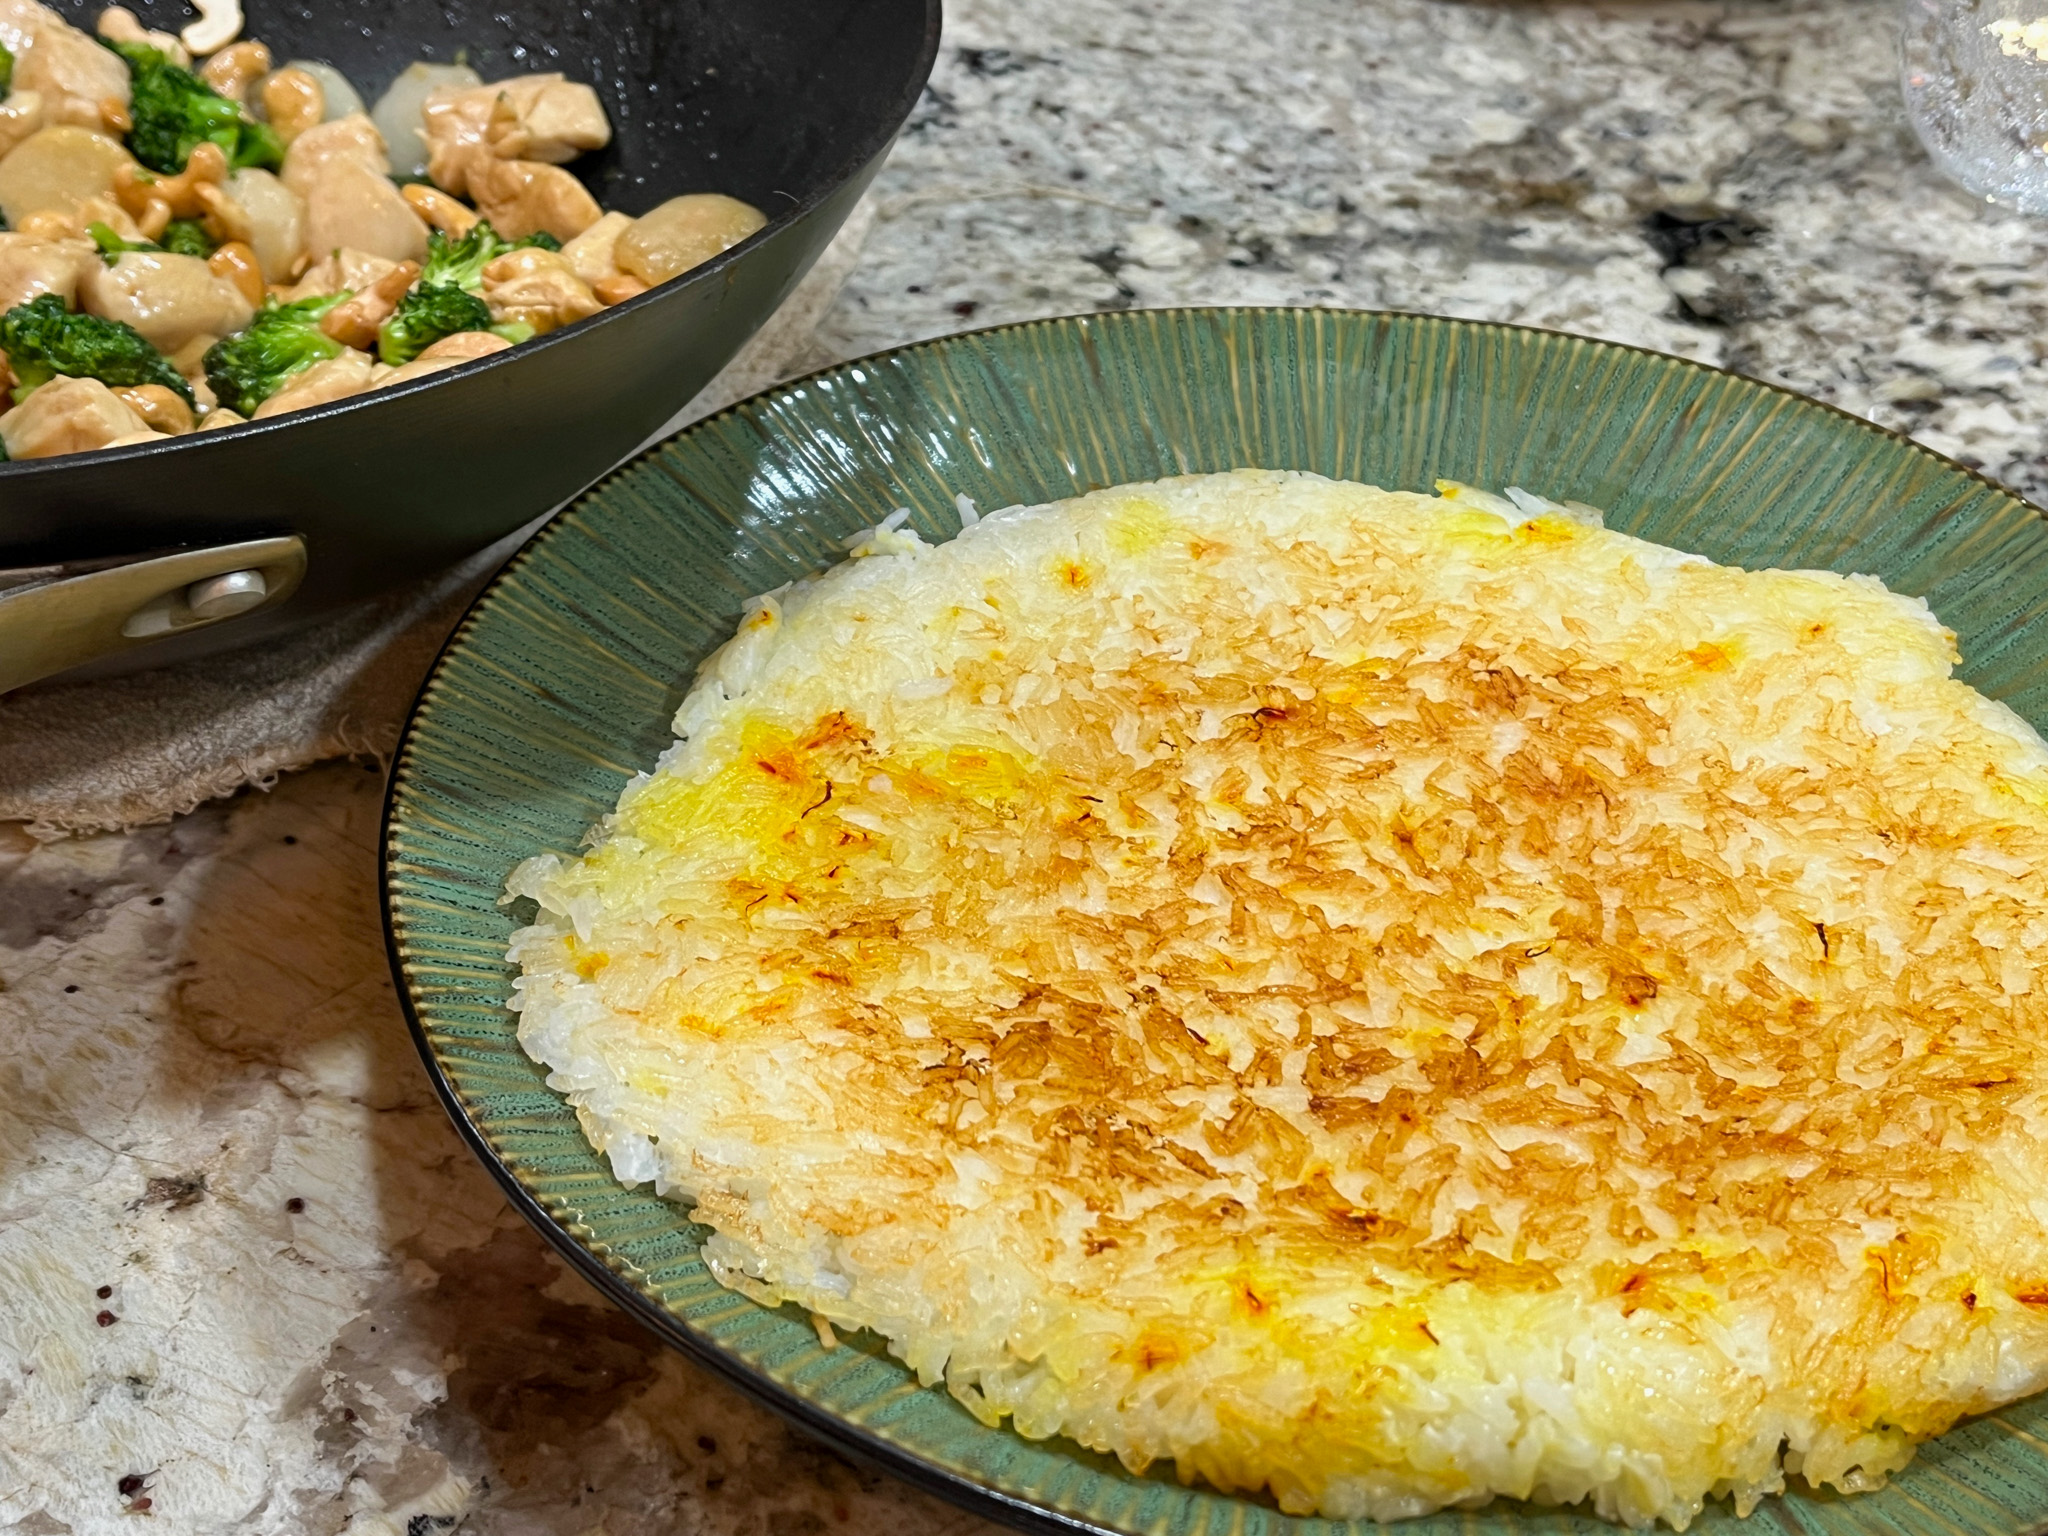
Comments: Coconut aminos is the traditional ingredient used in place of soy sauce in Whole 30. It has a milder flavor and I believe it is less salty also. This recipe was a breeze to put together, and went quite well with our favorite rice (definitely NOT Whole 30 friendly), my quick and easy tahdig (recipe here).
ONE YEAR AGO: It’s not the recipe
TWO YEARS AGO: Pfeffernusse
THREE YEARS AGO: Clay Pot Pork and Tomatillo Braise
FOUR YEARS AGO: Vegan Chocolate-Dipped Cinnamon Cookies
FIVE YEARS AGO: Lemony Barley with Shrimp and Spinach
SIX YEARS AGO:Black Rice with Roasted Cauliflower
SEVEN YEARS AGO:La Couronne Bordelaise
EIGHT YEARS AGO: A Special Birthday Dinner
NINE YEARS AGO: Duck Confit for a Special Occasion
TEN YEARS AGO: Tuscan Grilled Chicken and Sausage Skewers
ELEVEN YEARS AGO: Celebrate Wednesday with Pork Tenderloin & Apples
TWELVE YEARS AGO: Salmon Wellington
THIRTEEN YEARS AGO: The Green Chip Alternative
FOURTEEN YEARS AGO: Weekend Pita Project
FIFTEEN YEARS AGO: Let it snow, let it snow, eggs in snow