TWO INCREDIBLY EASY VEGETARIAN DISHES

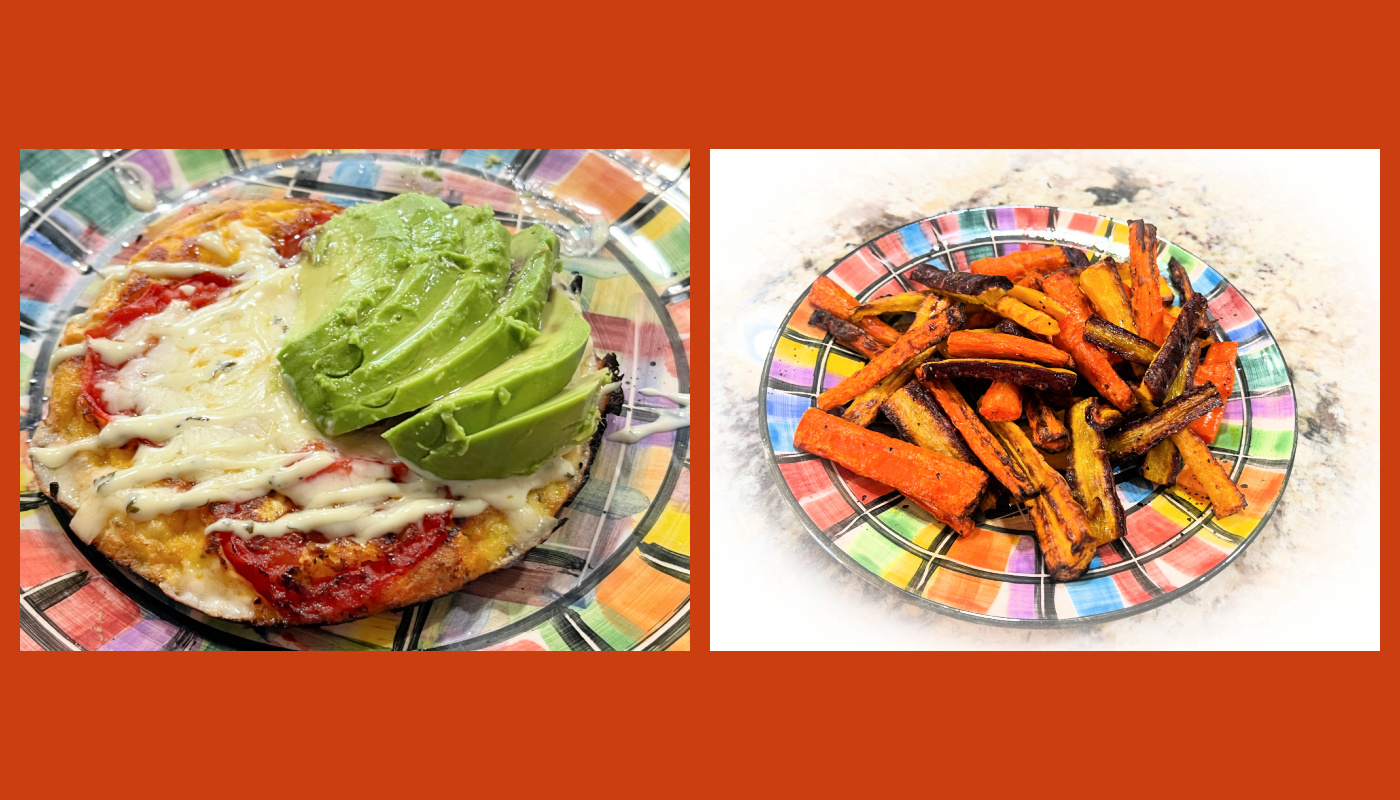
It’s been a while since I posted in the Incredibly Easy folder, but today I share two tasty little recipes that will definitely be part of our rotation. First, a tortilla-egg concoction with tomato and cheese, next a tricolor carrot preparation in the air-fryer.
MINI EGG & TOMATO TORTILLA
(inspired by Hungry Happens)

for one serving

spray of olive oil
1 small flour tortilla
4 slices of tomato
1 egg, beaten with salt, pepper and Herbes de Provence
shredded or sliced mozzarella
avocado for serving (optional)

Spray olive oil in a small non-stick skillet, preferably one with the exact same diameter of your tortilla. Place on medium heat and immediately cover the pan with 4 slices of tomato. Season lightly with salt and pepper. Cook for 2 minutes, flip the slices, cook for one minute longer.

Pour the egg over it, and cover it with the tortilla. Cook on medium-low heat until you notice the edges of the egg getting firm and starting to get some color. Carefully flip the tortilla, adding a little more olive oil to the pan before doing so. Add some mozzarella on top, cover the pan and cook until the cheese is melted and the tortilla gets good color at the bottom, probably around 3 more minutes. Serve with avocado slices.

ENJOY!

to print the recipe, click here
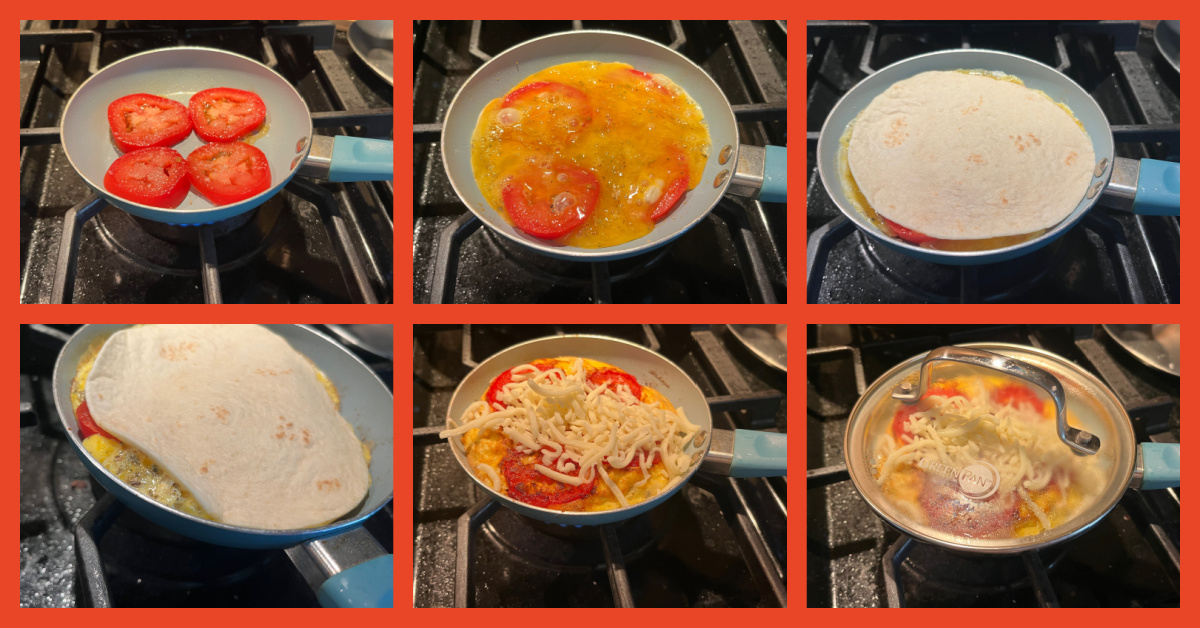
Comments: The little pan I used was an impulse buy from a while ago, I found it at our grocery store in town and could not resist it. It is 5.5 inches in diameter and worked perfectly for the small tortilla with a single egg. Visit Hungry Happens site to see a bigger version. I actually made it but prefer the small one, easier to handle and perfect as a lunch for yours truly. Next time I will use a slice of mozzarella instead of shredded because it will melt faster. Consider that if you make it.
.

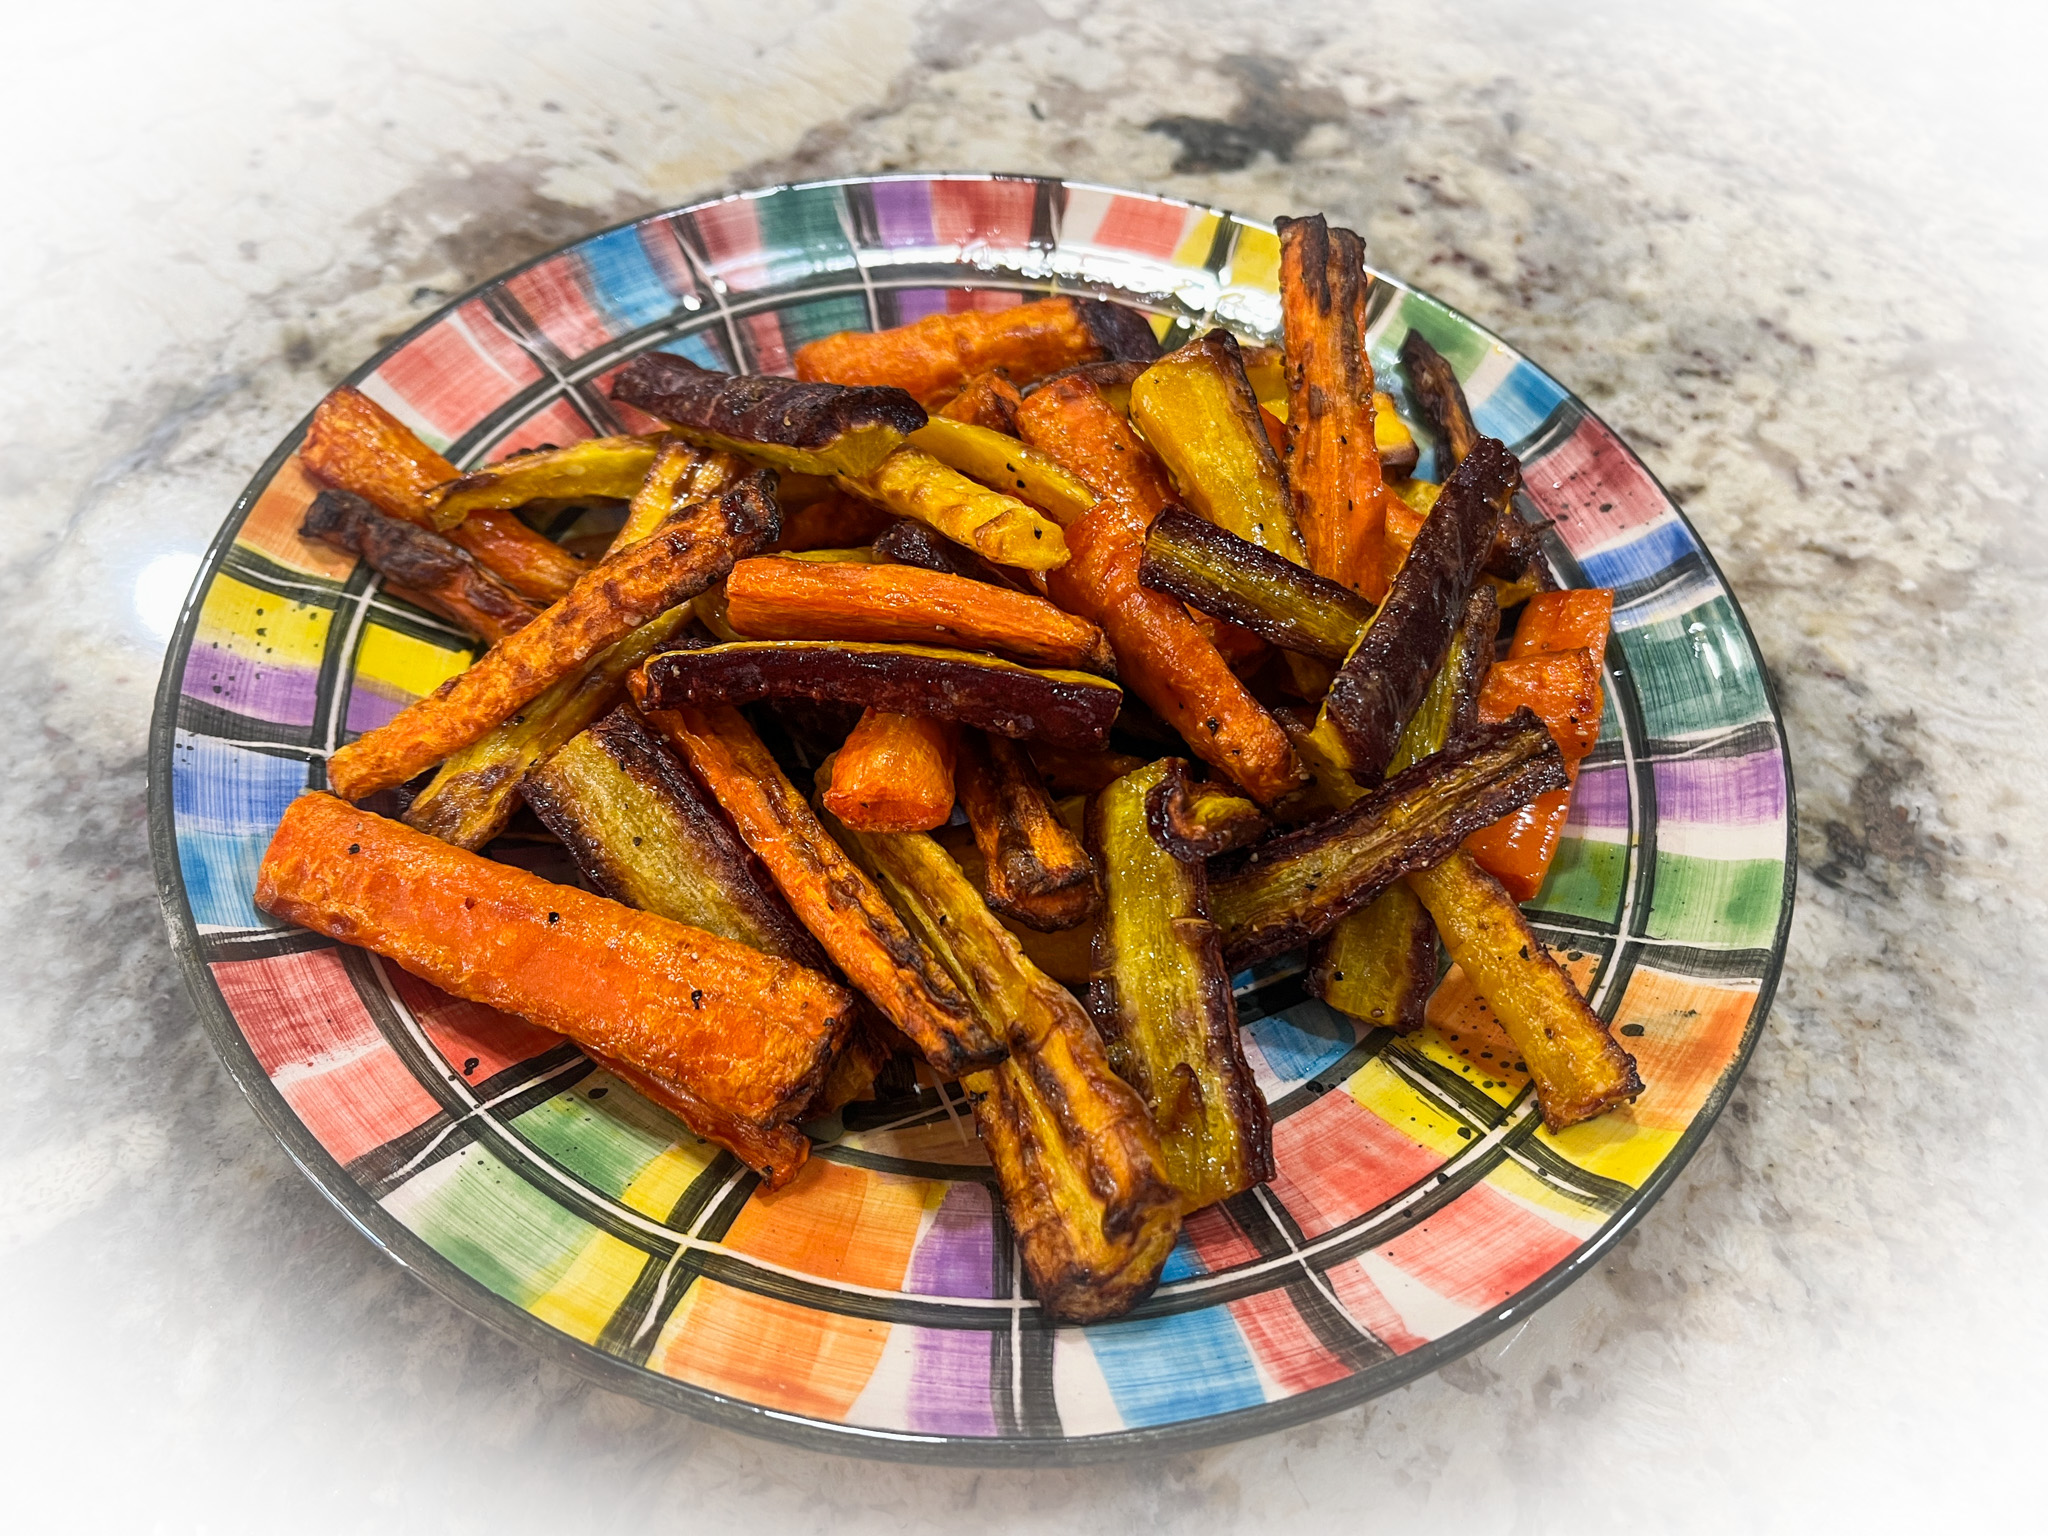
AIR-FRYED TRICOLOR CARROTS WITH ORANGE
(from The Bewitching Kitchen)

2 carrots of each color (orange, purple, yellow)
olive oil
salt and pepper to taste
squirt of fresh orange juice

Cut the carrots in sticks. Place in a bowl, drizzle olive oil to coat them well. Season with salt and pepper. Squeeze orange juice all over, and immediately air-fry at 400F until done, about 20 minutes, shaking the basket every once in a while.

ENJOY1

to print the recipe, click here
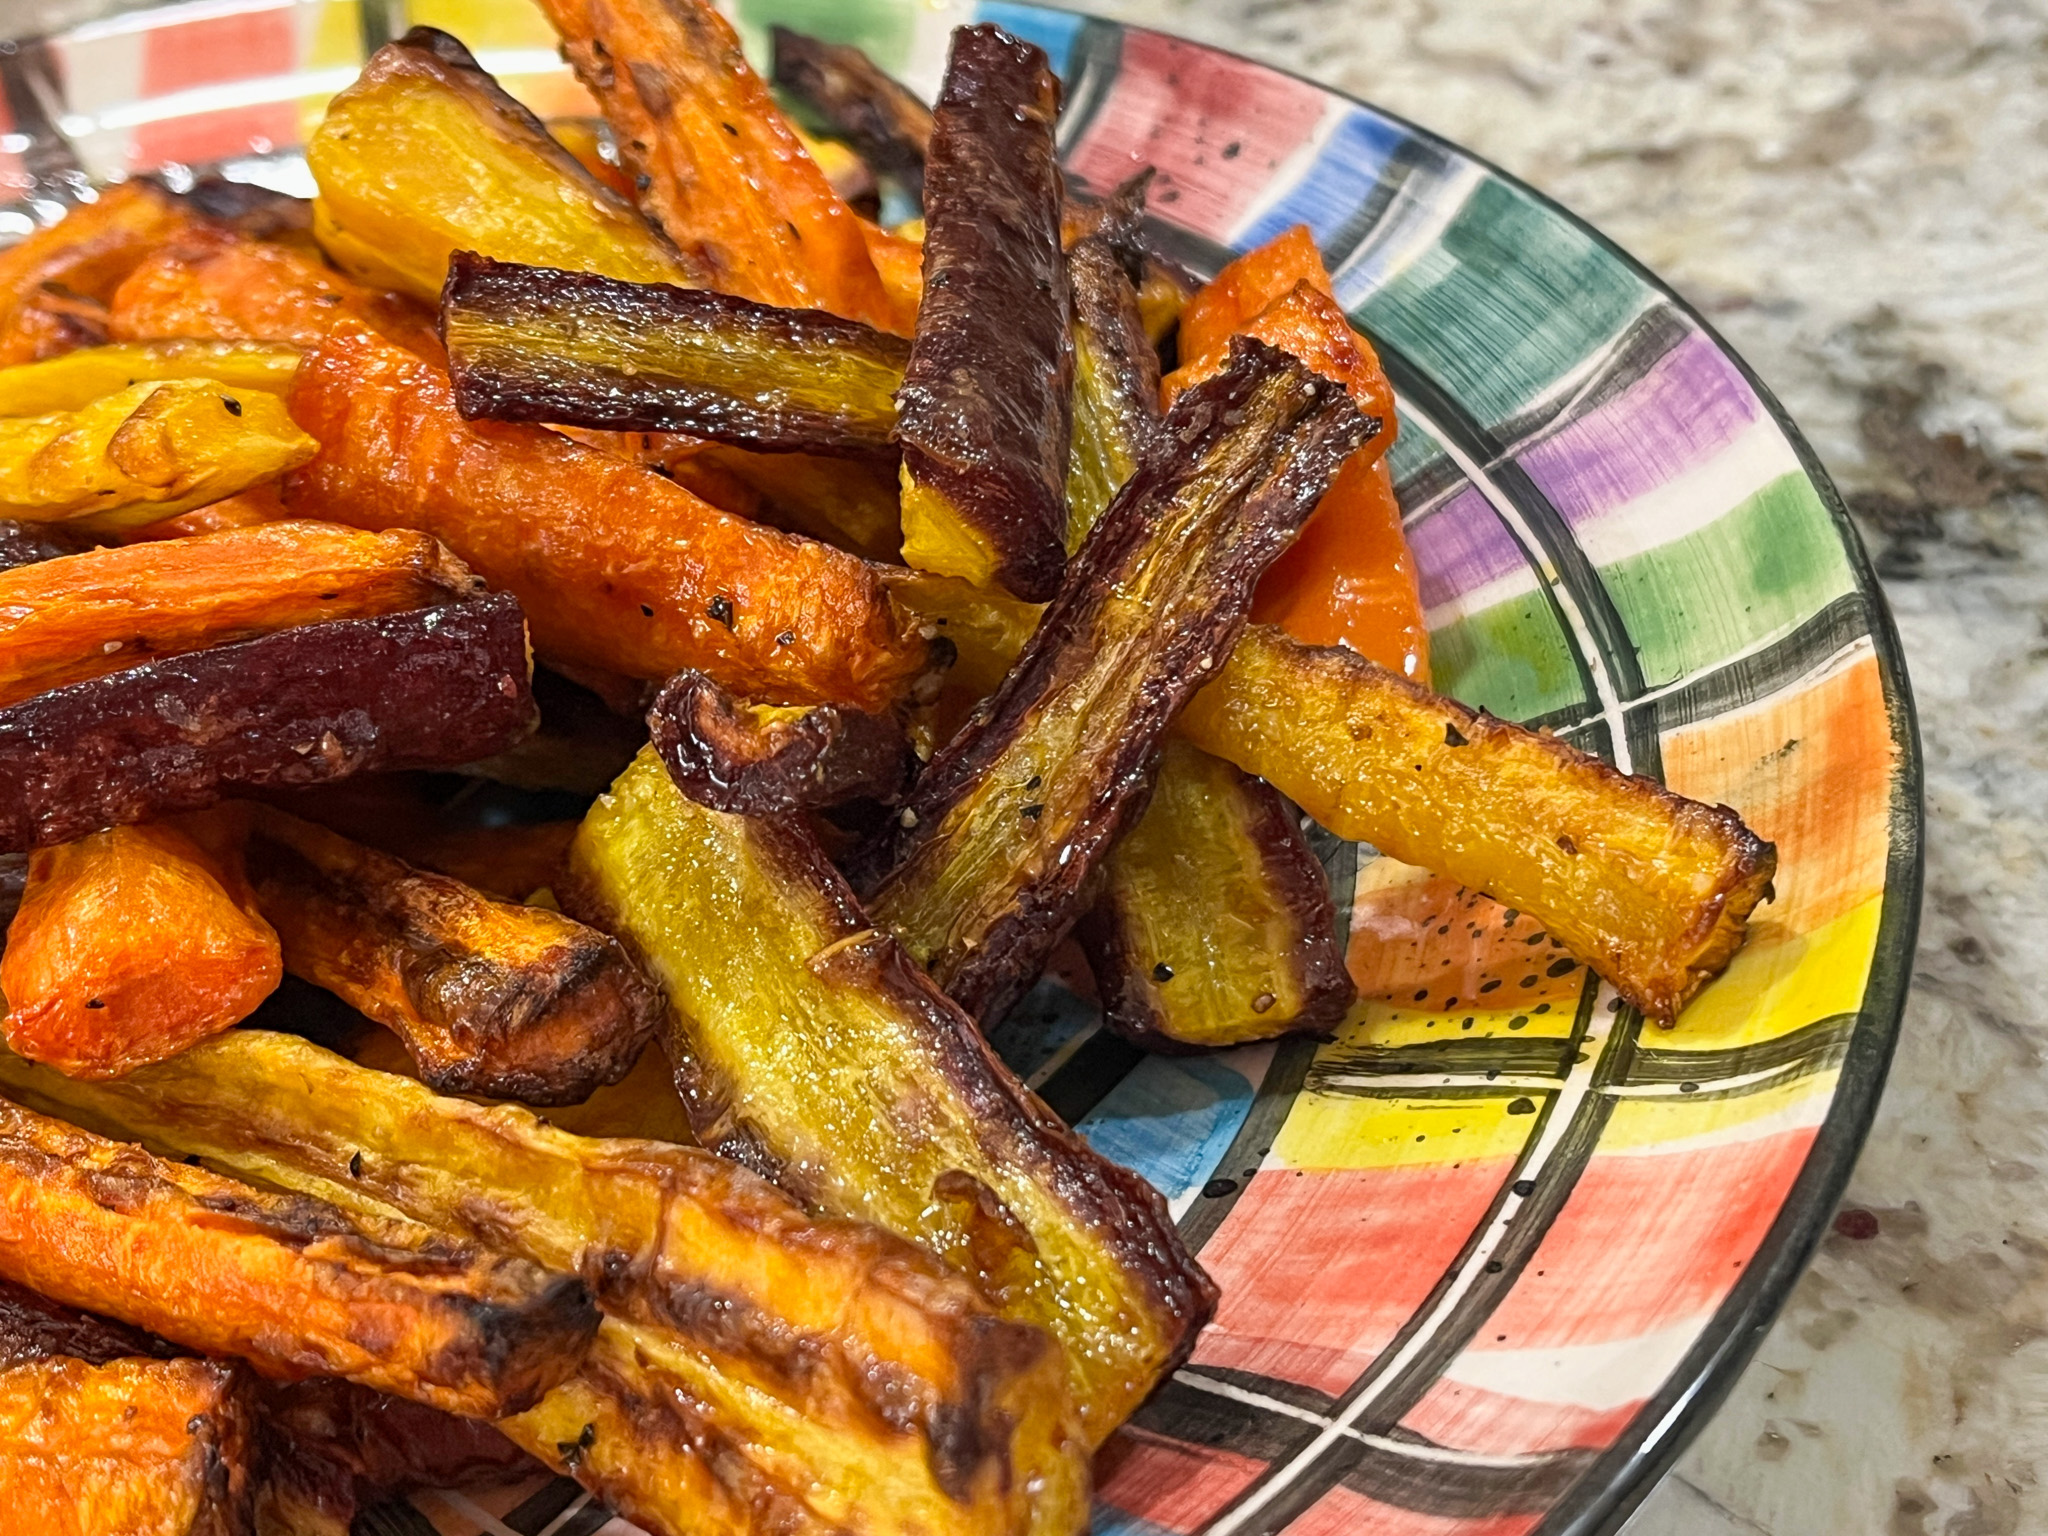
Comments: This does not get any easier… I know that people who do not own an air-fryer tend to roll their eyes to the ceiling when they read praise about it, but honestly, it is one gadget I adore ad use all the time. The dry air environment makes it cook things faster and provide a texture I prefer when compared to regular oven, especially for root vegetables. But it is also my method of choice for chicken and eggplant parmigiana. I hope you give this recipe a try, even if you have to use a regular oven. It is delicious, and yes, incredibly easy!

1 YEAR AGO: Two Incredibly Simple Recipes

2 YEARS AGO: Fitness Post, 21day Fix

3 YEARS AGO: Going Beyond Guacamole

4 YEARS AGO: A Trio of Superstars

5 YEARS AGO: Turkey Meatloaf

6 YEARS AGO: Prue Leith’s Smoked Salmon and Beetroot Blinis

7 YEARS AGO: Mandioca Frita 101

8 YEARS AGO: White Chocolate Raspberry Dome Cake

9 YEARS AGO: Blueberry Crumble Coffee Cake

10 YEARS AGO: Pickled Red Onions

11 YEARS AGO: Strawberry Chocolate Chip Cake

12 YEARS AGO: Mini-Chocolate Cheesecake Bites

13 YEARS AGO: Whole-Wheat Spaghetti with Grated Tomato Sauce

14 YEARS AGO: A Taste of Yellow to Honor Barbara

15 YEARS AGO: Gratin of Beefsteak Tomatoes

16 YEARS AGO: Tour de France Final Stage: PARIS

17 YEARS AGO: Snickerdoodles with a Twist

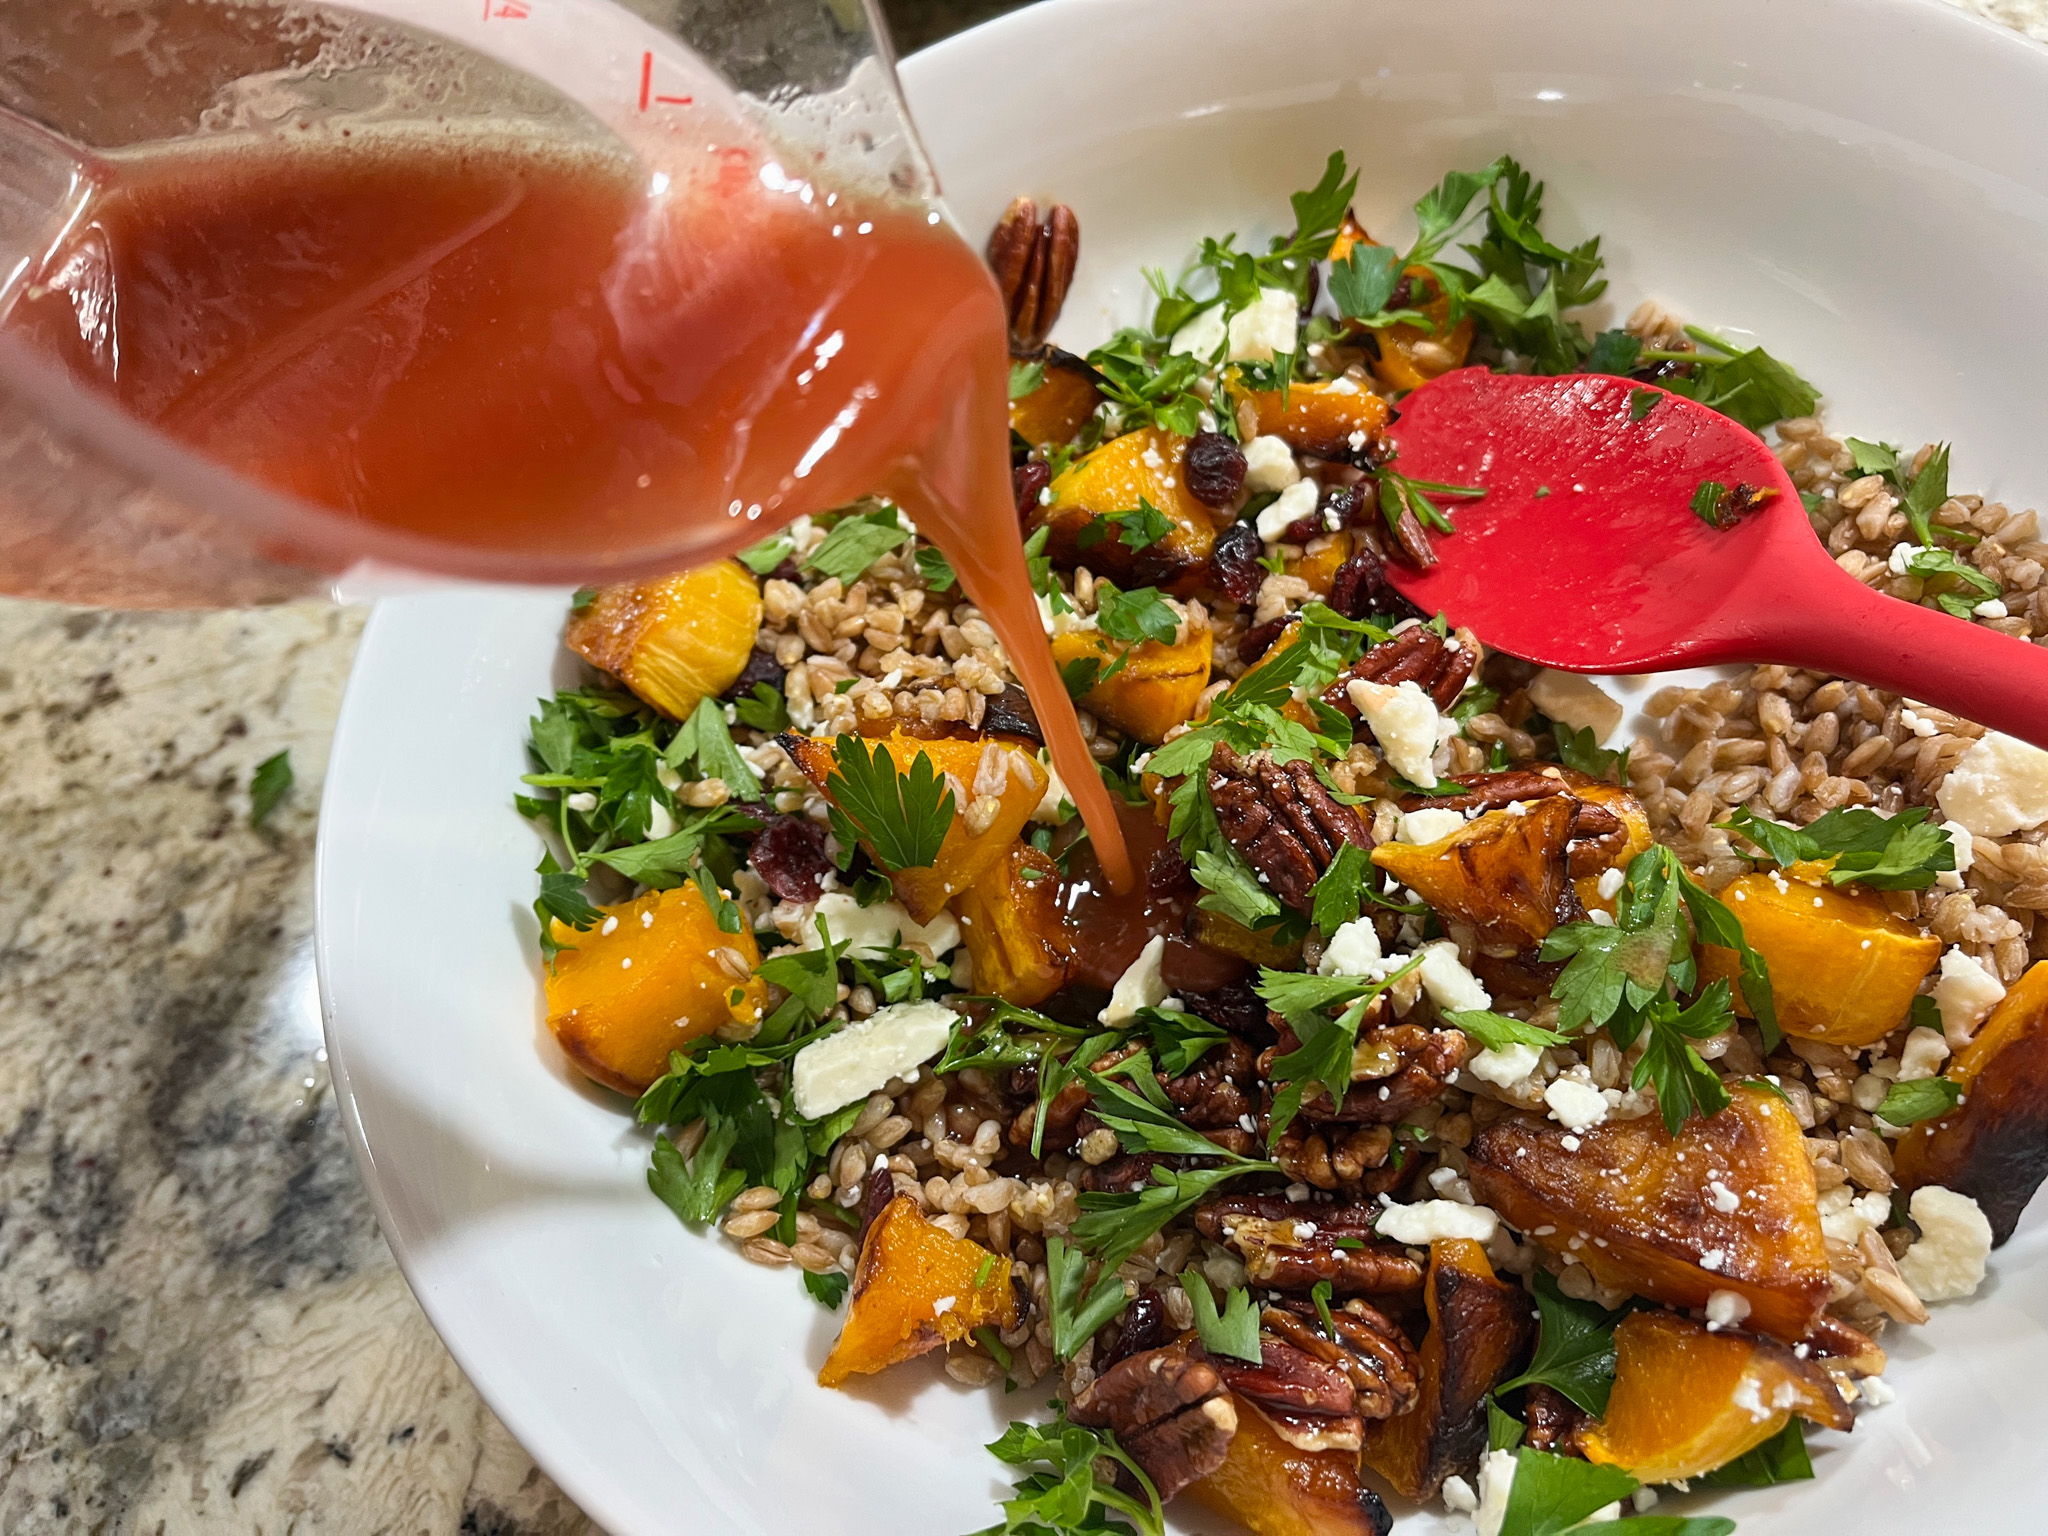
FARRO AND BUTTERNUT SQUASH WITH CRANBERRY-CINNAMON DRESSING

I adapted this recipe from a salad version published a few years ago by Jessica, from howsweeteats. Absolutely delicious, it will be part of our rotation for sure from now on. I urge you to give it a try.


FARRO AND BUTTERNUT SQUASH WITH CRANBERRY-CINNAMON DRESSING
(slightly modified from Jessica’s howsweeteats)

for the grain and squash component:
2 cups cooked farro
3 cups cubed butternut squash, cut into 1-inch cubes
1 tablespoon olive oil
kosher salt and pepper
1 cup whole pecans
1 tablespoon maple syrup
1 cup dried cranberries
feta cheese to taste, crumbled
chopped fresh parsley, to taste

for the dressing:
3 tablespoons cranberry juice
2 tablespoons red wine vinegar
1 tablespoon honey
2 teaspoona Dijon mustard
1/4 teaspoon ground cinnamon
1/4 teaspoon salt
1/4 teaspoon pepper
1/3 cup olive oil

Heat the oven to 425 degrees F. Place the squash on a baking sheet and drizzle with the olive oil. Season with salt and pepper. Roast for 20 minutes, or until slightly caramelized and fork tender. While the squash is roasting, cook the farro, or you can cook that hours in advance and warm up before assembling the dish.

Toast the pecans on a nonstick skillet over medium heat. Drizzle in the maple syrup. Cook for 2 to 3 minutes, stirring often, as the maple syrup sizzles. Spread the pecans on a sheet of parchment paper until ready to use.

Make the dressing: Whisk together the vinegar, juice, honey, mustard, cinnamon, salt and pepper. Whisk in the olive oil until emulsified. Reserve.

Place the farro in a large bowl. Toss in the roasted butternut squash cubes, the dried cranberries, feta cheese and pecans. Drizzle on a few tablespoons of the vinaigrette and mix it all well. Taste the farro and adjust seasoning, if needed. Drizzle in more of the vinaigrette, top with the fresh parsley.

ENJOY!

to print the recipe, click here


Comments: I fell in love with this recipe from the first bite and felt quite sad when I had the last one. Which, by the way, happened next day, when I polished what was left for my lunch, with a tasty fried egg on top.

Everything works, all flavors mingle together in harmony, the chew of the farro, the crunch of the pecans, the absolutely delicious dressing. Speaking of it, the dressing will be awesome on many types of salads also. This recipe is a total winner!

ONE YEAR AGO: Pasta with Shrimp in Cashew Cream Sauce

TWO YEARS AGO: Crab Cakes go Light

THREE YEARS AGO: Accordion Potatoes

FOUR YEARS AGO: Braised Lamb Shanks in Clay Pot

FIVE YEAR AGO: Cookies with a Smile

SIX YEARS AGO: Pearled Farro with Asparagus Coins

SEVEN YEARS AGO: Pistachio Caramel and Apple Mousse Cake

EIGHT YEARS AGO: Someone turns 70 today!

NINE YEARS AGO: Carioca Cake, the Final Chapter

TEN YEARS AGO: Duck Confit for a Special Occasion

ELEVEN YEARS AGO: Ken Forkish’s Warm Spot Sourdough 

TWELVE YEARS AGO: Bran Muffins, Rainbows, and a wonderful surprise!

THIRTEEN YEARS AGO: Salmon Wellington

FOURTEEN YEARS AGO: The Green Chip Alternative

FIFTEEN YEARS AGO: Weekend Pita Project

SIXTEEN YEARS AGO: Let it snow, let it snow, eggs in snow

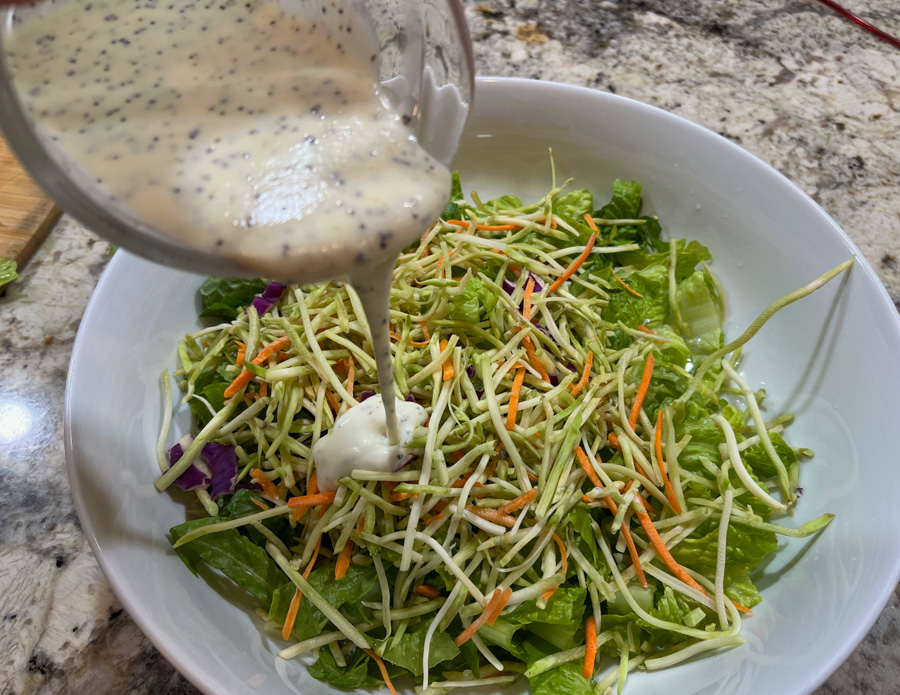
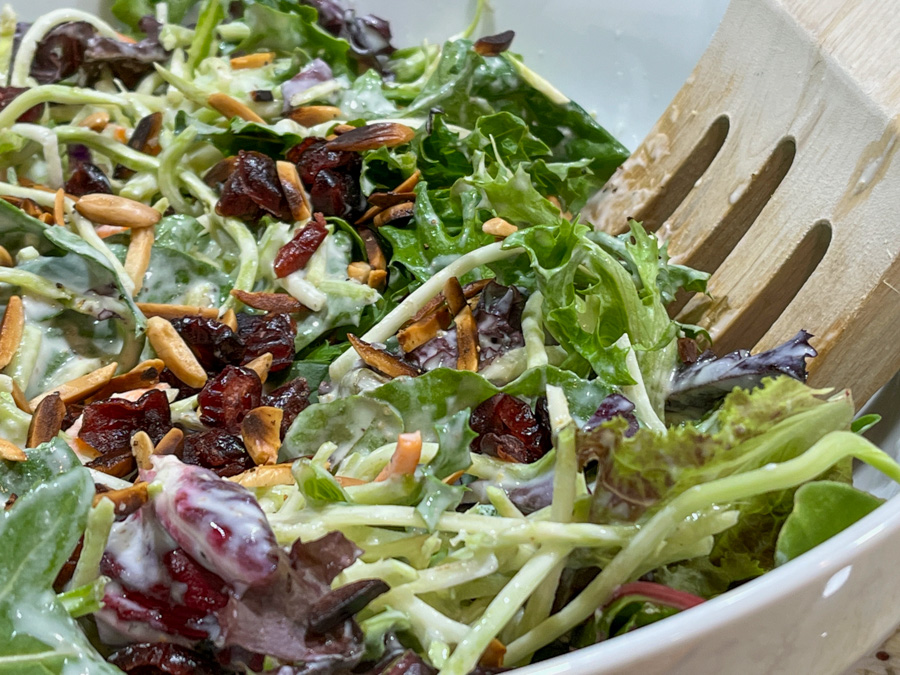
BROCCOLI SLAW SALAD WITH POPPY SEED DRESSING

Do you buy packaged broccoli slaw for a stir-fry and then find yourself with bag of leftovers sitting in the fridge and getting less and less gorgeous each day? I do. This salad came to the rescue big time. I added it to mixed baby greens, but you could use kale or Romaine lettuce instead.


BROCCOLI SLAW SALAD WITH POPPY SEED DRESSING
(from The Bewitching Kitchen)

for the salad:
3 cups greens of your choice
1 cup broccoli slaw
toasted slivered almonds
dried cranberries

for the dressing:
1/3 cup yogurt, full fat
water to thin yogurt (about 2 tablespoons)
1 tablespoon maple syrup
2 tsp apple cider vinegar
1 tsp whole grain mustard
1 tsp poppy seeds
salt to taste

Start by making the dressing, mixing all ingredients, and whisking well

Add the greens and broccoli slaw to a large serving bowl. Drizzle the dressing all over and gently mix to combine.

Top with almonds and dried cranberries, and serve, adjusting seasoning if needed.

ENJOY!

to print the recipe, click here


Comments: I made this salad twice so far. What I love about the broccoli slaw is the texture it gives, you “almost” don’t need the almonds, but then again, they do a great job intensifying the crunch factor. The amount of water is going to vary with the thickness of your yogurt. Start by thinning it until it is almost pourable, but not too liquid, as you will still add some liquid in the form of vinegar and syrup. If you use a sturdy green such as kale, the salad will stand in the fridge quite well for a day.

I enjoyed the salad with air-fried chicken parmigiana, a recipe I shared not too long ago, and you can find here.

ONE YEAR AGO: Vegan Blueberry-Lemon Cheesecake

TWO YEARS AGO: Green Tea Rice with Edamame and Butternut Squash

THREE YEARS AGO: Santa Hat Mini-Mousse Cakes

FOUR YEARS AGO: Fun with Sourdough

FIVE YEARS AGO: Pasteis de Nata

SIX YEARS AGO: New Mexico Pork Chile, Crockpot Version

SEVEN YEARS AGO: Chocolate on Chocolate

EIGHT YEARS AGO: Double Chocolate and Mint Cookies

NINE YEARS AGO: The Story of my first Creme Brulle’

TEN YEARS AGO: Sourdough Mini-rolls

ELEVEN YEARS AGO: Focaccia with Sun-dried Tomatoes and Gorgonzola

TWELVE YEARS AGO: Mediterranean Skewers

THIRTEEN YEARS AGO Fettuccine with Shrimp, Swiss Chard, and Tomatoes

INCREDIBLY SIMPLE POBLANO TAHDIG

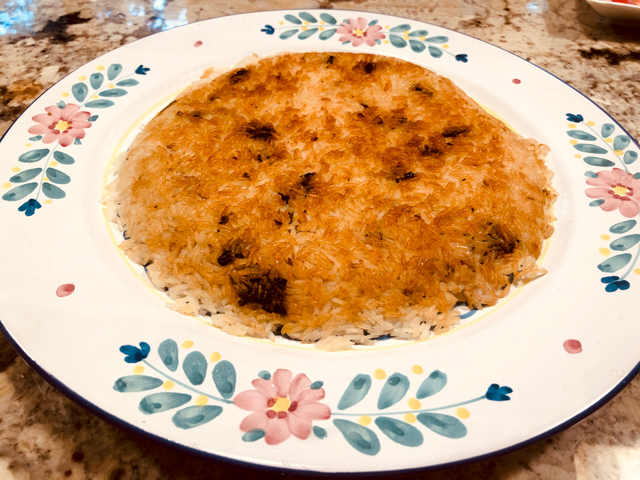
With this post I will upset a lot of people. First, by mixing a classic Middle Eastern recipe with a Mexican component. And second, by making it a much quicker version than the authentic. However, since I first made this version back in 2019, I never stopped. It is by far the most requested side dish by the resident food critic, and I adore it too. My only problem lies with that portion control thing. I tend to over-eat because it’s just too good. The basic method is the same, and to be honest I don’t even measure anything now, because it always works. This version rocked our little world.

POBLANO TAHDIG
(from The Bewitching Kitchen)

1 cup rice
3 cups lightly salted water
1 Poblano pepper, roasted with a touch of olive oil until soft
1/3 cup full-fat yogurt
1/4 tsp salt
1/4 tsp chipotle pepper (or other pepper of your choice)
drizzle of olive oil

Mix the yogurt with the poblano pepper, salt and chipotle pepper. Process with a mini-food processor until smooth. Reserve.

Cook the rice for 12 minutes in salted boiling water and immediately drain and rinse with cold water to stop cooking. Rice and yogurt mixture can sit separately for a couple of hours before continuing.

Mix the rice with the yogurt. Heat a 10-inch non-stick skillet and add olive oil, swirling around the whole surface. When the oil starts to get hot, add the rice-yogurt mixture and spread it all over the pan, smoothing the surface with a silicon spoon. Cover the rice with a paper towel moistened with water, then place a lid. Don’t worry if the lid is not totally tight.

Place on a low-burner for exactly 30 minutes. At the end of 30 minutes check to see if the bottom is golden, if not, increase the heat lightly and remove the lid. Leave it for a minute or two, should be enough to make a nice crust at the bottom. Carefully place a platter on top and invert the rice on it. Cut in wedges to serve.

ENJOY!

to print the recipe, click here

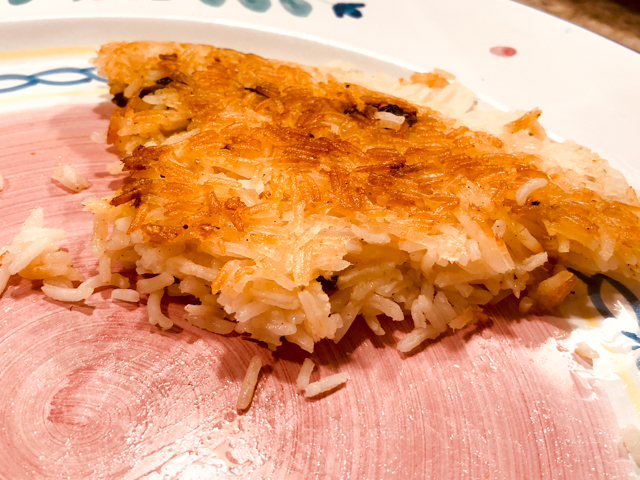
Comments: The above picture shows what was left once we finished our dinner. We could have inhaled it all, but I decided to consider my lunch next day. If you are a rice lover, please try this method. And now that we loved the poblano version so much, I have plenty of other variations to try. The only thing to keep in mind is under-cooking the rice in the beginning, and choosing a skillet that is right for the amount of rice you have. For 1 cup dry rice, the 10-inch skillet is perfect. Thirty minutes on low-heat. DONE.

ONE YEAR AGO: Roasted Green Beans and Tomatoes with Tahini Sauce

TWO YEARS AGO: Brazilian Pao de Queijo 

THREE YEARS AGO: The Chignon

FOUR YEARS AGO: Rack of Lamb Sous-Vide with Couscous Salad

FIVE YEARS AGO: Focaccia with Grapes, Roquefort and Truffled Honey

SIX YEARS AGO: Moroccan Carrot Dip over Cucumber Slices

SEVEN YEARS AGO: White Chocolate Macadamia Nut Cookies

EIGHT YEARS AGO: Cilantro-Jalapeno “Hummus”

NINE YEARS AGO:A Moving Odyssey

TEN YEARS AGO:Hoegaarden Beer Bread

ELEVEN YEARS AGO:
 
Ancho-Chile Marinade: Pleased to Meat you!

TWELVE YEARS AGO: Shrimp Moqueca

HONEYED JALAPENOS ON SPELT PIZZA

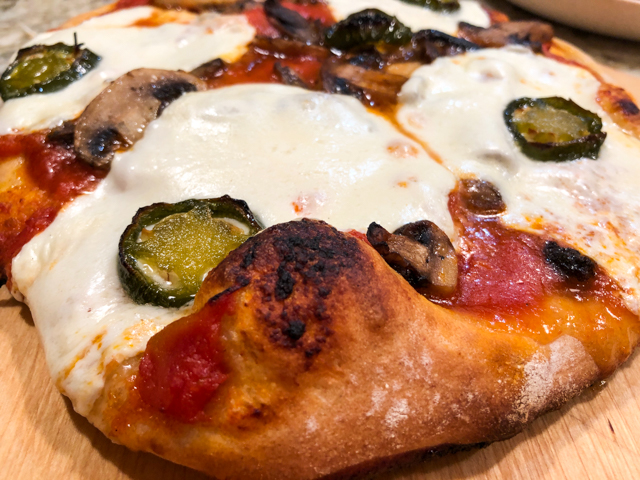
This could very well go in the Incredibly Easy files, or in the “Follow Joanne” files, as once again I trusted her tastebuds and made a very simple ingredient she raved about: honeyed jalapenos. There is absolutely nothing to it. You slice jalapenos, add them to honey, boil gently until they start to get all mushy and a bit darker. Let it cool. Your job is done. They topped a simple veggie pizza and we both could not believe how much flavor and pleasure they brought to the party.

SPELT PIZZA DOUGH
(adapted from this post)

1 package (2 + 1/4 tsp) active dry yeast
1 +1/2 cups very warm water (110F)
14 ounces all purpose flour
4 ounces spelt flour
(total flour amount about 4 cups)
1 + 1/2 t salt
2 T olive oil

Measure the water in a pyrex bowl, sprinkle the yeast on top, and mix gently to dissolve. Add the flours and salt to the bowl of a food processor and process for a few seconds to mix well.  With the processor running, add all the water/yeast mixture. Process for about 5 seconds, open the lid and add the olive oil.  Close the processor again and mix for about 20 seconds longer.  You want the dough to form a tacky ball, but don’t over process it or it may get too hot.

Remove the dough from the processor, knead it a few times by hand and form a ball. If you want to make a  large pizza, leave it whole. If you want to make individual pizzas, quarter it, place them in a large plastic bag and refrigerate until ready to use (from a few hours to a couple of days).

Remove the dough from the fridge 1 hour before shaping the pizzas.  Roll it out with a floured rolling pin, top with your favorite home-made tomato sauce, and the toppings of your choice.

HONEYED JALAPENOS
(slightly modified from Joanne’s blog)

1/2 cup honey
2 jalapenos, sliced thin

Add the honey to a small saucepan. Place the jalapeno slices, seeds and all inside. Bring to a boil, cook a few minutes, stirring constantly. Pay attention because the honey tends to boil furiously and rise up in the pan. You might have to remove the pan from the heat, let it calm down and simmer it again. Cook until the jalapenos get soft and a little darker. Remove from heat, let it cool. Use the slices to top your pizza, drizzle the spicy honey on top too.

ENJOY!

to print the recipes, click here

Comments: If you are not a pizza person (is there such a thing?), I still urge you to make these jalapenos and use them in other ways. Over mashed cauliflower, with rice and beans, and also you can process one little slice, some of the honey, and incorporate in a salad dressing. As to the spelt pizza, I advise you not to use more than 25% of spelt in your recipe, as it changes the texture a bit, it will be less airy than a pizza made with all-purpose flour only. I do love the flavor and the slightly denser texture. You can always use my original recipe (blogged in 2009) if you prefer.

Joanne, thanks for another winner recipe!


ONE YEAR AGO: Bulgur and Chickpea Salad with Pomegranate Seeds

TWO YEARS AGO: Purple Star Macarons

THREE YEARS AGO: Smoked Salmon, Fait Maison

FOUR YEARS AGO: Kouign-Amann, Fighting Fire with Fire

FIVE YEARS AGO: In My Kitchen, Yin and Yang

SIX YEARS AGO: Chocolate Toffee Banana Bread

SEVEN YEARS AGO: In My Kitchen, June 2014

EIGHT YEARS AGO:  Strawberry Frozen Yogurt

NINE YEARS AGO: Baked Coconut and “The Brazilian Kitchen”

TEN YEARS AGO: Honey-Glazed Chicken Legs

ELEVEN YEARS AGO: French-Style Rolls