Another intriguing recipe published by my friend Josette, that I knew I had to make right away. It took me just the time to order a special curry powder online, once it arrived I went to work.

JAPANESE VEGETARIAN CURRY
(slightly modified from thebrookcook)
3 T vegetable oil, divided
8 oz mixed mushrooms, torn or sliced into 2″ pieces
Kosher salt and freshly ground pepper
1 shallot, minced
2 large carrot, peeled, sliced on a diagonal 1/2-inch thick
2 celery stalks, sliced on a diagonal 1/2-inch thick
1 (1 1/2-inch) piece ginger root, peeled, finely chopped
6 cups vegetable broth
2 cups butternut squash, peeled, cut in 1-inch pieces
1 sweet potato, peeled, cut in 1-inch pieces
For the curry roux:
2 T unsalted butter
2 T olive oil
4 T all-purpose flour
3 T S&B curry powder
1 tsp garam masala
parsley leaves to taste
1 T honey
Heat 2 tablespoons of the oil in a large pan over medium to medium-high. Cook mushrooms, tossing occasionally, until golden brown, about 5 minutes; season with salt and pepper. Transfer to a small bowl; reserve pan.
Heat remaining tablespoon of oil in reserved pan over medium. Add shallot, carrot, and celery and season with salt and pepper. Cook, stirring occasionally, until vegetables are slightly softened and onion is translucent, 6–8 minutes. Add ginger and cook, stirring, until fragrant, about 2 minutes. Pour in broth and bring to a boil.
Reduce heat and add butternut squash, sweet potato and mushrooms; simmer gently until liquid is reduced by a third and vegetables are very tender, about 25 minutes.
While the sauce is reducing, make the curry roux. Melt butter and oil in a small pan over medium heat. Whisk in flour and cook, whisking often, until roux is light golden brown, 5–8 minutes. Stir in curry powder and garam masala and cook, stirring, until very fragrant, about 1 minute. Remove from heat; set curry roux aside.
Once the sauce has reduced and the vegetables are tender, whisk in honey and reserved curry roux until incorporated and roux is lump-free. Simmer, whisking occasionally, until sauce is thick enough to coat the back of a spoon, 5–10 minutes.
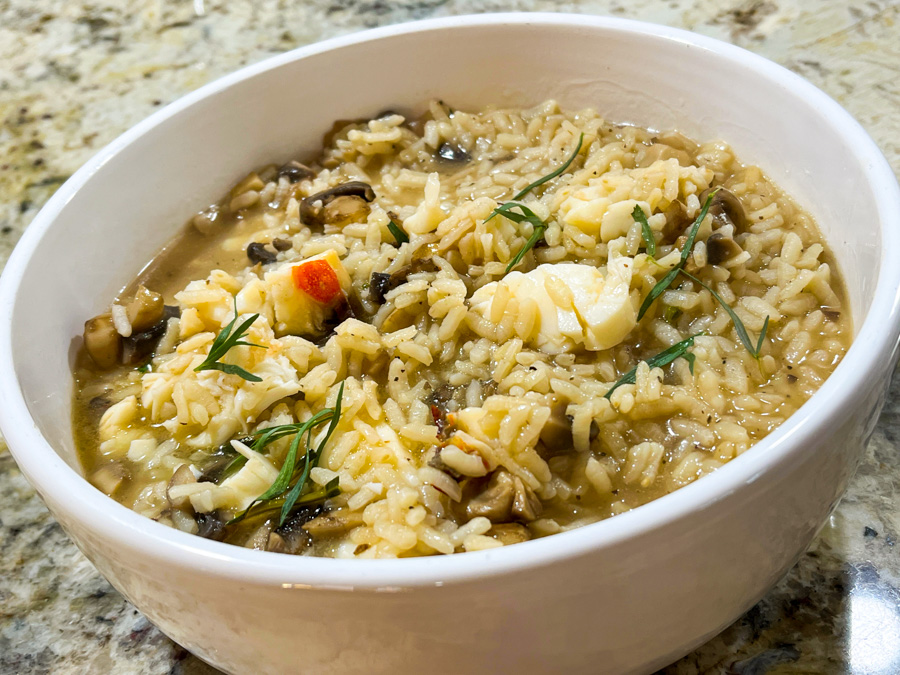
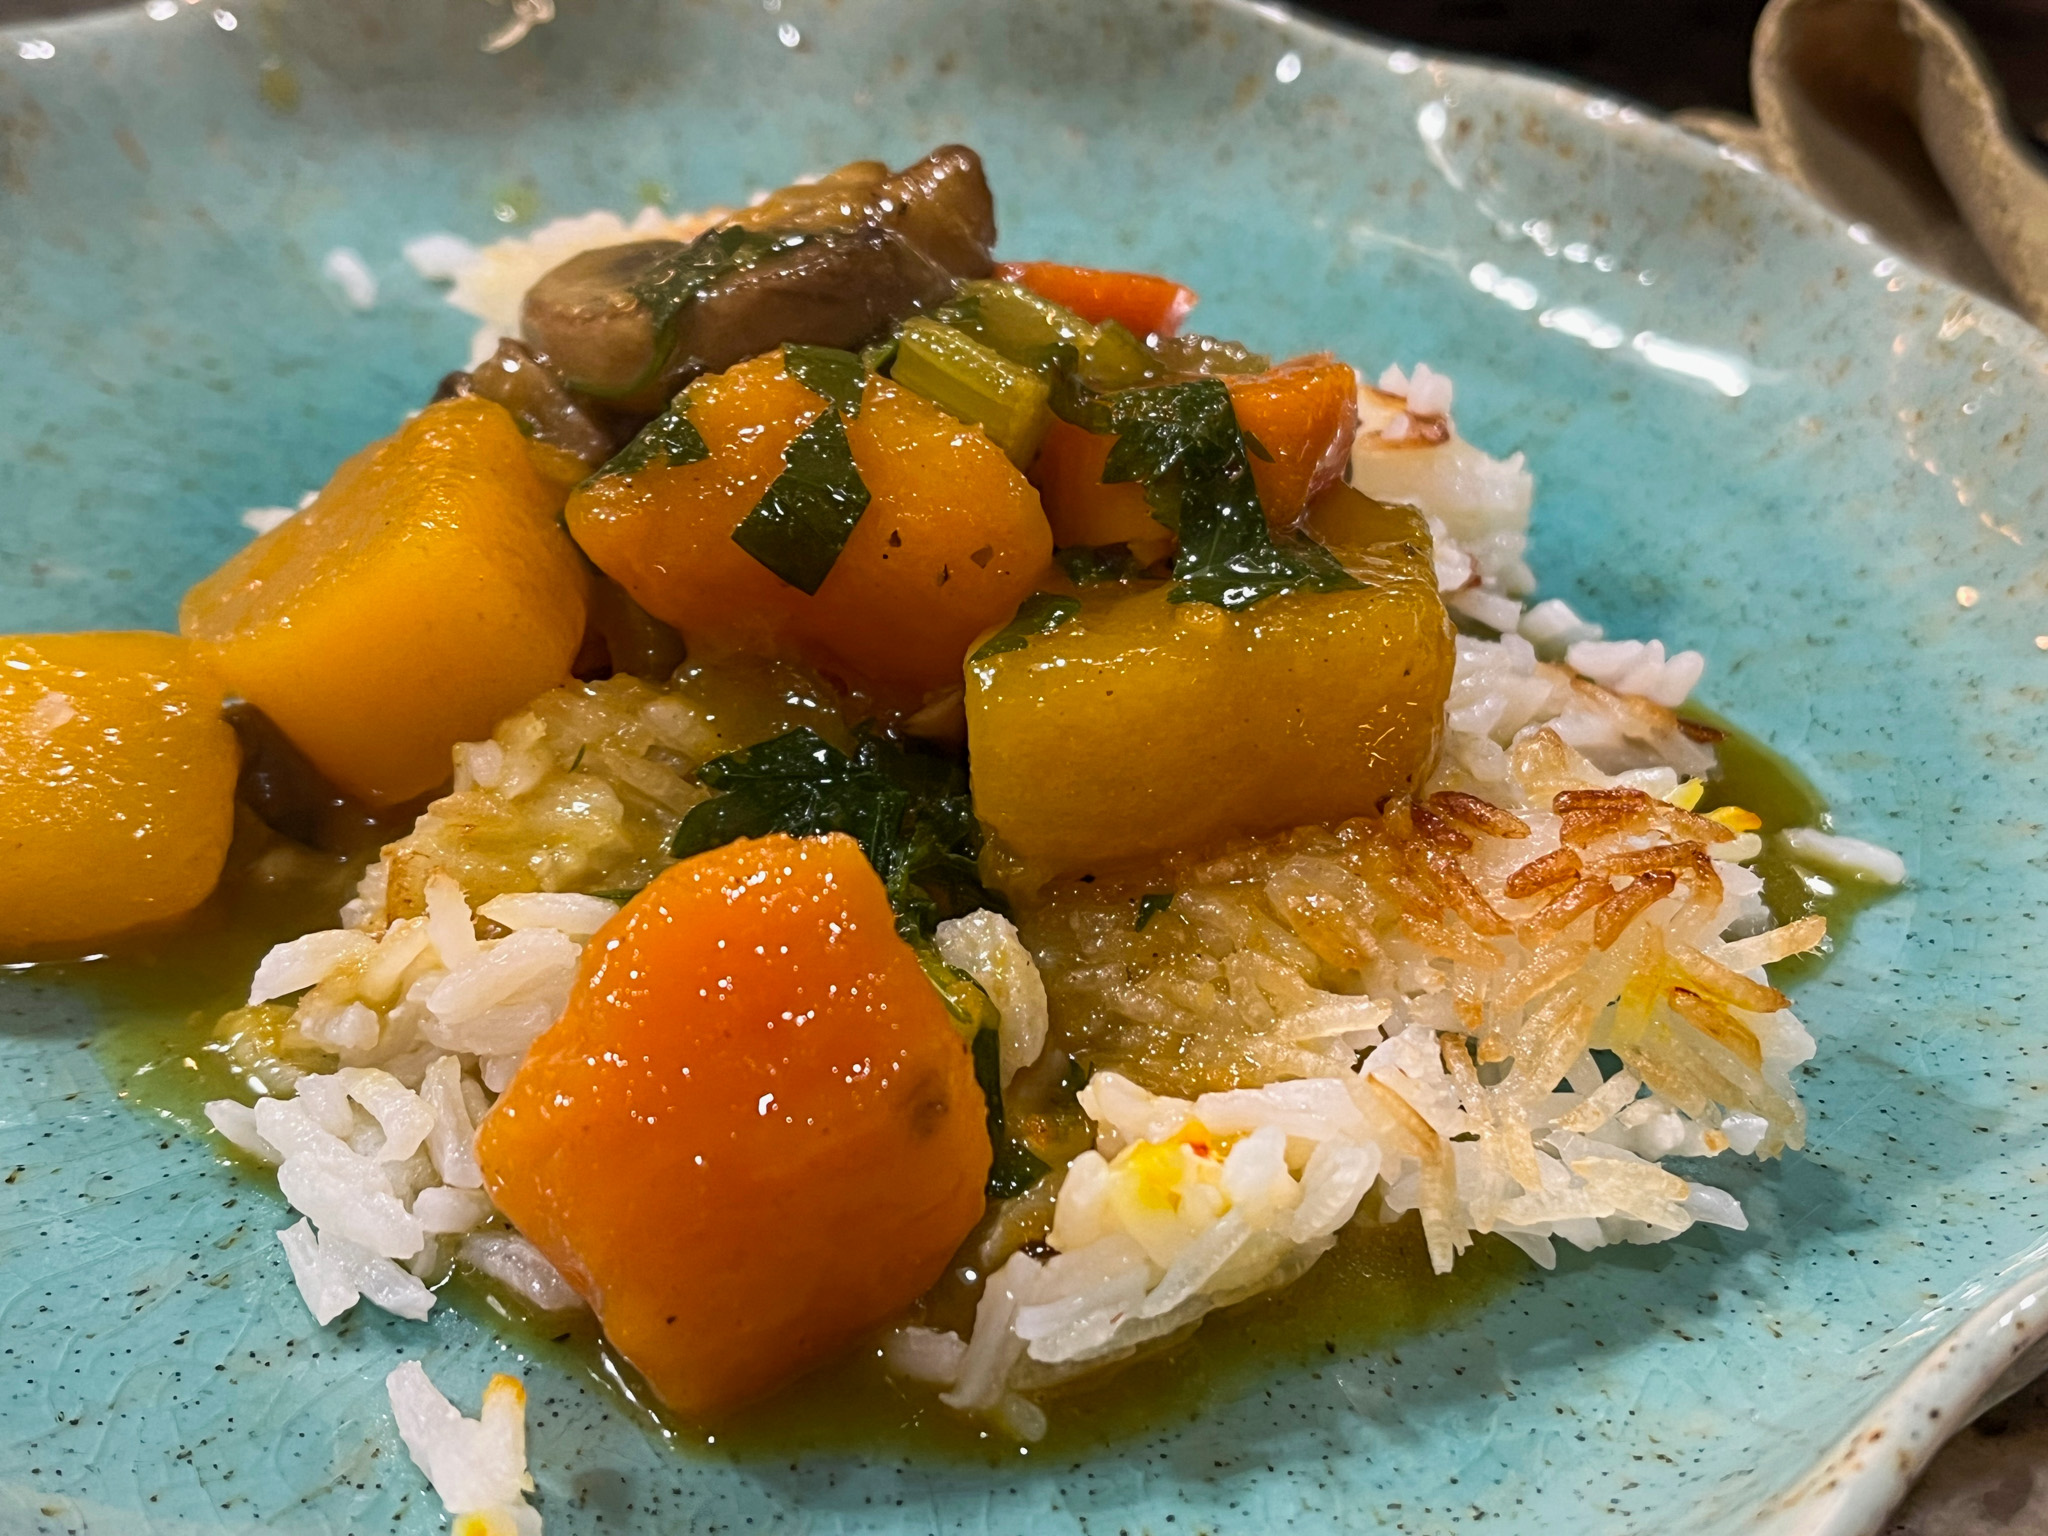
Serve over rice or the side dish of your choice.
ENJOY!
to print the recipe, click here

Comments: I love getting to experiment with new ingredients, and once I realized that this curry powder would be key for the traditional flavor, I had to order it. It is a mild curry, but indeed very flavorful. I was pleasantly surprised by the smell once I opened the tin. You can make the whole dish in advance and maybe thicken it with the roux right before serving. I omitted garlic, which you should add if you like, and I took the liberty of adding some parsley in the very final moments of simmering. We had it over tahdig rice (my quick version that I make often), and it was a great diner for a rainy Saturday dinner. In which Halloween was over, but election anxiety was at its highest. Go out and vote, make your voice heard!
Thank you, Josette!
ONE YEAR AGO: Butter Chicken Meatballs
TWO YEARS AGO: Lace-Decorated Sourdough
THREE YEARS AGO: Incredibly Simple Carrots
FOUR YEARS AGO: Sarah Bernhardt’s Cookies
FIVE YEARS AGO: A Really Big Announcement
SIX YEARS AGO: Stir-Fried Chicken in Sesame-Orange Sauce
SEVEN YEARS AGO: Monday Blues
EIGHT YEARS AGO: A New Way to Roast Veggies
NINE YEARS AGO: Two Takes on Raspberries
TEN YEARS AGO: Spice Cake with Blackberry Puree
ELEVEN YEARS AGO: Own Your Kitchen with Cappuccino Panna Cotta
TWELVE YEARS AGO: Chicken Parmigiana, the Thriller
THIRTEEN YEARS AGO: Wild Mushroom Risotto
FOURTEEN YEARS AGO: Tartine Bread: Basic Country Loaf
FIFTEEN YEARS AGO: Pugliese Bread