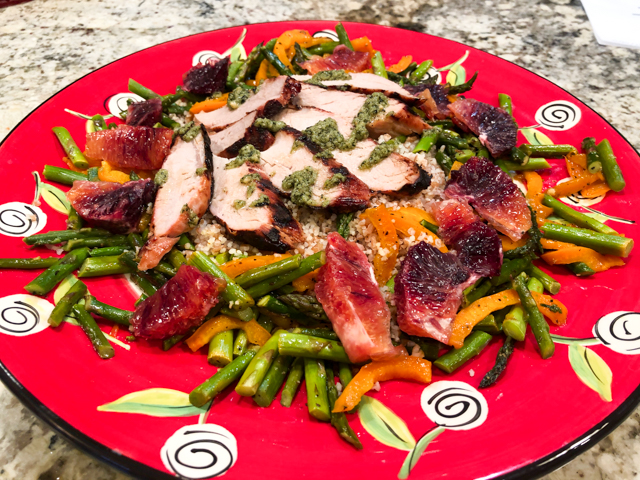
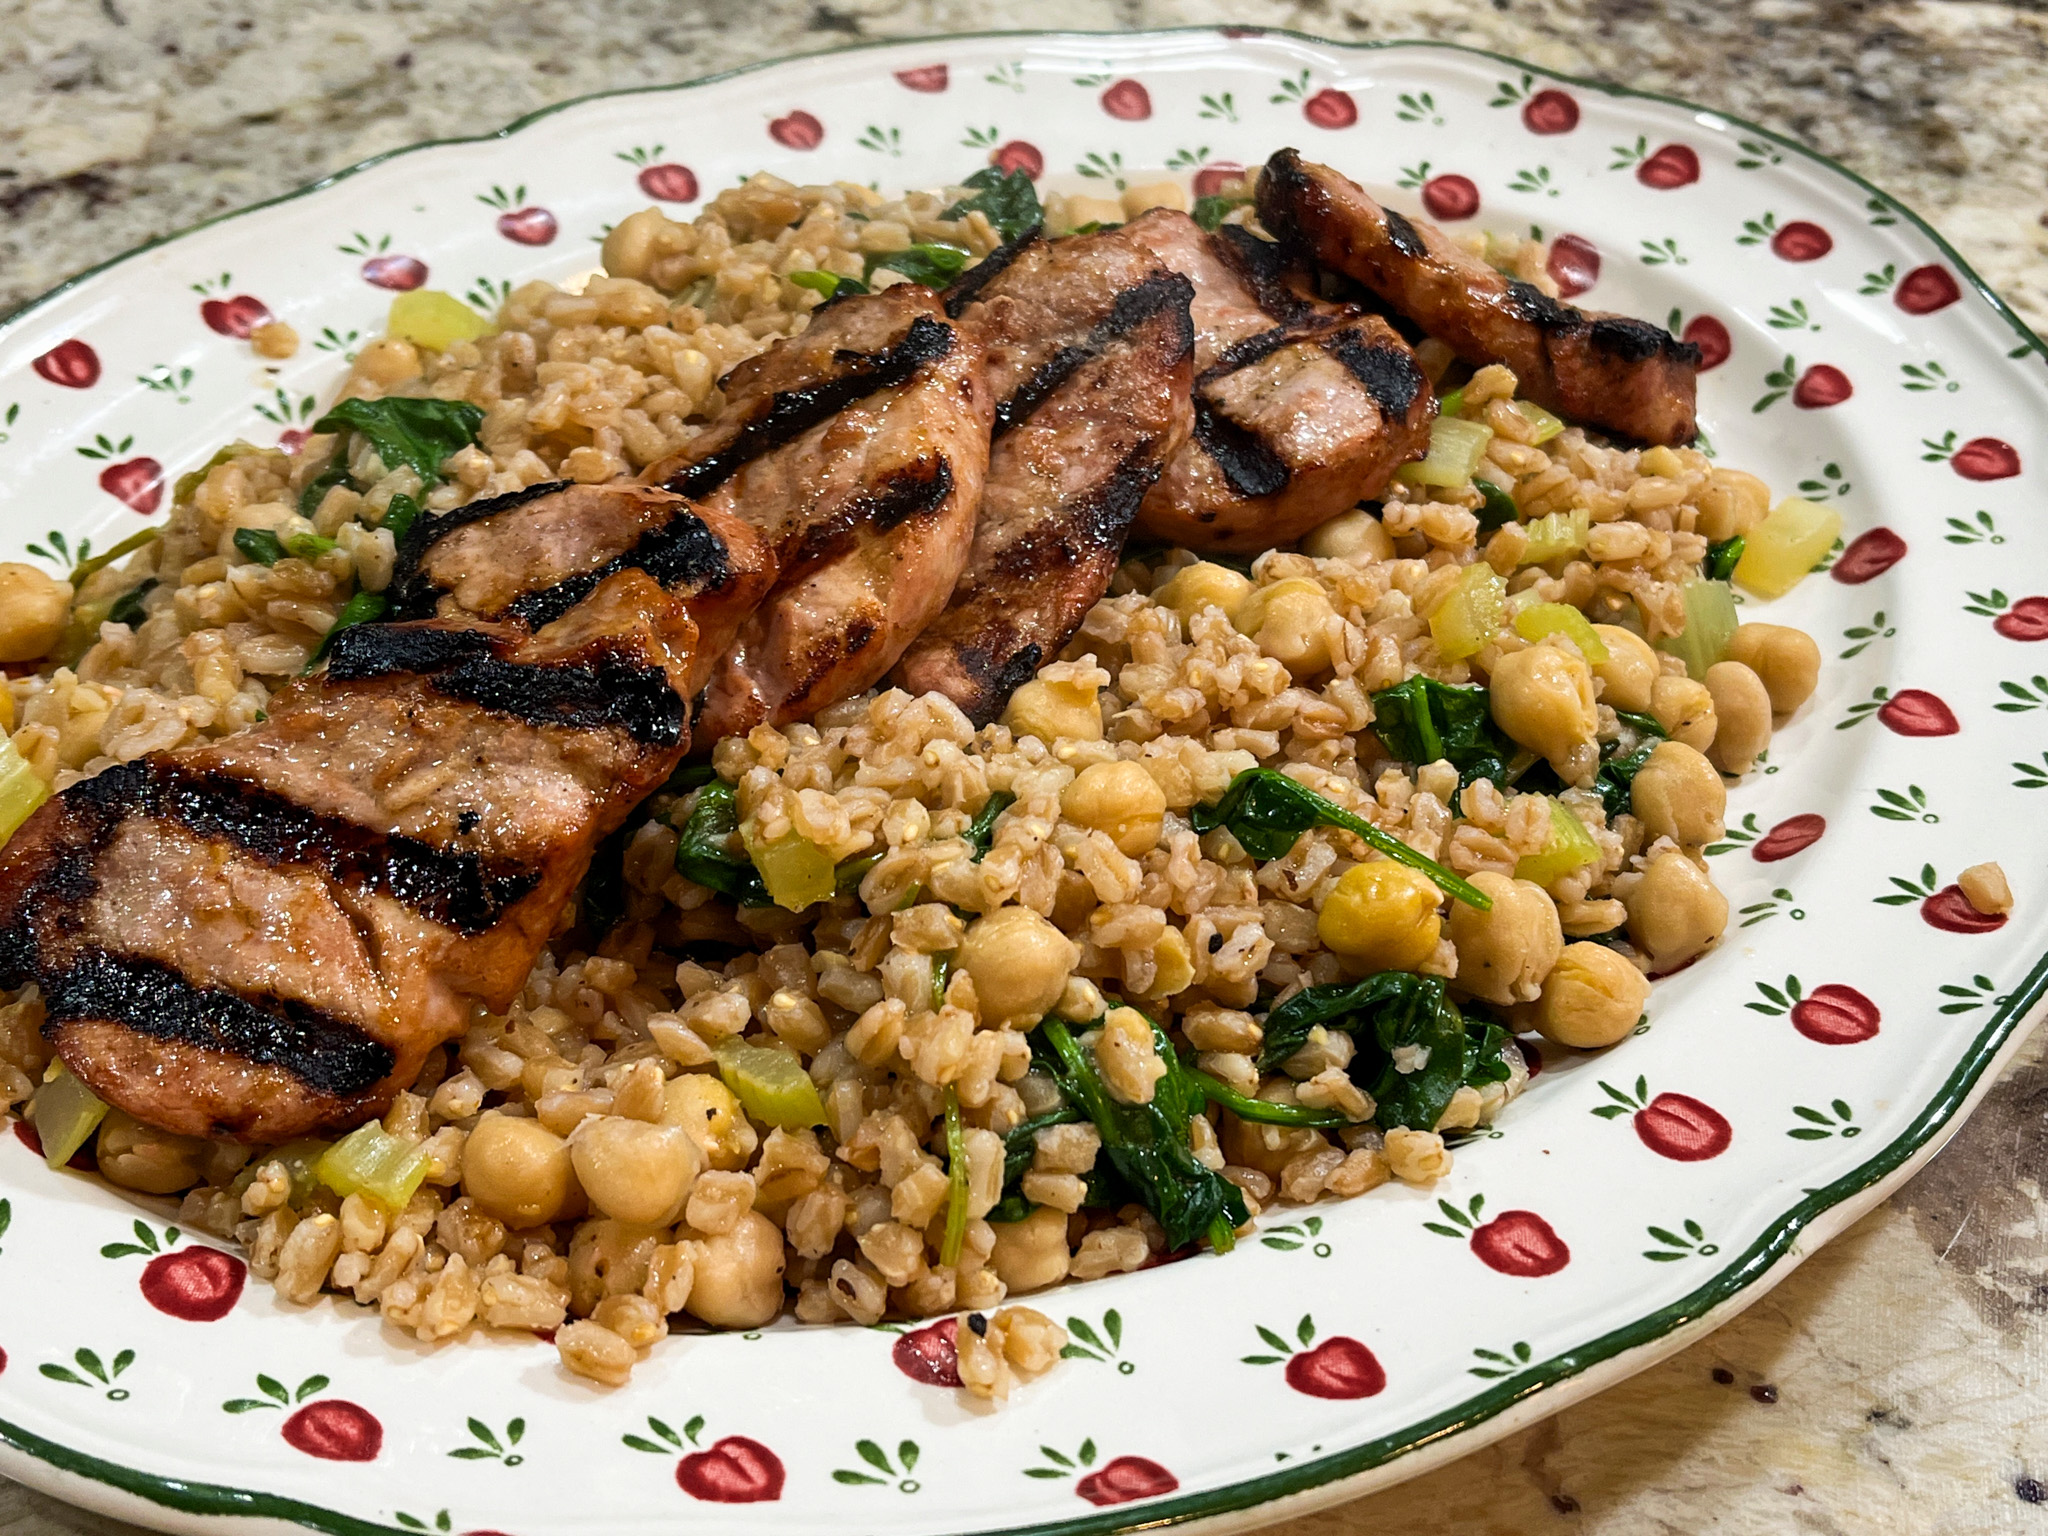
Lovers of farro, rejoice! This is a hearty side dish that might even be enough for a fully vegetarian meal and also perfect for entertaining. We enjoyed it with grilled pork tenderloin and it was a great midweek dinner.

FARRO WITH CHICKPEAS AND SPINACH
(from The Bewitching Kitchen)
1.5 cups farro
2 celery sticks, sliced 1/4 inch thick
1 shallot, diced
2 tablespoons olive oil
½ teaspoon table salt
2 tsp za’atar
1 (15-ounce) can chickpeas, rinsed
1/2 cup vegetable broth
1/2 cup water
4 cups baby spinach, coarsely chopped
lemon juice to taste
Cook the farro in a large volume of salted water until it starts to get soft, about 20 minutes. Drain, and reserve.
Heat the olive oil in a large saucepan, add celery and shallots, cook until fragrant. Add a little salt, za’atar, sauté everything together for a couple of minutes, stirring often. Add the reserved cooked farro, chickpeas, vegetable broth and water, season with salt, bring to a gentle boil. Reduce the heat and cook until farro is tender, about 15 minutes. If there is too much liquid left, allow it to simmer for a few more minutes. Add the spinach, adjust seasoning with more salt if needed, and right before serving, add the lemon juice. Fluff with a fork and serve.
ENJOY!
to print the recipe, click here
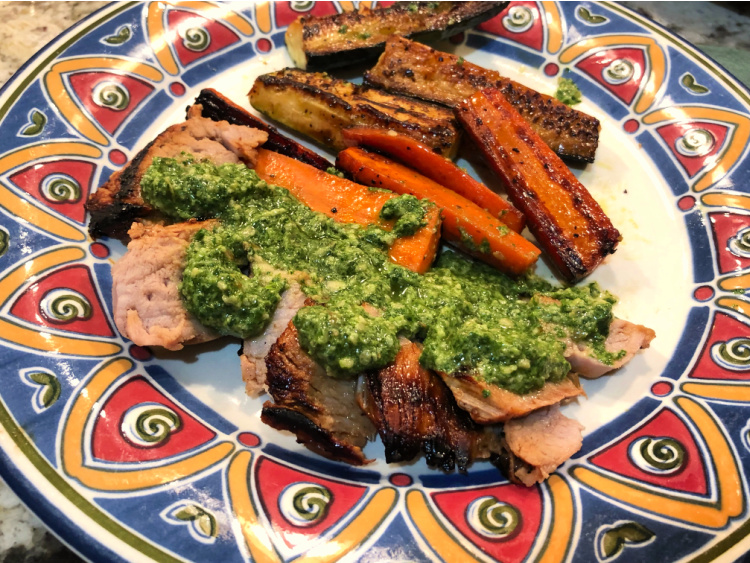
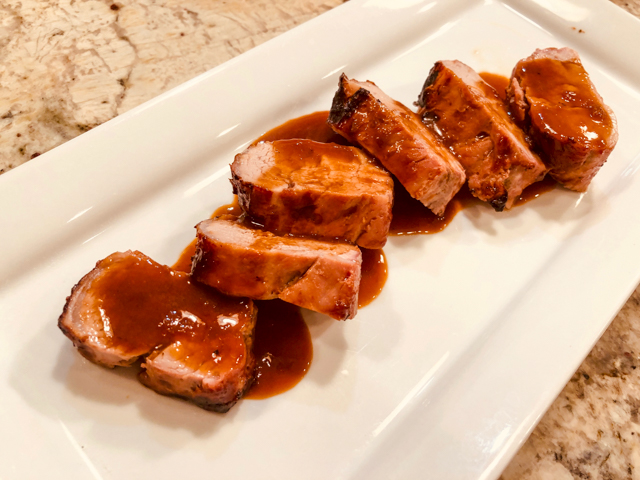
Comments: Farro takes a bit of time to cook and also I find that each new bag might behave differently. Also make sure that for this preparation you don’t buy a quick cooking version, although if might work if you simply skip the pre-cooking step. Keep in mind I have not tried it with the quick cooking kind. I normally cook farro as I cook pasta, plenty of water, then test a few grains and stop cooking when ready. In this case, I make sure it is still al dente as it will cook with everything else for 15 more minutes. If you are interested in the pork tenderloin, it is almost a non-recipe. I eye-ball a marinade whisking olive oil, soy sauce (I actually used tamari in this one), lemon juice, honey, a touch of mustard. Cut the pieces, marinade whole day in the fridge. Grill the pieces about 12 minutes total, seasoning with a little salt right before grilling. I do it all the time, sometimes with butterflied tenderloin.
ONE YEAR AGO: Bison a la Mode de Bourgogne
TWO YEARS AGO: Masala Mashed Potatoes
THREE YEARS AGO: Lessons from Tanya: Sugar Cookie Silhouettes
FOUR YEARS AGO: Cherry-Chipotle Chicken Thighs
FIVE YEARS AGO: White Chocolate Mini-Mousse with Sugared Cranberries
SIX YEARS AGO: You Say Ebelskiver, I say Falafel
SEVEN YEARS AGO: Happy Thanksgiving!
EIGHT YEARS AGO: Two Takes on Raspberries
NINE YEARS AGO: Spice Cake with Blackberry Puree & The Global Pastry Review
TEN YEARS AGO: Own Your Kitchen with Cappuccino Panna Cotta
ELEVEN YEARS AGO: Chicken Parmigiana, the Thriller
TWELVE YEARS AGO: Wild Mushroom Risotto
THIRTEEN YEARS AGO: Tartine Bread: Basic Country Loaf
FOURTEEN YEARS AGO: Pugliese Bread