The husband brought home a humongous lobster tail the other day (pictured in the end of this post), he grilled it for our dinner but we still had a substantial amount of lobster meat leftover. Next day, I brought it back in risotto form, and used one of my favorite methods to make it: the pressure cooker (for a flash back, click here). Not traditional, not authentic, but trust me, works like a charm!
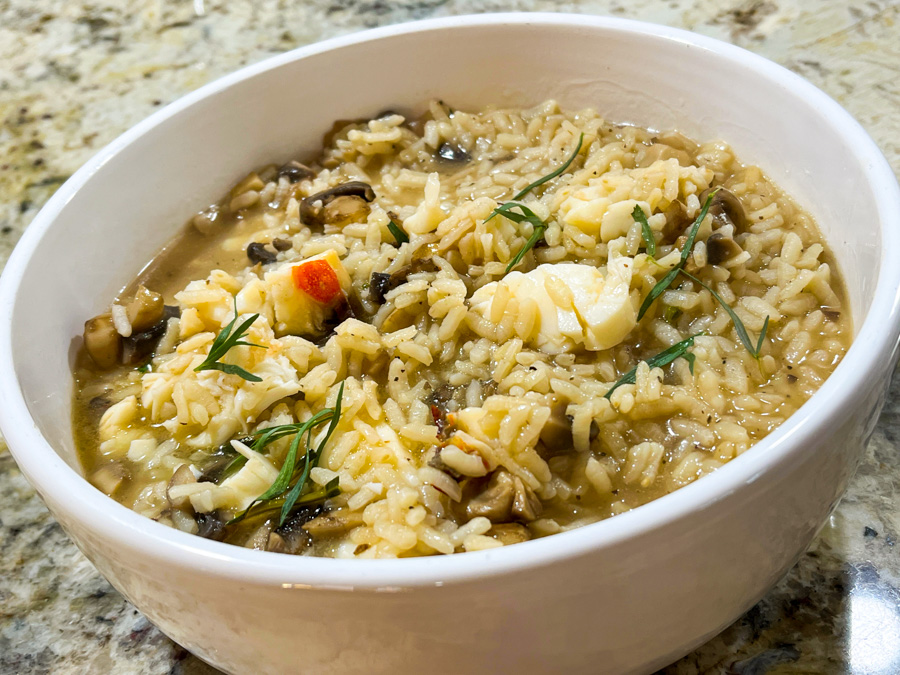
LOBSTER RISOTTO WITH MUSHROOMS AND TARRAGON
(from The Bewitching Kitchen)
8 ounces Cremini mushrooms, cleaned and cut in small pieces
3 tablespoons olive oil
1 tablespoon butter
1 large celery stick, diced
1 cup Arborio rice
salt and pepper to taste
fresh tarragon leaves, to taste
3 + 1/2 cups shrimp broth (made according to this recipe)
1/2 cup dry white wine
lobster meat, fully cooked, cut in pieces
lemon zest and juice to taste
Warm up the shrimp broth in a saucepan. If you don’t have enough shrimp stock, make the difference with water. In a pressure cooker, heat 4 tbs Olive oil and 1 Tbs Butter. Add the celery and mushrooms and saute until fragrant. Season lightly with salt and pepper.
Add the tarragon and rice, cook stirring until all grains are well coated with the oil/mushroom mixture (about 3 minutes). Pour all the warm stock and wine in the pan, close it, and bring to full pressure. Reduce the heat or use the specific instructions from your pan to keep the pressure constant for 7 minutes. Immediately take the pan to the sink, run some cold water over the lid to reduce the temperature, and when the pressure is down, open the pan. Add the lobster meat, lemon zest, a squirt of lemon juice, and simmer everything together, until the lobster is warmed through. Serve with fresh tarragon leaves, adjusting seasoning if needed.
ENJOY!
to print the recipe, click here
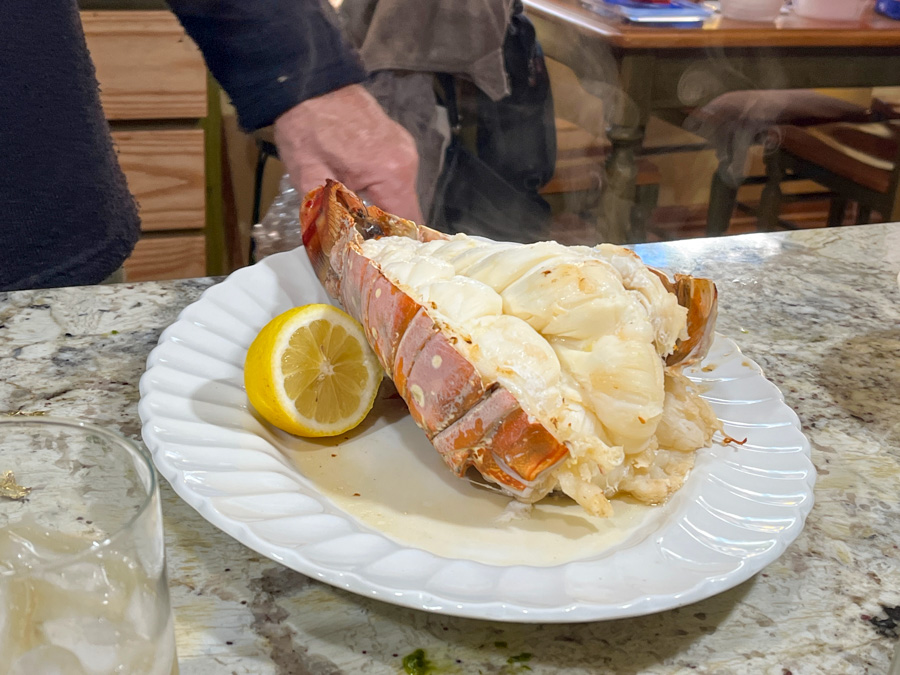
Comments: Can you wrap your mind around the size of that baby? Since it is just the two of us, no way we could finish it that evening. Ideally lobster stock would be more appropriate for the risotto, but I had discarded the shell and remembered I had some shrimp stock in the freezer, so I put it to use. I have made risotto using green tea as the liquid and I almost went that route with this version. Most risotto recipes will have you add more butter before serving, but we never do that. Your kitchen, your rules, do it if you like. I debated whether to put the lobster meat in the beginning, but felt that since it was already fully cooked, the 7 minutes of intense heat could be too much. I just cut it in small pieces and simmered for 5 minutes. It turned out delicious. The tarragon flavor was quite strong, I used maybe one full sprig in the broth, and a few fresh leaves to serve. This was a delicious dinner, and super fast to bring to the table.
ONE YEAR AGO: Air-Fried Cauliflower with Pomegranate Seeds and Tahini Sauce
TWO YEARS AGO: Pistachio-Rose Donuts
THREE YEARS AGO: Smoked Chocolate Macarons
FOUR YEARS AGO: Chocolate Celebration Cake
FIVE YEARS AGO: Incredibly Simple Times Four, May 2018
SIX YEARS AGO: Tangential Quiche with Asparagus and Fennel
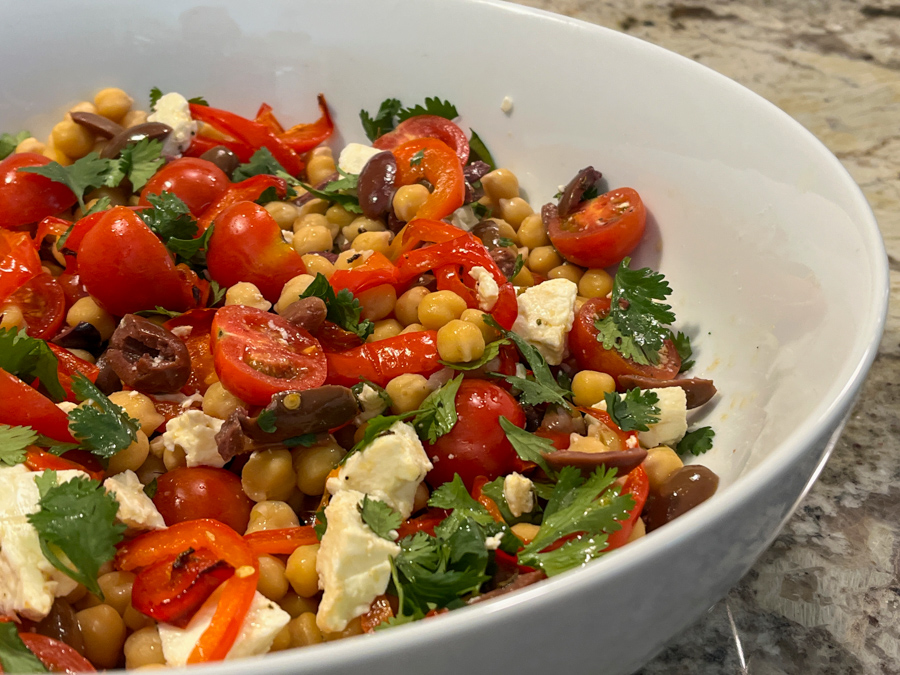
SEVEN YEARS AGO: Fakebouleh
EIGHT YEARS AGO: Yellow Squash Soup
NINE YEARS AGO: Grilled Chicken with Tamarind and Coconut Glaze
TEN YEARS AGO: Chicken-Apricot Skewers
ELEVEN YEARS AGO:Asparagus Quiche
TWELVE YEARS AGO: Two-stage Pea and Prosciutto Risotto
THIRTEEN YEARS AGO: Mellow Bakers: Corn Bread