I hope you had a wonderful Easter weekend! If you’d like to see the cookies I made to celebrate the occasion, stop by my baby blog clicking here. Without further ado, here are some macarons that have Spring written all over them…

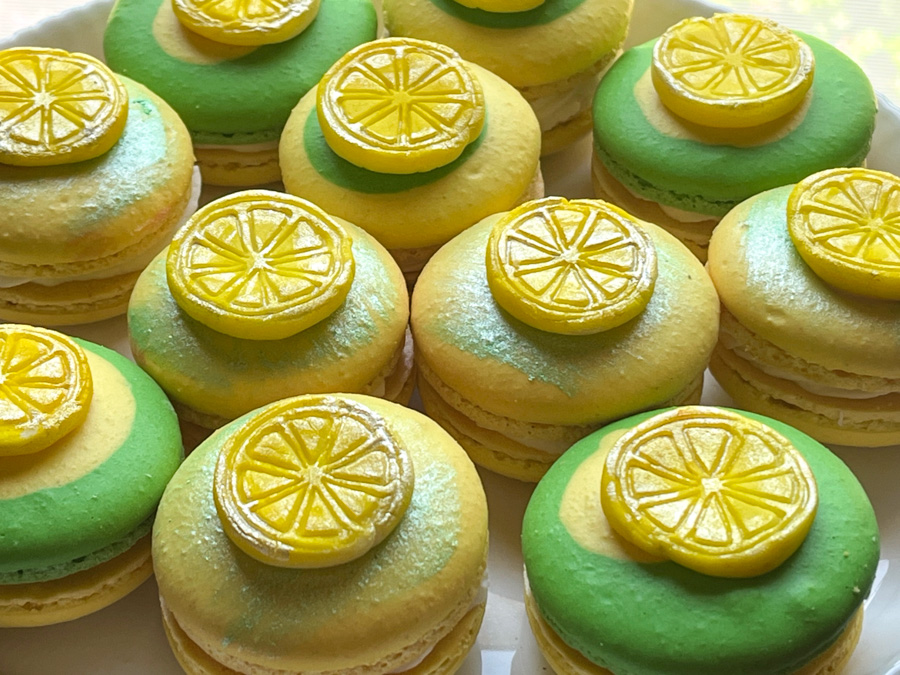
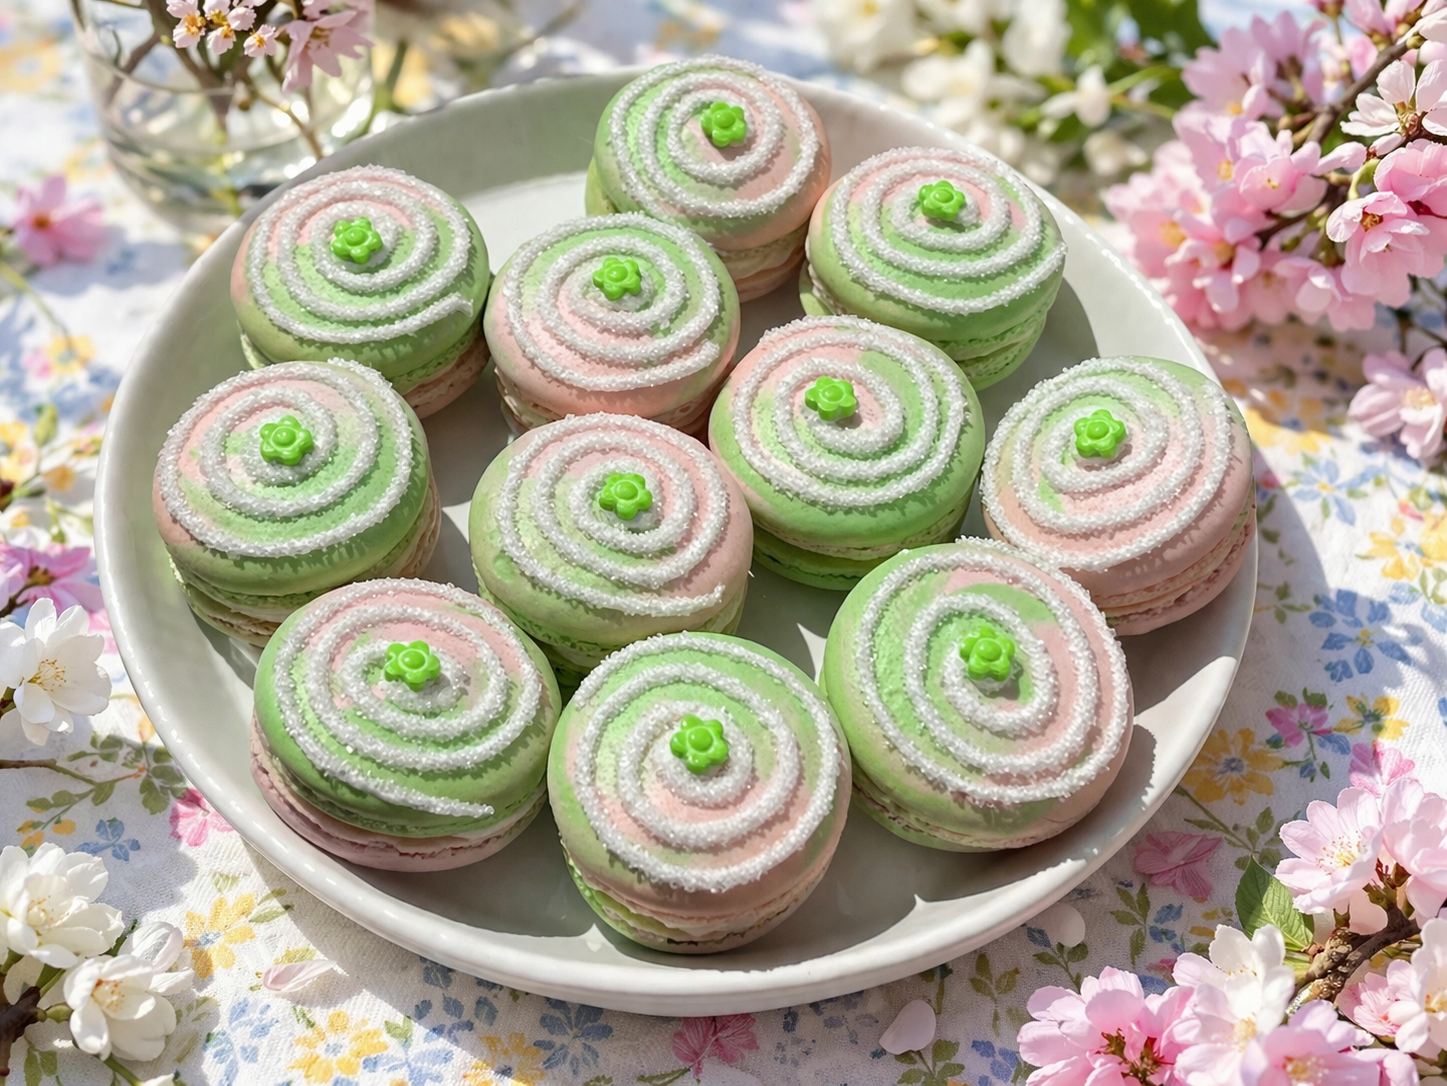
The first is a classic combination of lemon and blueberries, and I will give you the full recipe. The second is a bit unusual but worked very well and comes from a real expert macaron baker: Camila, hostess from Pies and Tacos. I used my default macaron recipe for the shells and the filing was straight from this post. I urge you to try it, easy and oh so tasty…
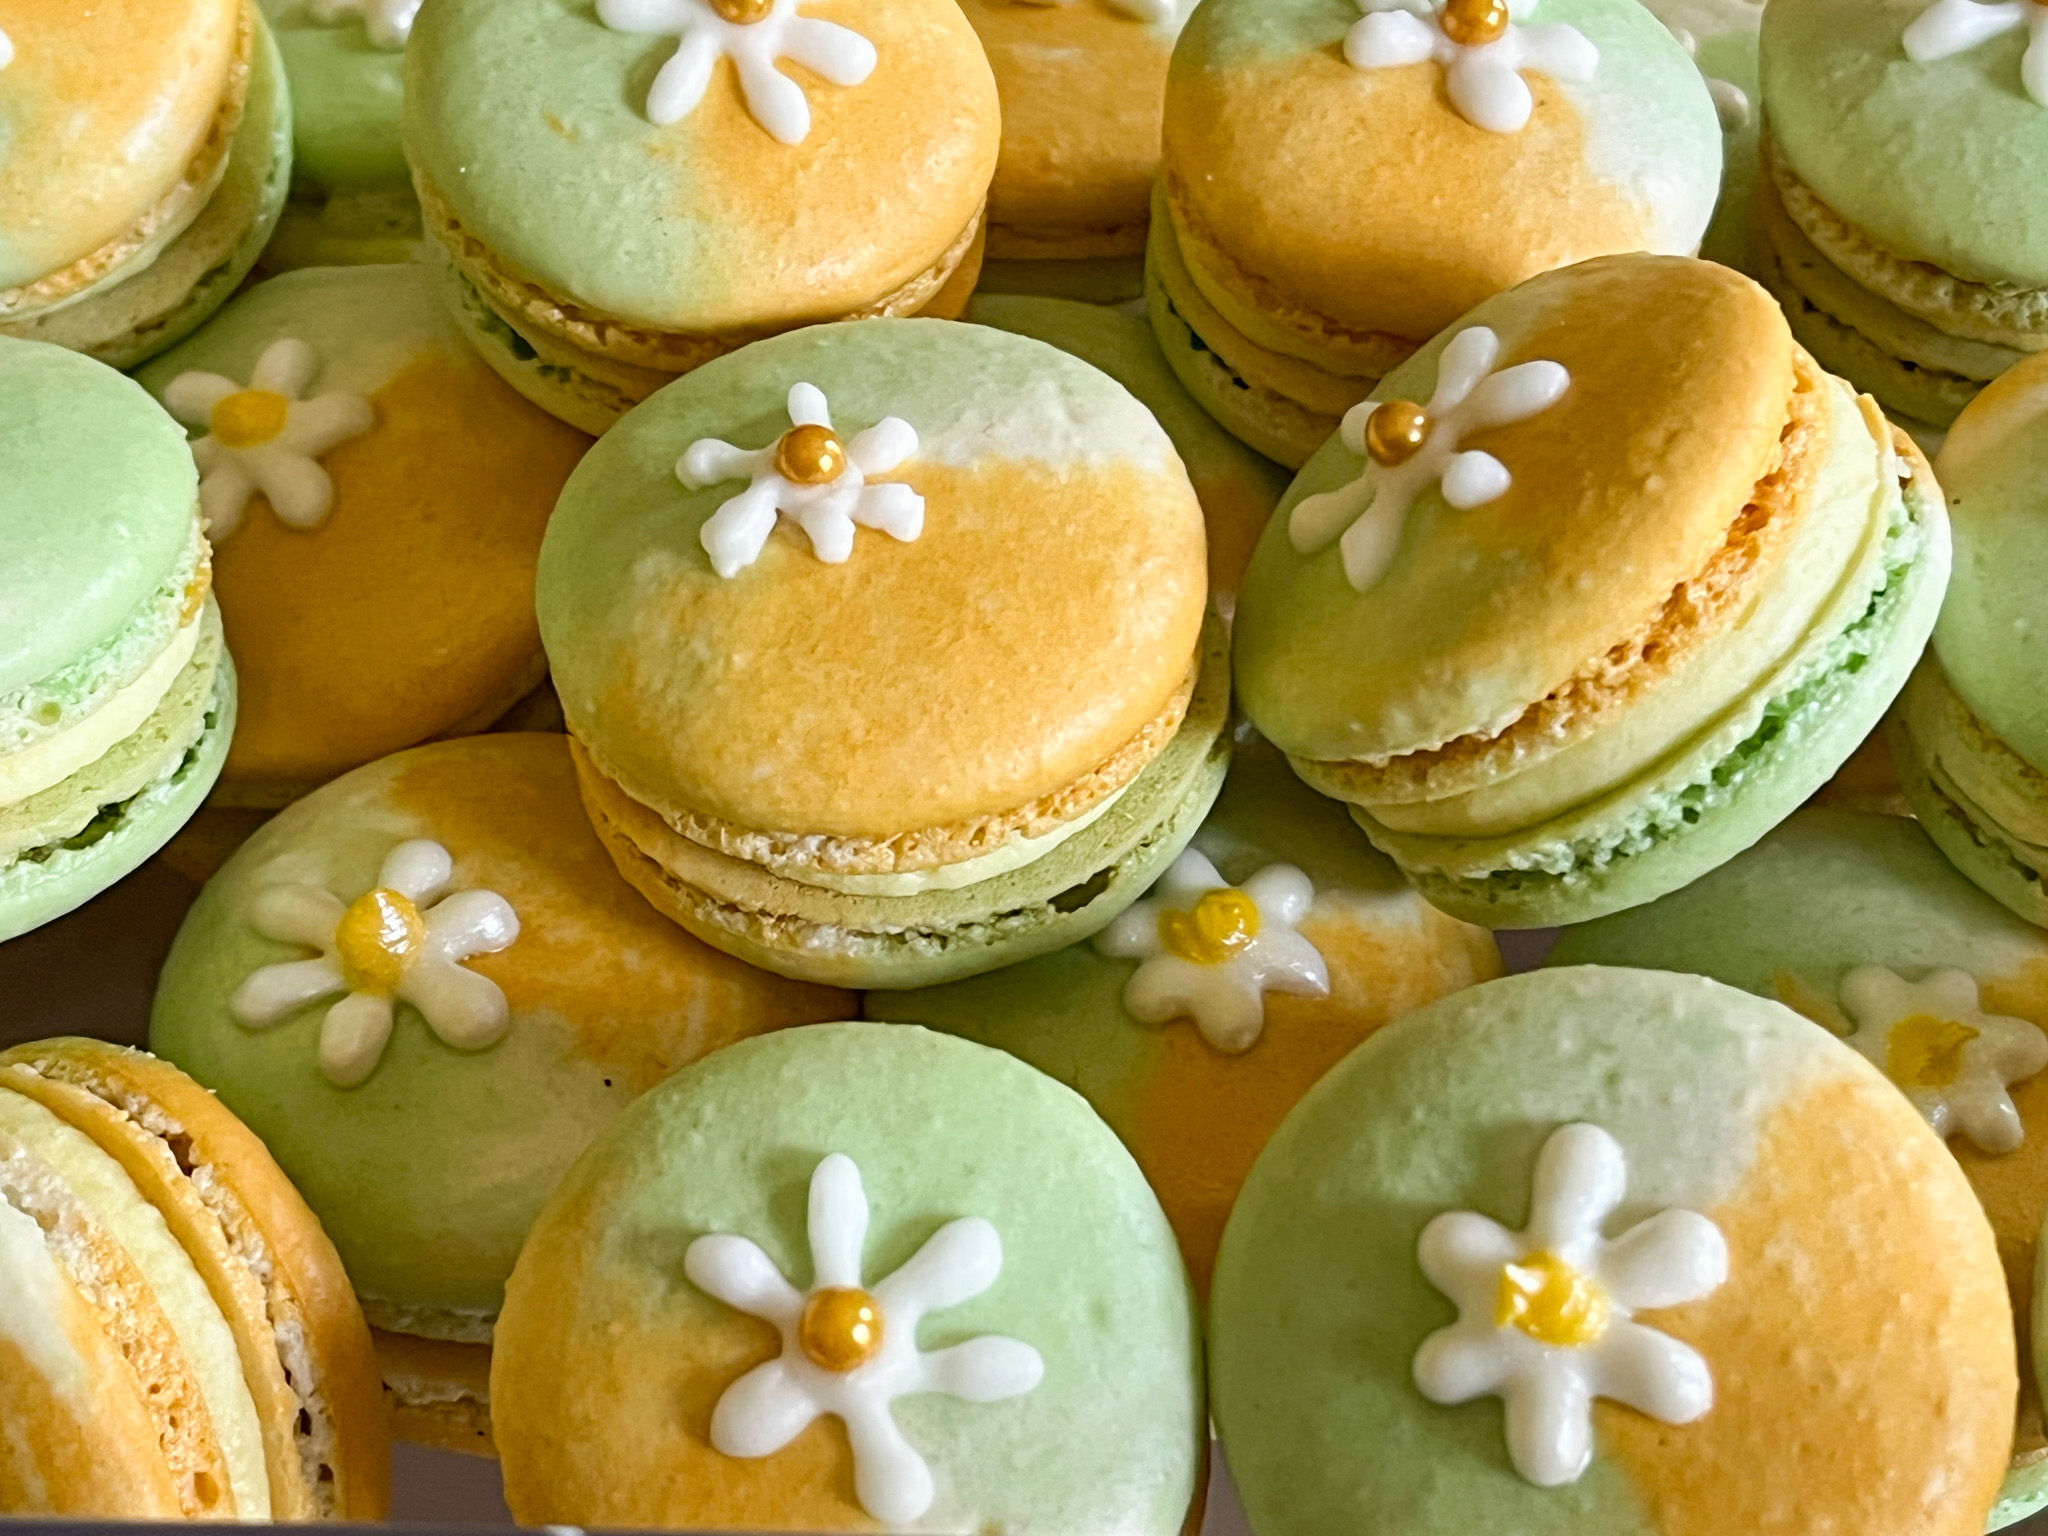
LEMON BLUEBERRY MACARONS
(from The Bewitching Kitchen)
For the shells:
200g powdered sugar
115 g almond flour
115 g egg whites at room temperature (approx. 4 eggs)
1/8 tsp of cream of tartar (optional)
100 g granulated sugar
¼ tsp vanilla paste or extract
drops of gel food color of your choice
for the filling:
160g powdered sugar
4 tbsp unsalted butter softened
zest of half a lemon
1/2 tsp vanilla extract
1/2 tsp lemon emulsion or extract
1/2 -1 tbsp whipping cream as necessary
pinch of salt
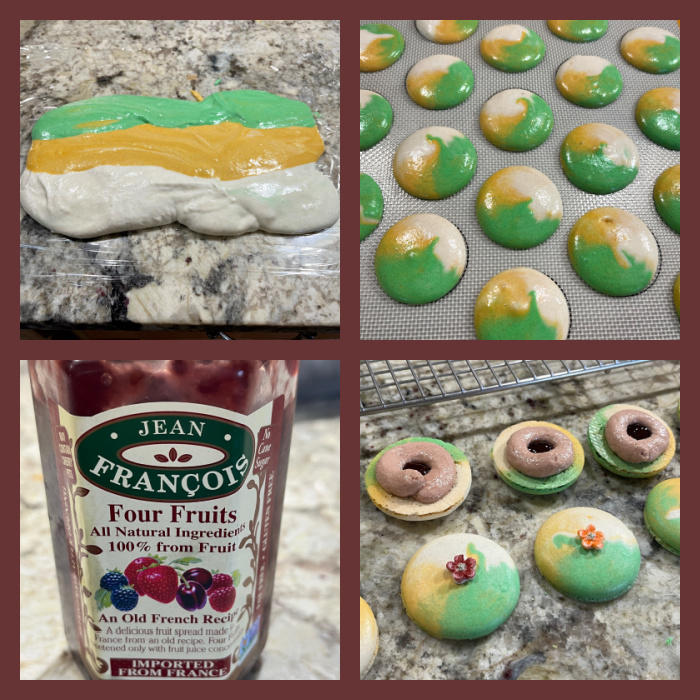
blueberry preserves (store-bought is fine)
Line 3 heavy baking sheets with parchment/baking paper or Silpat mats. Layer the powdered sugar and almond flour in a food processor. Pulse until the mixture looks like fine meal, about 12 pulses. Pass through a sieve and transfer to a small bowl or to a sheet of parchment/baking paper. Set aside.
Place the egg whites and cream of tartar in the bowl of a stand mixer fitted with the whisk attachment. Make sure that the bowl and the whisk are impeccably clean. Starting on medium speed, whip the whites with the cream of tartar until they look like light foam. The whites should not appear liquid. The foam will be light and should not have any structure.
Slowly rain in the granulated sugar in five additions, trying to aim the stream between the whisk and the side of the bowl. Turn the speed up to high. Continue to whip the meringue until it is soft and shiny. It should look like marshmallow creme (marshmallow fluff). Add the vanilla. Whip the egg whites until the mixture begins to dull and the lines of the whisk are visible on the surface of the meringue. Check the peak. It should be firm. Transfer the whites to a medium bowl.
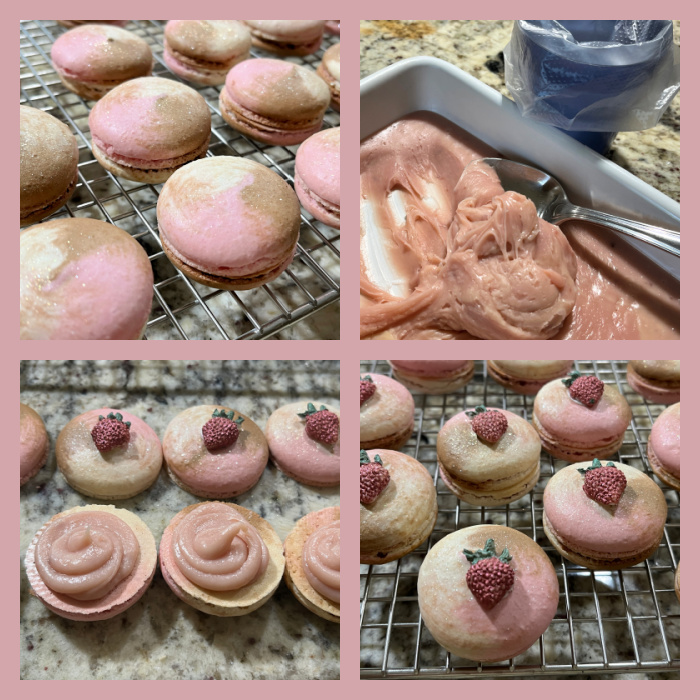
Fold in the almond flour mixture in two increments. Paint the mixture halfway up the side of the bowl, using the flat side of a spatula. Scrape the mixture down to the center of the bowl. Repeat two or three times, then separate the mixture in two batches. Add a very small amount of pink to the first bowl, and a small amount of green to the second. Proceed to fold them two different mixtures until they slide slowly down the side of the bowl.
Line the two colors over Saran Wrap type plastic, side by side. Made a sausage with the plastic and insert in a large piping bag fitted with a round tip. Pipe shells, I like to count numbers in my head and use the same count for each shell so they end up similar in size.
Slam each sheet hard four to six times on the counter/worktop. Let the unbaked macarons dry until they look dull but not overly dry. Drying time depends on humidity. In a dry climate, the macarons can dry in 15 to 20 minutes; in a humid climate, it can take 35 to 40 minutes.
While the macarons are drying, heat the oven to 300 F. Bake one sheet at a time on the middle rack. Check in 11 minutes. If the tops slide or move (independently of the ‘feet’ when you gently twist the top), then bake for 2 to 3 more minutes. Check one or two. If they move when gently touched, put them back in the oven for 1 to 2 more minutes until they don’t move when touched. Let the macaroons cool for 10 minutes before removing from the pan. The macarons should release without sticking.
Assemble the macarons: find two macarons similar in size and add a good amount of filling to the bottom of one of them. Place the other on top and squeeze gently to take the filling all the way to the edge. Store in the fridge for 24 hours for perfect texture. Decorate as you desire, or leave the shells plain.
Make the filling: whisk the butter for a couple of minutes, add all other ingredients except the whipping cream. Whisk at low speed first, then increase the speed until smooth. Adjust consistency with cream if needed. Match shells, add a circle of buttercream to the edge, and a dollop of blueberry preserves to the center. Allow to sit in the fridge overnight before serving or freezing for storage.
ENJOY!
to print the recipe, click here
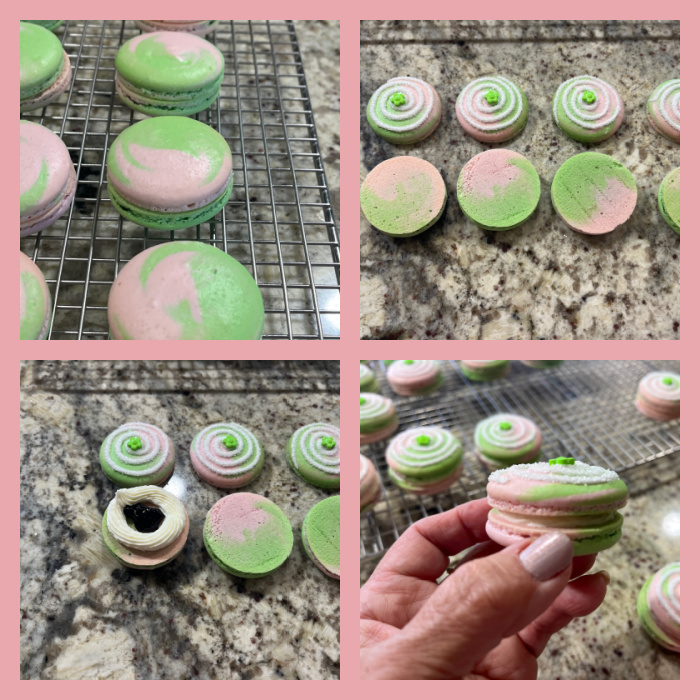
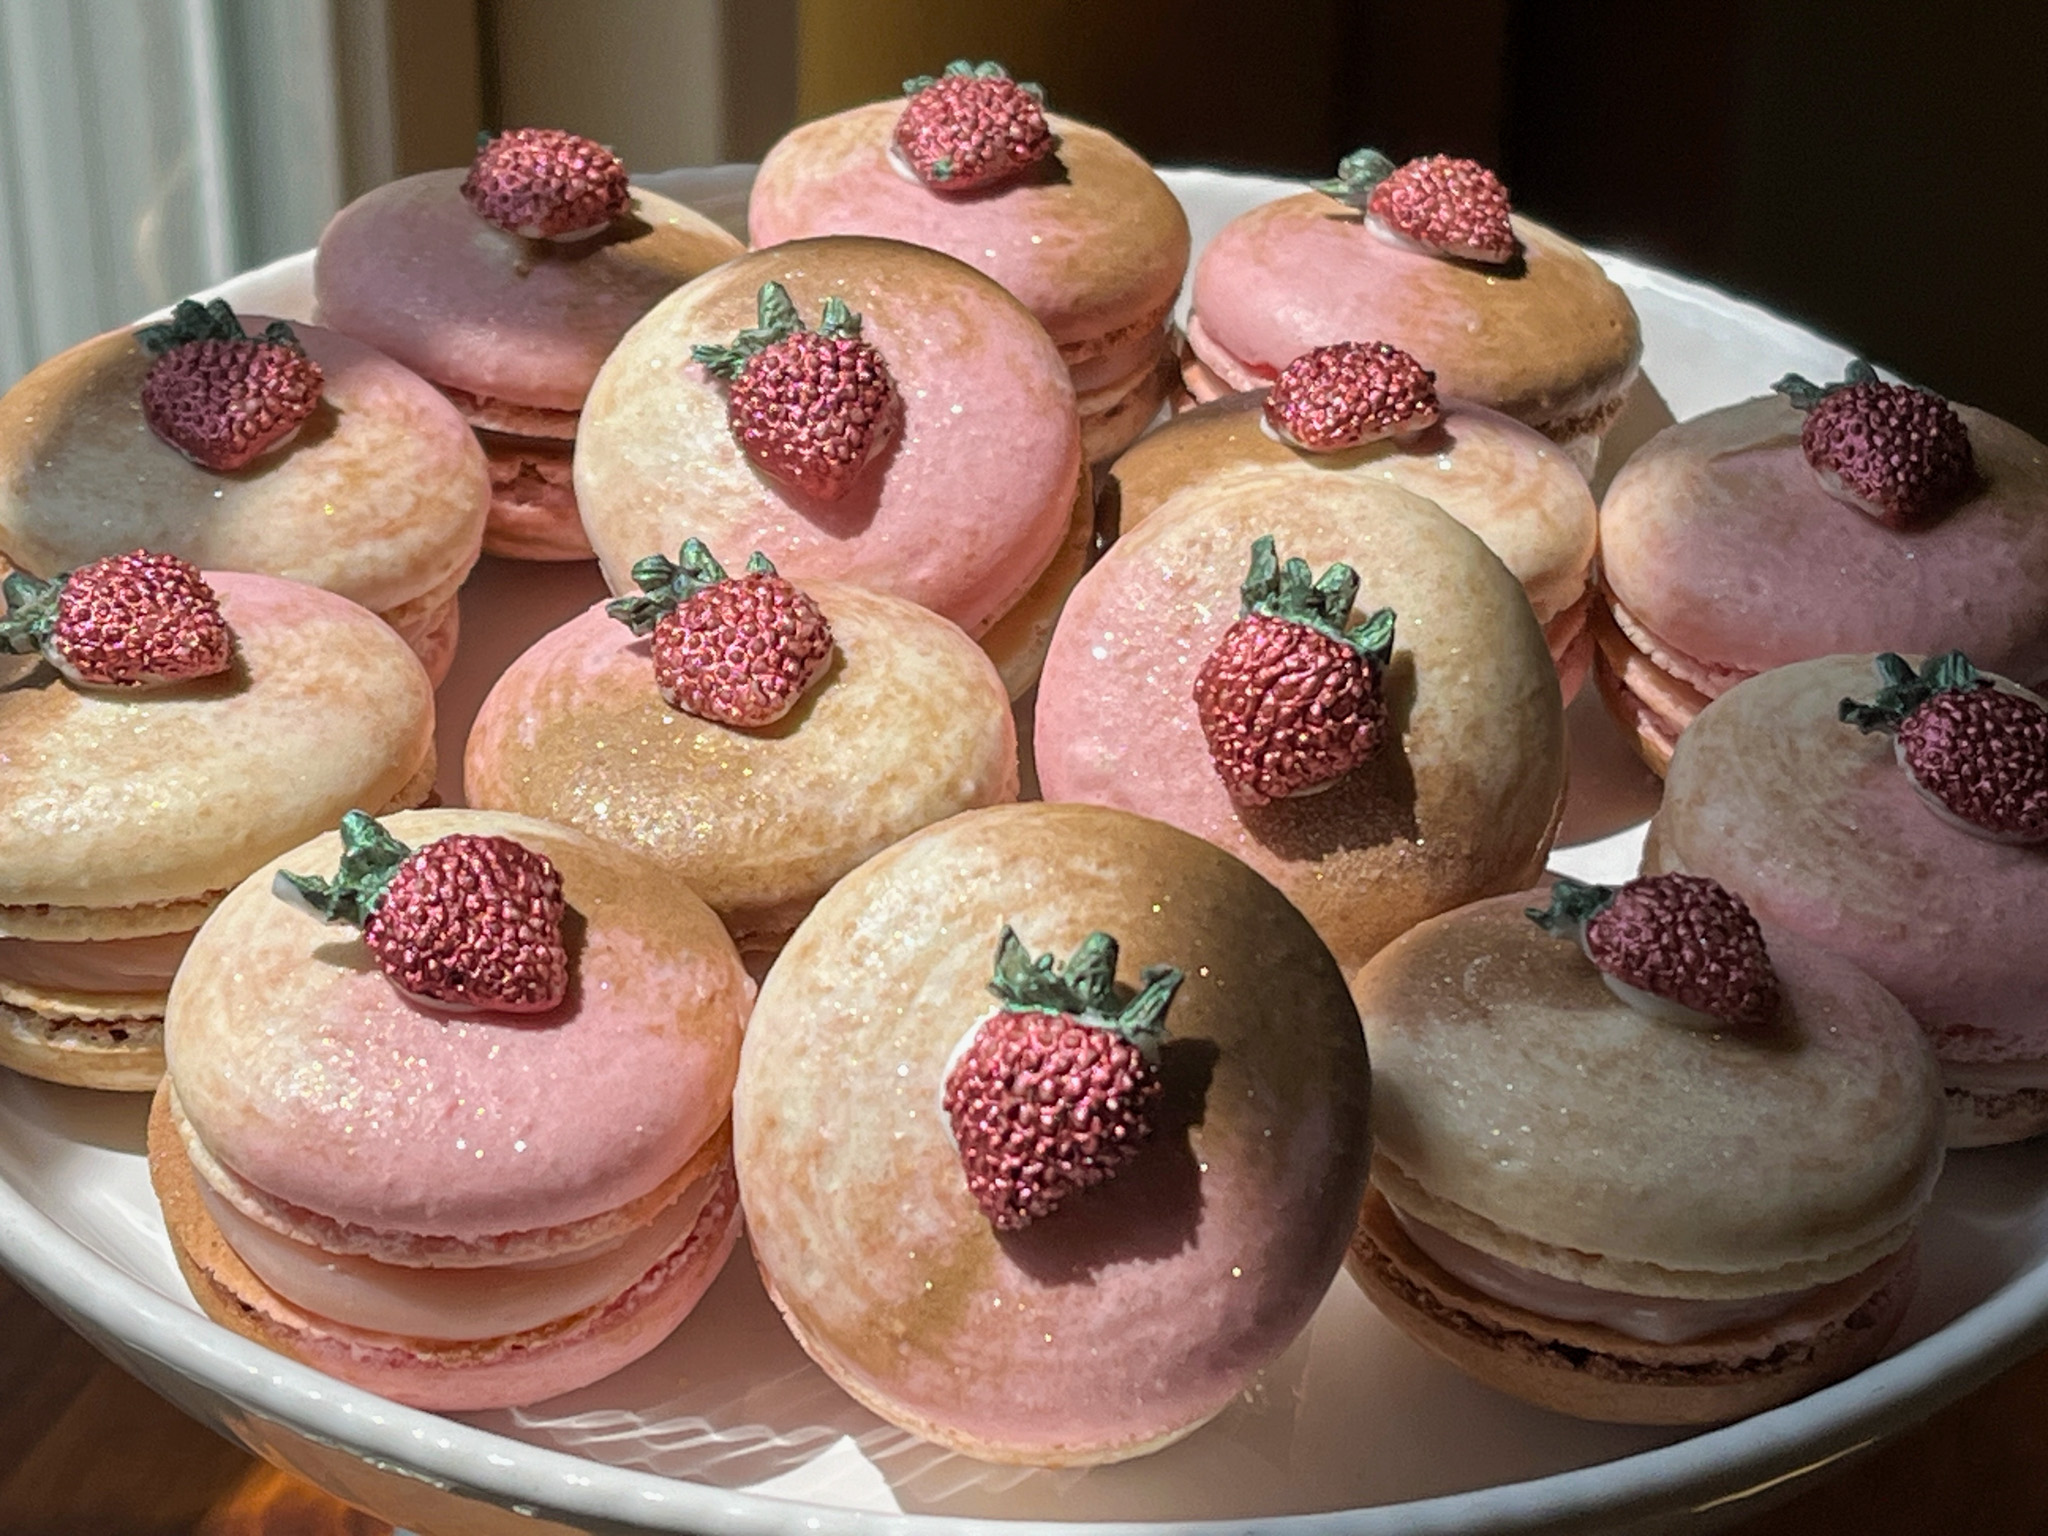
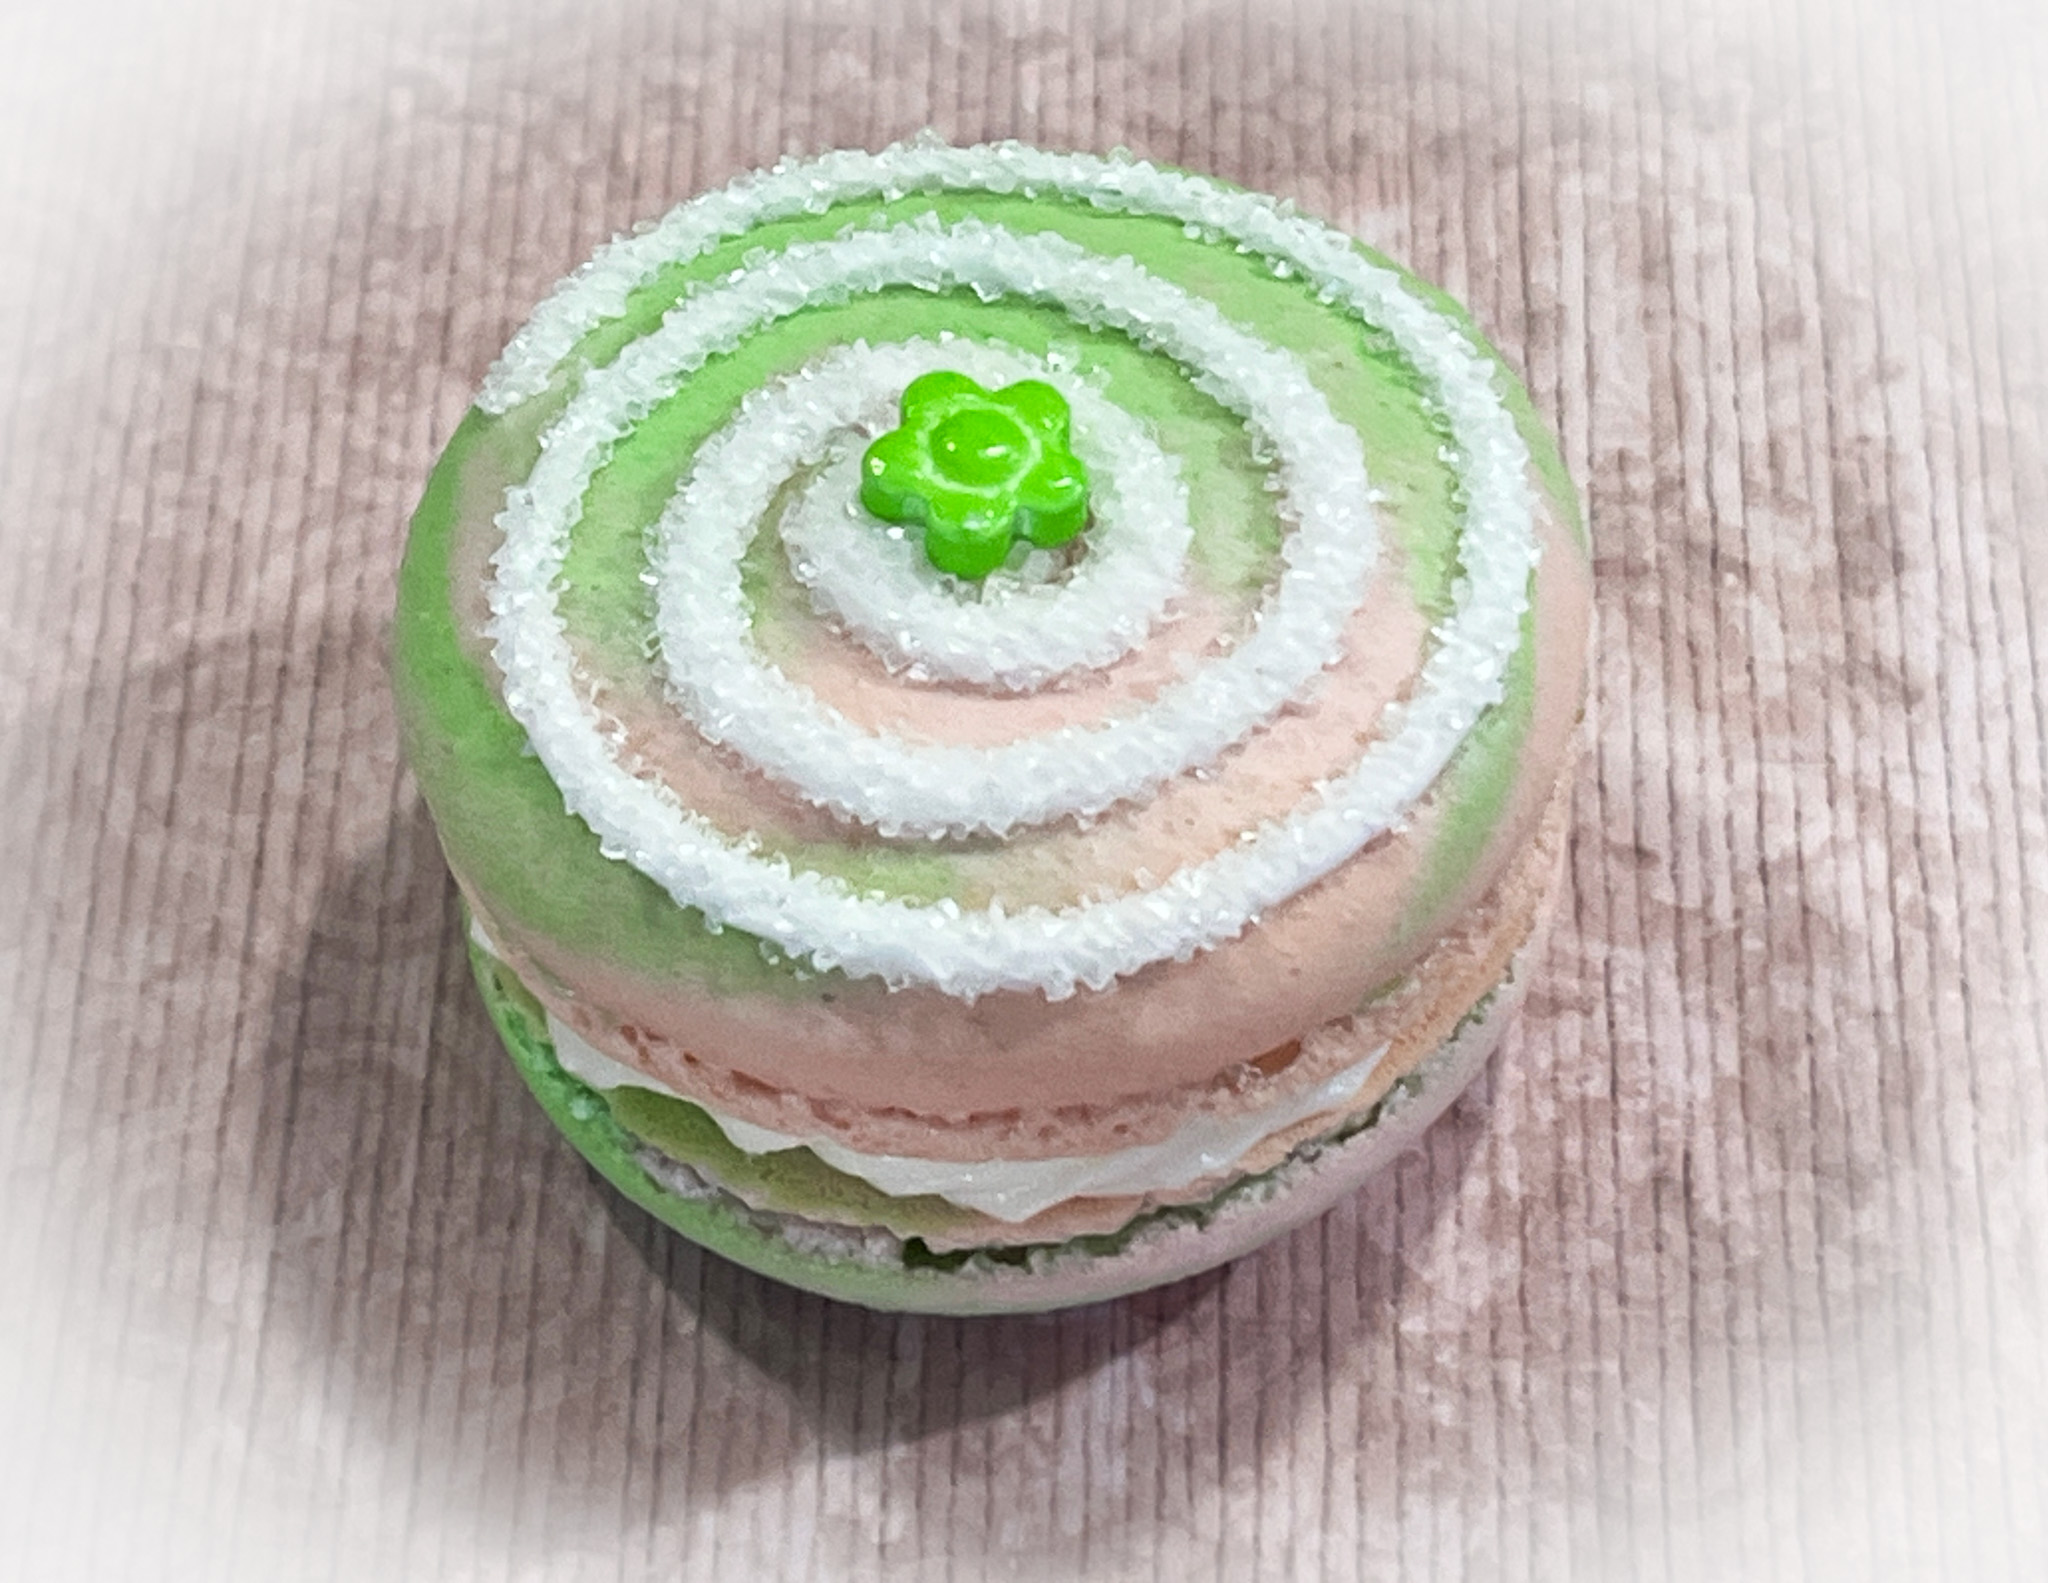
Comments: I’ve shared lemon macarons a few times in the past, this one might very well be my favorite. The combination of of blueberry preserves with the sharp lemon is a winner. To decorate, I used Royal icing in a swirl, plus a light shower of sanding sugar. A little flower-shaped sprinkle closed the deal.
.
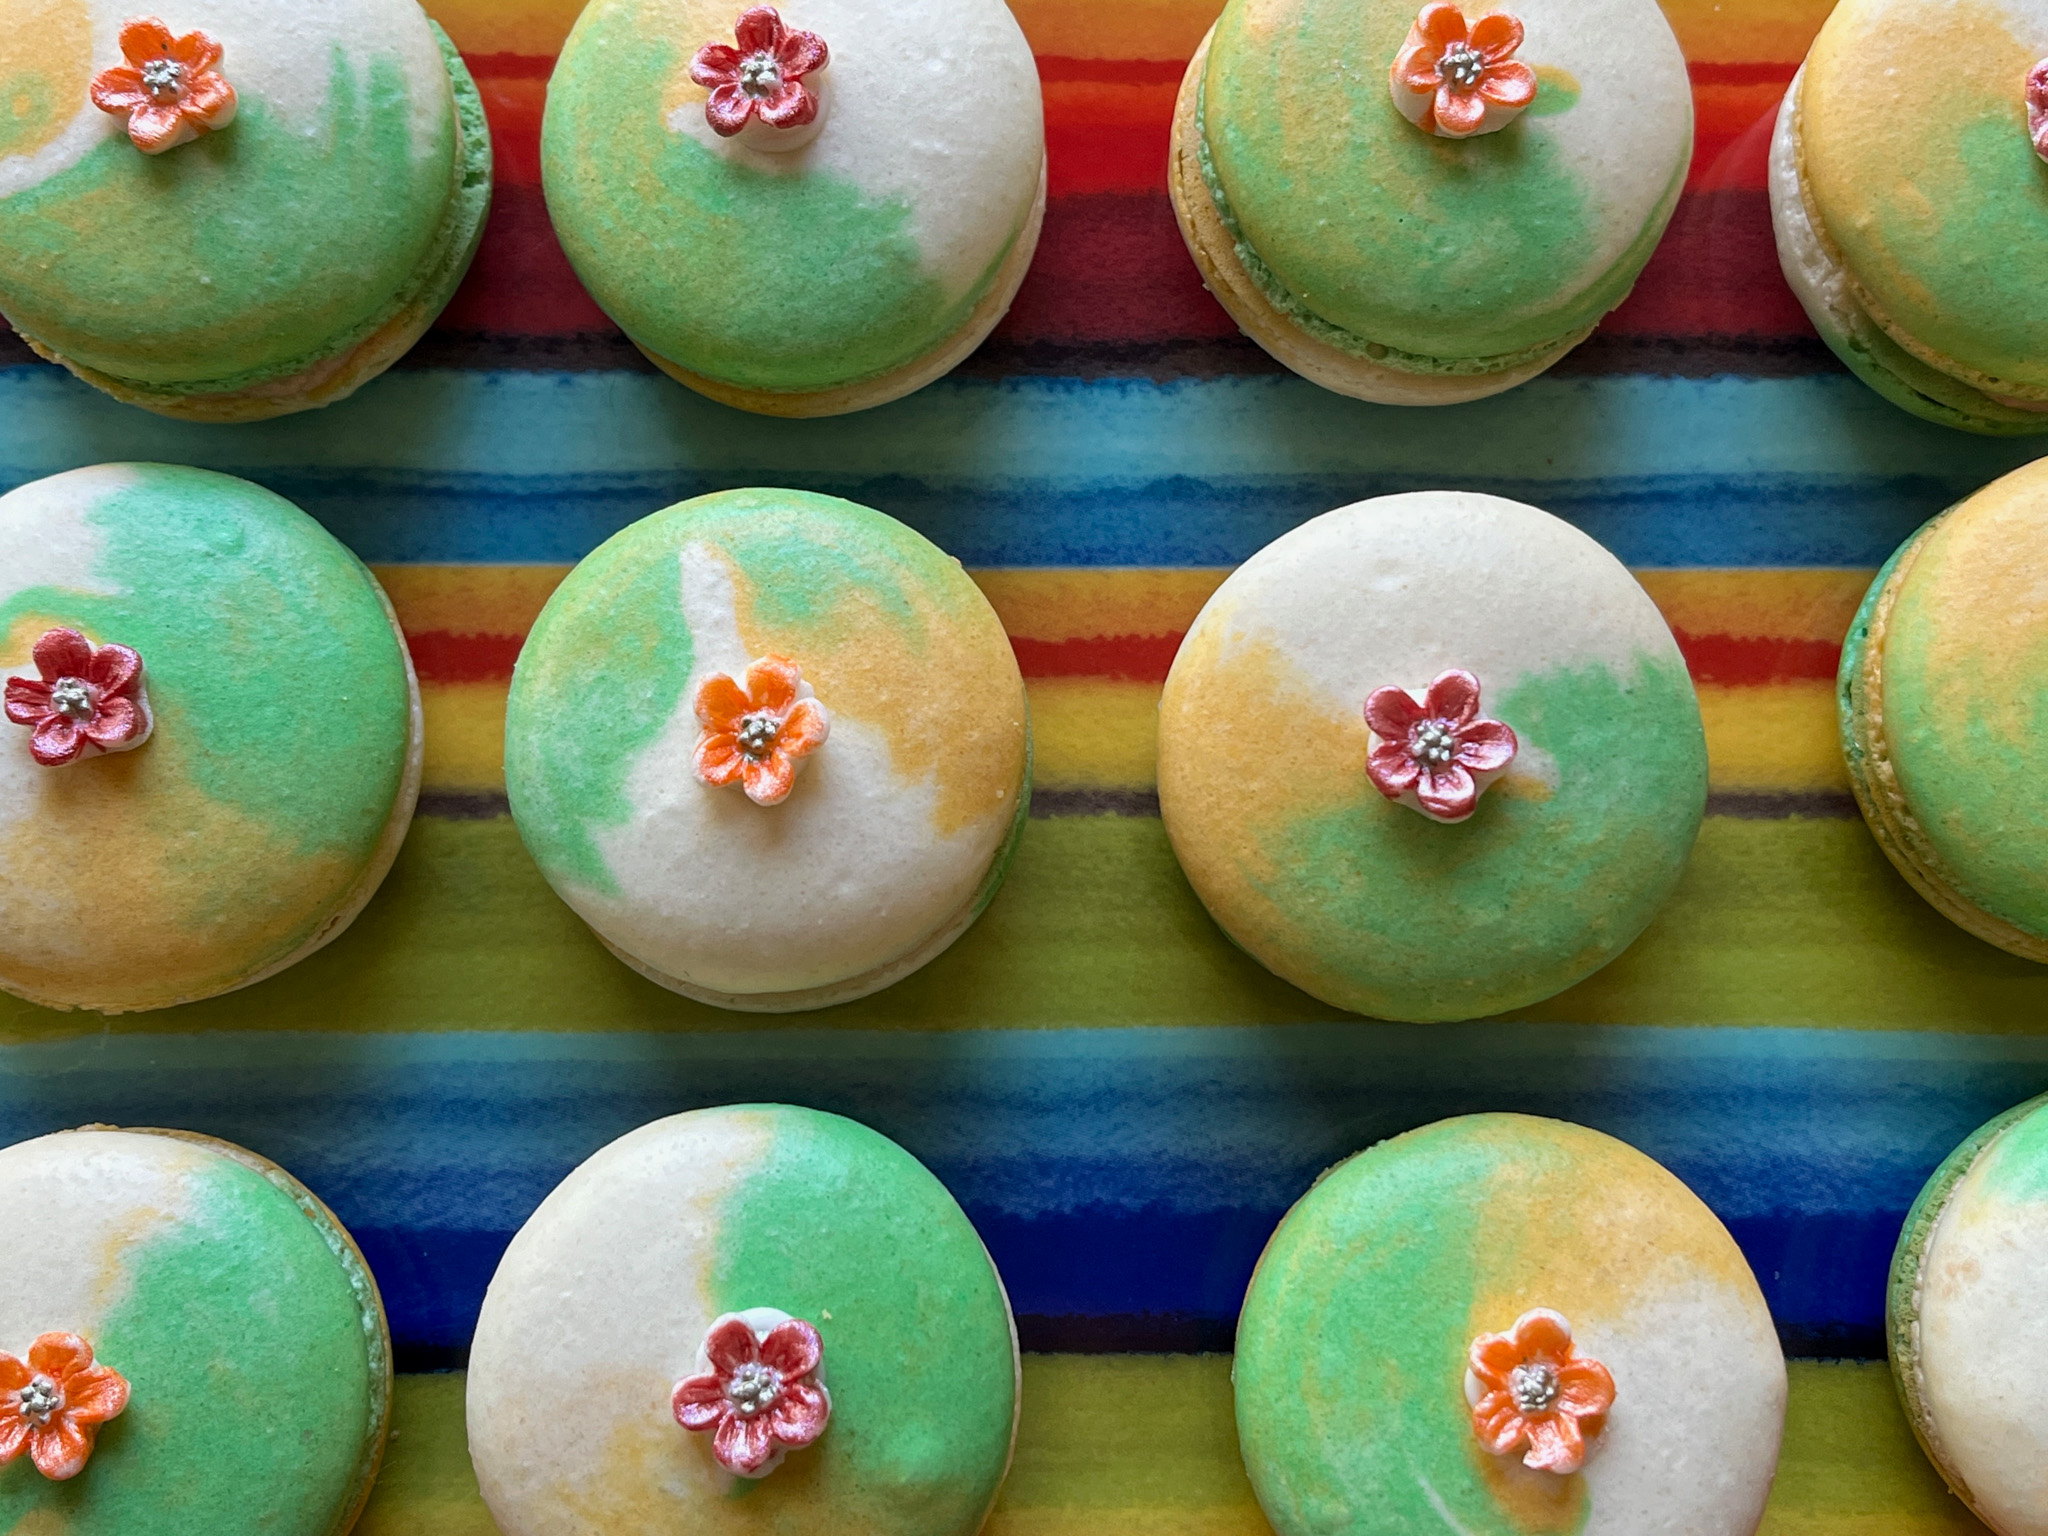
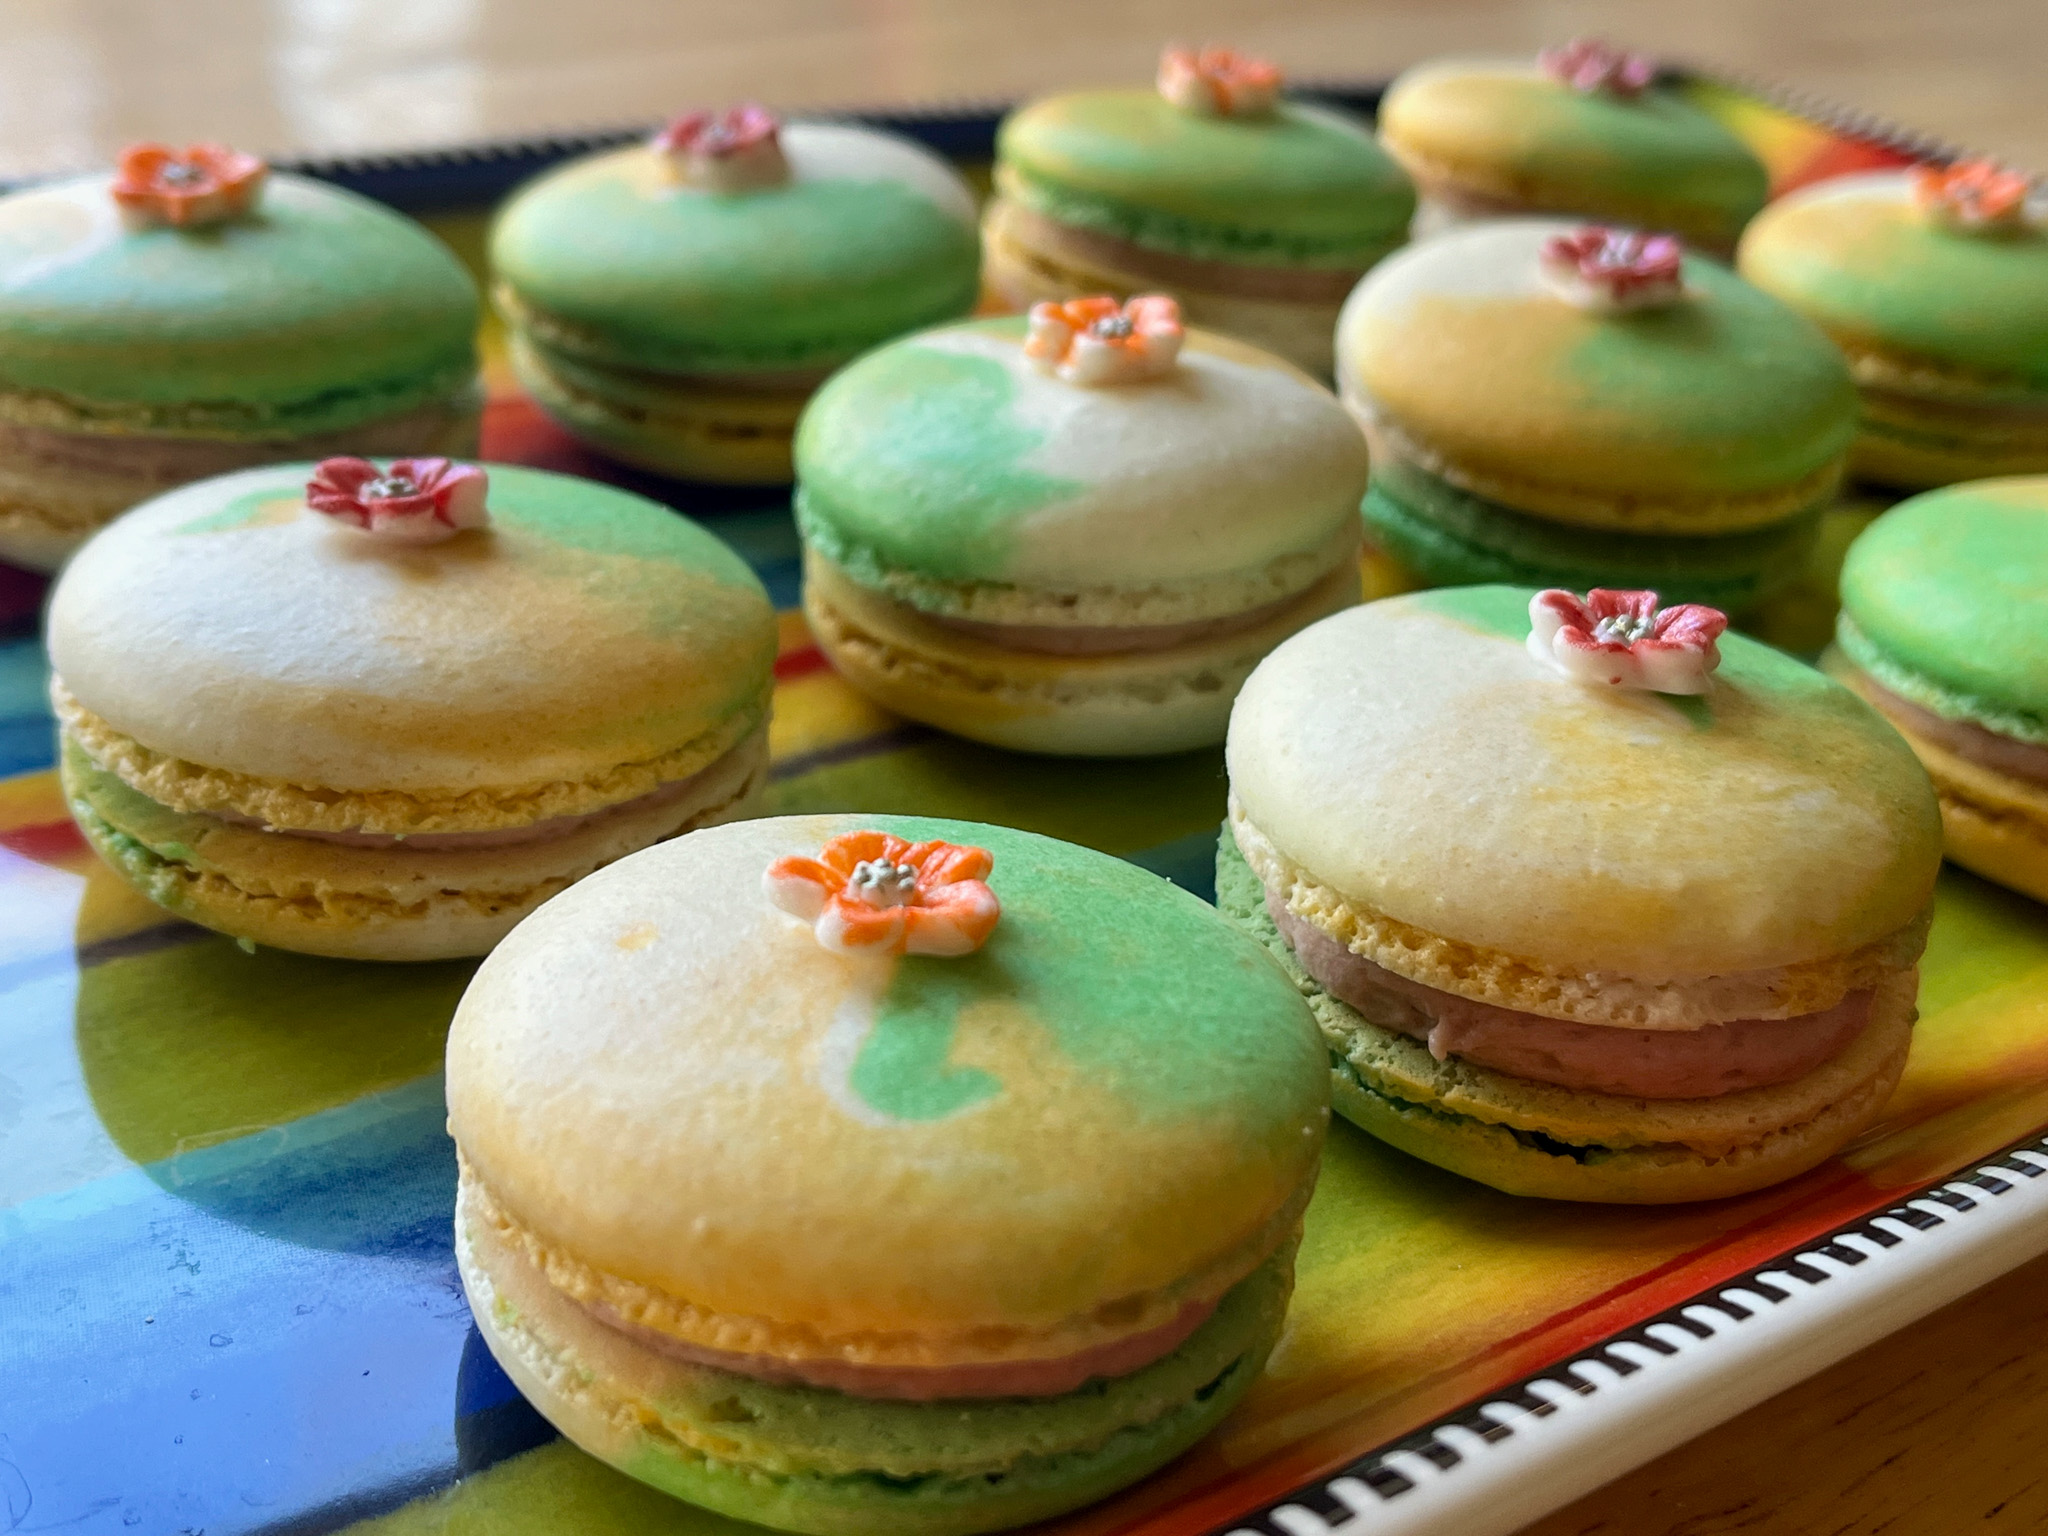
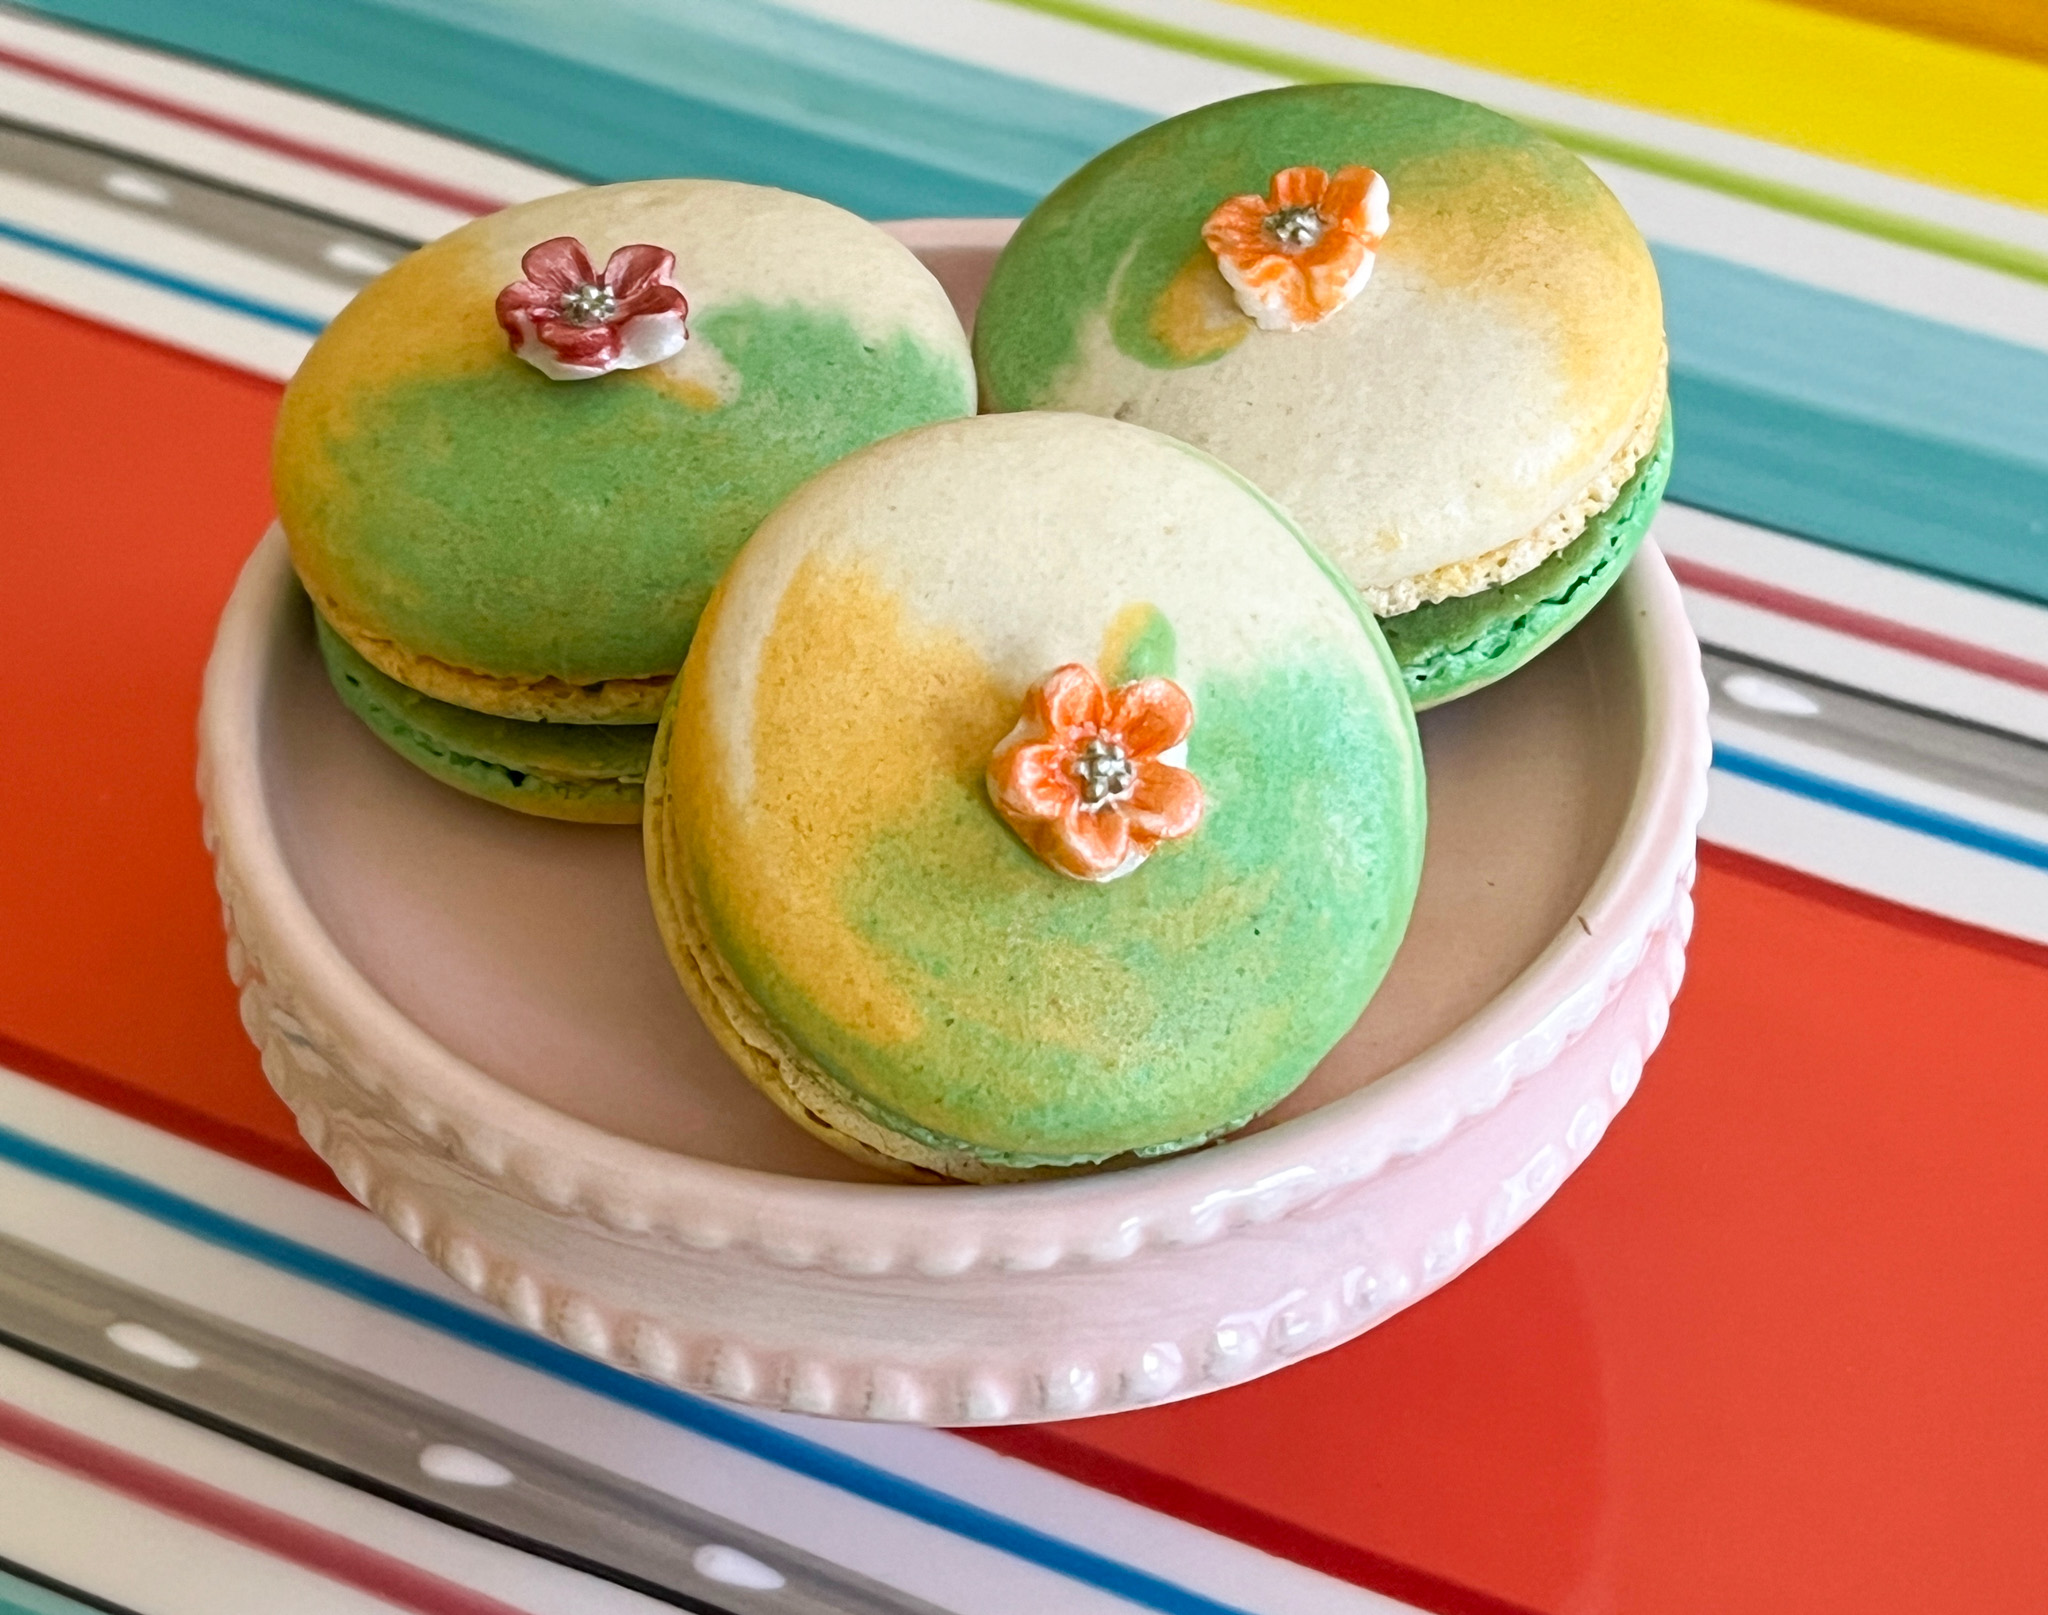
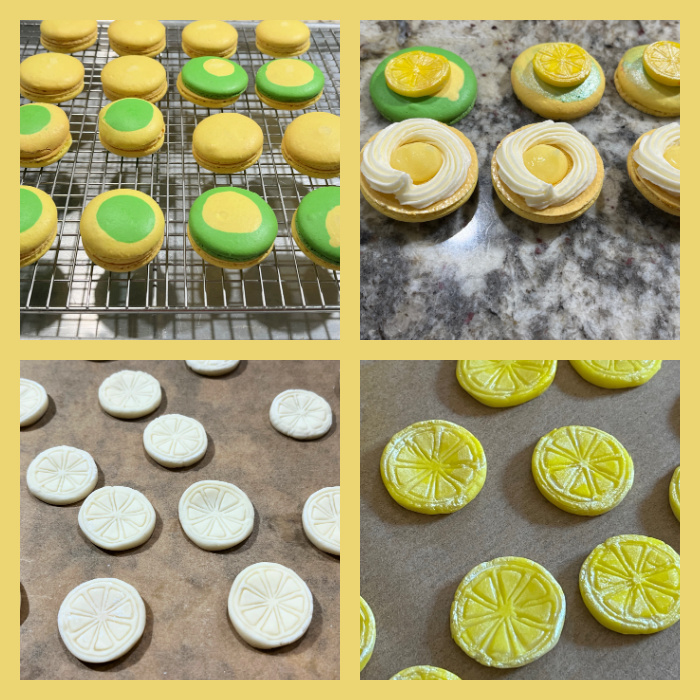
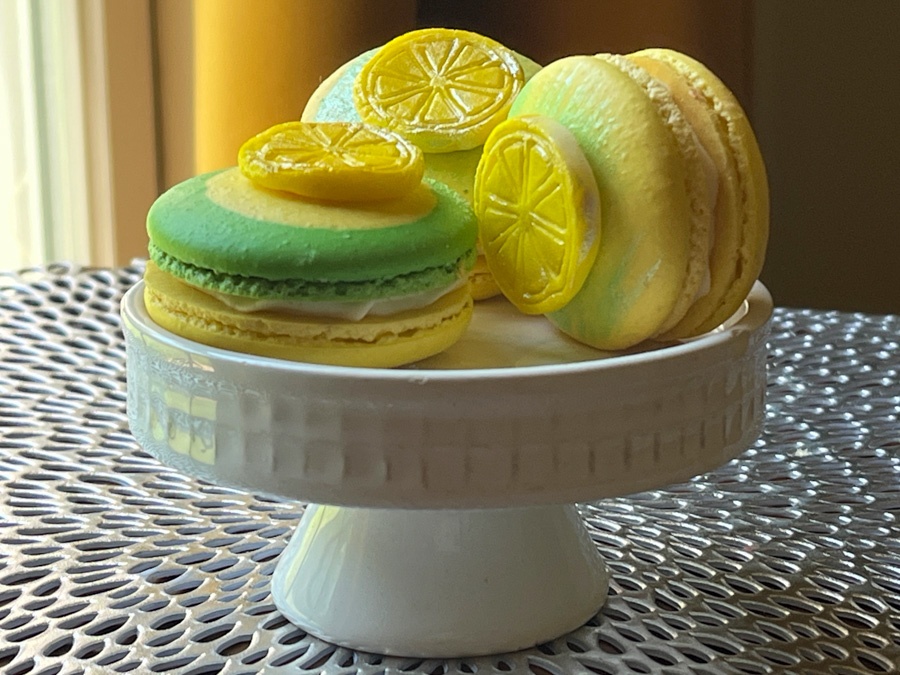
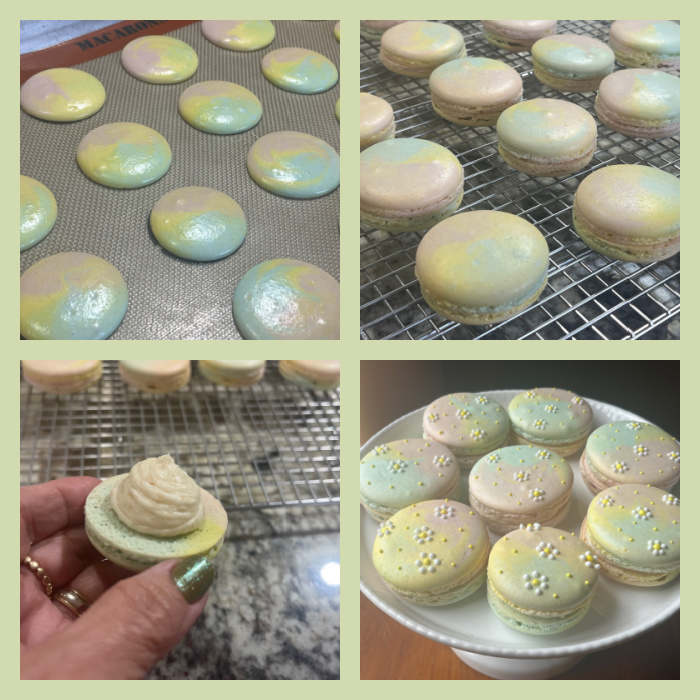
GOLDEN OREO MACARONS
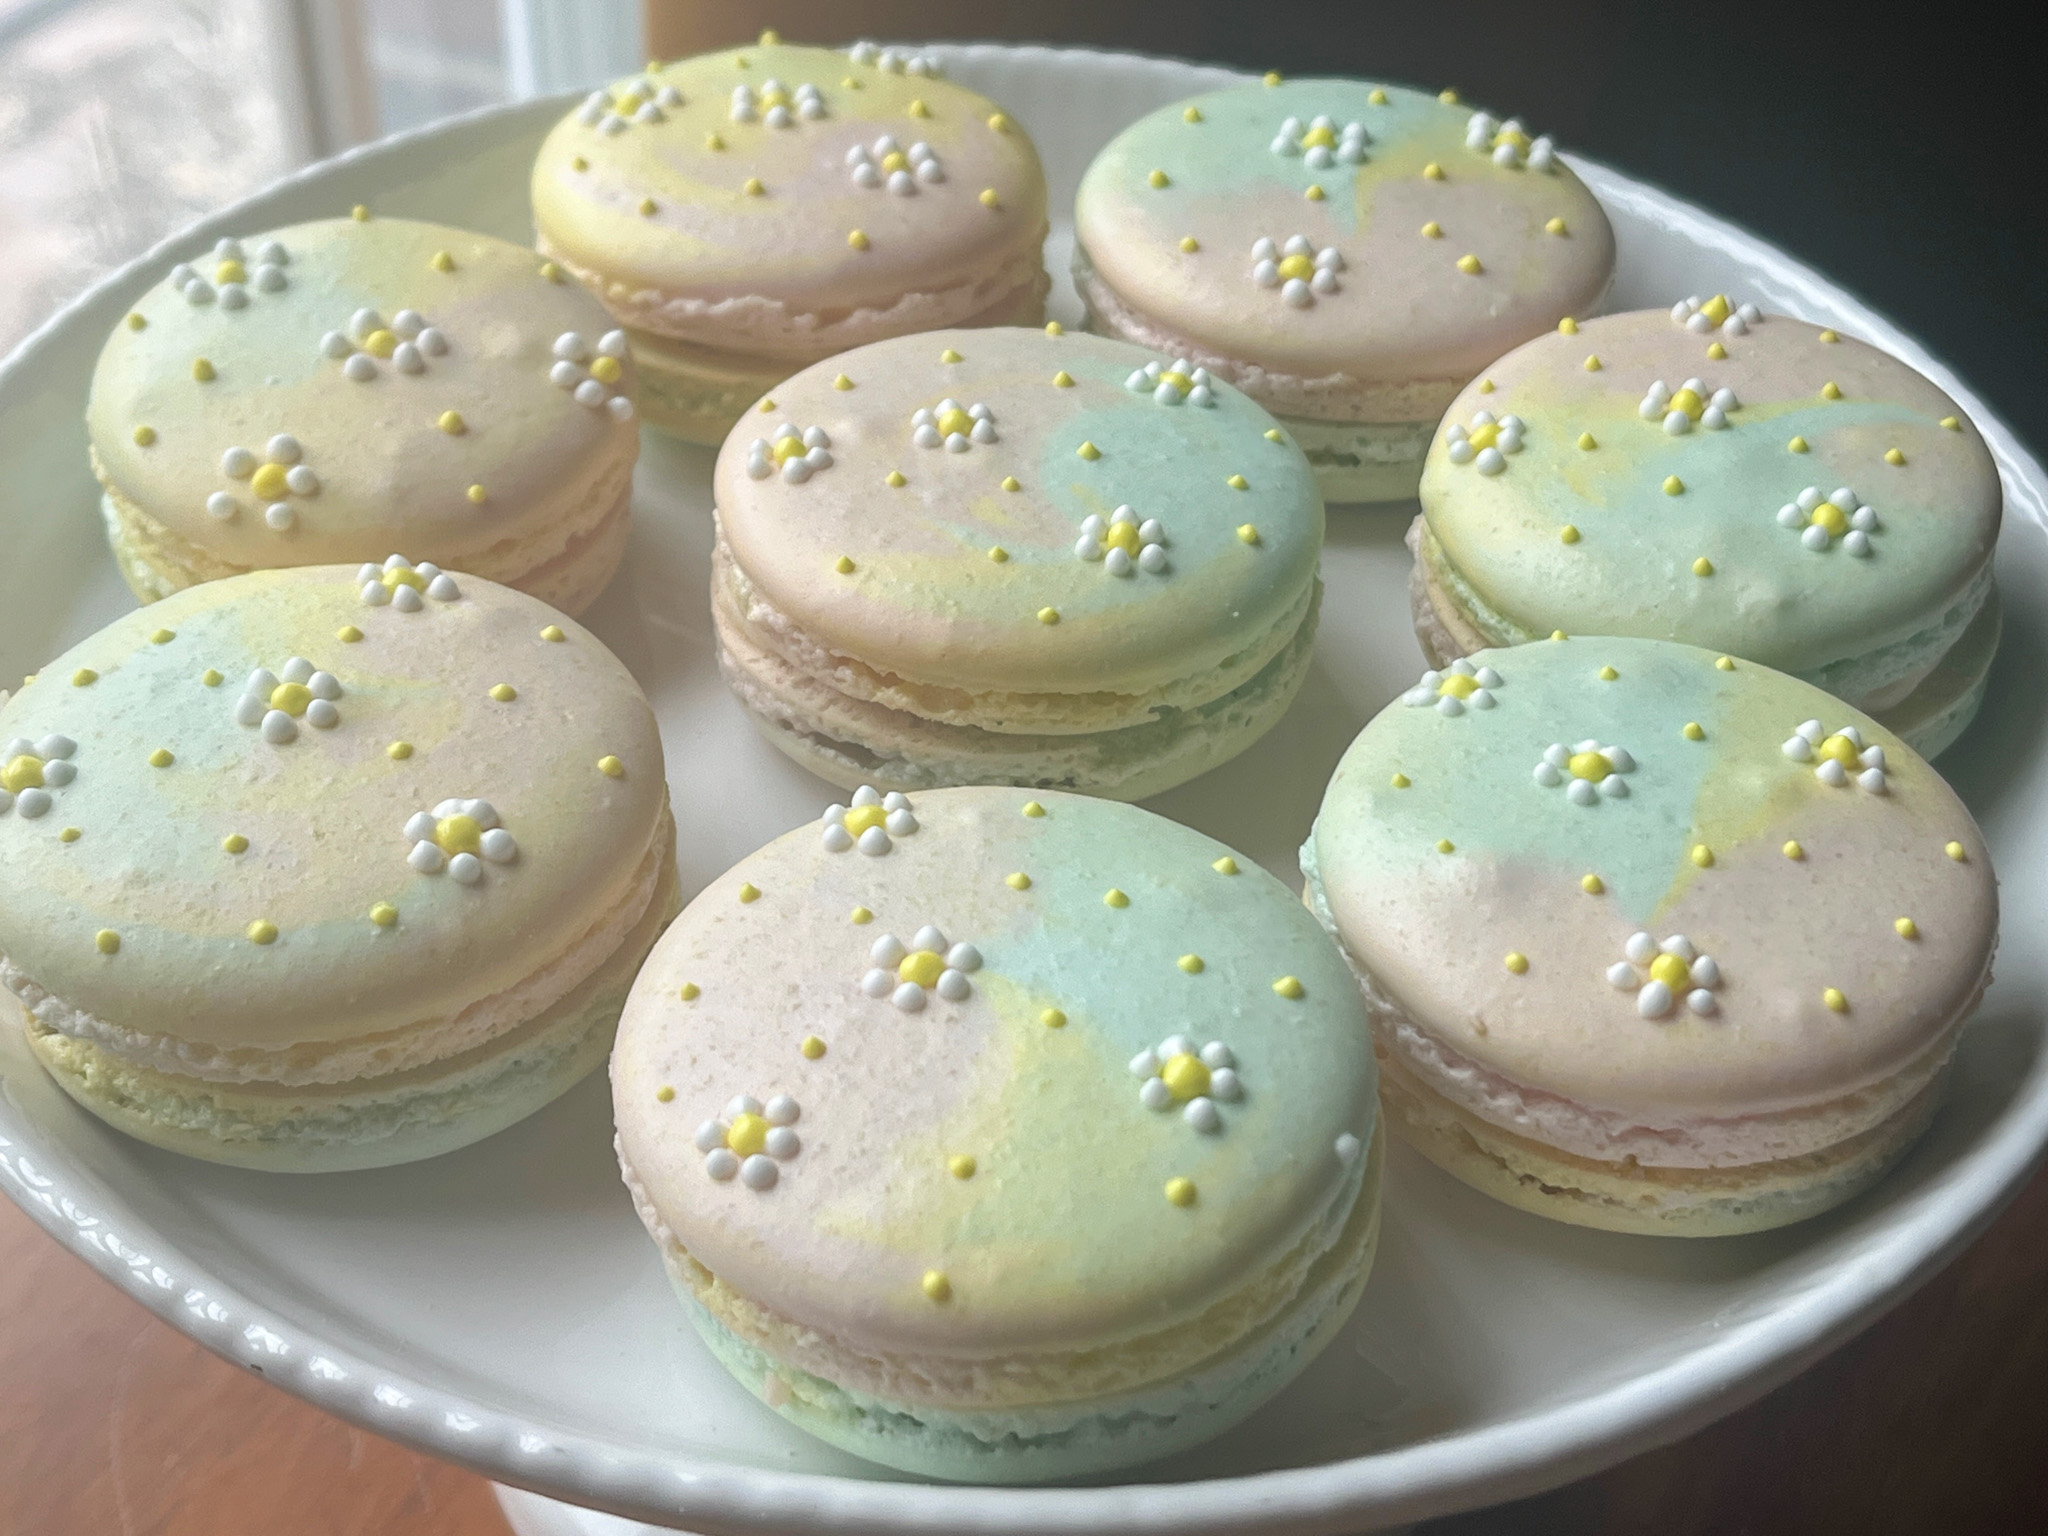
For the shells, use the same exact recipe. Divide it in three portions, dye one yellow, one pink, and the final one blue. Make sure to use very little dye, so that you get a pastel color. Follow this link to visit Camila’s site and make the golden Oreo buttercream. I decorated with small dots of yellow and white Royal icing, piping consistency.
ONE YEAR AGO: Strawberry Financiers, a Marathon in Baking
TWO YEARS AGO: In My Kitchen, April 2024
THREE YEARS AGO: In My Kitchen, Spring 2023
FOUR YEARS AGO: In My Kitchen, April 2022
FIVE YEARS AGO: In My Kitchen, April 2021
SIX YEARS AGO: In My Kitchen, April 2020
SEVEN YEARS AGO: In My Kitchen, April 2019
EIGHT YEARS AGO: In My Kitchen, April 2018
NINE YEARS AGO: First Monday Favorite
TEN YEARS AGO: In My Kitchen, April 2016
ELEVEN YEARS AGO: Spring has Sprung with Suzanne Goin
TWELVE YEARS AGO: Chai Brownies
THIRTEEN YEARS AGO: Pomegranate-Molasses Glazed Carrots
FOURTEEN YEARS AGO: Braised Brisket with Bourbon-Peach Glaze
FIFTEEN YEARS AGO: The Real Vodka Sauce
SIXTEEN YEARS AGO: Spring Rolls on a Spring Day