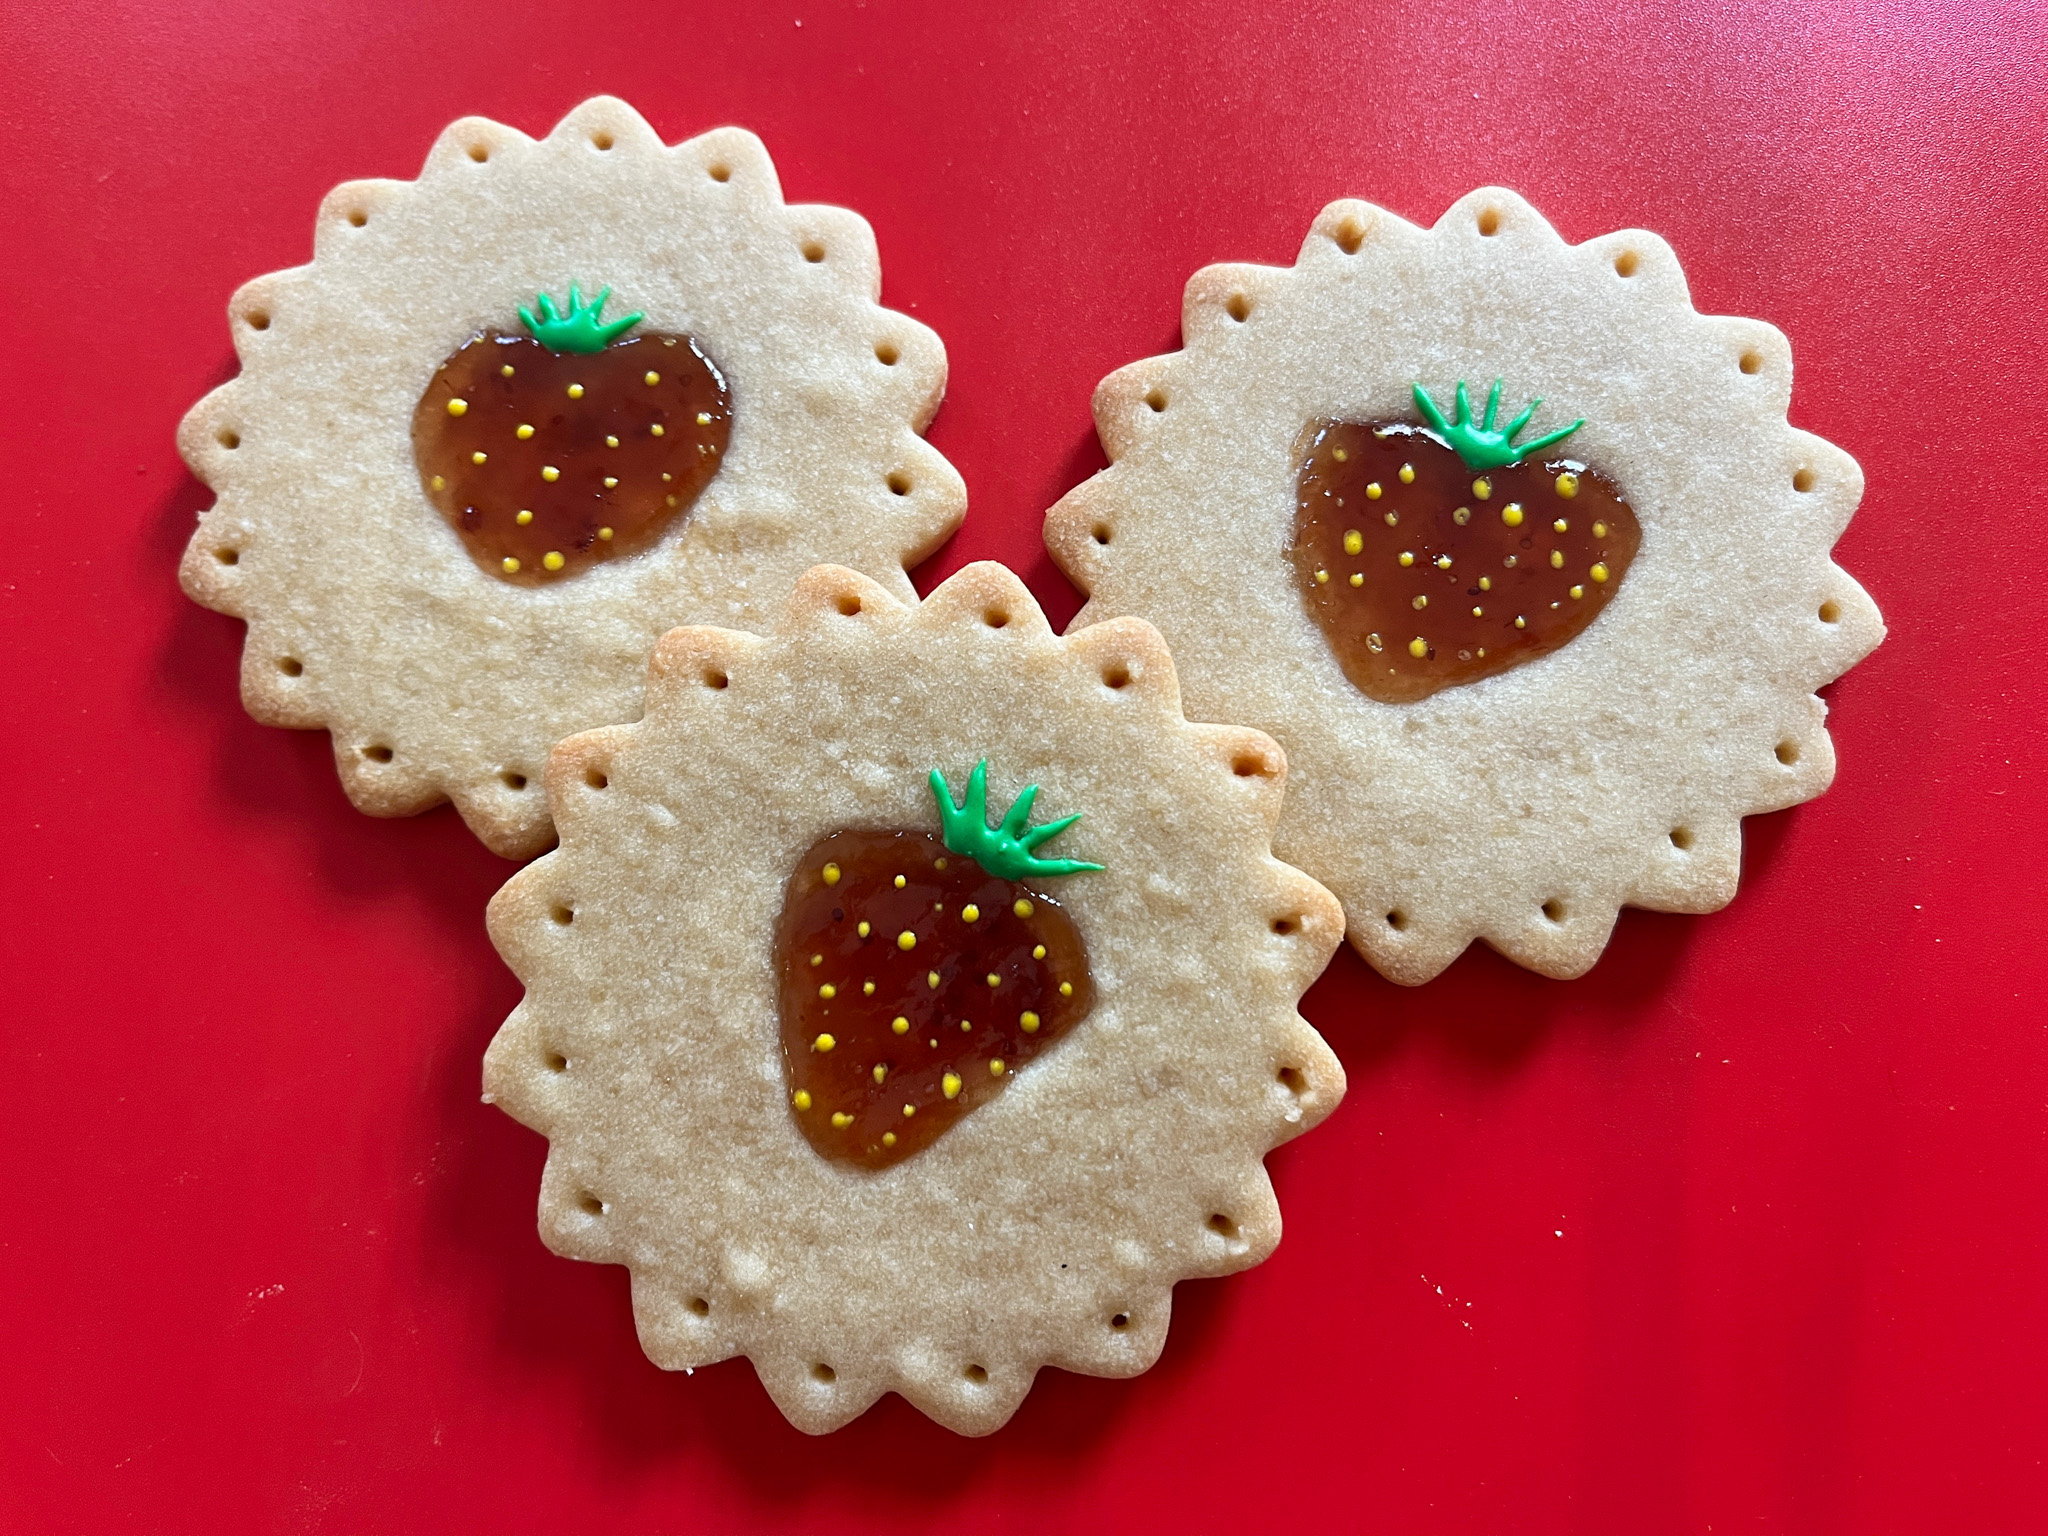
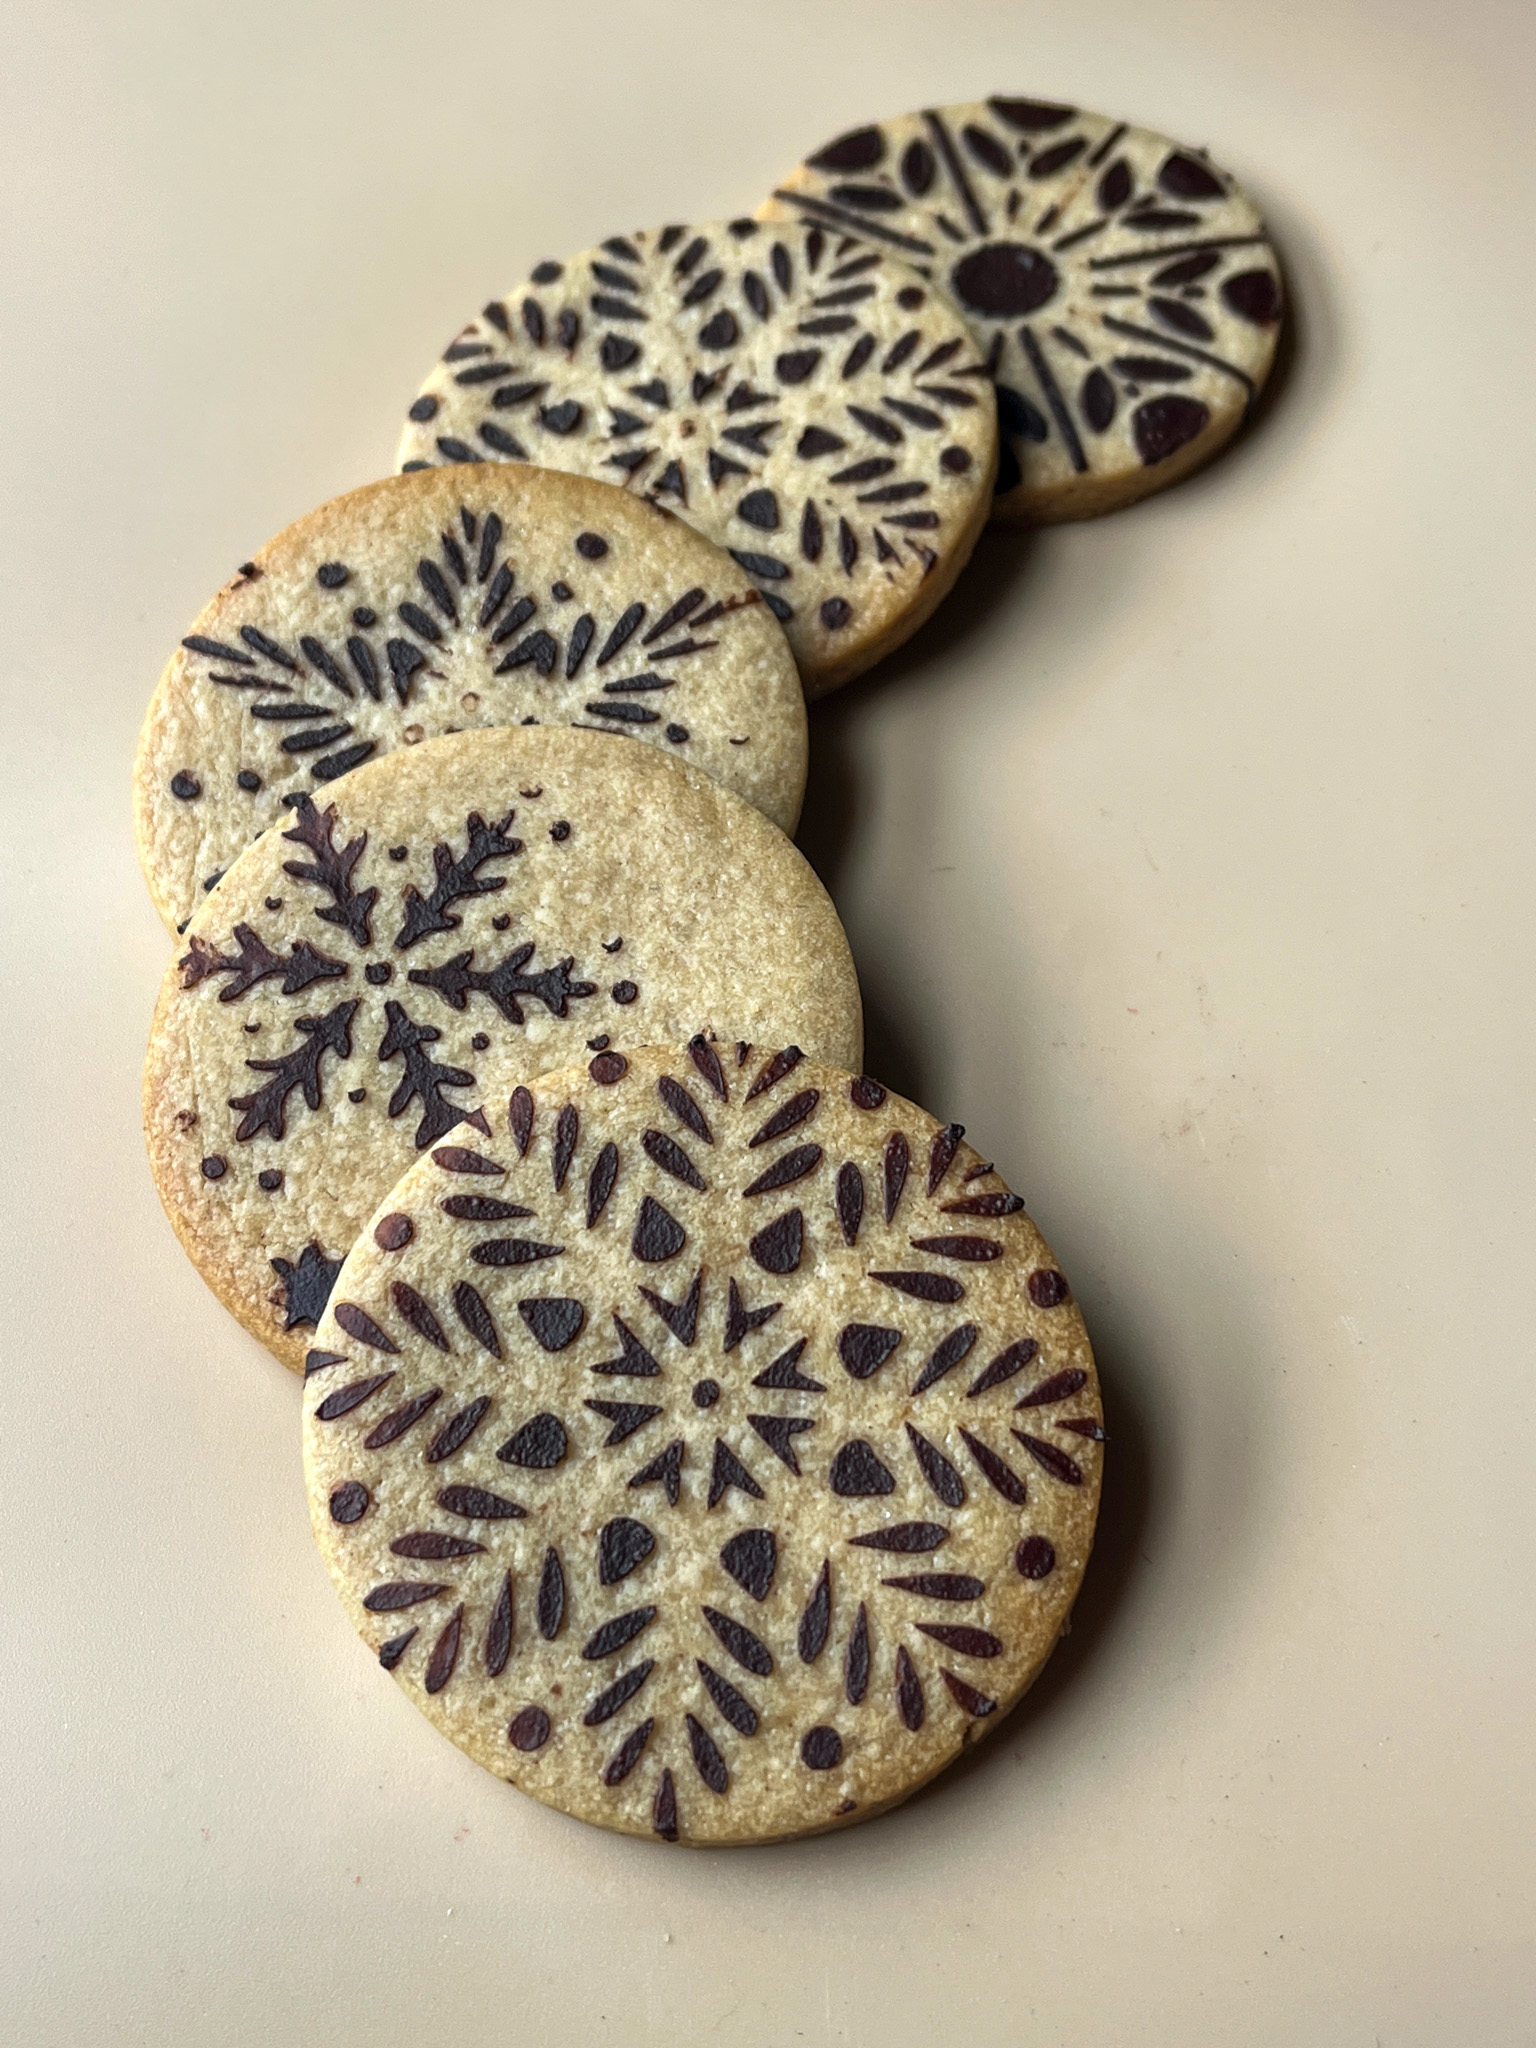
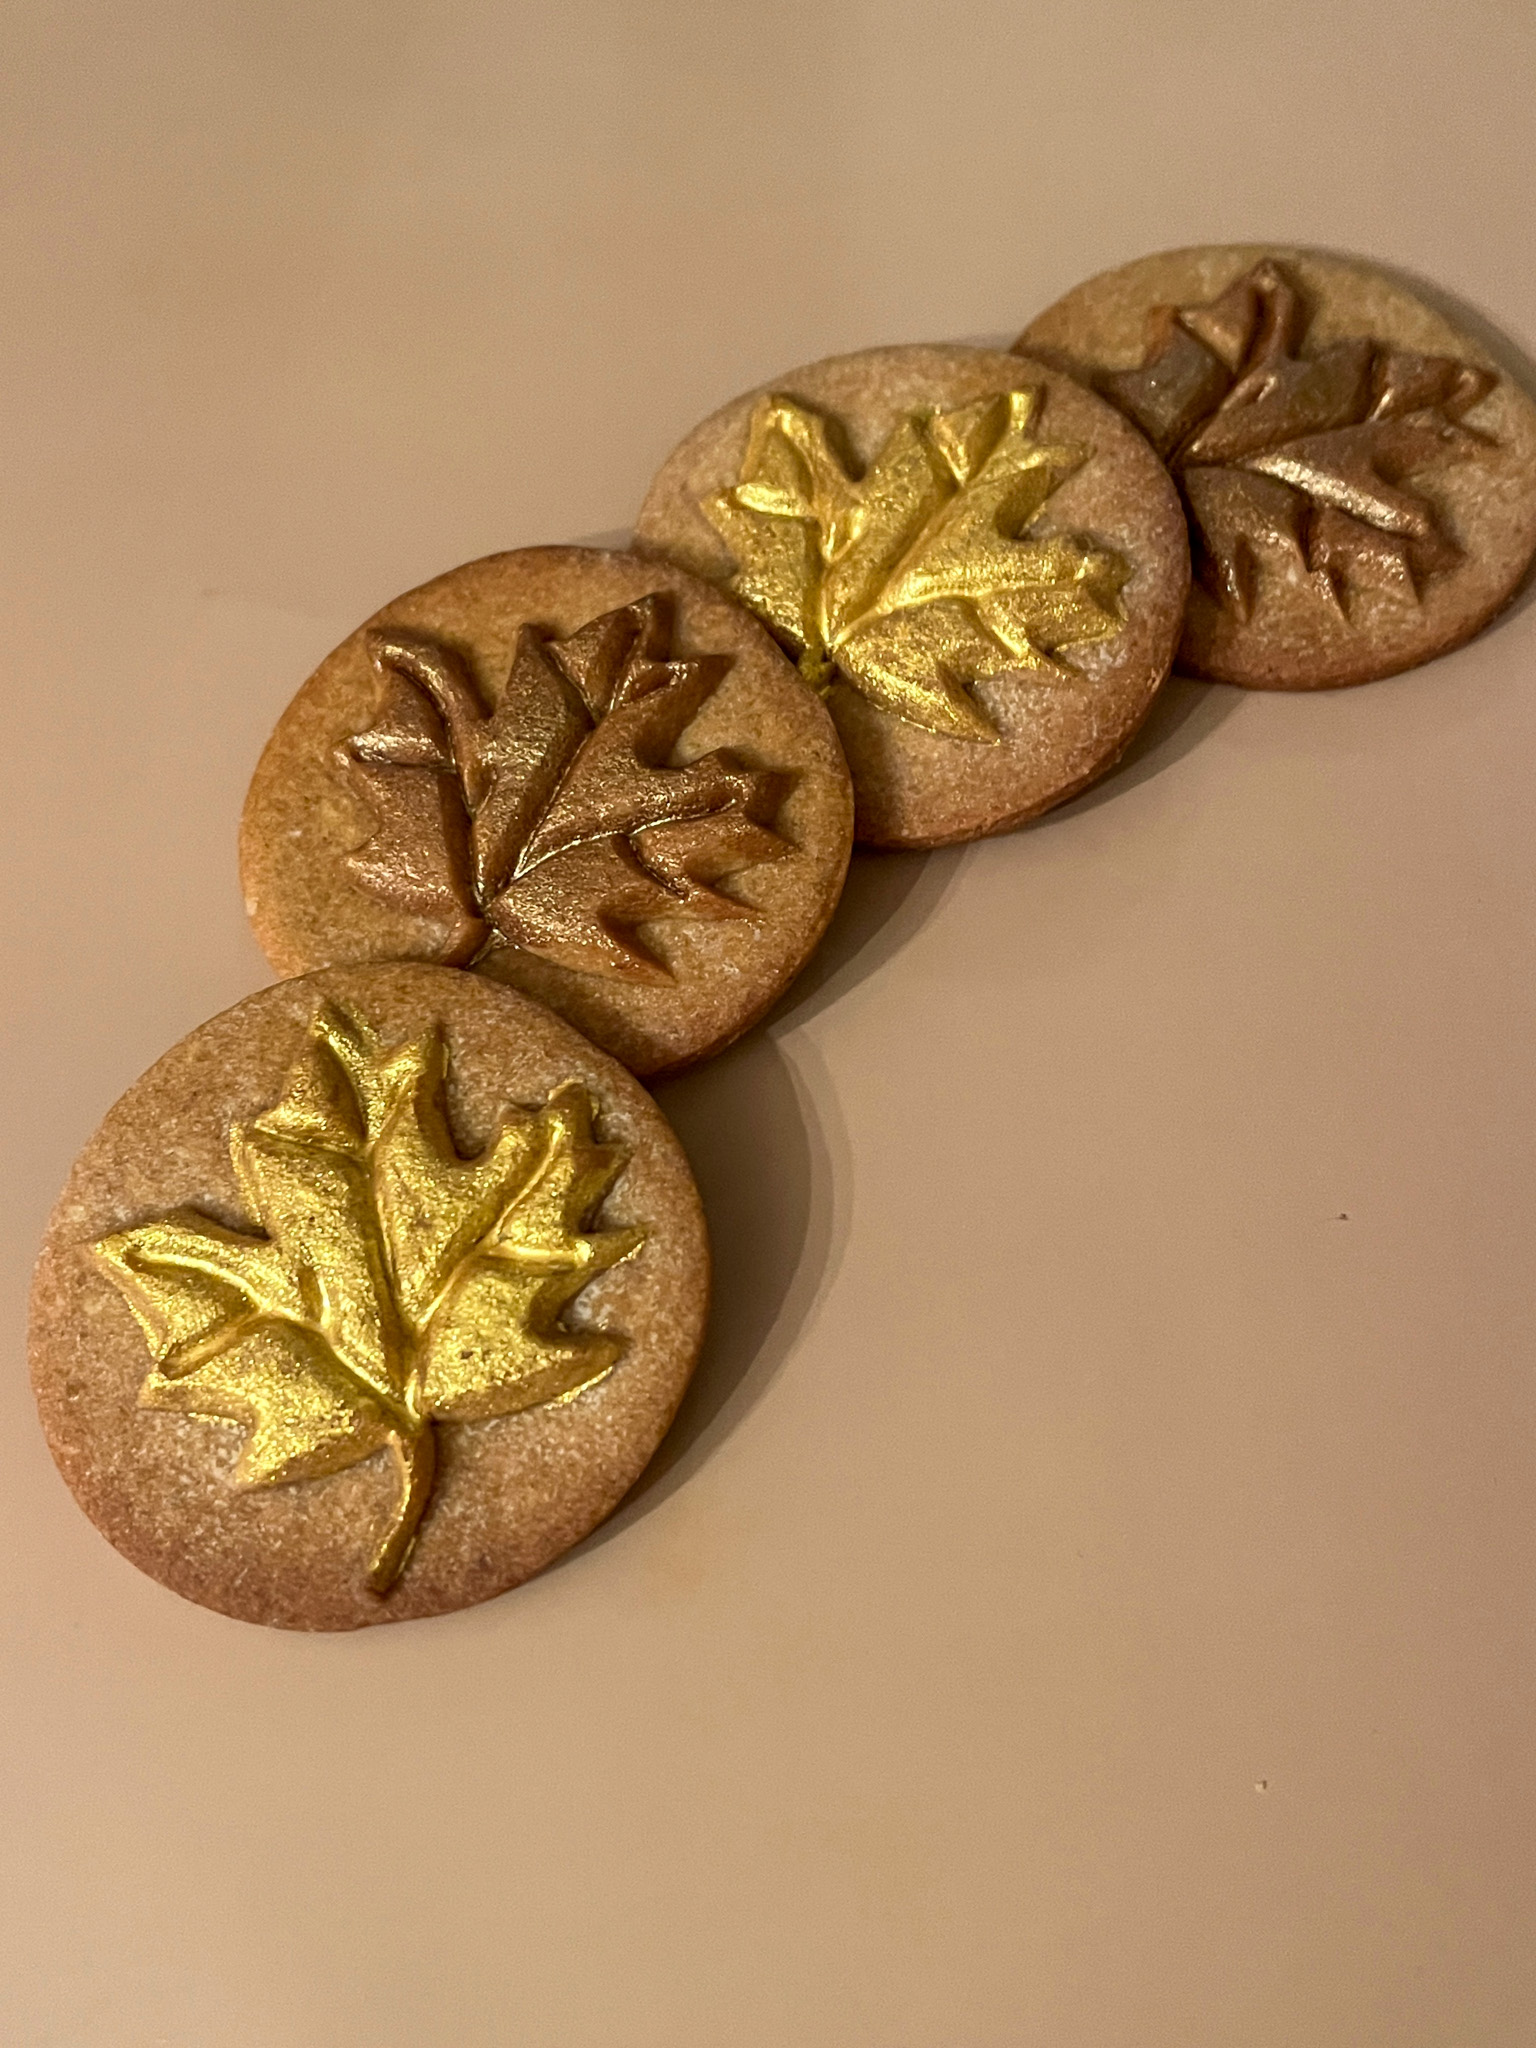
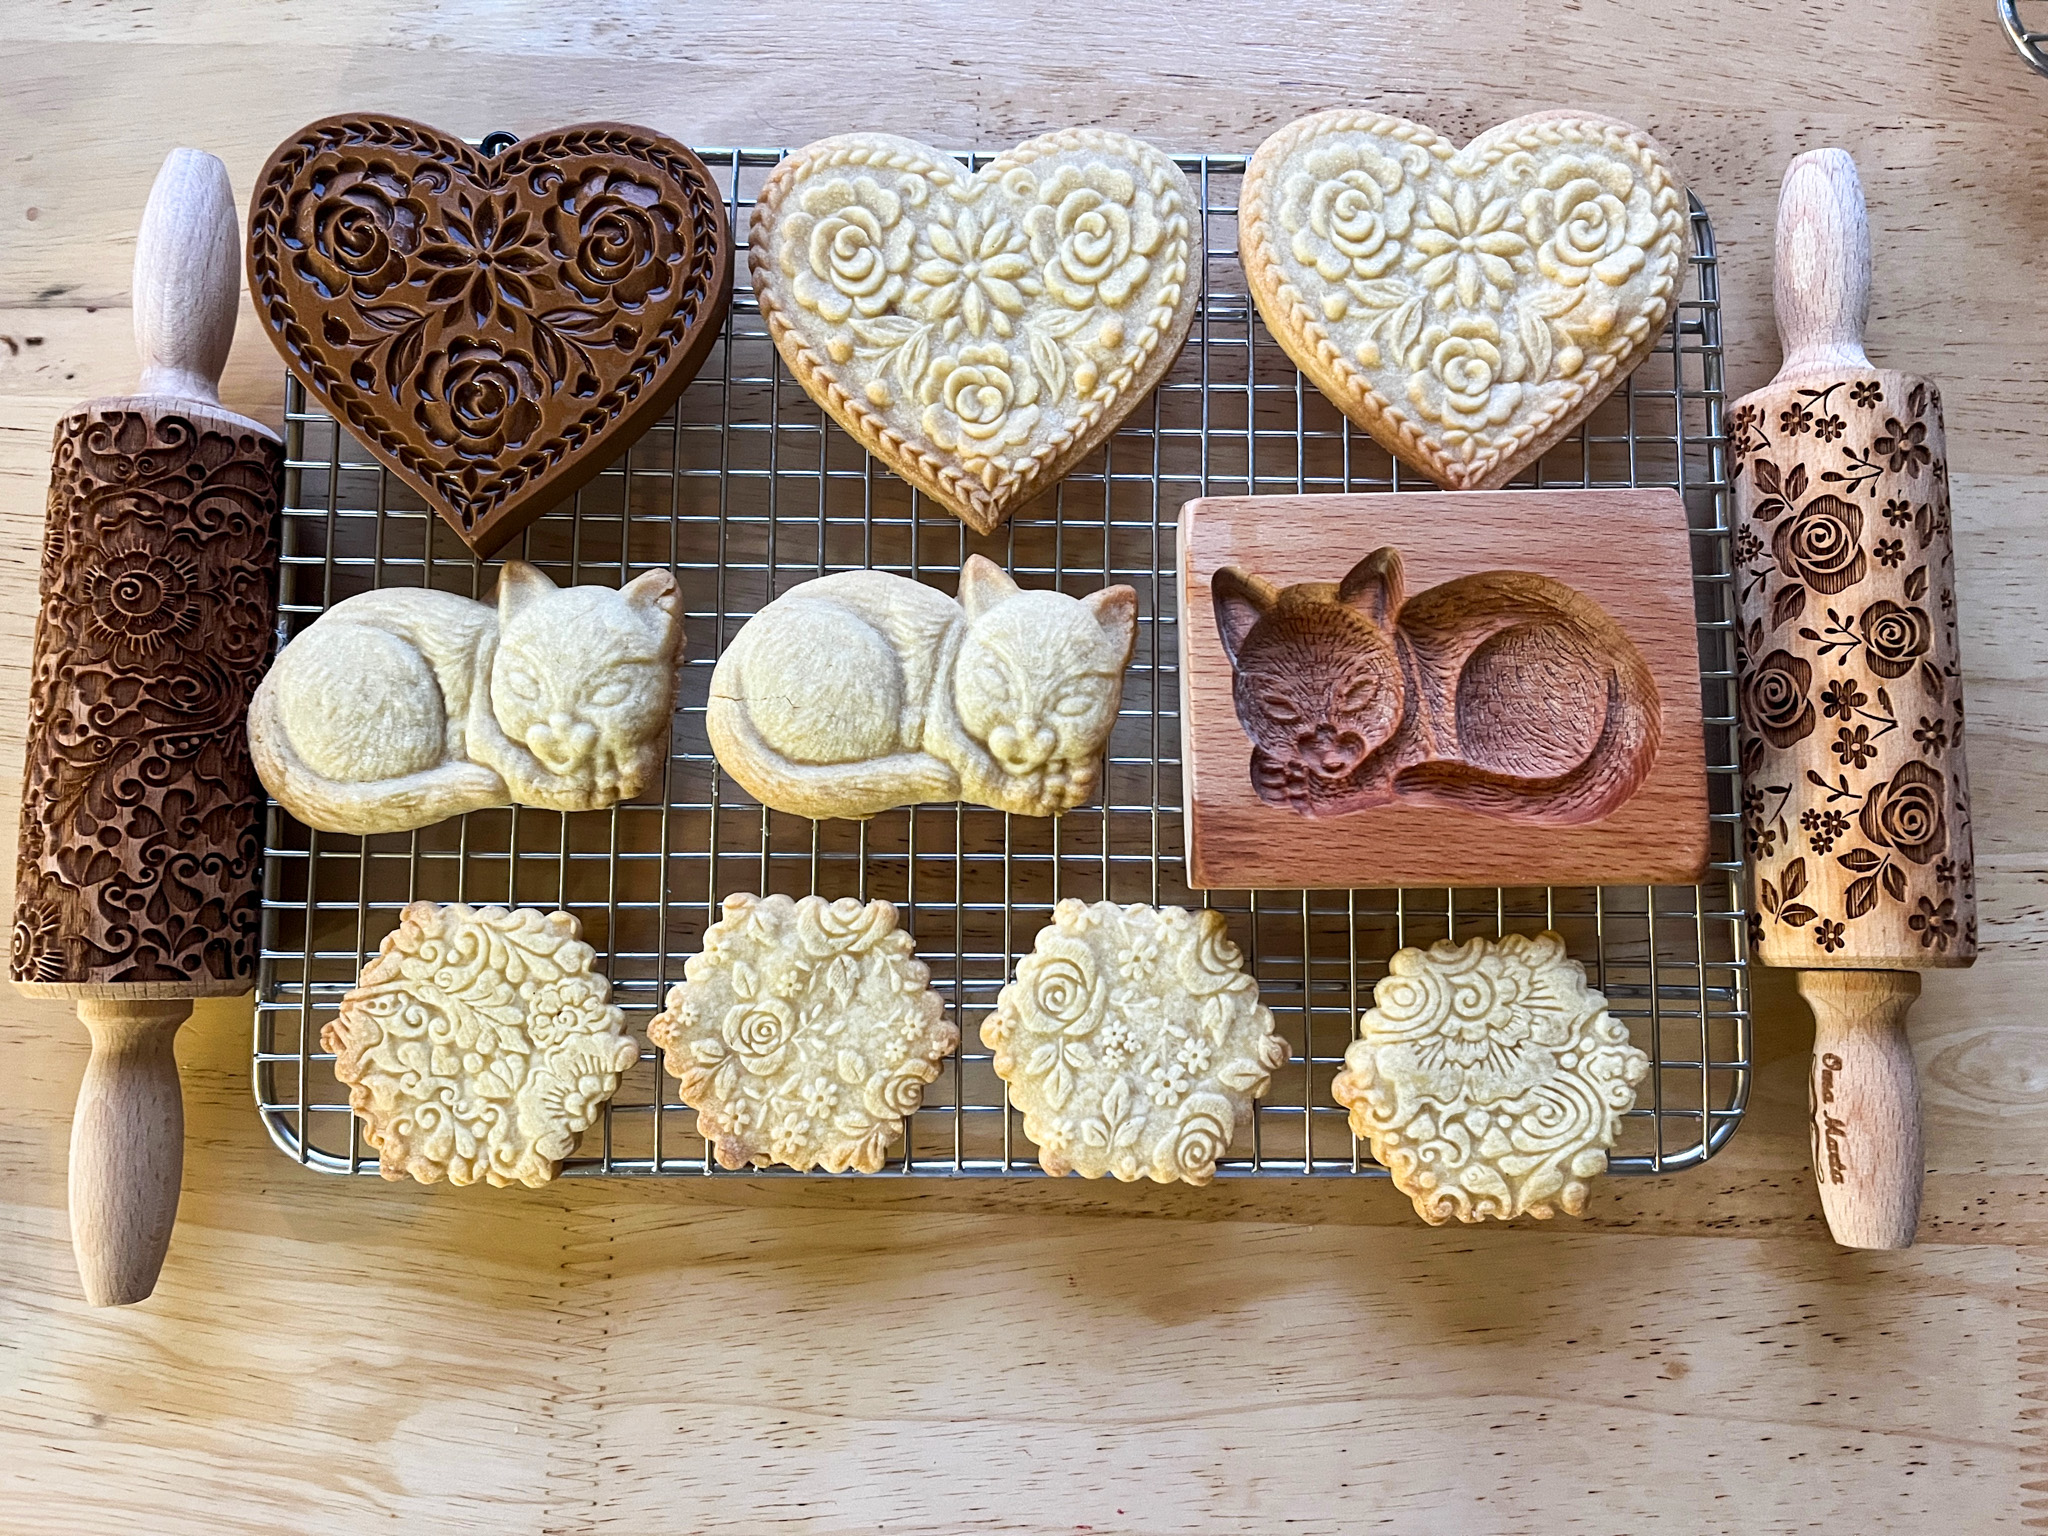
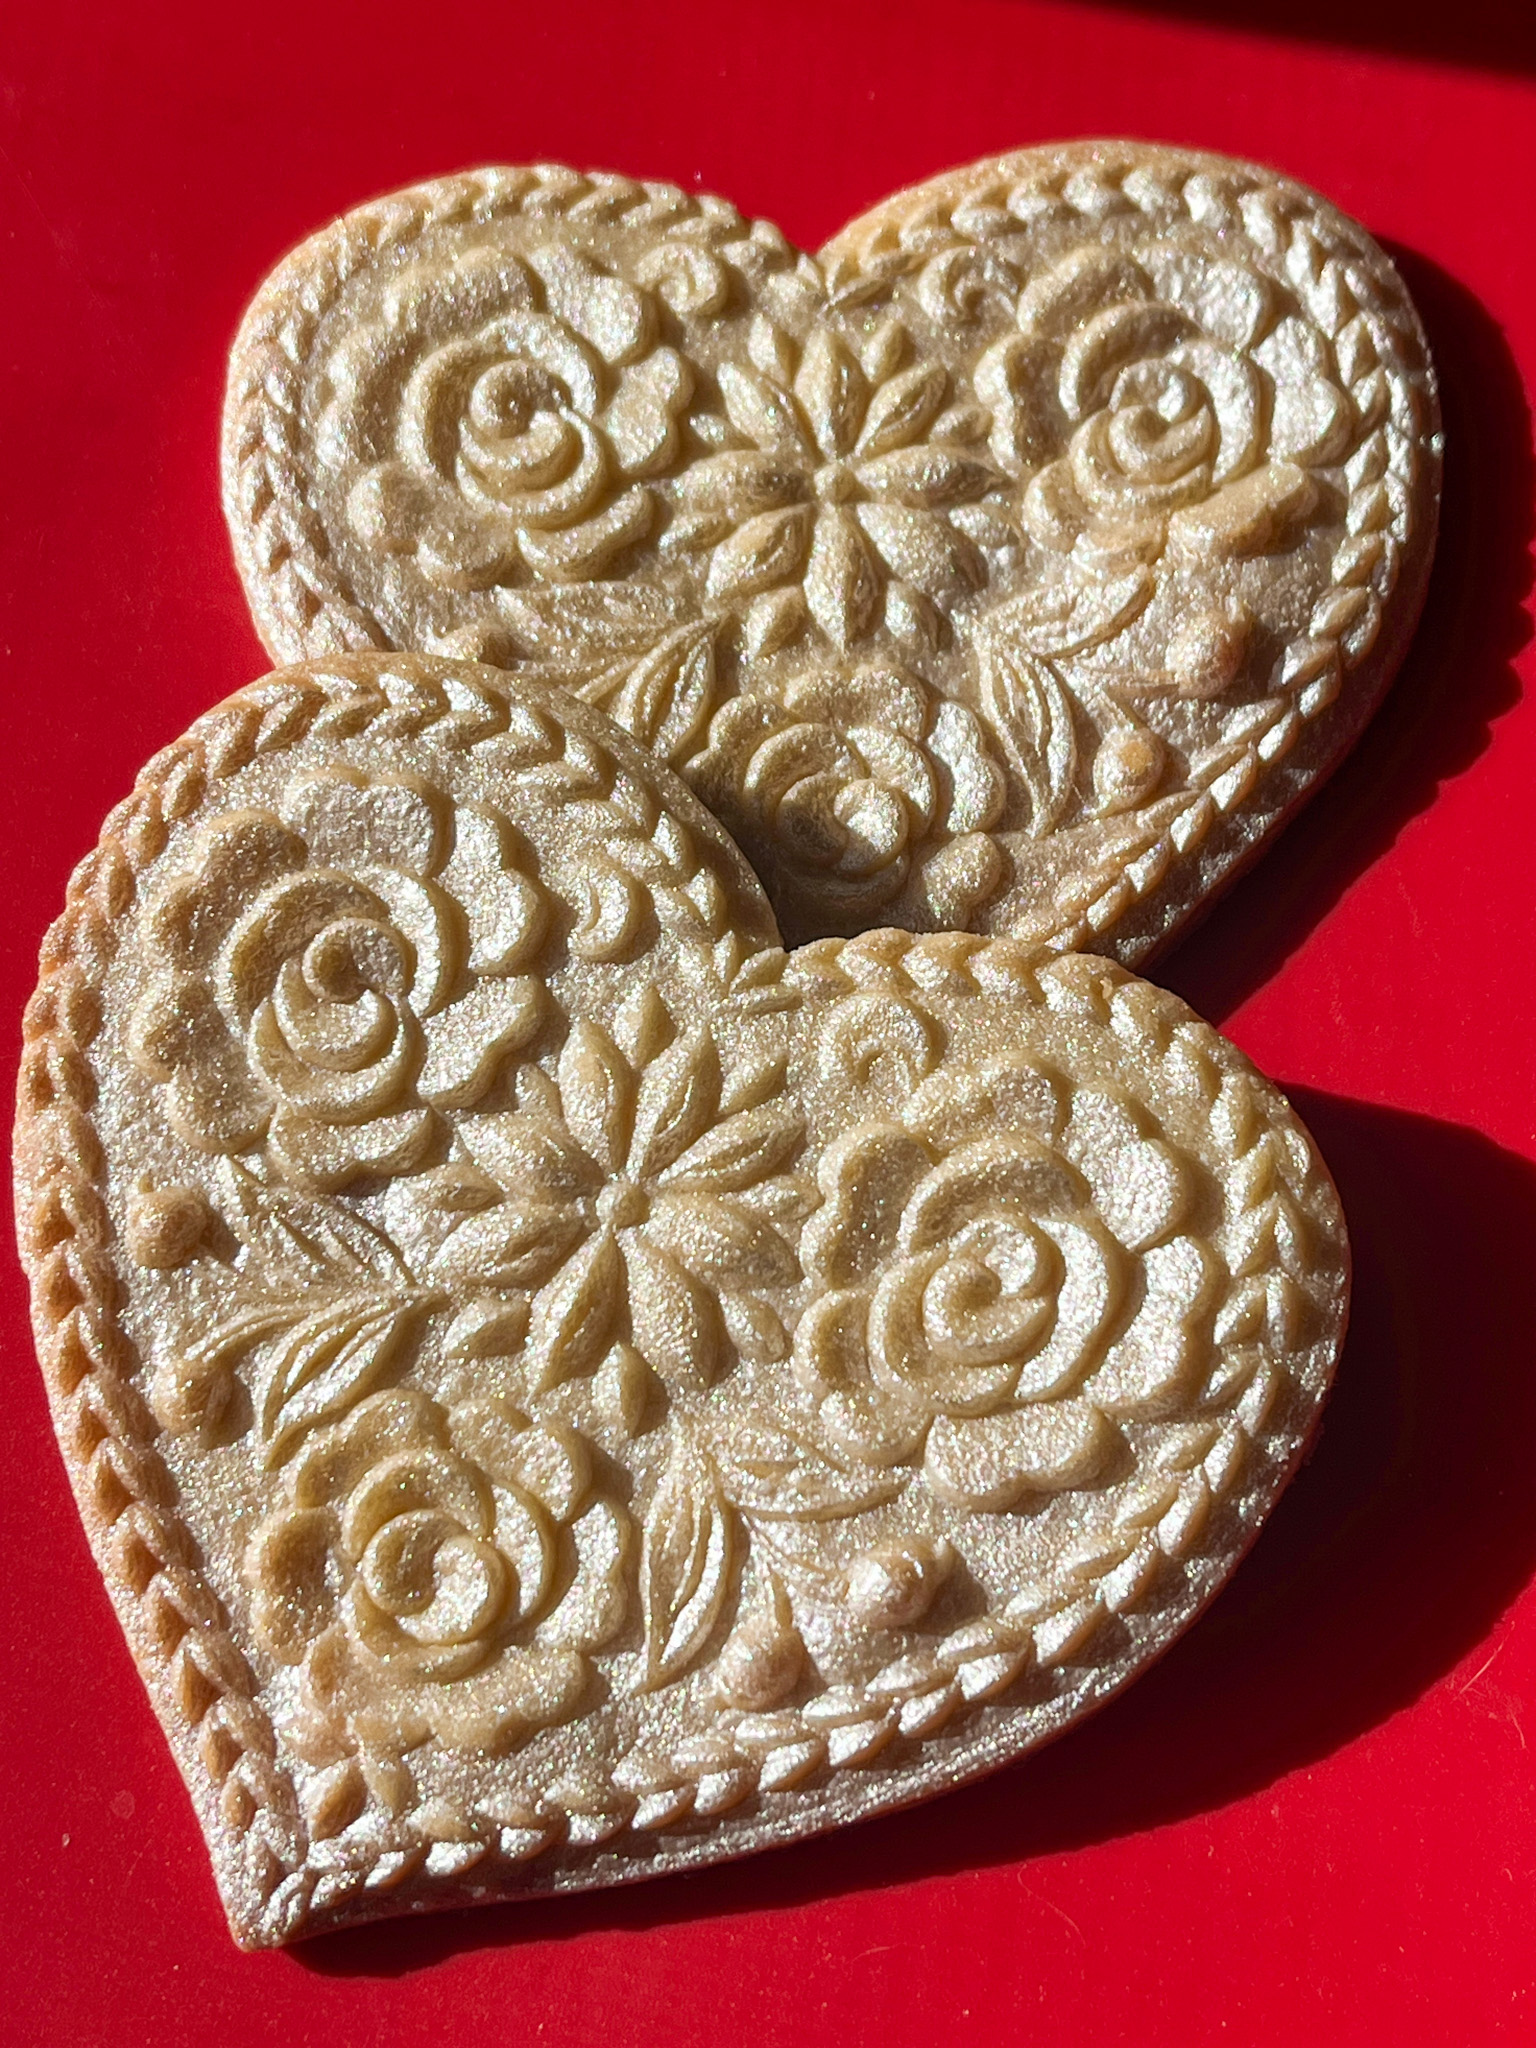
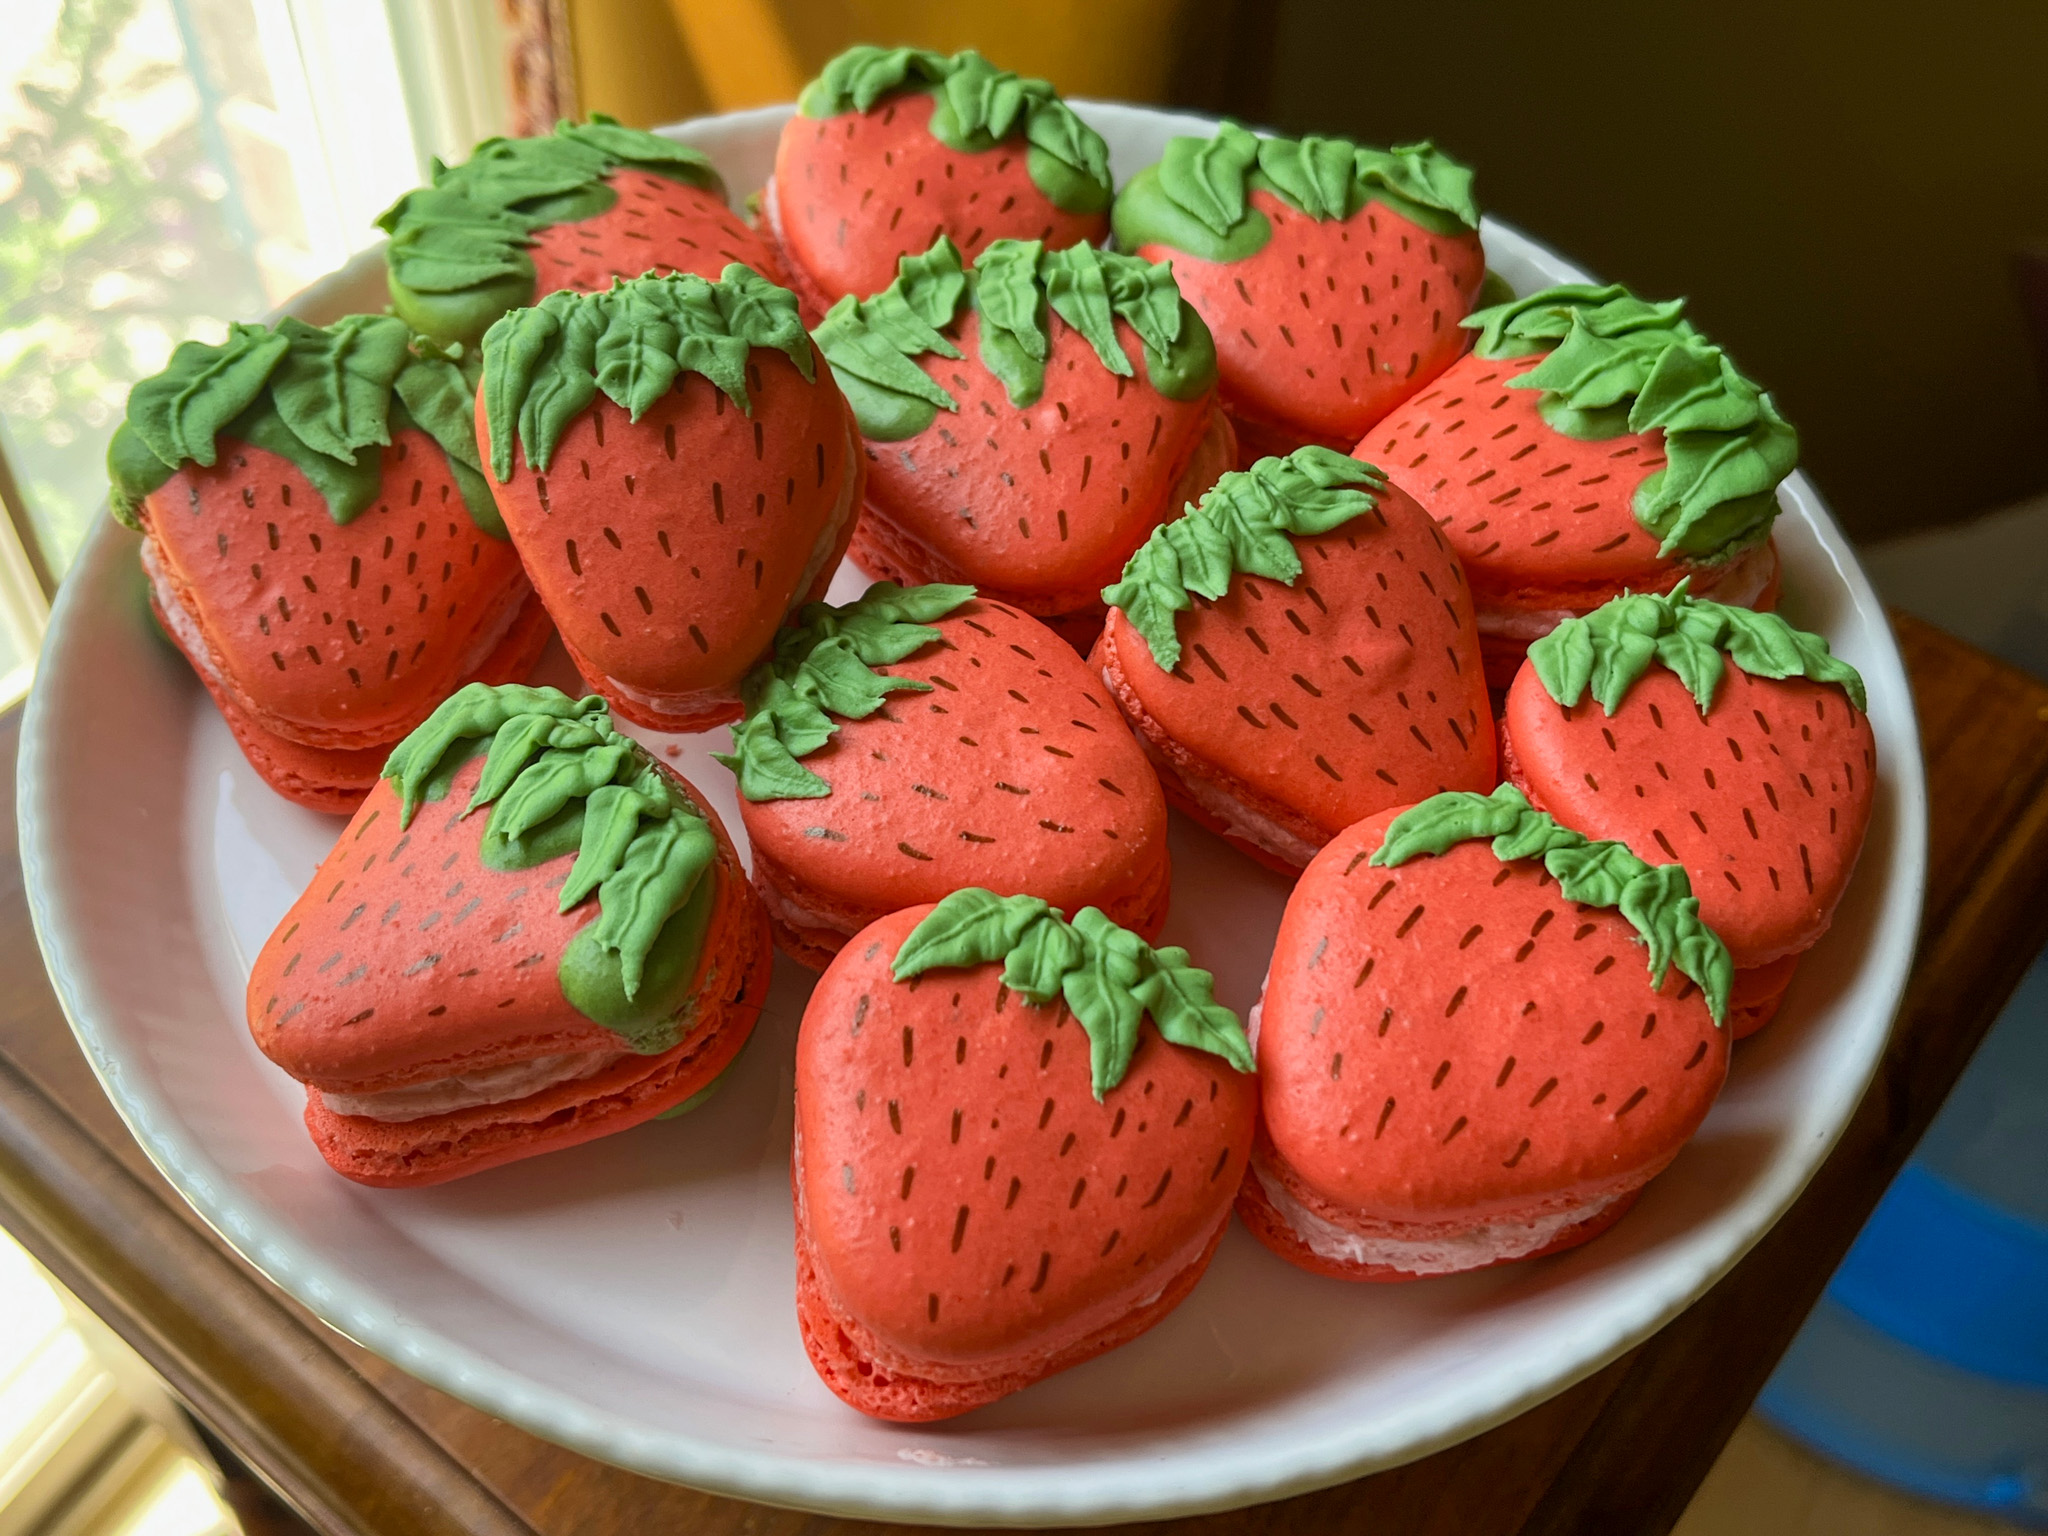
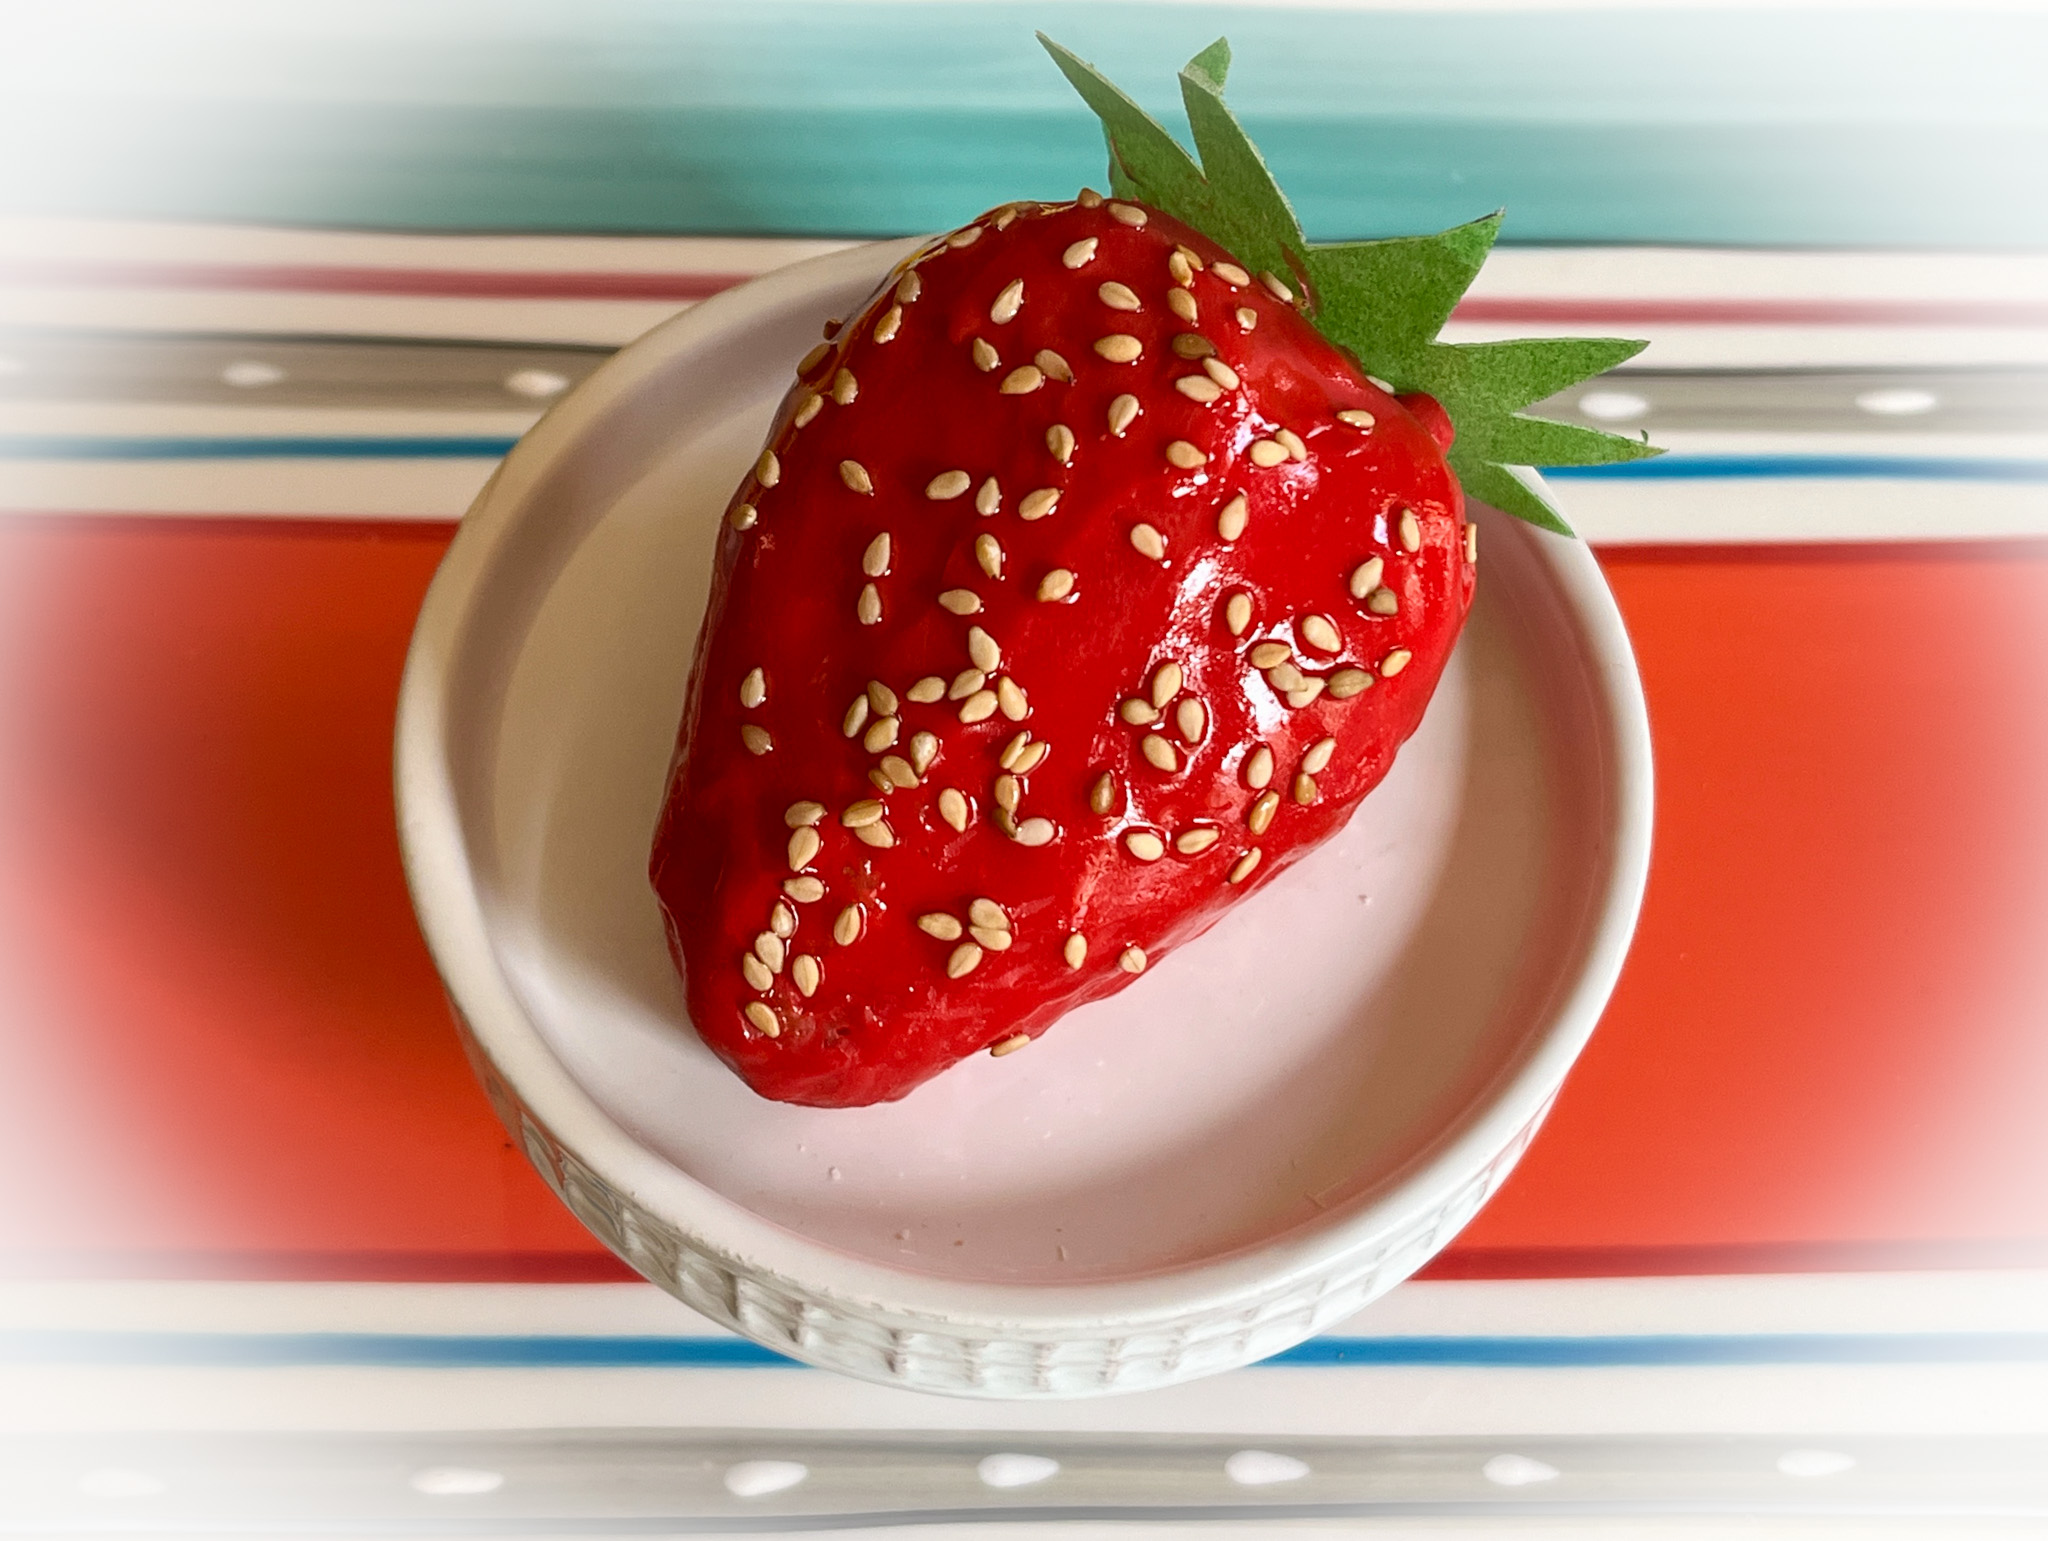
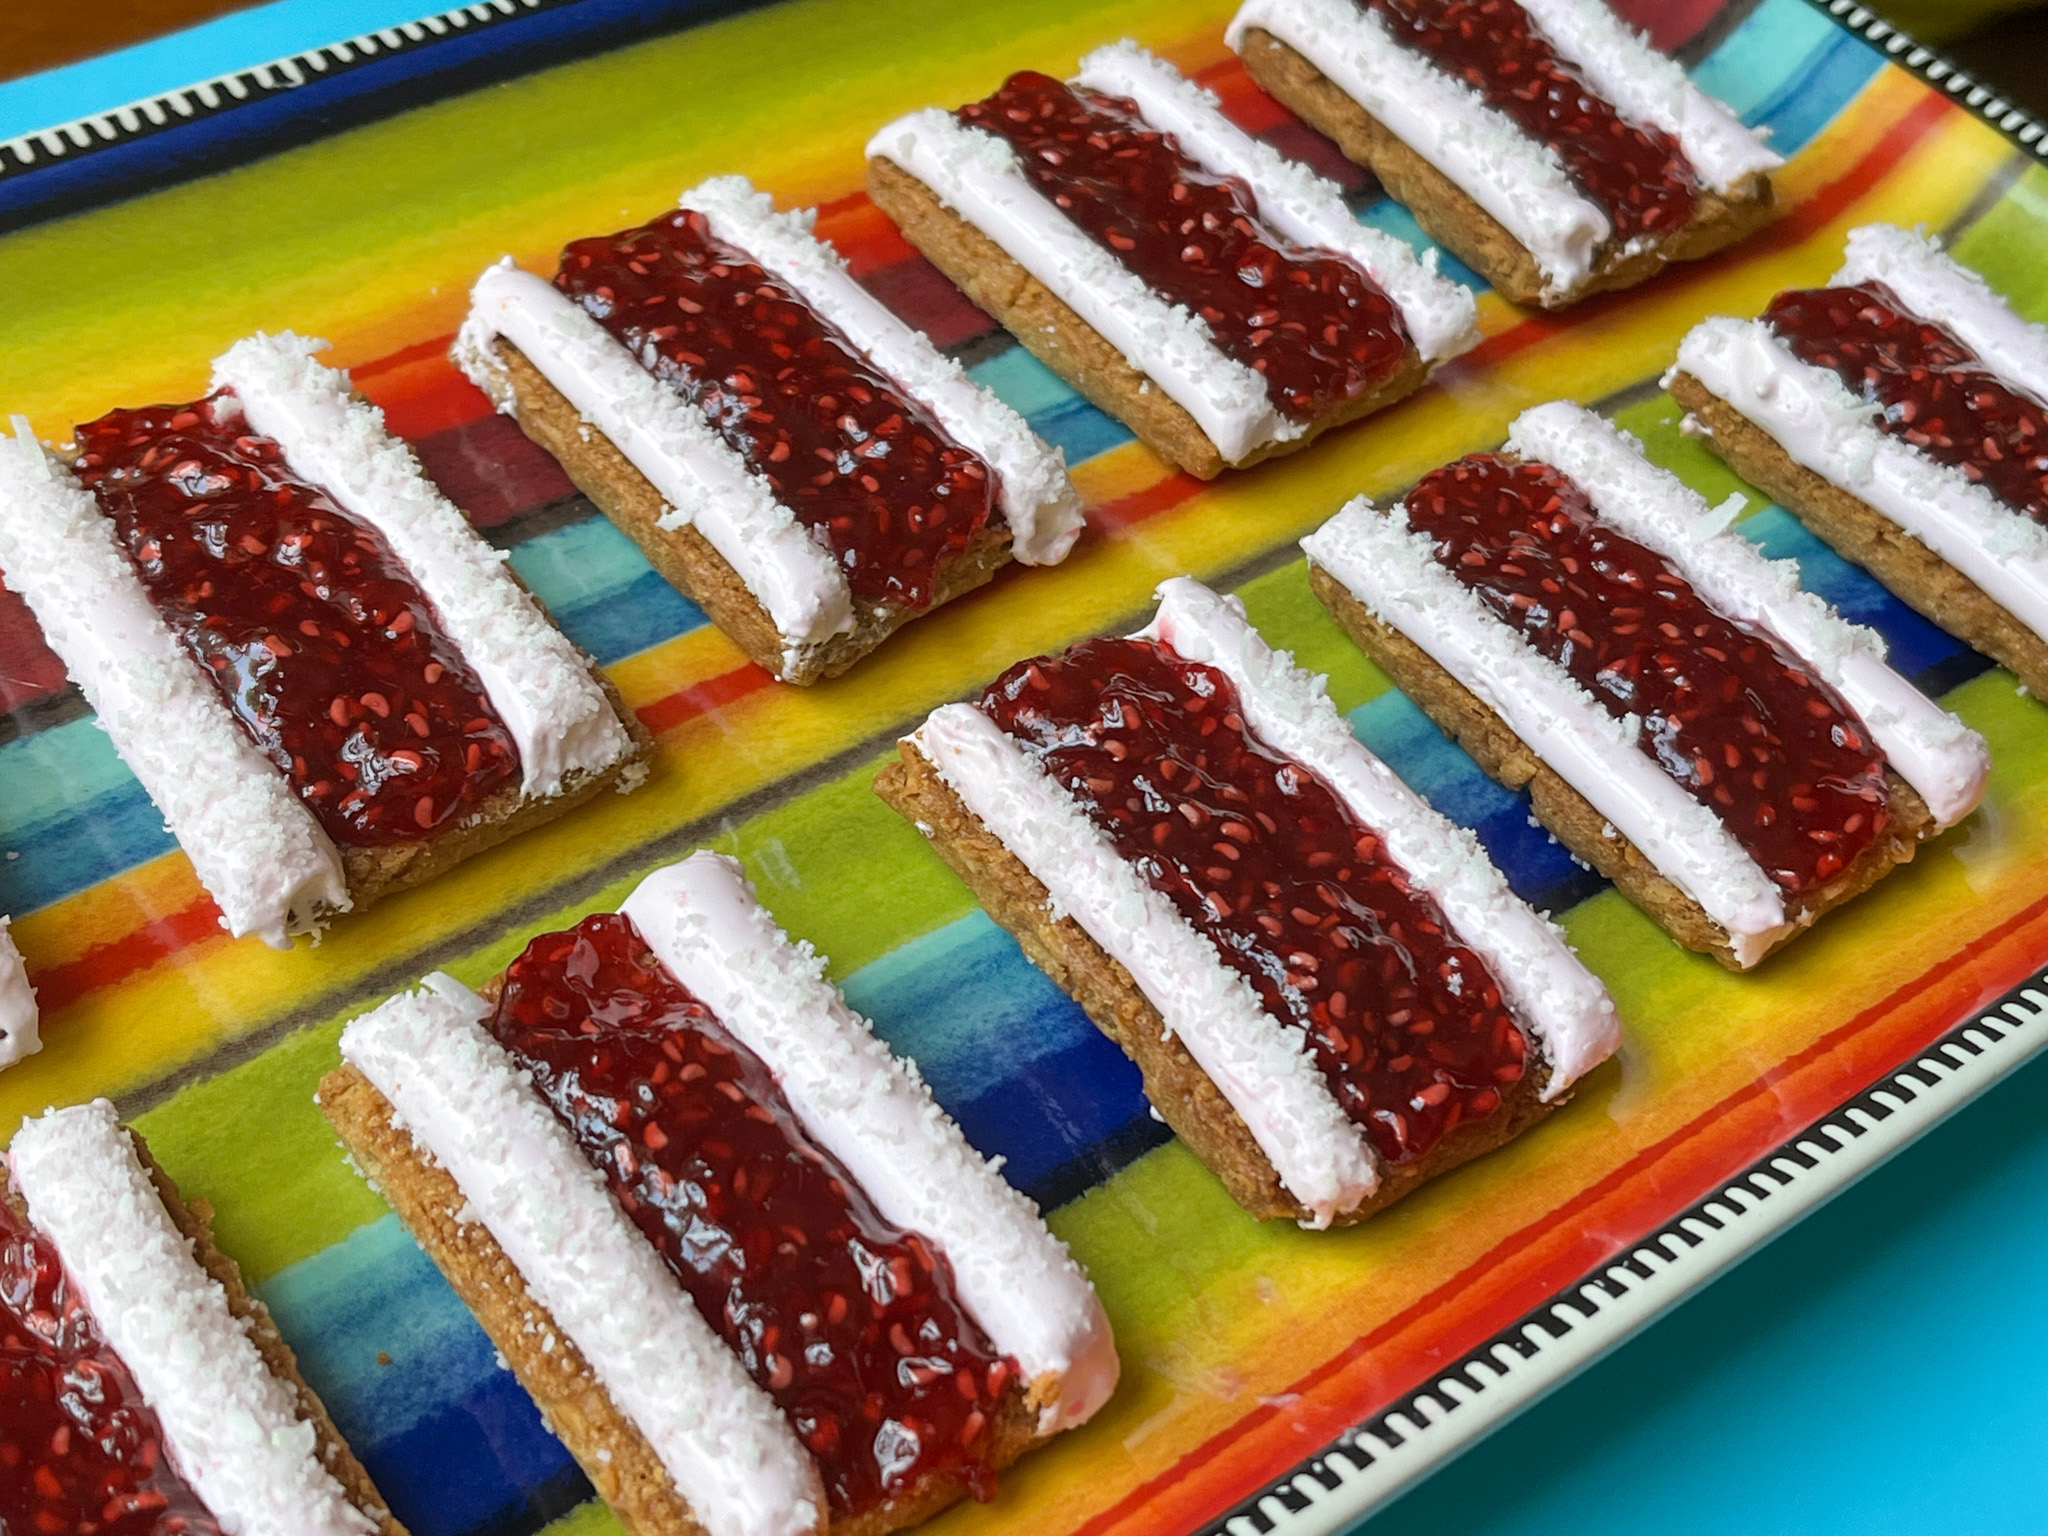
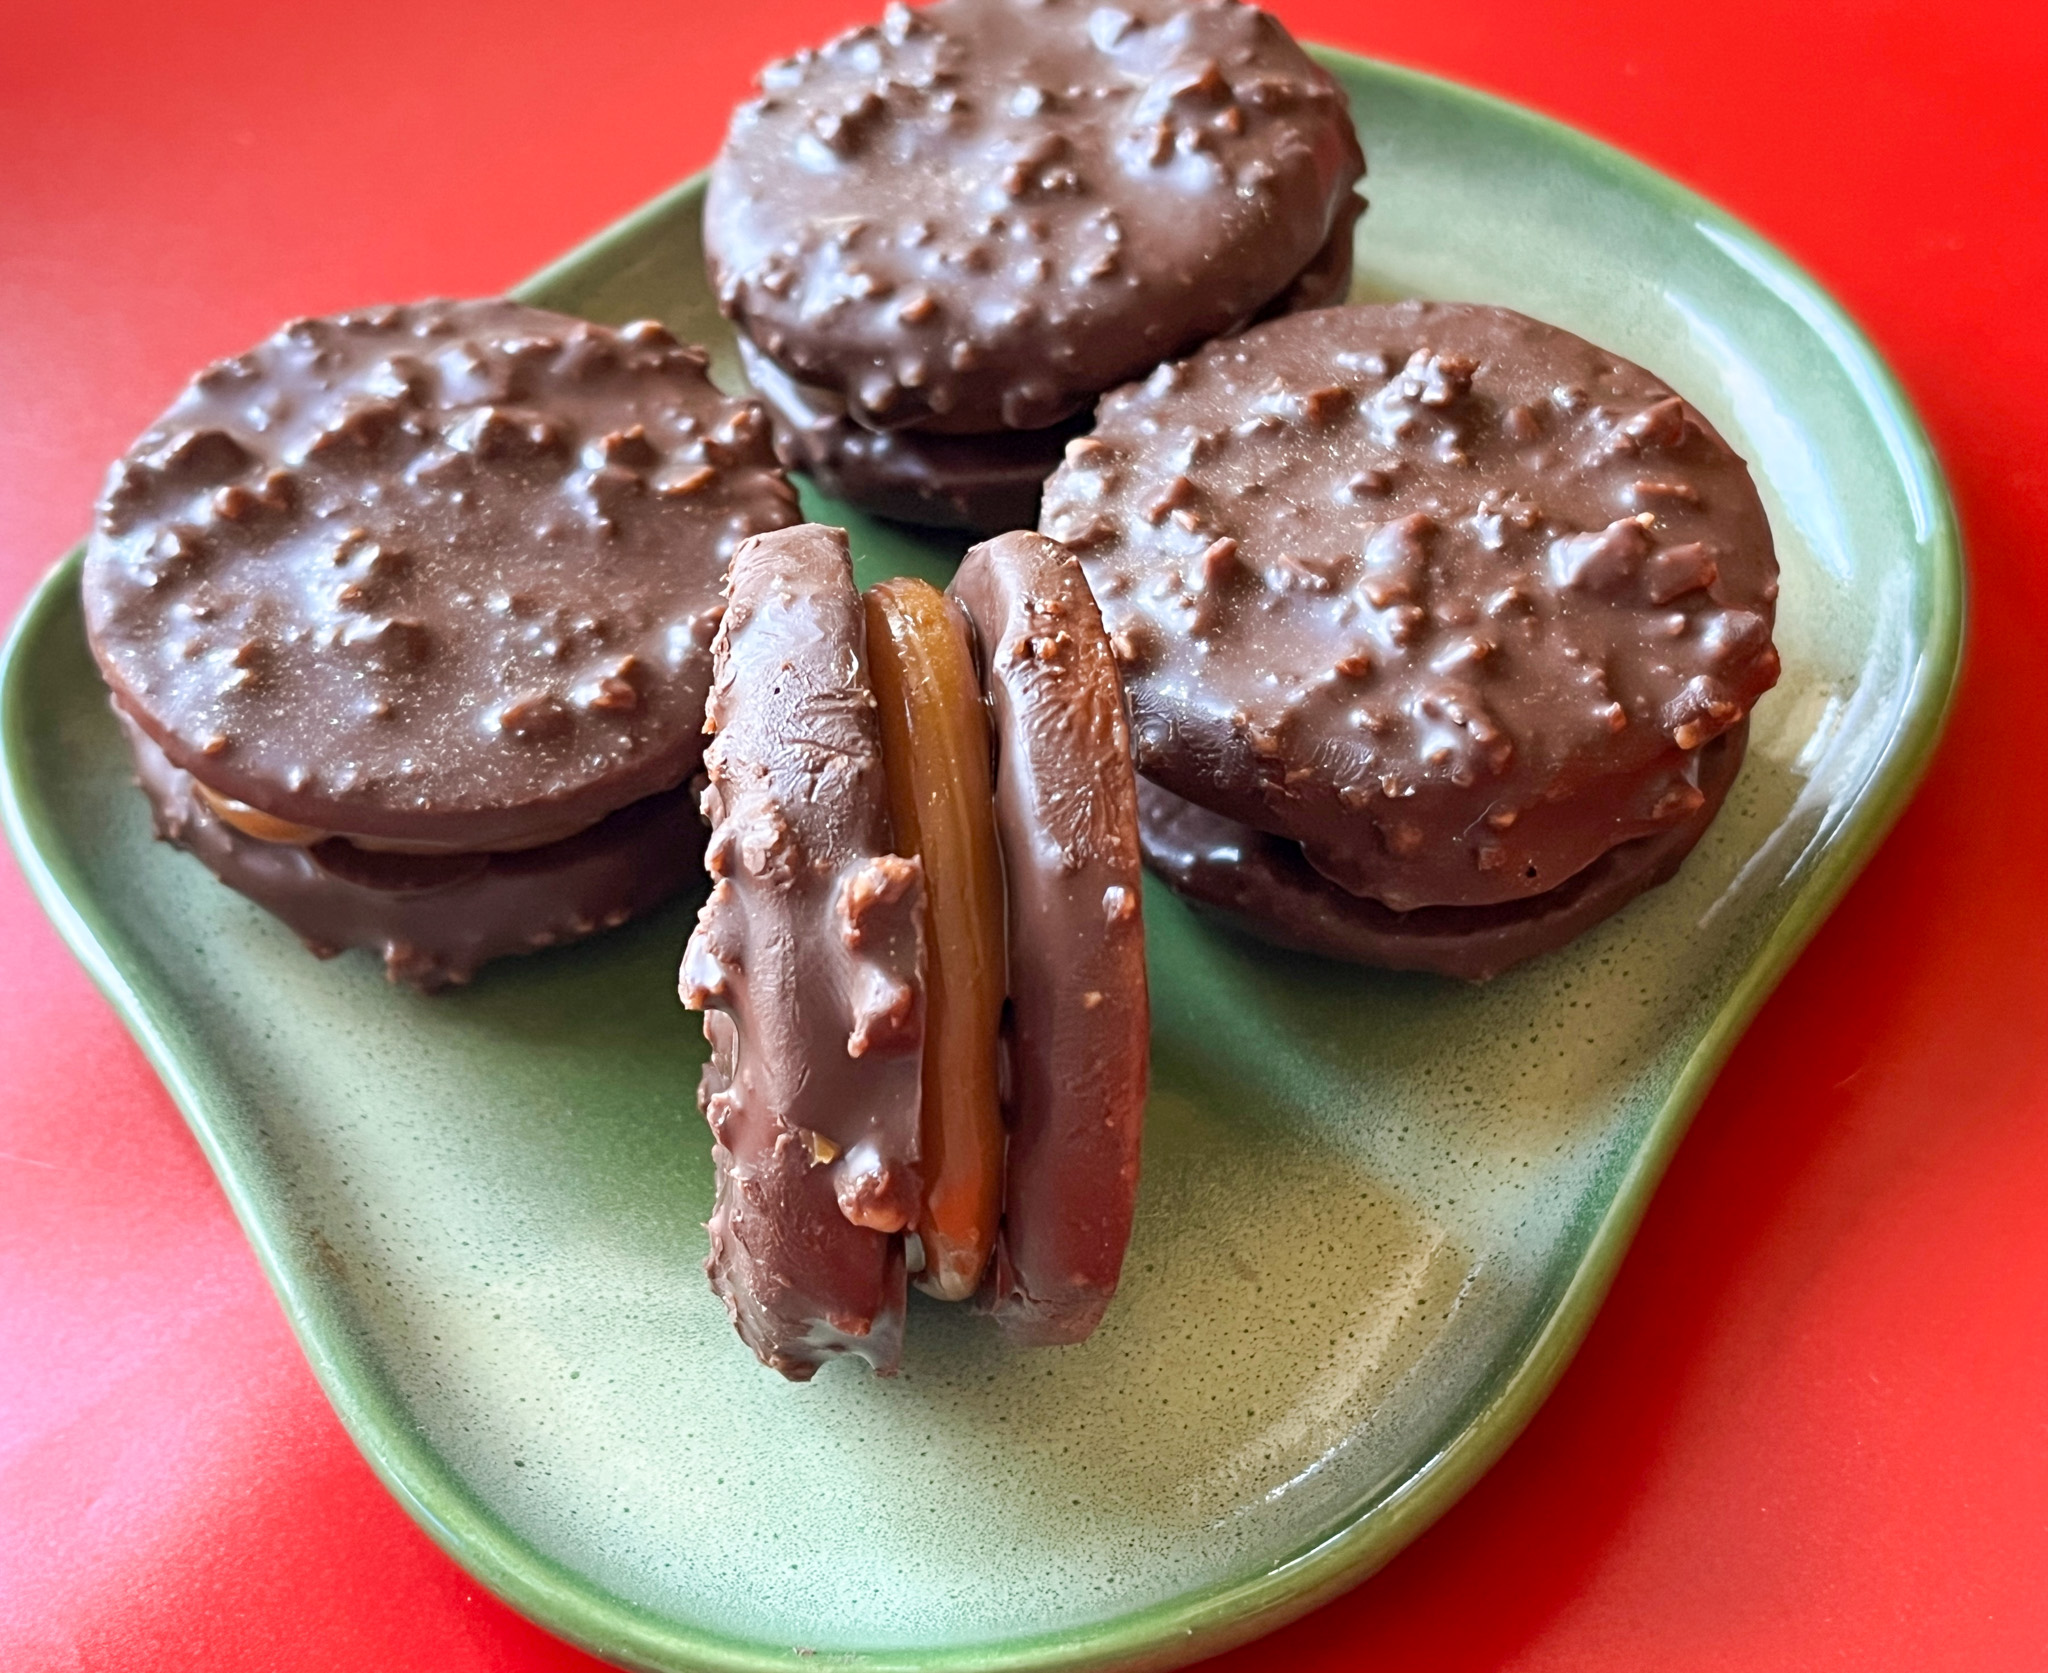
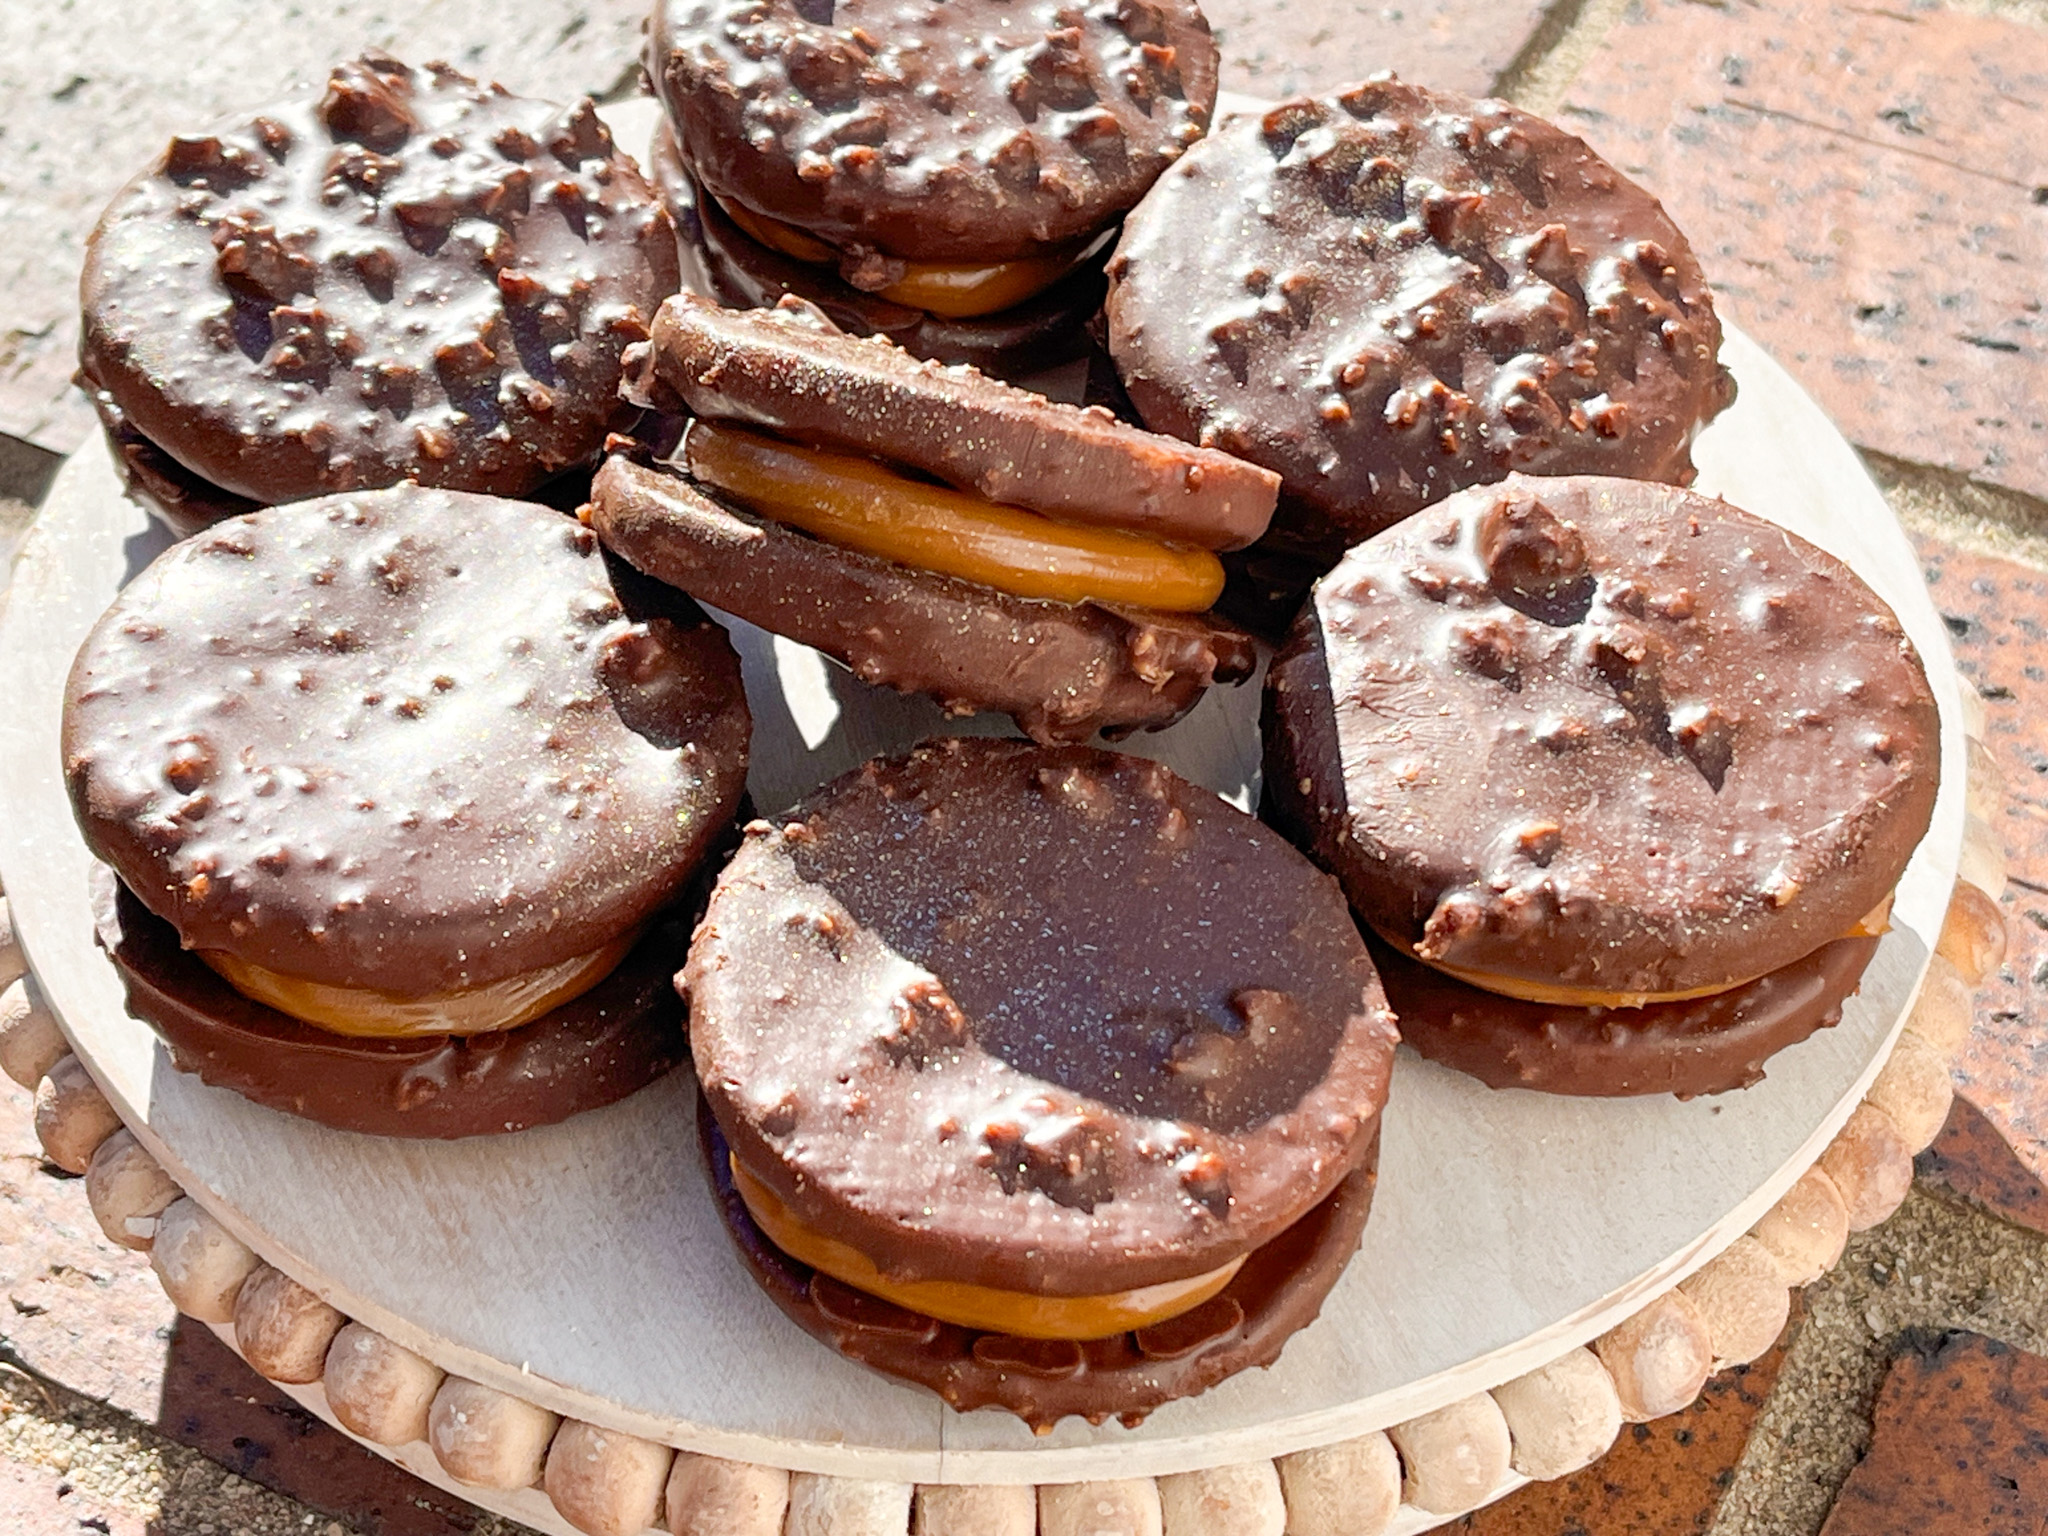
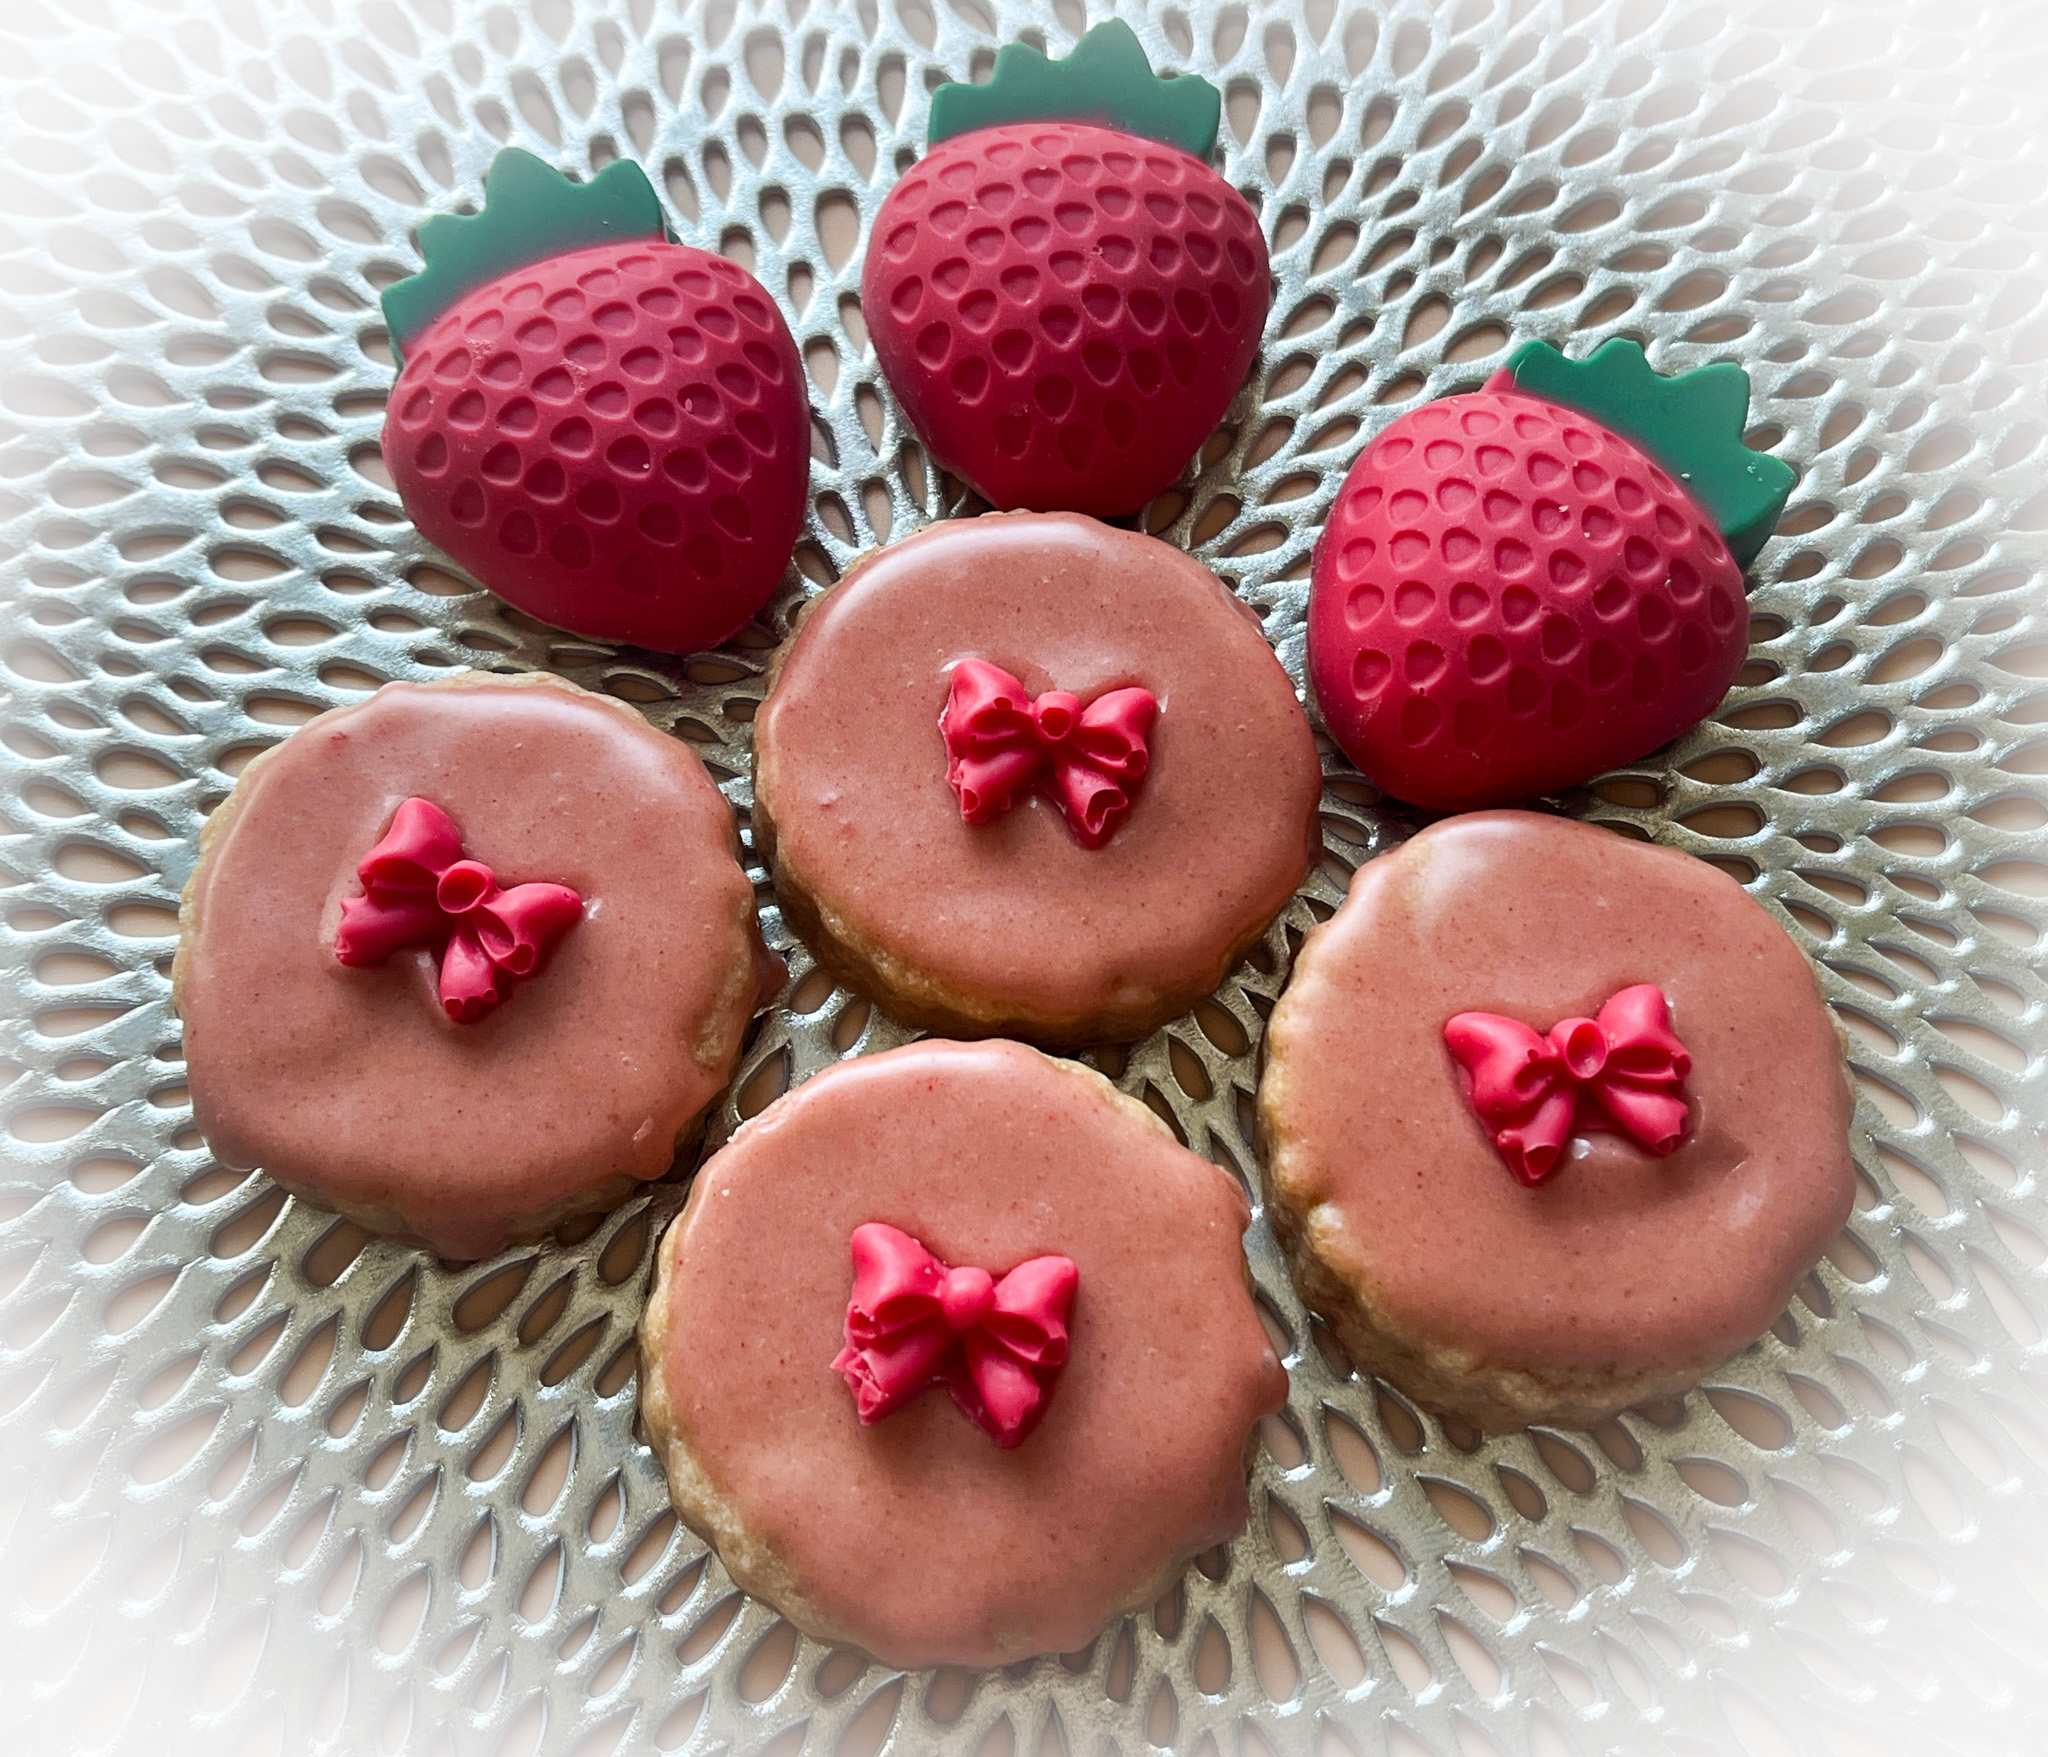
One cookie dough, two different outcomes. Not sure which one I loved most, but the rolled out and cut as circles is obviously the simplest and easiest. But, how to resist little tiny strawberry shaped cookies, coated in chocolate?
STRAWBERRY SHORTBREAD COOKIES
(slightly modified from Bakes by Brown Sugar)
320 grams unbleached all-purpose flour
15 grams strawberry powder
227 grams unsalted butter room temperature
114 grams granulated sugar
1/2 teaspoon kosher salt
1 teaspoon pure vanilla extract
Strawberry Glaze
1 cup (115 grams) powdered sugar
5g strawberry powder
3-5 teaspoons whole milk
Mix the flour, strawberry powder and salt in a bowl. Reserve.
Place the butter, sugar and vanilla extract in the bowl of a stand mixer with the paddle attachment and mix on medium speed until the mixture is smooth and creamy, about 2 minutes.
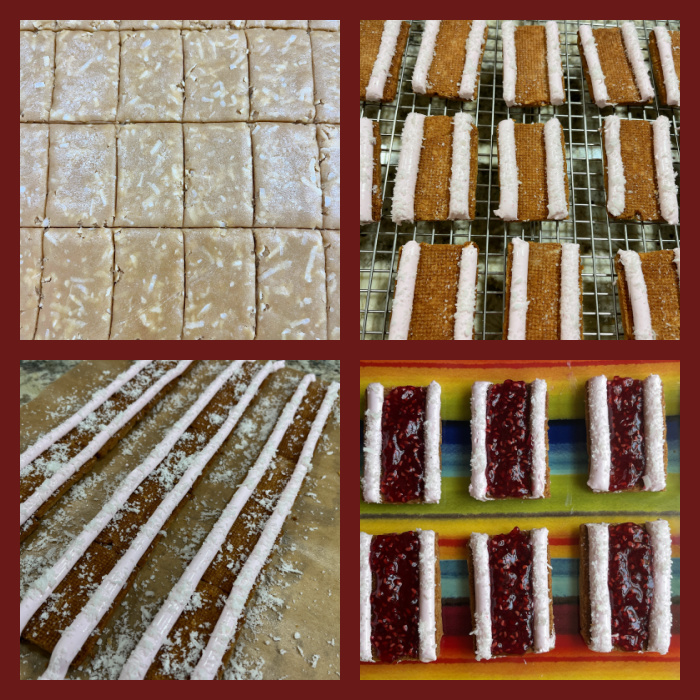
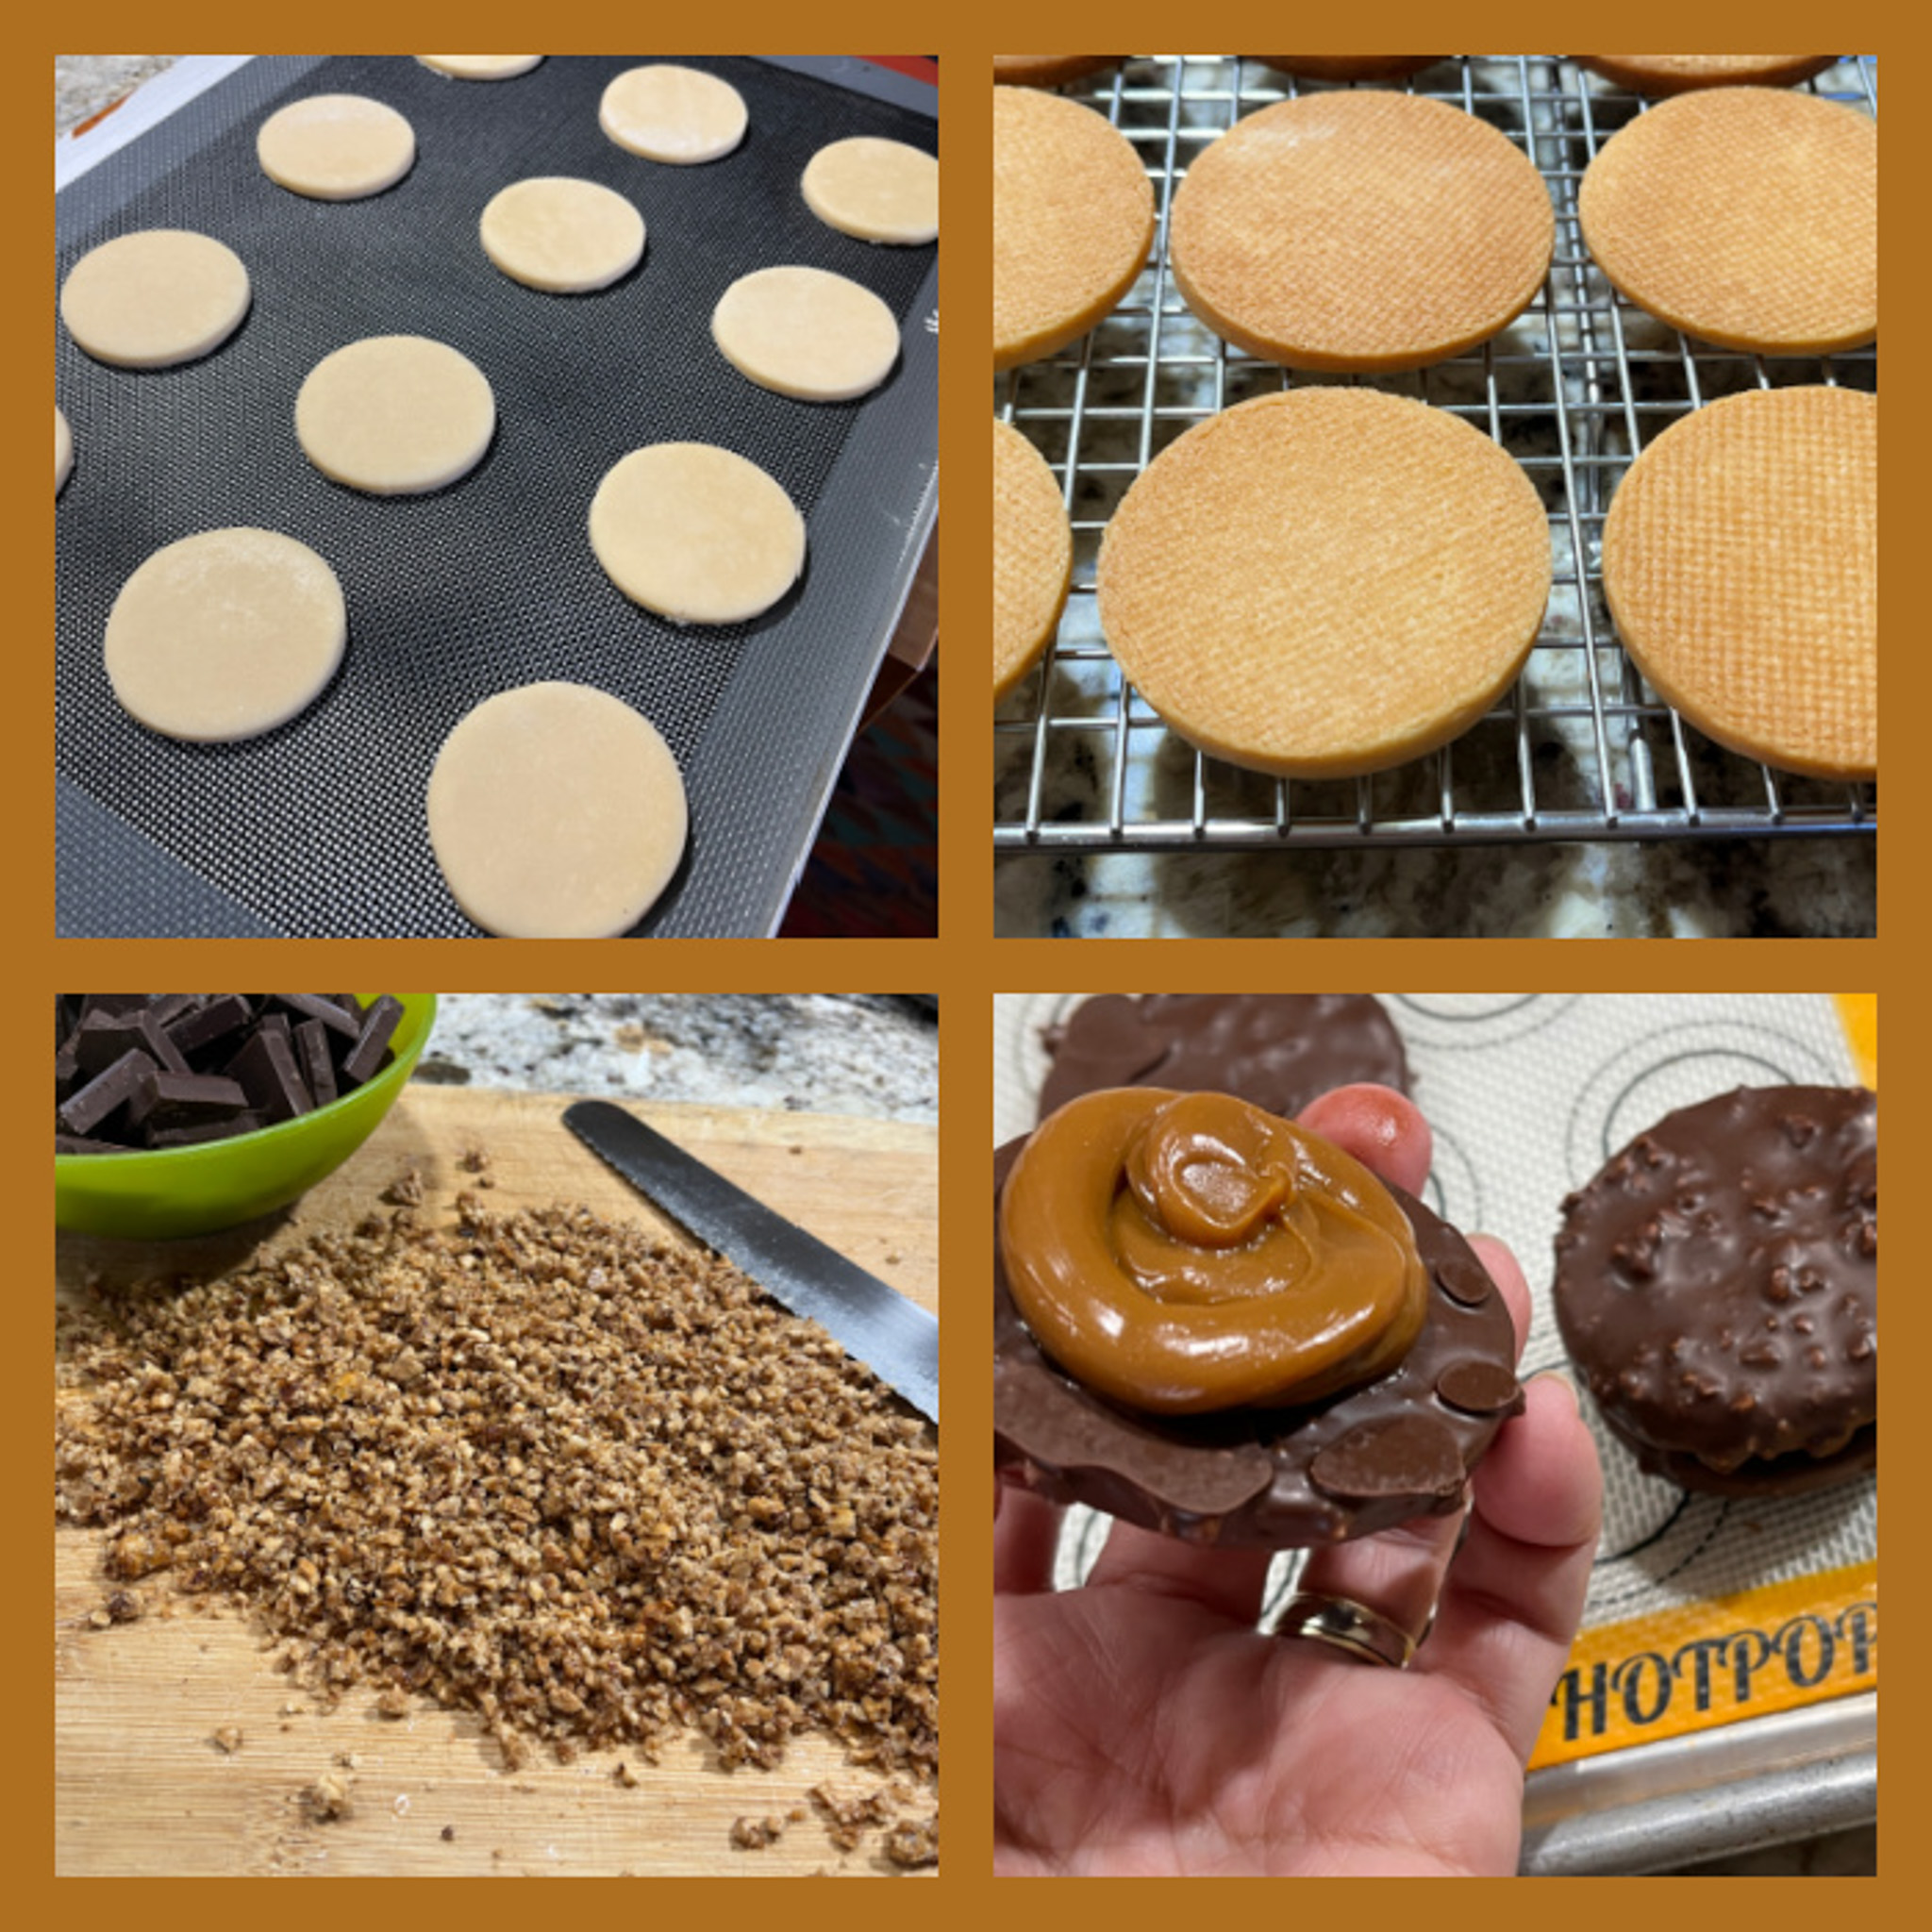
Add all the flour-strawberry mixture at once. Turn the mixer to low speed and mix until all the dry ingredients are combined and the dough forms into a cohesive dough ball. The dough will be crumbly at first but then form into a dough ball. Turn the cookie dough out onto a lightly floured surface. Use your hands to shape the dough into a rectangle and lightly flour the top of the dough.
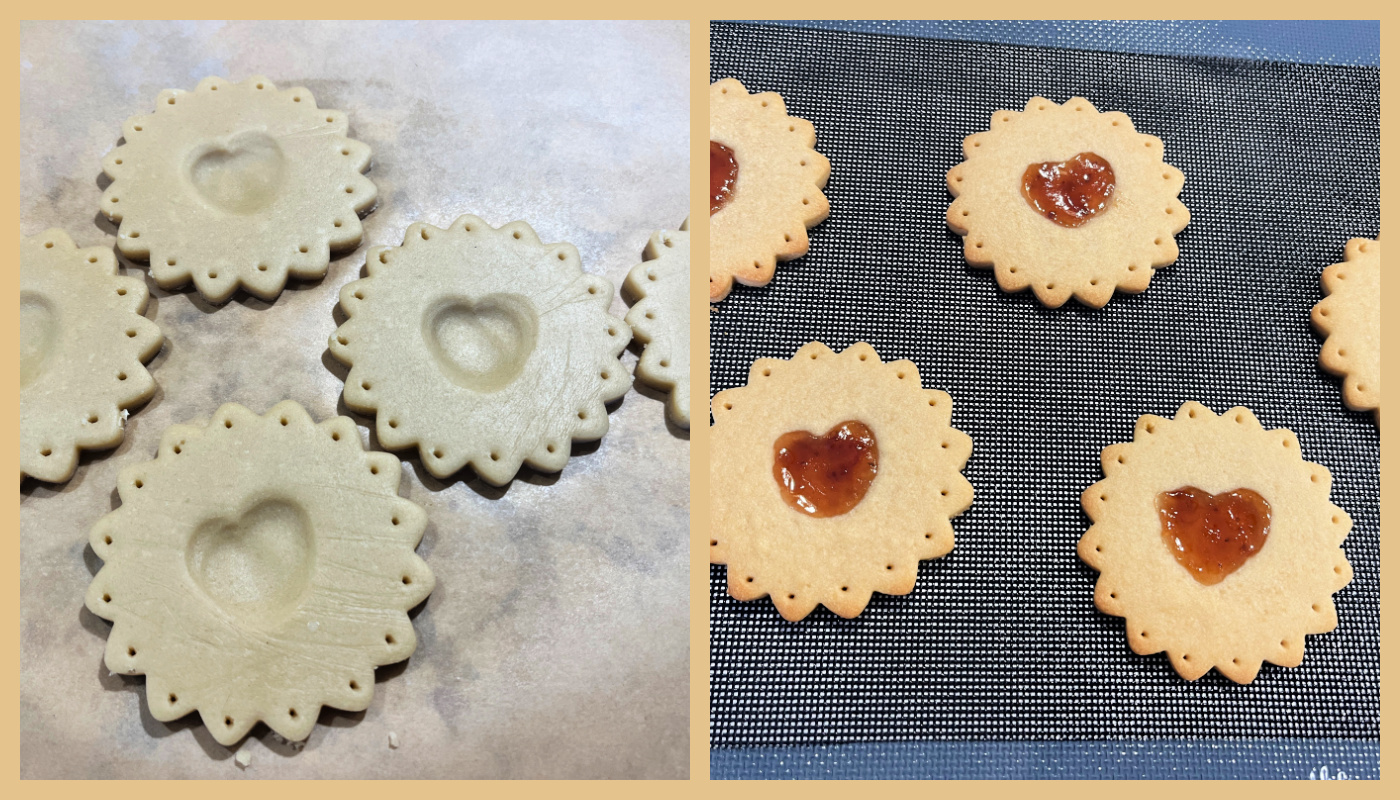
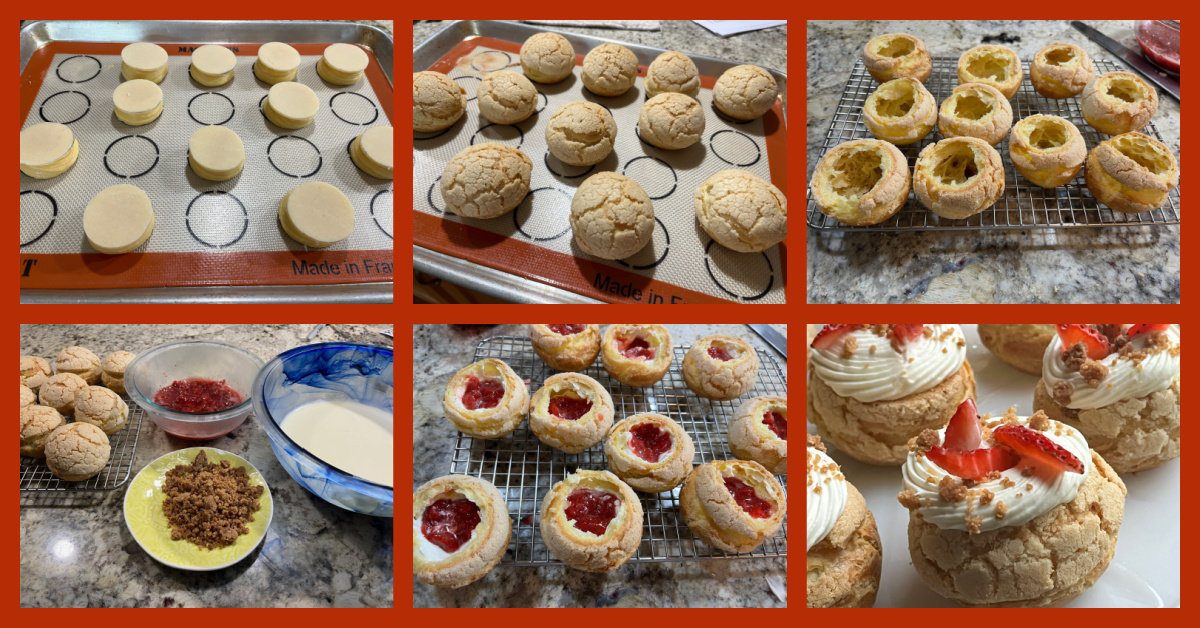
Roll the dough out to 1/2-inch thick. Use a round cookie cutter to cut out the cookies. Place the cookies on a sheet pan lined with parchment paper or perforated silicone mat. Freeze for 15 minutes.
Heat the oven to 300 degrees F. Bake the cookies for 20-23 minutes.
Make the glaze: place the powdered sugar and strawberry powder in a bowl. Add 3 teaspoons of milk and stir until the mixture is creamy and smooth and there are no lumps. The glaze will be thick. If you want a thinner glaze, add milk 1/2 teaspoon at a time until the desired consistency is achieved.
Holding each cookie on their sides, dip the top of the of the cookie into the glaze. Press down slightly to ensure the whole of the top side is covered. Lift the cookie up and shake off any excess glaze. Place the cookie back on the wire rack and let the glaze set. Decorate with fondant or chocolate pieces.
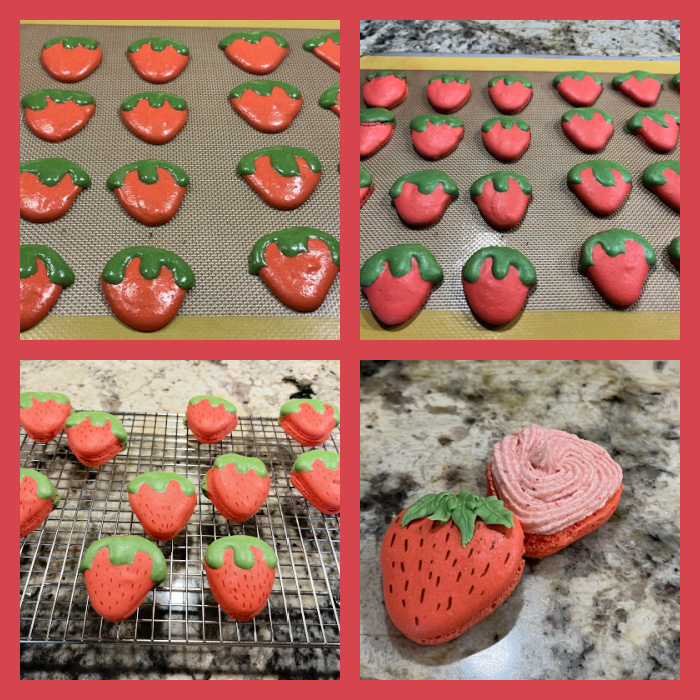
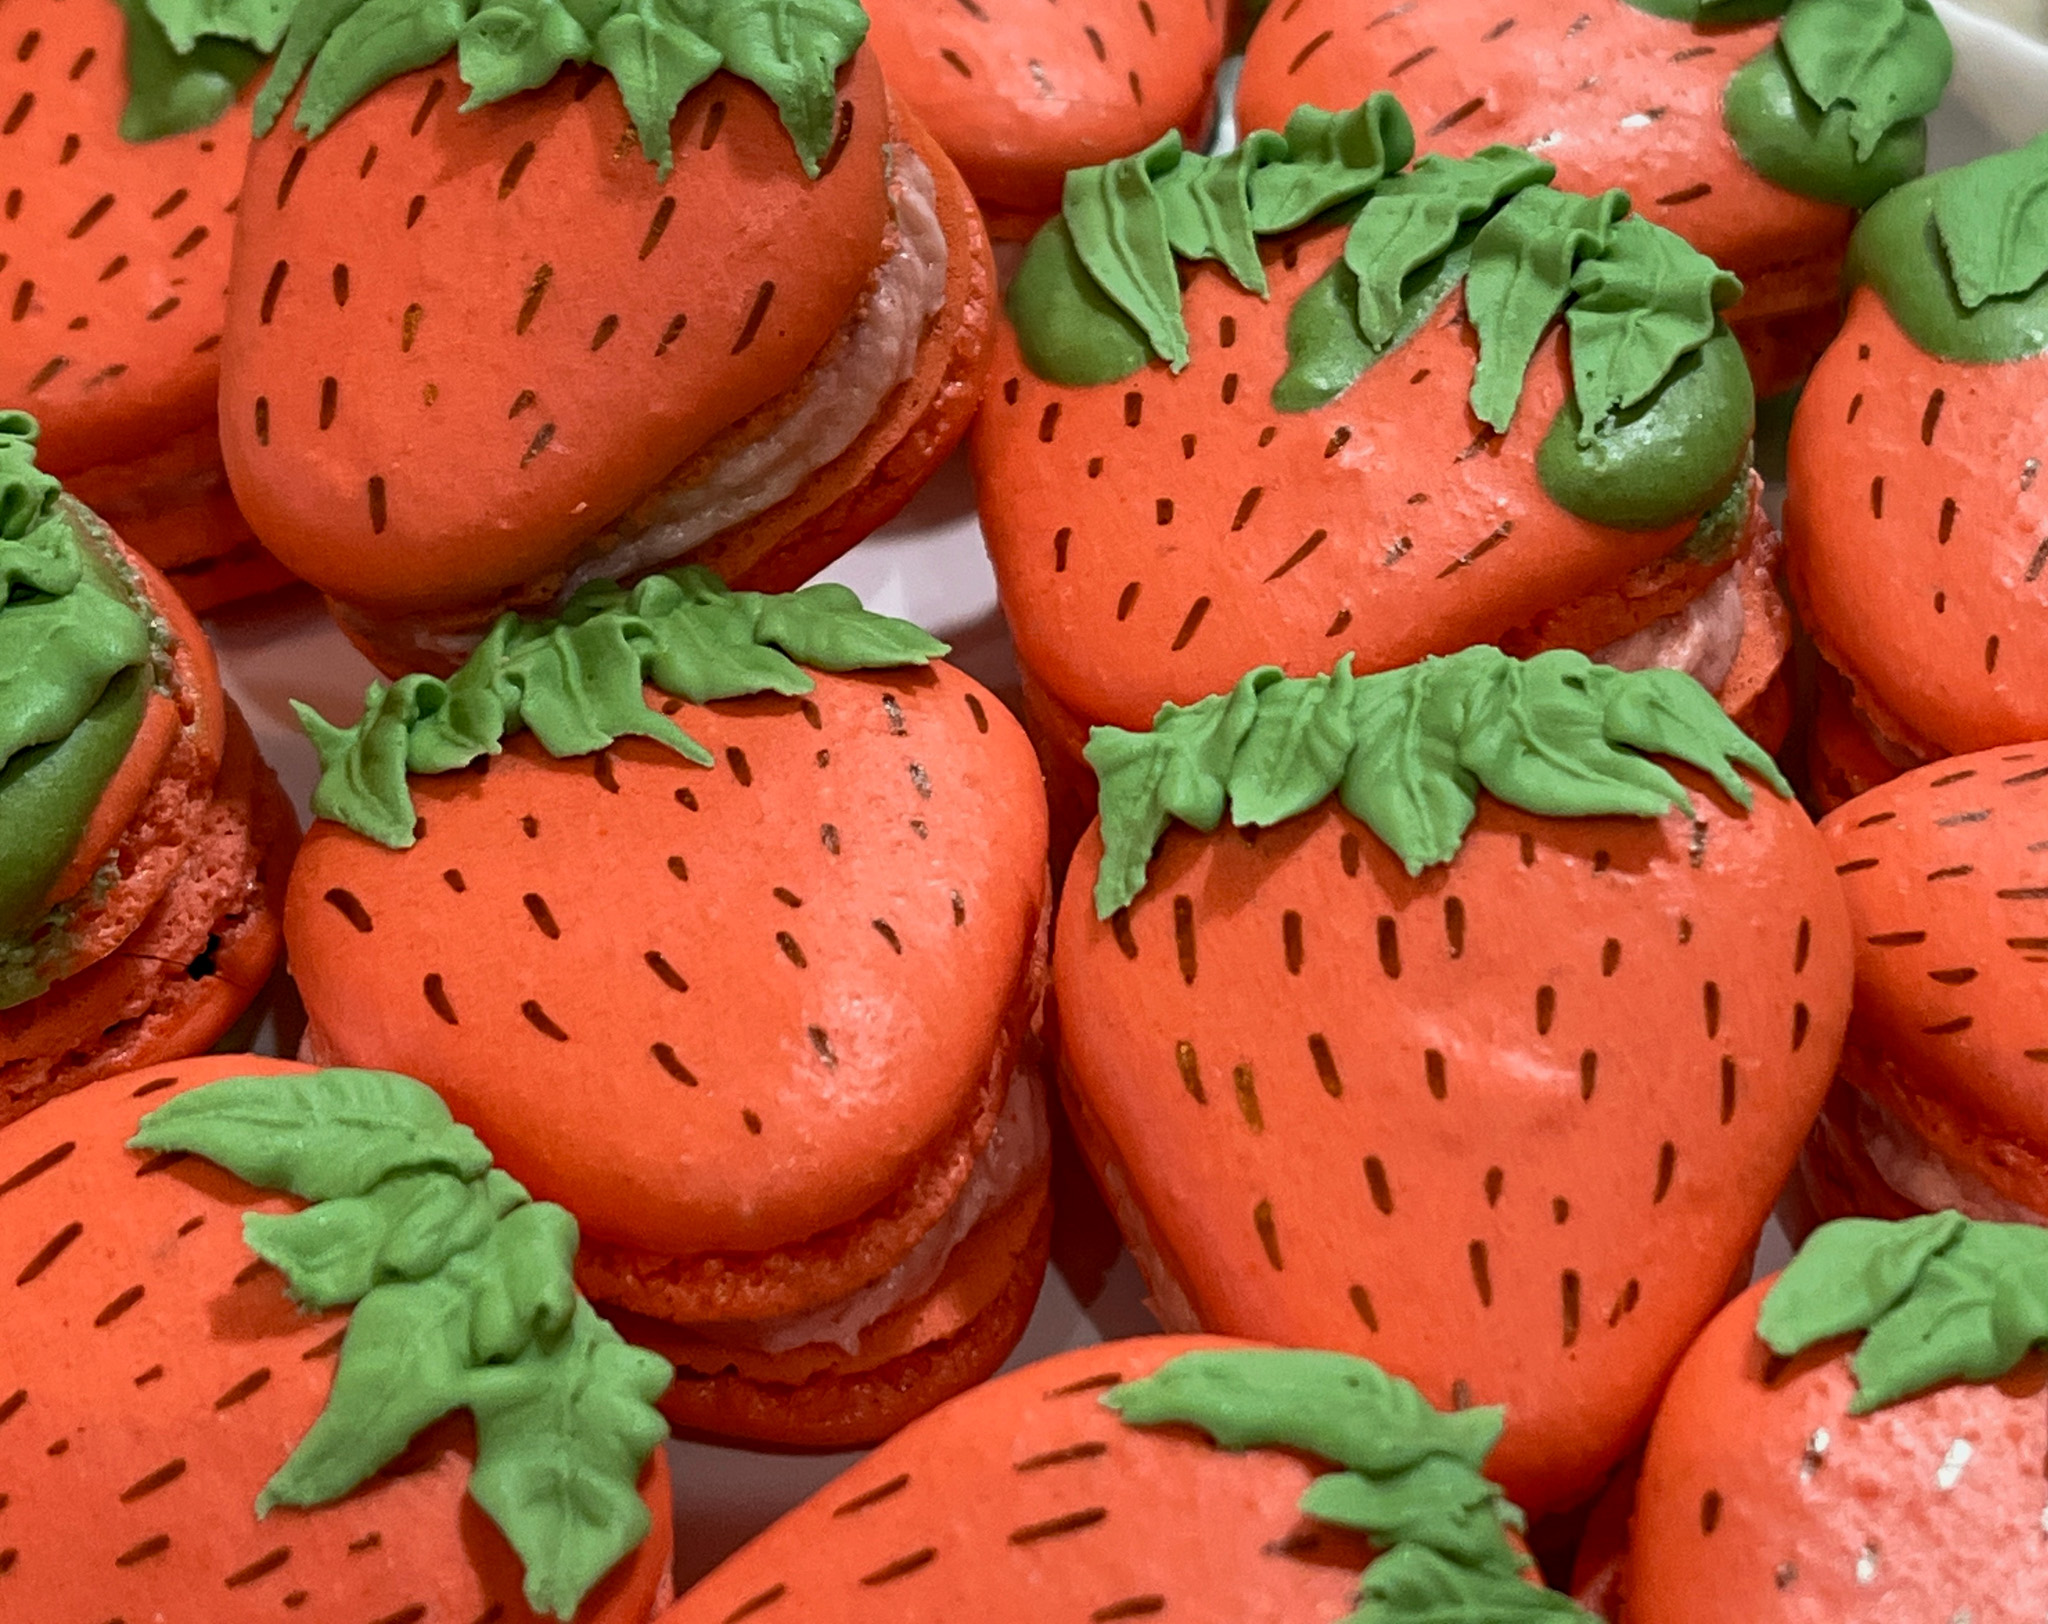
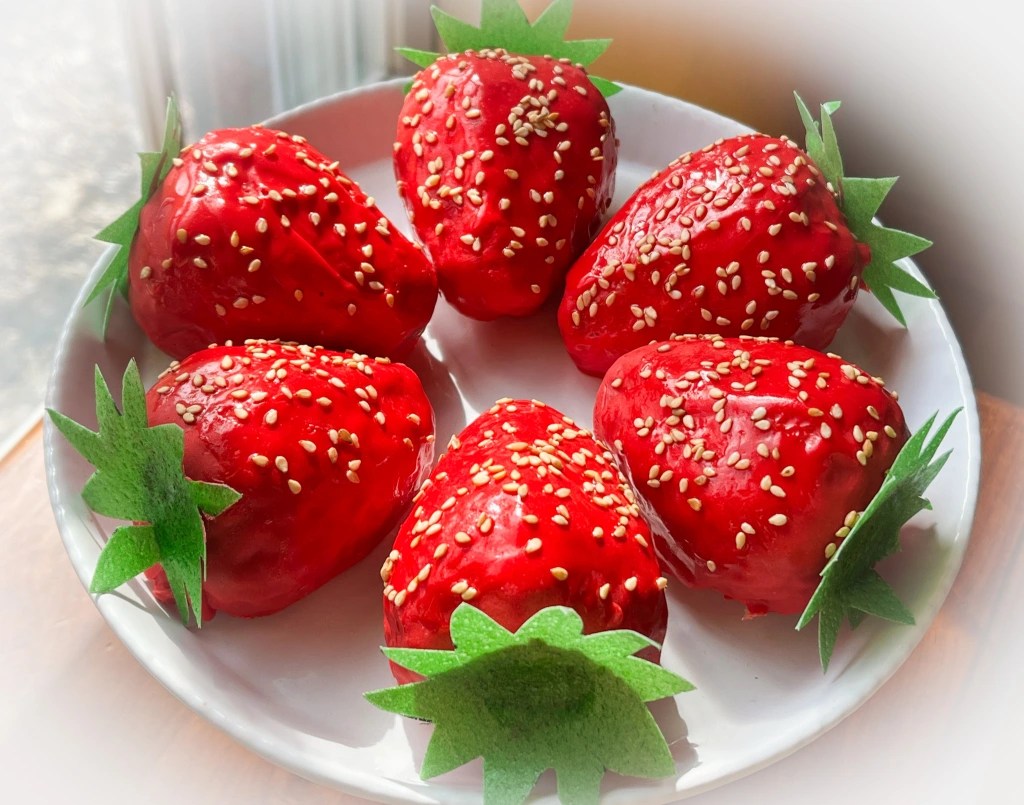
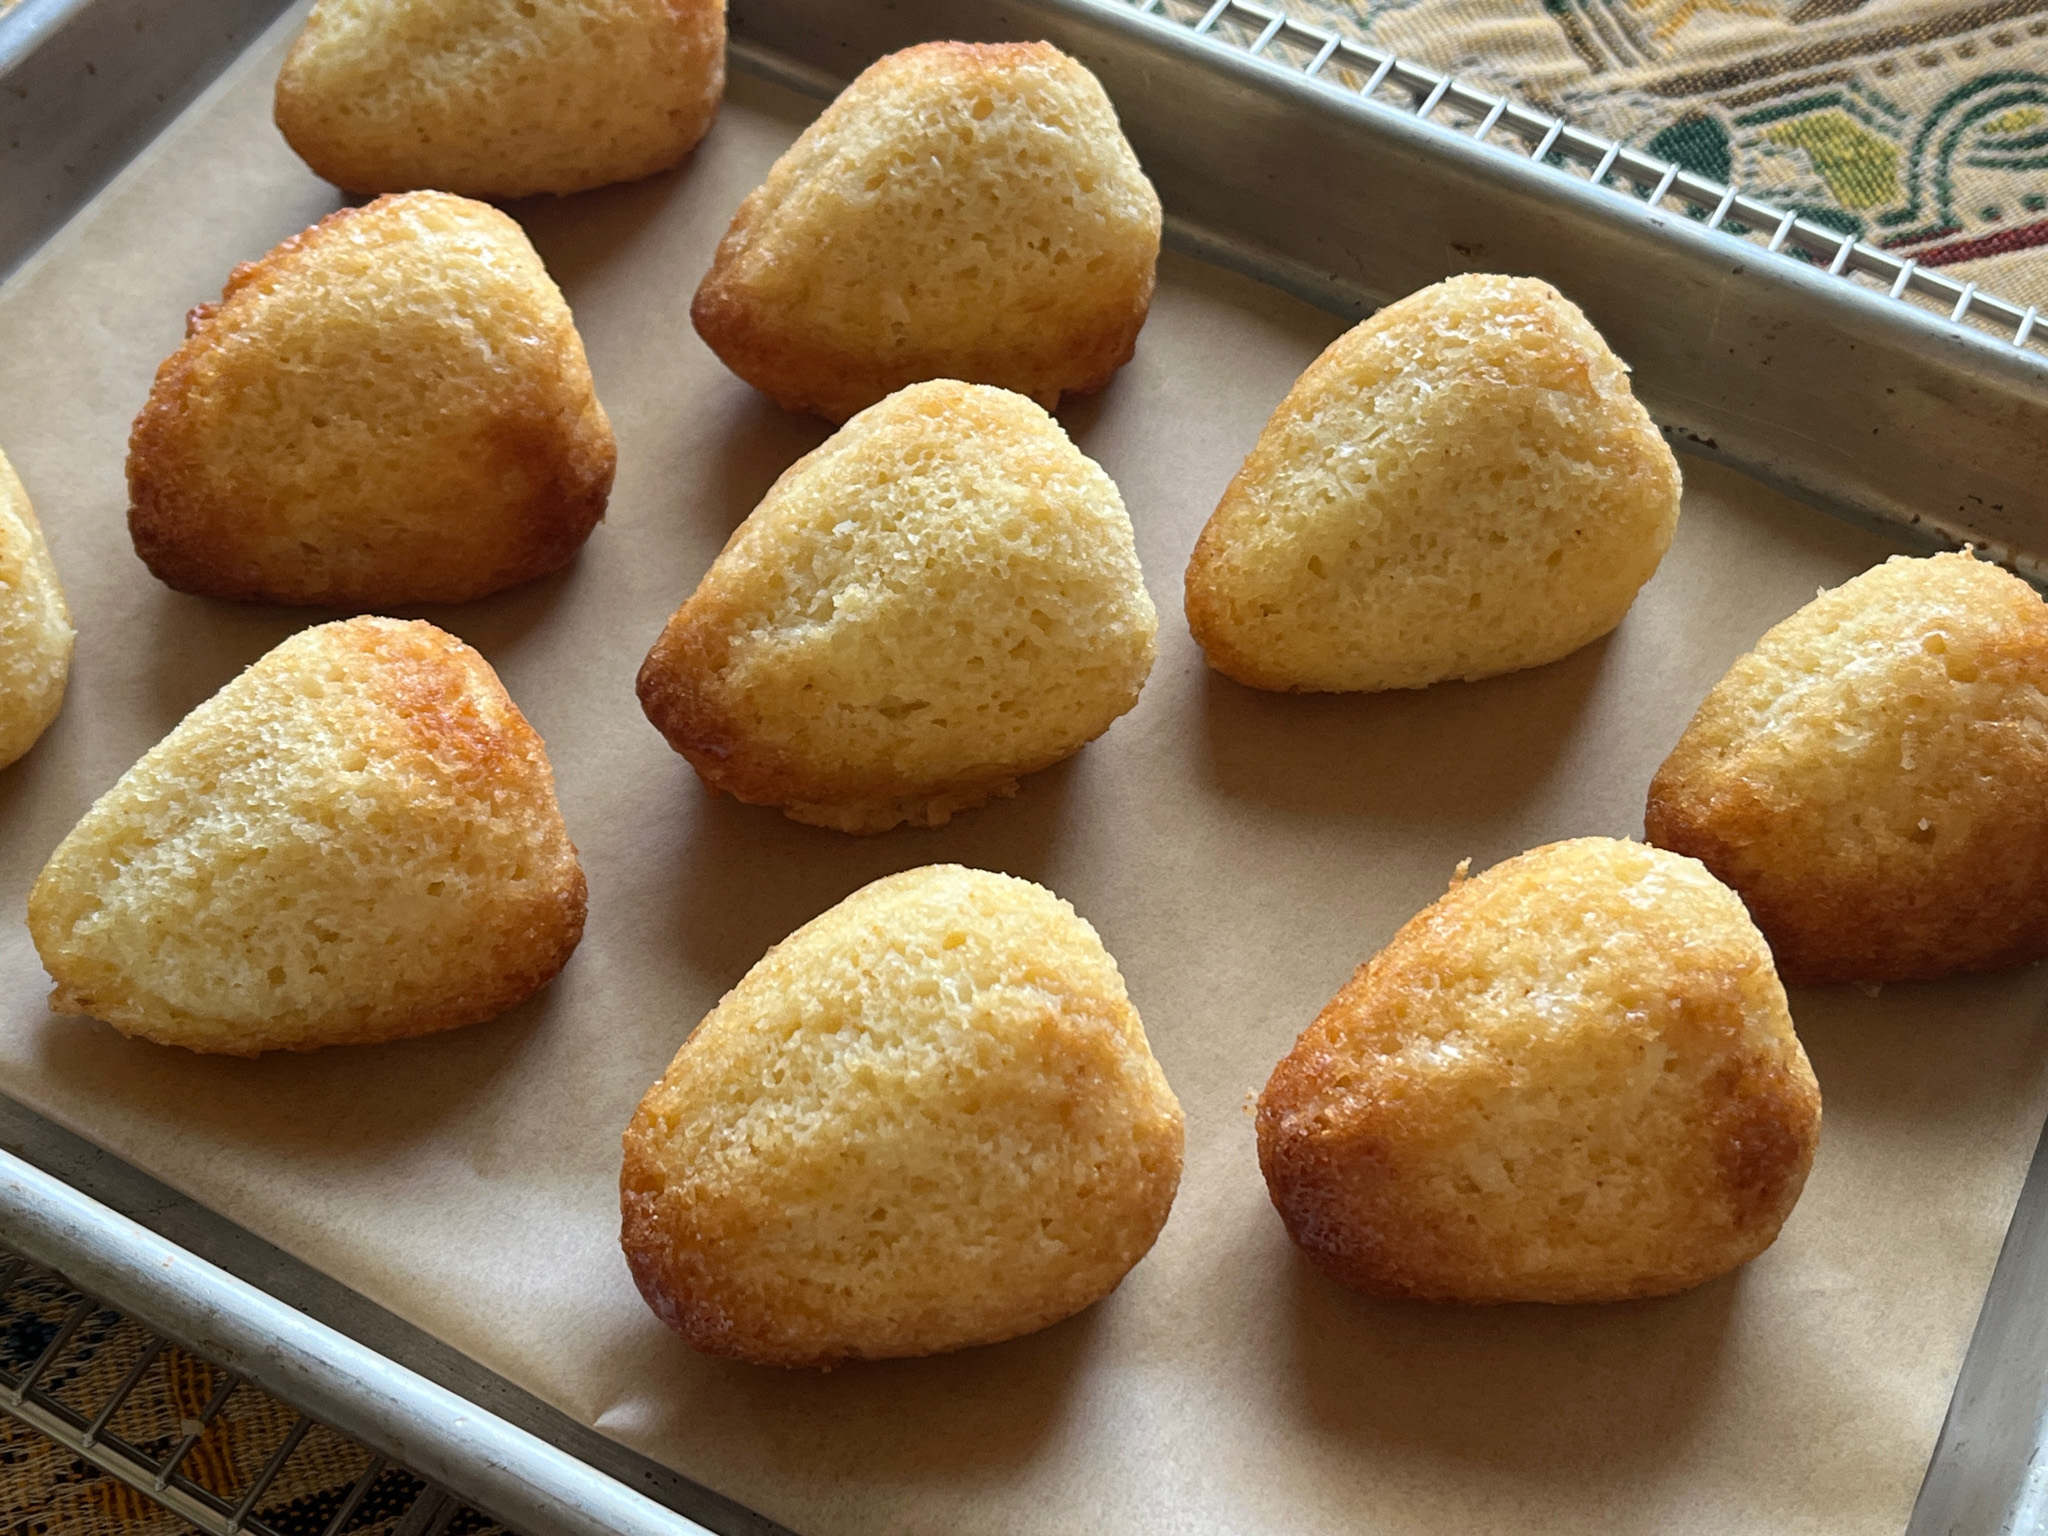
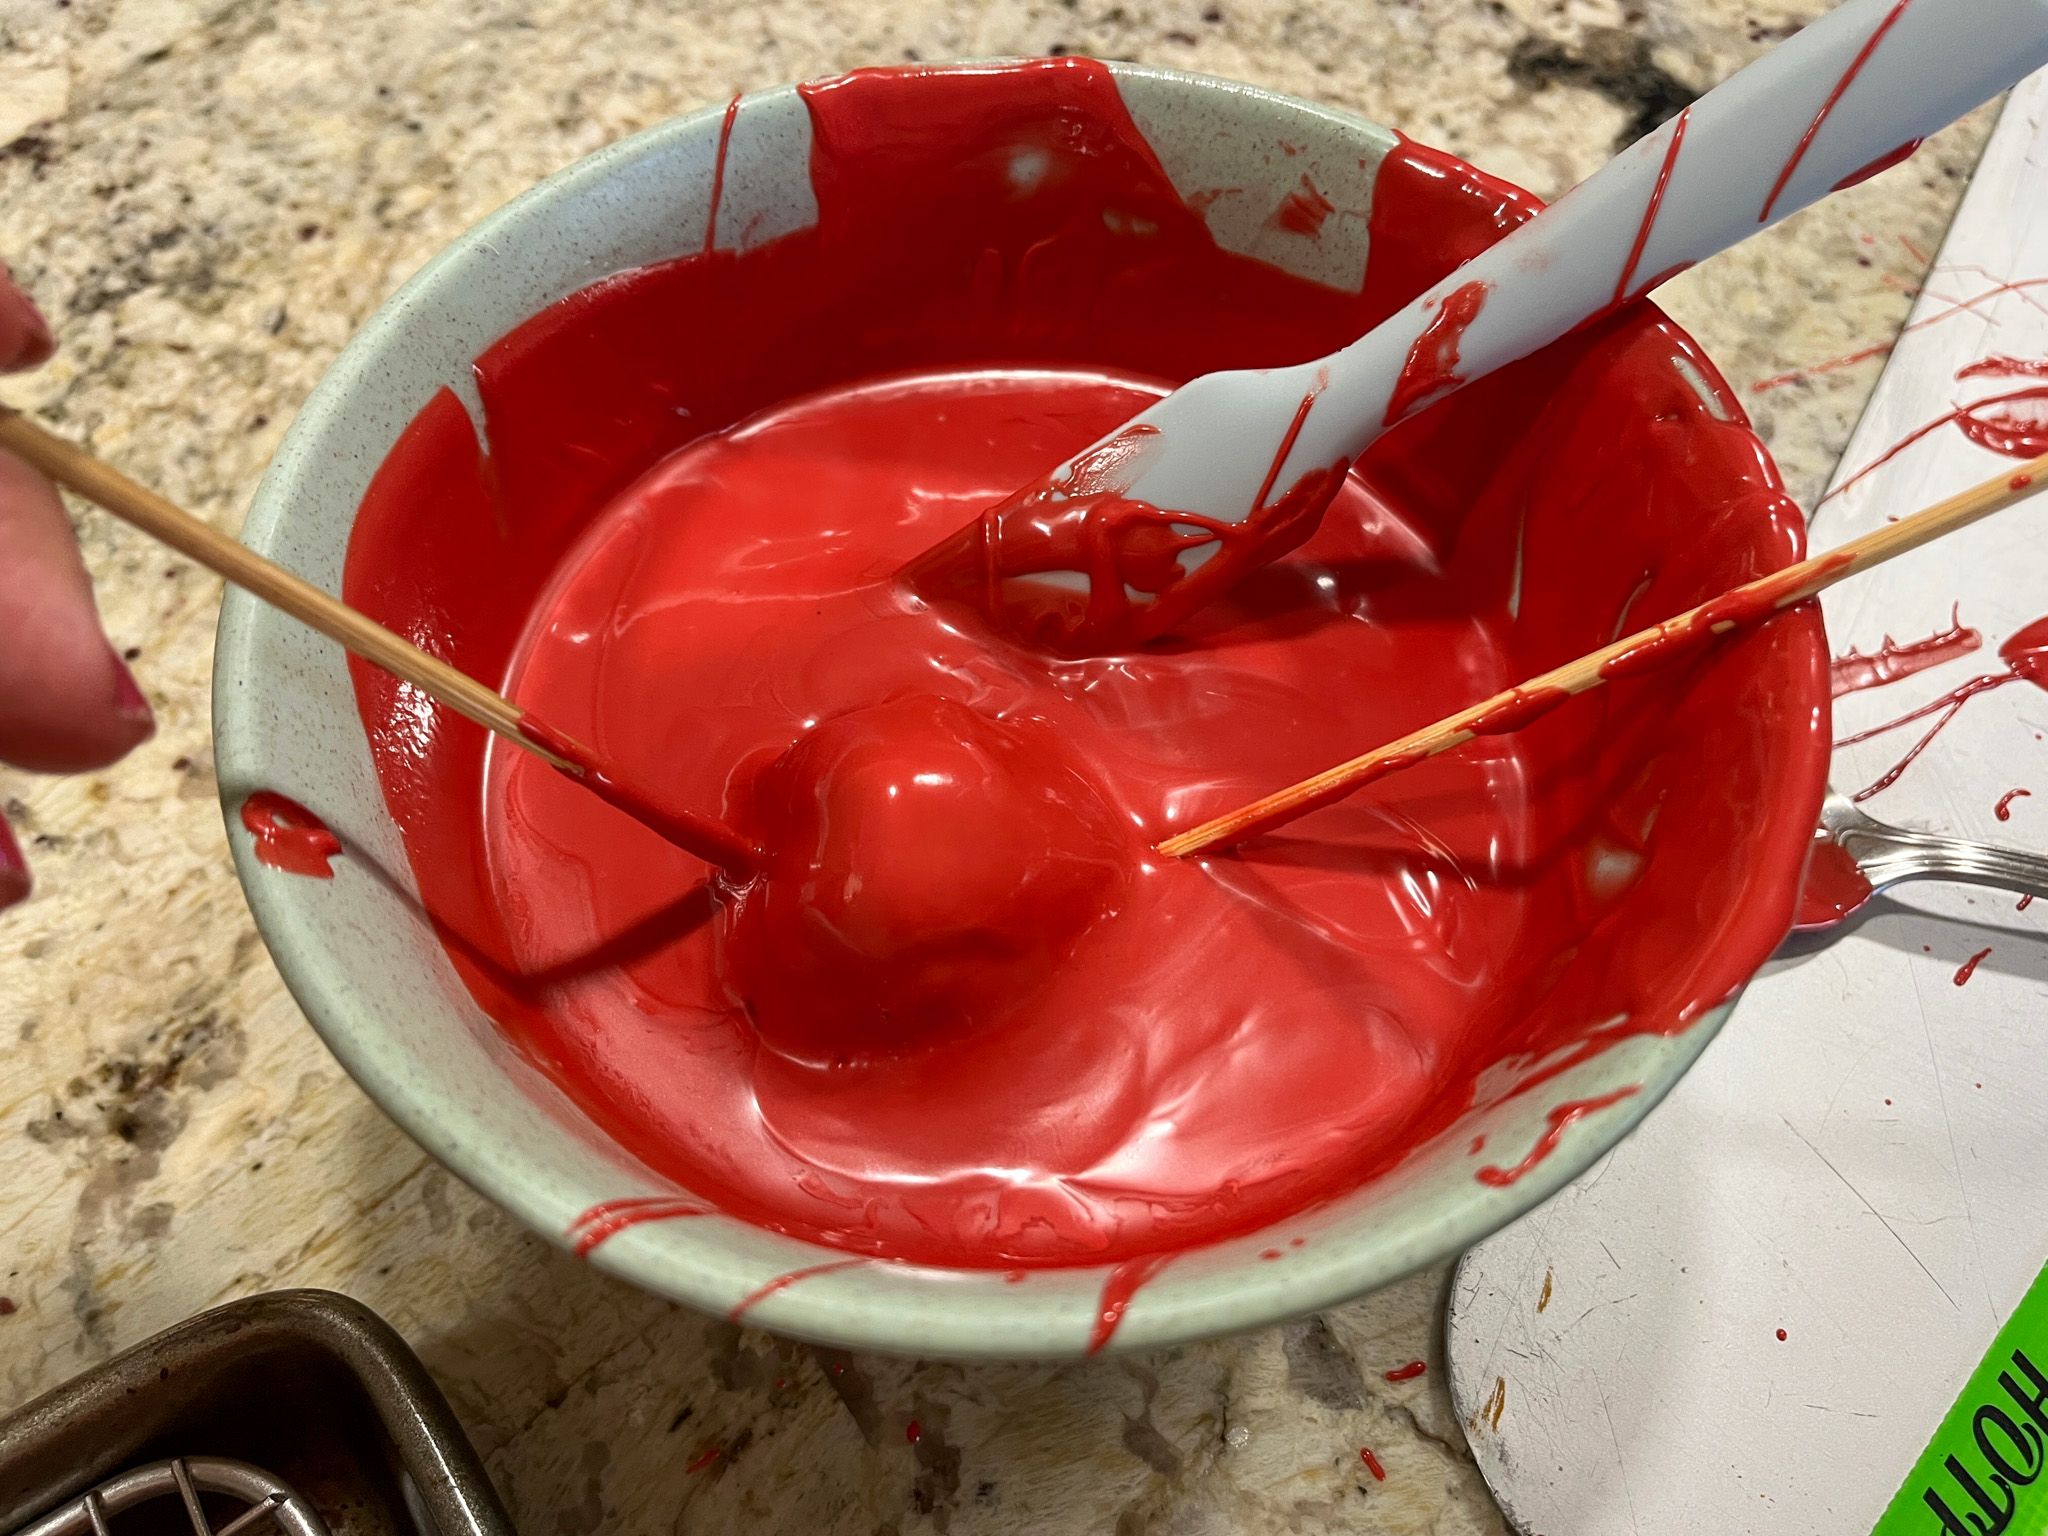
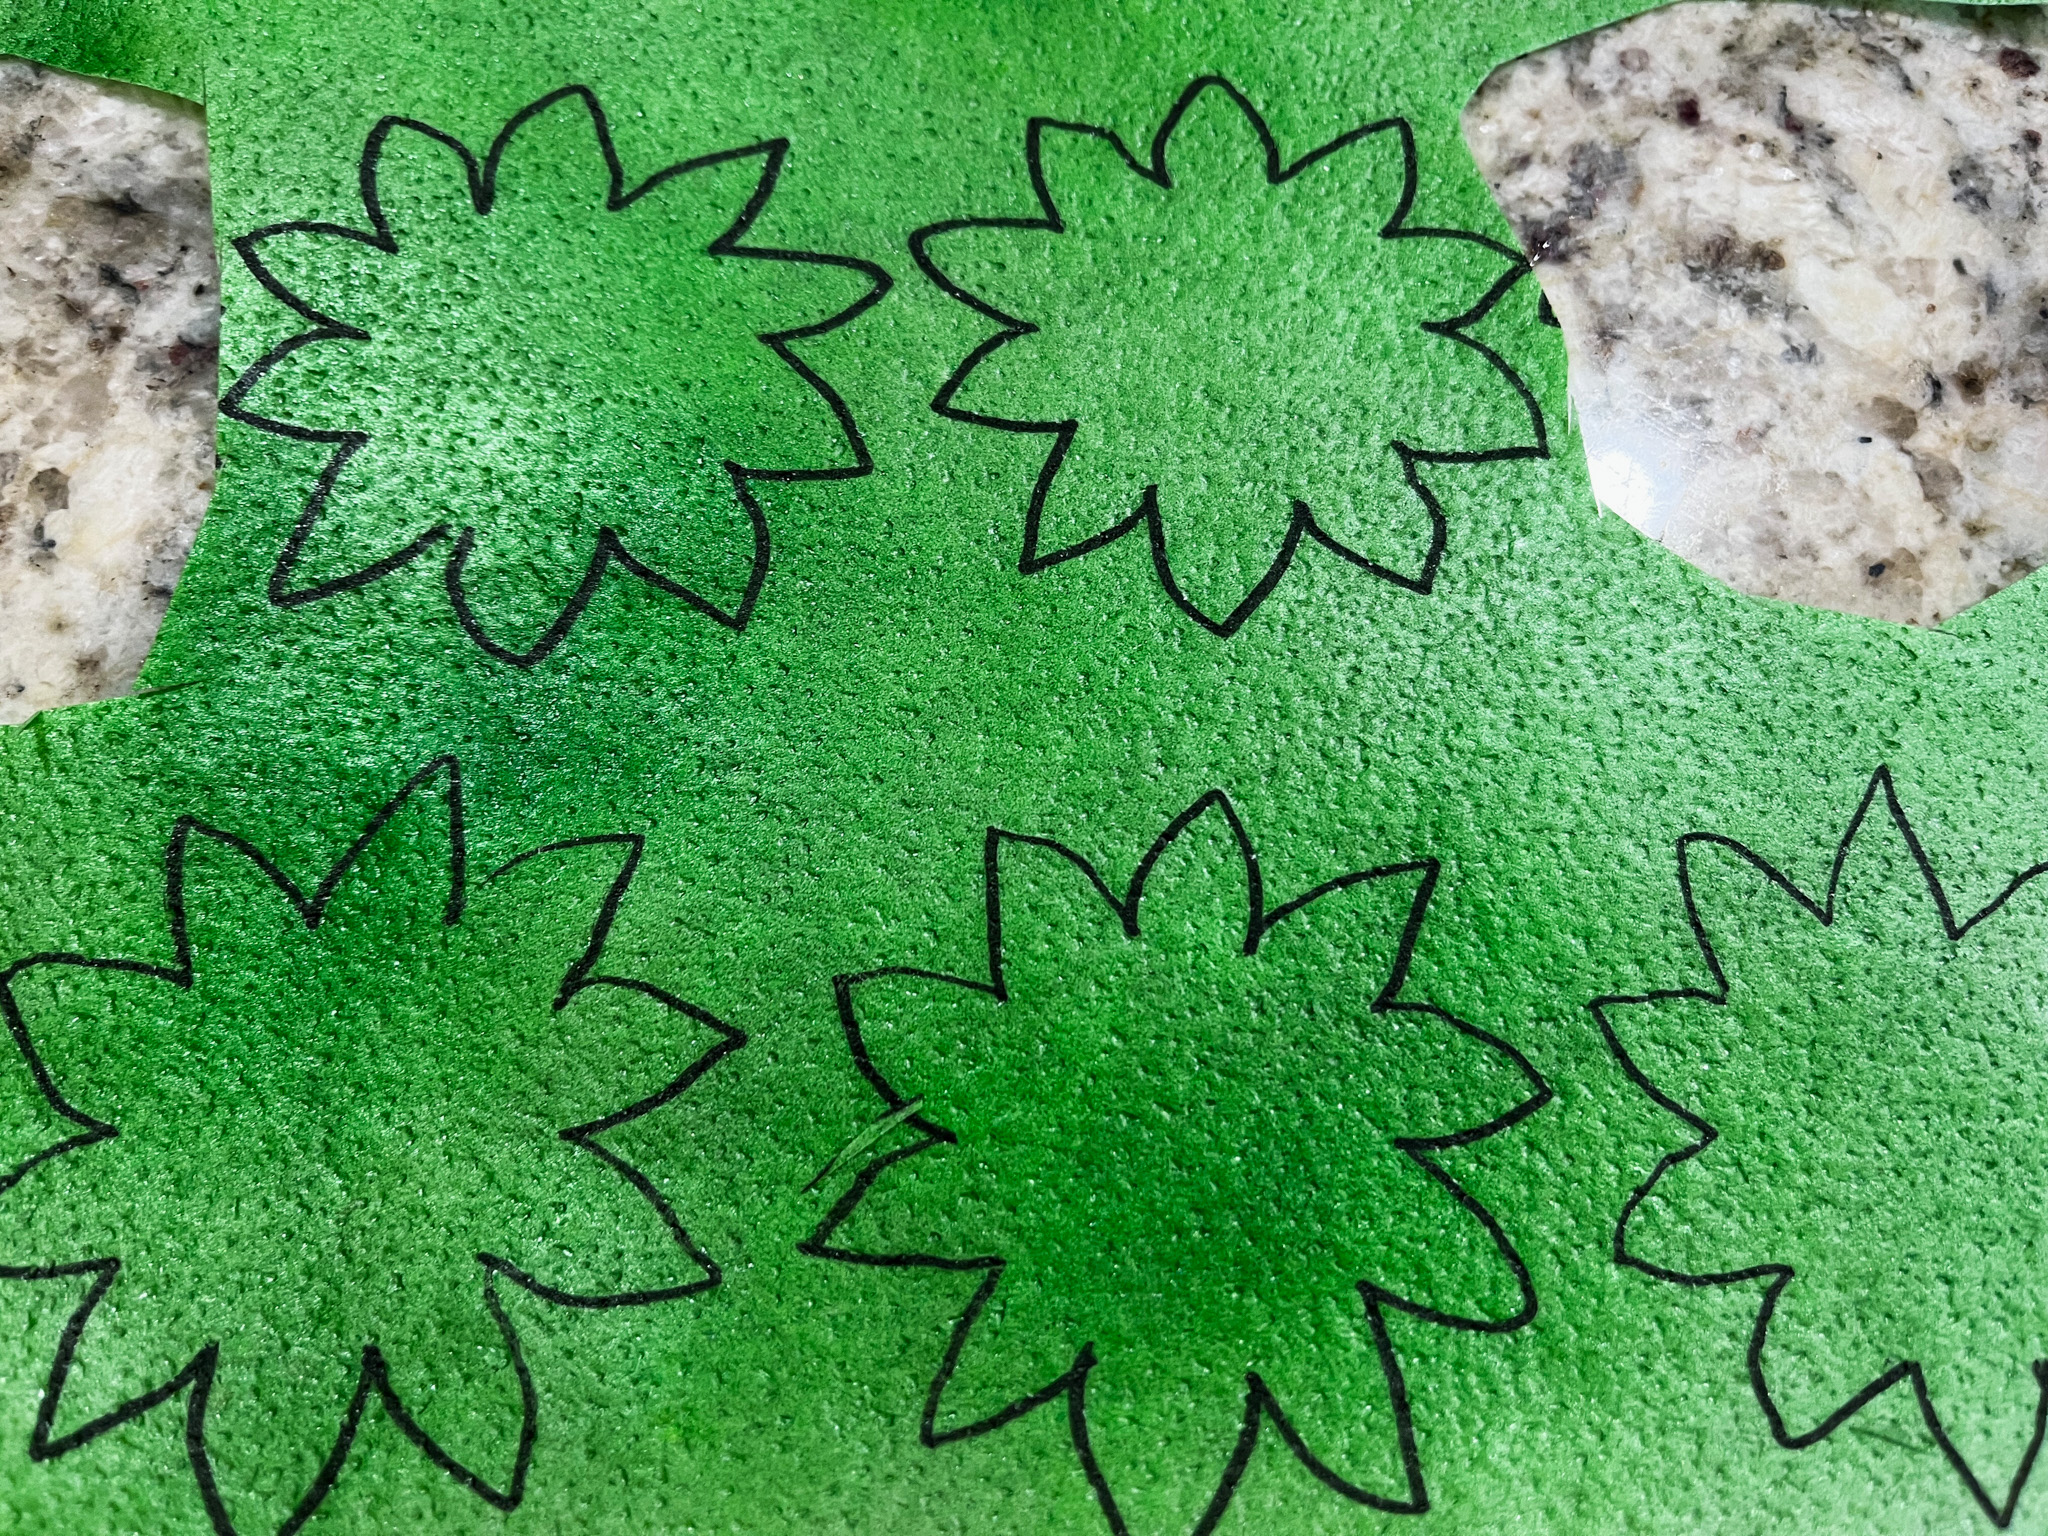
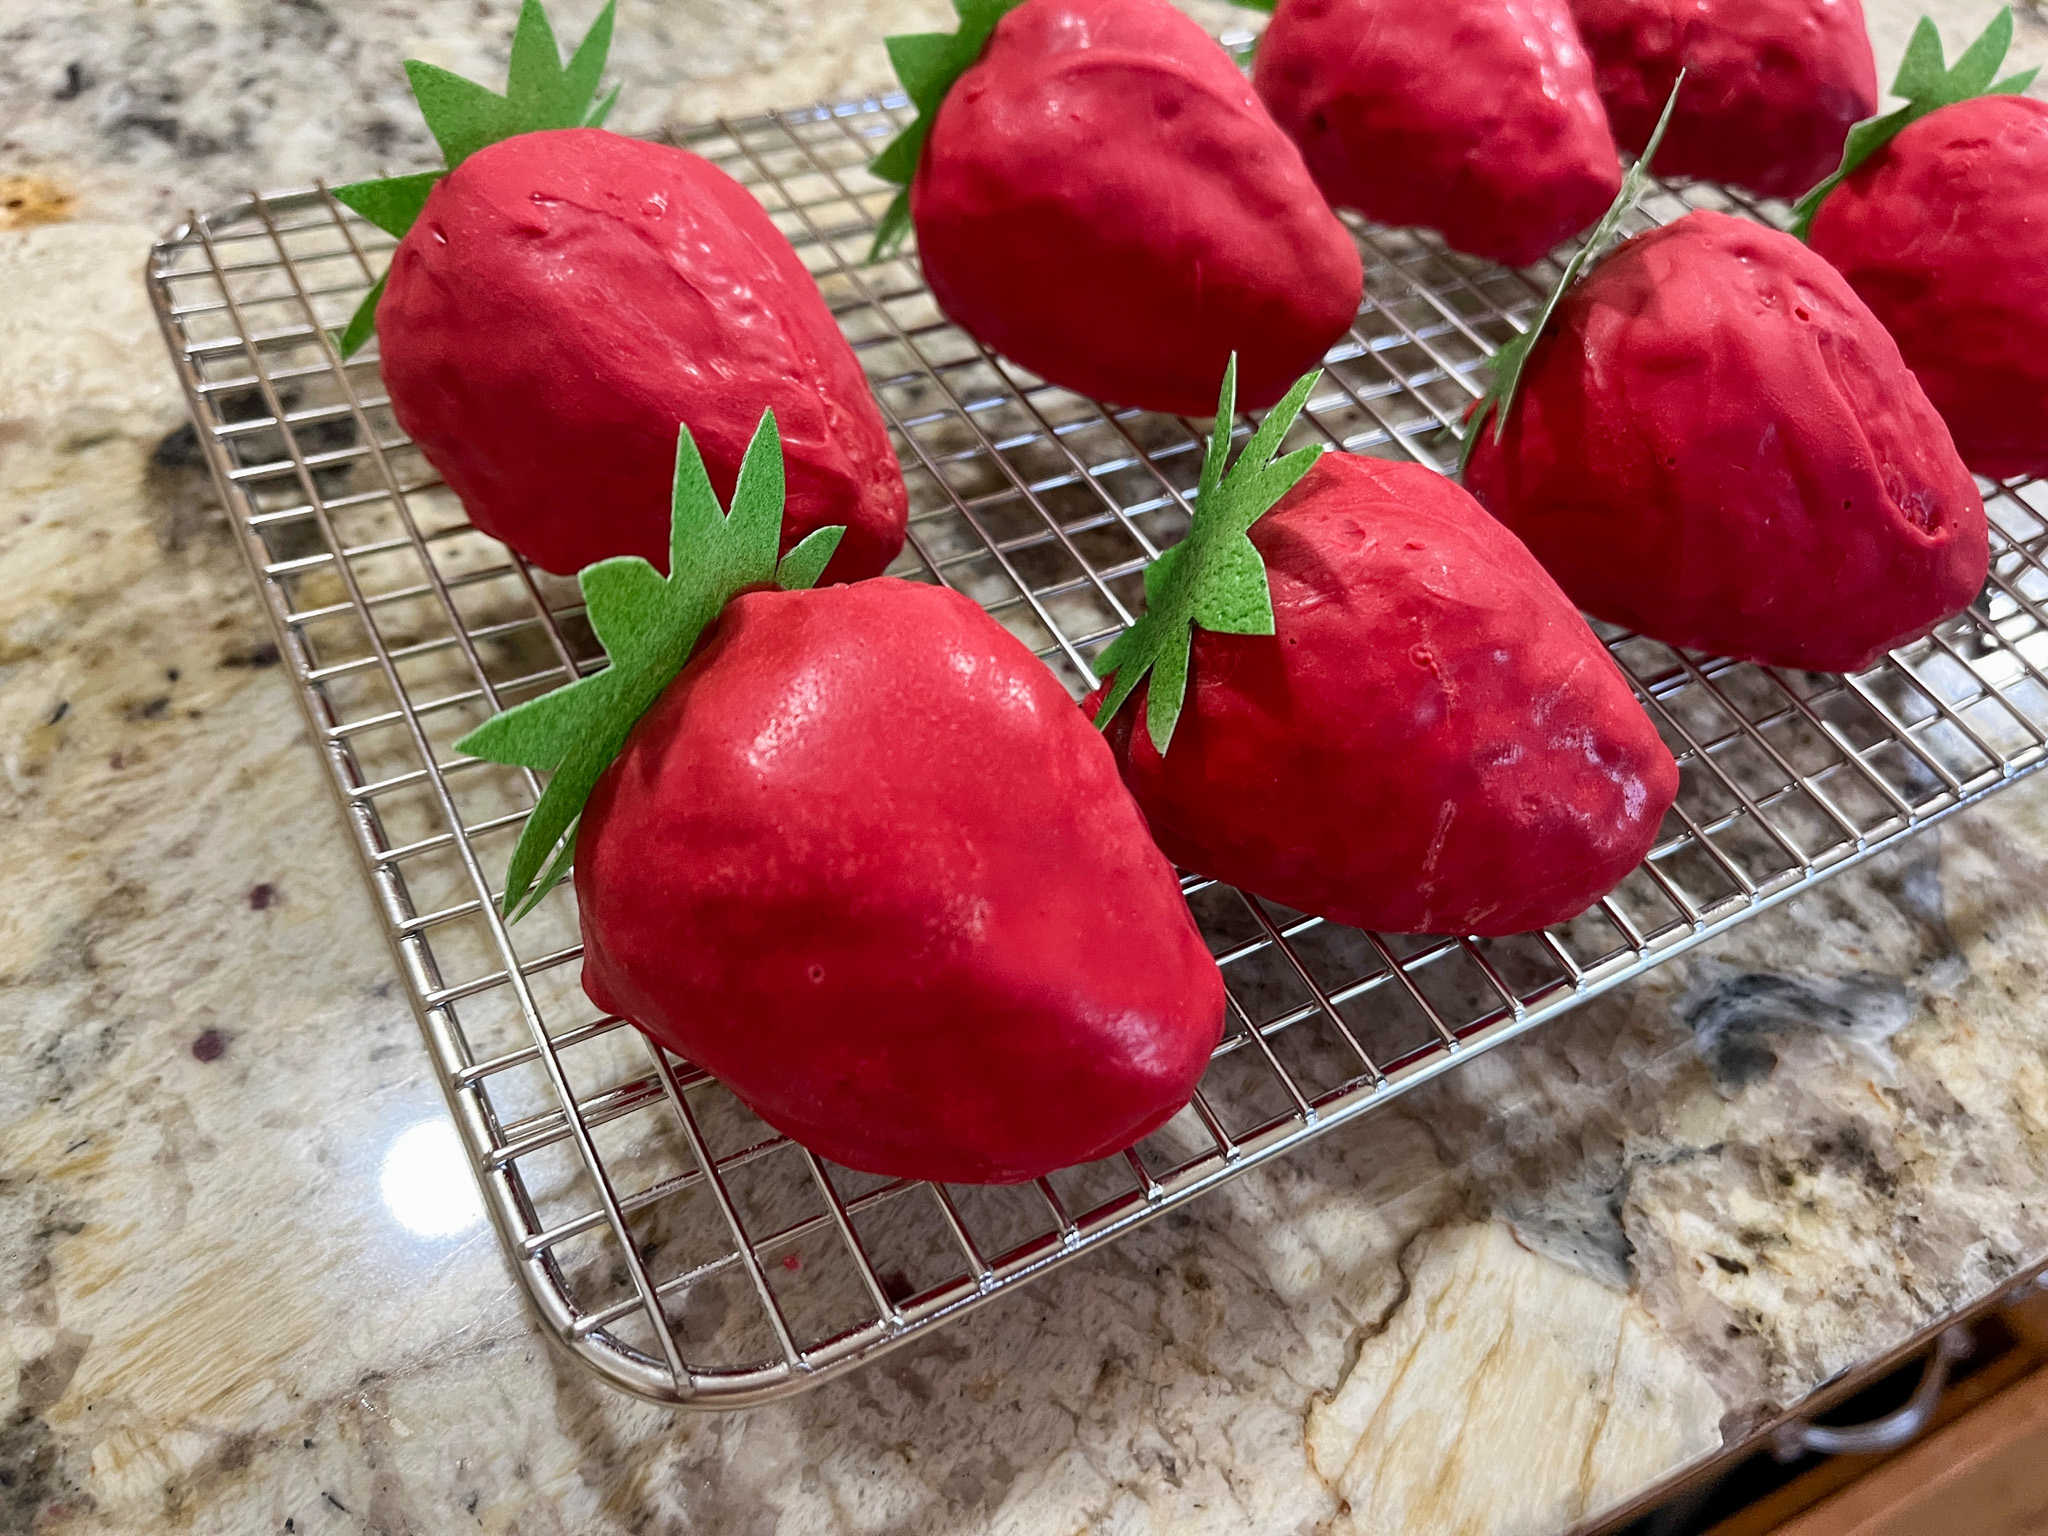
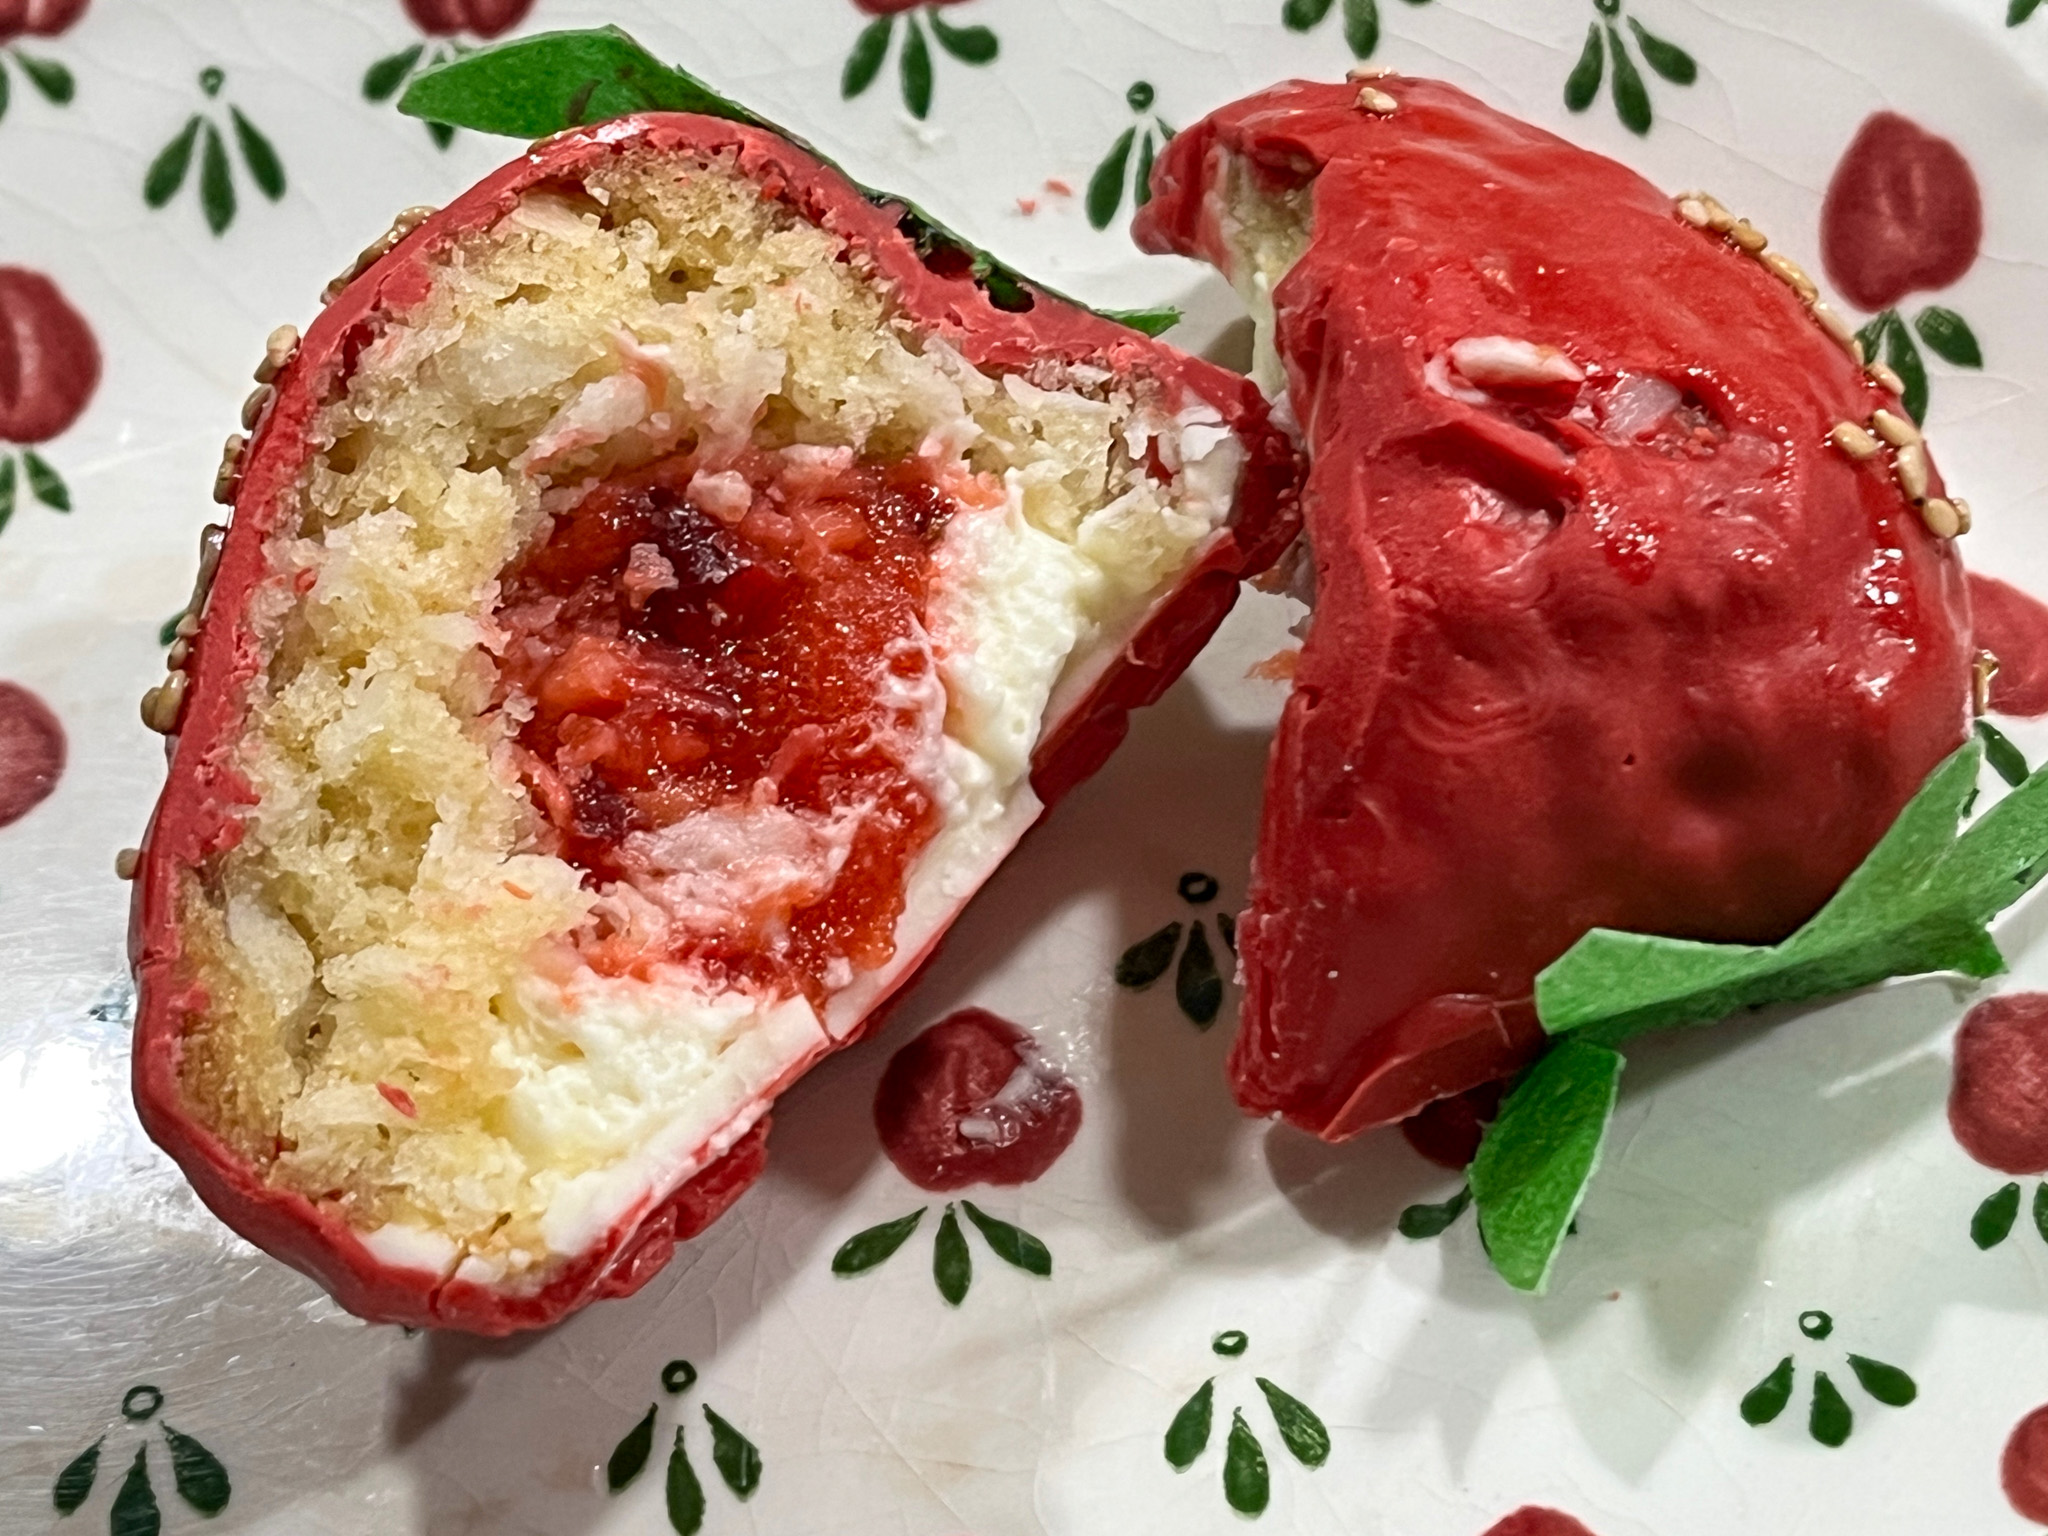
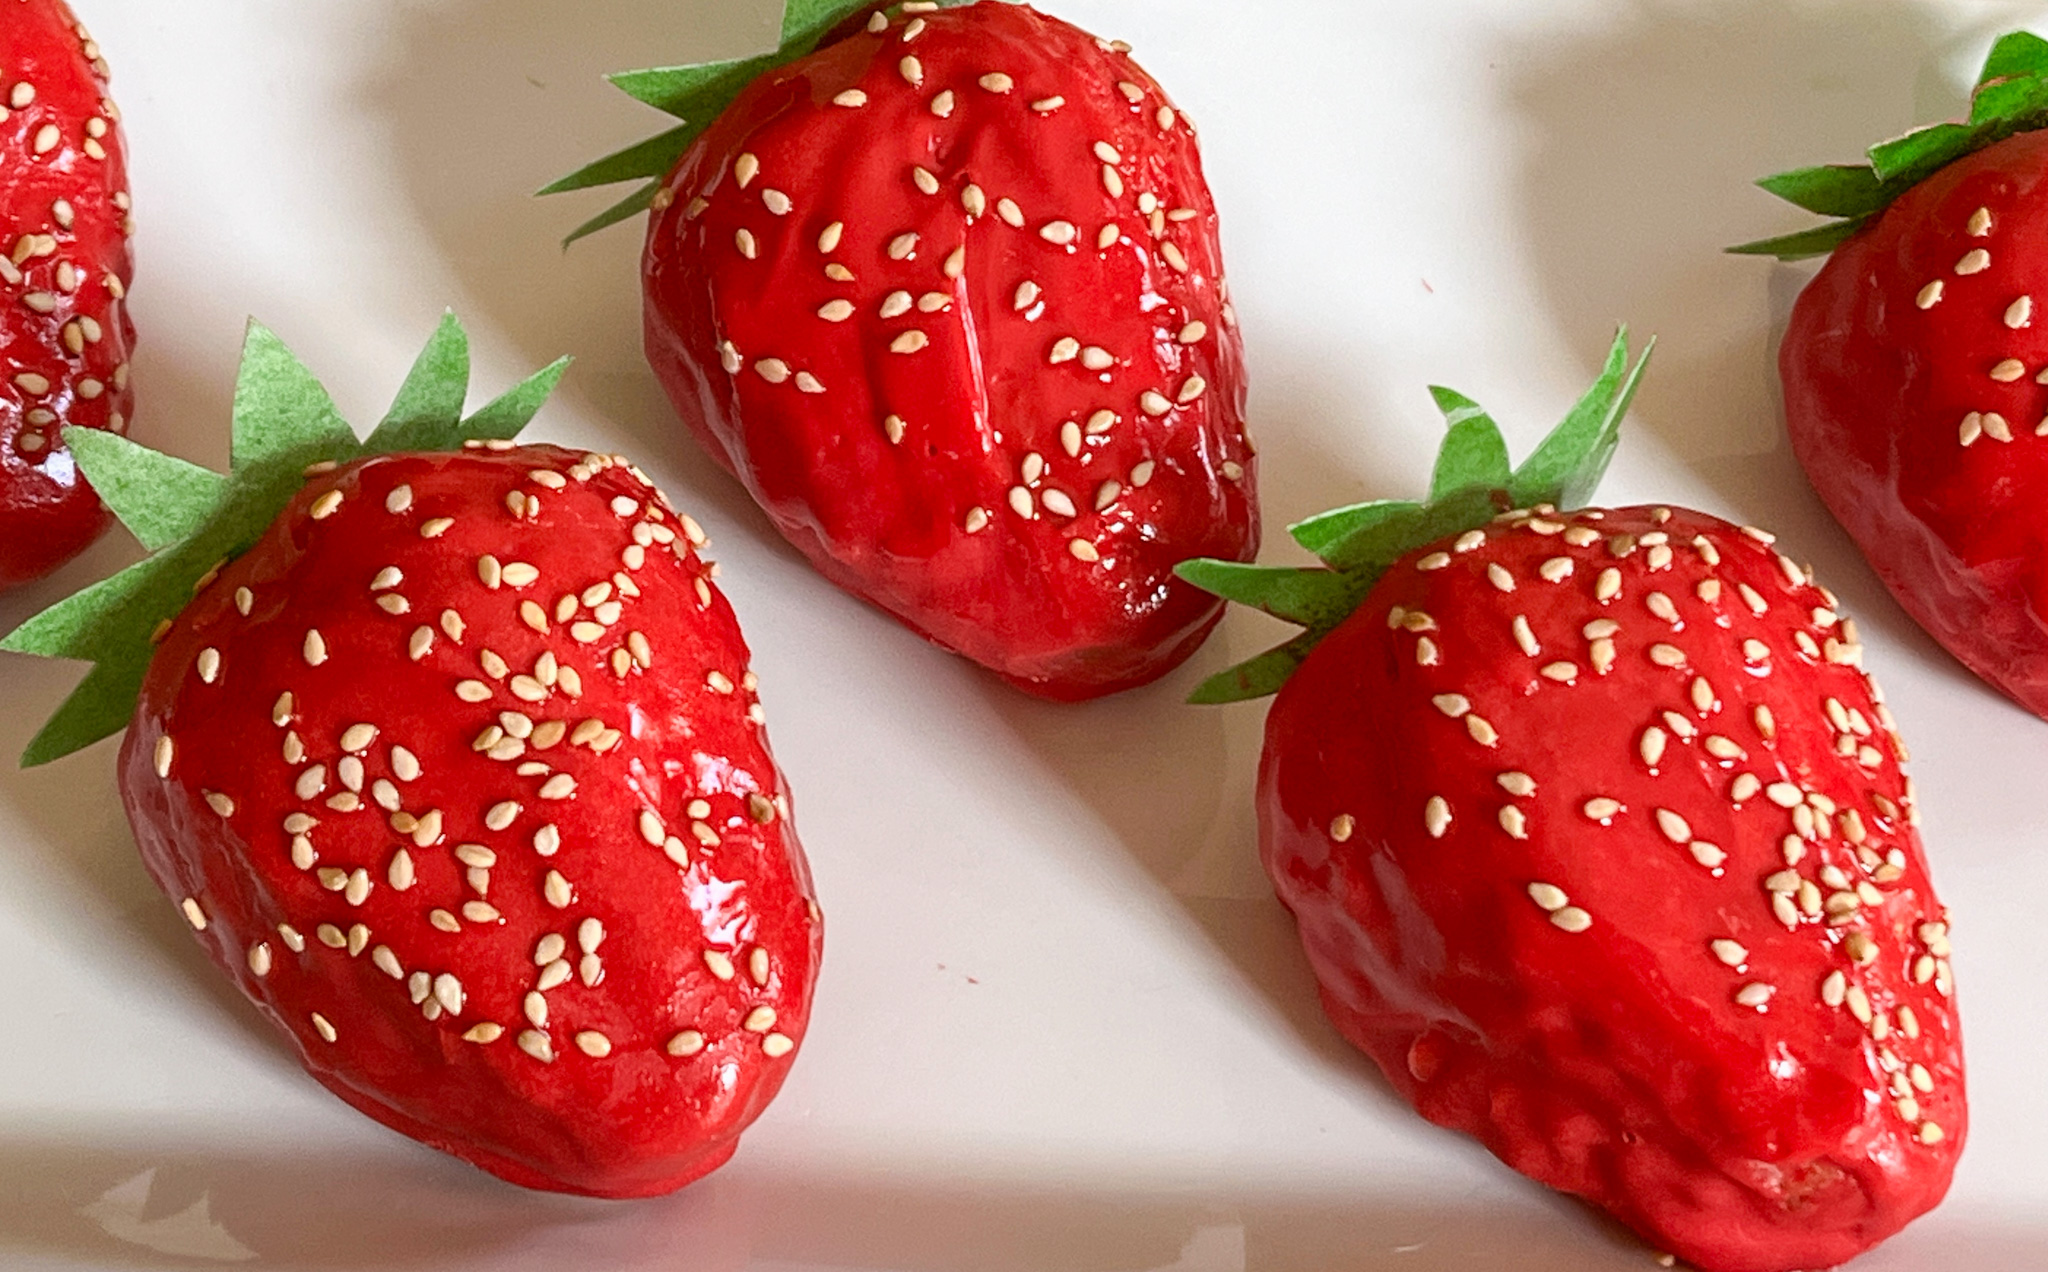
To make strawberry shaped cookies, press the cookie dough in the cavities of a silicone mold (I used this one), and bake at 350F for about 15 minutes. Let it cool completely in the mold before removing the cookies. Wash the mold and dry well. Paint melted compound chocolate dyed red and green carefully in the cavities, then drop the baked cookie back inside. Place in the freezer for 10 to 15 minutes to solidity the chocolate. Carefully remove the coated cookies, use a Microplane if you need to adjust the edges.
ENJOY!
to print the recipe, click here
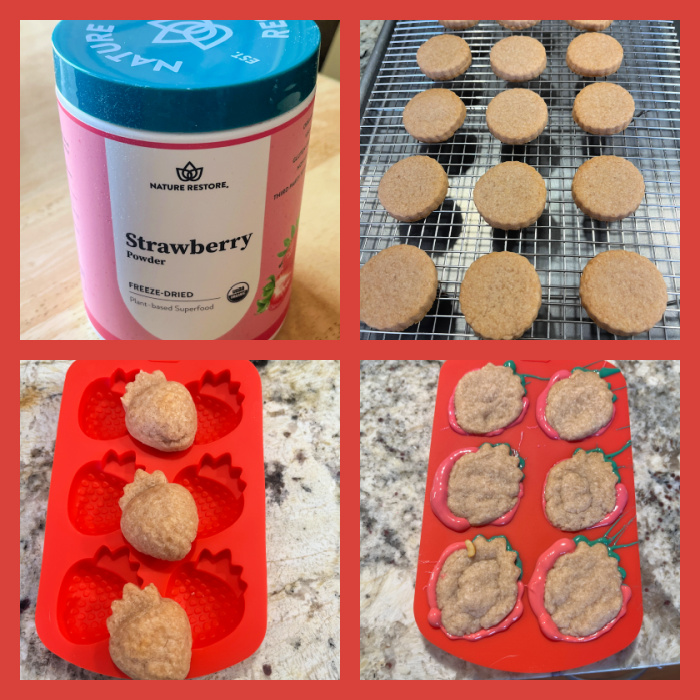
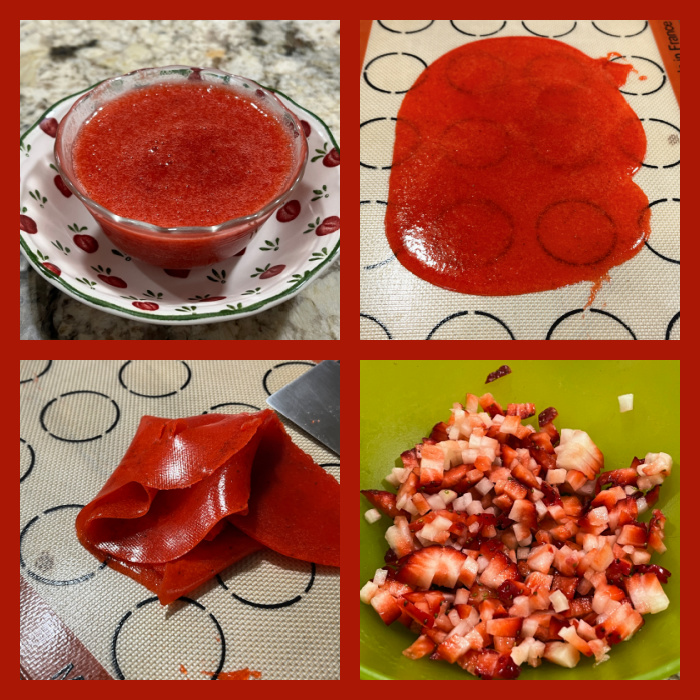
Comments: This delicious cookie recipe comes from a former contestant of The Great American Baking Show, participant before my time, Cheryl. I subscribe to her blog, and invite you to visit clicking here. I modified her recipe to use a product I am quite fond of, strawberry powder. Easier to use than freeze-dried, although you will have to cave and support the Evil Empire to get some. I have never seen it sold in grocery stores in my town. The cookies are absolutely delicious, you could skip the glaze but I urge you not to. Just wonderful! Thank you, Cheryl!
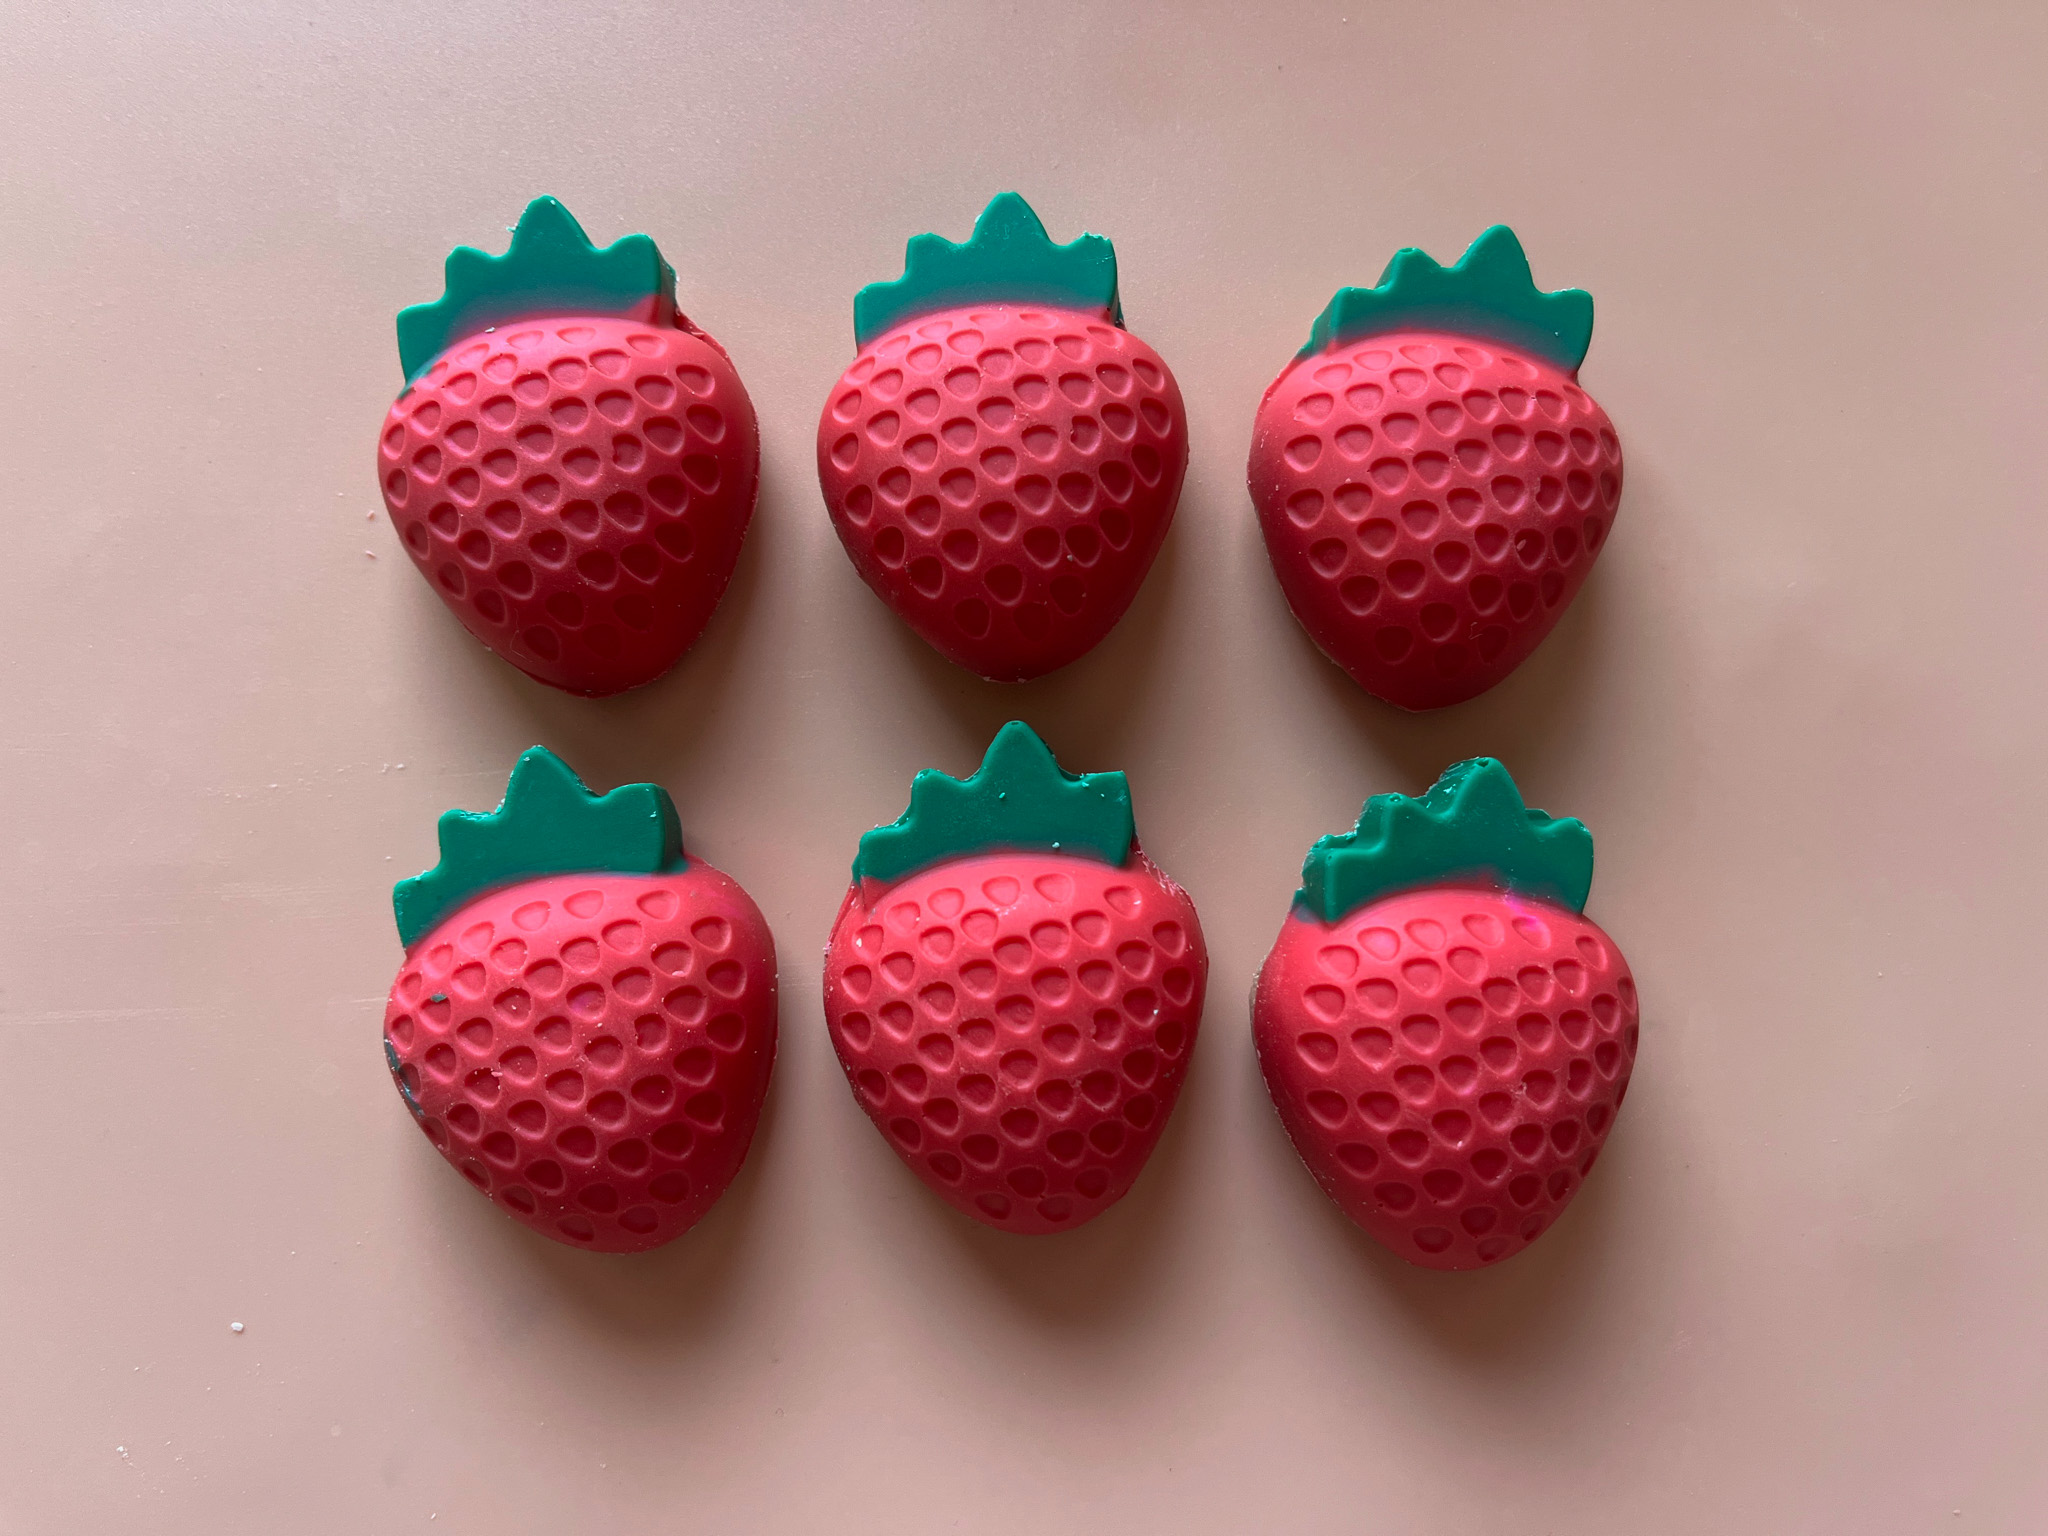
The little strawberries were a bit more involved to make, but they were a big hit when I donated them. I know some have issues using compound chocolate, but it does a good job here. Not too hard to bite into, and if you use a nice brand, it tastes fine. Just take your time painting the inside of the strawberry. Do the green part first, let it set, then come with the red all over it, and immediately place the cookie inside.

1 YEAR AGO: Infinity Techno Sourdough
2 YEARS AGO: Incredibly Easy Times Two
3 YEARS AGO: Lobster Risotto with Mushrooms and Tarragon
4 YEARS AGO: Air-Fried Cauliflower with Pomegranate Seeds and Tahini Sauce
5 YEARS AGO: Pistachio-Rose Donuts
6 YEARS AGO: Smoked Chocolate Macarons
7 YEARS AGO:Chocolate Celebration Cake
8 YEARS AGO:Incredibly Simple Times Four, May 2018
9 YEARS AGO: Tangential Quiche with Asparagus and Fennel
10 YEARS AGO: Fakebouleh
11 YEARS AGO:Yellow Squash Soup
12 YEARS AGO: Grilled Chicken with Tamarind and Coconut Glaze
13 YEARS AGO:Chicken-Apricot Skewers
14 YEARS AGO:Asparagus Quiche
15 YEARS AGO: Two-stage Pea and Prosciutto Risotto
16 YEARS AGO:Mellow Bakers: Corn Bread