Ready for a true labor of love? Full disclosure, it was a case of self-love, because I made it to celebrate my own Birthday! I spread the preparation over three days, you can definitely make it in two, but sometimes it is best not to rush. Since it’s been many years since I made this type of cake, I decided to take my time and enjoy the ride.
CHOCOLATE MOUSSE ENTREMET CAKE
(from Sugar Geek Show)
for the cake component:
3 large eggs
1 cup white sugar (220 g)
1 tsp vanilla extract
3/4 cup mayonnaise (180 g)
1 + 1/2 cup all purpose flour (180 g)
1/2 cup cocoa powder (45 g)
1 tsp baking powder
1/2 tsp baking soda
1/2 tsp salt
3/4 cup water (185 g)
for the ganache center:
1 Tbsp (15 g) white sugar
1 tsp glucose or Corn Syrup
1/2 cup (120 g) whipping cream
50 g dark chocolate
40 g milk chocolate
2 tsps of unsalted butter
for the chocolate mousse:
3/4 cup + 1 Tbsp whipping cream (200 g)
200 g dark chocolate
3/4 cup + 1 Tbsp heavy cream (200 g)
3 egg yolks
60 g white sugar
1/4 cup (60 g) water
for the chocolate mirror glaze:
1 cup granulated sugar (200 g)
1/3 cup + 1 Tbsp water (100 g)
2 drops red food coloring (optional)
1 cup heavy whipping cream (220 g)
1/3 cup + 1 Tbsp corn syrup or glucose (120 g)
1 + 1/2 cups cocoa powder (130 g)
6 gelatin sheets (16 g) – I used Platinum
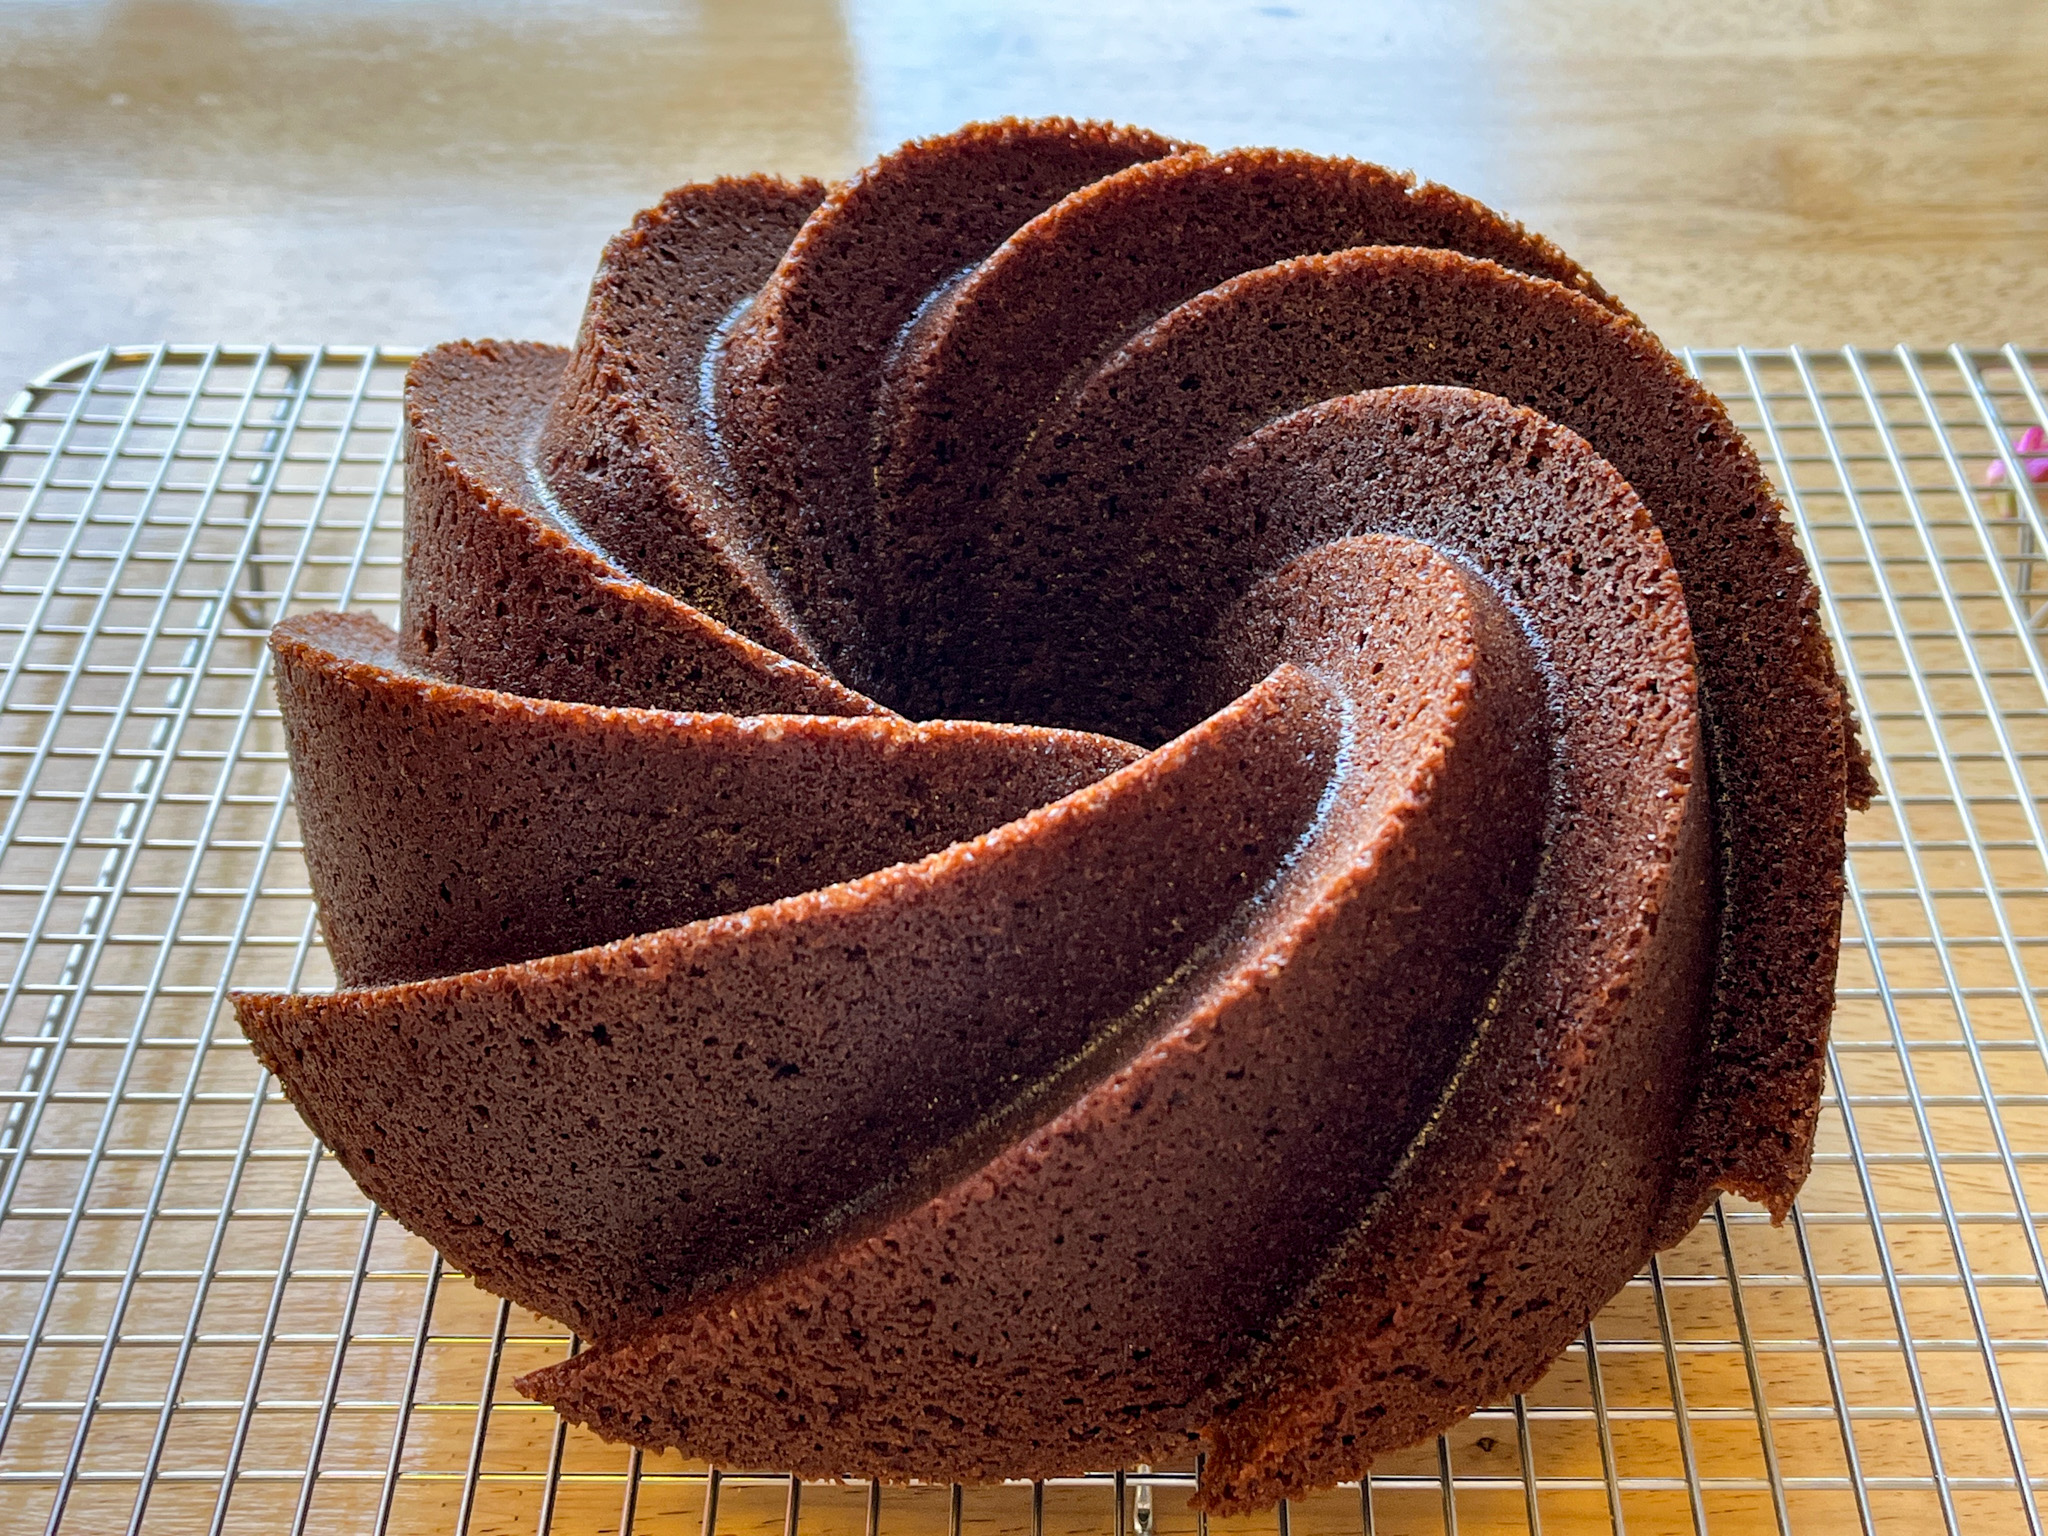
Make the cake: Line a 1/4 inch sheet pan with parchment paper and heat oven to 350 F.
In a large bowl, combine the sugar, flour, cocoa powder, baking powder, baking soda, and salt. In a separate bowl, whisk together the eggs, vanilla extract, mayonnaise, and water. With an electric mixer, set on low speed, gradually add the wet ingredients into the bowl with the dry ingredients until combined. Then increase the speed to medium and continue to mix for one more minute until the batter is fully combined and smooth. Spread the batter onto the pan and bake for about 15 minutes or until the center of the cake is set.
Let the cake cool for 15 minutes, then remove from pan and cover in plastic wrap and freeze until you are ready to start assembling the cake.
Make the ganache: Break up the dark chocolate and milk chocolate into small pieces and place into a heat-proof bowl; set aside. In a medium-sized sauce pan, bring the cream, glucose or corn syrup, and sugar to a boil. Pour 1/3 of the hot cream mixture over the chocolate pieces, whisking vigorously until the chocolate starts to melt. Pour another 1/3 of the hot cream over the chocolate while whisking, continuing until the cream is all used up. Place the butter in a tall container or pitcher and pour the ganache over it. Using an immersion blender, mix the ganache and butter together until smooth and shiny. Pour the mixture into a bowl, cover with plastic touching the surface and let set for 5-6 hours at room temperature. You can also do that the day before.
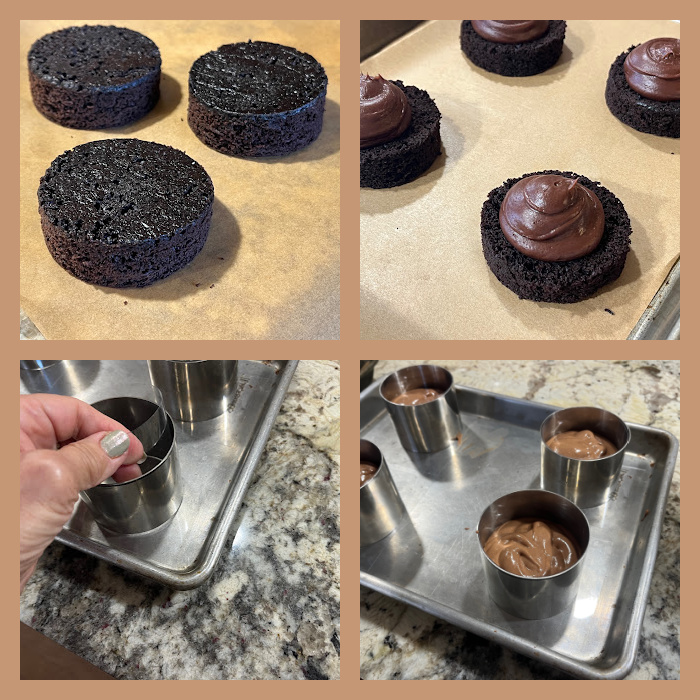
After the ganache has set, remove the chocolate cake from the freezer and use a 3-inch cake cutter to cut six small cake rounds (each cake round should be about 1/4 the height of your cake ring). Place the chocolate ganache into a piping bag and pipe about 2 teaspoons of ganache in the center of each cake round). Place in the freezer for at least one hour.
Make the chocolate mousse: the mousse is made up of three components: the whipped cream, the chocolate ganache, and the egg yolks whipped with hot syrup (pâte à bombe). First, whip the 200 g cream until soft peaks form and set aside. For the chocolate ganache, break up the dark chocolate into smaller pieces and place in a heat-proof bowl. Bring the 200g heavy cream to a boil and then pour 1/3 of the hot cream onto the chocolate, whisking vigorously. Working in thirds, continue to pour the hot cream onto the chocolate until all of the cream has been used, whisking in-between each addition. Set aside.
For the pâte à bombe, place your egg yolks into a heat-proof bowl. In a large saucepan, heat the sugar and water together until the temperature reaches 244 F. Slowly pour the hot mixture onto the bowl holding the egg yolks, whisking continuously until the mixture thickens and turns a pale yellow.
Combine all three components: first fold the whip cream into the ganache, then pour the egg yolk mixture into the bowl of the mixed chocolate ganache, then fold all ingredients until smooth. Transfer mousse to a piping bag and coat inside of each metal cake ring with cooking spray. Line inside of each cake mold with acetate. Pipe the mousse into each cake ring, filling 3/4 of the way to the top. Gently press each frozen cake ring (topped with the ganache) into the ring with the ganache facing downward. The mousse should gradually move up toward the top of the ring. Flatten out the mousse and scrape off any excess mousse. Freeze each cake overnight.
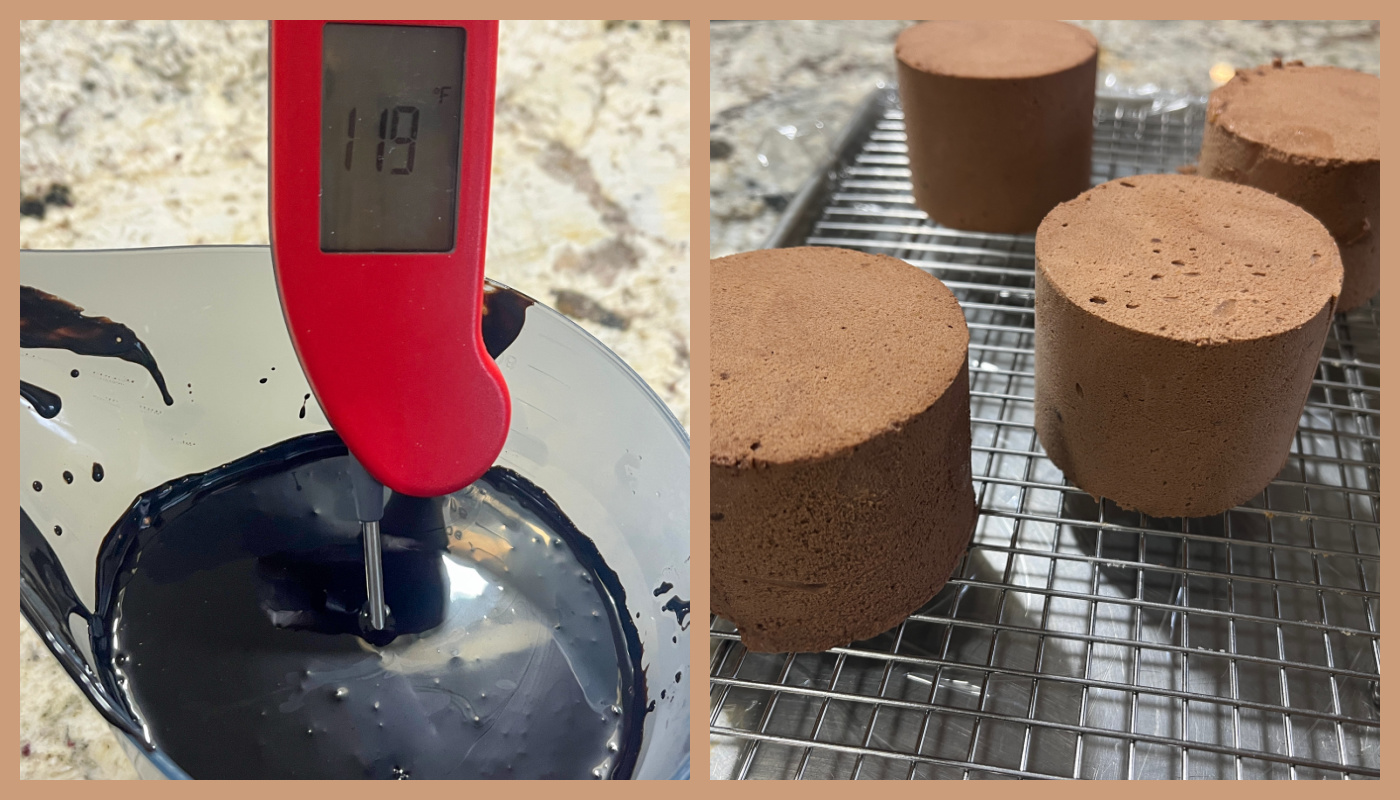
Make the chocolate mirror glaze: first, place your gelatin sheets in a bowl of cold water for about 5 minutes to soften. Heat the water, sugar, and a few drops of red food gel on the stovetop until the mixture reaches 222 F. In a separate bowl, mix the glucose (or corn syrup) and cream together then microwave for one minute until warm. Now pour this into the pan holding the sugar/water mixture, whisking continuously, then bring to a boil. Add the cocoa powder, remove from the heat and continue to mix.
Squeeze out the excess moisture from the gelatin leaves, then place in a pitcher or large measuring cup. Pour the sugar/cocoa mixture on top of the gelatin and mix with an immersion blender until all bubbles are gone. Let temperature reduce to 104 F (40 C) while preparing your cake molds.
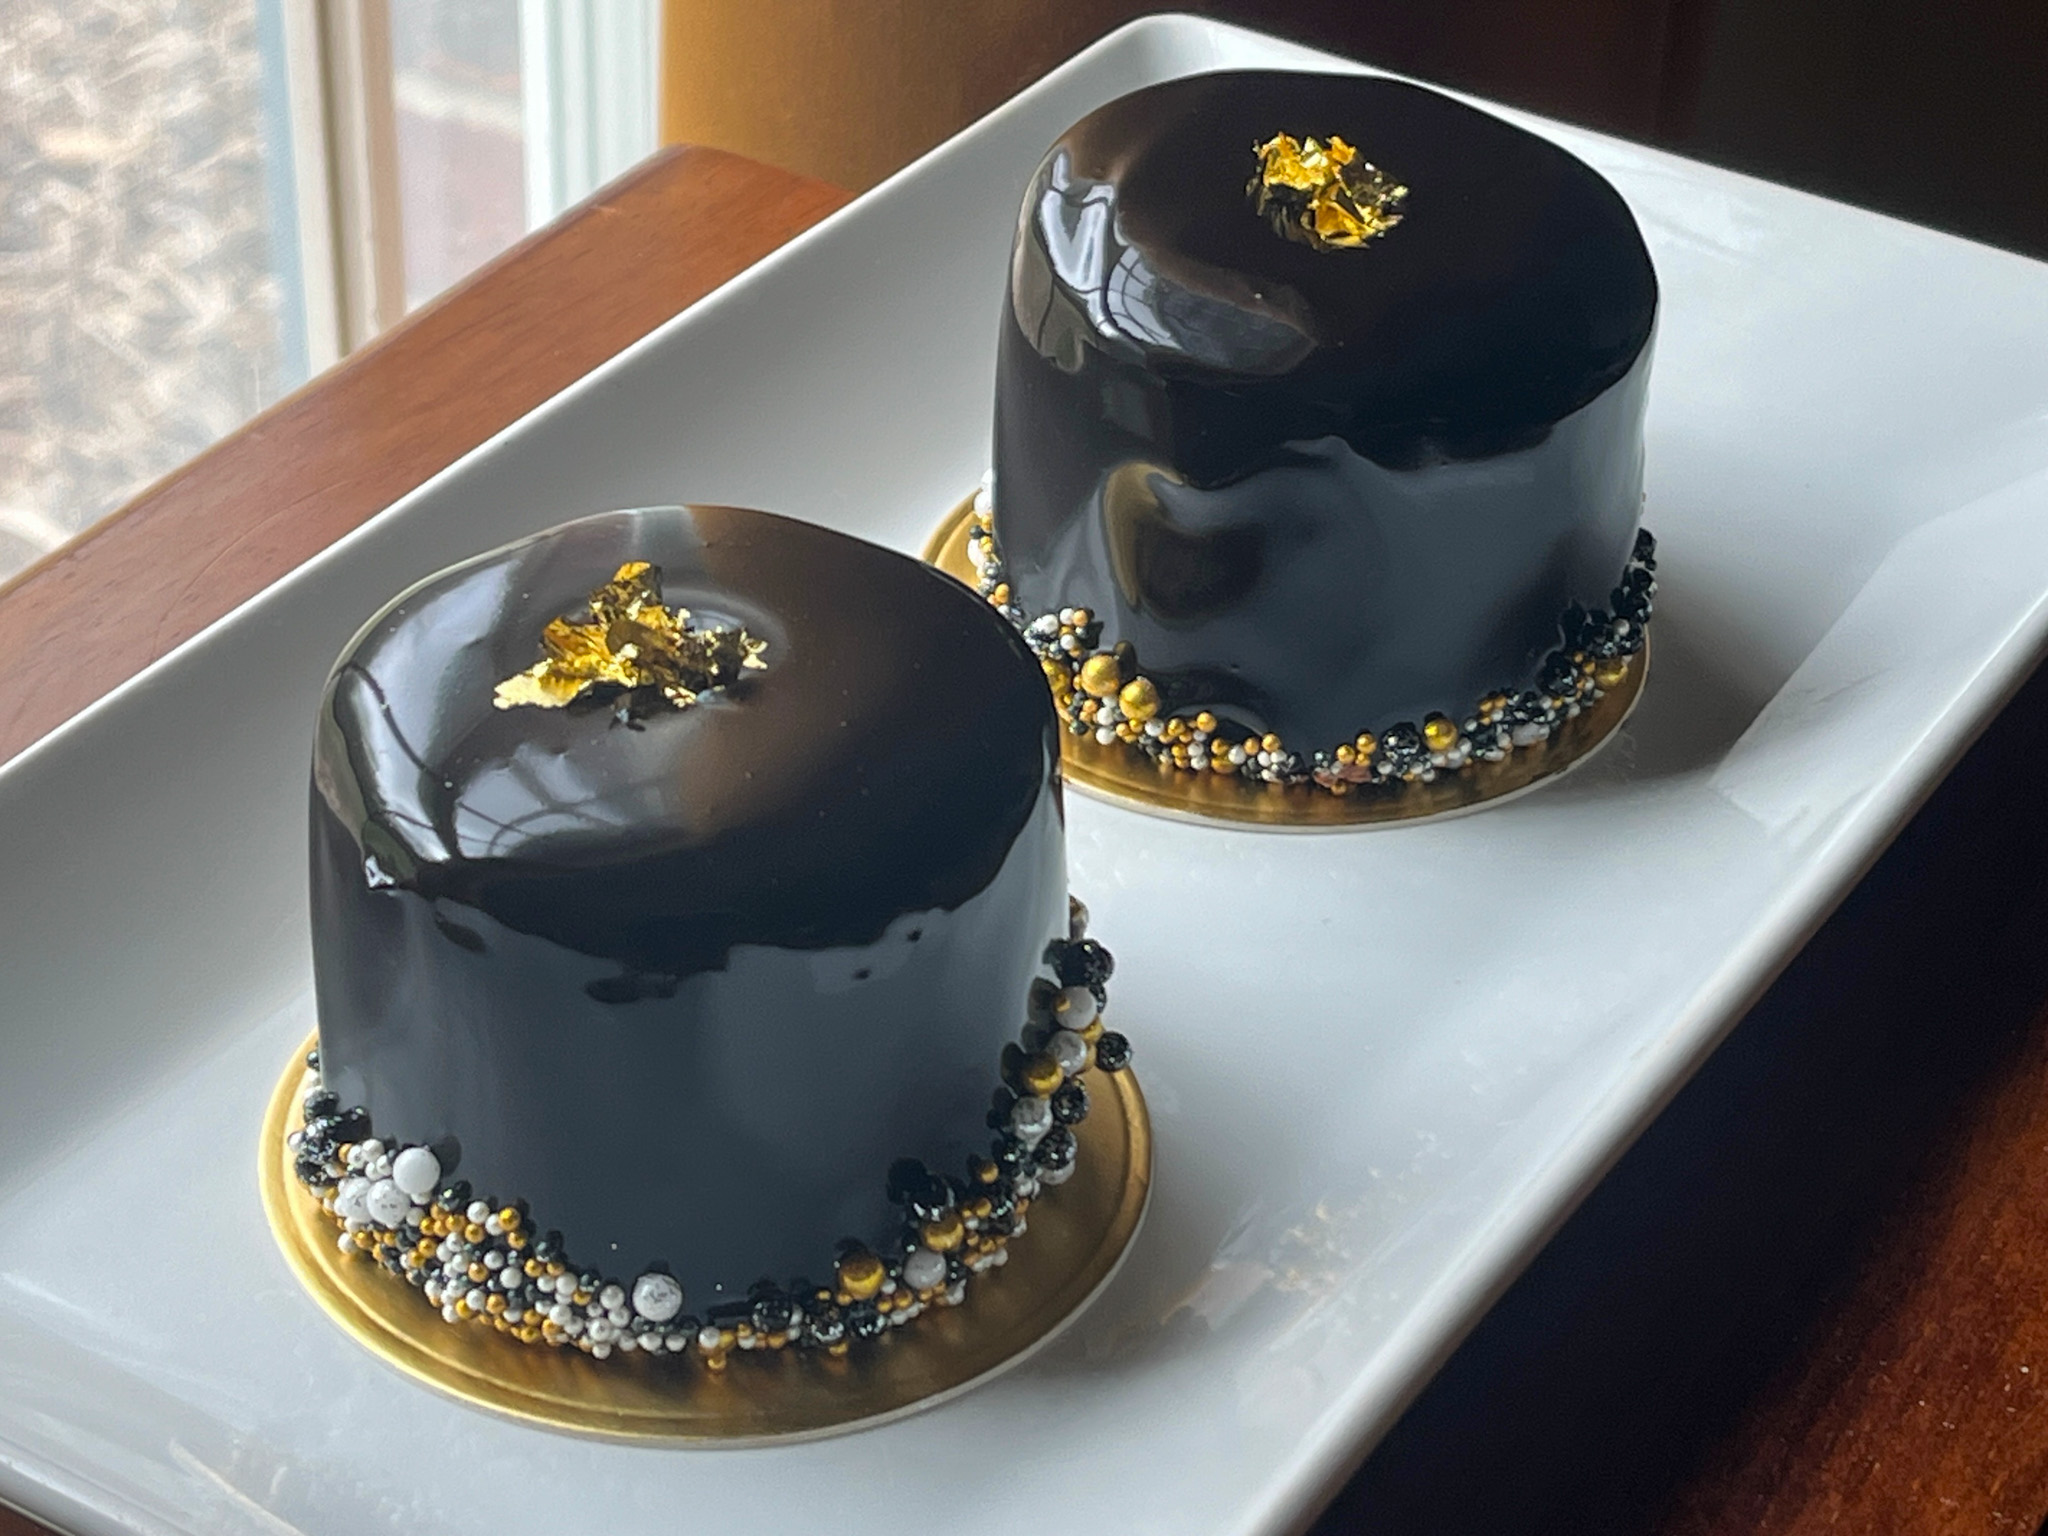
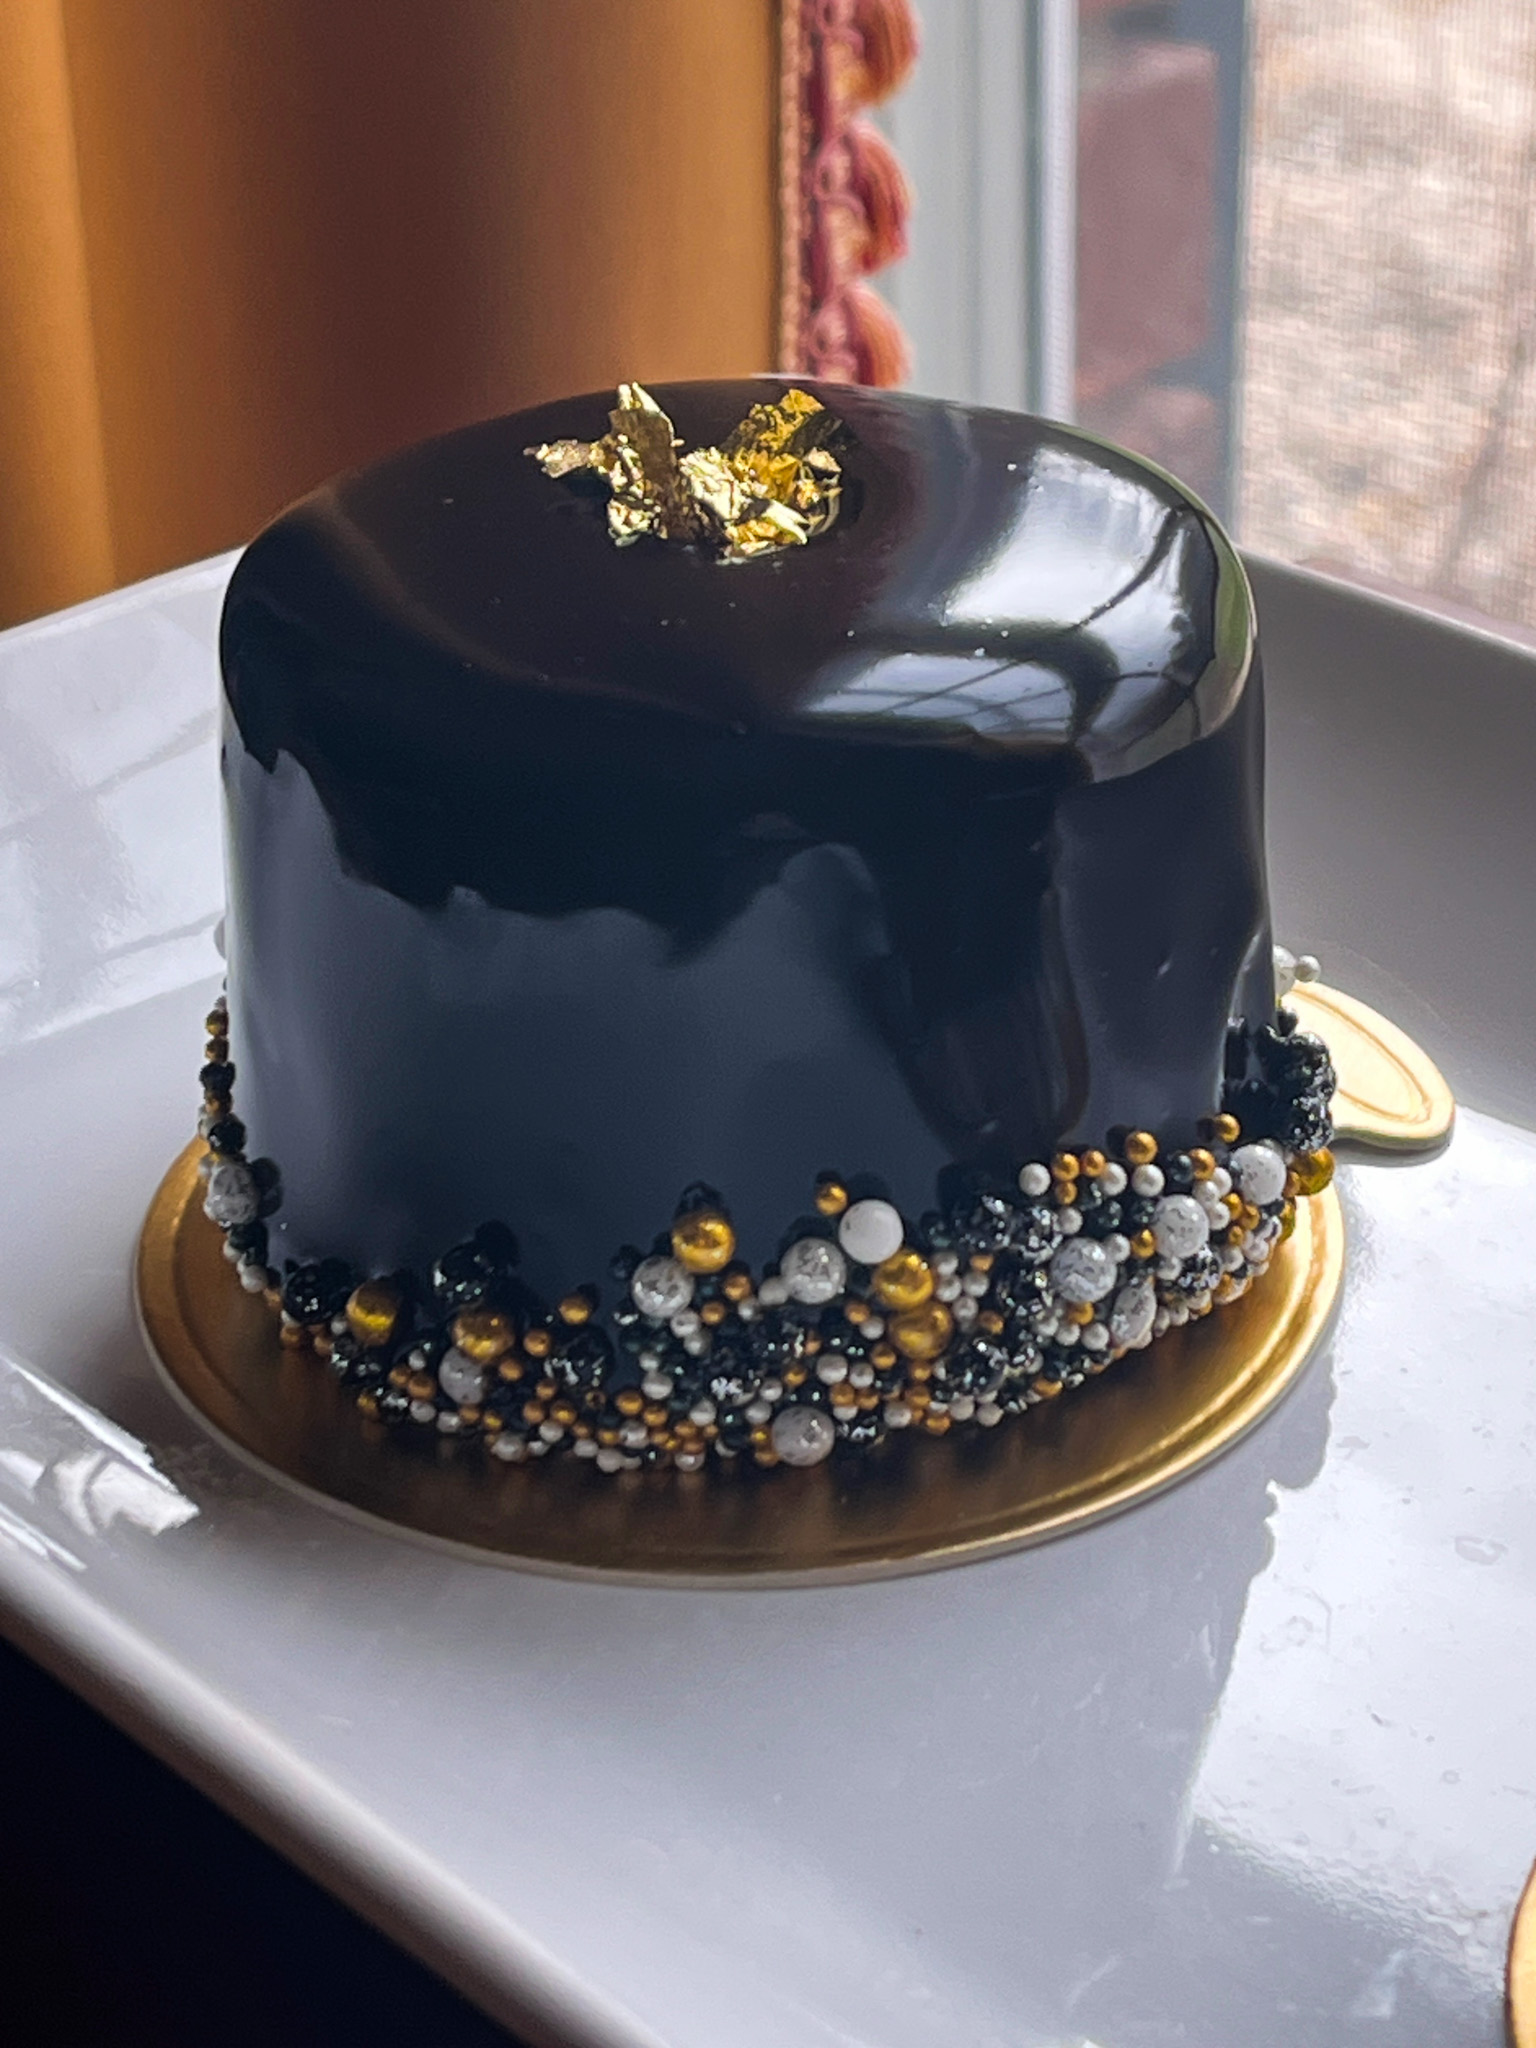
To unmold the frozen entremet cakes, use a hair dryer to heat up the sides of the cake ring for a few seconds, then gently push the cake out of the mold onto a cooling rack placed on top of a baking sheet. Remove the acetate sheet from the cake. Before applying the glaze to the cake, make sure the glaze temperature is 104 F (40 C). Gradually pour the glaze onto the cake starting from the center outwards, fully covering the top and sides. (The excess glaze that has accumulated in the pan can be scraped up and re-used).
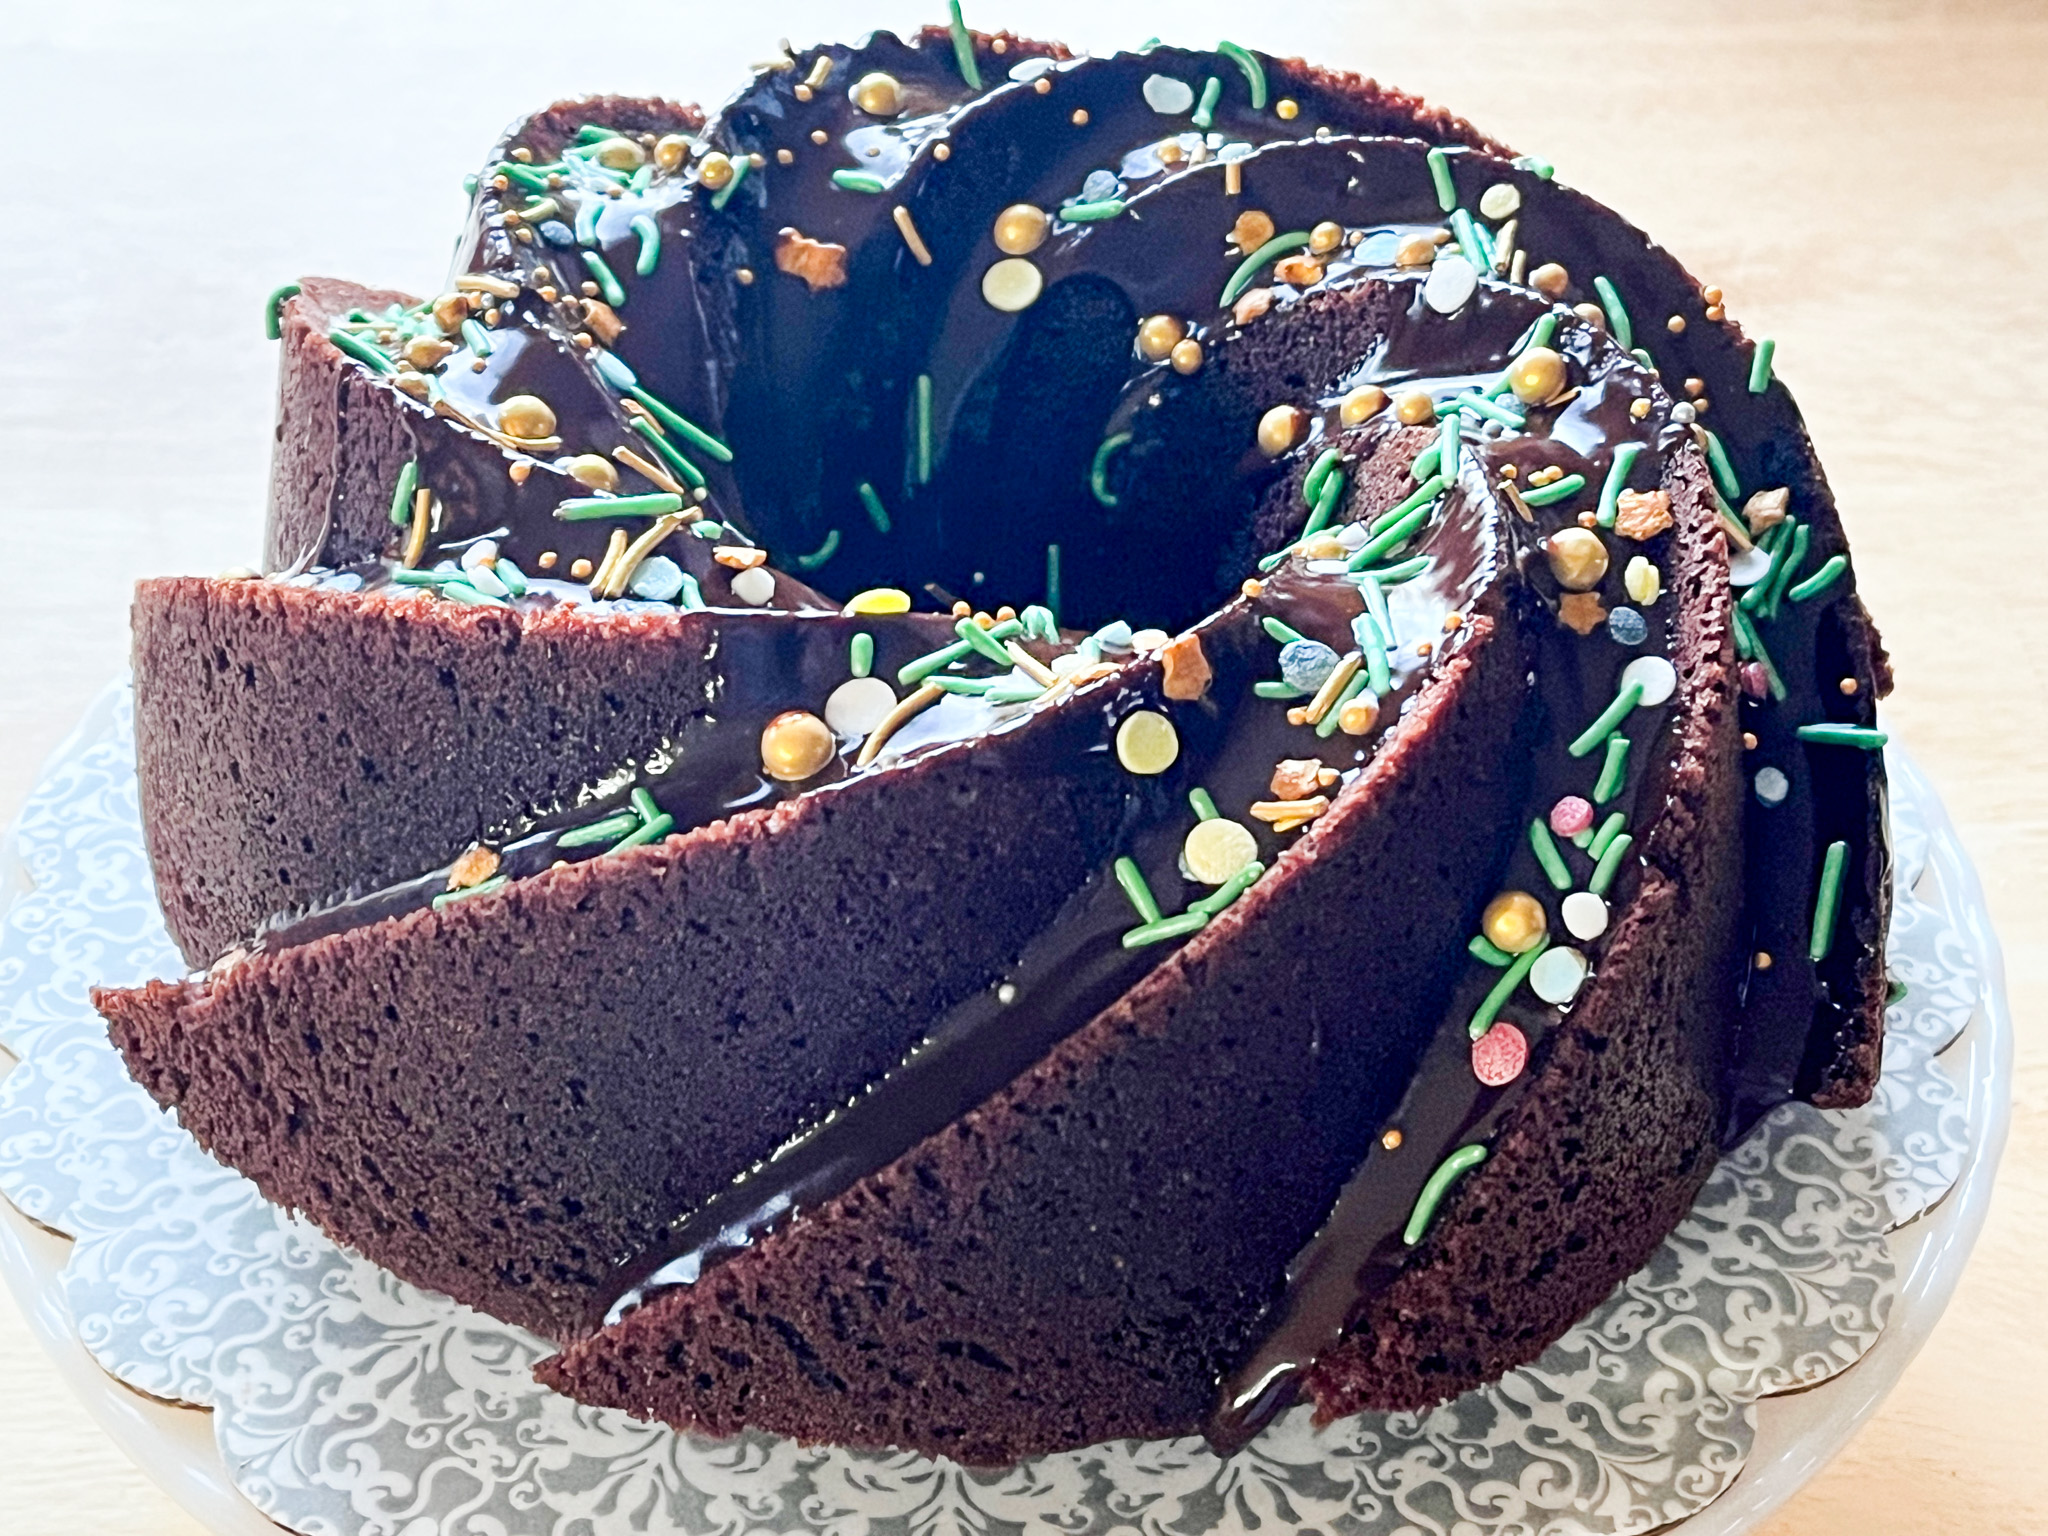
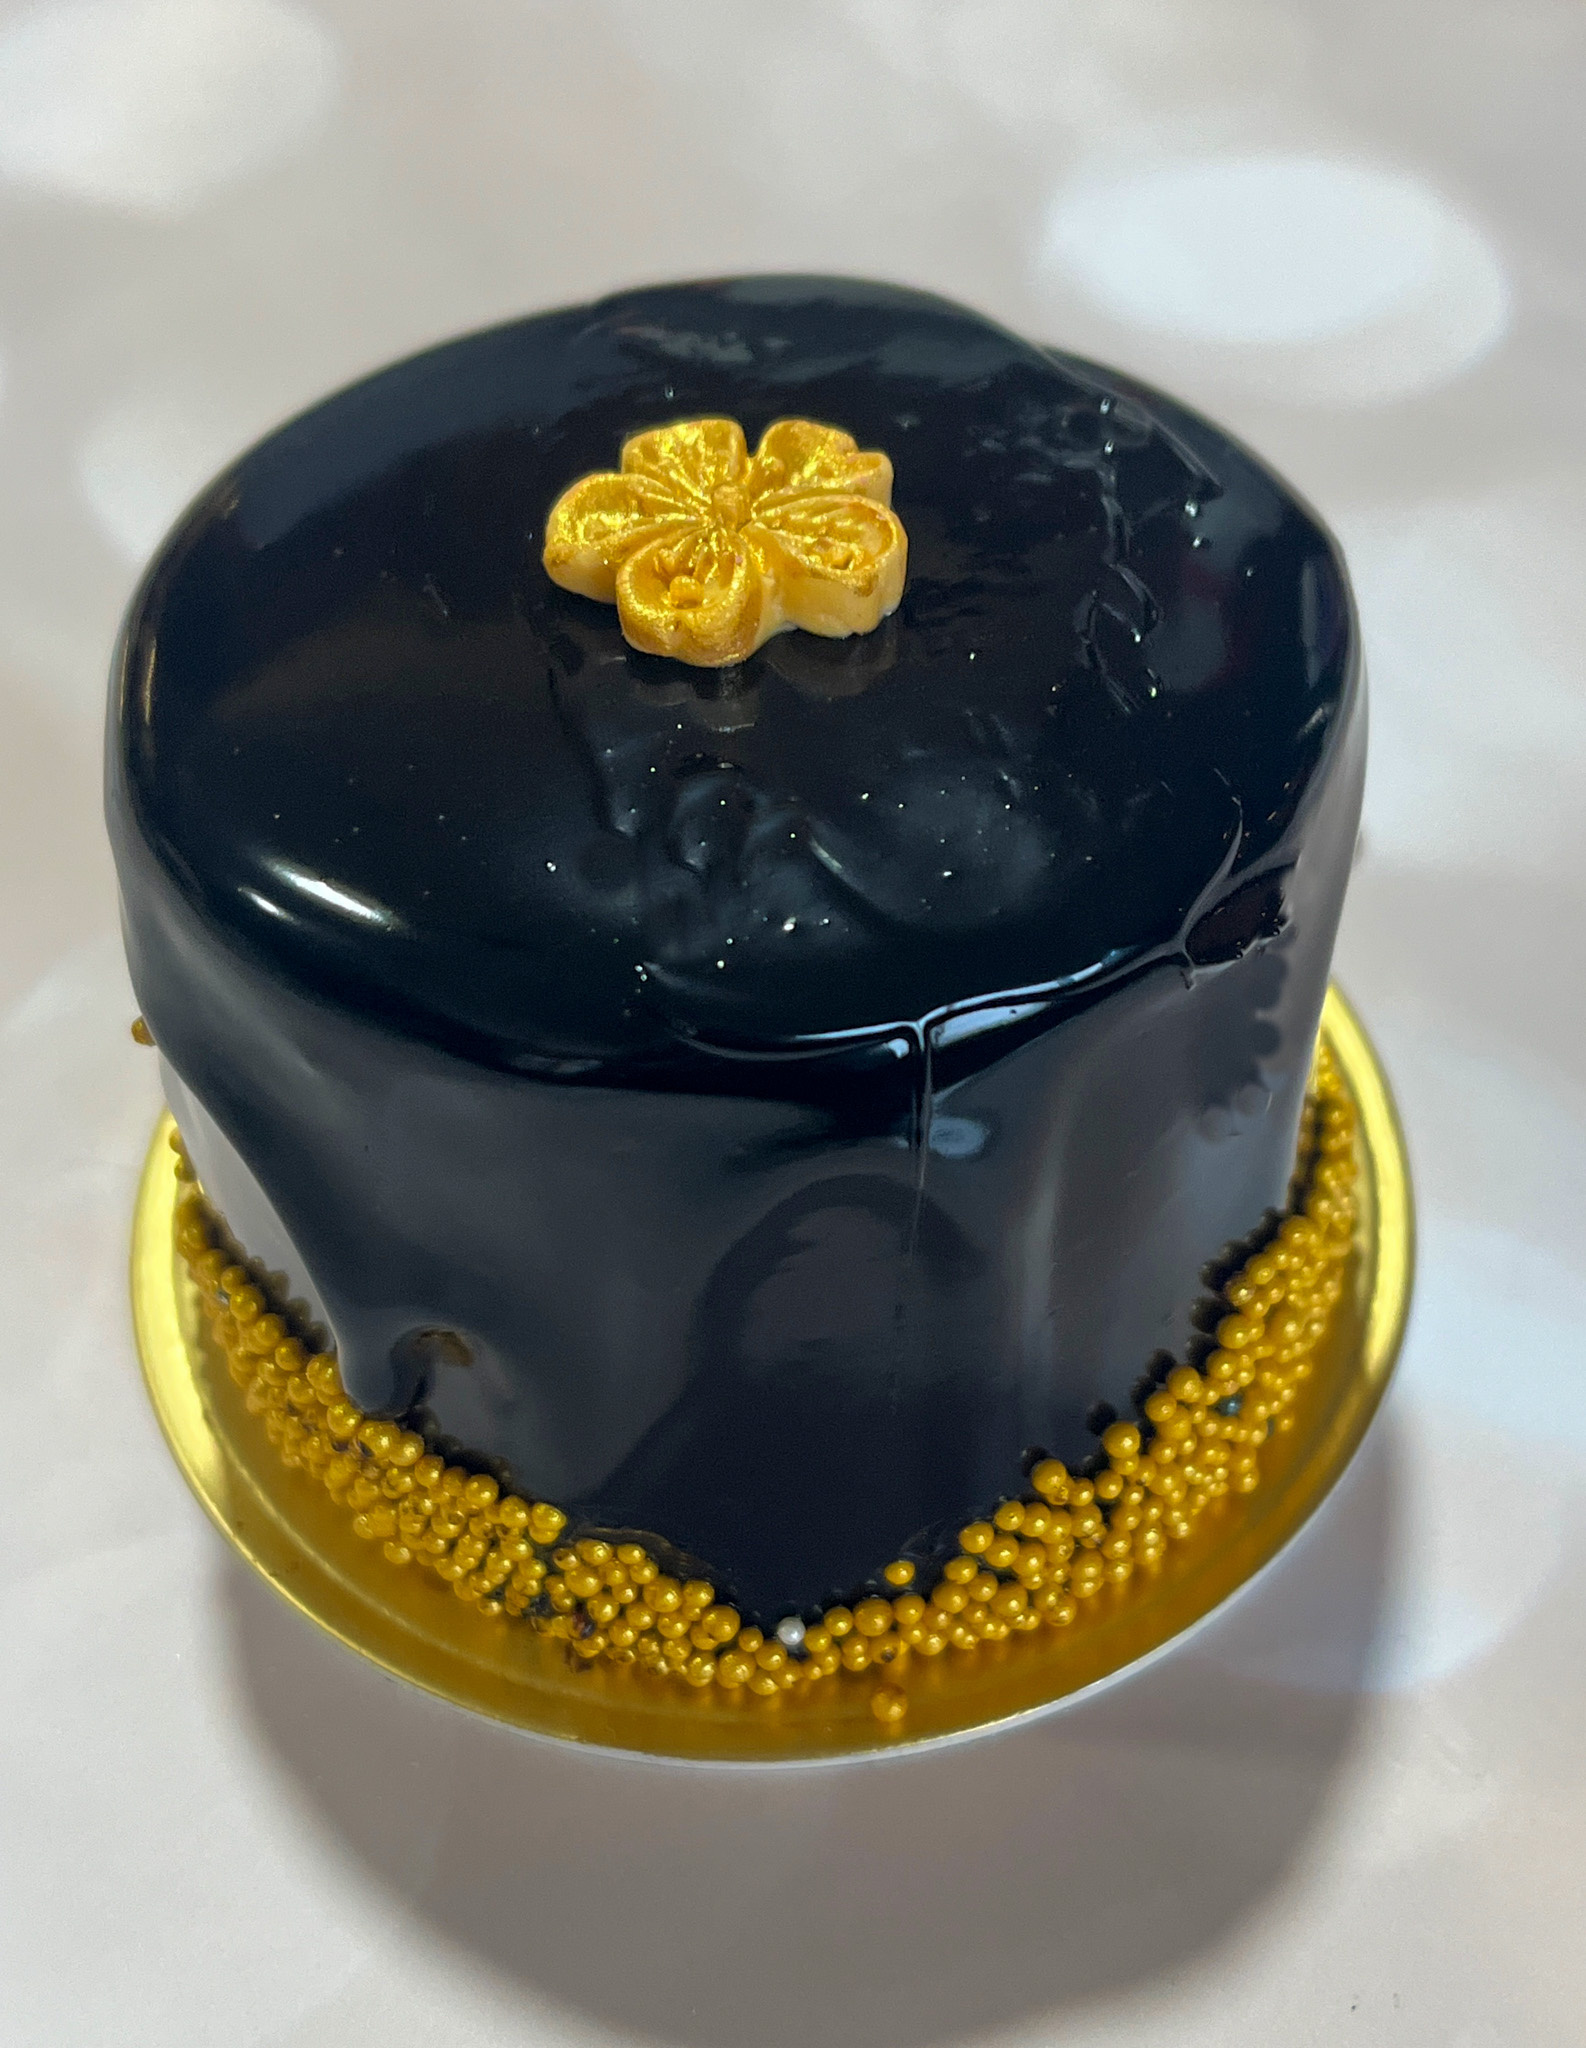
After the glaze settle a few minutes, transfer the cake to a serving dish; decorate with some gold leaf and serve.
ENJOY!
to print the recipe, click here
Comments: The link associated with the recipe will take you straight to a video showing every single step of the preparation, so even if you have no previous experience with entremet cakes, you’ll be able to tackle it. Here is my way to approach this adventure:
Day one: baked the chocolate cake, wrapped it and froze it
Day two: made the ganache early in the morning, cut cake slices and topped with ganache around noon. Made the mousse and assembled the cake rings around 5pm. Froze everything overnight.
Day three: Made the chocolate mirror glaze, while it cooled to the pouring temperature (I used 110F instead of 104F), I removed the frozen cakes from the rings, took the acetate out, and placed them back in the freezer until the glaze was ready to pour.
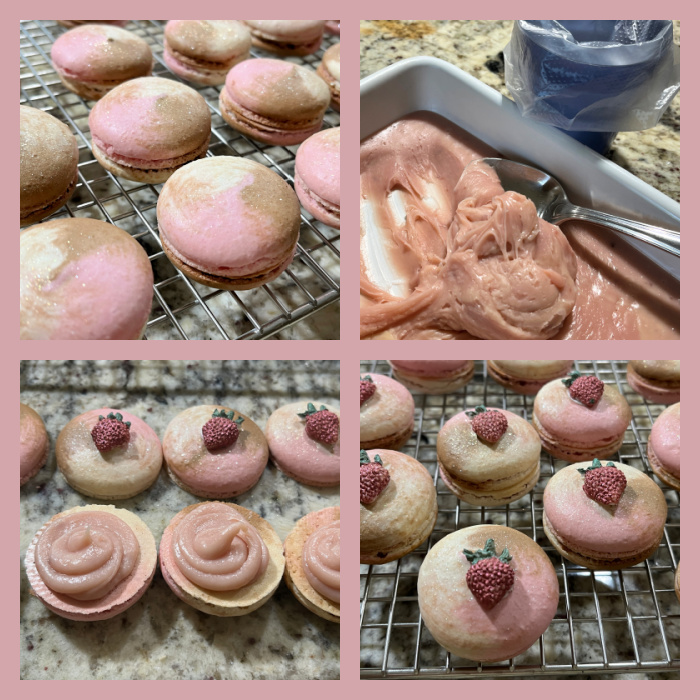
The only problem I had – and that was a big problem that led into severe hyperventilation – was right after glazing the cakes. The video gave a super cool tip to hold the cake with a stick to roll the base over sprinkles, but it is VERY important that you do not stick that too deep, or you won’t be able to remove it without destroying the little cake. I almost lost my Zen. So, if you make them, insert the skewer just a little bit, it will be a bit wobbly but then you will remove it without issues, and the gold leaf or another decoration of your choice will hide the small hole left on the glaze.
I was totally thrilled with the outcome! Especially because I had not worked with mirror glaze in such a long time. Consider investing in a Bamix handheld mixer, it is the best tool to remove bubbles from this type of glaze, although for extra safety I always pass it through a fine sieve (they did not use it in the video, but I advise you to incorporate this extra step). I’ve had the Bamix for many years, found a great deal on eBay at the time, probably around 2018.
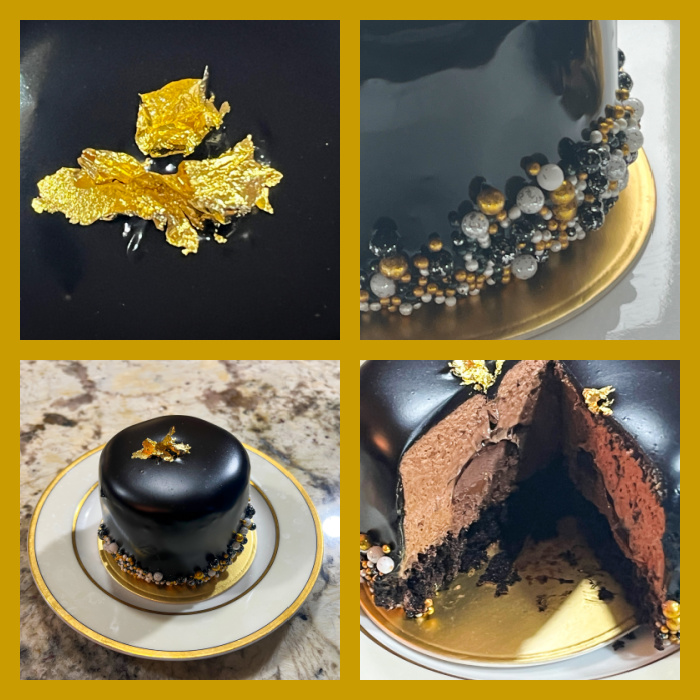
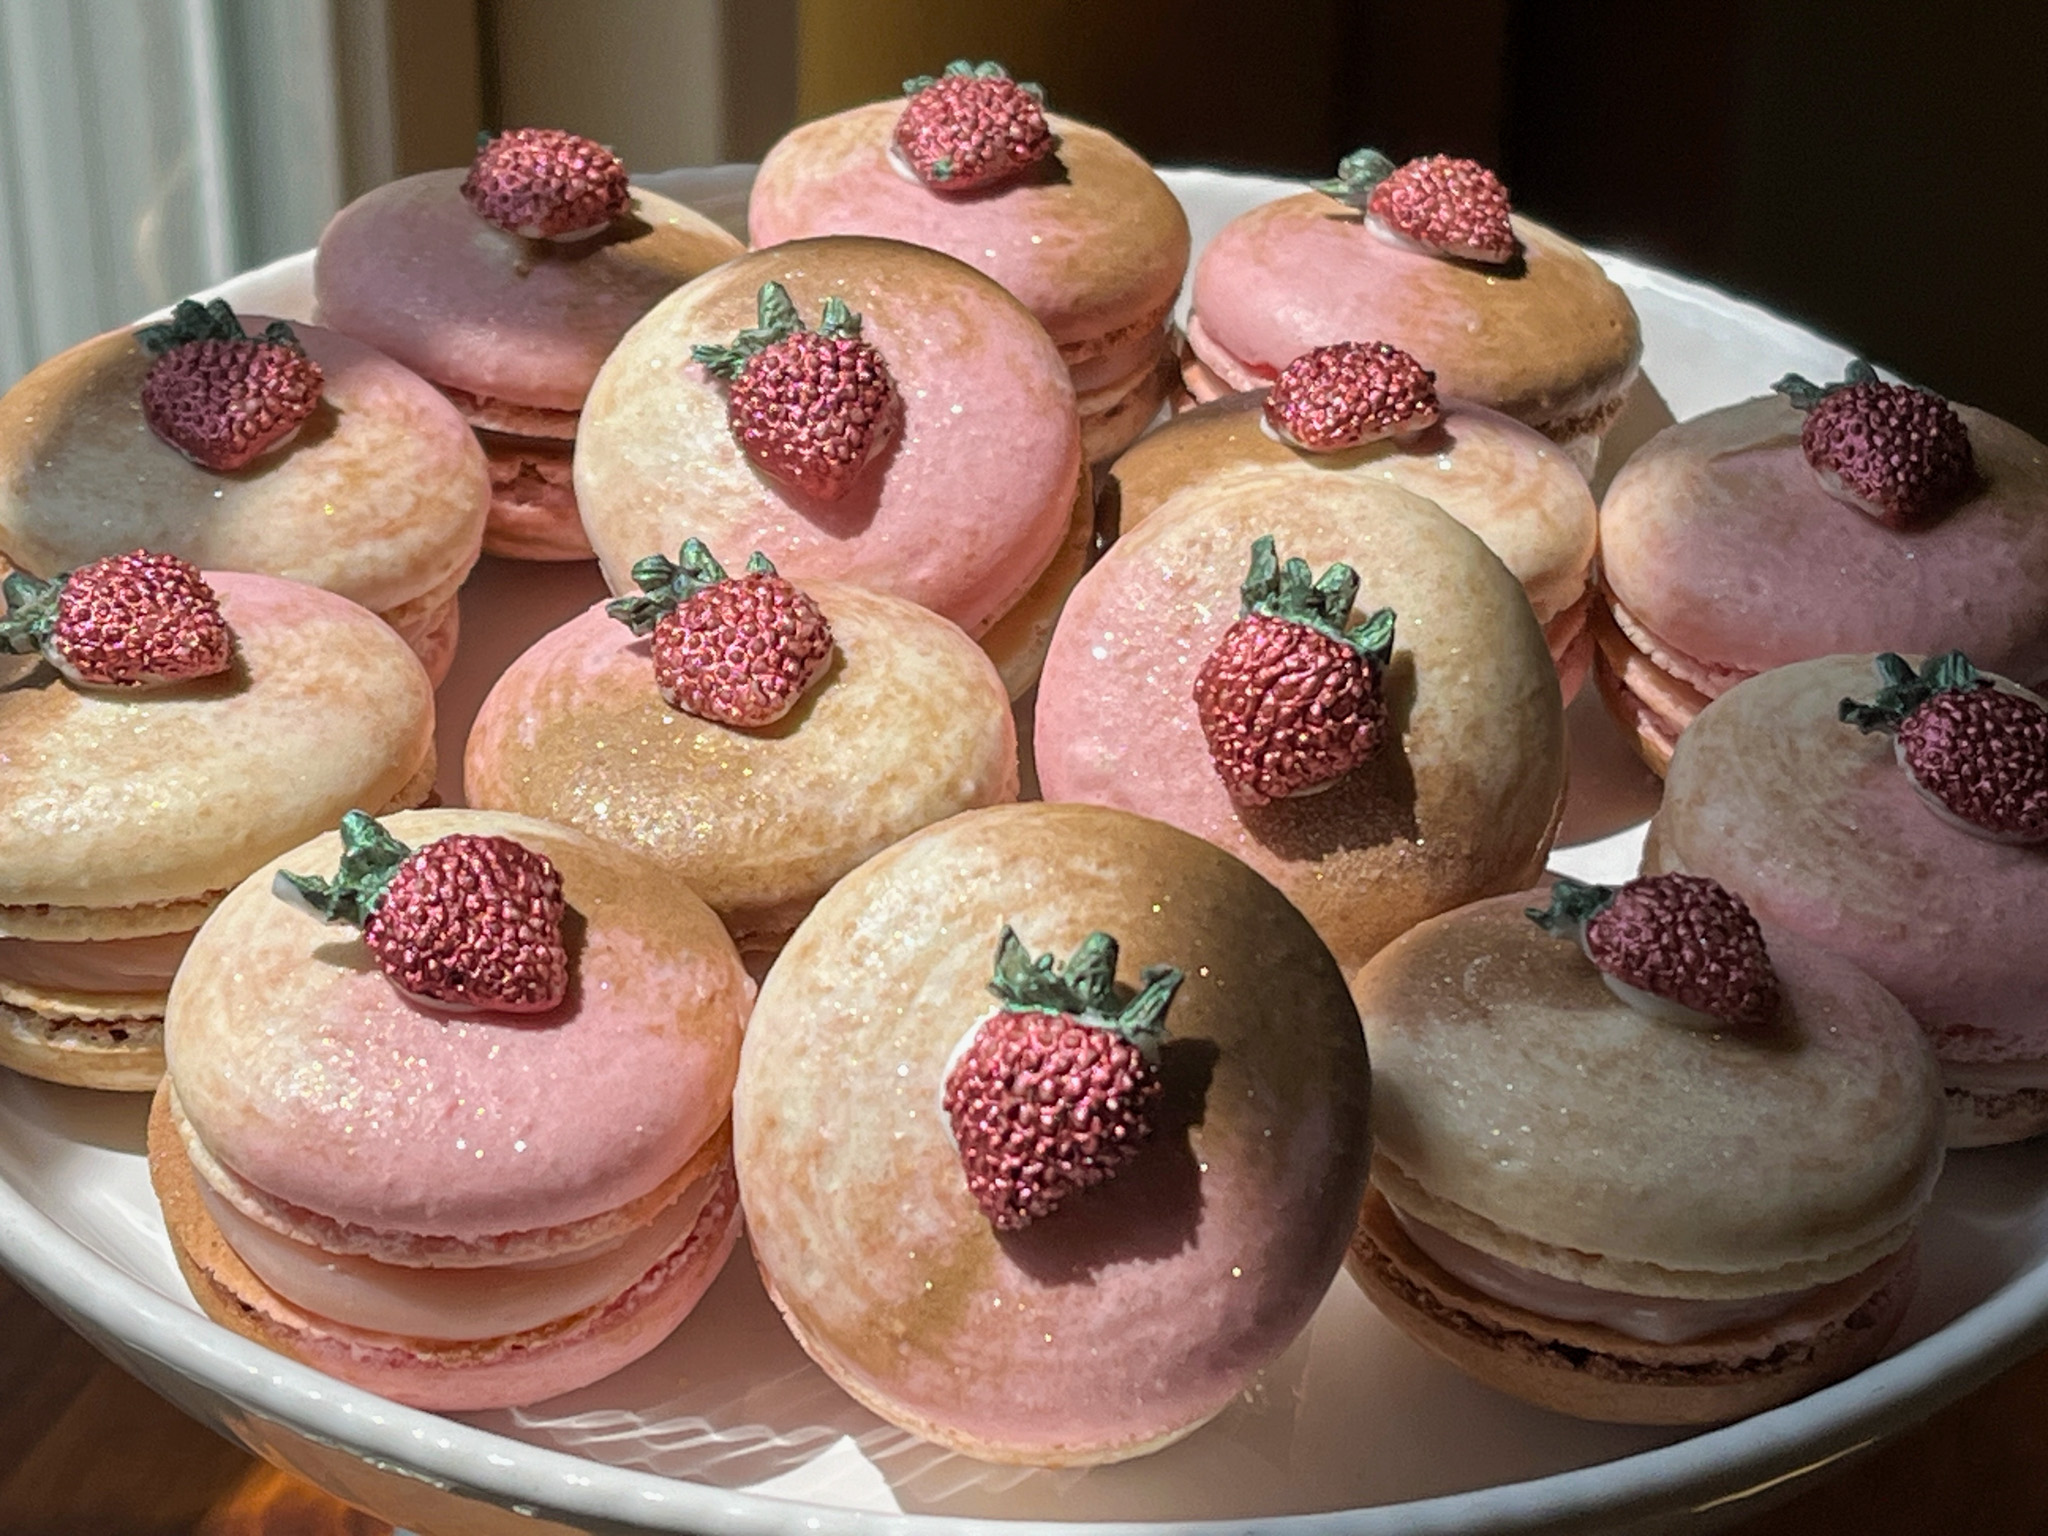
This is a real rich dessert, we shared one and then Phil had a couple of bites from the second one, leftover was his breakfast next day. If you don’t have gold leaf to decorate the top, a small fondant decoration or even sprinkles will do.
I truly enjoyed making these cakes, and now I wonder if I really need a super special occasion to justify bringing it to our table… Life is short, not a bad idea to indulge every once in a while, right?
ONE YEAR AGO: Cake Pucks
TWO YEARS AGO: Haniela’s Cheese Crackers
THREE YEARS AGO: Shrimp Tacos with Jicama-Mango Salsa
FOUR YEARS AGO: Mini-Egg Brownies
FIVE YEARS AGO: The Luck of the Irish
SIX YEARS AGO: When life gives you Eye-of-the-Round
SEVEN YEARS AGO: Carrot Cake Macarons
EIGHT YEARS AGO: Soup Saturday: Say Goodbye to Winter
NINE YEARS AGO: Manchego and Poblano Soup
TEN YEARS AGO: A Smashing Pair
ELEVEN YEARS AGO: Spinach and Mushroom Stuffed Pork Tenderloin
TWELVE YEARS AGO: Crispy Chickpea and Caper Spaghetti
THIRTEEN YEARS AGO: Spring has Sprung!
FOURTEEN YEARS AGO: Chickpea and Fire Roasted Tomato Soup
FIFTEEN YEARS AGO: Double Asparagus Delight
SIXTEEN YEARS AGO: Sun-dried Tomato and Feta Cheese Torte