FALL-INSPIRED VANILLA CUPCAKES

It’s been a while since I made cupcakes to include in the donations I make on Fridays. I like to keep things simple, especially in a busy week, and these cupcakes are actually the definition of simple: I use a method that mixes butter with flour from the beginning, no creaming needed. It makes a soft crumb, tender cake, and it is lightening fast to prepare. What’s not to like?

VANILLA CUPCAKES
(adapted from several sources)

for the buttercream use this recipe

120g all-purpose flour
150g granulated sugar
40g butter, unsalted, removed from the fridge for 30 minutes
1 large egg
120mL milk
1 + 1/2 tsp baking powder
1/2 tsp vanilla paste or extract
1/4 tsp salt

Heat the oven to 350F and line a cupcake pan with paper baking cups. Recipe makes 9 to 10 cupcakes.

Put the flour, baking powder, sugar, salt and butter cut in small pieces in the bowl of a KitchenAid type mixer fitted with the paddle attachment. Mix on medium-low until the butter is in very small pieces, almost like sand.

Whisk the egg with the milk and vanilla, add slowly to the mixer running in low-speed. Once it is almost smooth, increase the speed to high for a couple of minutes, scraping the bottom of the bowl once.

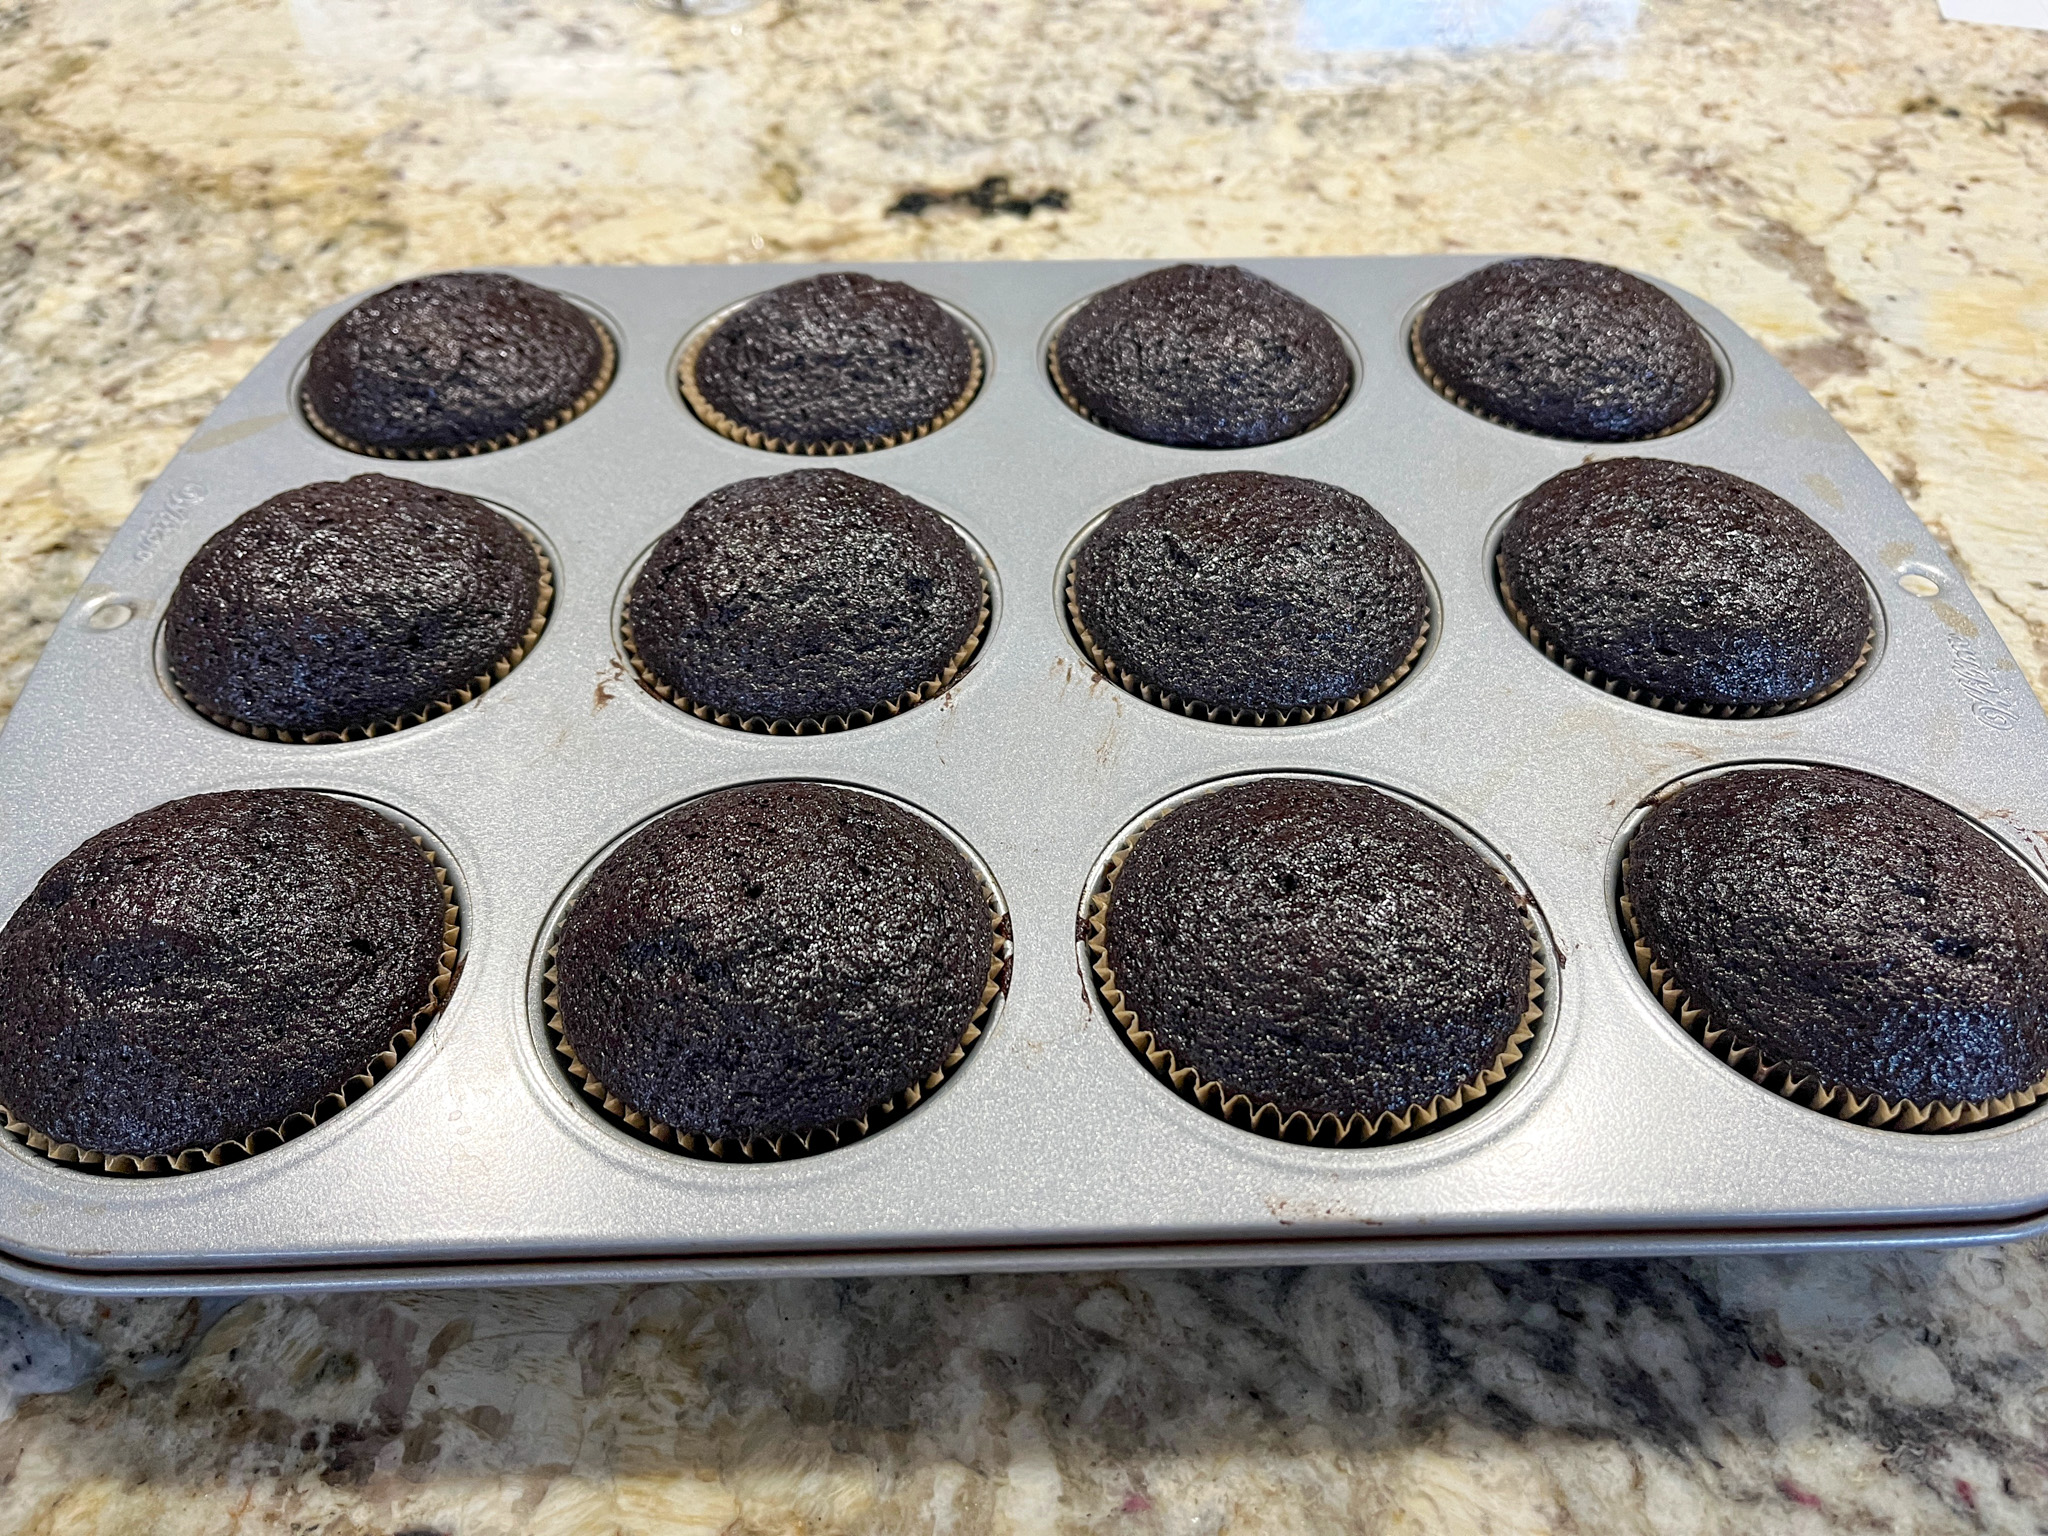
Stop the mixer and make sure the batter is fully smooth, mixing by hand with a spatula. Add batter to the 9 cupcakes, filling half-way full only. Bake for 15 to 18 minutes, until a toothpick comes out clean when inserted in the center.

Leave cool completely before decorating.

ENJOY!

to print the recipe, click here

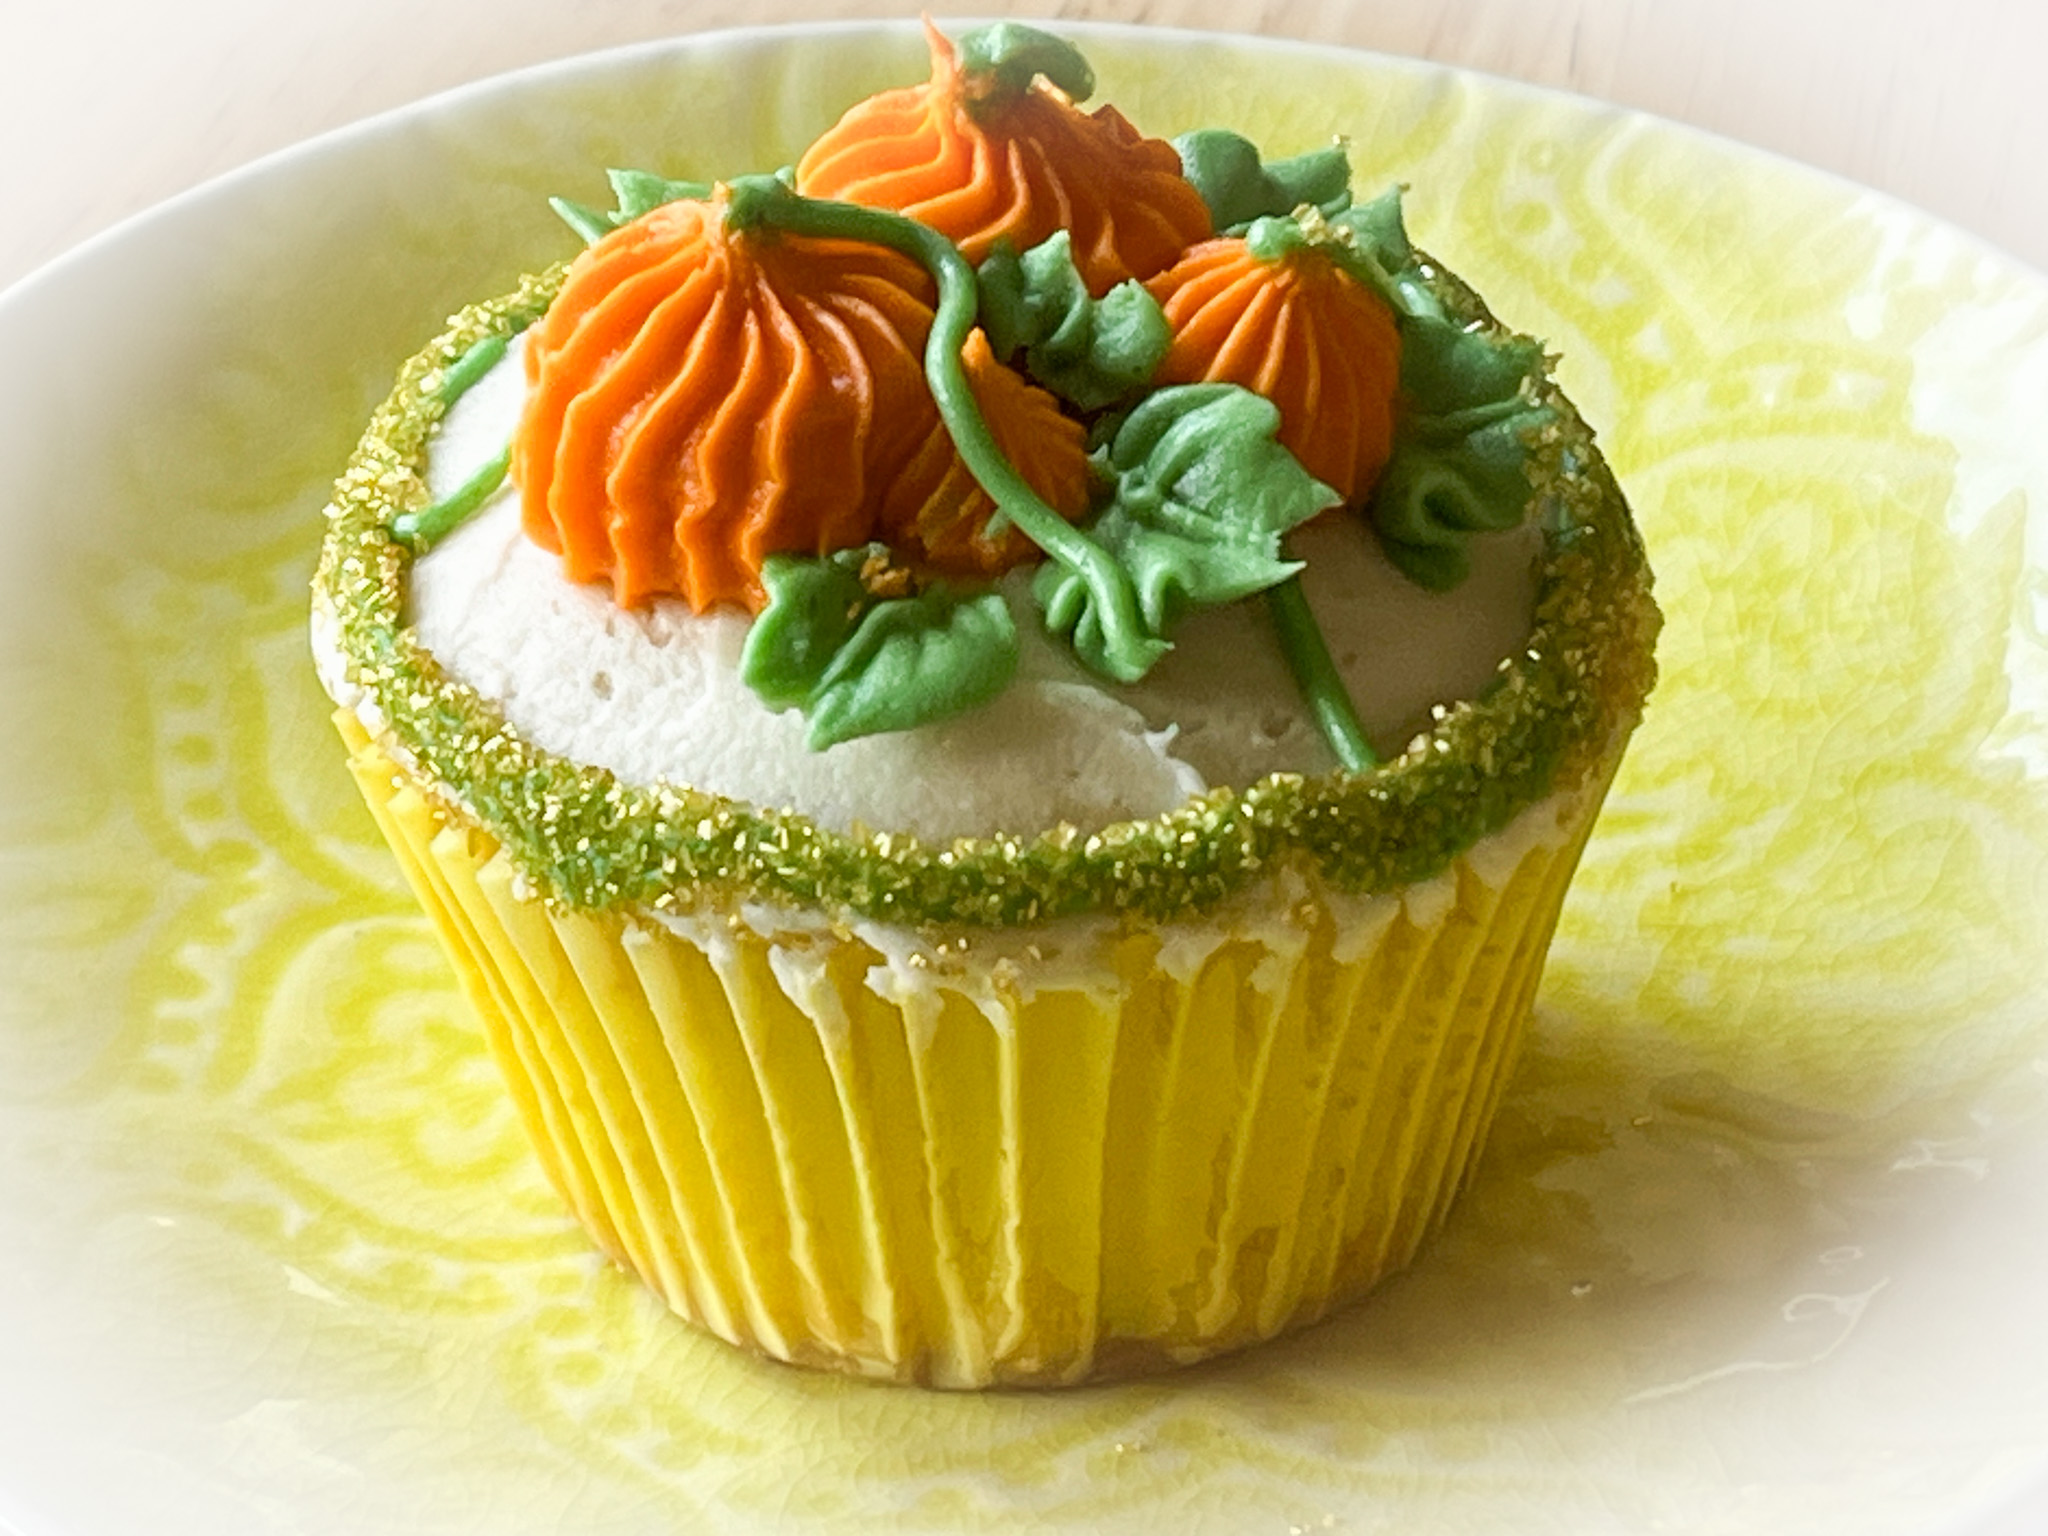
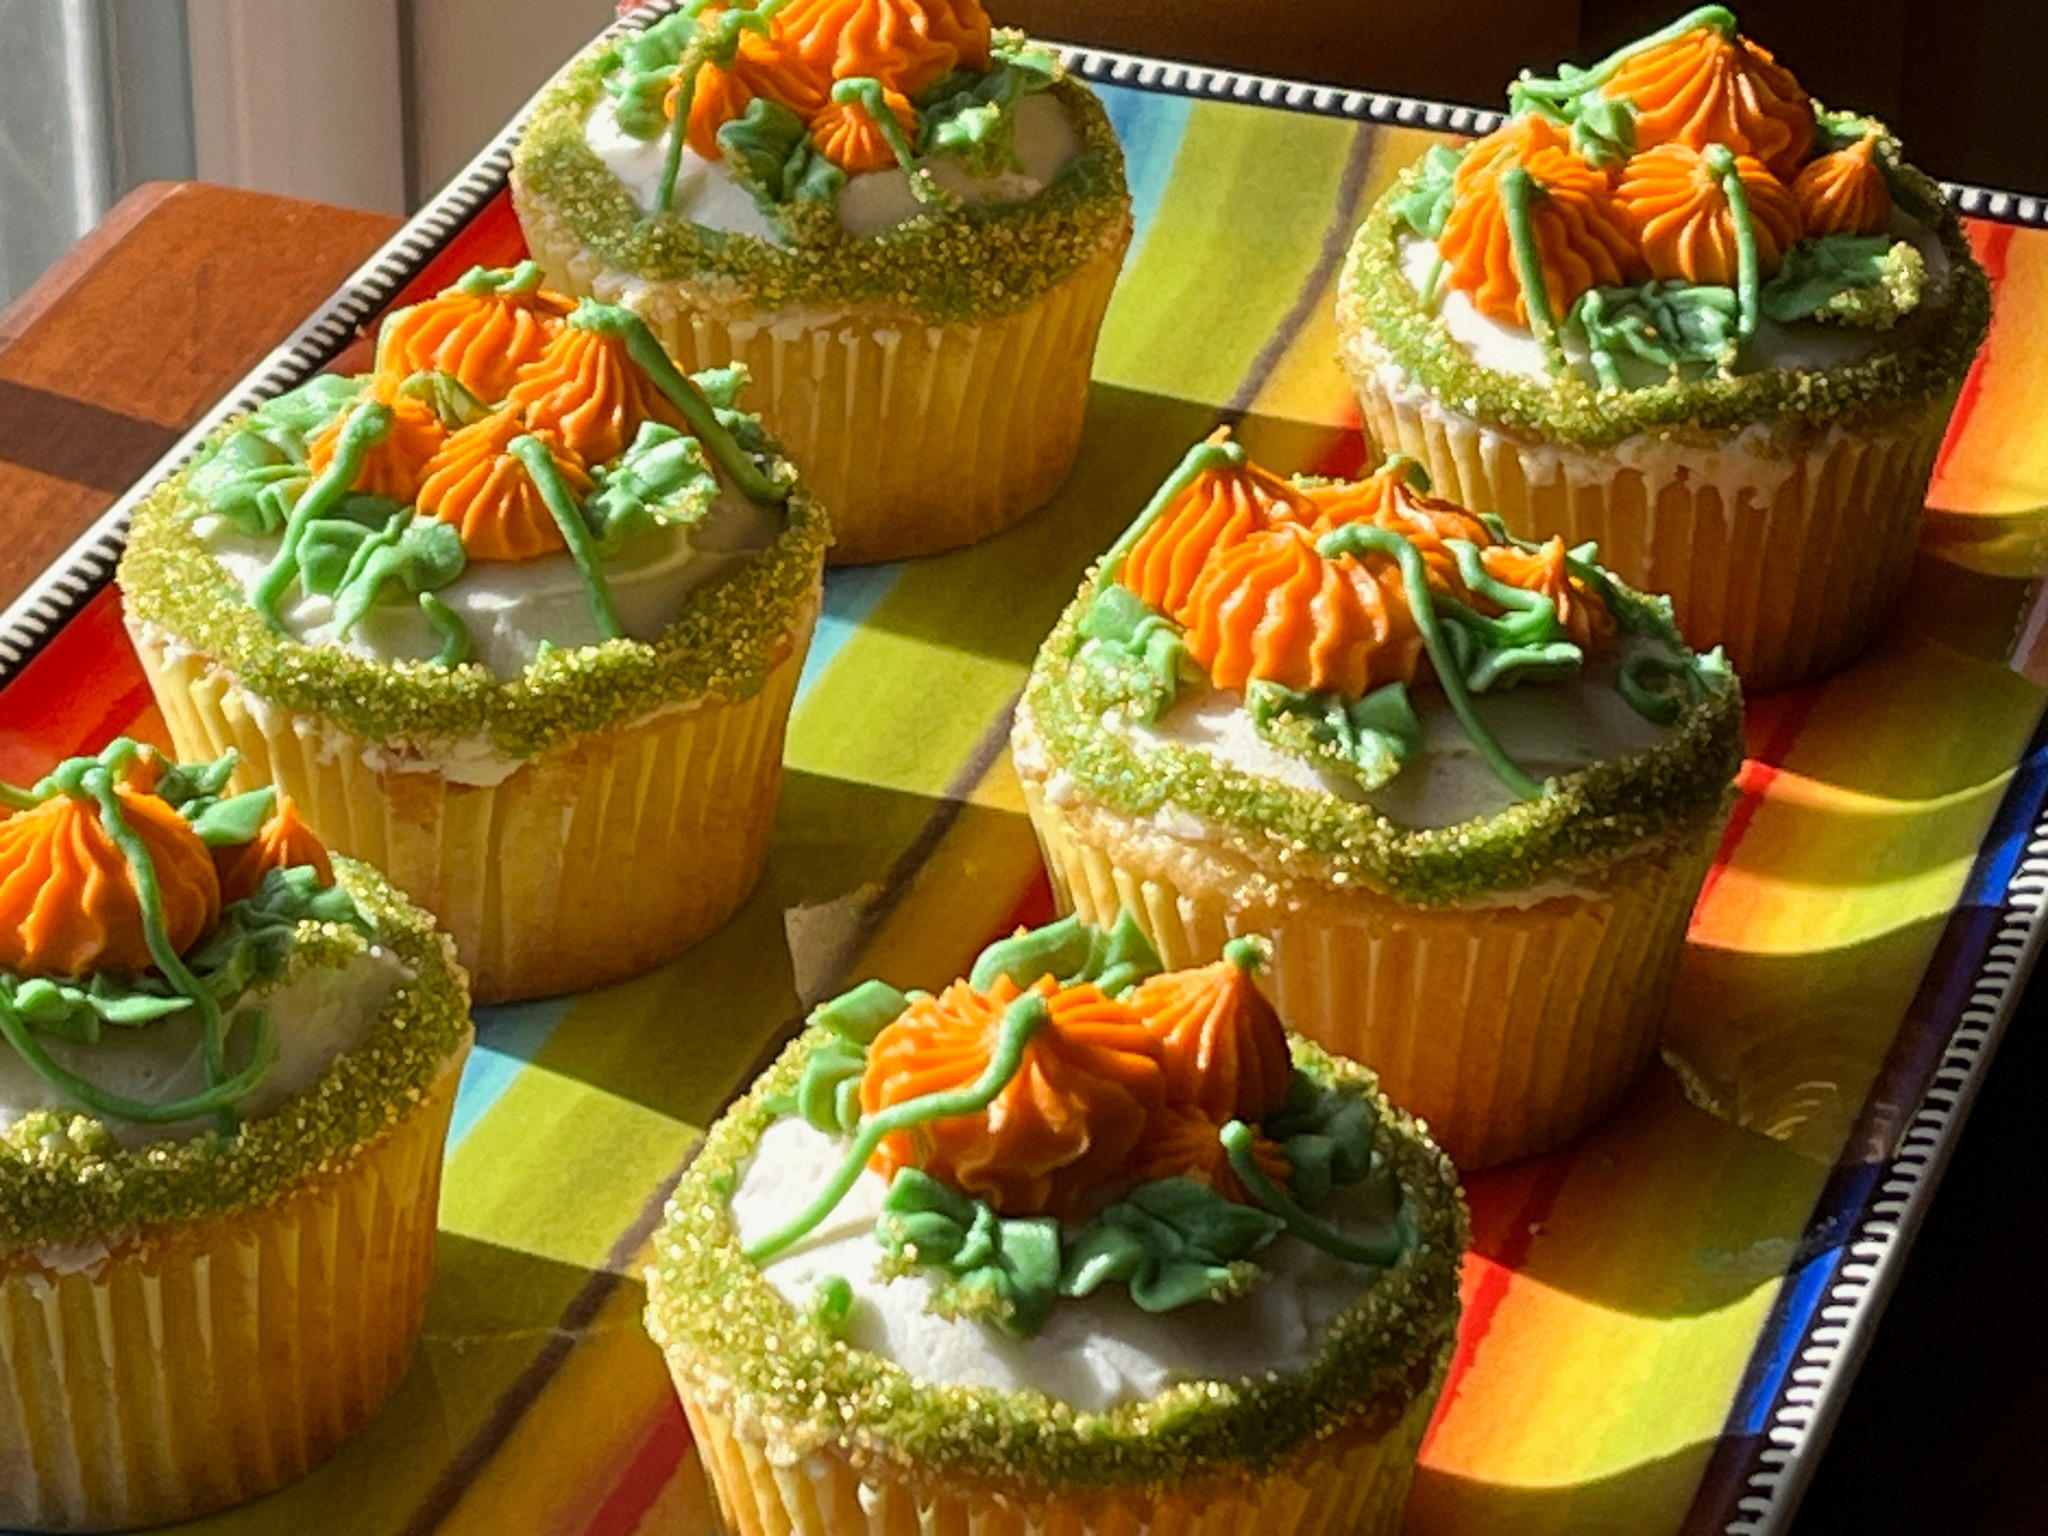
Comments: Leave a small portion of the buttercream without any color, and cover the top of the cupcakes. Dye one part orange and one part green (I used a mixture of Avocado and Leaf Green). For the design, my inspiration was a recent post by Chef Faye that she shared to make gorgeous mini-loaf cakes (check them out here). I used a medium size open star tip for the pumpkin, a small leaf tip and a PME #2 for the vines. A little golden sanding sugar for the border.

Really loved how these turned out and hope they made someone smile…

ONE YEAR AGO: Bake it Better with a Friend

TWO YEARS AGO: Bison a la Mode de Bourgogne

THREE YEARS AGO: Masala Mashed Potatoes

FOUR YEARS AGO: Lessons from Tanya: Sugar Cookie Silhouettes

FIVE YEARS AGO: Cherry-Chipotle Chicken Thighs

SIX YEARS AGO: White Chocolate Mini-Mousse with Sugared Cranberries

SEVEN YEARS AGO: You Say Ebelskiver, I say Falafel

EIGHT YEARS AGO: Happy Thanksgiving!

NINE YEARS AGO: Two Takes on Raspberries

TEN YEARS AGO: Spice Cake with Blackberry Puree & The Global Pastry Review

ELEVEN YEARS AGO: Own Your Kitchen with Cappuccino Panna Cotta

TWELVE YEARS AGO: Chicken Parmigiana, the Thriller

THIRTEEN YEARS AGO: Wild Mushroom Risotto

FOURTEEN YEARS AGO: Tartine Bread:  Basic Country Loaf 

FIFTEEN YEARS AGO:  Pugliese Bread

HAPPY FOURTH OF JULY!

RED WHITE AND BLUE CUPCAKES
(from The Bewitching Kitchen)

150g granulated sugar
60g butter
1 egg
10g cocoa powder
red food gel
150g all-purpose flour
1/2 tsp salt
120ml buttermilk
1 tsp white vinegar
1/2 tsp baking soda
1/2 tsp red velvet emulsion (or vanilla extract)

Heat the oven to 350F.

Mix the flour with the salt. Reserve. Those are your dry ingredients.

Cream butter and sugar in a stand mixer with the paddle attachment, until light and fluffy, about 3 minutes in high-speed. Add the egg, beat until the mixture is fully incorporated and light. Add the cocoa and the red food dye.

Add 1/3 of the dry ingredients, then 1/2 of the buttermilk, 1/3 more of the dry ingredients, followed by the rest of the buttermilk. Add the rest of the dry ingredients. Mix well. In a small bowl whisk the baking soda with the vinegar. Add to the cake batter and mix for a few seconds on high-speed. Finish by mixing the batter by hand, then add portions to regular cupcake tins, do not fill more than half the volume.

Bake for about 15 minutes until a toothpick comes out mostly clean. Cool completely before decorating.

BASIC BUTTERCREAM FOR CUPCAKES
(from The Bewitching Kitchen)

226g butter, unsalted, softened
452g powdered sugar
pinch of salt
Vanilla extract, about 1 tsp or more to taste
a couple or more tablespoons of milk (to adjust consistency)

Place the softened butter in the bowl of a KitchenAid type mixer with the paddle attachment, add the pinch of salt, and whip at high speed for about 7 minutes. It needs to be really soft and lighter. Stop the mixer. Eyeball the amount of powdered sugar, add 1/3 and mix at low speed at first, once the sugar is starting to get incorporated, increase the speed to medium-high. 

Add the second portion of the sugar, and incorporate the same way. Add the final portion, start at low speed, clean the sides of the bowl well with a spatula, add the vanilla and increase the speed slowly all the way to high. Whip it until very smooth. Add milk to desired consistency. Divide the buttercream into three bowls and dye one with red, one with blue, leave the third one clear.

Fill piping bags fitted with the icing tips of your choice. Ice fully cooled cupcakes.

ENJOY!

to print the recipe, click here

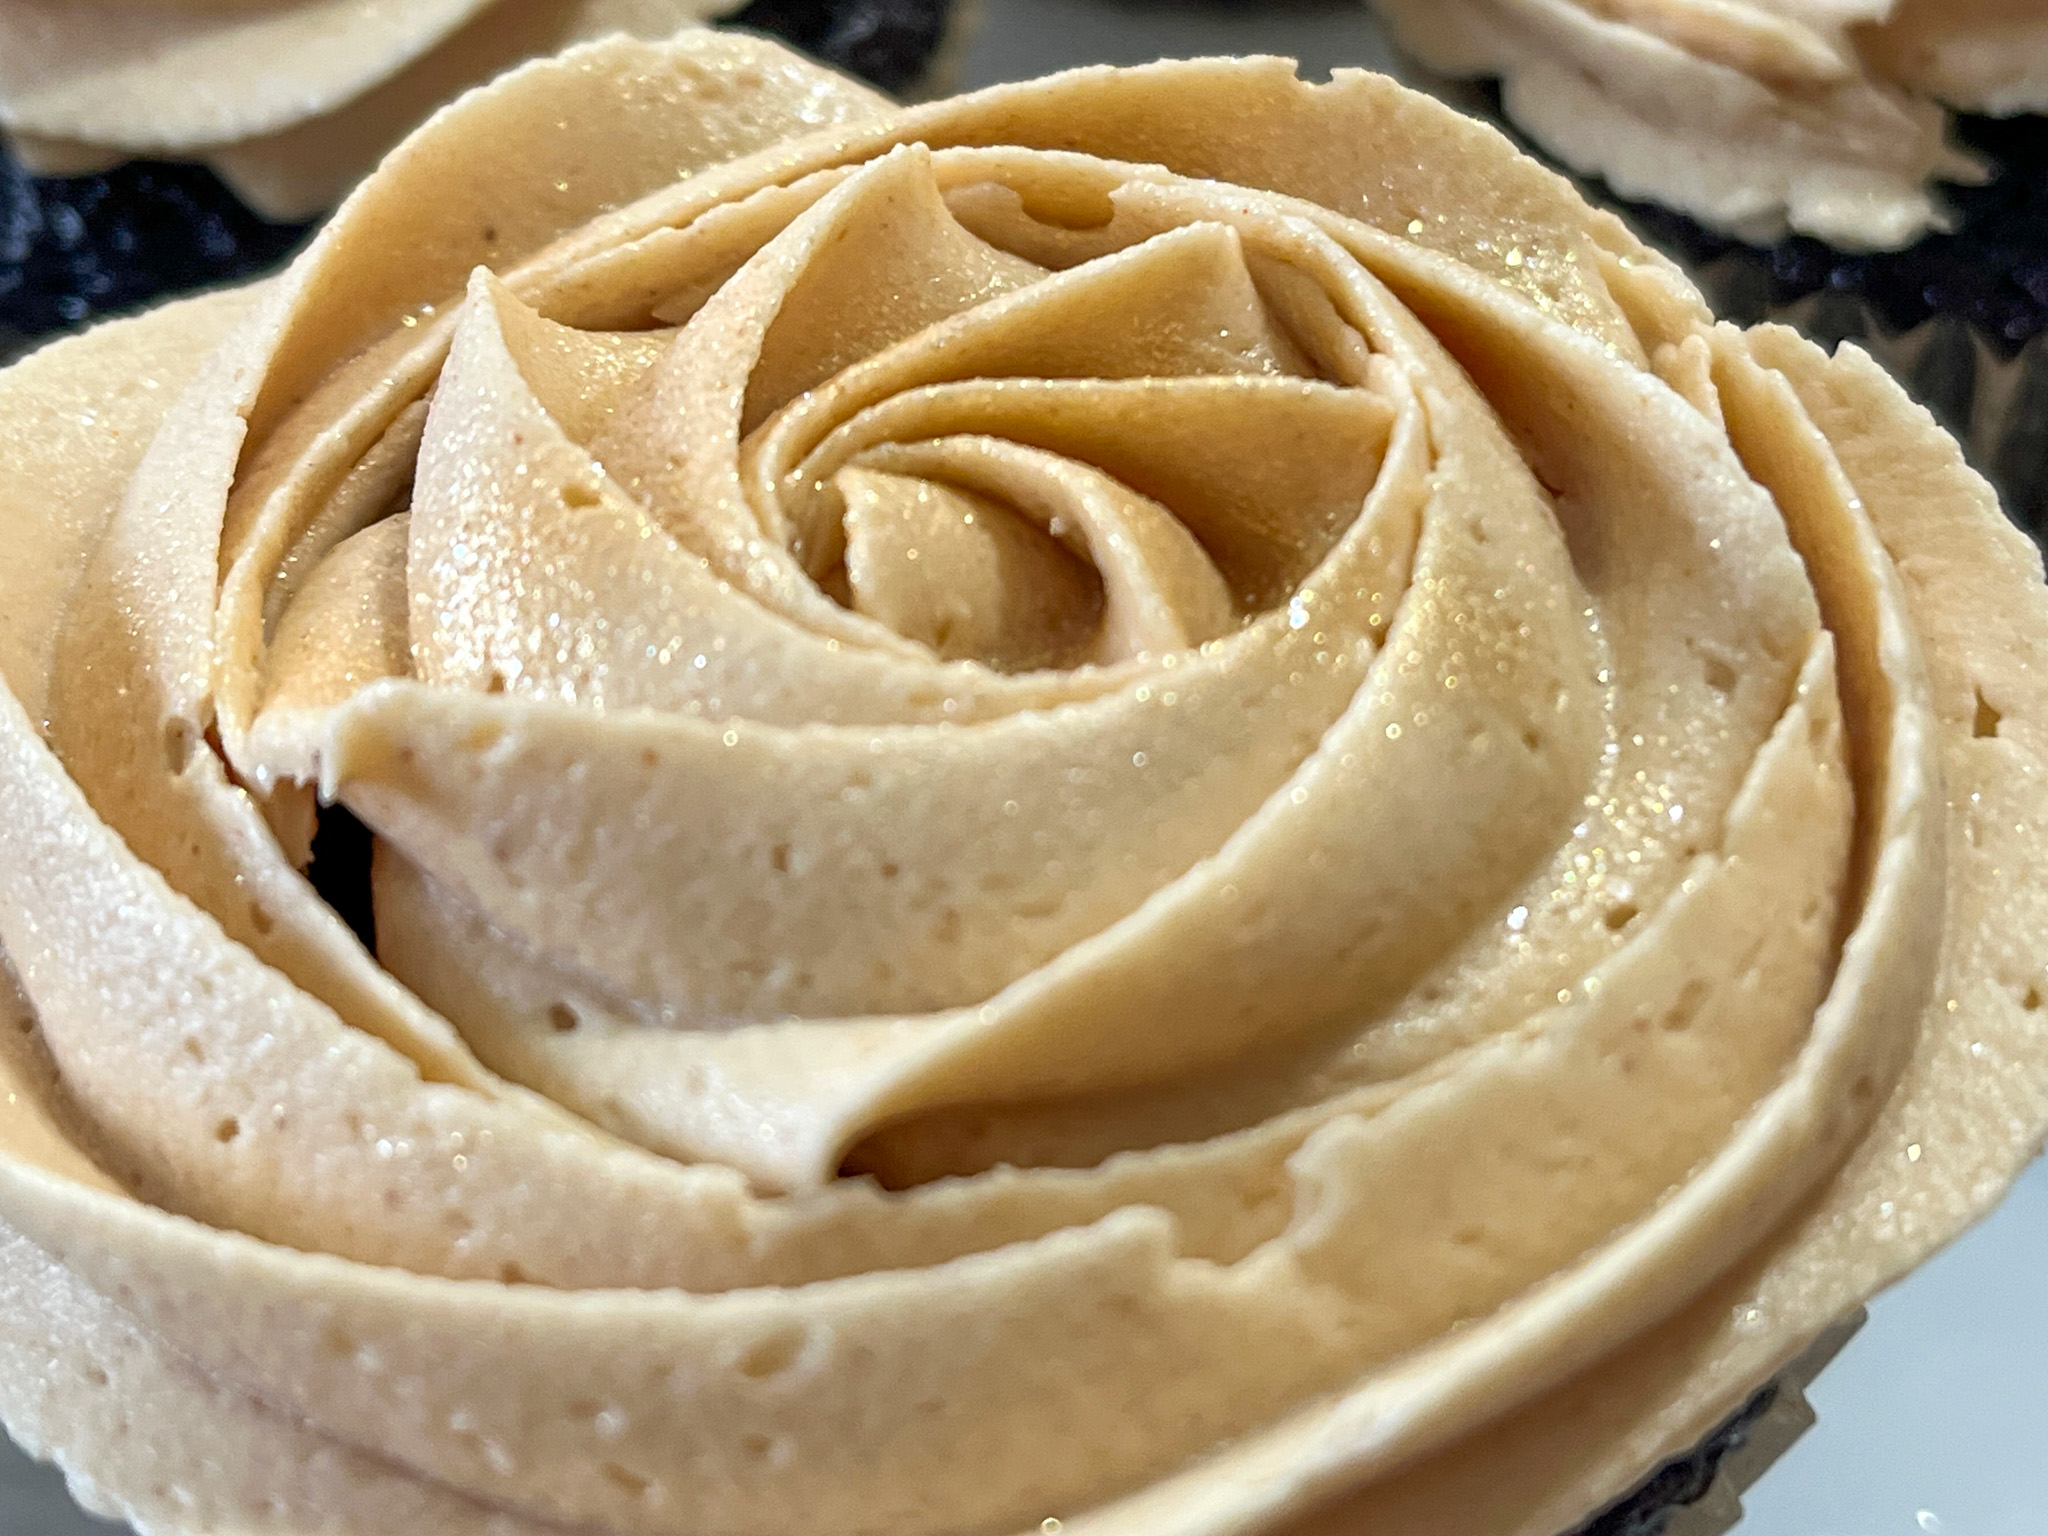
Comments: For these cupcakes I used a 1M tip for the red rose, a 102 petal tip for the blue swirl, and an open star tip 4B for the white decorations. All cupcakes were donated, so I don’t have a picture of the cake crumb but I got nice feedback about them. I think red velvet goes perfectly well for the 4th of July theme…

Just a couple of days ago I celebrated 15 years as an American citizen!

.

ONE YEAR AGO: Sonic Blade Sourdough Scoring

TWO YEARS AGO: Happy 4th of July!

THREE YEARS AGO: Happy 4th of July!

FOUR YEARS AGO: 4th of July Inspired Baking

FIVE YEARS AGO: In My Kitchen, July 2019

SIX YEARS AGO: Brigadeiros for the 4th of July

SEVEN YEARS AGO: Kaleidoscopic Macarons

EIGHT YEARS AGO: Zucchini Noodles with Sun-dried Tomato Pesto

NINE YEARS AGO: In My Kitchen, July 2015

TEN YEARS AGO: Sous-vide Pork Chops with Roasted Poblano Butter

ELEVEN YEARS AGO: Roasted Strawberry-Buttermilk Sherbet

TWELVE YEARS AGO: Amazing Ribs for the 4th of July!

THIRTEEN YEARS AGO: Baby Back Ribs on the 4th of July

FOURTEEN YEARS AGO: Blueberry Muffins

FIFTEEN YEARS AGO: A Pie for your 4th of July

THE BEWITCHING KITCHEN TURNS 15 YEARS OLD!

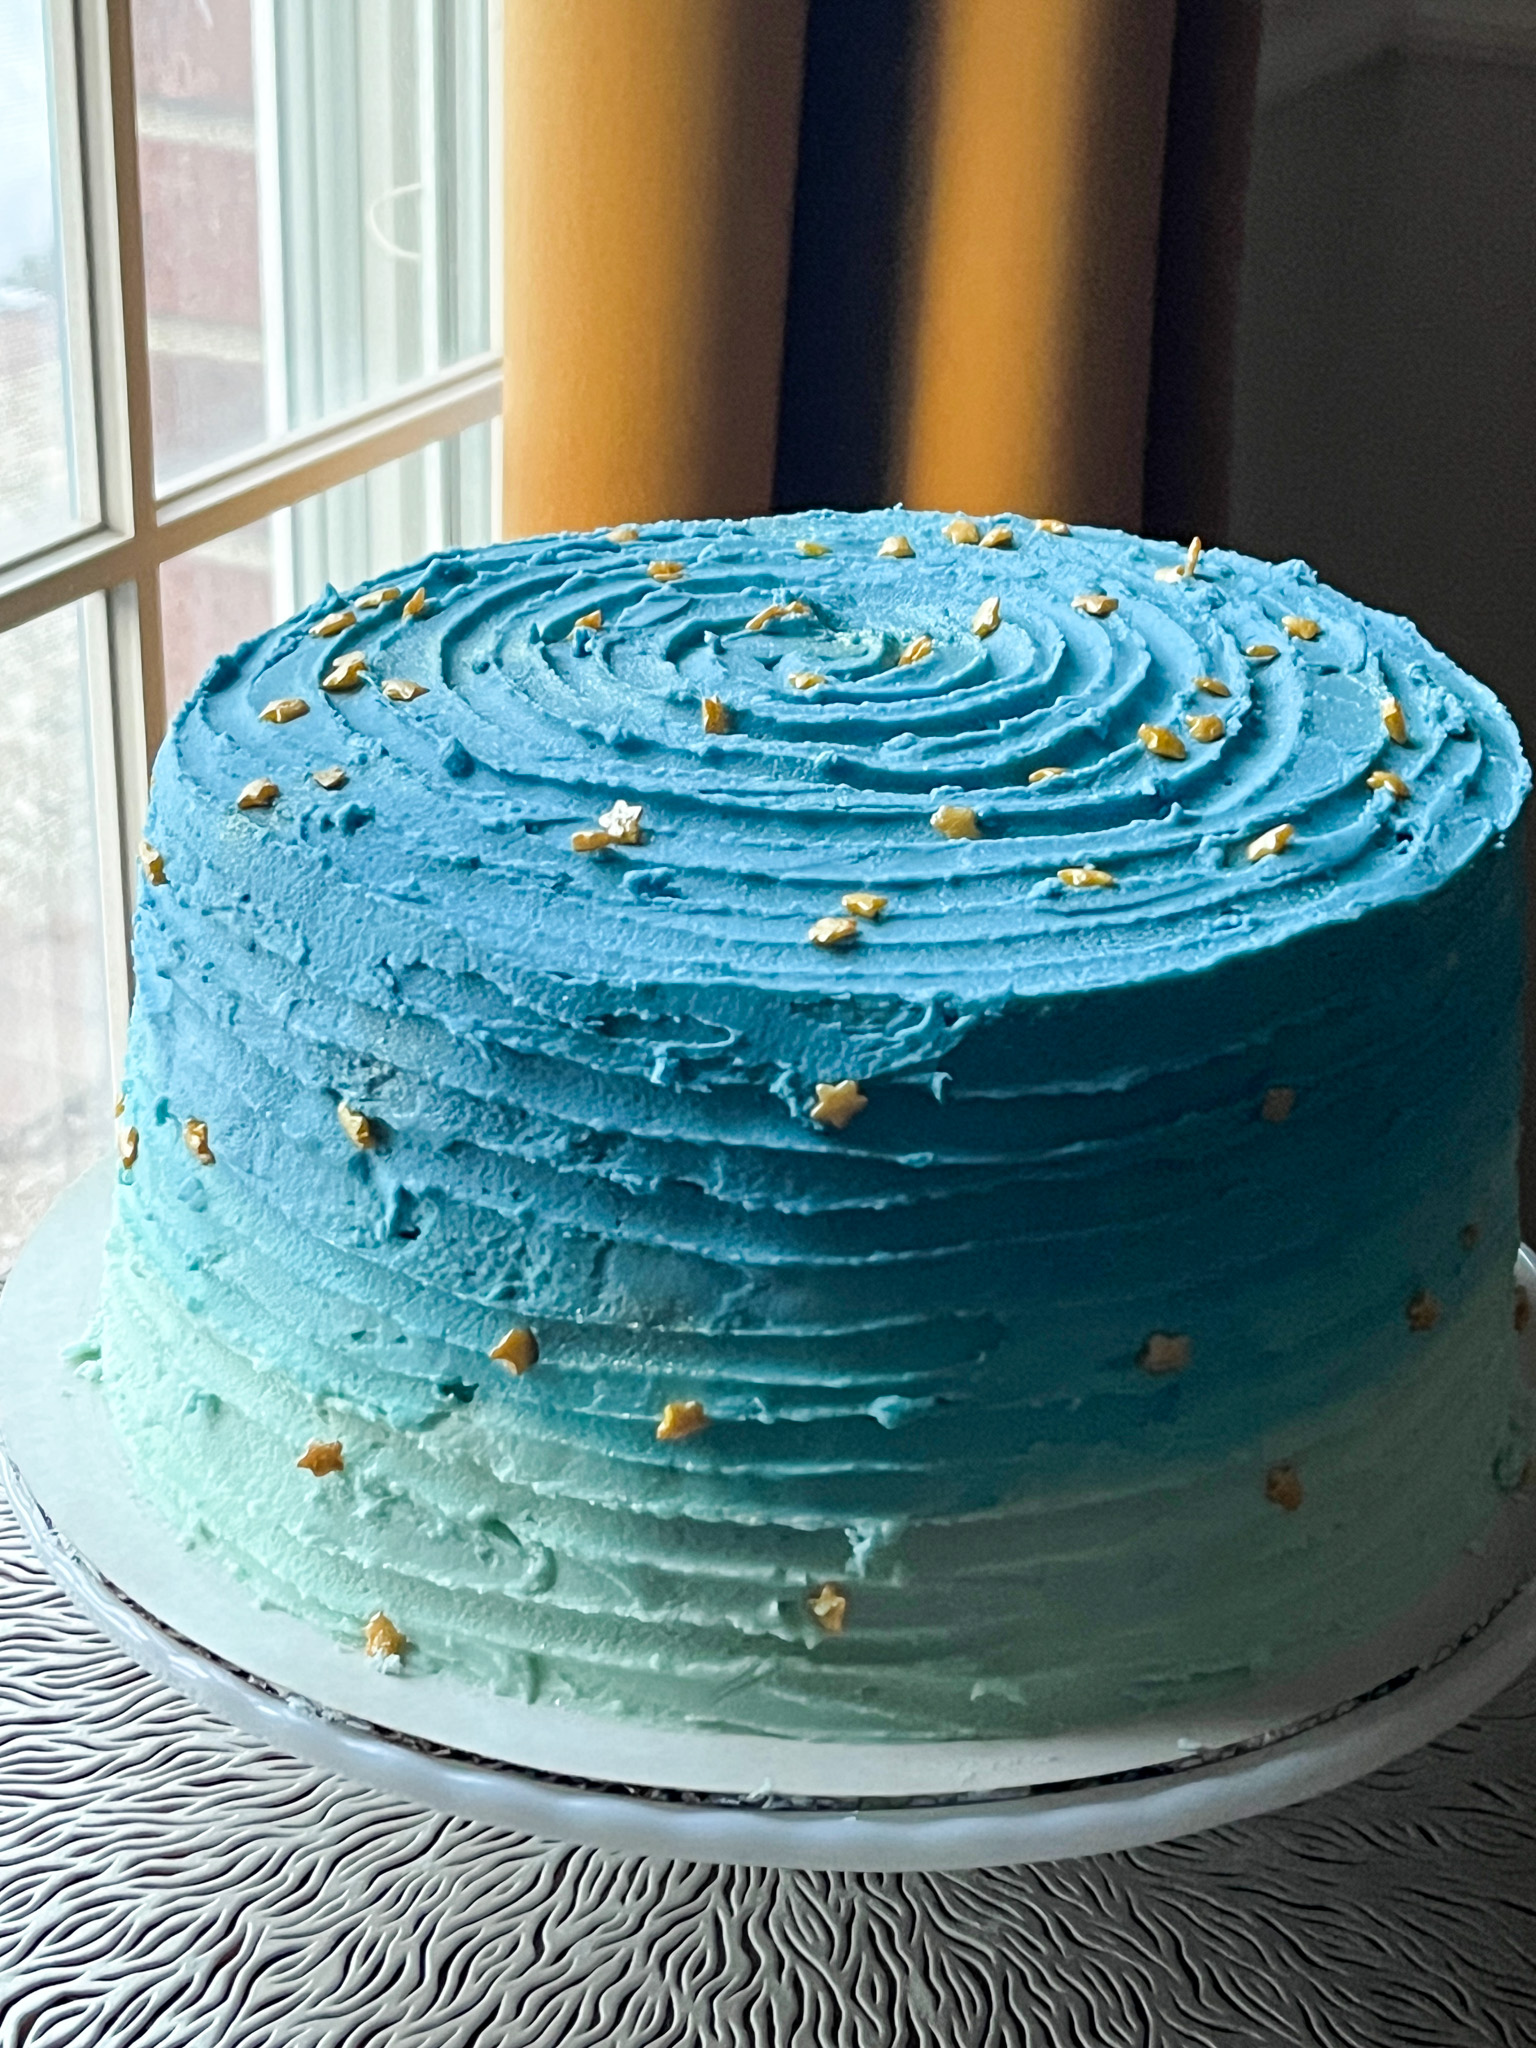
Wow! Just WOW! Talk about a blogging milestone, I am having a hard time believing that for 15 years I’ve been cooking, baking, taking pictures, writing posts, and hitting PUBLISH, without a break… Last year I was feeling a bit discouraged and debating whether to quit, but I don’t feel the same way now. My love for blogging is renewed, maybe even a bit stronger. But what matters most in the anniversary of a blog is how to celebrate it. That brings cake to mind. And cake is what I have for you!

CONFETTI CAKE WITH RANUNCULUS BUTTERCREAM PAINTING
(cake from Sally’s Baking Addiction, buttercream and tutorial for cake painting from MyCakeSchool)

for the cake:
207g cake flour (1 + 3/4 cup)
3/4 teaspoon baking powder
1/4 teaspoon baking soda
1/4 teaspoon salt
113g unsalted butter, softened to room temperature (1/2 cup)
200g granulated sugar (1 cup)
3 large egg whites, at room temperature
120g full-fat sour cream, at room temperature (1/2 cup)
2 teaspoons pure vanilla extract
120ml whole milk, at room temperature (1/2 cup)
1/2 cup rainbow sprinkles

for the buttercream:
910g confectioners’ sugar (2 pounds)
113 g unsalted butter softened (1/2 cup)
286 g solid vegetable shortening such as Crisco (1 + 1/2 cup)
2 Tablespoons clear vanilla extract
¼ cup milk 57 g full-fat milk (1/4 cup)
½ teaspoon salt to cut the sweetness

Heat the oven to 350°F. Grease three 6-inch cake pans, line with parchment paper rounds, then grease the parchment paper. Whisk the cake flour, baking powder, baking soda, and salt together. Set aside.
Using a handheld or stand mixer fitted with a paddle or whisk attachment, beat the butter and sugar together on high speed until smooth and creamy, about 3 minutes. Beat in the egg whites on high speed until combined, about 2 minutes, then beat in the sour cream and vanilla extract. Scrape down the sides and up the bottom of the bowl as needed.

With the mixer on low speed, add the dry ingredients just until combined. With the mixer still running on low, pour in the milk and mix just until combined. Gently fold in the sprinkles. The batter will be slightly thick.

Pour batter evenly into cake pans. Bake for around 18-21 minutes or until the cakes are baked through. To test for doneness, insert a toothpick into the center of the cake. If it comes out clean, it’s done. Allow cakes to cool completely in the pans set on a wire rack.

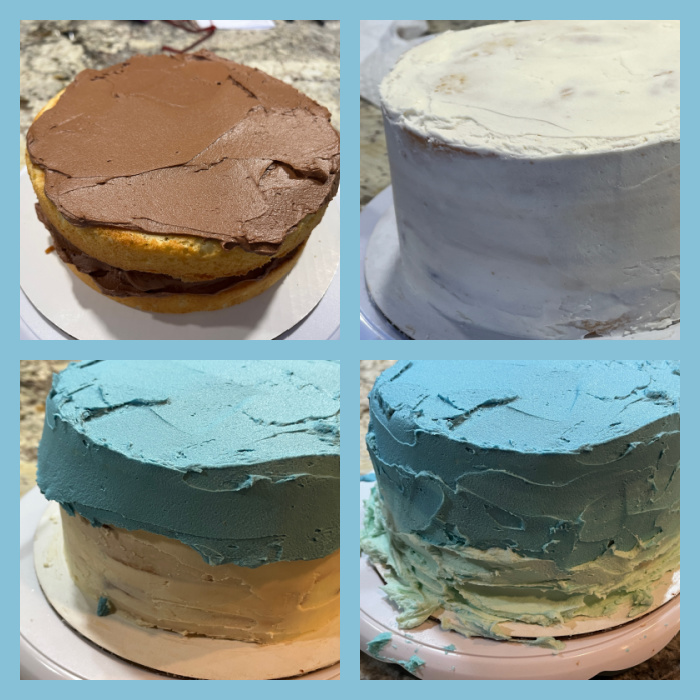
Make the buttercream: Cream butter, shortening , salt and extracts until creamy and smooth. Add powdered sugar and milk. Mix thoroughly on medium speed for approximately 8 minutes. For the last two minutes decrease the mixing speed to very slow until creamy and smooth. Scrape the sides of the bowl occasionally during the mixing process. Frost the cake fully with white frosting, make portions of buttercream with the colors needed, and follow the instructions on the video to decorate the cake.

ENJOY!

to print the recipe, click here

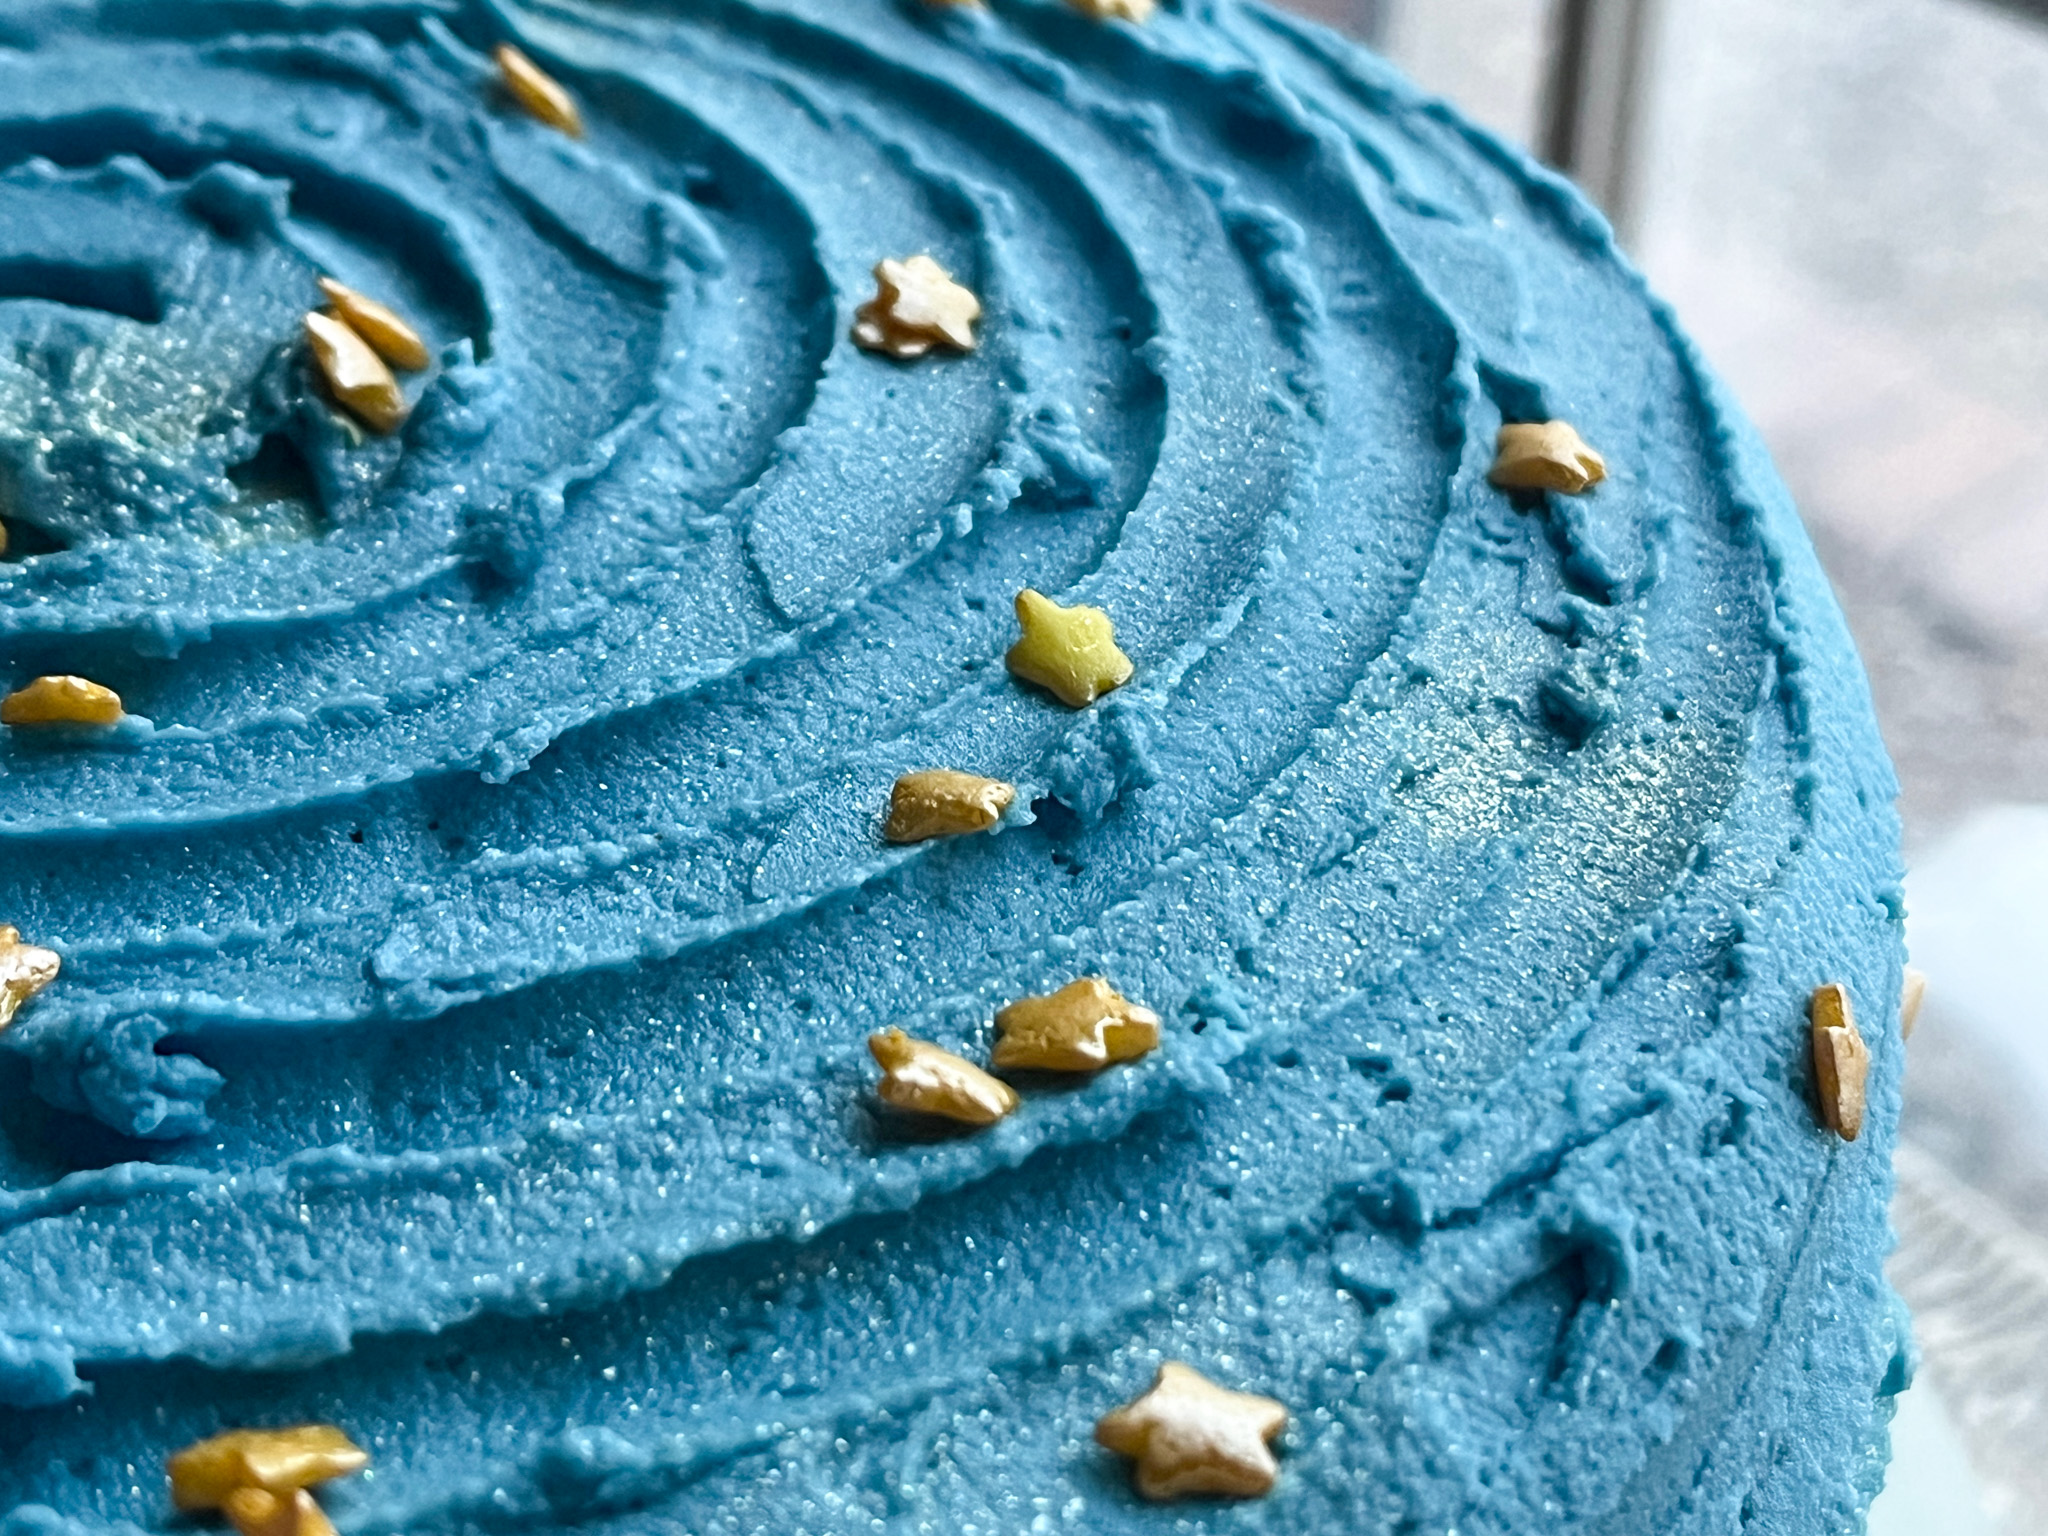
Comments: I wanted a colorful cake for the 15th anniversary of the Bewitching, and felt that this Springtime motif would be perfect… Now for a little bit of “behind the scenes” disclosure: while you read this post, we will be in Europe, in fact almost getting ready to fly back home. It turns out that before we left I prepared a bunch of posts to be published while we were away, but thought the anniversary of the blog was later in the month. I noticed my mistake just a few days before our departure… My first reaction was to forget all about it, deal with it later, but Phil said “you’ve been in the tent, you can do this! pretend it is a technical challenge”. What can I say? He definitely knows me well, so the outcome is this blog post… This was a cake baked in full frantic mode, my friends… what won’t I do for the love of blogging?

.

FLASH BACK


ONE YEAR AGO: The Bewitching Kitchen turns 14!

TWO YEARS AGO: The Bewitching Kitchen turns 13!

THREE YEARS AGO: The Bewitching Kitchen Turns 12!

FOUR YEARS AGO: The Bewitching Kitchen turns 11!

FIVE YEARS AGO: The Bewitching Kitchen Turns 10, and a Giveaway…

SIX YEARS AGO: The Bewitching Kitchen turns 9!

SEVEN YEAR AGO: The Bewitching Kitchen turns eight!

EIGHT YEARS AGO: The Bewitching Kitchen Turns Seven!

NINE YEARS AGO: Bewitching Kitchen Turns Six!

TEN YEARS AGO: The Bewitching Kitchen turns Five!

ELEVEN YEARS AGO: The Bewitching Kitchen turns Four!

TWELVE YEARS AGO: The Bewitching Kitchen Turns Three! 

THIRTEEN YEARS AGO:  The Bewitching Kitchen turns Two!

FOURTEEN YEARS AGO:  Bewitching Birthday!

FIFTEEN YEARS AGO: Welcome to my blog!

NUTELLA SHAMROCK MACARONS


Green. Green for Spring, green for St. Patrick, green is definitely the color of March. These macs are simple to decorate, especially if you can free-hand the piping, which unfortunately I cannot. A little stencil to airbrush the shape helped me out.

NUTELLA SHAMROCK MACARONS
(from The Bewitching Kitchen)

For the shells:
200g Icing/powdered sugar (1 ⅔ cups)
115 g Almond Meal (1 + scant ¼ cup)
115 g egg whites at room temperature (approx. 4 eggs)
1/8 tsp of cream of tartar (optional)
100 g granulated sugar (½ cup)
1/8 tsp vanilla extract
leaf green food gel

Line 3 heavy baking sheets with parchment/baking paper or Silpat mats. Layer the powdered/icing sugar and ground almonds/almond meal in a food processor. Pulse until the mixture looks like fine meal, about 12 pulses. Pass through a sieve and transfer to a small bowl or to a sheet of parchment/baking paper. Set aside.

Place the egg whites and cream of tartar in the bowl of a stand mixer fitted with the whisk attachment. Make sure that the bowl and the whisk are impeccably clean. Starting on medium speed, whip the whites with the cream of tartar until they look like light foam. The whites should not appear liquid. The foam will be light and should not have any structure.

Slowly rain in the granulated sugar in five additions, trying to aim the stream between the whisk and the side of the bowl. Turn the speed up to high. Continue to whip the meringue until it is soft and shiny. It should look like marshmallow creme (marshmallow fluff). Add the vanilla and food gel color. Whip the egg whites until the mixture begins to dull and the lines of the whisk are visible on the surface of the meringue. Check the peak. It should be firm. Transfer the whites to a medium bowl.

Fold in the ground almond/almond meal mixture in two increments. Paint the mixture halfway up the side of the bowl, using the flat side of a spatula. Scrape the mixture down to the center of the bowl. Repeat two or three times, then check to see if the mixture slides slowly down the side of the bowl. Add drops of gel color and mix them briefly with a toothpick. Put the mixture in a piping bag fitted with your choice of piping tip (round, ¼ or ½ inch in diameter or 6 – 12 mm). If you don’t have a macaron mat, draw circles on baking/parchment paper about 2inches/5cm in diameter & turn the paper over before placing on the baking sheets. Pipe shells, I like to count numbers in my head and use the same count for each shell so they end up similar in size.

Slam each sheet hard four to six times on the counter/worktop. Let the unbaked macarons dry until they look dull but not overly dry. Drying time depends on humidity. In a dry climate, the macarons can dry in 15 to 20 minutes; in a humid climate, it can take 35 to 40 minutes.

While the macarons are drying, heat the oven to 300 F (150 C/130C Fan oven/Gas Mark 2). Bake one sheet at a time on the middle rack. Check in 11 minutes. If the tops slide or move (independently of the ‘feet’ when you gently twist the top), then bake for 2 to 3 more minutes. Check one or two. If they move when gently touched, put them back in the oven for 1 to 2 more minutes until they don’t move when touched. Let the macaroons cool for 10 minutes before removing from the pan. The macarons should release without sticking.

Assemble the macarons: find two macarons similar in size and add a good amount of filling to the bottom of one of them. Place the other on top and squeeze gently to take the filling all the way to the edge. Store in the fridge for 24 hours for perfect texture.

For the filling:

NUTELLA BUTTERCREAM
60g unsalted butter softened
125g powdered sugar
40g Nutella
1 to 2 tbsp heavy cream to adjust consistency

Whisk butter, powdered sugar and Nutella until light and fluffy. Adjust consistency with heavy cream, if needed. Transfer to a piping bag fitted with a open star tip. Match similar sized macaron shells with each other, fill and sandwich the cookies. Decorate the top with Royal icing in the shape of a shamrock, and if you like add a brush of gold before piping the decoration for added bling.

ENJOY!

to print the recipe, click here


Comments: At first I wanted to make them filled with mint, but I have done two batches in a row with that flavor, so these went the Nutella route, which I also love… As to the decoration, I cut a small stencil to airbrush the leaf, but if you are brave and talented, skip the stencil and just go for it. Some of the steps are shown below.

.

I really like the way they turned out, and hope they brought a little smile to those who got them…

.

HAPPY SAINT PATRICK’S DAY!

ONE YEAR AGO: Air-Fryer Corn Ribs

TWO YEARS AGO: Lemony Chicken Thighs with Artichokes and Olives

THREE YEARS AGO: Farari Bateta

FOUR YEARS AGO: Covid-19, Keeping yourself safe

FIVE YEARS AGO: Carrot Cake Macarons

SIX YEARS AGO: Soup Saturday: Say Goodbye to Winter

SEVEN YEARS AGO: Manchego and Poblano Soup

EIGHT YEARS AGO: A Smashing Pair

NINE YEARS AGO: Spinach and Mushroom Stuffed Pork Tenderloin

TEN YEARS AGO: Crispy Chickpea and Caper Spaghetti

ELEVEN YEARS AGO: Spring has Sprung!

TWELVE YEARS AGO: Chickpea and Fire Roasted Tomato Soup

THIRTEEN YEARS AGO: Double Asparagus Delight

FOURTEEN YEARS AGO:  Sun-dried Tomato and Feta Cheese Torte

PEPPERMINT DUST MACARONS

Embracing winter, one macaron at a time…


PEPPERMINT DUST MACARONS
(from The Bewitching Kitchen)

For the shells:
200g Icing/powdered sugar (1 ⅔ cups)
115 g Almond Meal (1 + scant ¼ cup)
115 g egg whites at room temperature (approx. 4 eggs)
1/8 tsp of cream of tartar (optional)
100 g granulated sugar (½ cup)
1/8 tsp vanilla extract
light blue food gel (I used Colour Mill Baby Blue)

Line 3 heavy baking sheets with parchment/baking paper or Silpat mats. Layer the powdered/icing sugar and ground almonds/almond meal in a food processor. Pulse until the mixture looks like fine meal, about 12 pulses. Pass through a sieve and transfer to a small bowl or to a sheet of parchment/baking paper. Set aside.

Place the egg whites and cream of tartar in the bowl of a stand mixer fitted with the whisk attachment. Make sure that the bowl and the whisk are impeccably clean. Starting on medium speed, whip the whites with the cream of tartar until they look like light foam. The whites should not appear liquid. The foam will be light and should not have any structure.

Slowly rain in the granulated sugar in five additions, trying to aim the stream between the whisk and the side of the bowl. Turn the speed up to high. Continue to whip the meringue until it is soft and shiny. It should look like marshmallow creme (marshmallow fluff). Add the vanilla and food gel color. Whip the egg whites until the mixture begins to dull and the lines of the whisk are visible on the surface of the meringue. Check the peak. It should be firm. Transfer the whites to a medium bowl.

Fold in the ground almond/almond meal mixture in two increments. Paint the mixture halfway up the side of the bowl, using the flat side of a spatula. Scrape the mixture down to the center of the bowl. Repeat two or three times, then check to see if the mixture slides slowly down the side of the bowl. Add drops of gel color and mix them briefly with a toothpick. Put the mixture in a piping bag fitted with your choice of piping tip (round, ¼ or ½ inch in diameter or 6 – 12 mm). If you don’t have a macaron mat, draw circles on baking/parchment paper about 2inches/5cm in diameter & turn the paper over before placing on the baking sheets. Pipe shells, I like to count numbers in my head and use the same count for each shell so they end up similar in size.

Slam each sheet hard four to six times on the counter/worktop. Let the unbaked macarons dry until they look dull but not overly dry. Drying time depends on humidity. In a dry climate, the macarons can dry in 15 to 20 minutes; in a humid climate, it can take 35 to 40 minutes.

While the macarons are drying, heat the oven to 300 F (150 C/130C Fan oven/Gas Mark 2). Bake one sheet at a time on the middle rack. Check in 11 minutes. If the tops slide or move (independently of the ‘feet’ when you gently twist the top), then bake for 2 to 3 more minutes. Check one or two. If they move when gently touched, put them back in the oven for 1 to 2 more minutes until they don’t move when touched. Let the macaroons cool for 10 minutes before removing from the pan. The macarons should release without sticking.

Assemble the macarons: find two macarons similar in size and add a good amount of filling to the bottom of one of them. Place the other on top and squeeze gently to take the filling all the way to the edge. Store in the fridge for 24 hours for perfect texture.

For the filling:

PEPPERMINT BUTTERCREAM
1 + 1/3 cups powdered sugar
4 tbsp unsalted butter softened
1/2 tsp vanilla extract
a couple tablespoons peppermint dust (I got mine on Marshall’s, similar to this)
1/2 -1 tbsp milk to adjust consistency, if needed

Whisk butter, powdered sugar and vanilla extract until light and fluffy. Mix gently the peppermint dust, adjust consistency with milk, if needed. Transfer to a piping bag fitted with a round tip. Match similar sized macaron shells with each other, fill and sandwich the cookies. Decorate the top with Royal icing in the shape of a snowflake and sanding sugar, if so desired, or leave them plain. Keep in the fridge for 24 hours for perfect texture.

ENJOY!

to print the recipe click here

Comments: After the incredibly amazing macaron masterpiece I shared with you, maybe this post should be named “Down to Earth Macarons”…. I am still in complete awe of Veronika’s talent. But moving on to my little babies: normally I would add peppermint extract or peppermint oil to the buttercream, but this time I omitted and just incorporated some of the peppermint dust. I find that it is very easy to add too much of the extract, and get into “Toothpaste Territory”. I liked the more subtle flavor of the pulverized candy. As to the decoration, piping consistency Royal icing and sanding sugar did the job.

From what I learned browsing around, peppermint “dust” is sold in many versions, some quite fine, some pretty coarse. I don’ think it makes much of a difference in taste, so use what you are able to find, and if all else fails, you can always crush some candy yourself and incorporate it in your buttercream. It is a flavor that helps fight the cold outside. Macarons, a little hot chocolate, and a fireplace going! 

ONE YEAR AGO: Valentine’s Sourdough, Three Ways

TWO YEARS AGO: Embossed Chocolate-Cherry Sourdough Loaf

THREE YEARS AGO: Springerle Painting 101

FOUR YEARS AGO: Mincemeat Pies, when the third time is a charm

FIVE YEARS AGO: Shibari Bread]

SIX YEARS AGO: Incredibly Simple Times Four – January 2018 

SEVEN YEARS AGO: Two Salads and a Blog Award!

EIGHT YEARS AGO: When Three is Better than Two

NINE YEARS AGO: Somebody Stop Me!

TEN YEARS AGO: Zucchini Pasta with Cilantro-Cashew Pesto

ELEVEN YEARS AGO: Bran Muffins, Take Two

TWELVE YEARS AGO: Brown Butter Chocolate Chip Cookies

THIRTEEN YEARS AGO: Mogo Mojo

FOURTEEN YEARS AGO: Slow-Roasted Chicken Thighs: an Ice-Breaker