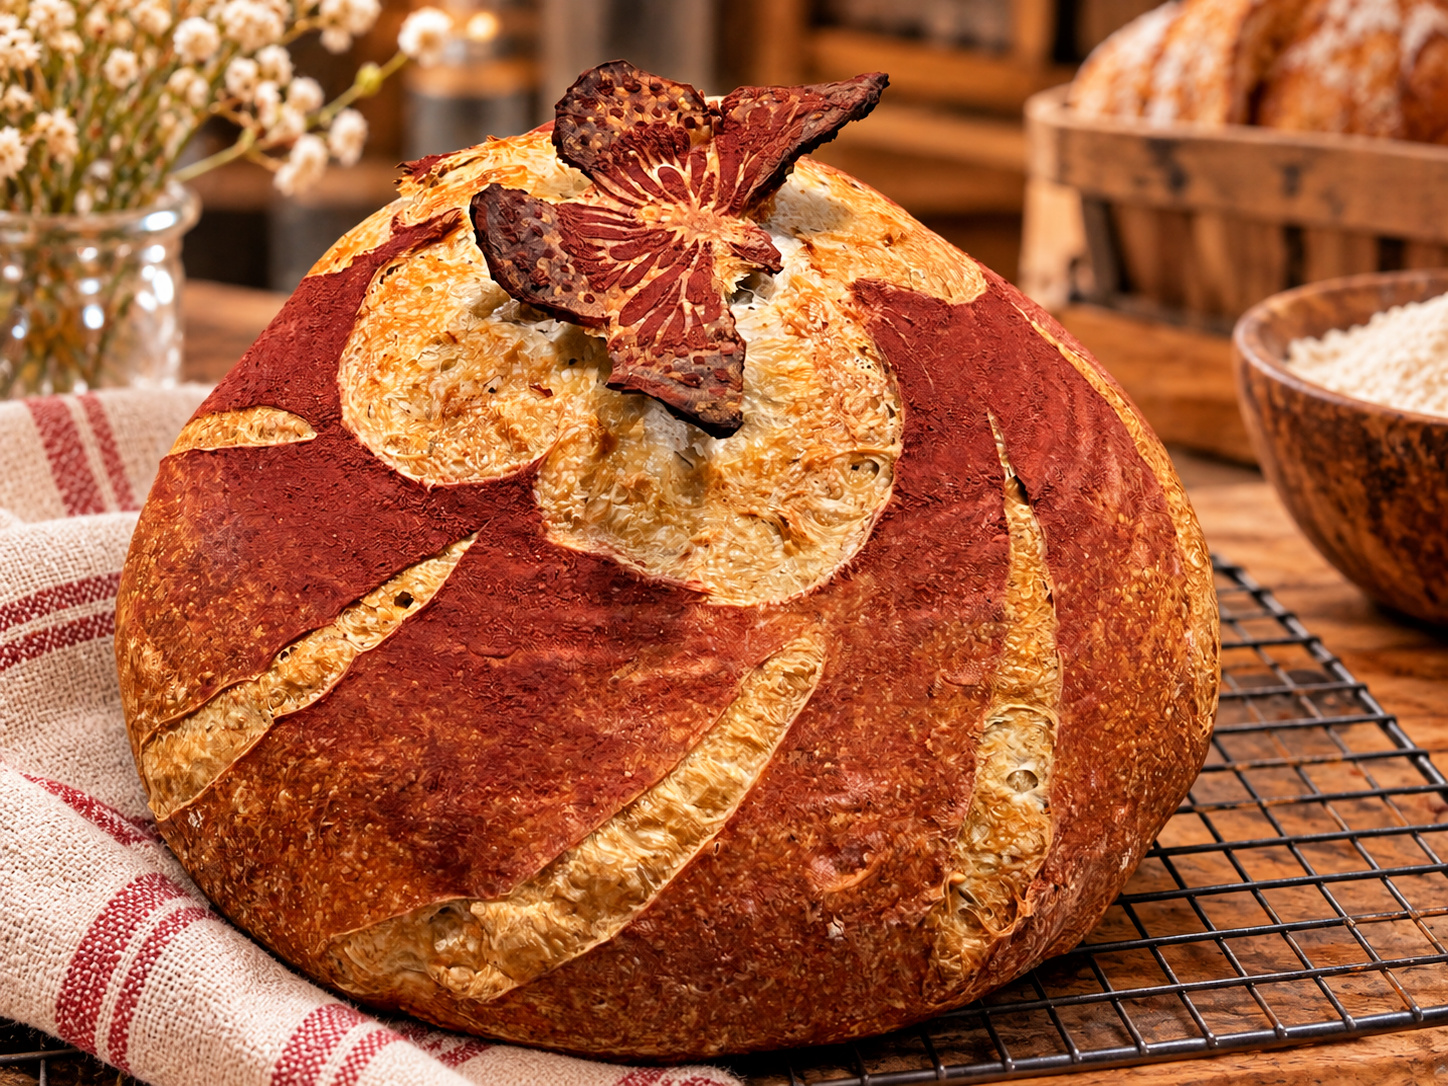
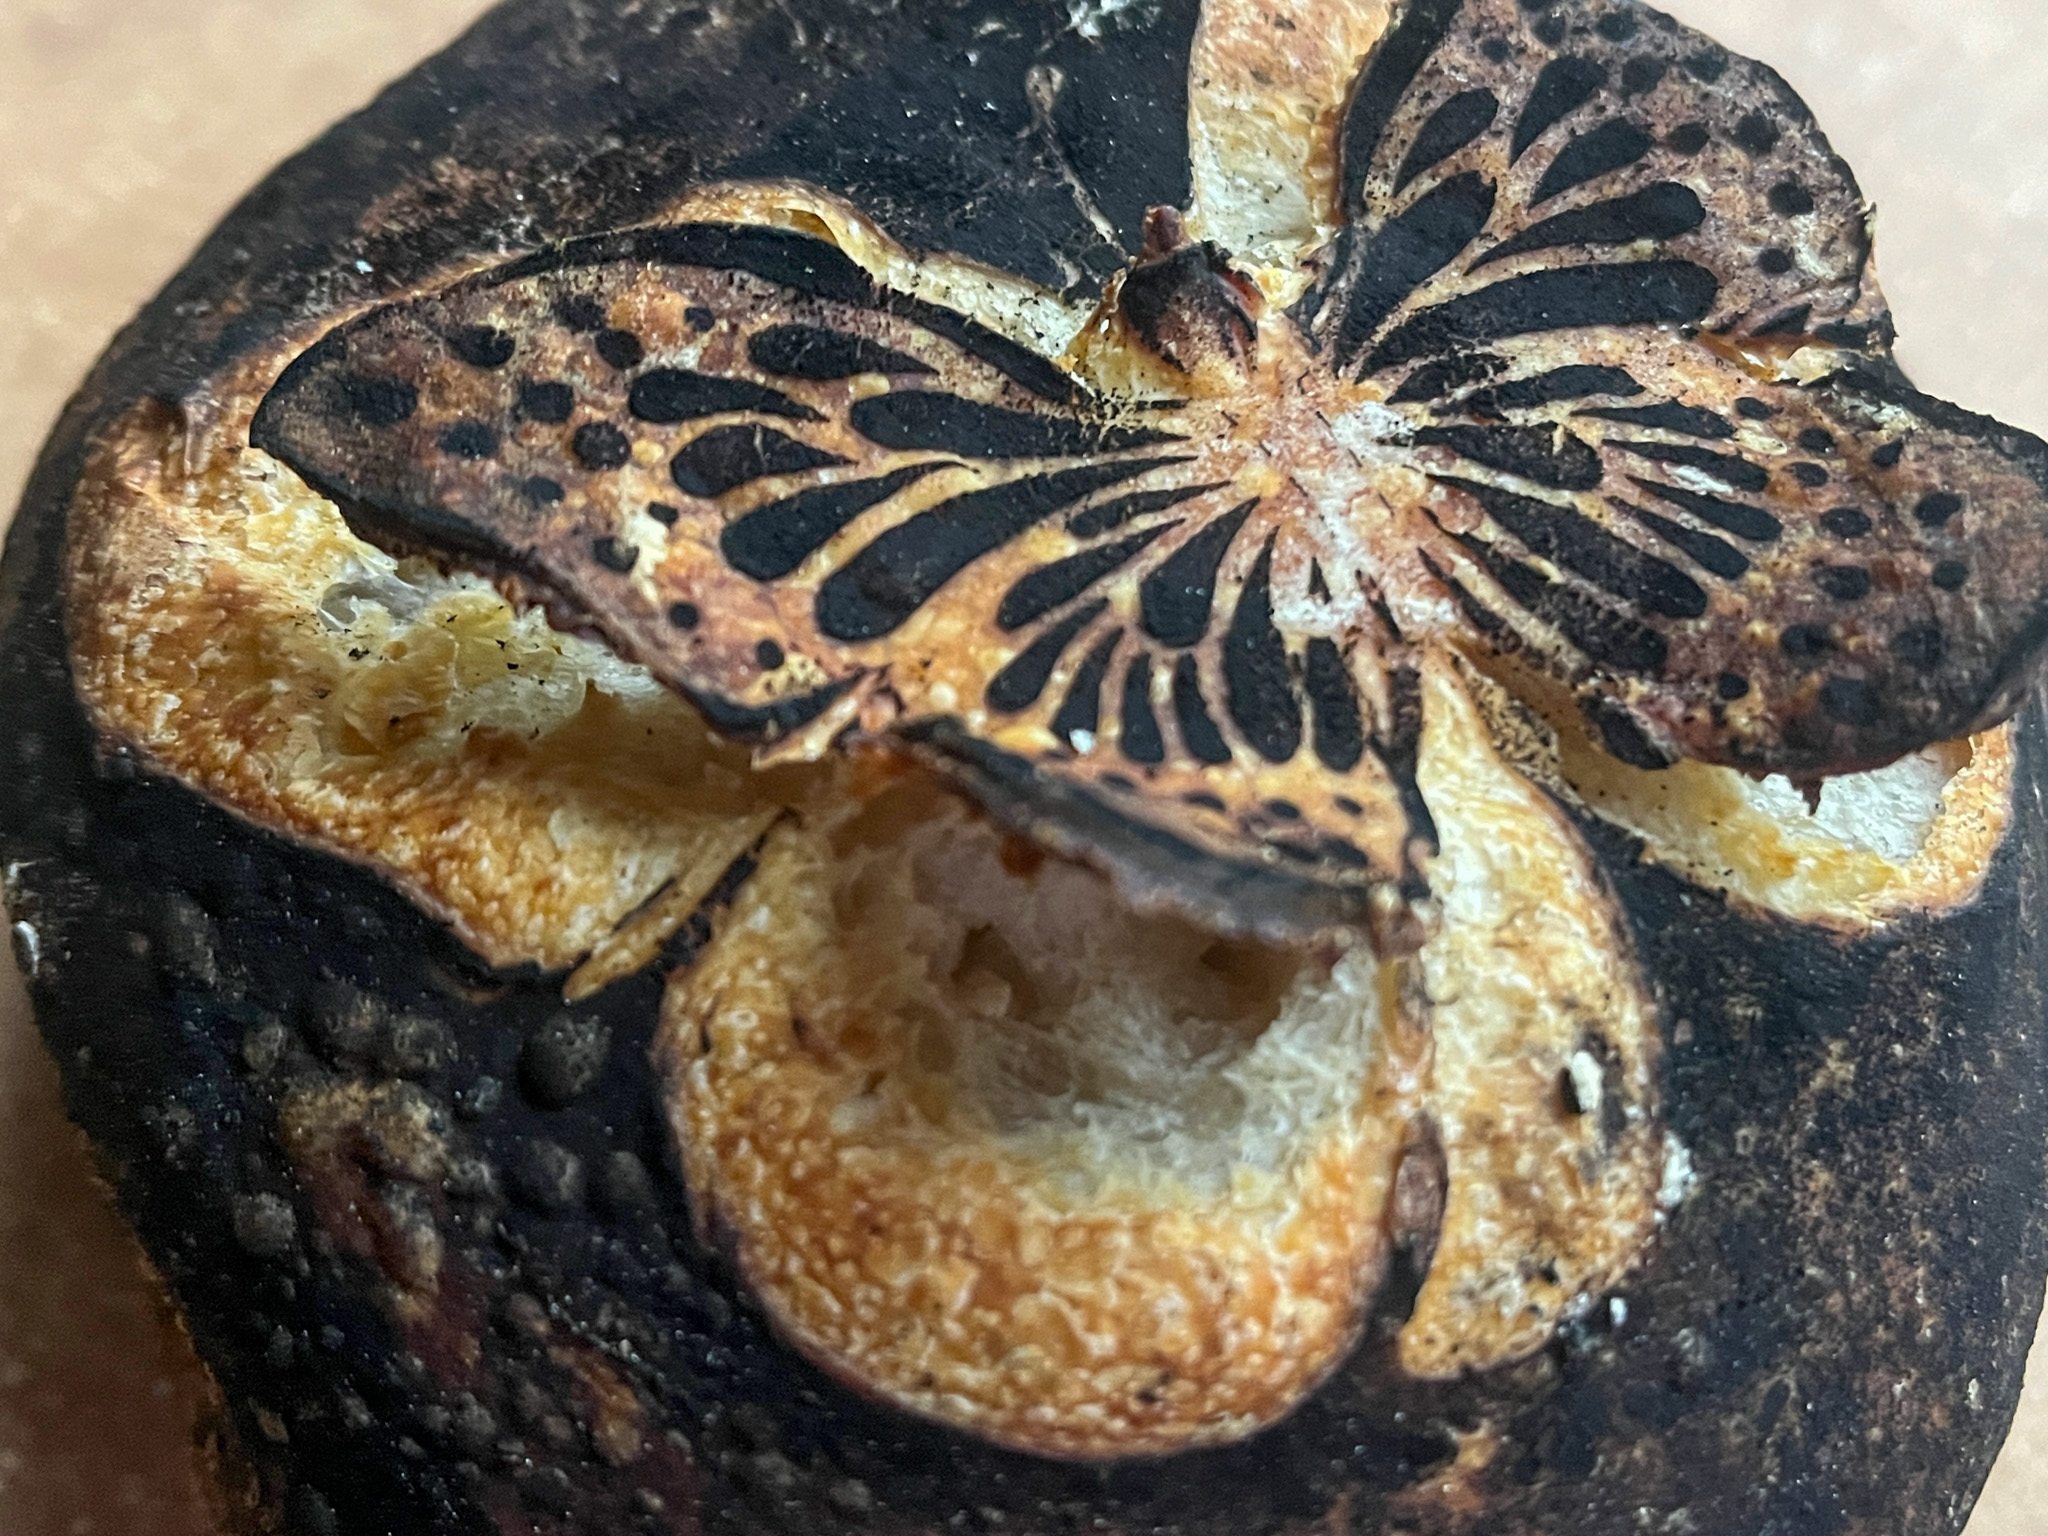
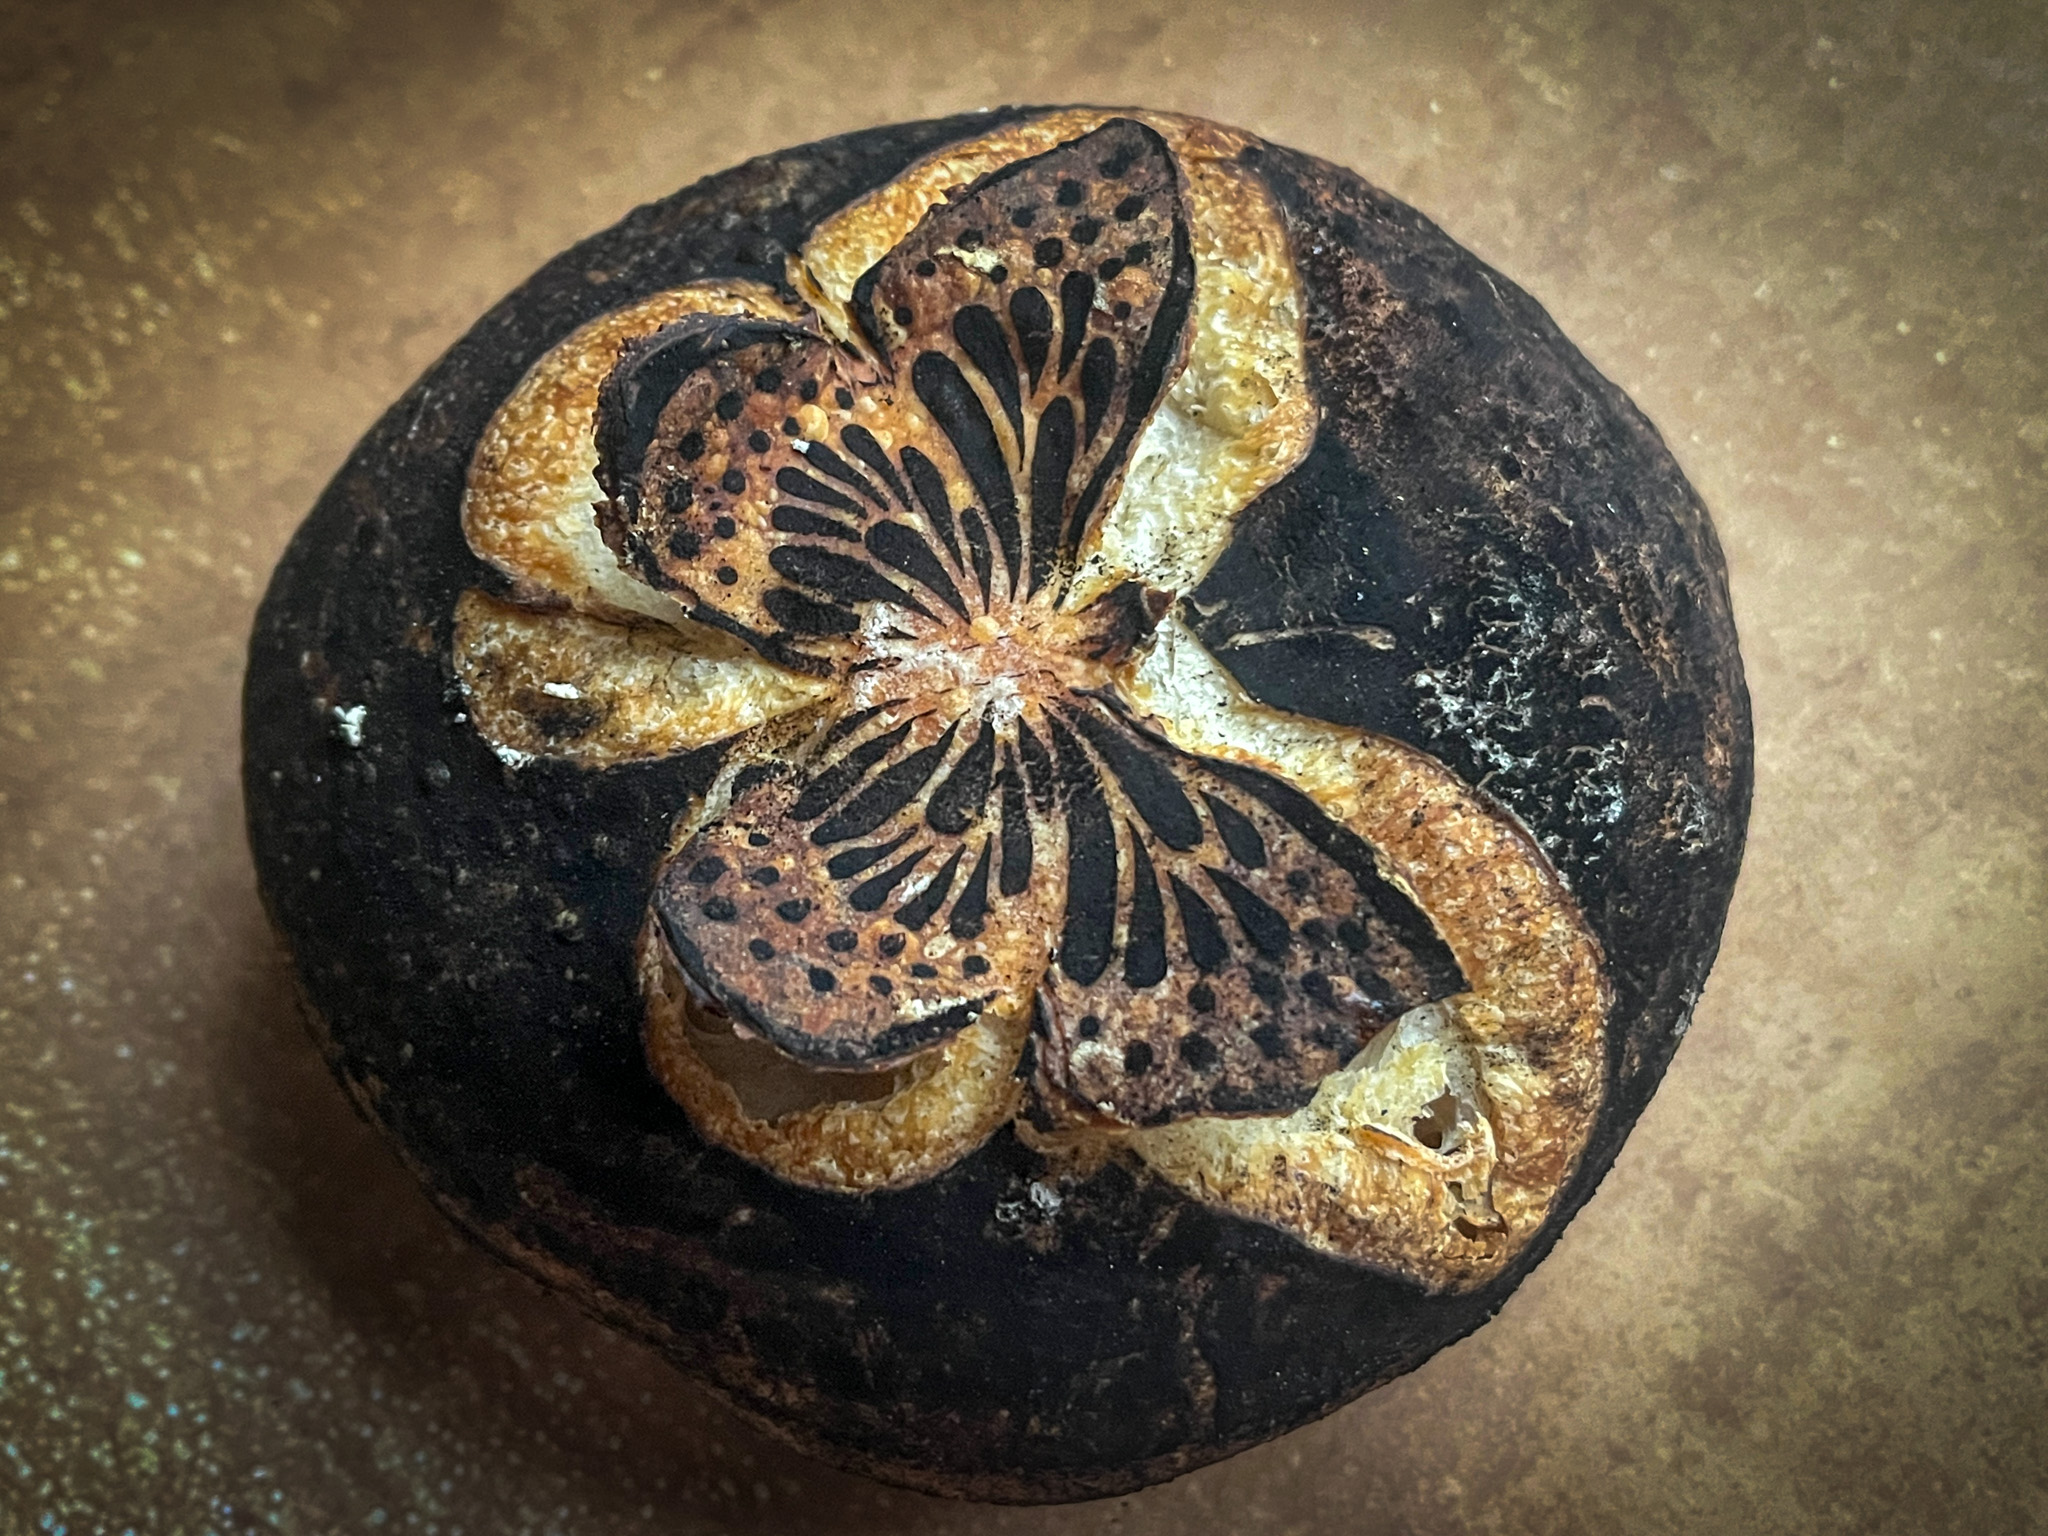
As I mentioned in my post from yesterday, I am back to share a detailed video of the method to make the floating butterfly, this time in a large boule format. The process is separated in two videos, made in real time. I go over some of the struggles of the past and how they got solved. Apparently I also talk to my bread, which I only realized when I watched it. Oh, well.
VIDEO #1
And the second video, shorter, shows the scoring for maximal lift, made after the bread is baked for 7 minutes.
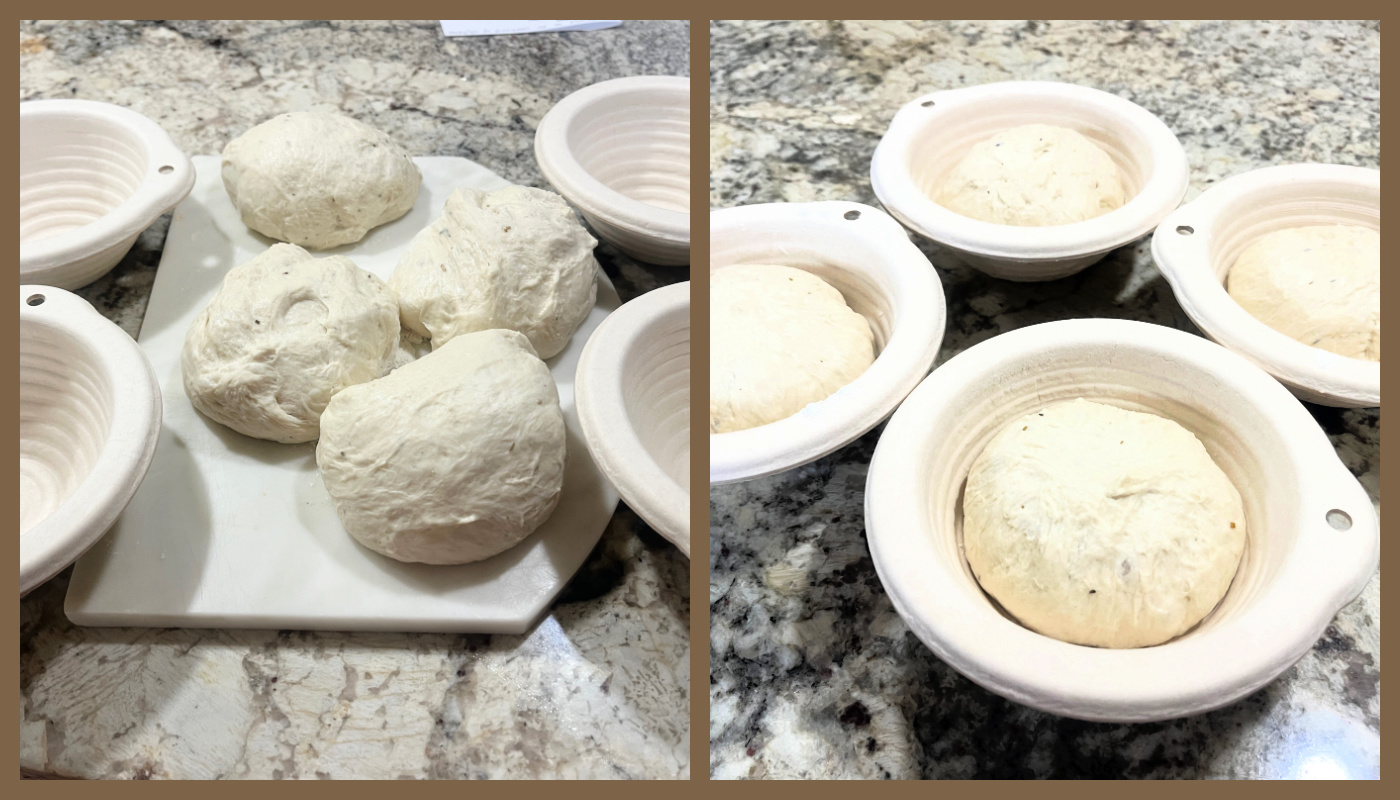
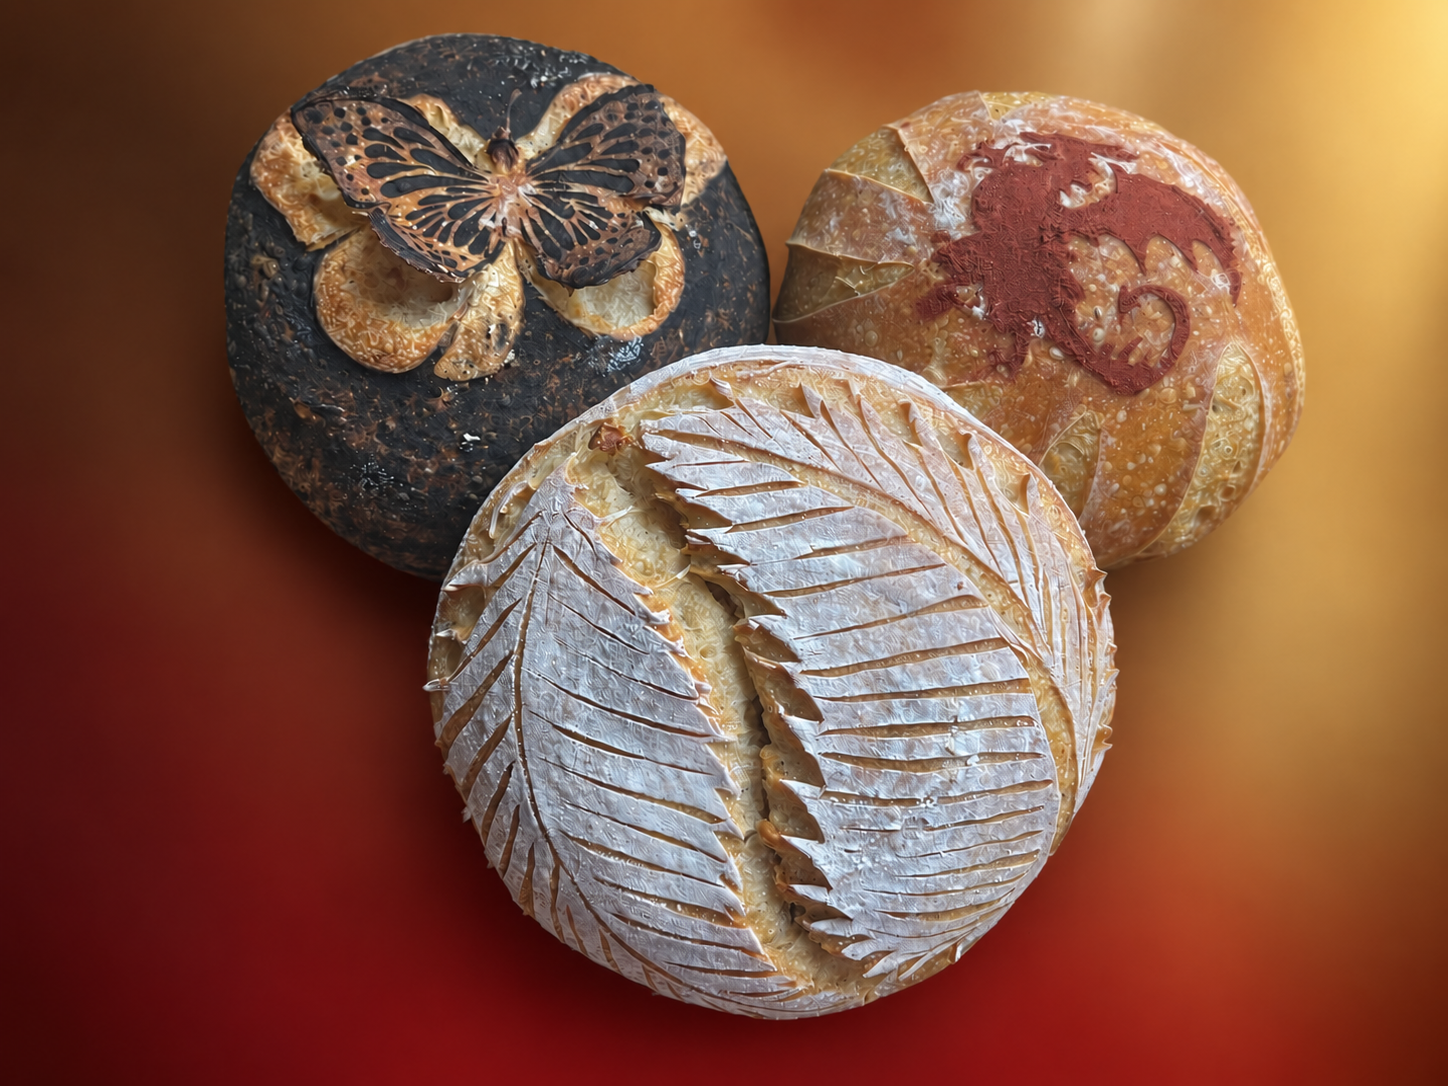
Baking small breads is a great way to practice different decorative designs starting with a single batch of dough. That’s exactly what I am sharing with you today. My default recipe, using 500g of total flour gave exactly 4 little balls with 230g total dough each. The bannetons I used were bought on eBay. As far as I can tell, they are not available anymore, but I found the same kind at Evil Empire (click here), although you do have to buy a set with way too many…
After overnight in the fridge, I froze them still in the banneton for 30 minutes to facilitate scoring and working with the stencils. I start with my favorite, the floating butterfly…
.
THE FLOATING BUTTERFLY
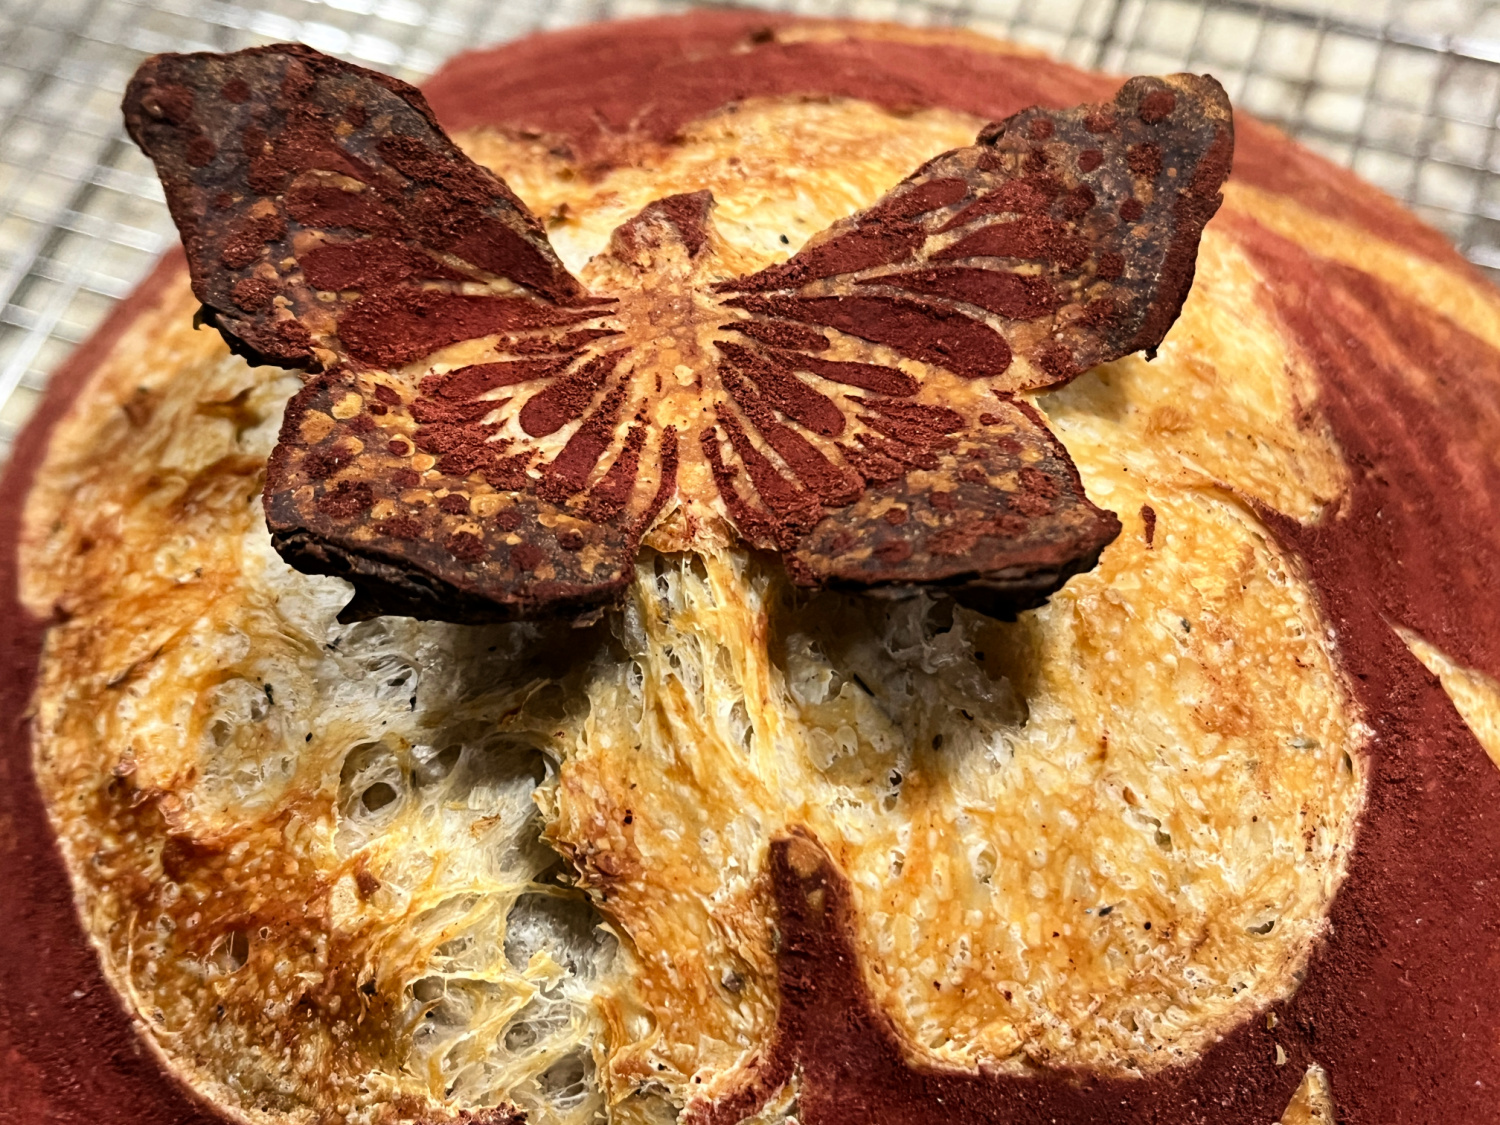
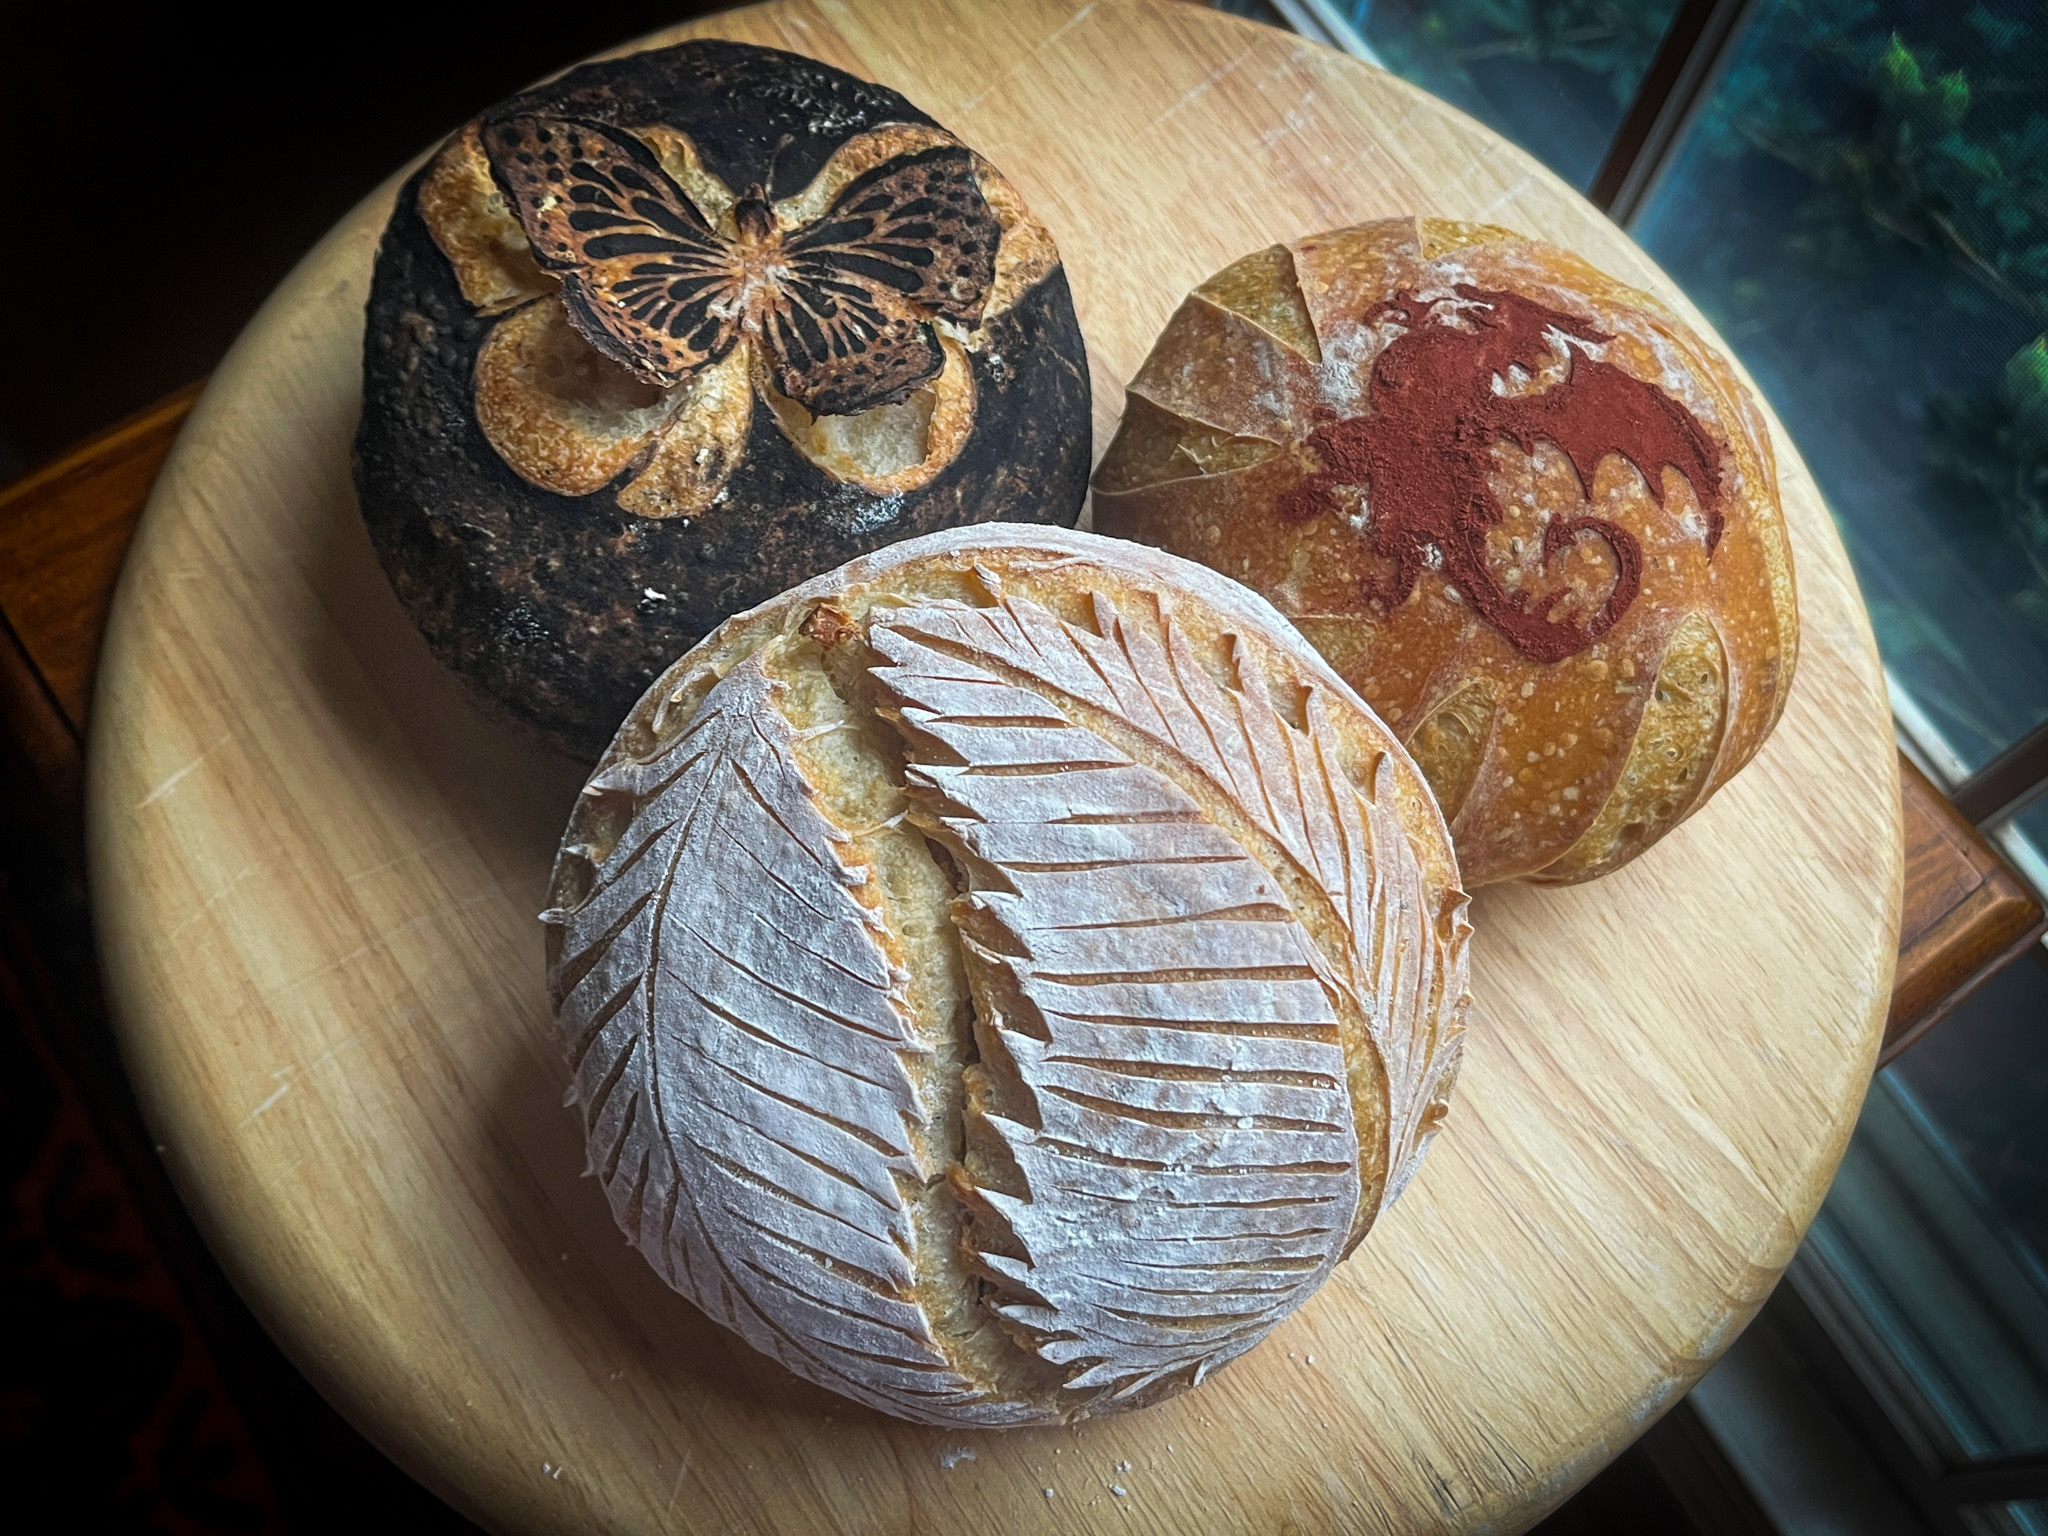
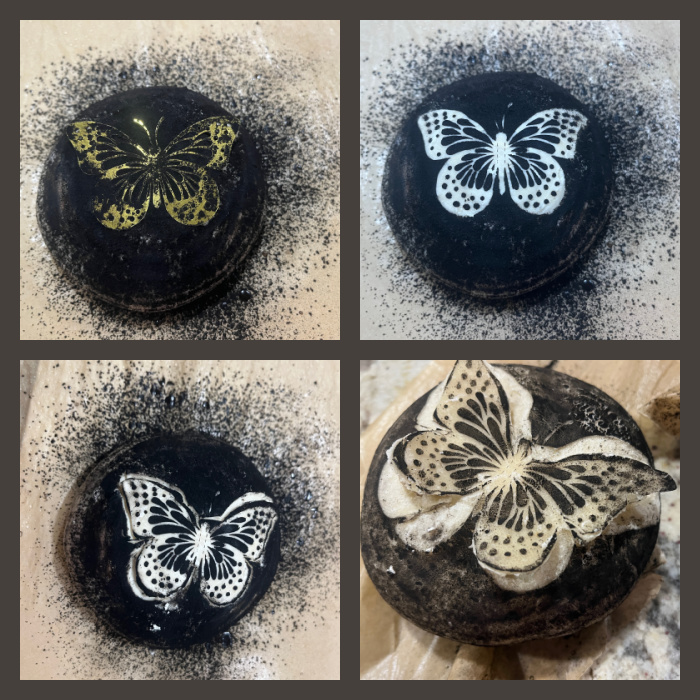
For this design, I rubbed the bread with back cocoa powder, and used a thin metallic stencil that I got recently (click here, it is part of a big series of stencils sold together in a bundle). After gently lifting the stencil, I cut around the edge of the butterfly, and lifted that area a bit. Baked for 7 minutes covered in a 450F oven, then carefully removed the bread from the oven and made the cuts deeper, adding a small ball of parchment paper on the four corners of the wings where I hoped for more lift. You can see the process below. The bottom right picture is what it looked like after 7 minutes in the oven, when I put the little balls underneath the wings. If you’d like a more detailed visual explanation, I will have a blog post exclusively about this type of decoration in a day or two. Stay tuned!
The bread was covered again, baked for additional 8 minutes covered, then 15 more minutes uncovered. Since it is a small loaf, it bakes faster, but the best approach is to check the internal temperature, aiming for 205-210F. As soon as it comes out of the oven, remember to remove the little balls of paper, or they will glue to the bread. I’ve had a lot of struggle to make this method work, finally realized that one very important thing is the material of the banneton you use for the proofing after shaping. The best ones for this type of scoring are wood pulp bannetons. They dry the skin of the dough much more efficiently. I was using a plastic wrap to facilitate removing the dough after overnight proofing, and that was the reason for all my disasters. The plastic did not allow the dough to dry, so there was no way to slice it nicely. Finally I changed to wood pulp, skipped the layering of plastic wrap, and things started to work better, not only for lifted designs, but scoring the bread in general. Keep that in mind if you are into decorating your bread.
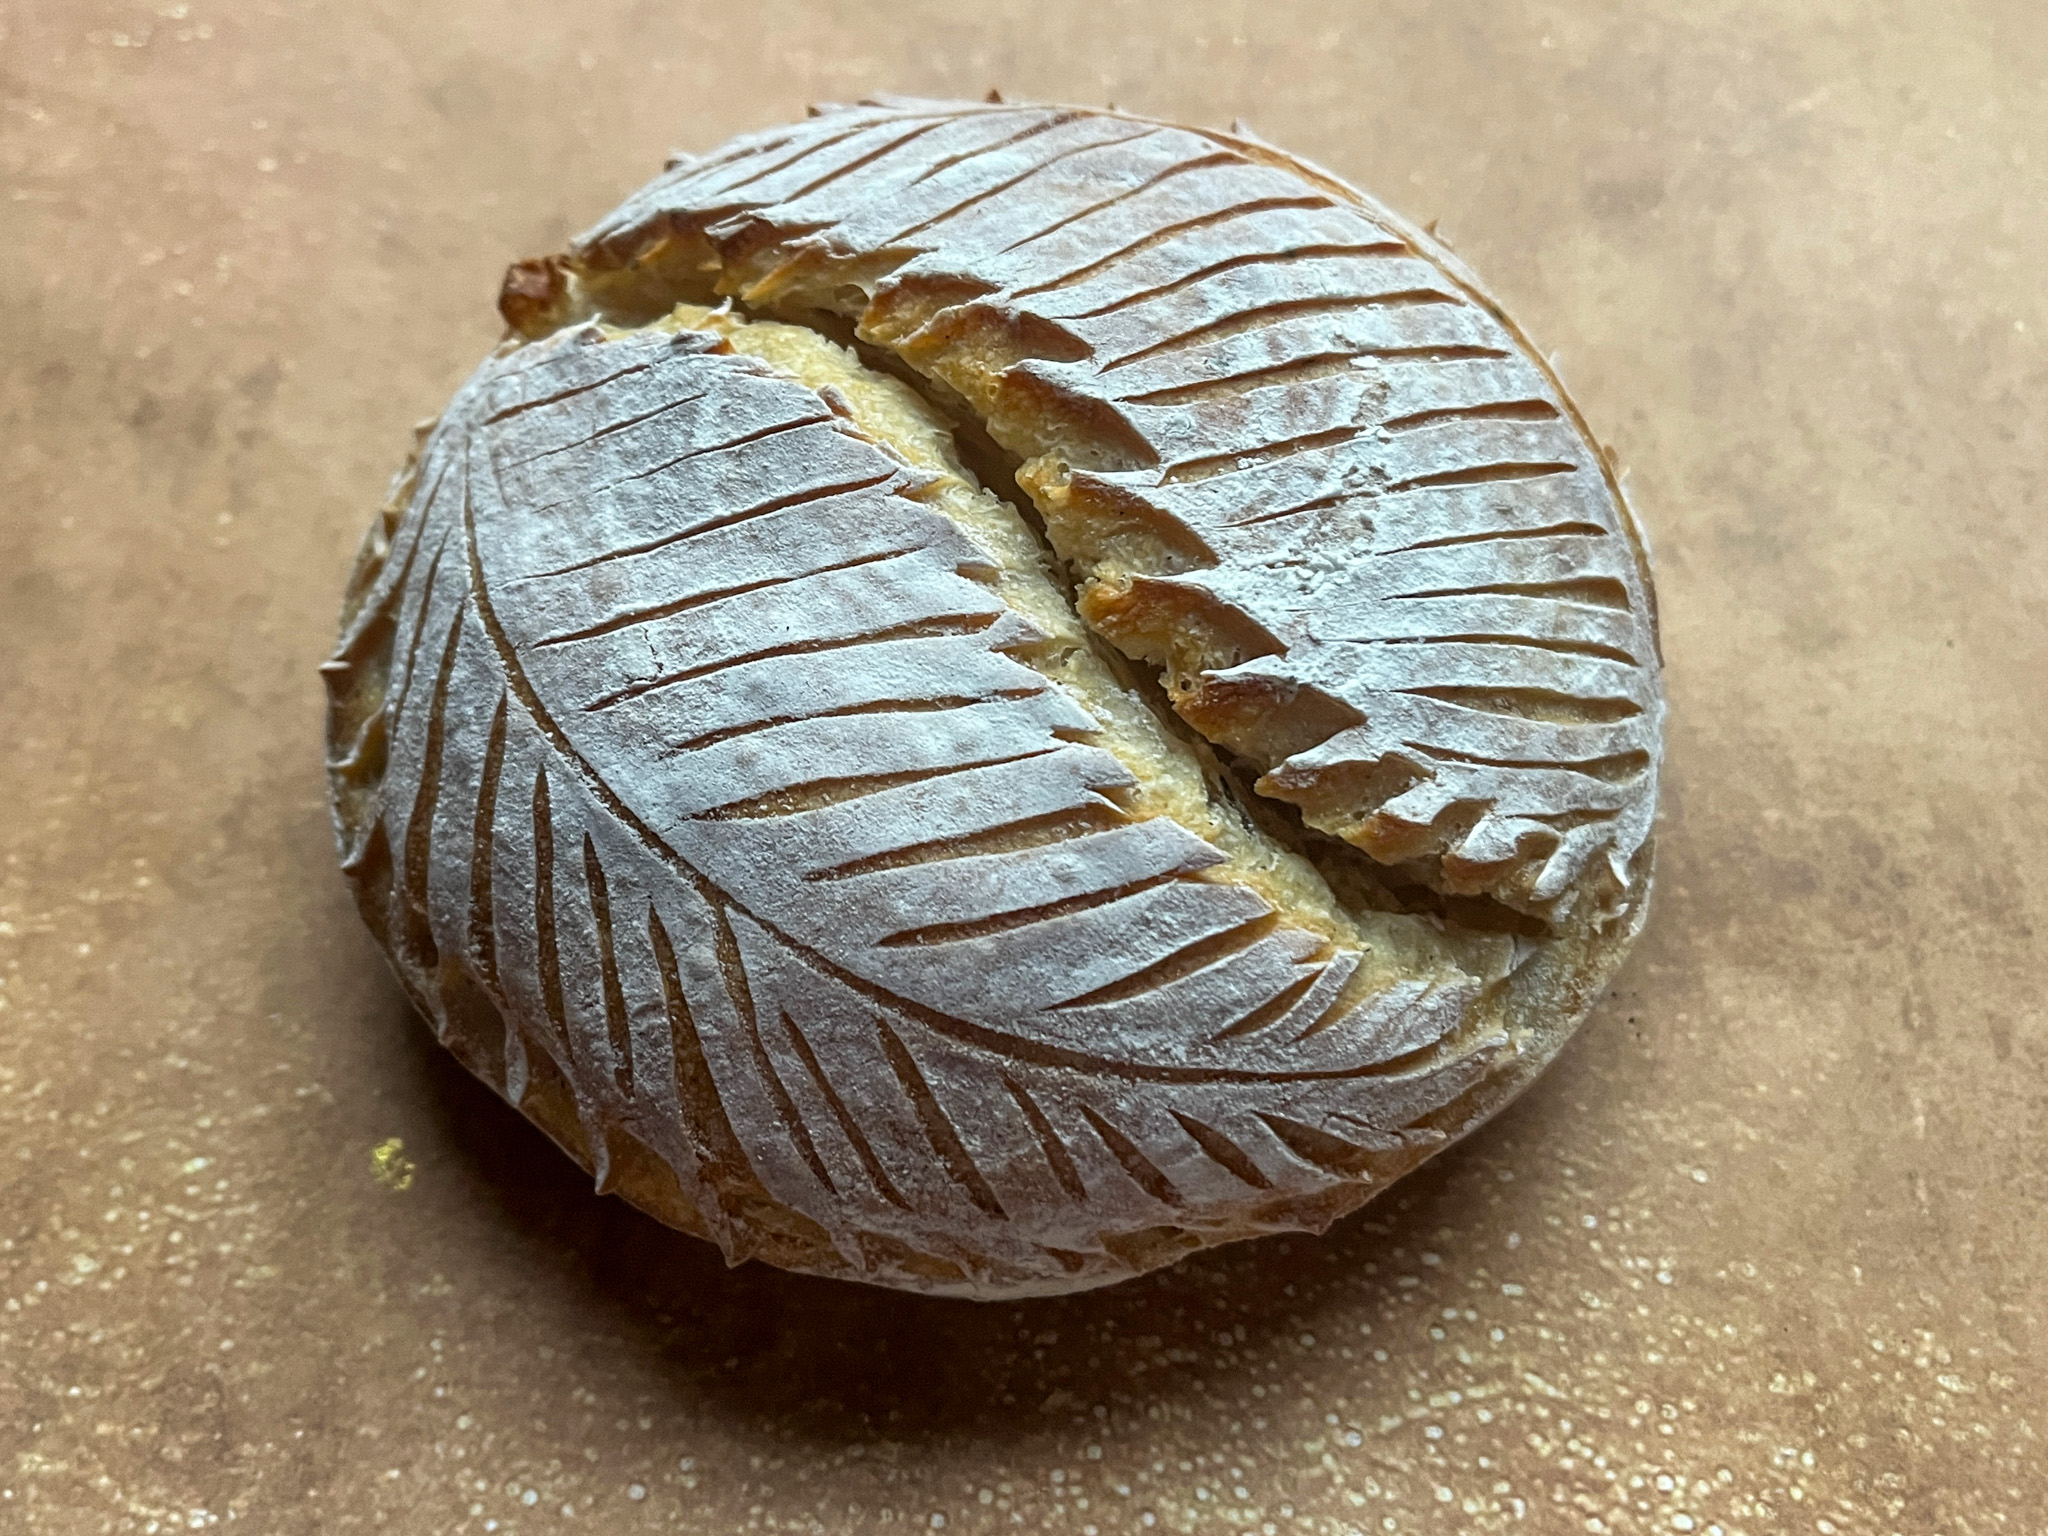
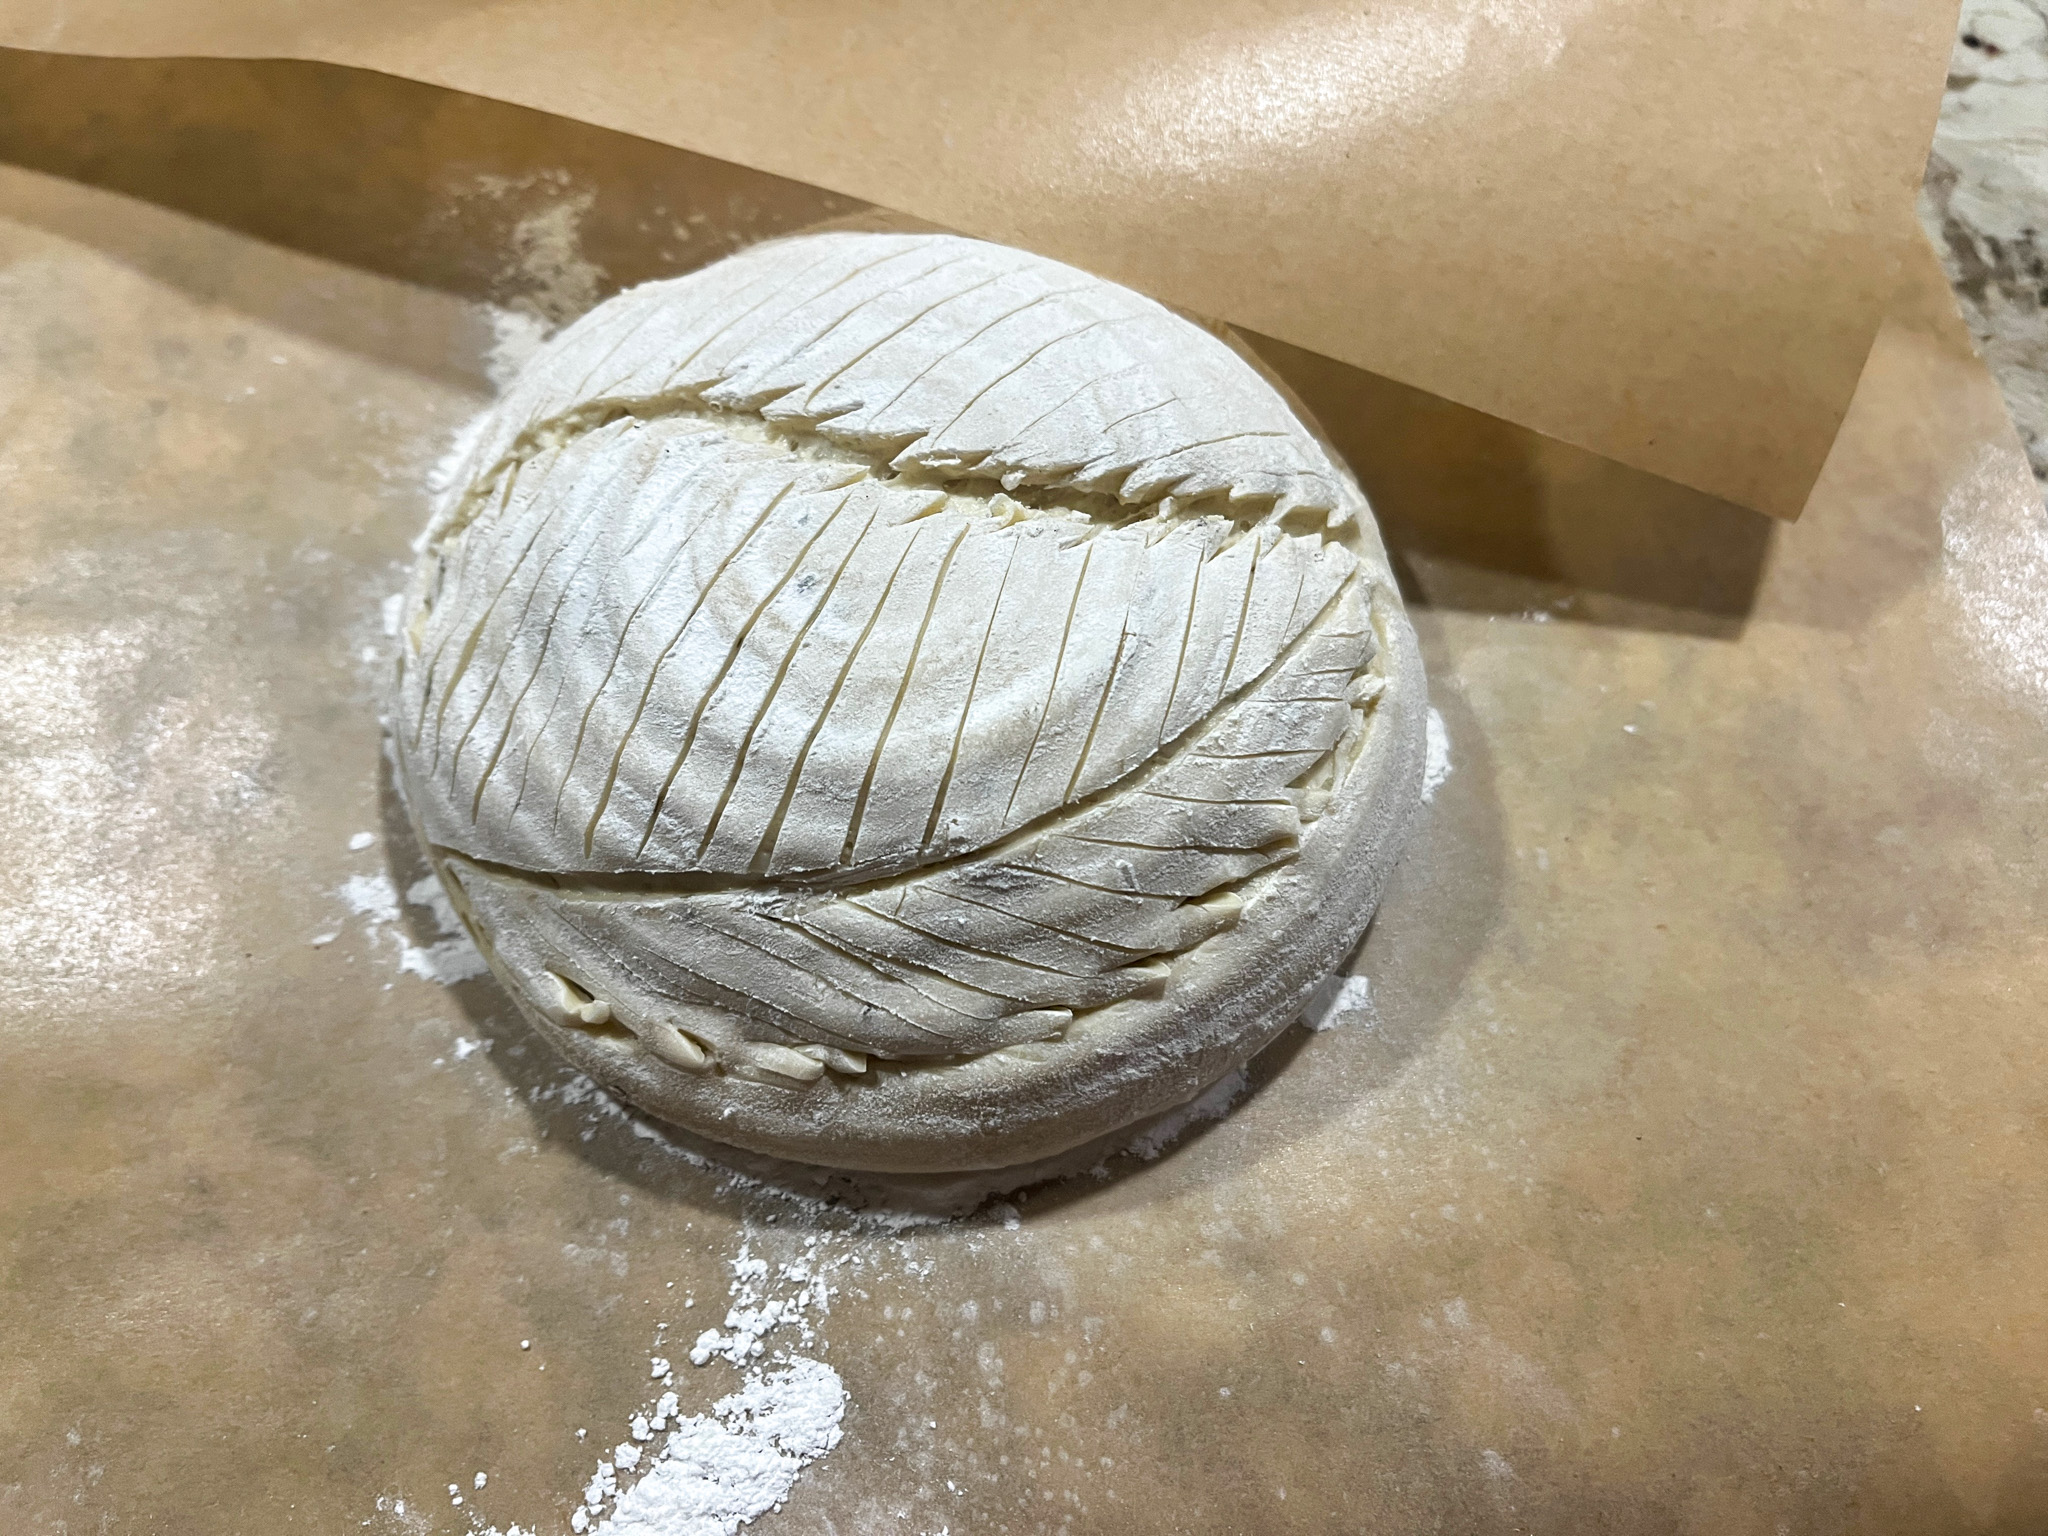
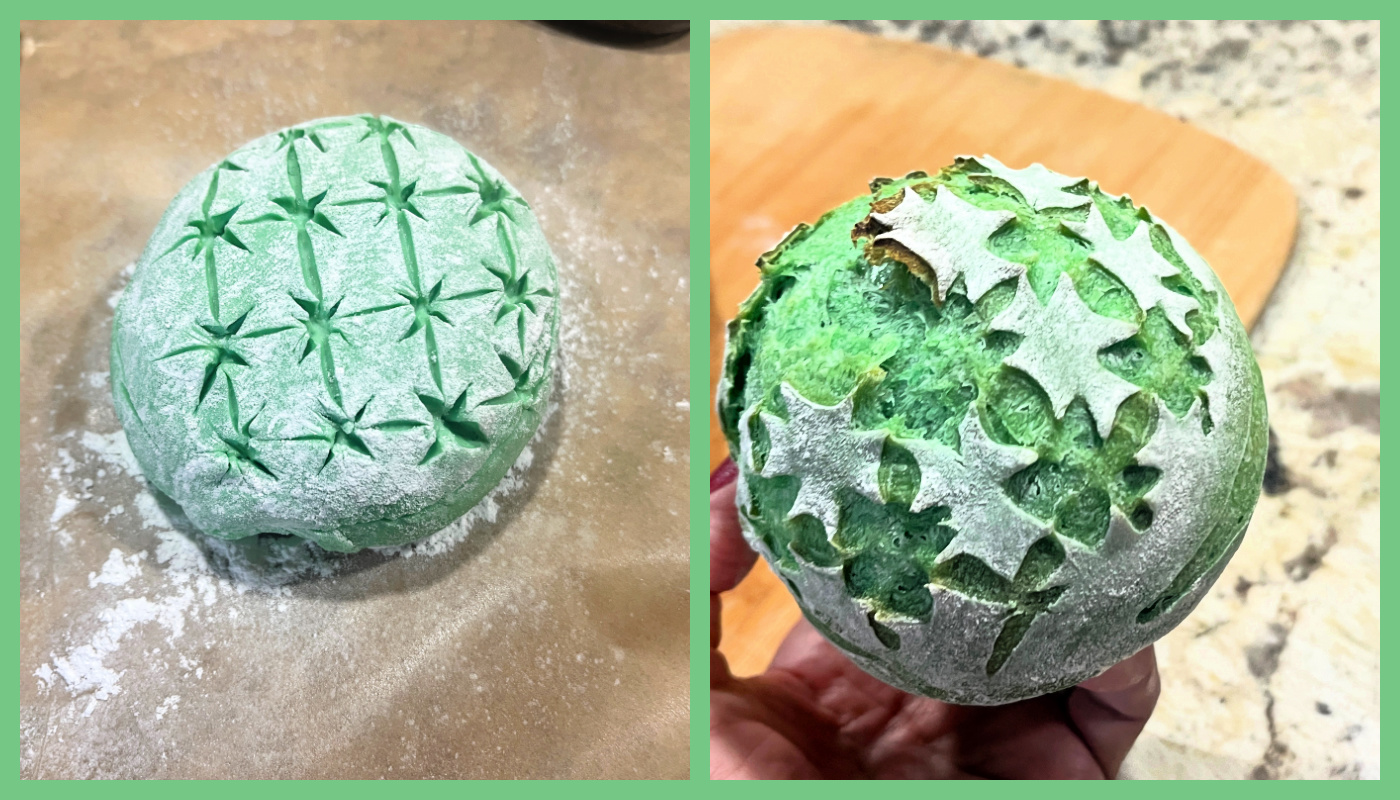
YIN AND YANG LEAF DESIGN
This design requires just a razor blade and scissors, very simple and quite effective. Again, I froze the dough for 30 minutes before inverting it out of the banneton and proceeding with the scoring.
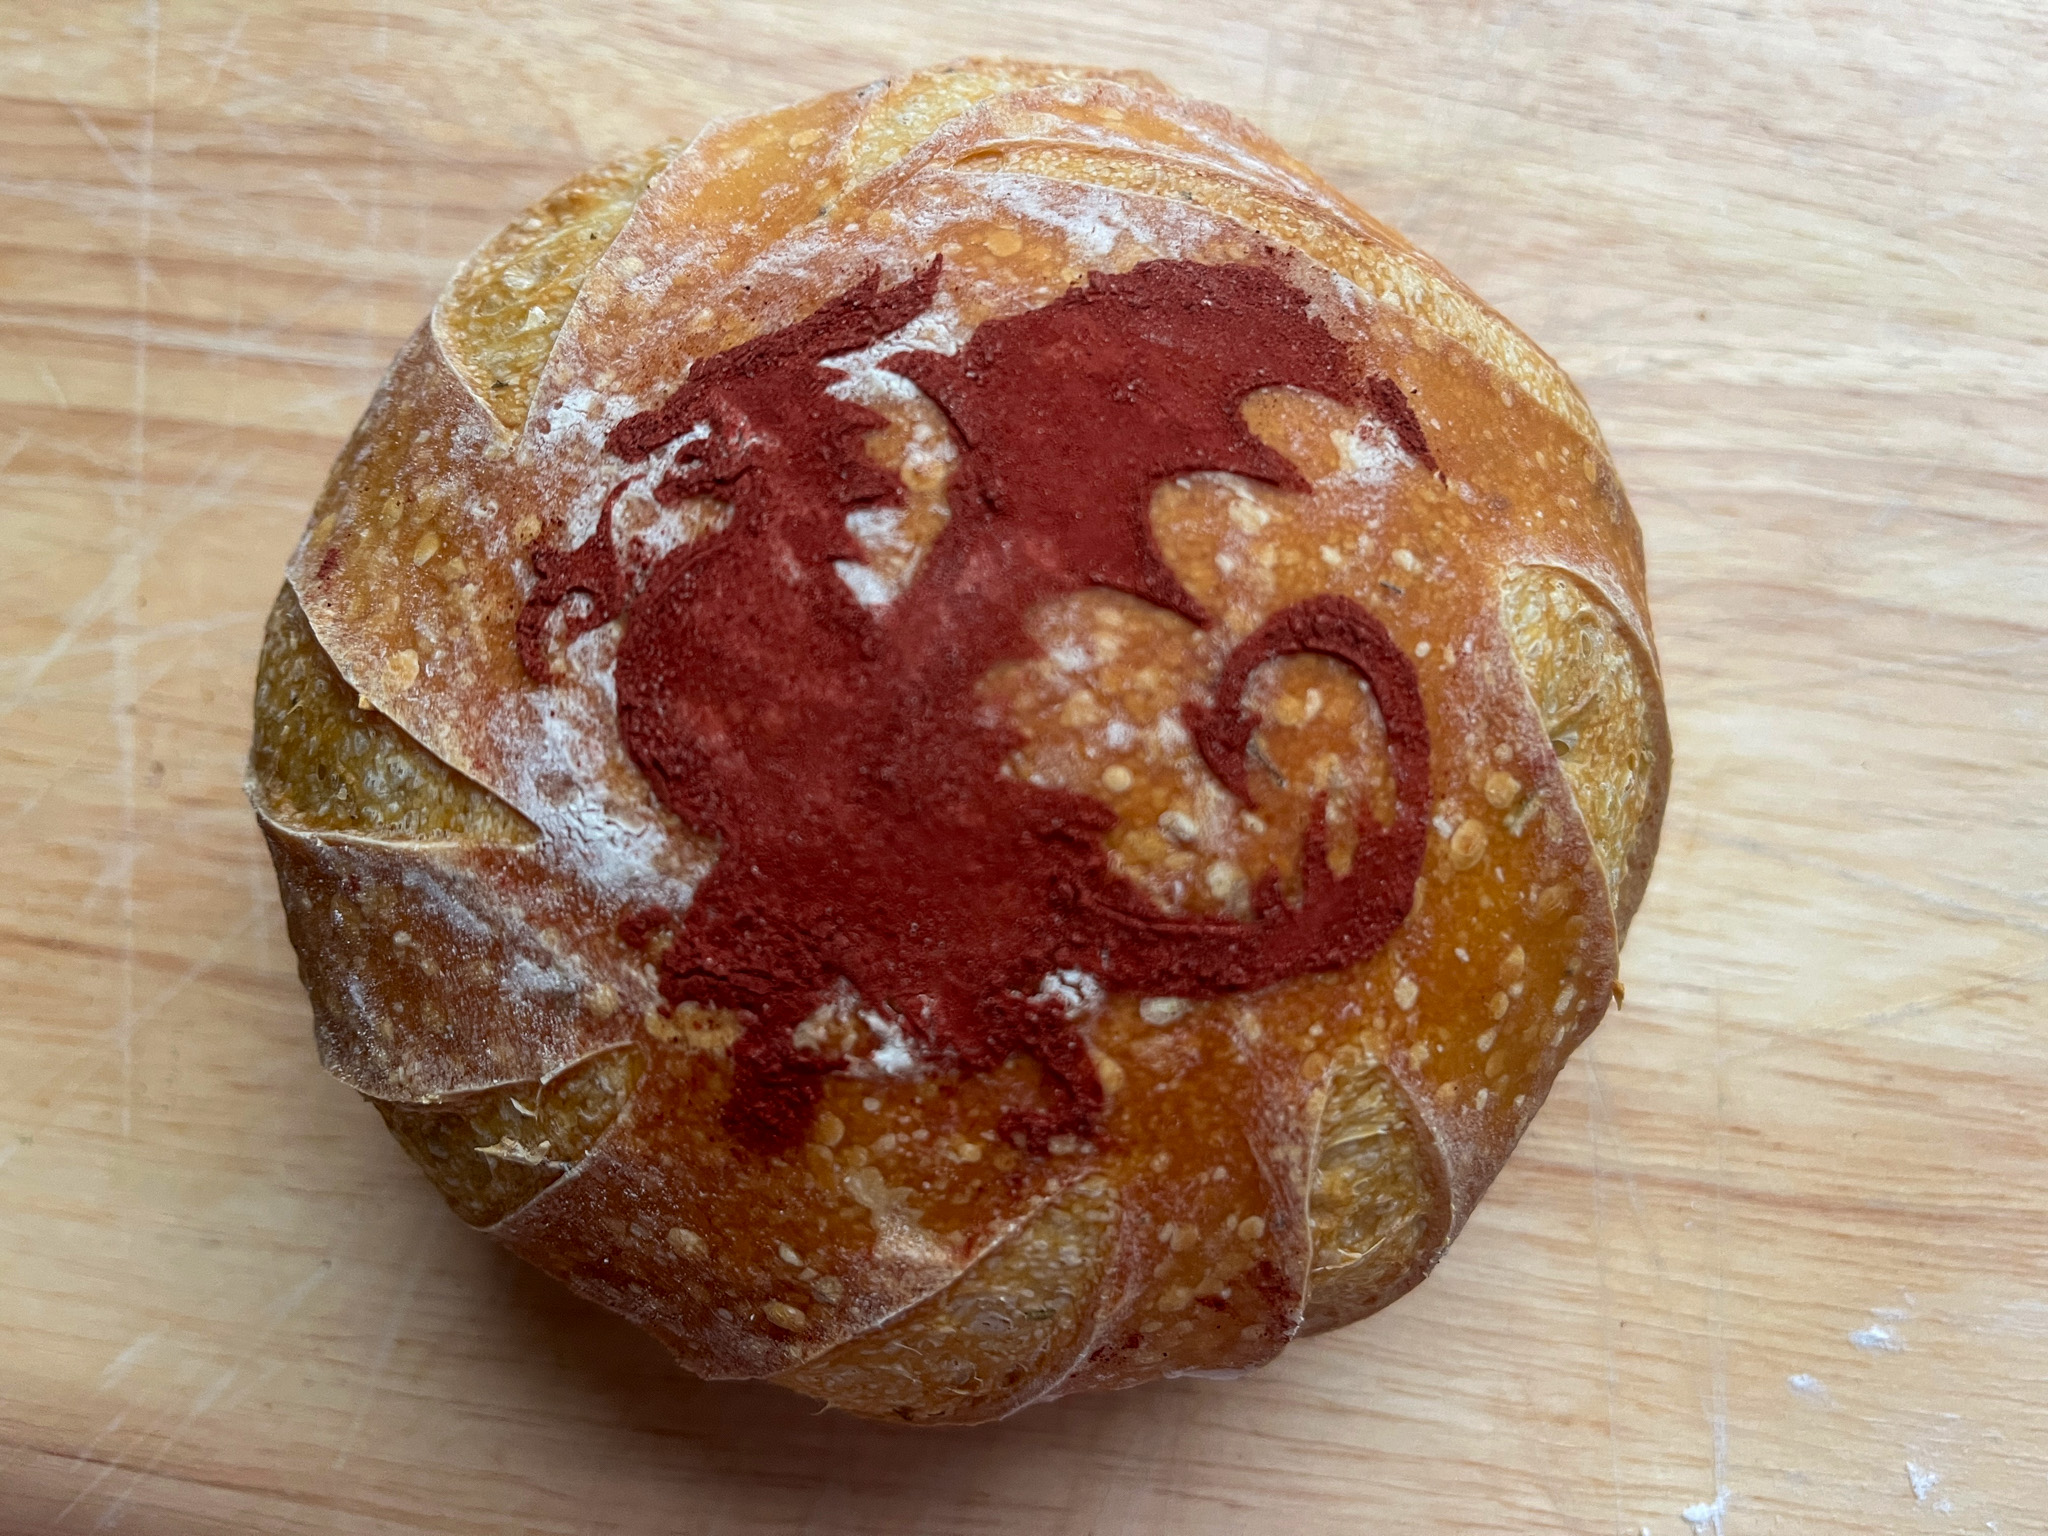
GAME OF THRONES SOURDOUGH
The simplest of the three, all I did was freeze the dough, wet the surface very lightly with a spray bottle, set the dragon stencil on top, and rub red yeast powder. Lift the stencil gently and make some cuts around it. Baked at 430F, covered for 15 minutes, uncovered for 15 more minutes.
You maybe noticed I started with 4 small boules of dough but you only see three baked breads. At first I thought I could bake two at a time, but it was not feasible. One of them sat at room temperature after scoring, it deflated pretty badly and it ended up as bread for croutons. Oh, well. Live and learn!
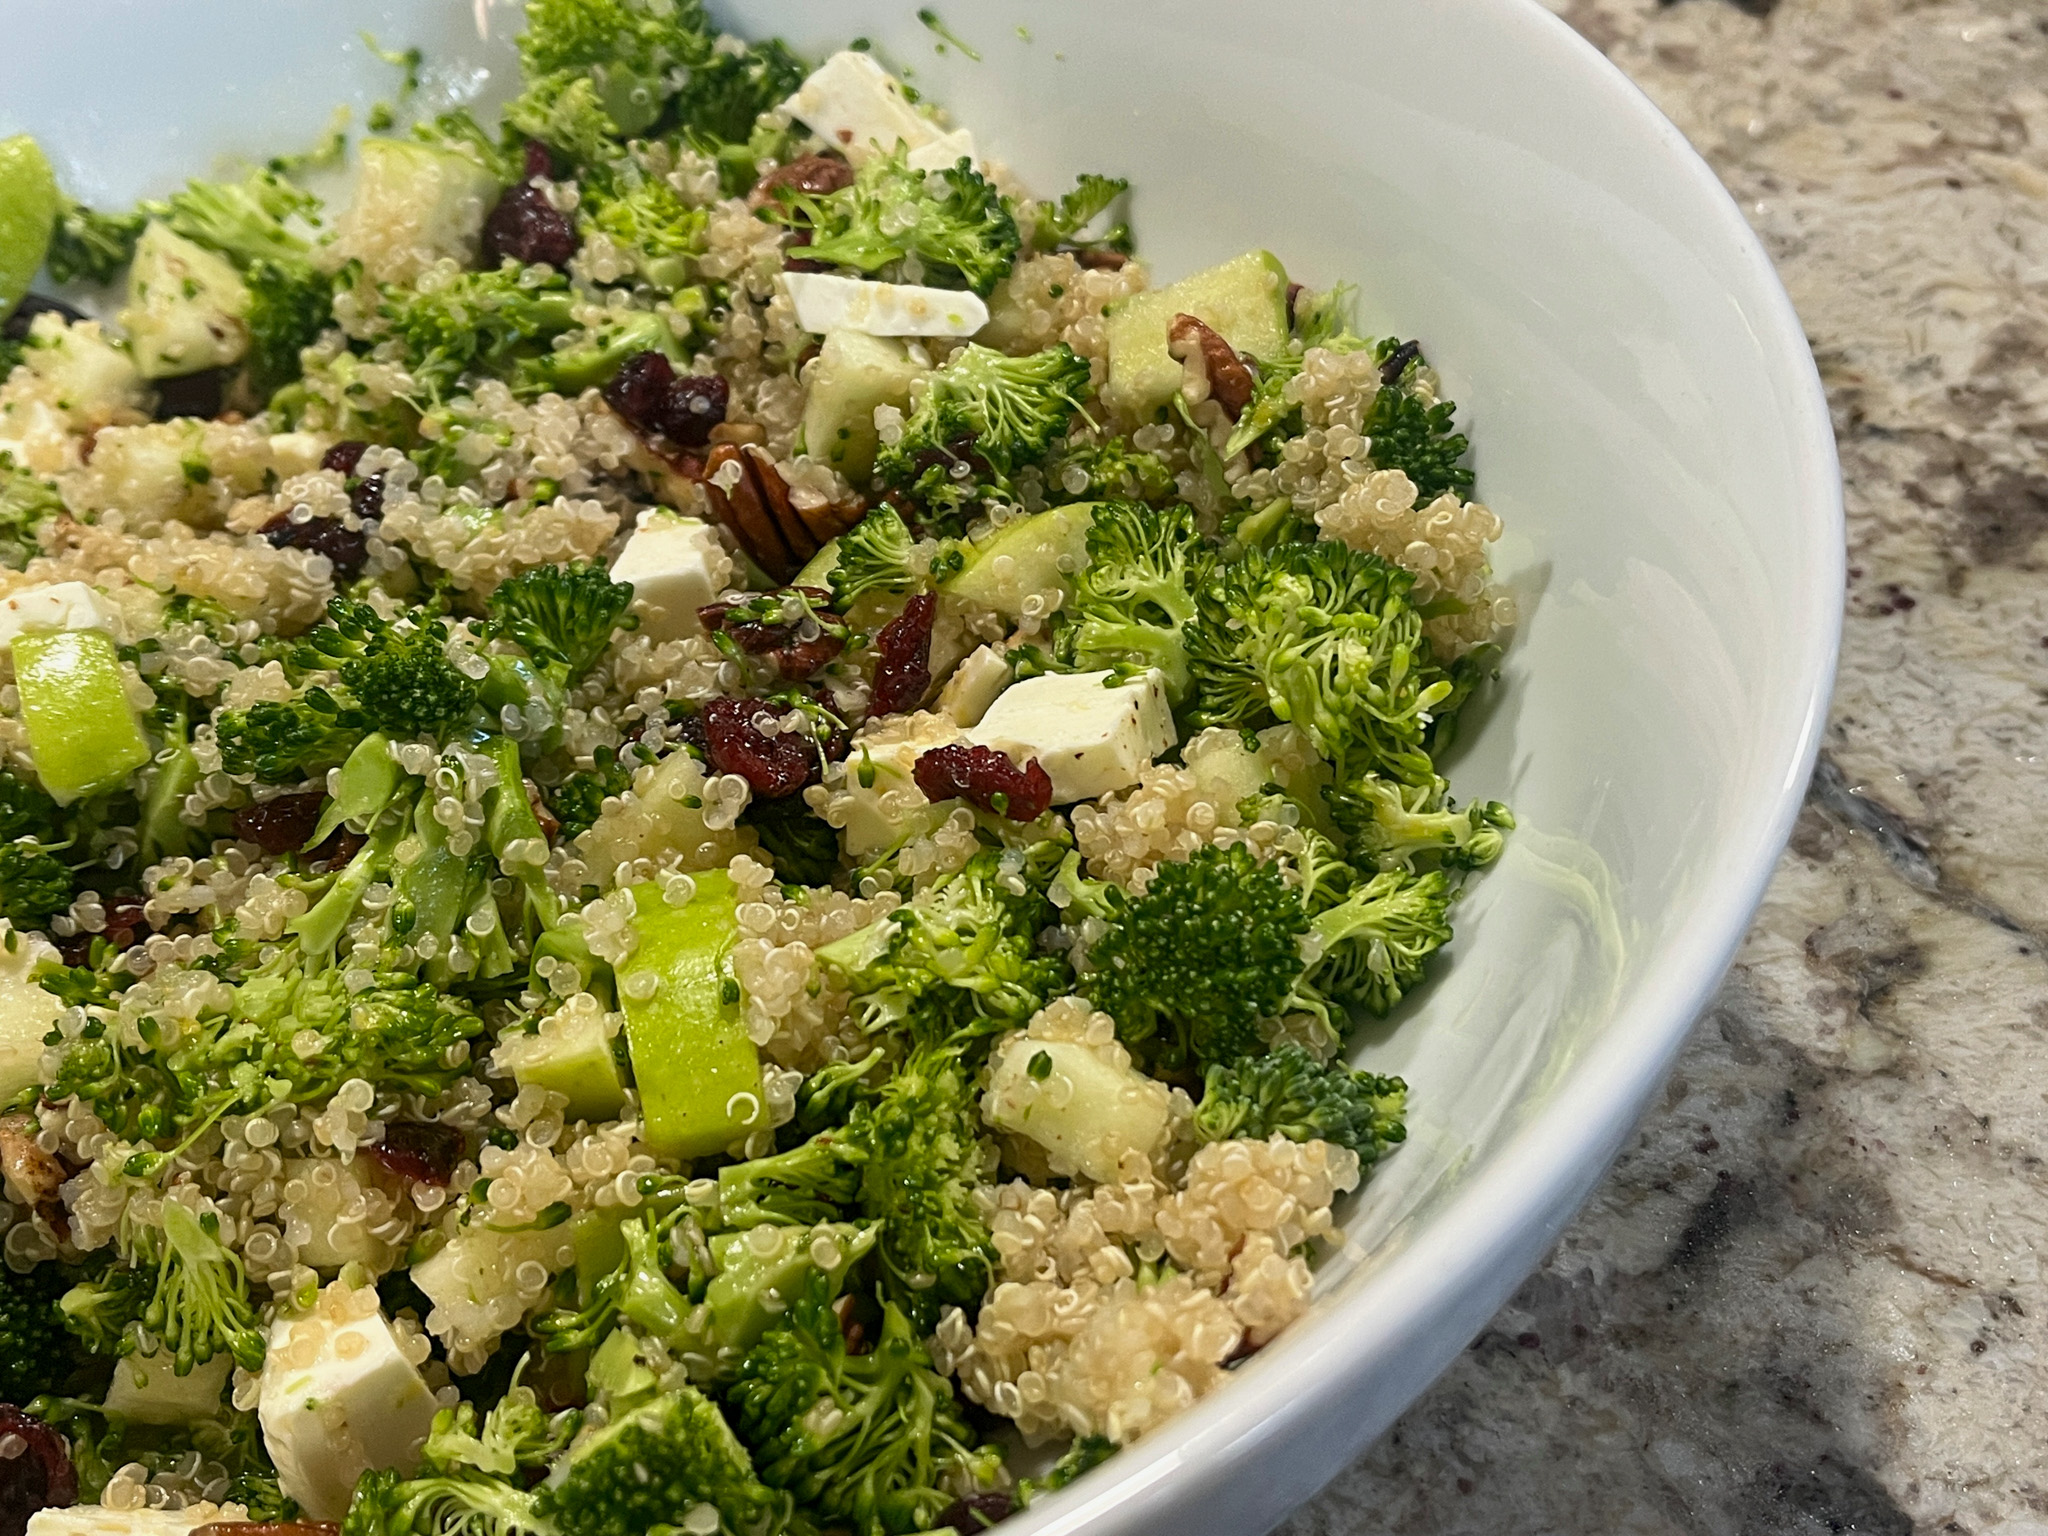
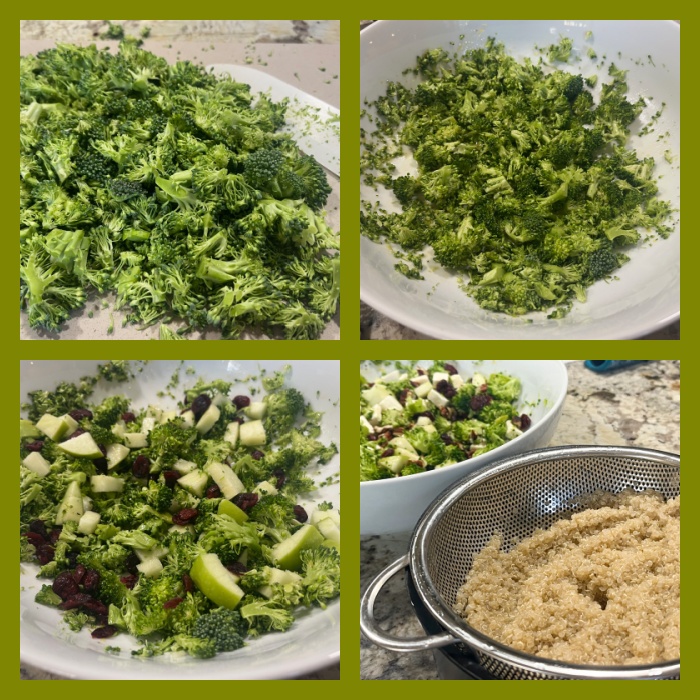
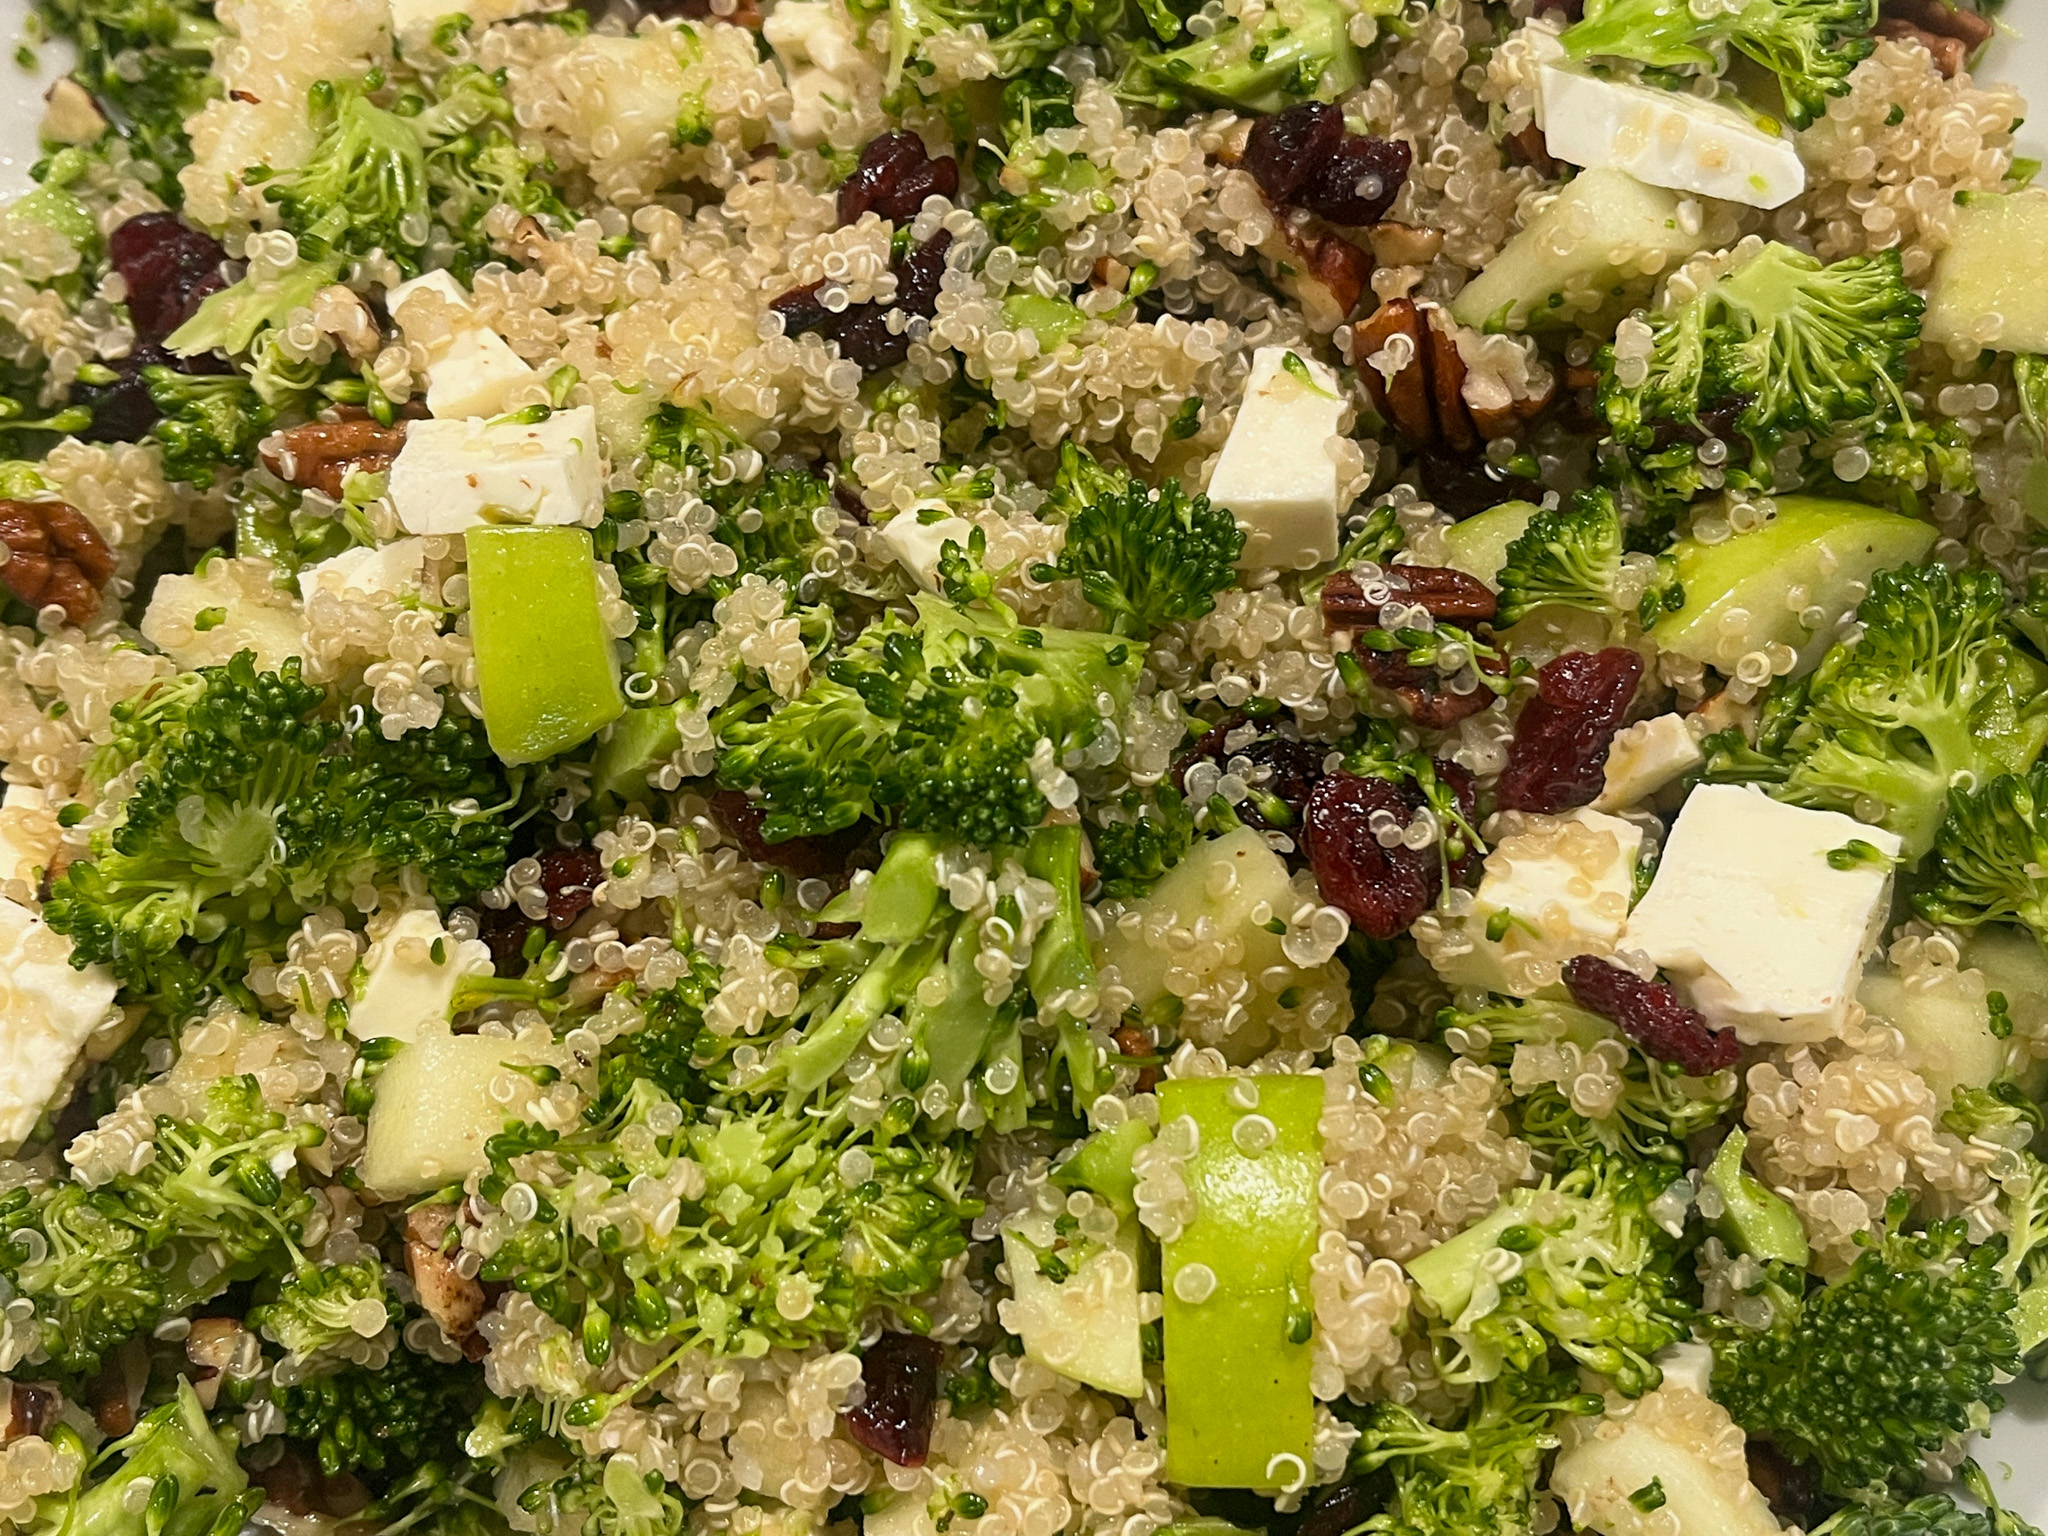
This one definitely goes into the Hall of Fame of our salads, we loved everything about it, from texture to the mixture of flavors, all working together like a perfect symphony… I adapted it from a version in this brand new cookbook, which I highly recommend if you like to expand the horizons on your enjoyment of all things salad.
1/2 cup quinoa, rinsed 1 lemon 3 tablespoons olive oil 1 tablespoon Dijon mustard 1 tablespoons honey 2 tablespoons Calamansi vinegar (or substitute apple cider vinegar) 1 small head broccoli 1 green, tart apple 1/3 cup toasted pecans, roughly chopped 1/4 to 1/2 cup dried cranberries feta cheese crumbled, amount to taste salt and black pepper
Bring a medium pot of water to a boil over high heat and season with salt. Add the quinoa, then reduce heat to maintain a simmer. Cook until plump and tender, about 15 minutes. Transfer to a fine-mesh sieve, rinse with cool water and drain well. While the quinoa cooks, finely grate the zest of the lemon into a large bowl, then cut the lemon in half. Add the oil, mustard, honey and vinegar, plus the juice of ½ lemon and whisk together. Season with salt and pepper to taste.
Finely chop the entire head of broccoli and add to the dressing. Chop the apple and then add to the bowl. Keep them in the fridge or room temperature for 10 minutes. Add the cooked quinoa, feta cheese, nuts and cranberries and toss to combine. Taste and adjust seasoning, if needed. A final squirt of lemon juice is always nice…
. Comments: I don’t mind raw broccoli (although I despise a platter of crudités with intense passion), but I do not love it. Normally I would not even try this recipe but the author included a review from a person who made it and I was too tempted. Glad I made it, I am now a lover of raw broccoli, as long as it’s cut super small and allowed to sit in the acidic dressing for a little while. The addition of quinoa makes it hearty and pretty much a full meal if you want to go vegetarian. We had it with grilled chicken thighs, and my lunch next day was a bowl of this salad, warmed briefly in the microwave. Not a salad anymore, I suppose, but still wonderful… I do hope you try this recipe and also take a look at the cookbook.
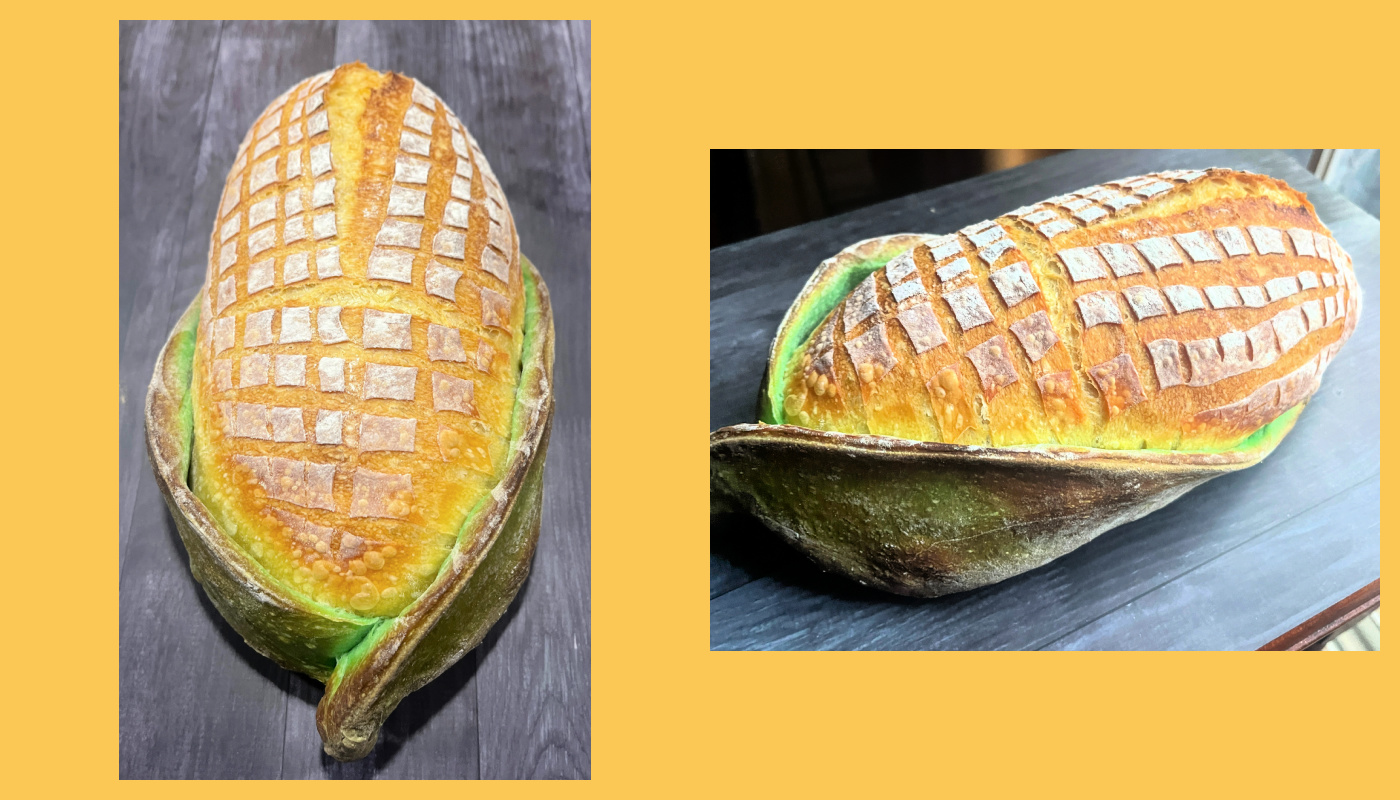
I’ve been flirting with making this bread for a while, finally took a deep breath and did it! It was a lot easier than I anticipated. The idea and basic formula came from a super creative baker I follow on Instagram, and you can marvel at all her stuff clicking here.
EAR OF CORN SOURDOUGH BREAD (slightly modified from crumbofherown)
for main dough: 265g bread flour 170g water 65g active starter (mine was at 60% hydration) 6g salt 2 tiny drops yellow food coloring
for green dough (you will use only half of it for the husk) 160g flour 85g water 30g starter 3g salt two tiny drops of green food coloring
Start by making the main dough, adding first the water to the bowl of a KitchenAid type mixer, and diluting the yellow color in it. Add all other ingredients, mix with the dough hook for about 4 minutes. Transfer to an oiled bowl, and ferment at room temperature folding 4 times at 45 minute intervals.
Make the green dough, exactly the same way. It will be lower in hydration, so it won’t be as smooth as the other dough. Place in a small, oiled bowl, and ferment at room temperature. Do minimal kneading every time you fold the yellow dough.
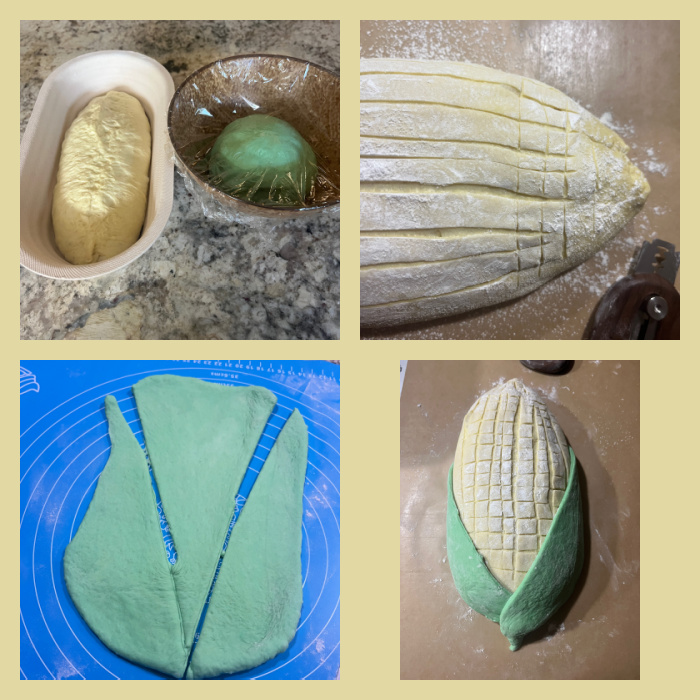
After about 8 hours of mixing the dough, form the yellow dough as a batard, and place in a banneton. Leave the green dough in the bowl and place both components in the fridge overnight.
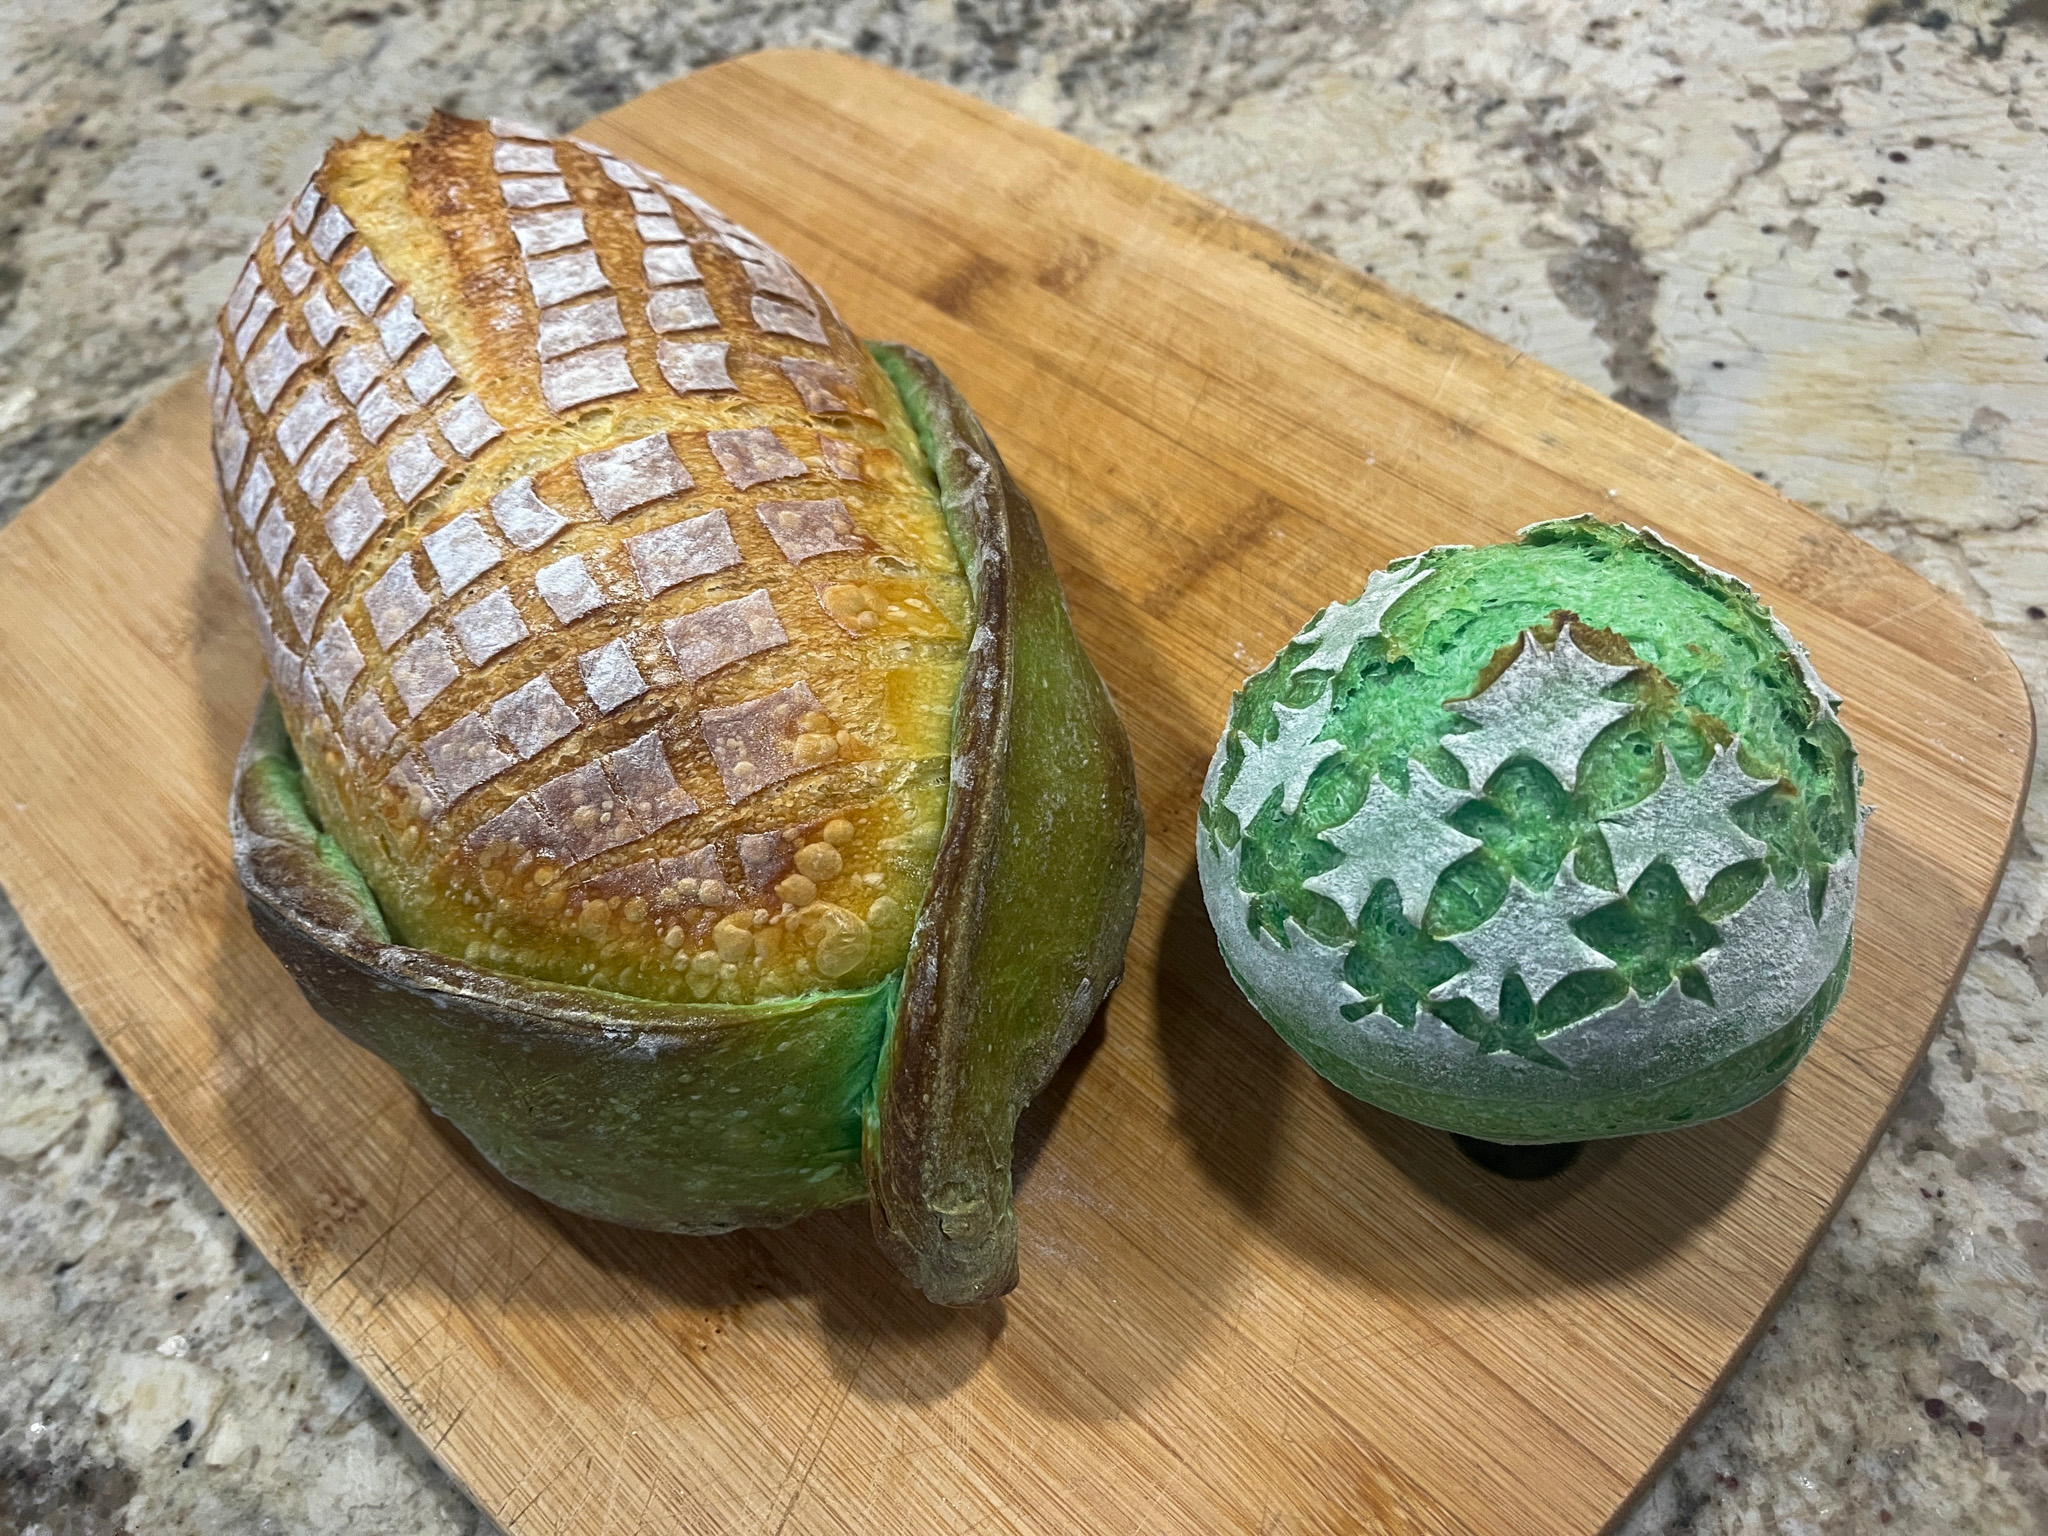
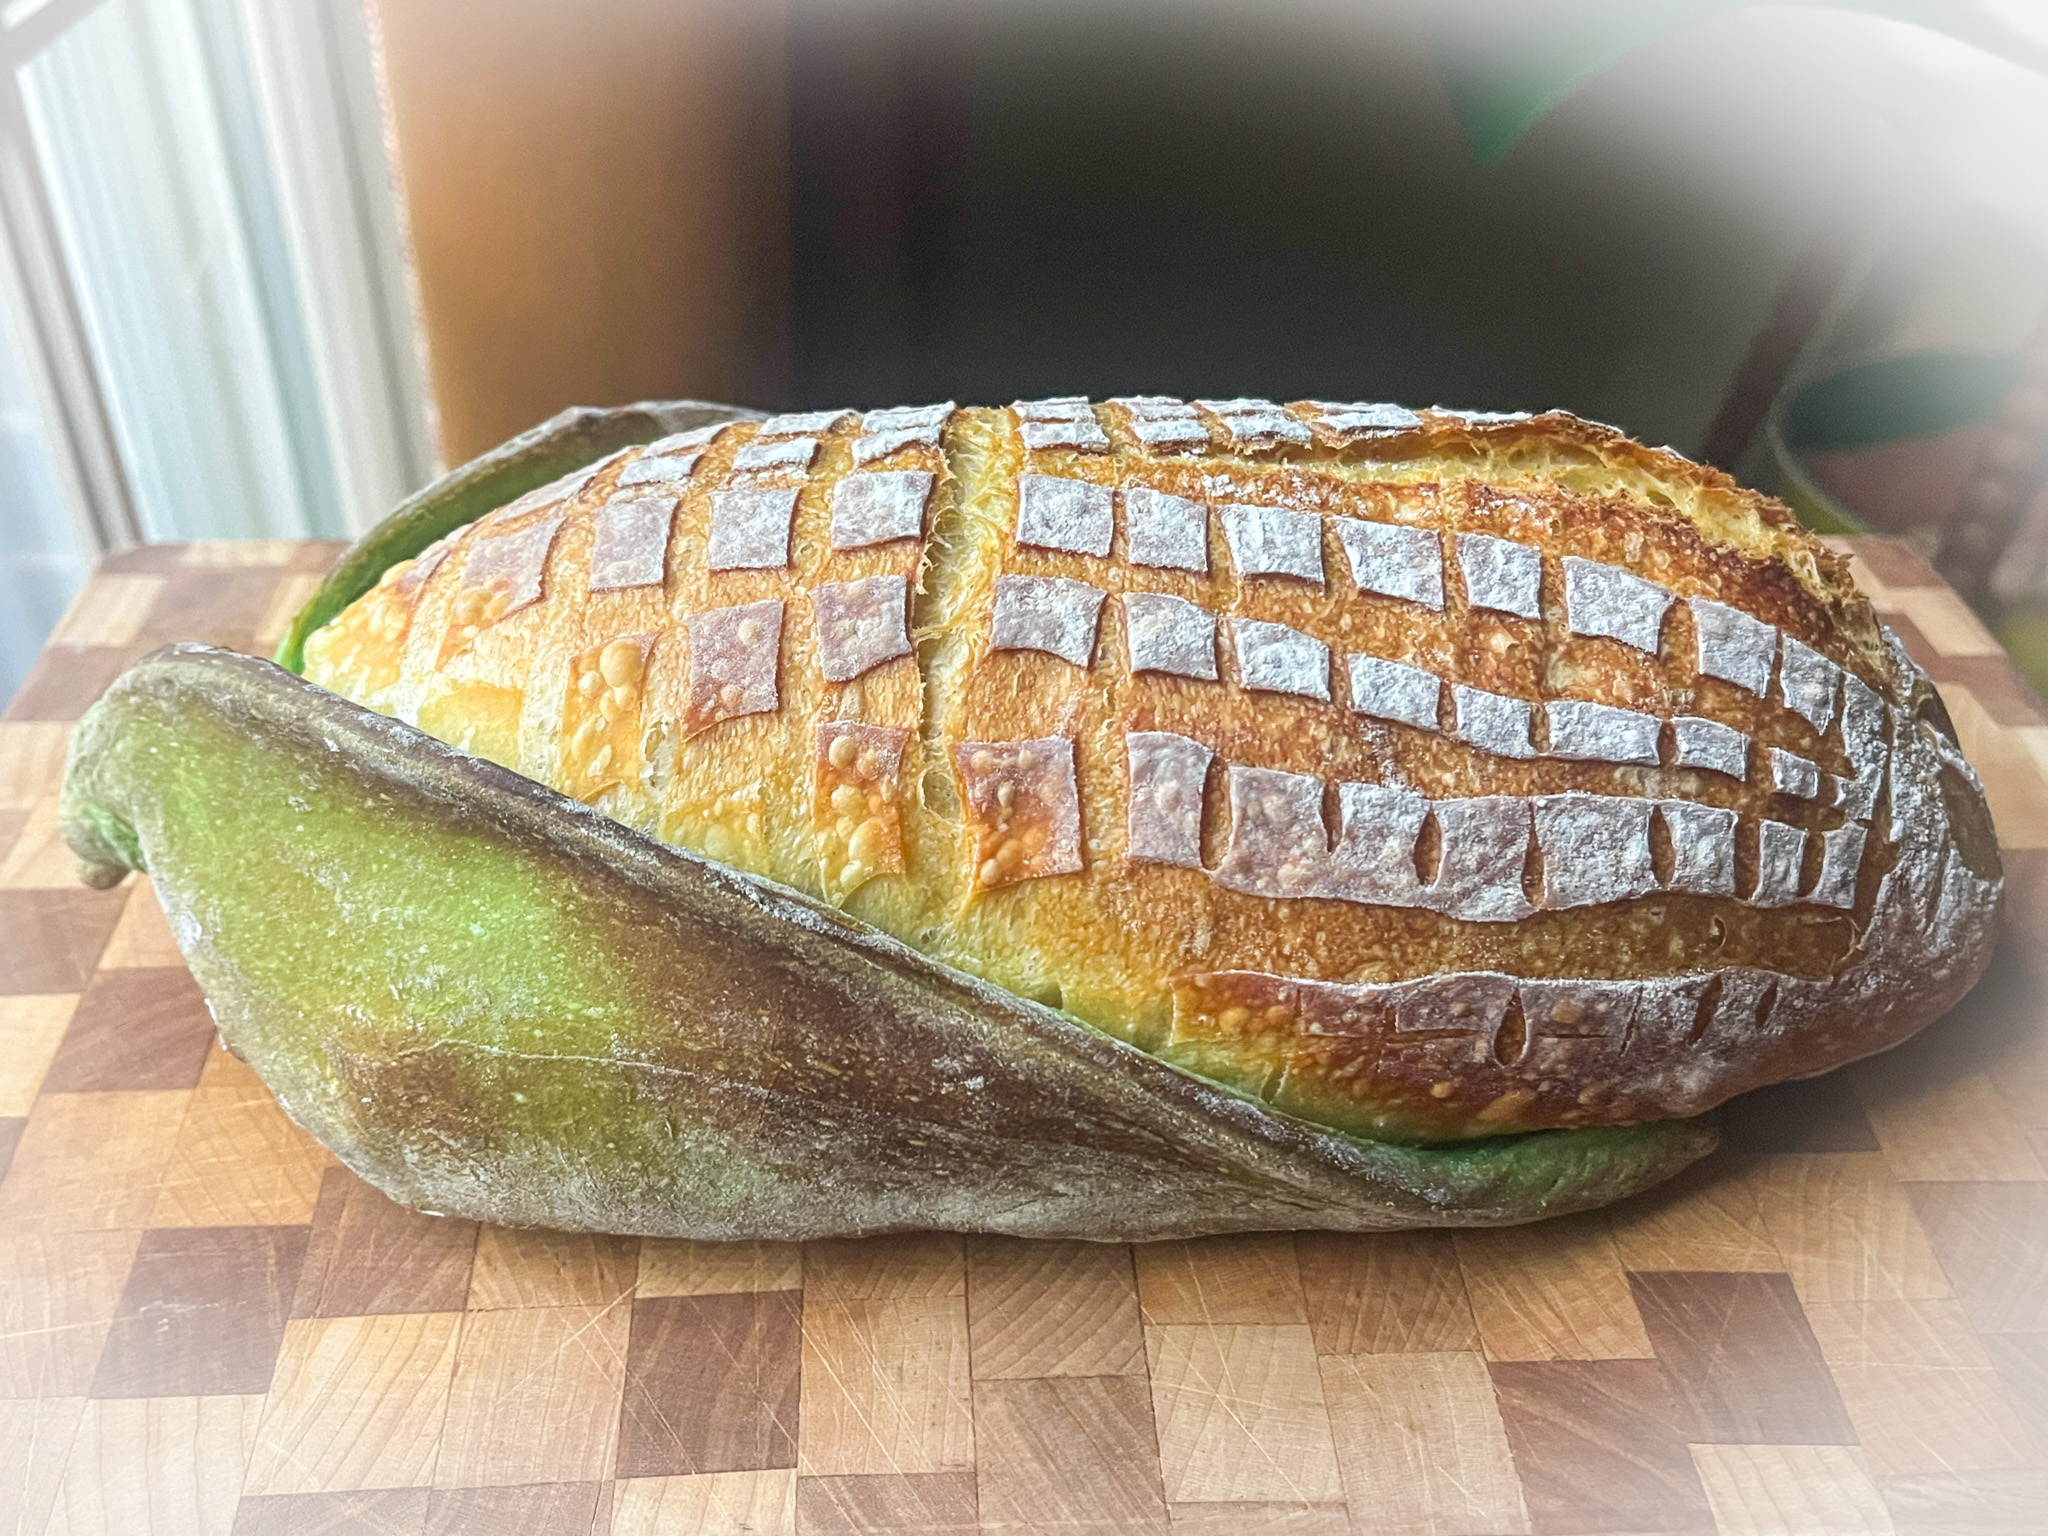
The next morning, the yellow dough out was gently shaped/pushed each batard into more of a corn-cob shape without completely reshaping the dough. I scored lengthwise first, then added horizontal scores across the entire loaf to create the individual kernels.
For the husks, I rolled the green dough out into a rectangle and cut out triangles. I placed the triangles over the yellow cob, folded the tips down, and added a small piece of green dough at the base for the stem.
I baked these individually at 450°F with the lid on for 23 minutes, then 425°F with the lid off for 8 minutes. If the green dough gets too much brown color, protect it with aluminum foil.
Comments: I have used food coloring in bread dough before, but had not added to the water before mixing. That makes all the difference in the world! Mixing the color once the dough is formed can be very tricky, and time consuming. Adding to the water makes it incorporate in the dough like a dream… The green dough will resist rolling at first, just allow it to rest a bit so the gluten relaxes, and continue trying. I did not want to make a very small amount of dough, so I used the full recipe. With the leftover dough I made a tiny little boule, scored it and baked after the big bread was out of the oven.
So there they are, my two babies, ready to be enjoyed! I am definitely going to play with this concept, it was quite straightforward to make, although I was a bit scared to try it at first.
I hope you visit @crumbofherown site on IG, it is quite amazing everything she does with sourdough in terms of shaping and adding colors. I want to try many different versions… So many breads, so little time!
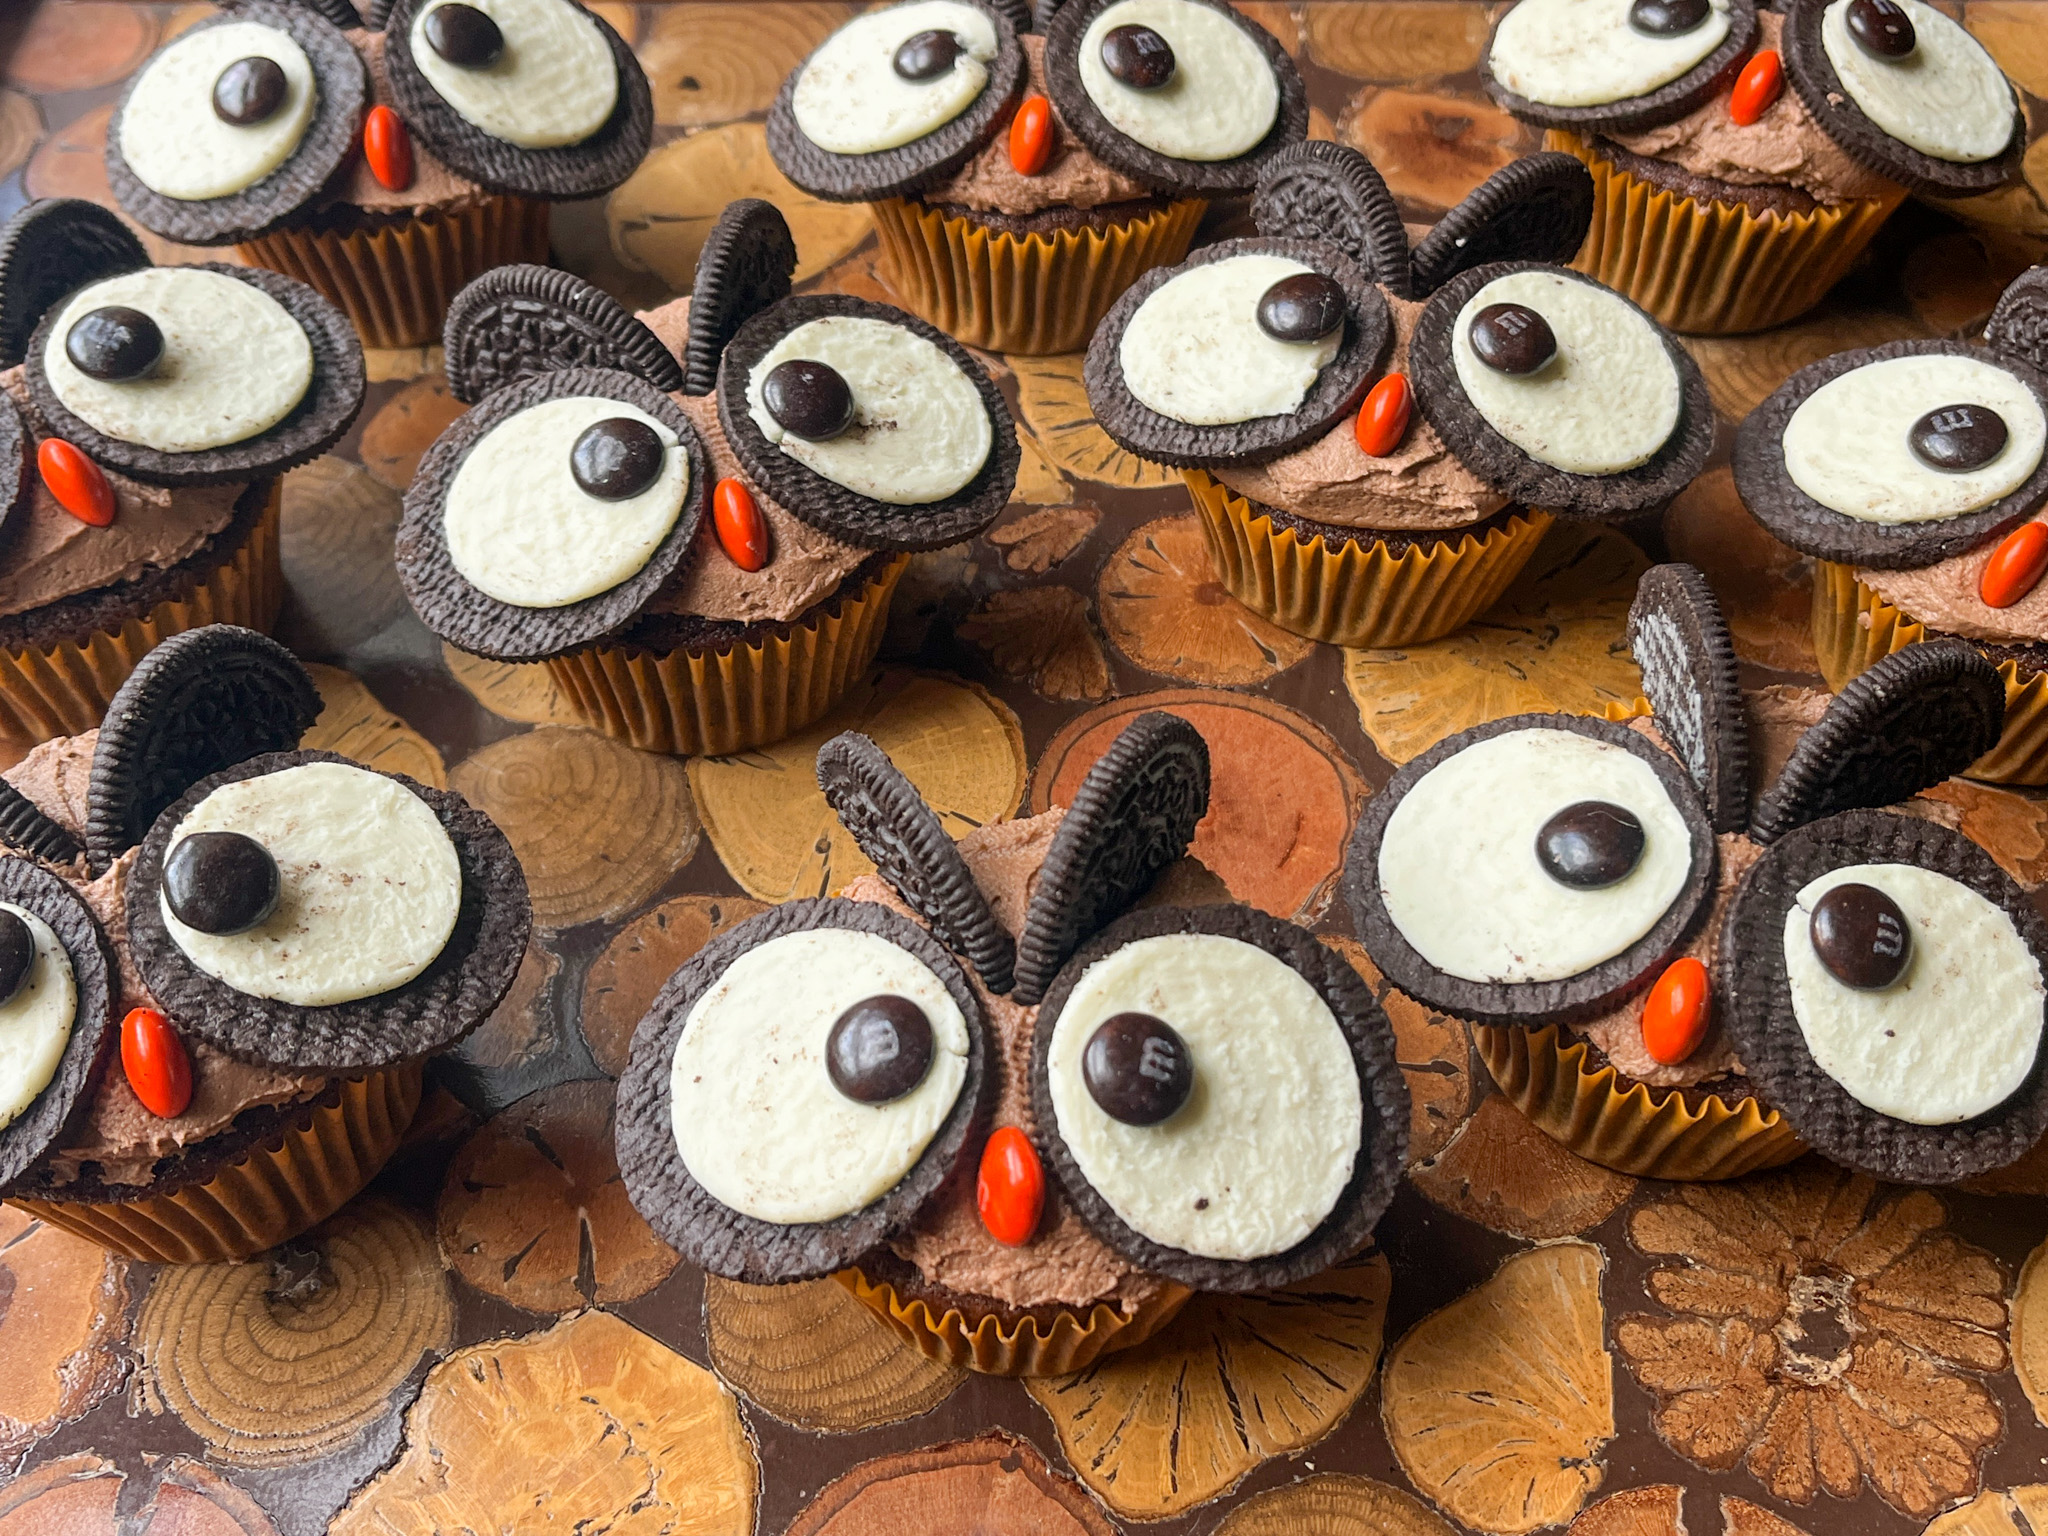
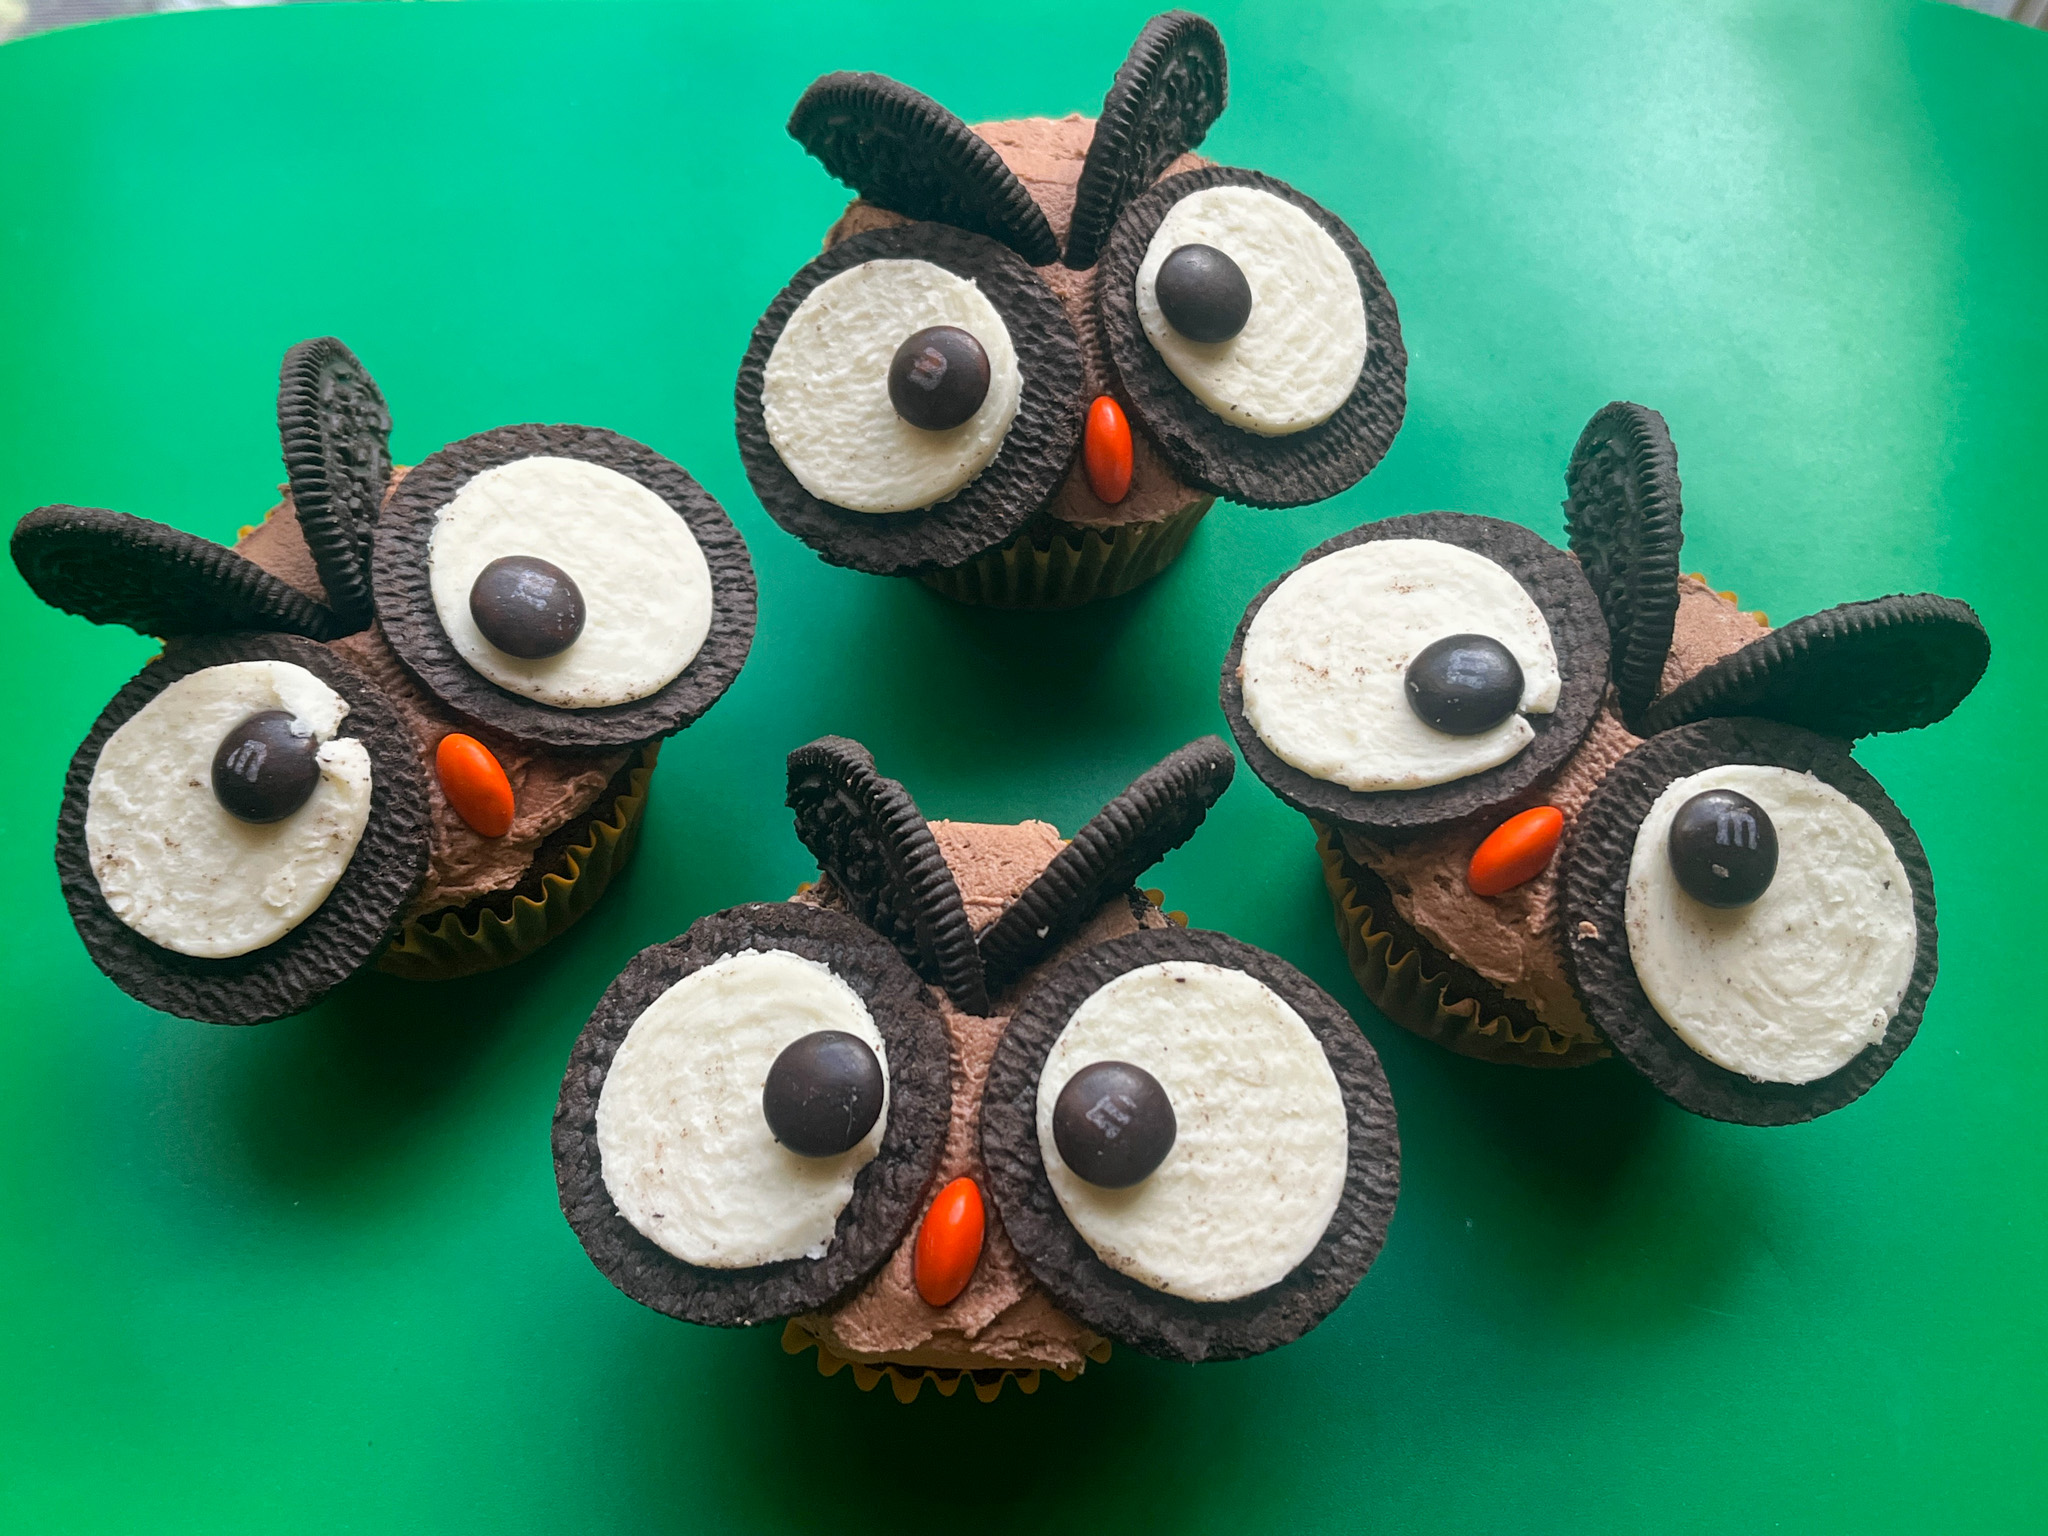
Sorry, could not resist the pun… These are chocolate cupcakes, and they are the most fun and adorable project you can definitely do with kids. They will love the process and later consuming all the owlsome calories. Ok, I’ll stop now.
OWLSOME CHOCOLATE CUPCAKES (from The Bewitching Kitchen)
makes 10
for the cupcakes: 50g butter, room temperature 110g all-purpose flour 25g cocoa powder (Dutch-processed) 150g sugar 1 large egg at room temperature 130ml milk at room temperature 1/2 tsp salt 1 + 1/2 tsp baking powder
for buttercream: 120g butter, softened 240g powdered sugar 1 tablespoon cocoa powder heavy cream to thin consistency, if needed
to decorate: Oreo cookies, gently open so that the filling stays nicely on one side brown and orange M&Ms
Make the cupcakes. Line a muffin tray with cupcake liners. I like to sprinkle rice at the bottom of the muffin space before adding the liners on top.
Whisk the egg and milk in a measuring cup with a fork. Reserve.
Put the flour, baking powder, sat, cocoa powder, butter and sugar into the stand mixer fitted with the paddle attachment.Mix on medium speed until the butter forms a sand-like consistency, in very small pieces.
Pour half the mix/egg mixture into the bowl and mix on low speed until incorporated, the increase the speed to high for a minute. Add the remaining milk, and again mix on low, then increase speed to high. Add to the cupcake liners until half full, not more than that,
Bake at 350F for about 15 minutes until a toothpick comes out clean. Cool completely on a rack before frosting.
Make the buttercream by whisking the butter for about 7 minutes on high speed. Add the powdered sugar in three portions, whisking low at first, then increasing speed. At the last addition, incorporate also the cocoa powder. Whisk on high for a couple of minutes, thin wth heavy cream if needed.
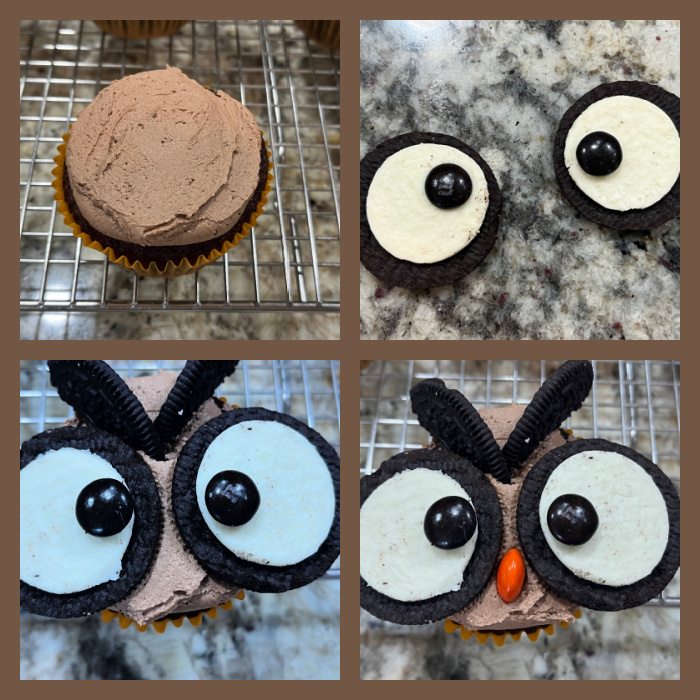
To decorate, spread a layer of buttercream on top of the cupcakes. To the open Oreos add brown M&M to form the eyes, press gently but firmly to attach to the white filing. It is easier to do that before you add the Oreo to the cupcake. Place the Oreos as eyes, then use Oreos without filling cut in half for the eyebrows. Add the orange M&M for the beak.
Comments: I cannot take credit for the idea, I saw it somewhere on Pinterest and made a version, as it seemed pretty straightforward. The only thing is, you will need a lot more Oreos than you think, because yes, “there will be breaks”. Also, sometimes when you separate them the filling does not stay nicely on one side. If you try to move it around and fix things, it just won’t work very well. So, be gentle, twist slowly as you open them. Also, when you cut them in half for the eyebrows, it is easy to crumble one of the halves. Anyway, no big deal but make sure you have enough to start with.
.
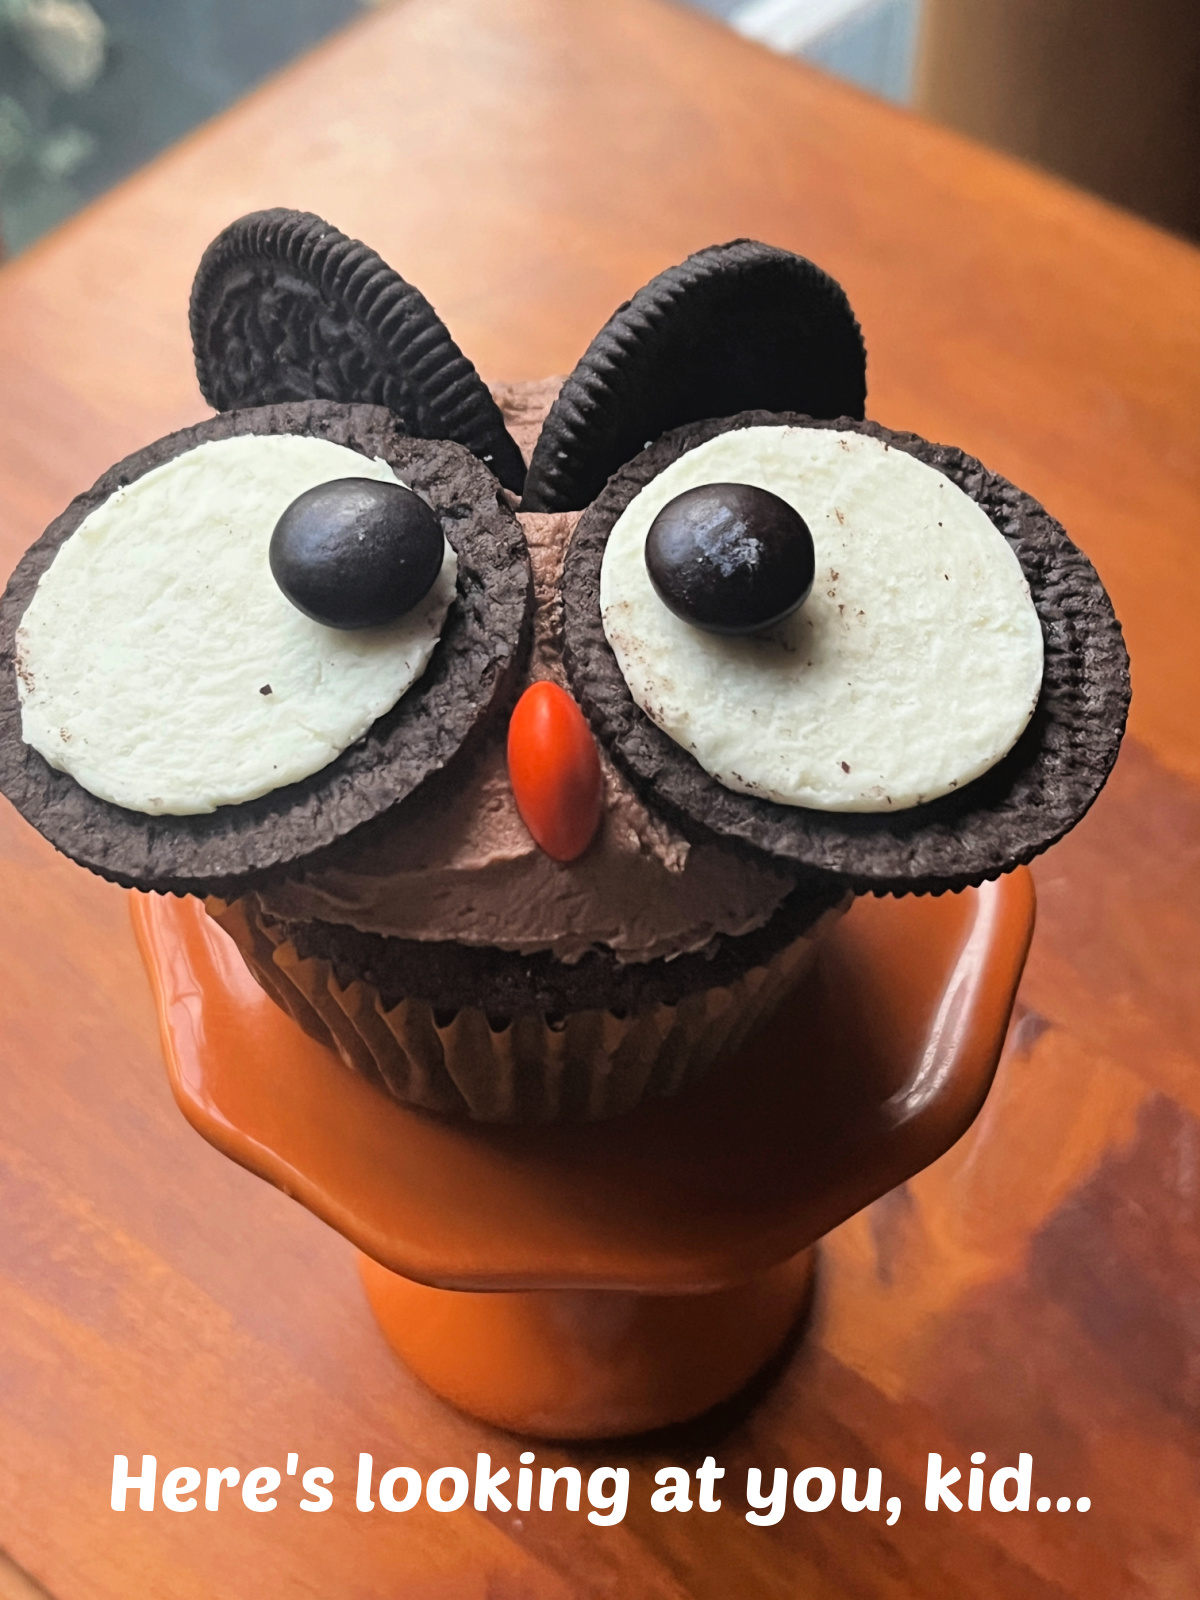
Not sure how many people will get this quote, but I’ll take the risk…