I saw these adorable tartlets on Instagram, fell in love and could not wait to try and make them myself. I invite you to follow Joyce, she is a wonderful baker, endless source of inspiration.
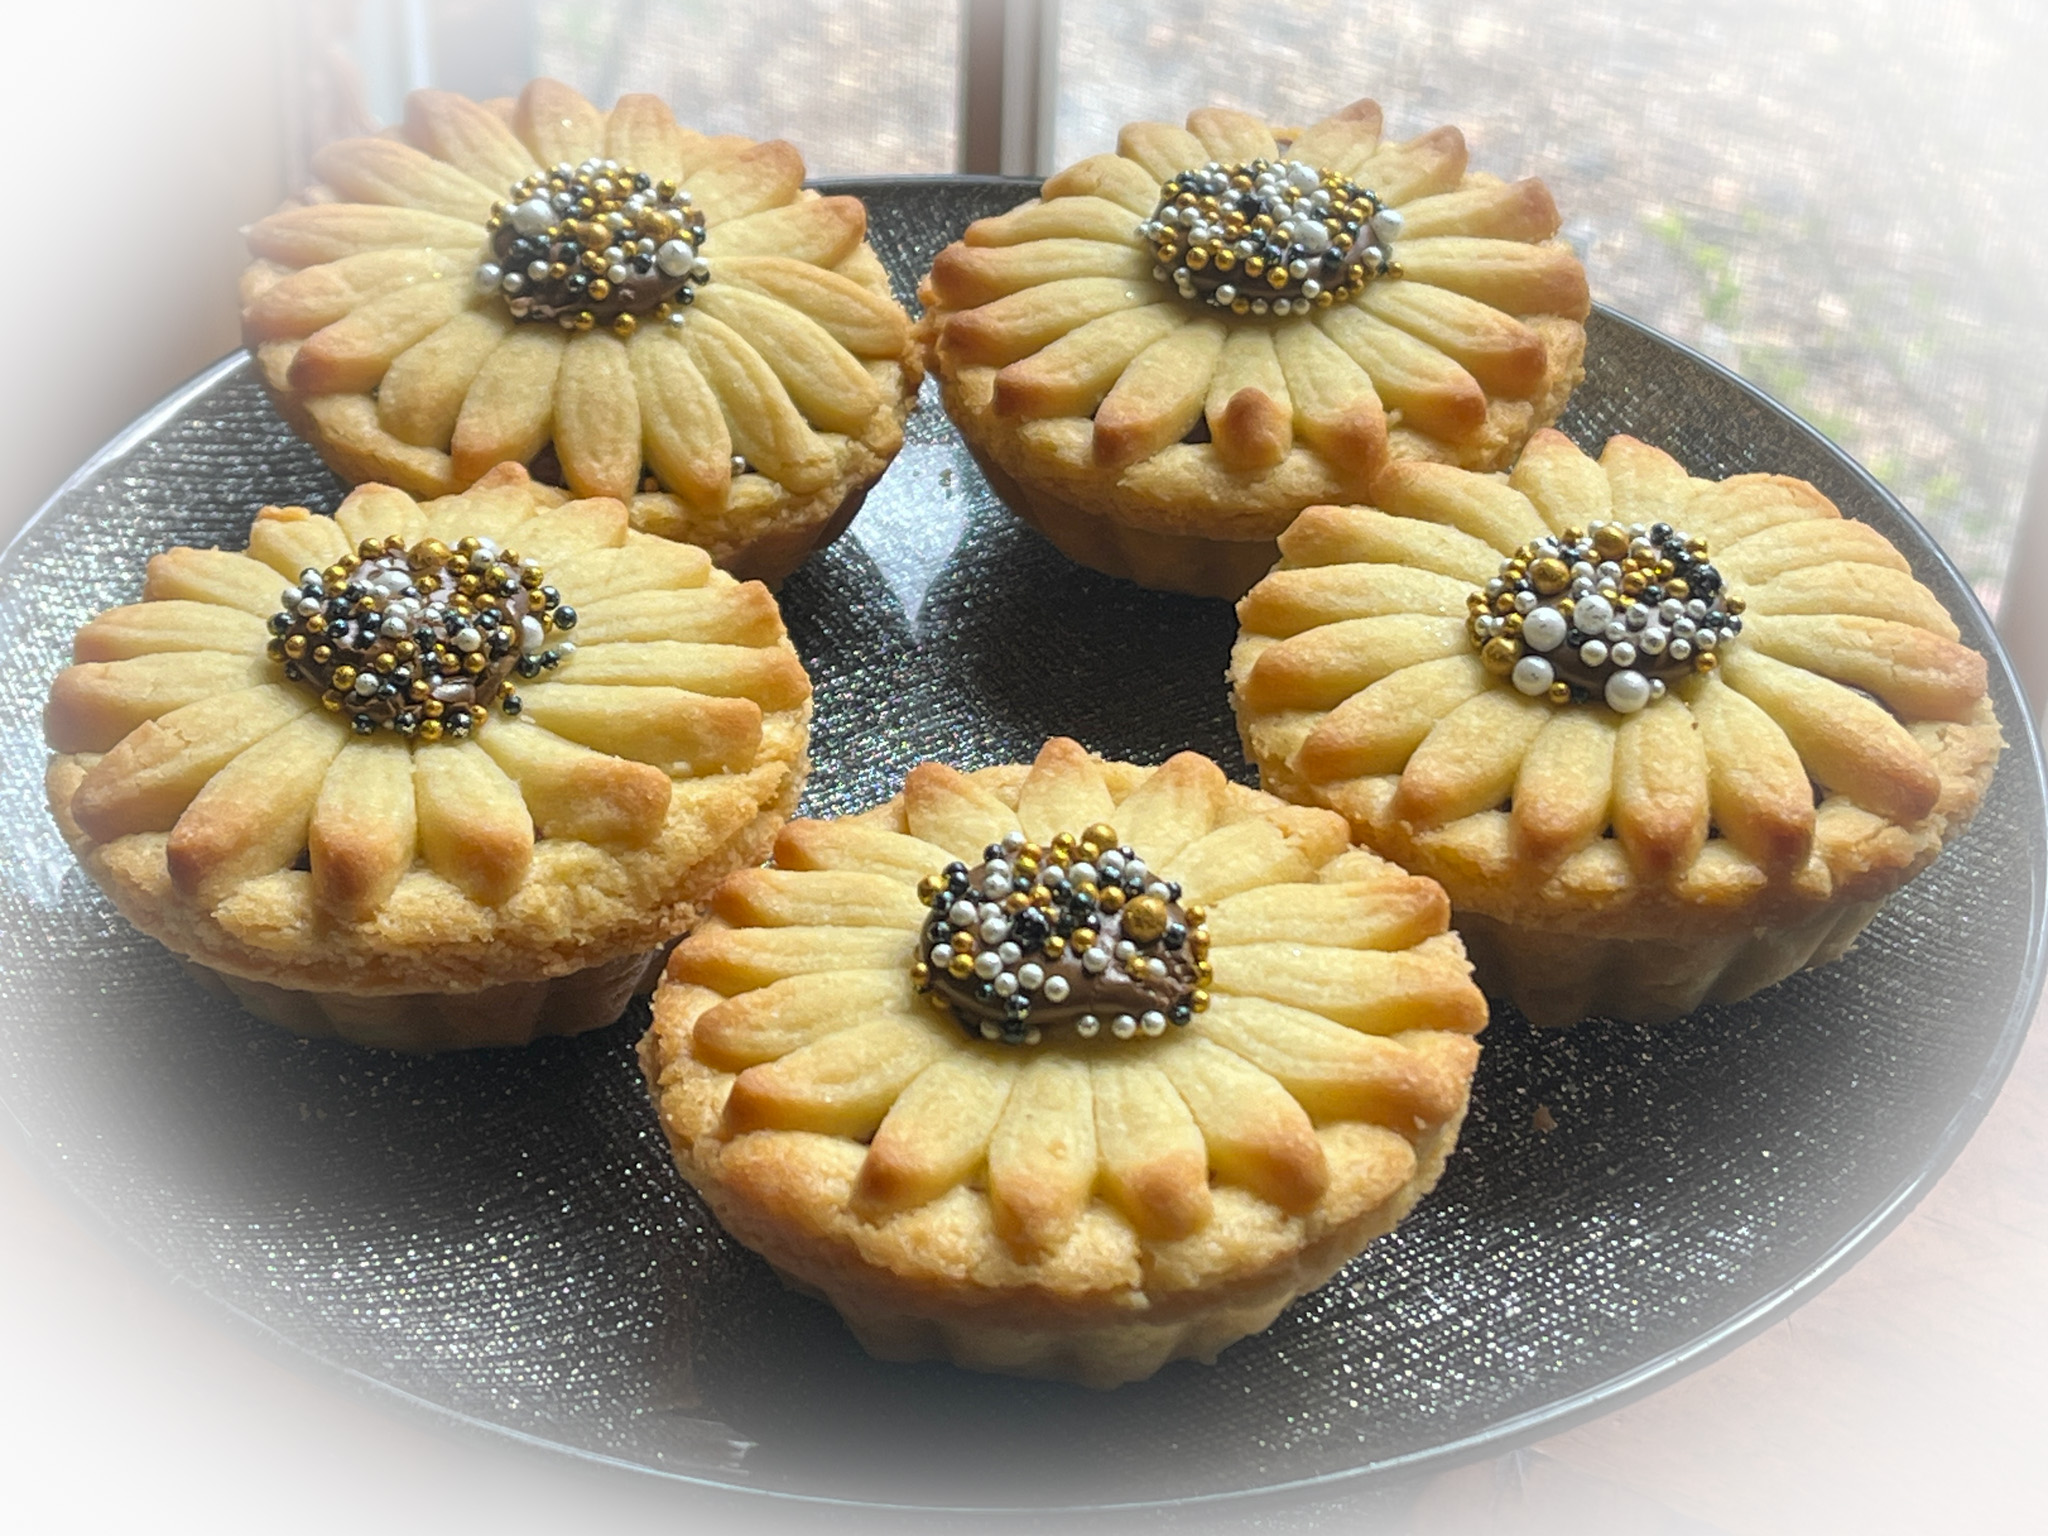
NUTELLA TARTLETS
(from @joyfulhomecooking)
for the dough:
1¾ cups flour
½ cup sugar
1 tsp baking powder
1 egg, room temperature
1 egg yolk, room temperature
½ cup + 2 tbsp butter, room temperature
for the filling:
1 cup Nutella
In a bowl mix the flour, sugar and baking powder, add the egg, yolk and butter and bring the dough together. Wrap and chill for 30 minutes.
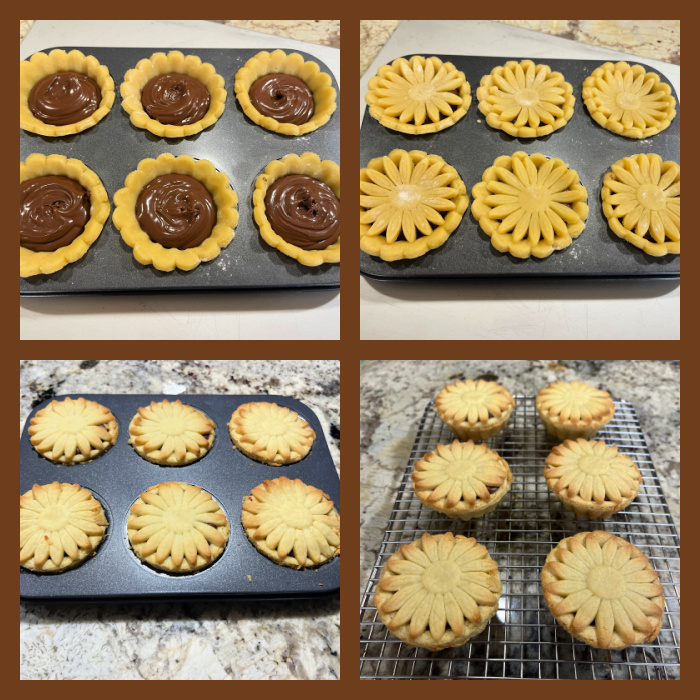
Roll the dough and cut circles, place them in a muffin pan. Fill with hazelnut spread. Cut sunflower shapes from the remaining dough using a cookie cutter and place on top.
Bake at 350F until lightly golden.
ENJOY!
to print the recipe, click here

Comments: To make these tartlets, I used two special gadgets: this set of baking pan from Evilcakegenius and this cookie cutter from PME. The dough was a pleasure to work with, I had no issues to roll, shape and cut the top shape.
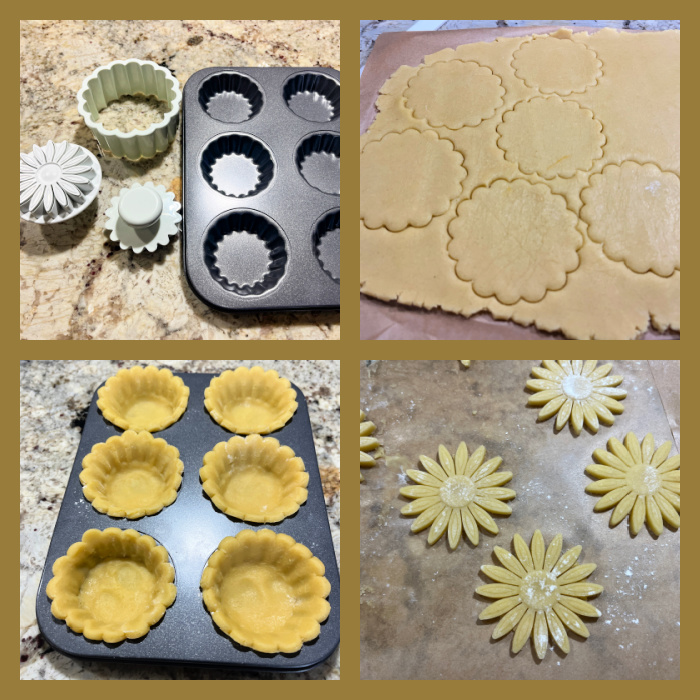
It does get soft quickly, so you need to work with it while still cold and try to be fast, but if at any moment things get out of control, stick everything in the fridge for 10 minutes. Make sure to chill the cut daisy tops before moving them around, and be gentle, use a thin spatula to help you out.
I did not cut the center out as Joyce did, because I forgot. So I just improvised a little decoration on top instead. I intend to make them again in the near future, as they were a big hit. However, I might use a shallower tartlet format because they were truly super rich with the Nutella filling. Maybe a smaller version will work even better. Keep that in mind. One last thought, after Eha’s comment on the problems of Nutella and palm oil, I realize that not only there is a palm-free alternative, but I do have it in my pantry and it is pretty delicious: Soom spread, available here. You can avoid palm oil, but it is almost impossible to avoid the Amazon Evil Empire (sigh).
.
1 YEAR AGO: Air-Fried Eggplant Sticks with Tahini Sauce
2 YEARS AGO: Savory Crepes for a Light Dinner
3 YEARS AGO: My First Video Tutorials
4 YEARS AGO: Citrus and Herbs Roasted Chicken Thighs
5 YEARS AGO: Springtime Piped Flower Macarons
6 YEARS AGO: Charcoal Sourdough
7 YEAR AGO: Smokin’ Hot Meatloaf and Homemade Ketchup
8 YEARS AGO: Ispahan Macarons
9 YEARS AGO: Banana Bread with Espresso Glaze
10 YEARS AGO: Slow-Cooker Carnitas & Paleo Planet Cookbook Review
11 YEARS AGO: The Making of a Nobel Reception
12 YEARS AGO: Fennel Soup with Almonds and Mint
13 YEARS AGO: Green Curry Pork Tenderloin
14 YEARS AGO: Farfalle with Zucchini and Ricotta
15 YEARS AGO: Slow-baked Salmon with Lemon and Thyme
16 YEARS AGO: Hoisin Explosion Chicken