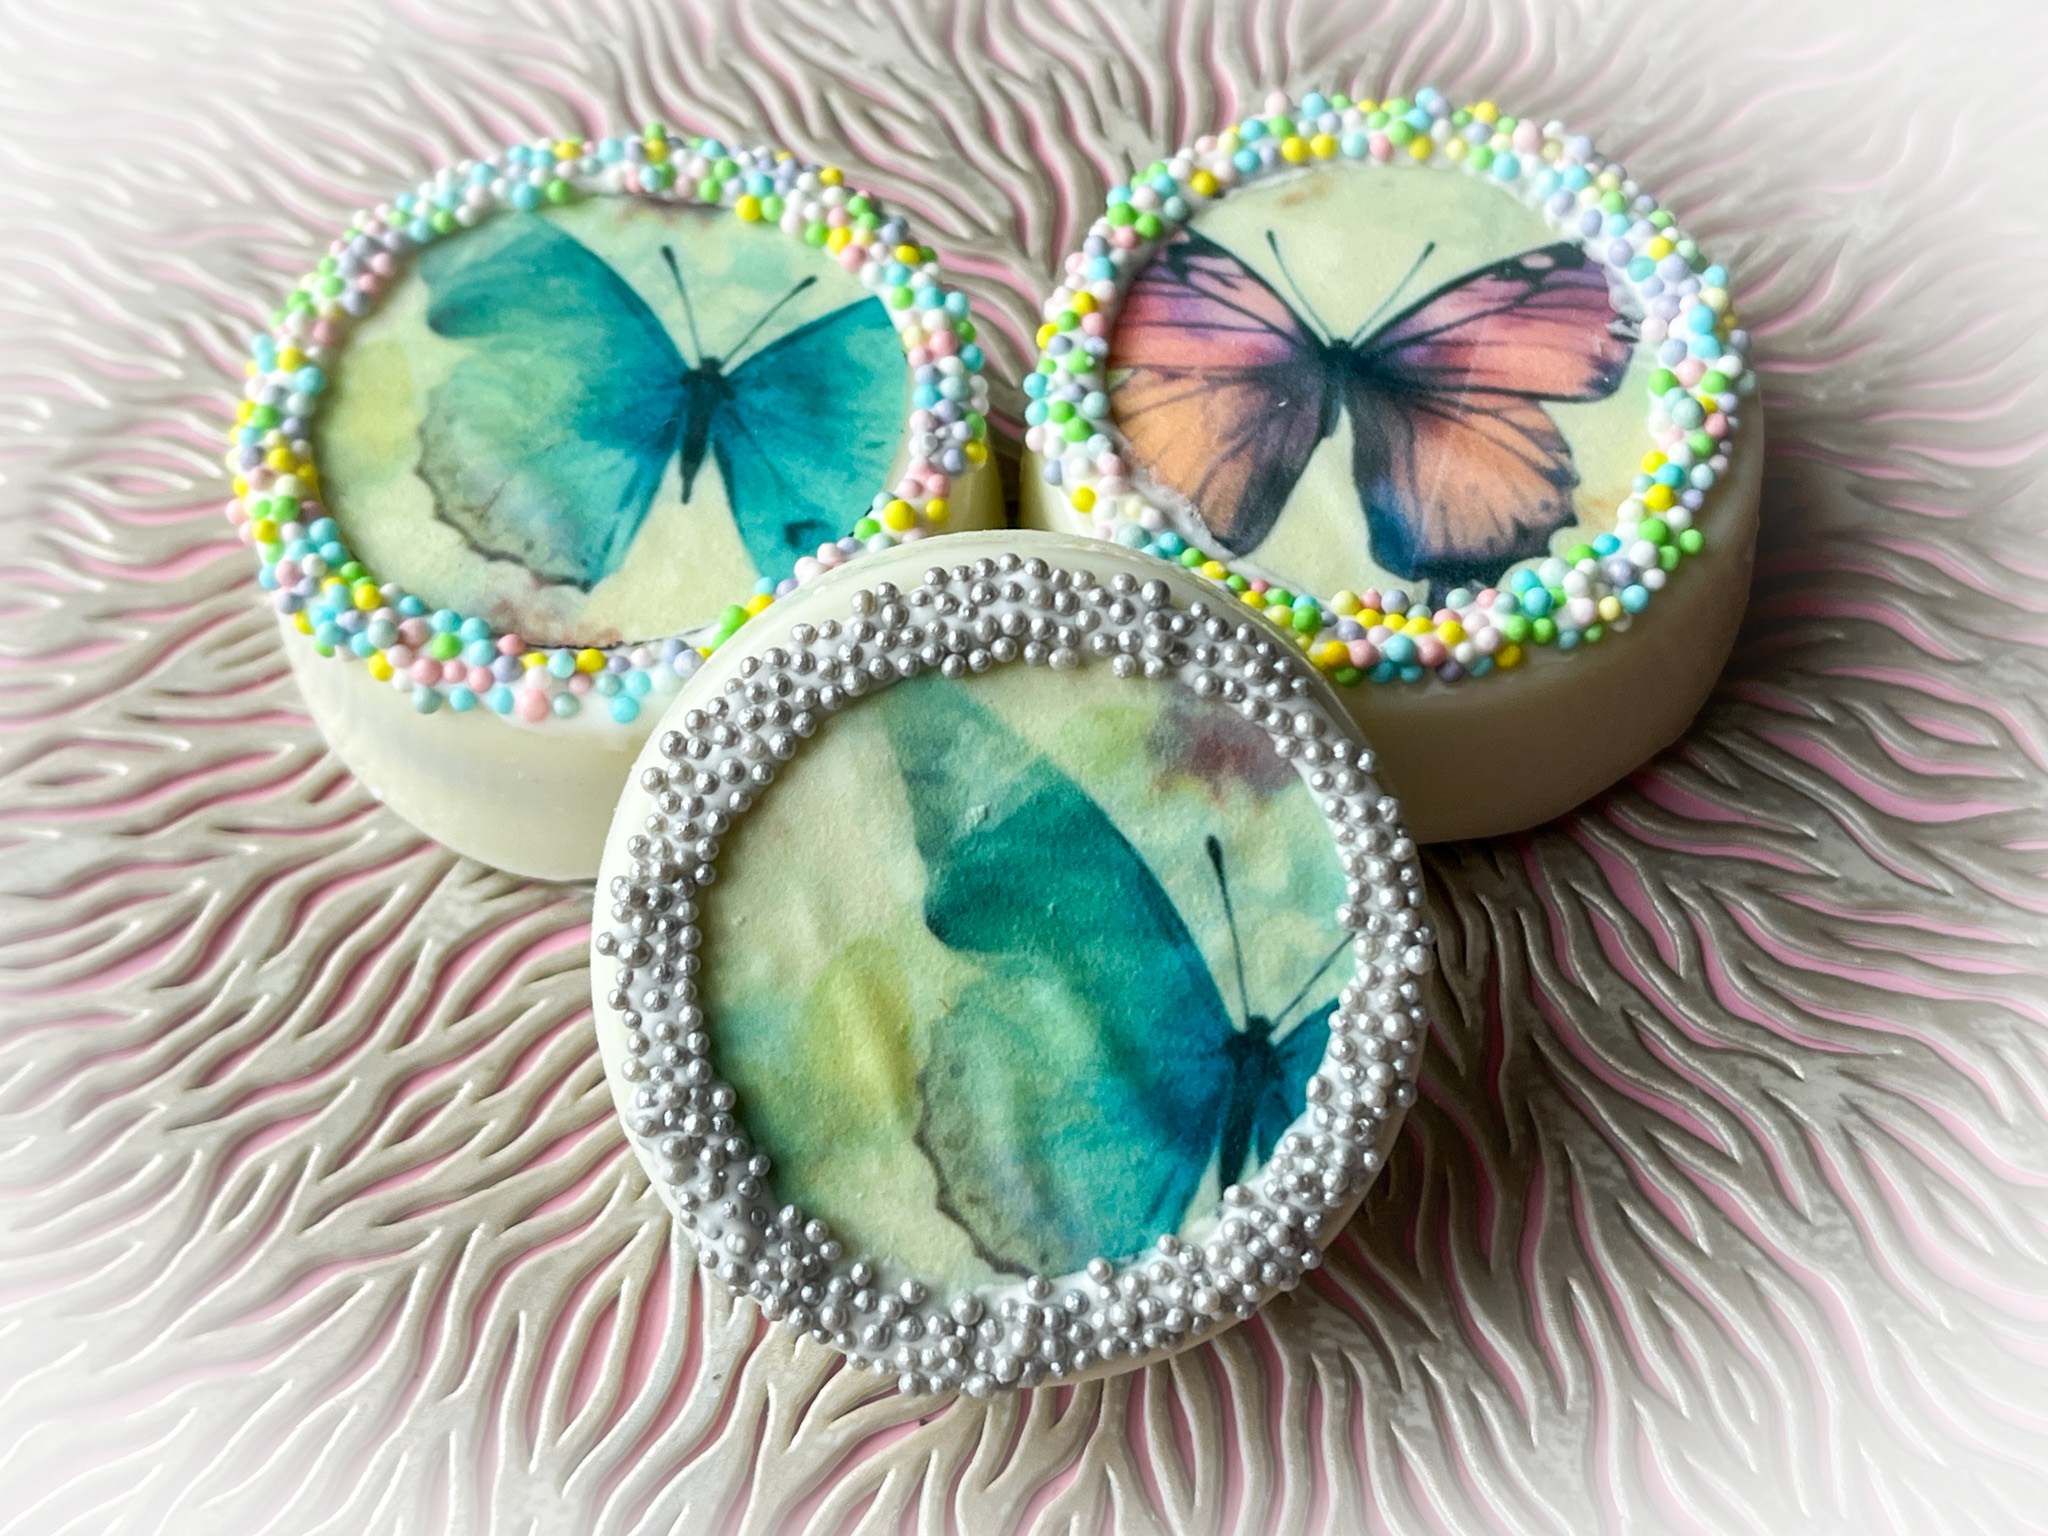
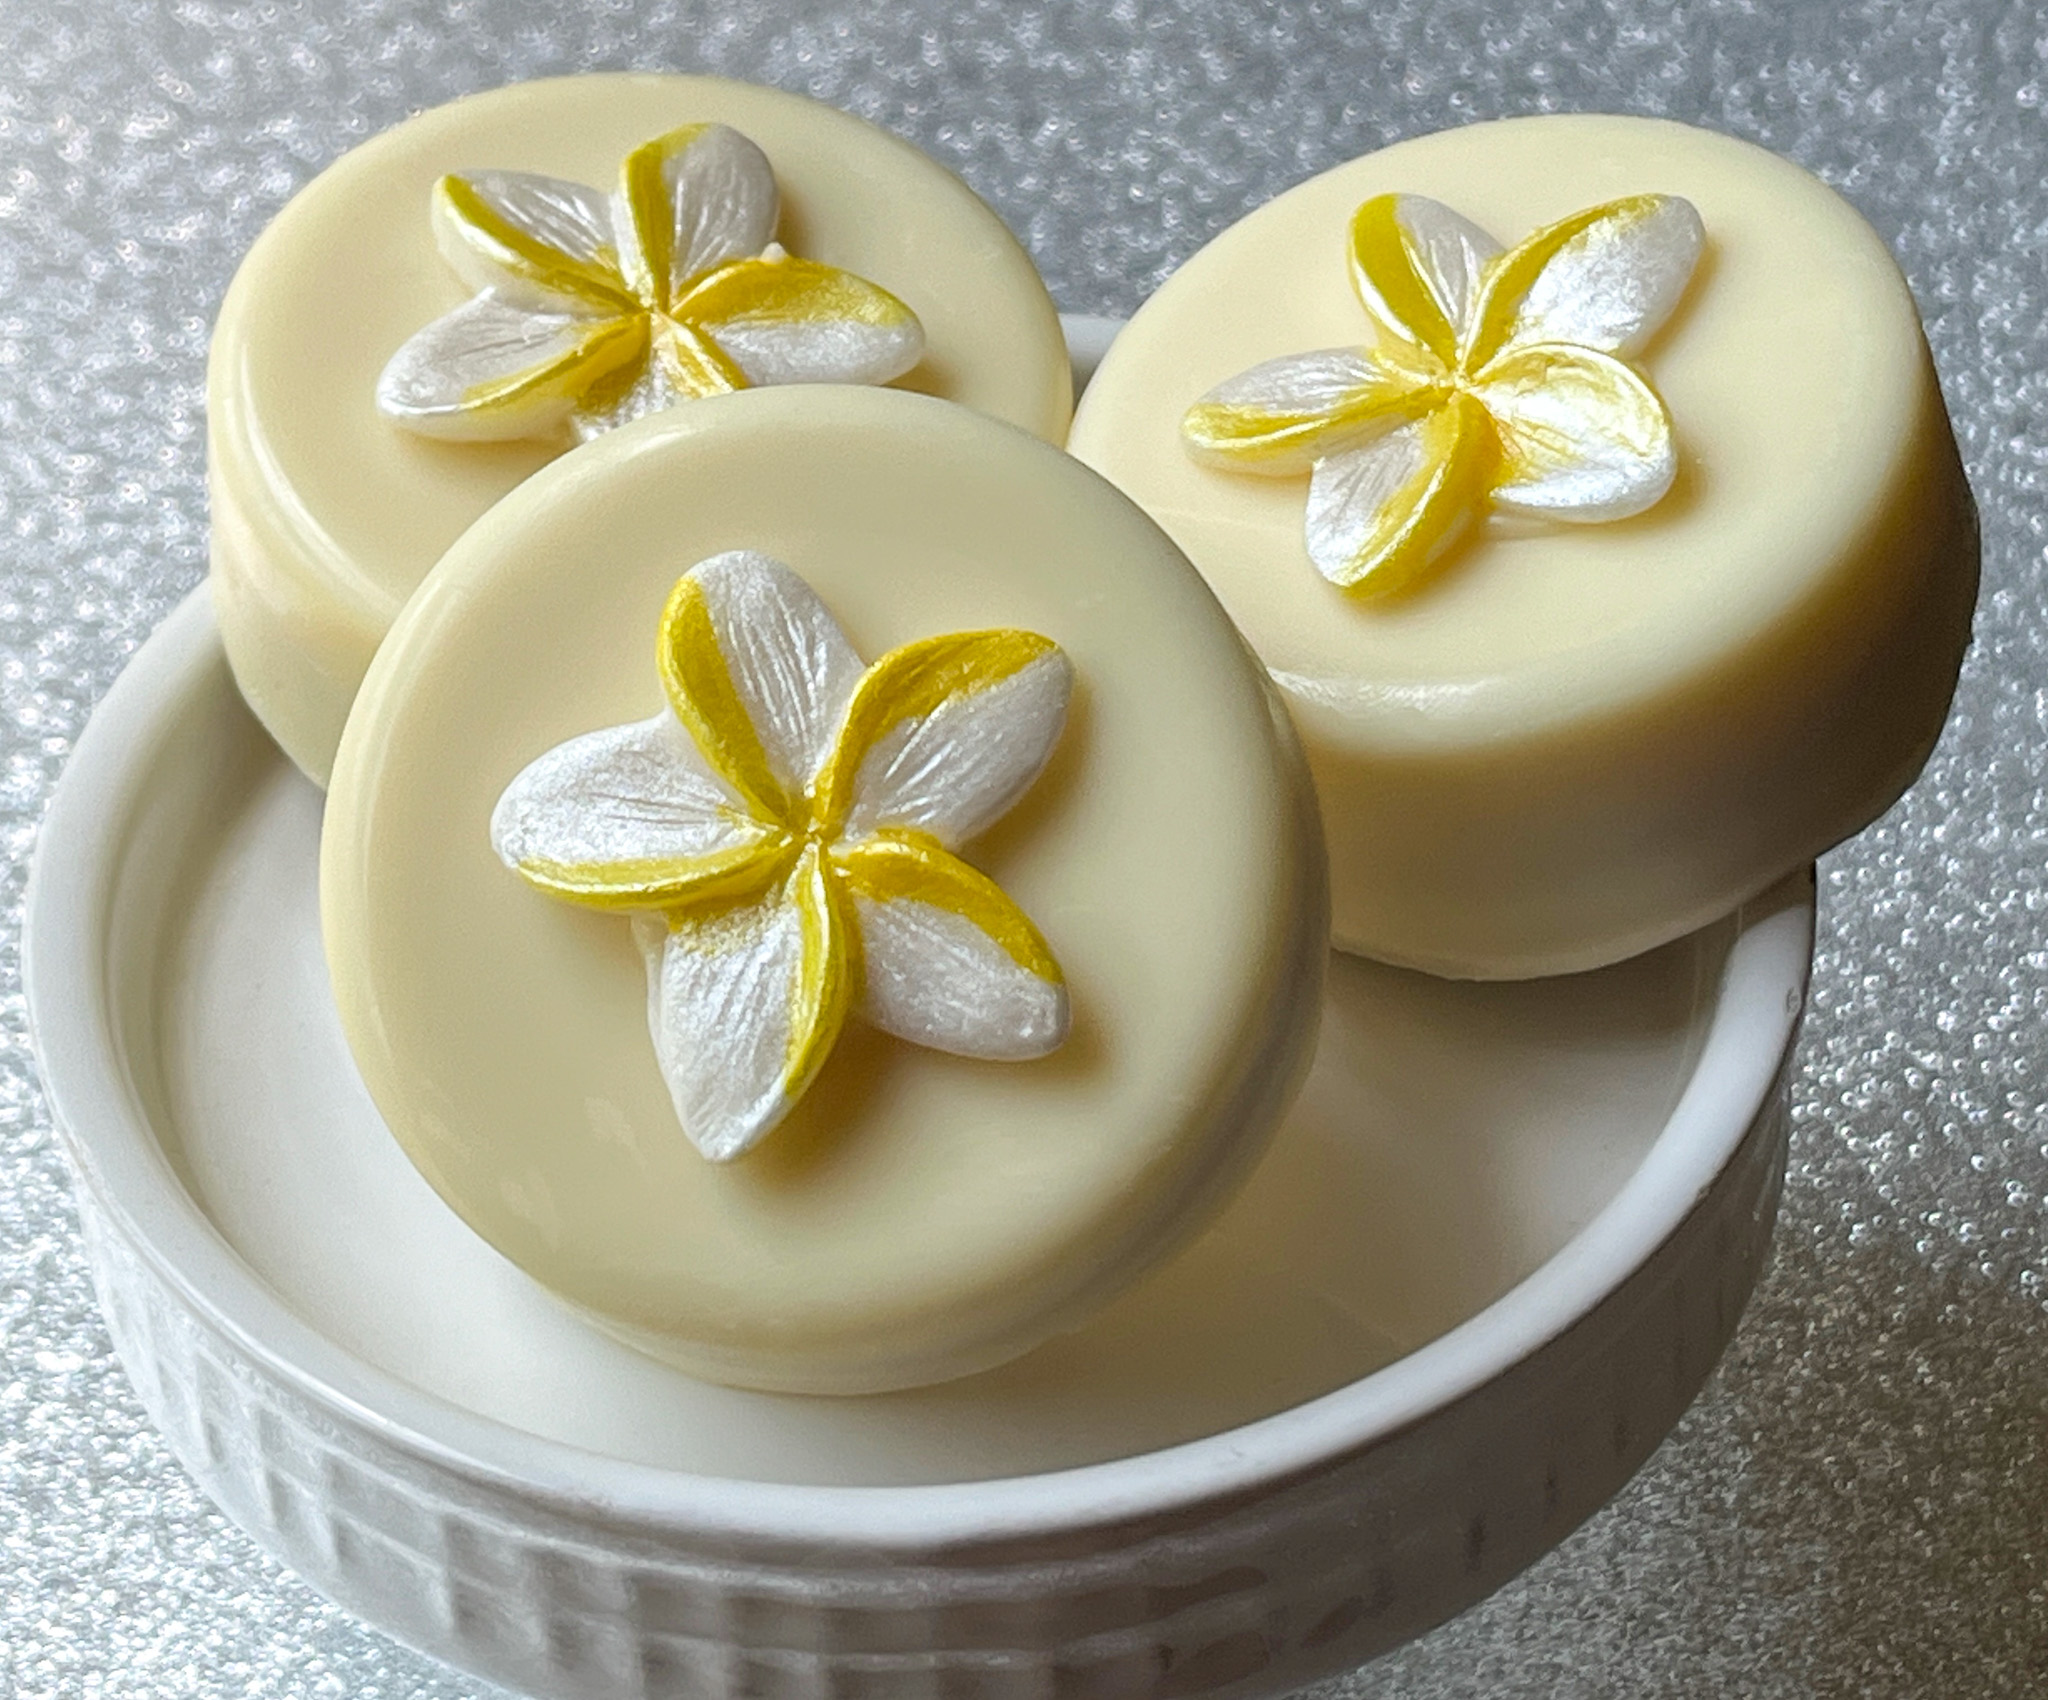
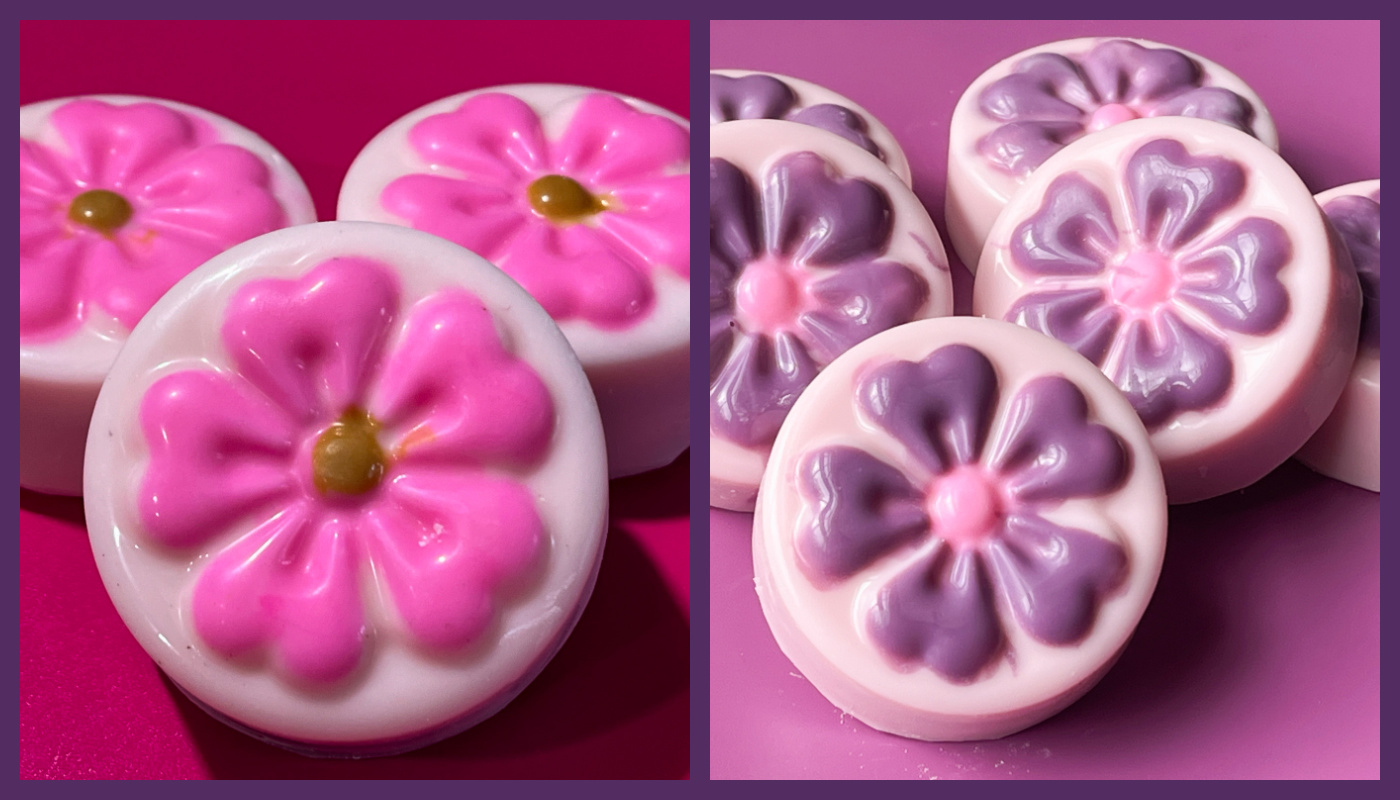
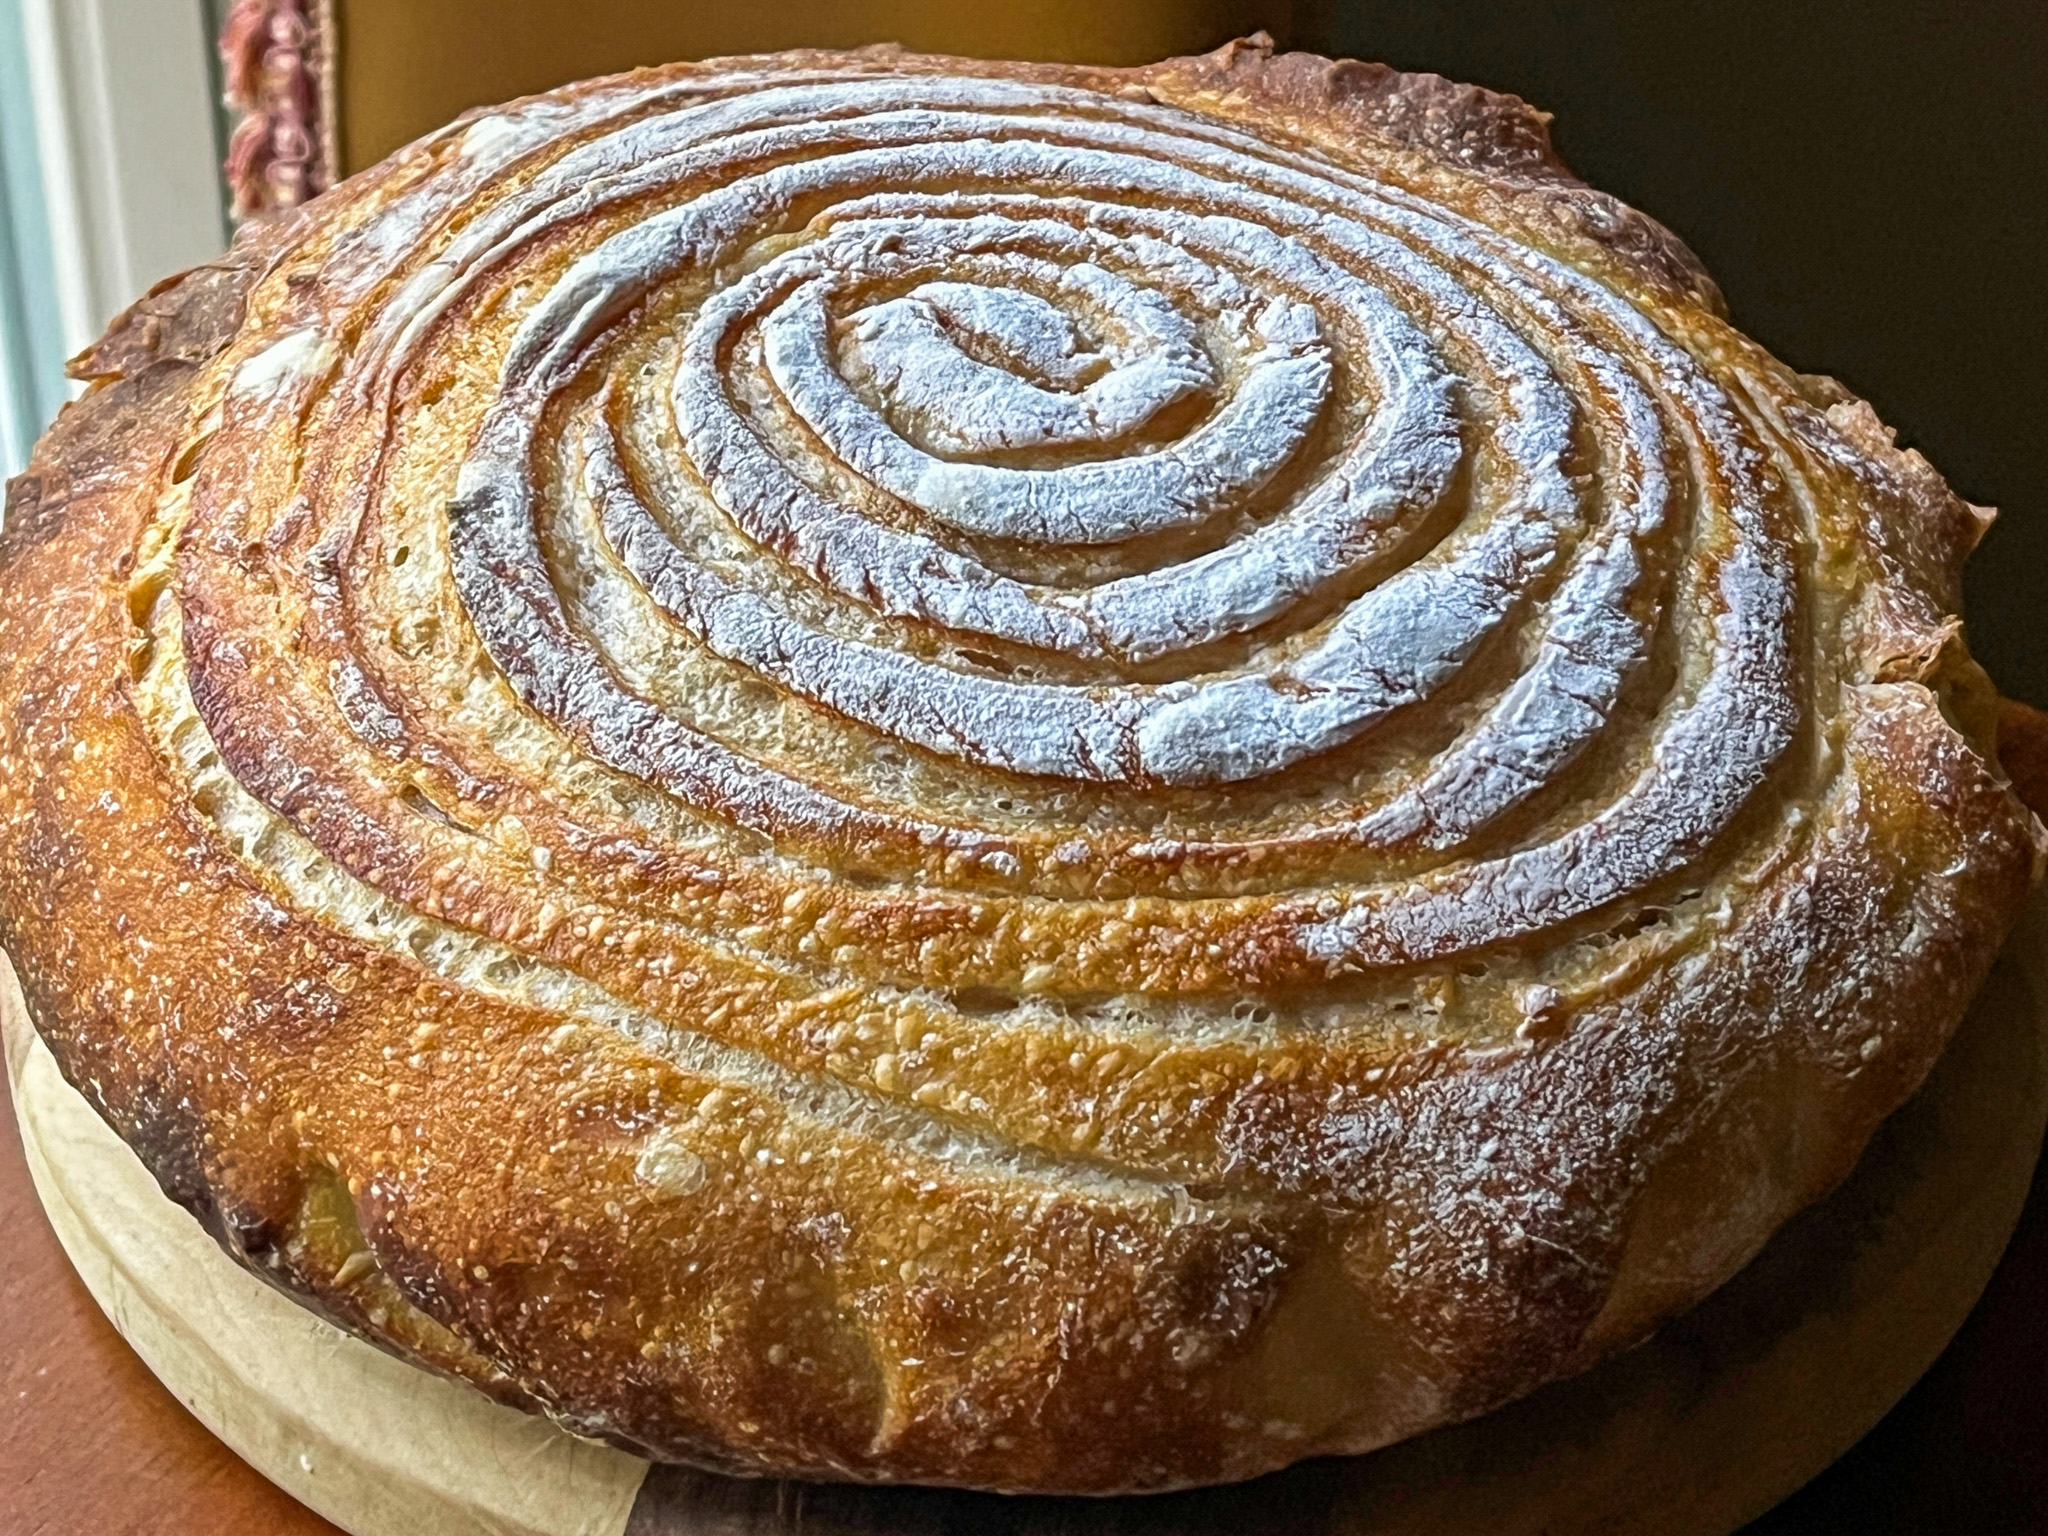
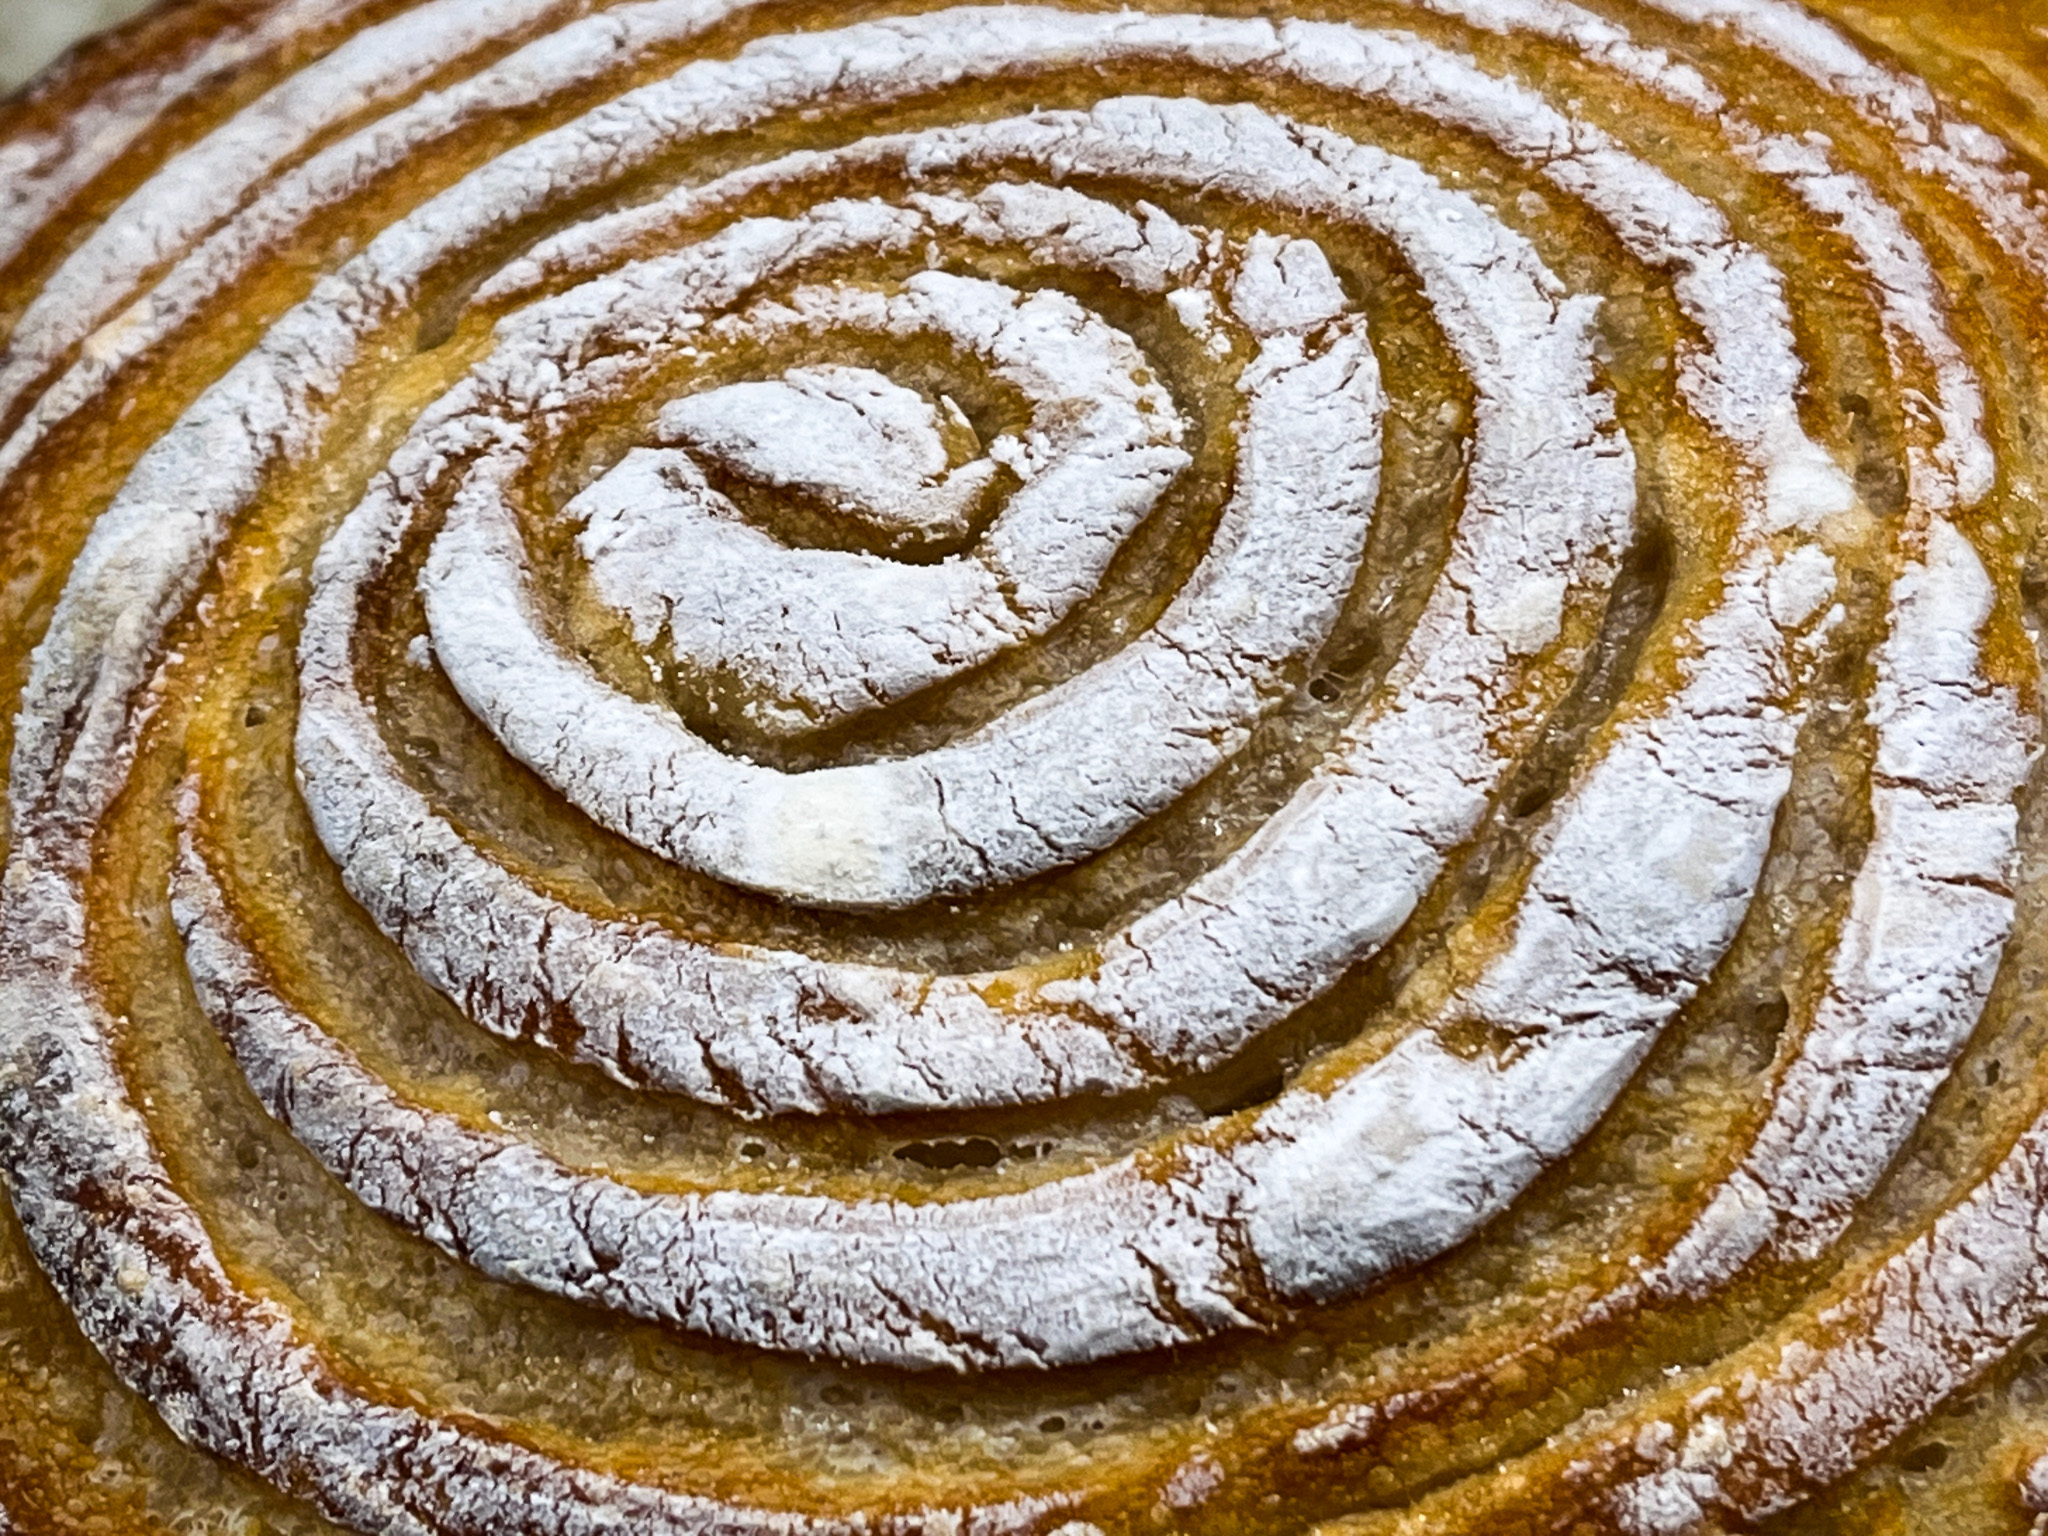
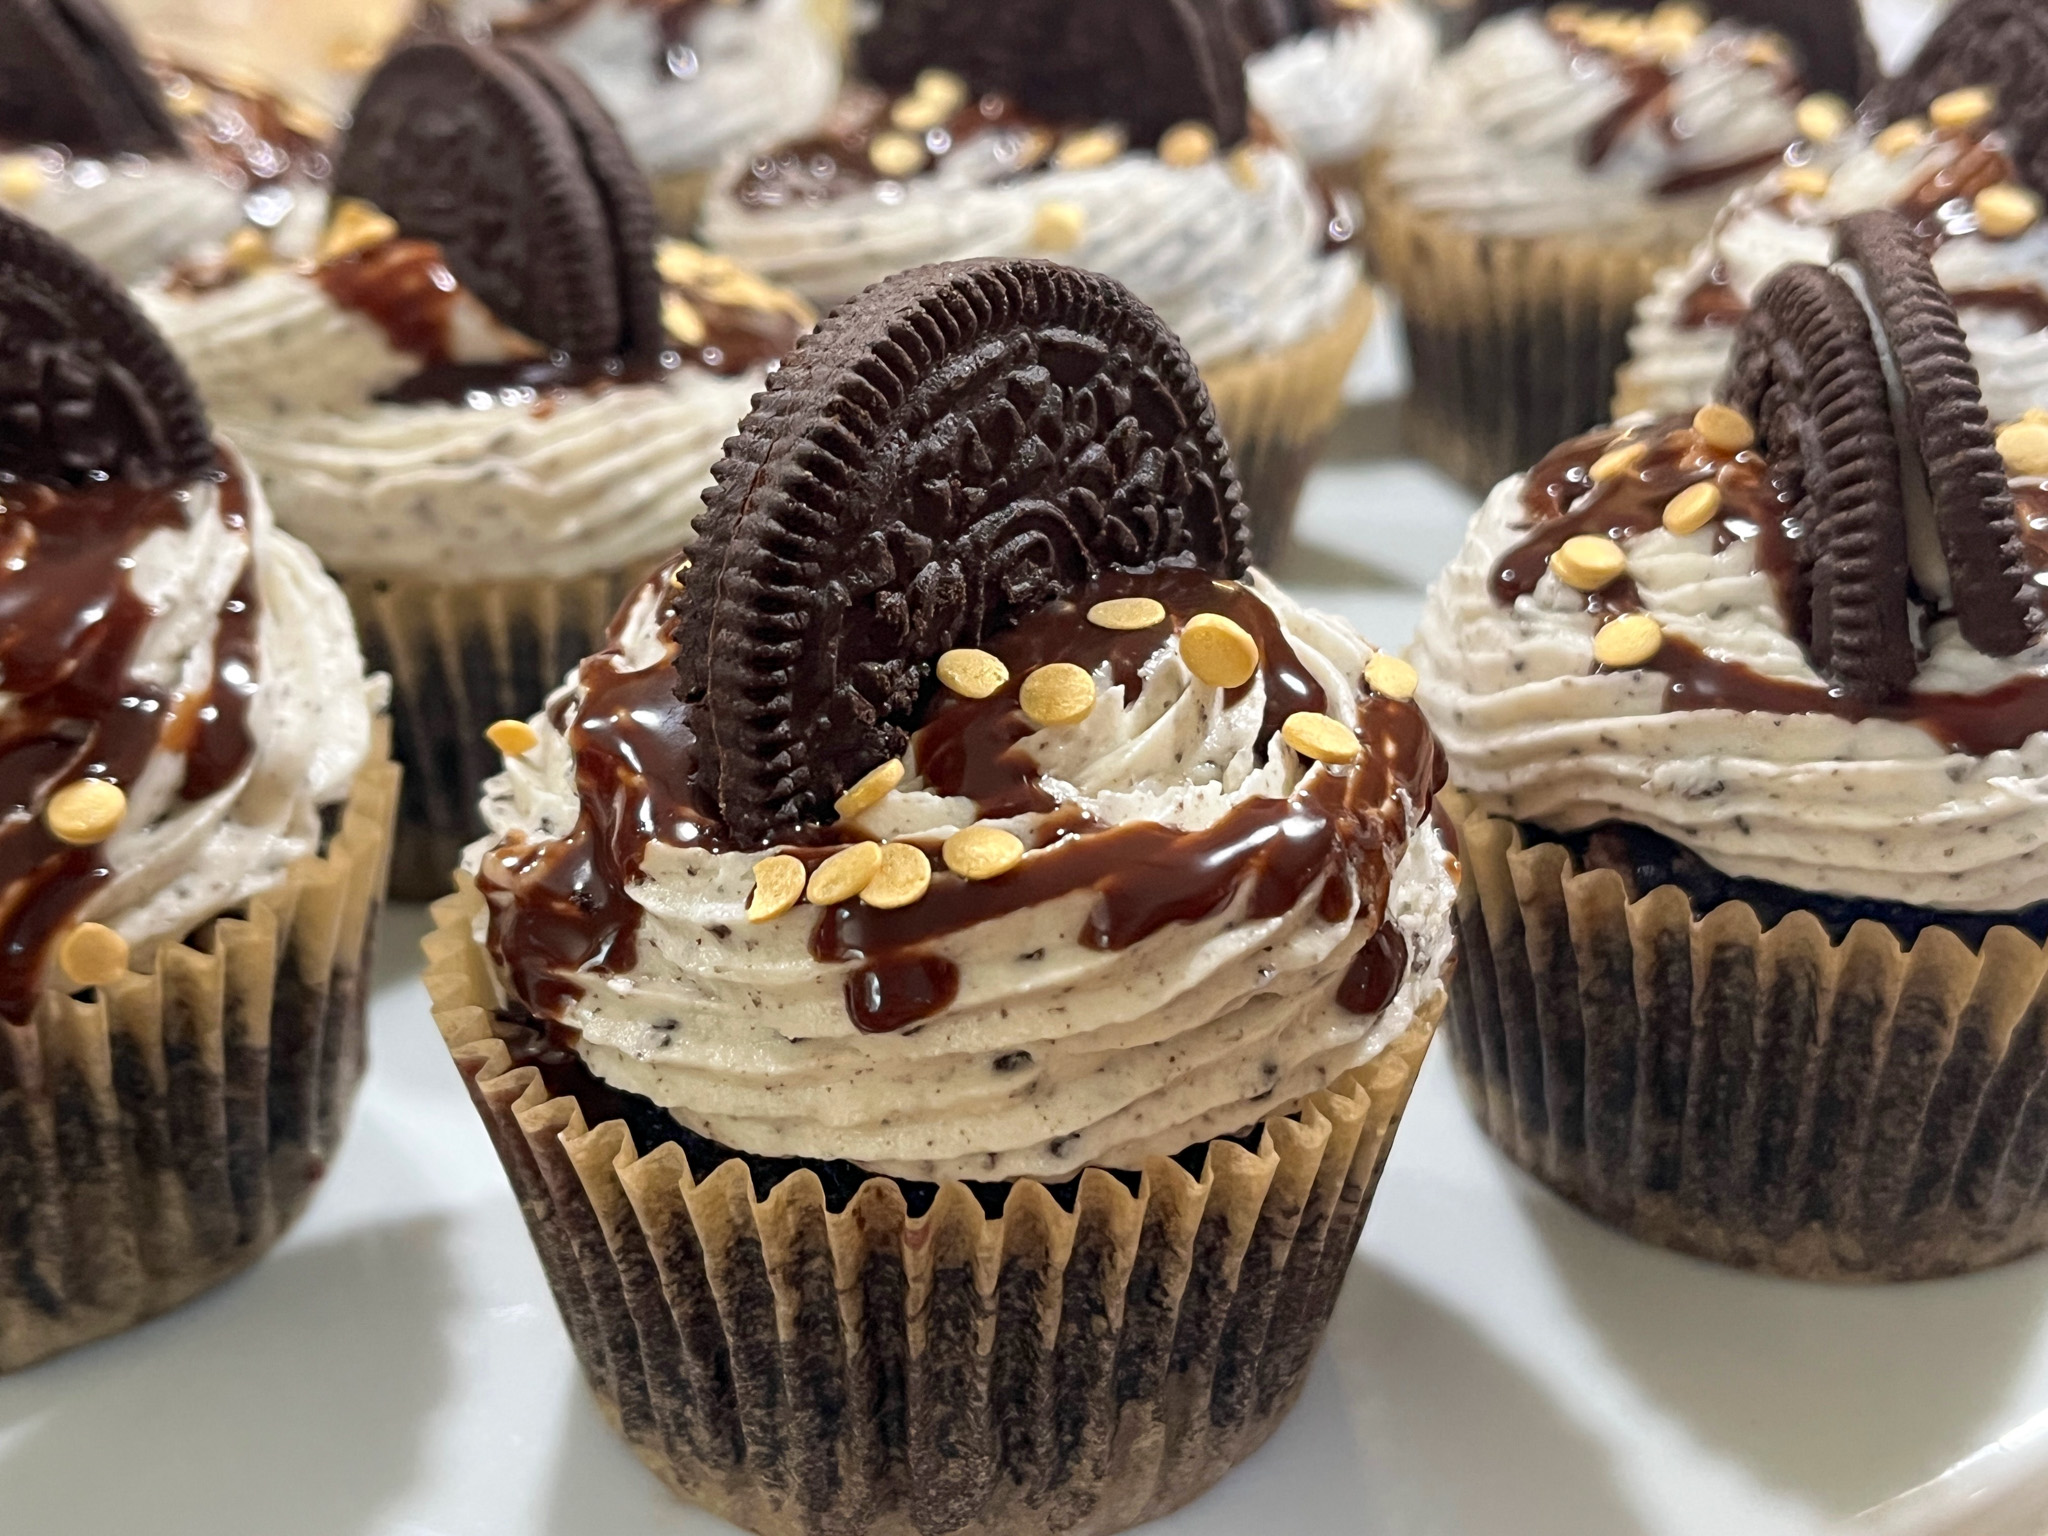
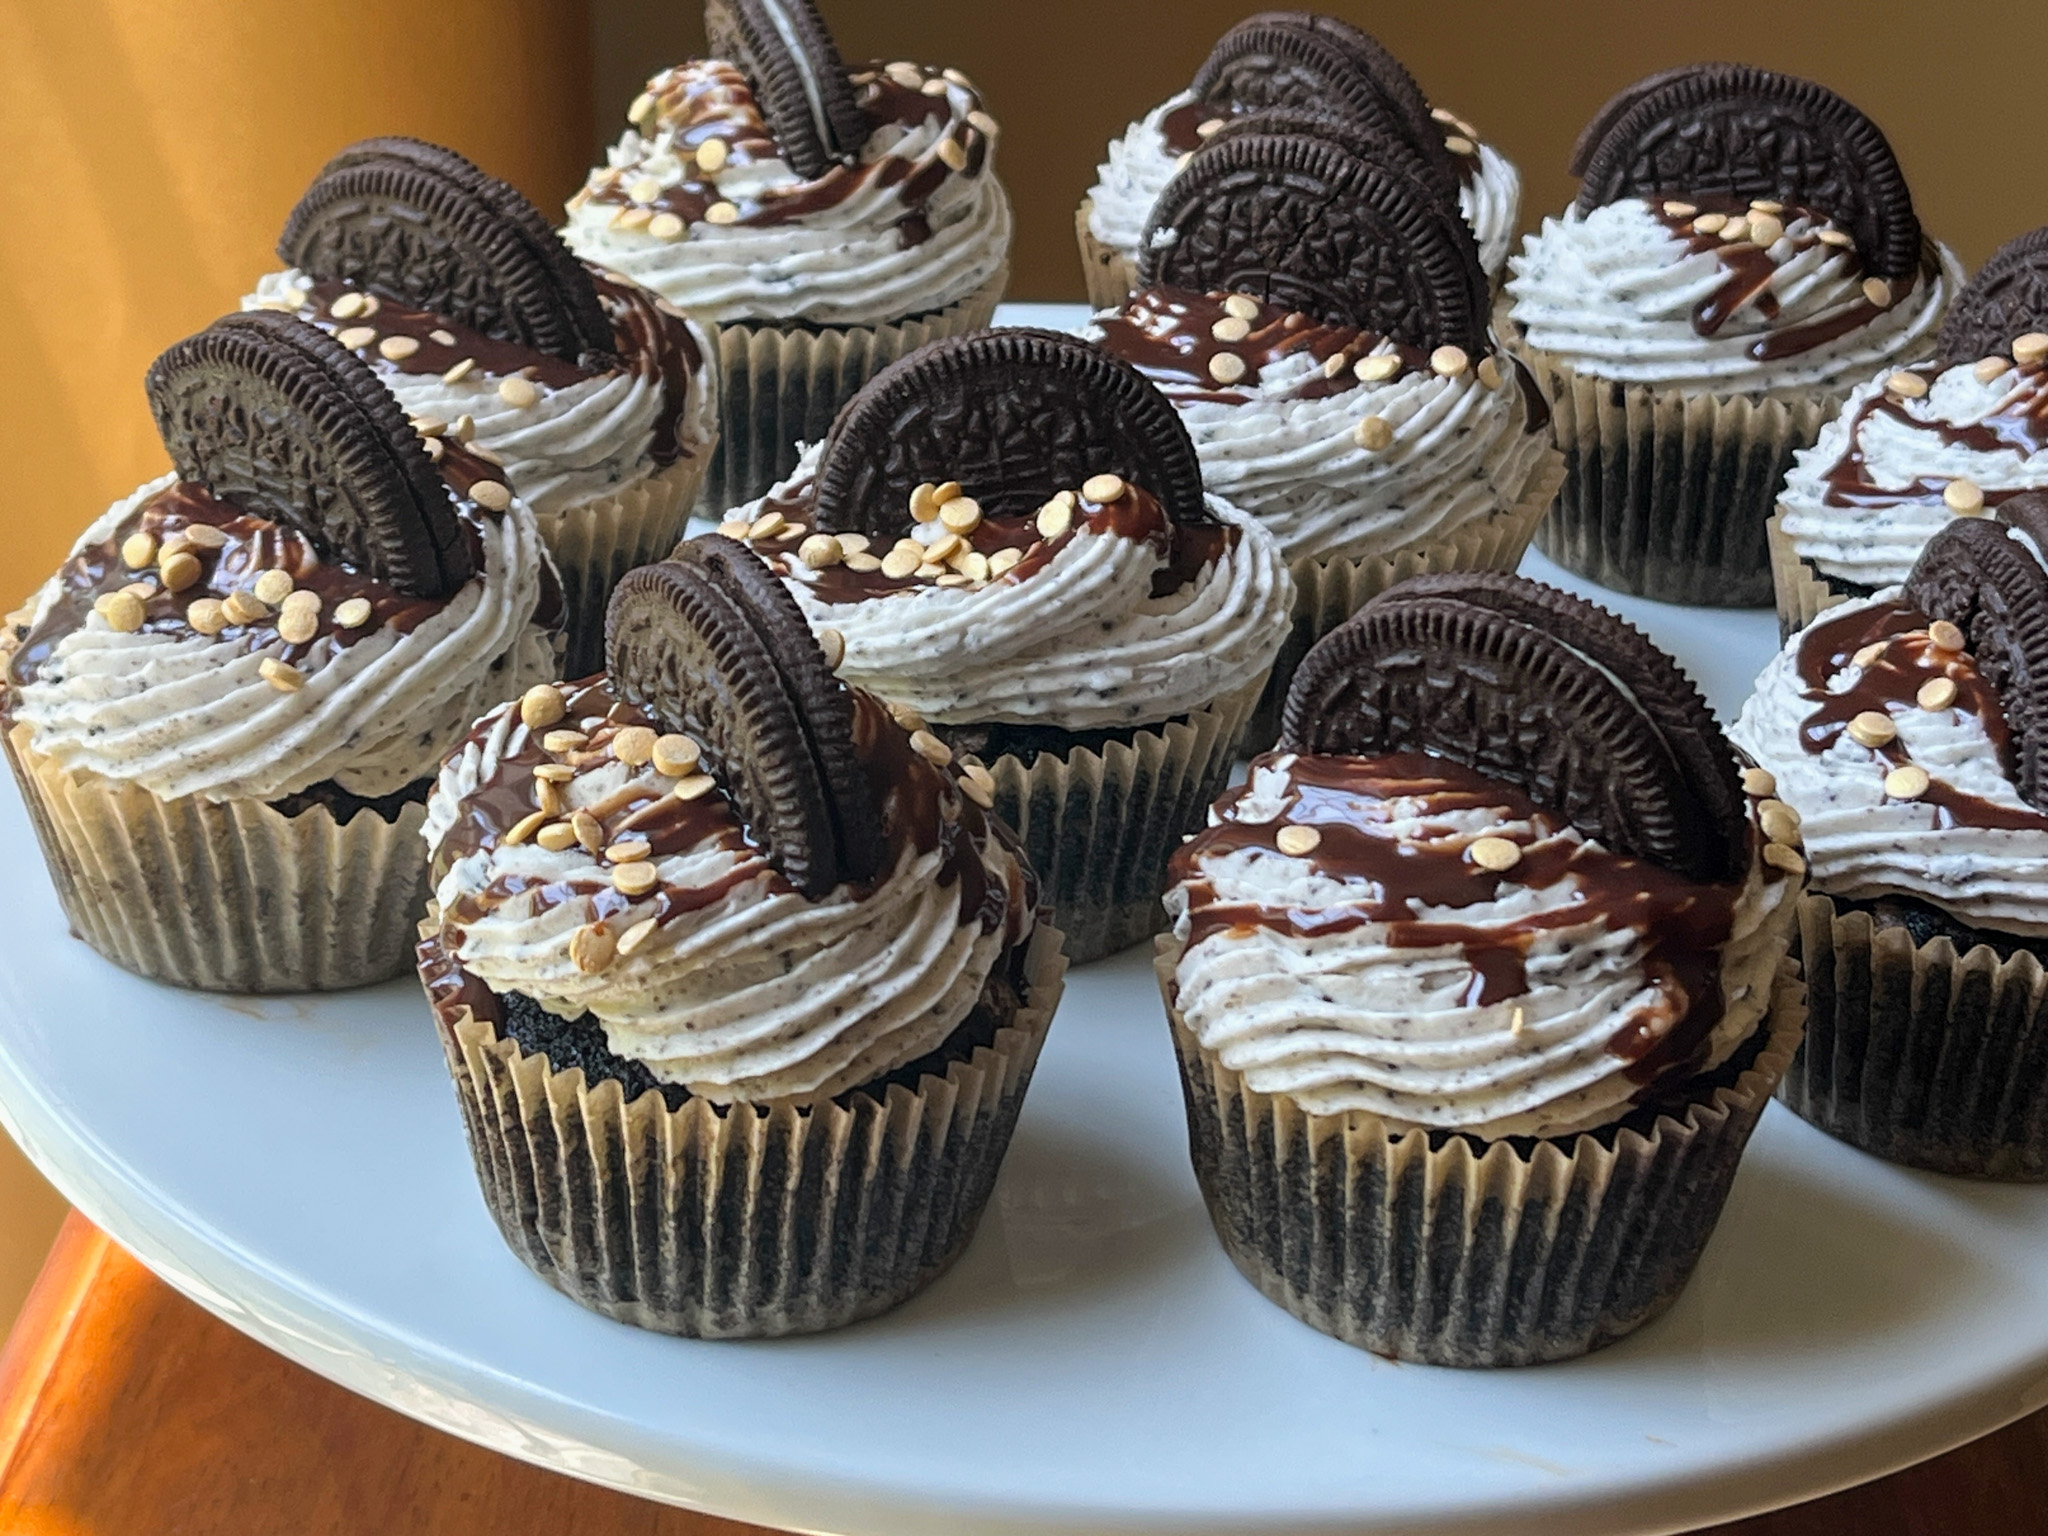
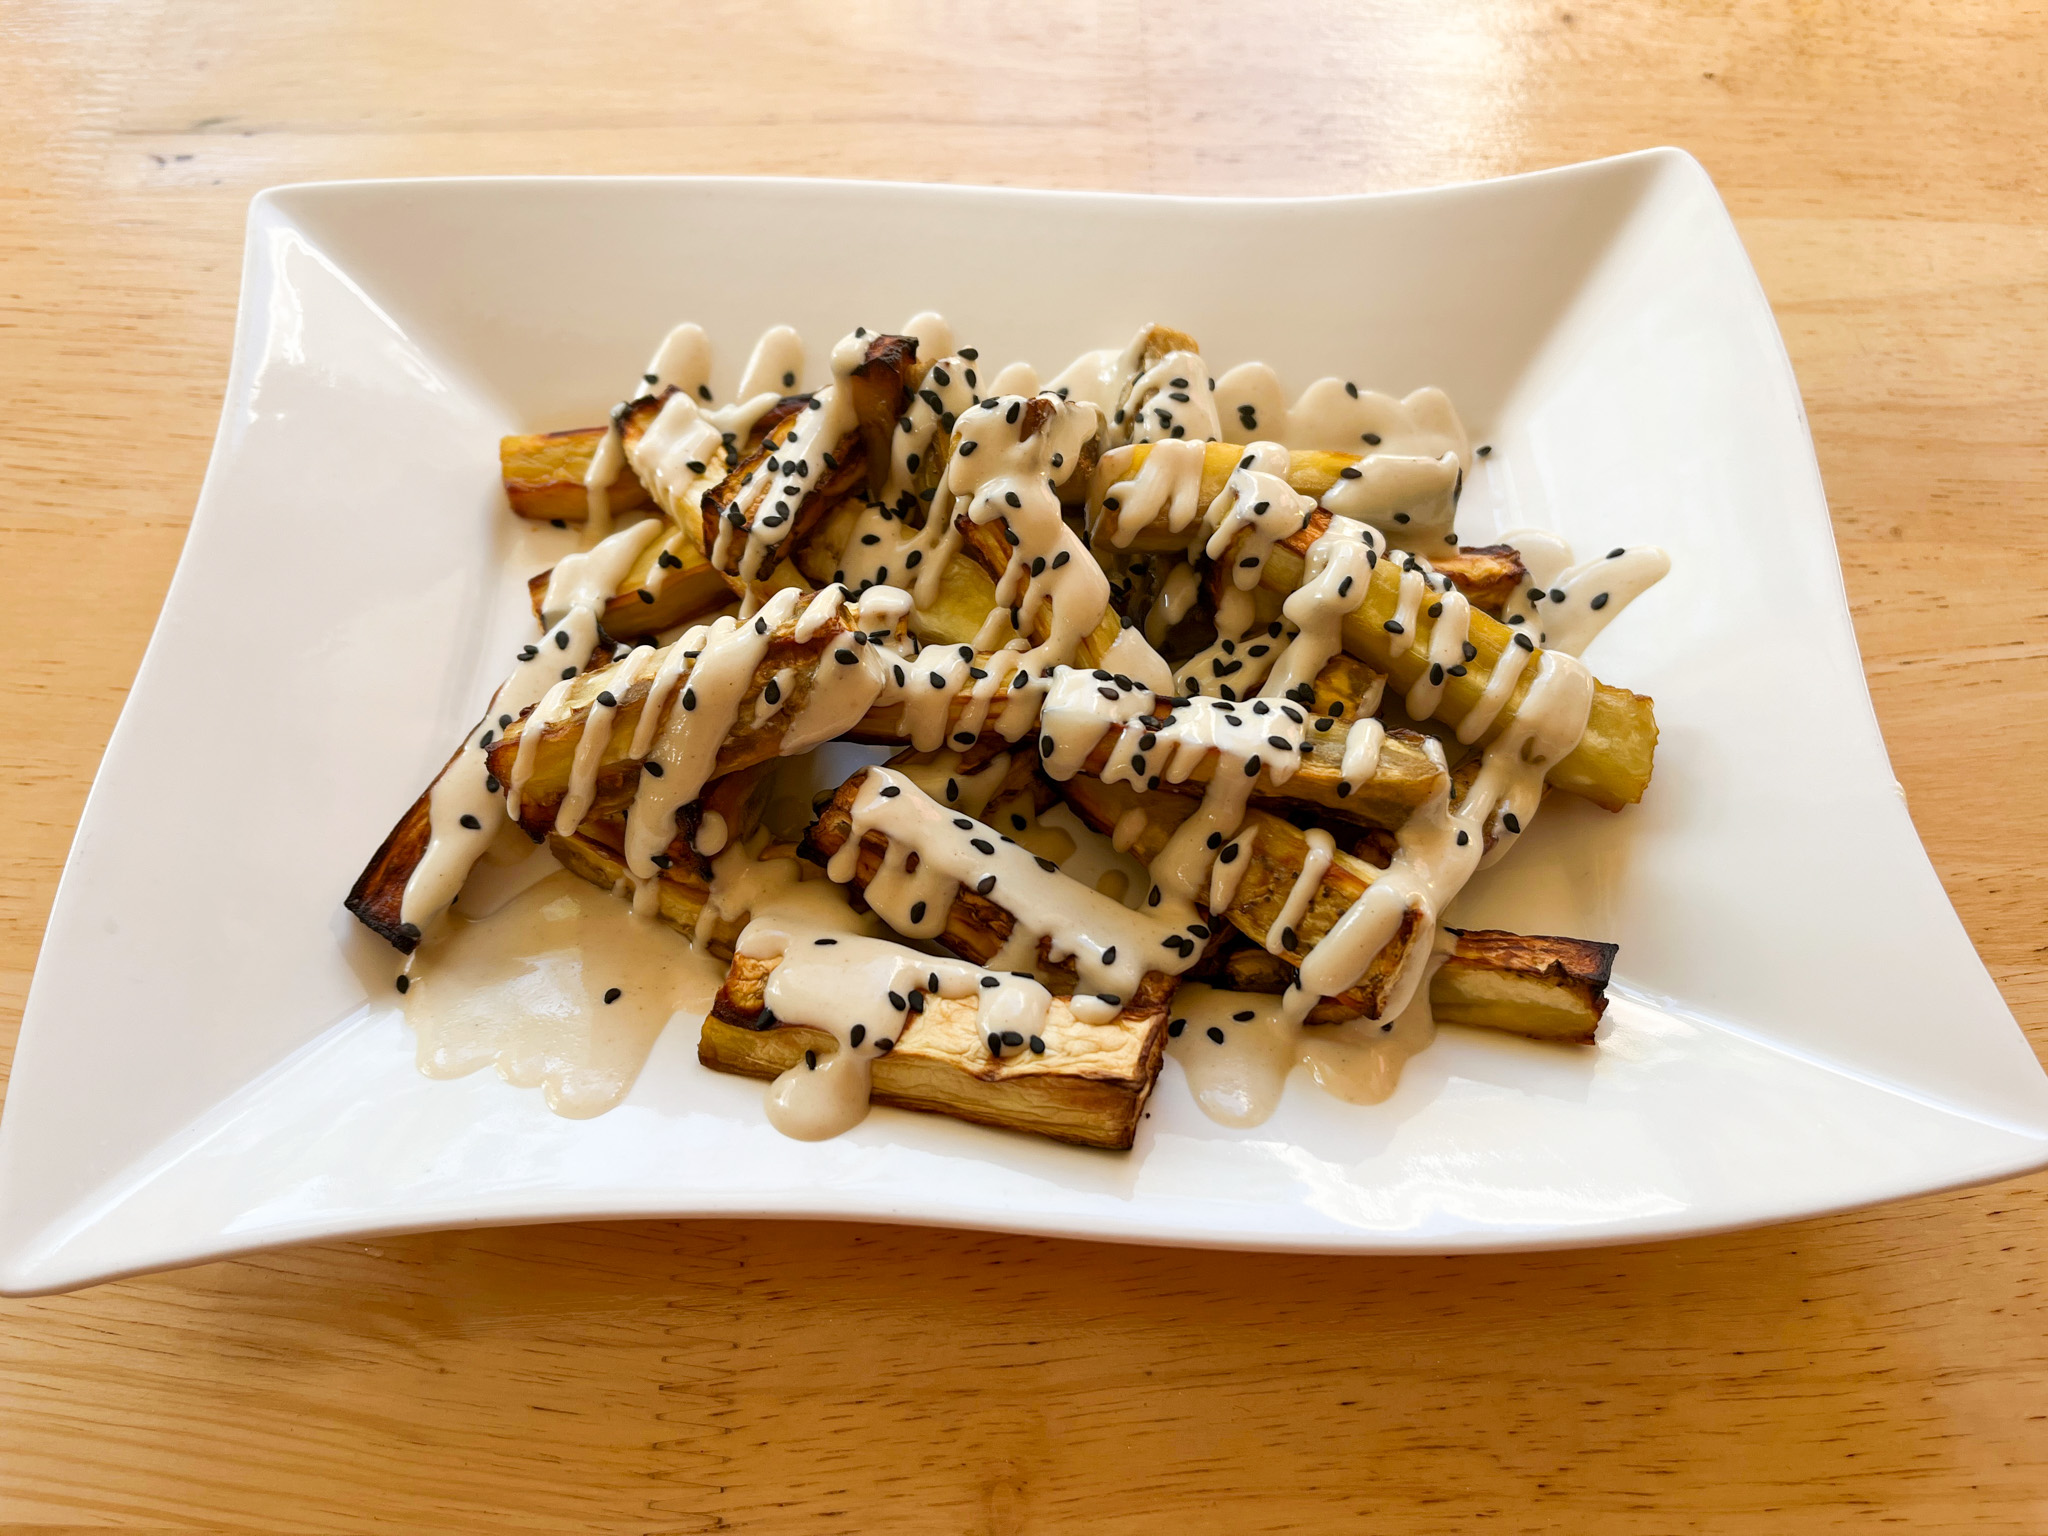
My cookie blog turns FOUR YEARS OLD TODAY! Please stop by to see a cookie set I made to celebrate the occasion…
CLICK HERE
My cookie blog turns FOUR YEARS OLD TODAY! Please stop by to see a cookie set I made to celebrate the occasion…
CLICK HERE
And now for something completely different! I don’t normally make this type of stuff, but my dear stepdaughter-in-law urged me to give them a try. First, no oven is needed, they require no baking. Second, you can customize them in many different ways. She adds dried fruits, uses maple syrup instead of honey, they always work. I made the recipe exactly as published in my first time but the husband already requested that I add seeds and nuts to future batches. I don’t eat energy bars but must say that after trying a bite of these, I was hooked. Sweet, but not too sweet. Delicious! And a little bit goes a long way indeed, as energy bars are supposed to do.
PEANUT BUTTER ENERGY BARS
(from Erin Lives Whole)
1 1/4 cup oat flour (store bought is best for ultra fine texture)
1/4 cup vanilla protein powder
1/4 tsp salt
1/2 cup natural peanut butter
1/3 cup honey
1 tsp vanilla extract
1– 2 tbsp melted coconut oil
3/4 cup mini chocolate chips
In a large bowl, mix together oat flour, protein powder, and salt.
Add in peanut butter, honey, vanilla extract, and 1 tbsp coconut oil. Mix. It will be very thick, I suggest using your hands to really mix well. It should eventually come together like playdough, but if it’s still too dry add more coconut oil. You want them to be FIRM not soft and too much coconut oil will make them soft. Mix in chocolate chips.
Press into a bread pan (~8×4) and add more chocolate chips on top if desired. Press them into the top.
Let sit in fridge for at least 1 hour before cutting into. Store in fridge.
ENJOY!
to print the recipe, click here
Comments: Check the original post to see all the variations Erin has tried. Apparently these are copycat versions of a popular brand called Perfect Bars. I had never heard of them, but as I mentioned, it’s not something I consume. The husband is more into cereal bars and things of that sort. I will be making them again for sure, they lasted a little less than a week for us, and stayed unchanged in flavor and texture sitting in the fridge. Courtnie, my daughter-in-law says they also freeze well. She likes them with maple syrup instead of honey and with tiny bits of dried blueberries…
.
ONE YEAR AGO: Cocoa-Lattice Sourdough
TWO YEARS AGO: Pistachio Sugar Cookies, the Uzbek Way
THREE YEARS AGO: Carrots and Zucchini Stir-Fry with Peanut Sauce
FOUR YEARS AGO: Cookie Therapy, Anyone?
FIVE YEARS AGO: The Quasi-Vegan Quiche
SIX YEARS AGO: Not Quite Moqueca
SEVEN YEARS AGO: Roasted Butternut Squash with Cashew Nuts
EIGHT YEARS AGO: Mississippi Roast and the Open Mind
NINE YEARS AGO: Walnut-Raisin Bran Muffins
TEN YEARS AGO: A Star is Born!
ELEVEN YEARS AGO: Chestnut Flour Sourdough Bread
TWELVE YEARS AGO: Kinpira Gobo and Japanese Home Cooking
THIRTEEN YEARS AGO: Walnut Sourdough
FOURTEEN YEARS AGO: Thai Chicken Curry
FIFTEEN YEARS AGO: Zen and the art of risotto
A small collection of bakes to celebrate the occasion… Cupcakes, cookies, bonbons…
Let’s start with cupcakes, shall we?
For the cupcakes, I went with chocolate, and used this recipe which is simple and wonderful. Frosting was a simple American buttercream, but the gilding of the lily was the little nest made with rice noodles broken up in little pieces, coated with melted chocolate and assembled in mini-muffin tins. I have tried other methods to make the nests and this was by far my favorite.
This is really a very very messy process, and there was some colorful language going around The Bewitching Kitchen, I won’t lie to you. But aren’t those nest super cute? Totally worth the trouble. Get the noodles and cut them with scissors in small little pieces. It will make a Royal mess in your kitchen and you will find pieces of noodles in unexpected places. Melt chocolate, coat them well (gloves are mandatory), and while everything is still pliable and warm, stick little portions inside mini muffin tins. Add the eggs and let it all set.
TRI-DIMENSIONAL EASTER EGGS
These are not made of chocolate, the shells are my favorite chocolate cookie (click here for recipe, I omitted the chipotle powder for this version) baked into these cute little molds. Once they are baked, I brushed them with luster powder mixed with vodka, decorated with Royal icing and filled with mini peanut butter eggs.
.
BUNNY BONBONS
A little labor of love, you’ll need a special mold for these babies, found at one of my favorite stores, Evil Cake Genius. It is a three component mold, so you make the top, let it set, fill with whatever you want (I used lemon brigadeiro), then close the bottom with more chocolate. A very detailed video is available here.
.
EGG NESTS CHOCOLATE COOKIES
Very little icing on these cookies, I brushed them with Americolor White + a touch of turquoise before baking. Then just added a few details with piping consistency icing, and placed mini eggs on top. They went together nicely with the cupcakes!
.
THE GOLFING RABBIT
Same cookie, made with the help of AI-generated image, and a mini-projector… Love these goofy fellows!
If you celebrate the date, I wish you a Happy Easter! Hope you have a wonderful day…
.
ONE YEAR AGO: Bicolor Ravioli
TWO YEARS AGO: Crispy Asparagus Salad with Toasted Bread Crumbs
THREE YEARS AGO: Low-Carb Super Fast Chicken Parmigiana
FOUR YEARS AGO: Sundried Tomato Spelt Sourdough
FIVE YEARS AGO: A Duet of Chocolate Bonbons
SIX YEARS AGO: Chocolate Tartlets with Honey-Caramel Filling
SEVEN YEAR AGO: Zucchini Soup with Tahini
EIGHT YEARS AGO: Black Sesame Macarons
NINE YEARS AGO: Fine Tuning Thomas Keller
TEN YEARS AGO: Cauliflower Tortillas
ELEVEN YEARS AGO: Majestic Sedona, Take Two
TWELVE YEARS AGO: Secret Ingredient Turkey Meatballs
THIRTEEN YEARS AGO: Swedish Meatballs and Egg Noodles
FOURTEEN YEARS AGO: Italian Easter Pie
FIFTEEN YEARS AGO: Black Olive Bialy
This recipe was inspired by a version from Mark Bittman published back in 2022. I really like the modifications I included, and hope you will also. In typical Sally’s fashion, I got so hooked on it that it was my lunch several days in a row. Yeah, that’s the way I roll. Sometimes.
BAKED EGGS WITH PROSCIUTTO AND TOMATO
(inspired by Mark Bittman)
serves two
2 low-carb tortillas (or any other flour tortilla you like)
olive oil spray
2 slices beefsteak tomato
2 slices of prosciutto di Parma
2 eggs
Parmigiano-Reggiano cheese
drizzle of heavy cream (optional)
salt (very little)
Heat oven to 375F.
Cut the tortilla to fit snuggly and the bottom of your dish. Spray the dish with olive oil, add the tortilla, spray the top lightly with oil.
Place a slice of tomato on top, a slice of prosciutto, break the egg over it. Add cheese, and if you want, a little drizzle of cream. Salt lightly, the prosciutto will be very salty.
Bake for 15 minutes, or until egg yolk cooked to your liking. If egg white is not fully cooked, run under the broiler. You can also start the baking covering the dish with aluminum foil to help steam the egg white and cook it properly.
ENJOY!
to print the recipe, click here
Comments: To me, this is almost a perfect lunch. You can kick it up a notch using a slice of sourdough bread instead of tortilla, but I like to keep it light. Beefsteak tomato is underrated, in my opinion. I love it and in this preparation it is really the best kind to use. It stands to baking and contributes moisture and flavor. You can use ham instead of prosciutto, although I rather stick with the latter. The only tricky part is baking long enough to cook the egg white without overcooking the yolk, but play with it and you’ll find what works best in your oven.
ONE YEAR AGO: Bicolor Ravioli
TWO YEARS AGO: Crispy Asparagus Salad with Toasted Bread Crumbs
THREE YEARS AGO: Low-Carb Super Fast Chicken Parmigiana
FOUR YEARS AGO: Sundried Tomato Spelt Sourdough
FIVE YEARS AGO: A Duet of Chocolate Bonbons
SIX YEARS AGO: Chocolate Tartlets with Honey-Caramel Filling
SEVEN YEAR AGO: Zucchini Soup with Tahini
EIGHT YEARS AGO: Black Sesame Macarons
NINE YEARS AGO: Fine Tuning Thomas Keller
TEN YEARS AGO: Cauliflower Tortillas
ELEVEN YEARS AGO: Majestic Sedona, Take Two
TWELVE YEARS AGO: Secret Ingredient Turkey Meatballs
THIRTEEN YEARS AGO: Swedish Meatballs and Egg Noodles
FOURTEEN YEARS AGO: Italian Easter Pie
FIFTEEN YEARS AGO: Black Olive Bialy
Some baking projects make me very happy. This was definitely one. For starters, the idea to make them came from my dear friend Jill, who shared a picture she saw in a Facebook group, and led me to investigate how to get my hands into those cookie cutters. It turns out, they are from Italy. That did not stop me….
PASTA FROLLA COOKIES WITH RASPBERRY JAM
(From the The Bewitching Kitchen)
200 g butter, cut in pieces and softened
75 g powdered sugar
40 g honey
2 g salt
1 egg yolk
1/2 tsp vanilla paste
300 g all-purpose flour
raspberry jam for filling
powdered sugar to shower the assembled cookies (optional)
Mix the flour with salt, reserve.
In the bowl of a KitchenAid type mixer, beat the butter with powdered sugar and honey until lighter in color and the sugar is fully dissolved, about 2 minutes. Add the yolk and vanilla paste, and mix well at low-speed.
Gradually add the flour/salt mixture. Mix until fully combined, but it is best to finish mixing by hand. Remove the dough from the bowl, wrap in plastic refrigerate at least 4 hours, preferably overnight.
Roll the dough, one half at a time 1/8 inch thick. Cut shapes (tops and bottoms) and bake at 350F for 10 to 12 minutes, depending on the size. Remove shapes that are smaller as they get ready.
Once the cookies are cool, cover the bottom part with raspberry jam and add the top half. Shower with powdered sugar before serving, if so desired.
ENJOY!
to print the recipe, click here
Comments: Pasta Frolla might very well be my favorite for cookies at the present time. Texture, taste, everything works. As to the cookie cutters, they can be found here. Beware, that site has things that are VERY hard to say no to. I did not worry about how long it would take for shipping, and it was a little less than 1 month. Not bad. Here is the set I used for this first adventure.
You will need two of the large 7-petal flower, 14 of the other two shapes. Then the smaller cutter is used to make the empty space in half of the cookies before baking. It is best to do the cut while the dough is still in the large cutters as I show below:
By doing that, you prevent the dough from getting distorted as you cut the inner portion out.
The other thing to consider is that the cut shapes will bake faster. Either bake them separately or be sure to remove them before the larger pieces get done, or they will brown too much.
I am totally in love with this cookie set…
Stay tuned for more “Italian Adventures” in the future.
ONE YEAR AGO: Ravioli Cookies, the Shortest Path to Insanity
TWO YEARS AGO: Peanut Butter and Jelly Babka and a Cookbook Review
THREE YEARS AGO: Painted Sourdough
FOUR YEARS AGO: Over-the-Moon Blueberry Lemon Macarons
FIVE YEARS AGO: Springtime Macarons Bake-Along
SIX YEARS AGO: Macarons for a Little Princess
SEVEN YEARS AGO: Gilding the Sourdough Loaf
EIGHT YEARS AGO: Lolita Joins the Bewitching Kitchen
NINE YEARS AGO: Cashew Cream Sauce
TEN YEARS AGO: Blood Orange Margaritas
ELEVEN YEARS AGO: Smoked Salmon Appetizer
TWELVE YEARS AGO: Clementine Cake
THIRTEEN YEARS AGO: Springtime Spinach Risotto
FOURTEEN YEARS AGO: The end of green bean cruelty
FIFTEEN YEARS AGO: Torta di Limone e Mandorle