SUGARPRISM PAINTED LINZER COOKIES


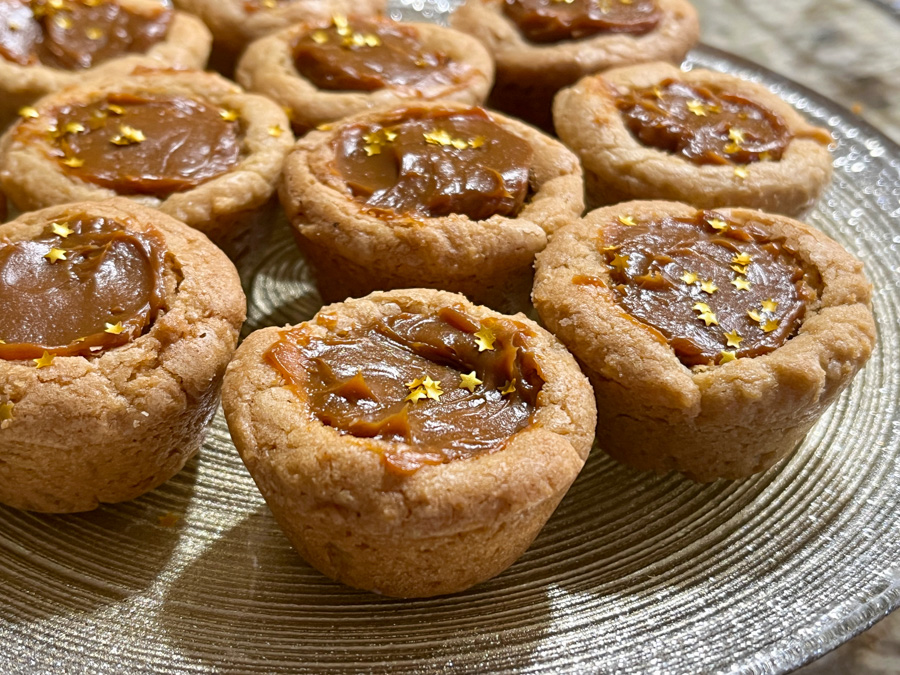
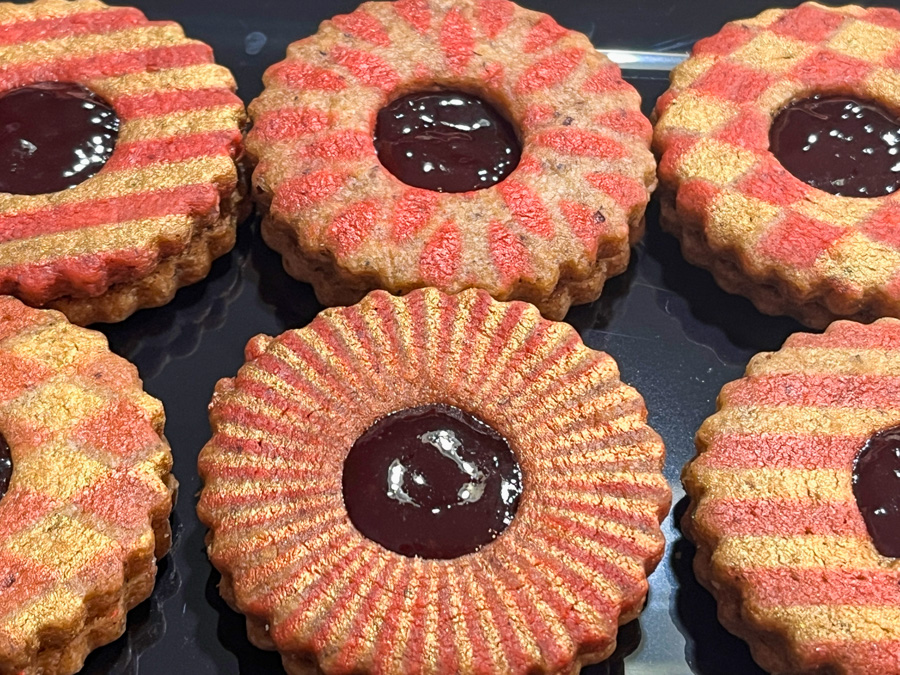
Linzer Cookies are one of my favorites and this recipe starts by toasting hazelnut flour. Do not skip this step, because it is a huge flavor boost to your cookies. Traditionally, they are finished with a dusting of powdered sugar, making them a little messy to eat. Inspired by Michele, the very inventor of Sugarprism, I skipped that and coupled Sugarprism in Red Lipstick color with a few stencils for a totally different look. I also used some air-brush gold from Chefmaster to create contrast, as my cookies were a little dark to start with.


SUGARPRISM PAINTED RASPBERRY LINZER COOKIES
(adapted from Food Duchess)

75 g hazelnut flour
160 g all-purpose flour
1/4 tsp salt
3/4 cup unsalted butter, at room temperature
100 g granulated sugar
1 tsp cinnamon
25 g egg yolk (about 1 large)
1 tsp vanilla
1/4 cup seedless raspberry jam

Sugarprism diluted to air-brush consistency in Lipstick Red (optional)
Chefmaster air-brush gold (optional)

Heat oven to 350°F. Cover a baking sheets with parchment. Evenly spread hazelnut flour onto the paper and bake for 5 to 10 minutes, moving it around often so that no spots get overly roasted. Remove the toasted flour from the oven and allow to cool for 30 minutes.

In a medium mixing bowl, whisk together the cooled hazelnut flour, all purpose flour, and salt. Set aside.

In a stand mixer fitted with the paddle attachment, beat together the butter, sugar, and cinnamon, until light and fluffy – about 3-5 minutes. Add egg yolk and vanilla, then beat again until well-combined. Add flour mixture to the stand mixer and beat until just combined and a crumbly looking dough has formed.

Remove dough from stand mixer and lightly form into a disk shape with your hands. Place dough-disk onto a heavily floured surface, and roll the dough out to about ⅛-¼” thick. Cut the cookies in you desired shape and size, cutting a hole in the center of half the cookies. Those will be the top. Bake for about 10 minutes, until the edges start to get darker. Remove from the oven and allow to cool before proceeding.

Use a stencil to add a pattern to the cutout cookies. Spread jam on the cookie base, top with the decorated cookie.

ENJOY!

to print the recipe, click here

Comments: I used 4 different stencils and coupled them either with a single color (Sugarprism Lipstick Red or Chefmaster gold) or with both combined, by moving the stencil to expose adjacent regions. It is hard for me to pick a favorite, but I might go with the one below…

It was fun to play with different patterns…


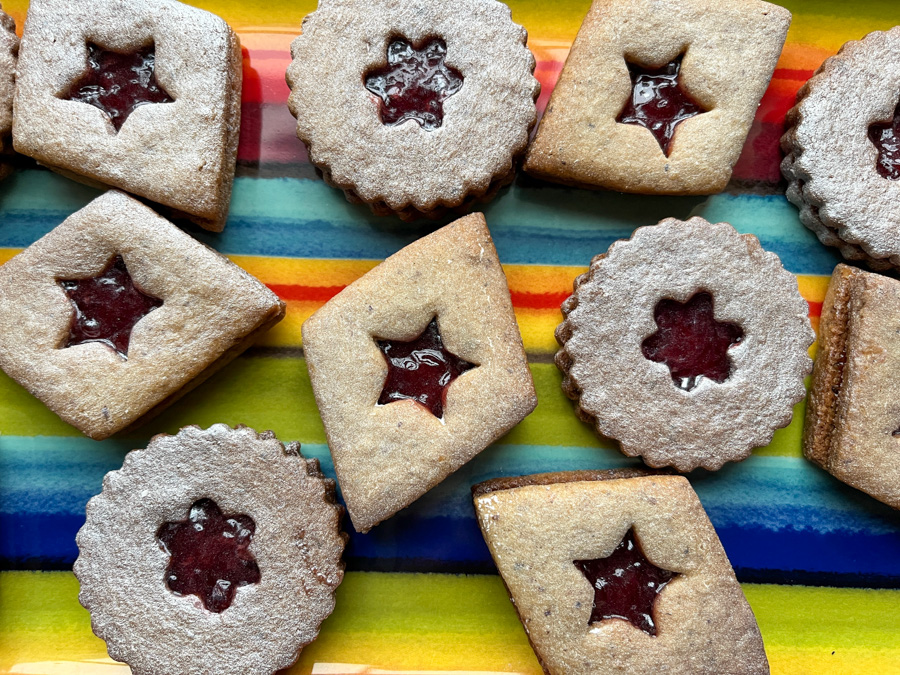
Another very easy way to give Linzer a new face, is simply spraying the top cookie with PME or Wilton pearl spray right on the baked cookie, before assembling.

The spray leaves no after-taste, so it won’t interfere with the cookie flavor. The possibilities of decoration are endless, so stay tuned for future important experiments on this subject…

ONE YEAR AGO: Kamut and Broccoli Salad

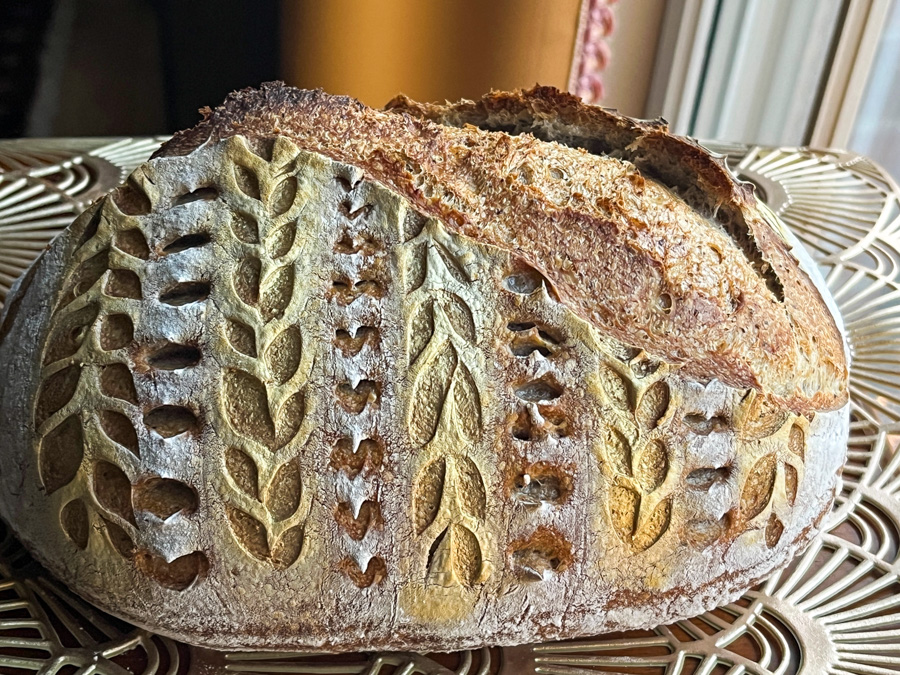
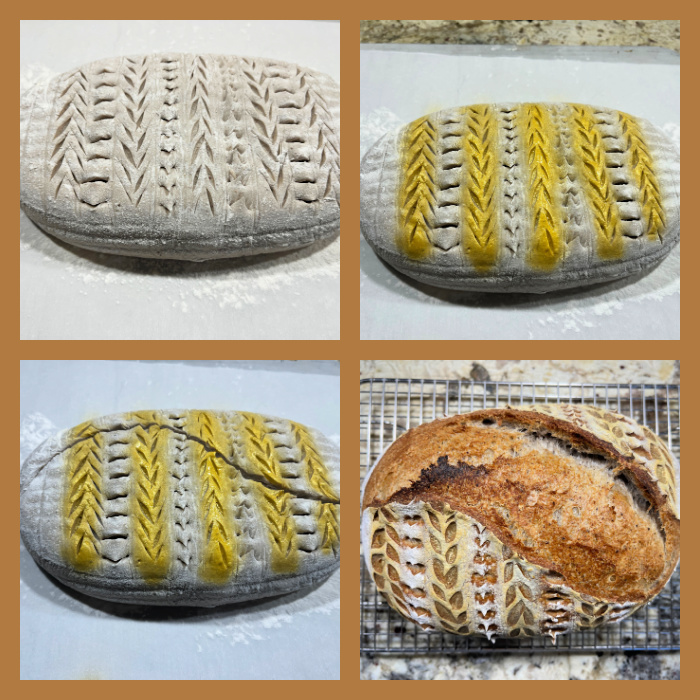
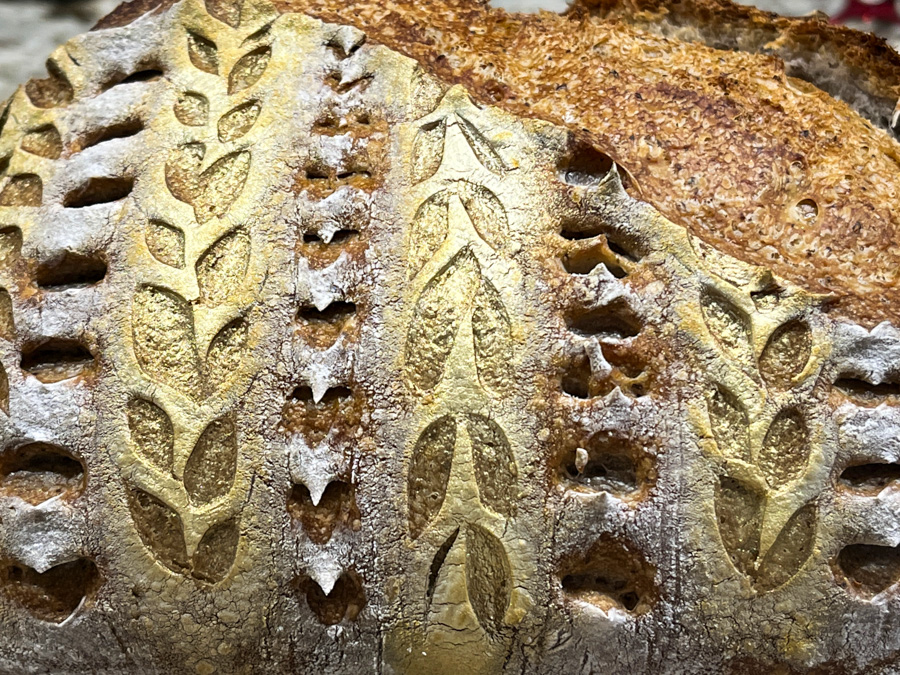
TWO YEARS AGO: Charcoal Peanut Sourdough

THREE YEARS AGO: Chocolate Cake with Coconut Buttercream

FOUR YEARS AGO: Berry Rebellion Tarts 

FIVE YEARS AGO: Bergamot-Cherry Macarons

SIX YEAR AGO: Roasted Veggies with Queso Cotija Dressing

SEVEN YEARS AGO: Creamy Broccoli and Mushroom Casserole

EIGHT YEARS AGO: Maple Walnut Biscotti

NINE YEARS AGO: Barley Risotto with Peas

TEN YEARS AGO: Oatmeal Fudge Bars

ELEVEN YEARS AGO: Cauliflower Steaks

TWELVE YEARS AGO: Soft Spot for Chevre

THIRTEEN YEARS AGO: Quick sun-dried Tomato Crostini

ZUCCHINI-CHICKPEA BAKED BITES

Yet another recipe that won’t win many votes in a beauty contest, but is so tasty and simple to prepare, I had to share with you. It happens to be vegan-friendly, because contrary to similar preparations, this one takes no eggs. All binding is given by processed chickpeas, straight from a can. It came from a Brazilian blog, but I modified it slightly to reduce the amount of carbs. Thank you to my niece Raquel for sending it to me, saying that the recipe “had my name written all over it.” I think she is right!


ZUCCHINI-CHICKPEA BAKED BITES
(inspired by this post)

200 g zucchini (1 large or 2 medium), grated on a large-hole grater
250 g canned chickpeas, well-rinsed and drained
basil leaves to taste
1/2 tsp salt + more to sprinkle on zucchini
1/2 tsp smoked paprika
1/8 cup almond flour
1/8 cup all-purpose flour
panko bread crumbs
olive oil spray

Heat oven to 420F.

Salt the grated zucchini lightly and allow it to sit on a colander for 10 minutes. Squeeze the zucchini dry preferably using a towel.
Add to a food processor together with the chickpeas, salt, paprika and basil. Process until fully smooth, stopping to clean the bowl with a spatula once. Add the two flours and process just to bind it all.

Form small patties, cover with panko bread crumbs on both sides. Place them separated over aluminum foil and spray the surface with olive oil. Bake for 10 minutes, turn them gently, spray more olive oil on the top. Bake for 10 to 15 minutes longer, until golden brown. Serve with you favorite sauce or plain.

ENJOY!

to print the recipe, click here

Comments: I was a bit skeptical that the little morsels would hold shape without the help of an egg, but although very fragile, I did not have problems. Just be gentle. If you want to fry them, you could still keep them vegan by using the liquid from the chickpea can to make a whipped “egg white substitute”, coat them with that and add bread crumbs. But I tend to avoid frying because I dislike dealing with the leftover oil. Air-frying could be also a good option but our fryer has a small basket and I would have to fry in batches, so I went with the baking option.

A bit of tomato sauce and grated Parmigiano is also a nice way to serve them, although obviously not vegan anymore. I will definitely make them again, and pair with a tahini sauce which I think will be another great serving idea.

ONE YEAR AGO: Slow-Cooker Hoisin Pulled Pork

TWO YEARS AGO: I Will Cracker you Up

THREE YEARS AGO: Pickling Ribbons

FOUR  YEARS AGO: Green Beans and Carrots with Spicy Almonds

FIVE YEARS AGO: Quiche 101

SIX YEARS AGO: Persian Butternut Squash Soup

SEVEN YEARS AGO: Walnut Cranberry Sourdough Bread

EIGHT YEARS AGO: Ottolenghi in Brazil?

NINE YEARS AGO: Roasted Winter Vegetables with Miso-Lime Dressing

TEN YEARS AGO: 2012 Fitness Report: P90X2

ELEVEN YEARS AGO: Caramelized Bananas

TWELVE YEARS AGO: Roasted Lemon Vinaigrette

THIRTEEN YEARS AGO: Whole Wheat Bread

BROWN BUTTER DULCE DE LECHE COOKIE CUPS

Once again I regret not having included the OMG FILES when I set up this virtual site of mine. I will admit that these are not the most beautiful cookies to look at, but I dare you eat one and stop. I baked a batch to donate and made the mistake of trying one. You know how it is, new recipe, I was curious to find out if all the hype was justified. Yes, it was. And in one particular week, a group of homeless people had two cookies less than expected. Sorry, really sorry.

BROWN BUTTER DULCE DE LECHE COOKIE CUPS
(from Tessa Arias’ Handle the Heat)

95g all-purpose flour
95g bread flour
1/8 teaspoon baking soda
1/2 teaspoon baking powder
1/2 teaspoon fine sea salt
113g butter (1 stick) unsalted butter
50g granulated sugar
125g dark brown sugar
1 teaspoon vanilla
1 large eggs, plus 1/2 egg yolk at room temperature
canned Dulce de Leche

Flaked sea salt, for finishing

Heat the oven to 350°F. Spray one 24 mini-muffin tin with nonstick cooking spray. In a medium bowl combine the flours, baking soda, baking powder, and salt.

In a small saucepan set over medium heat, melt the butter. Swirling the pan occasionally, continue to cook the butter. It should become foamy with audible cracking and popping noises. Once the crackling stops, continue to swirl the pan until the butter develops a nutty aroma and brown bits start to form at the bottom. Once the bits are amber in color, about 2 to 3 minutes after the popping stops, remove from heat and pour into a mixing bowl.

While the butter is still hot, stir in the granulated sugar and brown sugar. Let cool before adding in the vanilla and the egg and yolk, stirring well after each addition. Stir in the flour mixture until just combined.

Press a 1-tablespoon sized ball of dough into each muffin cup (about 20g per mini-muffin). Bake for 12 to 15 minutes, or until golden brown. Remove from oven and using the end of a wooden spoon, make 1-inch wide indentations into the center of each cookie.

Spoon a teaspoon of dulce de leche into each indentation. Sprinkle with sea salt. Let cool completely before serving.

ENJOY!

to print the recipe, click here

Comments: The recipe is available in Tessa’s book “The Ultimate Cookie Handbook“, which I own and love. However, it is also available online, so I felt ok to share here. I halved the recipe, that is why you’ll see 1/2 egg yolk as ingredient, I simply eye-balled it. I did not want to make 48 little cookies, plus I only have one tray of 24 mini-muffins.

My only modification for next time would be to use a piping bag to add the dulce de leche, I think it will look more polished, but I swear, these are AMAZING. And yes, I am using all caps. They look rustic, but don’t let the humble look prevent you from trying this recipe. One of the tastiest cookies I’ve made in a while.

ONE YEAR AGO: Chicken Poblano Tortilla Soup

TWO YEARS AGO: Kung Pao Chicken

THREE YEARS AGO: Galette de Rois

FOUR YEARS AGO: Sous-Vide Overnight Oatmeal

FIVE YEARS AGO: A Valentine’s Day Opera

SIX YEARS AGO: Incredibly Simple Times Four

SEVEN YEARS AGO: Walnut-Cranberry Sourdough Bread

EIGHT YEARS AGO: Ottolenghi in Brazil?

NINE YEARS AGO: Roasted Winter Vegetables with Miso-Lime Dressing

TEN YEARS AGO: 2012 Fitness Report: P90X2

ELEVEN YEARS AGO: Caramelized Bananas

TWELVE YEARS AGO: Roasted Lemon Vinaigrette

THIRTEEN YEARS AGO: Whole Wheat Bread

PECAN SOURDOUGH DRESSED UP FOR PARTY

I’ve been having a lot of fun coupling the air-brush with sourdough baking. It is fast, simple and efficient to add a little bling to your bread. I used pecan flour in a small amount, because since it lacks gluten, I don’t want to risk compromising the structure of the bread.

PECAN SOURDOUGH
(from the Bewitching Kitchen)

385g white bread flour
20g pecan flour
20g whole-wheat flour
8g salt
280g water
65g sourdough starter at 100% hydration

optional: gold air-brush dye

Make the levain mixture about 6 hours before you plan to mix the dough. It should be very bubbly and active.

When you are ready to make the final dough, place the water in the bowl of a KitchenAid type mixer and dissolve the starter in it, mixing with a spatula briefly, then add the three types of flour, and the salt. Turn the mixer on with the hook attachment and knead the dough for 4 minutes at low-speed all the time. If the dough is too sticky, add 1/4 cup flour, you want the dough to start clearing the sides of the bowl, but still be sticky at the bottom.

Remove from the machine, and transfer to a container lightly coated with oil, cover lightly with plastic wrap and allow it to ferment for 4 hours, folding every 45 minutes or so. After four hours bulk fermentation, shape the dough as a ball, and place, seam side up, in a lightly floured banetton. Leave at room temperature one hour, and then place in the fridge overnight, from 8 to 12 hours.

Next morning, heat the oven to 450F. Invert the dough over parchment paper, rub gently white flour on the surface. Score with the pattern of your choice and air-brush any region you want to highlight.

Bake at 450F for 45 minutes, preferably covered for the first 30 minutes to retain steam. Cool completely over a rack before slicing.

ENJOY!

to print the recipe, click here

Comments: The golden tone was a little lost during baking, so I air-brushed it again once it came out of the oven. In the composite picture above you see it exactly as it came out of the oven, and below after the second round of air-brushing. A red color would have stayed better, or perhaps I could have used luster powder in copper and mixed with alcohol to use in the air-brush. Something fun to try next time. We love the flavor of this bread, the pecan flour contributes a lot and gives a little more moisture.

There is no flavor associated with the dye, at least not with the brand I use, which is this one. I buy it in the large bottle because it is a favorite that I tend to use all the time, especially in cookies.

ONE YEAR AGO: Tiramisu Tart

TWO YEARS AGO: Joy Cookie Club: Valentine’s Day

THREE YEARS AGO: Uttapam, White Lentil and Rice Flatbread

FOUR YEARS AGO: Valentine’s Day Sweetheart Cookies

FIVE YEARS AGO: Fesenjan, Fast-Food Style

SIX YEARS AGO: Lavender Macarons with White Chocolate Ganache

SEVEN YEARS AGO: Raspberry Chocolate Truffles

EIGHT YEARS AGO: Red Velvet Cupcakes

NINE YEARS AGO: Happy Valentine’s Day!

TEN YEARS AGO:  A Few Blogging Issues

ELEVEN YEARS AGO: Dan Dan Noodles

TWELVE YEARS AGO:  Sophie Grigson’s Parmesan Cake

THIRTEEN YEARS AGO: Antibiotics and Food

ROASTED CAULIFLOWER WITH CHICKPEAS AND QUINOA

This goes to the OMG FILES – if I had one, that is… Great recipe brought to my attention by my friend Eha. You can find the original jumping here. I modified it quite a bit, turning it from salad into warm side dish, as at the present time we endure temperatures that have the potential to make Brazilians weep.


ROASTED CAULIFLOWER WITH CHICKPEAS AND QUINOA
(slightly modified from Cook Republic)

for the roasted component:
1 medium-sized head of cauliflower, cut in florets
1 tsp smoked paprika
1 tsp ground cumin
2 – 3 tbsps olive oil
½ tsp salt
black pepper, freshly ground
1 can of chickpeas, drained and well-rinsed

for the dressing:
2 tbsps balsamic vinegar
1 tbsp mustard
1 tsp lemon zest
1 tbsp lemon juice
2 tbsps olive oil

to assemble the dish:
1 cup cooked quinoa, still warm
handful of raisins
handful of sliced almonds
fresh parsley, chopped, amount to taste

Heat oven to 400F. . Line a large, rimmed baking tray with non-stick aluminum foil or parchment paper.

Mix cauliflower florets, smoked paprika, ground cumin, olive oil, salt and pepper in a medium bowl. Spread cauliflower on the prepared tray and roast in the preheated oven for approximately 20 minutes until golden and tender. Add the drained chickpeas, a little more olive oil and roast everything together for 5 to 10 additional minutes. Remove from the oven and set aside to cool slightly.

Prepare the dressing by mixing balsamic vinegar, grain mustard, lemon juice and zest and olive oil in a small bowl. Mix well.
To assemble the salad, add warm quinoa quinoa to a large bowl. Add spring onion, raisins, toasted almond flakes and roasted cauliflower. Top with parsley and salad dressing. Mix well to ensure the dressing coats everything evenly. Serve with your main dish of choice.

ENJOY!

to print the recipe, click here

Comments: Amazing combination of flavors and textures, I do think it is much better warm than it would be cold, but as I always say, your kitchen, your rules. Make it as a salad if you prefer, or if perhaps you are living the height of the summer right now. The balsamic vinegar is quite prominent so I advise you to choose a brand you love. The original recipe called for grainy mustard, which I did not have, so I went with regular, smooth mustard. Everything worked great, from the raisins to the almonds, and leftovers were delicious two days later. This one is a keeper all the way, and we will be enjoying it regularly. Thank you, Eha!

ONE YEAR AGO: A Savory Phyllo Pie

TWO YEARS AGO: Nut-Free Lady Grey Macarons

THREE YEARS AGO: Mini-Heart Cakes for your Valentine

FOUR YEARS AGO: Blue Moon Milk

FIVE YEARS AGO: Slow-Cooked Chicken Meatballs

SIX YEARS AGO: Zesty Flourless Chocolate Cake

SEVEN YEARS AGO: Maple Pumpkin Pecan Snacking Cake

EIGHT YEARS AGOSilky Gingered Zucchini Soup

NINE YEARS AGO: Sweet Fifteen!

TEN YEARS AGO: Sesame and Flaxseed Sourdough

ELEVEN YEARS AGO: Green Beans with Miso and Almonds

TWELVE YEARS AGO: Saturday Morning Scones

THIRTEEN YEARS AGO: White Bread