This post is dedicated to my sister Norma,
wishing her a very Happy Birthday!
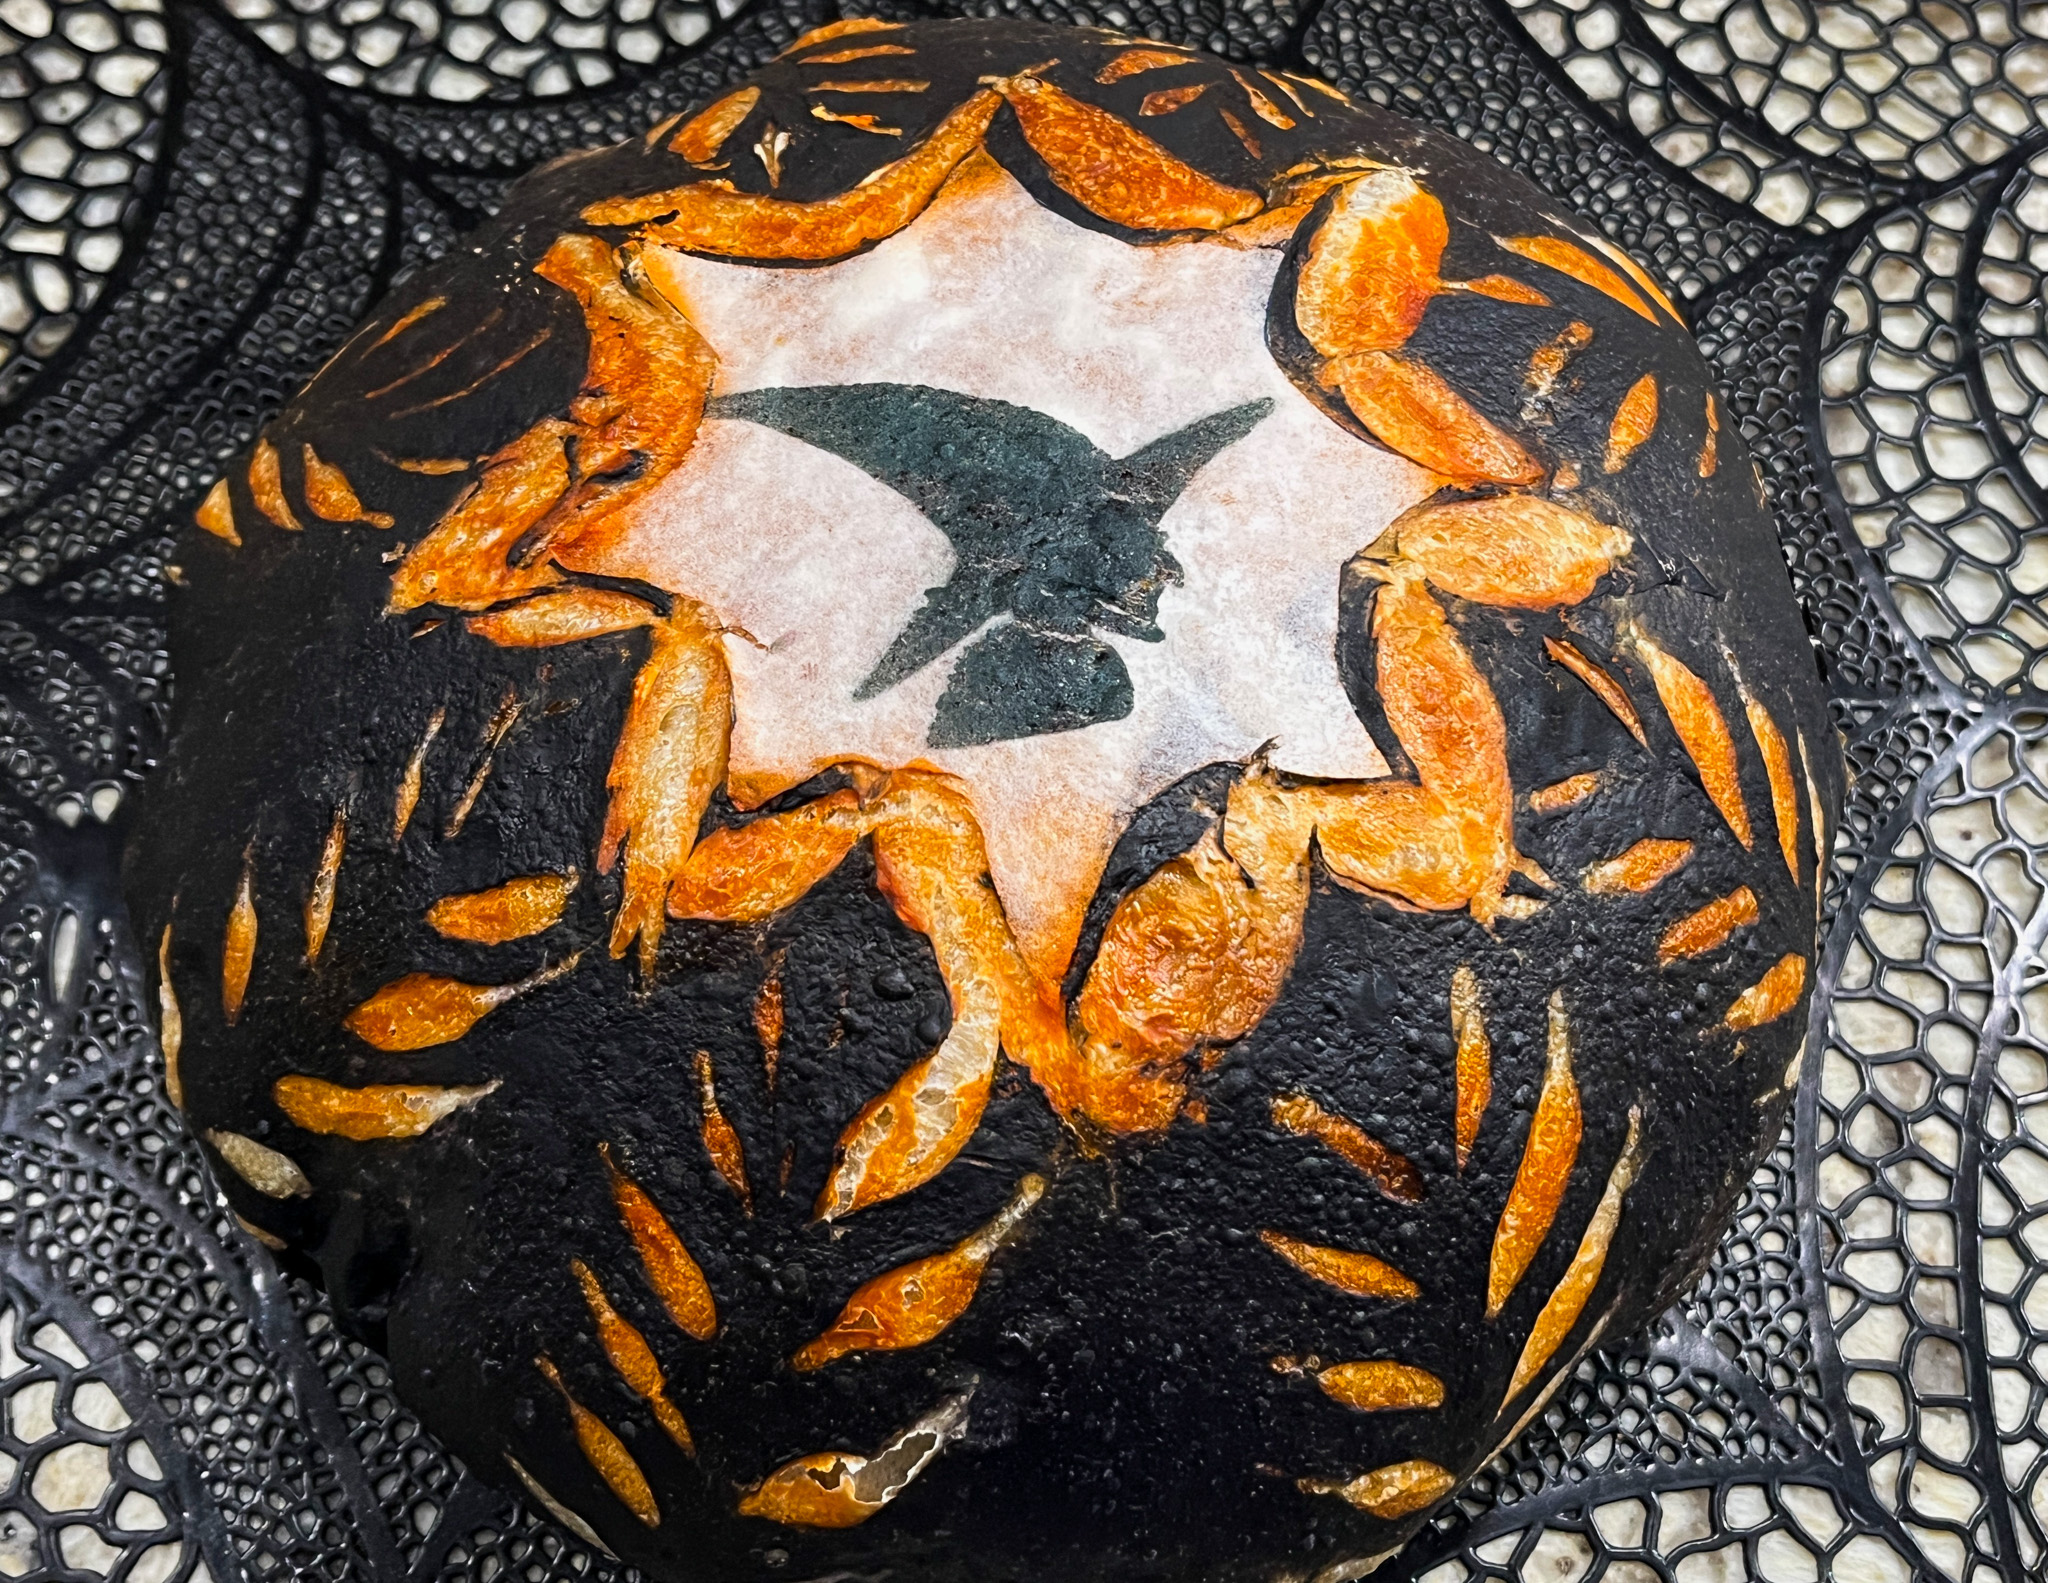
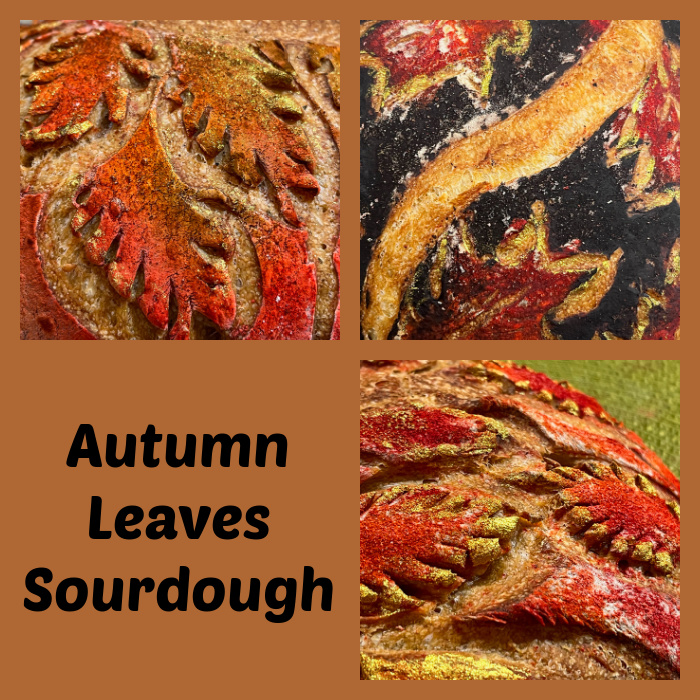
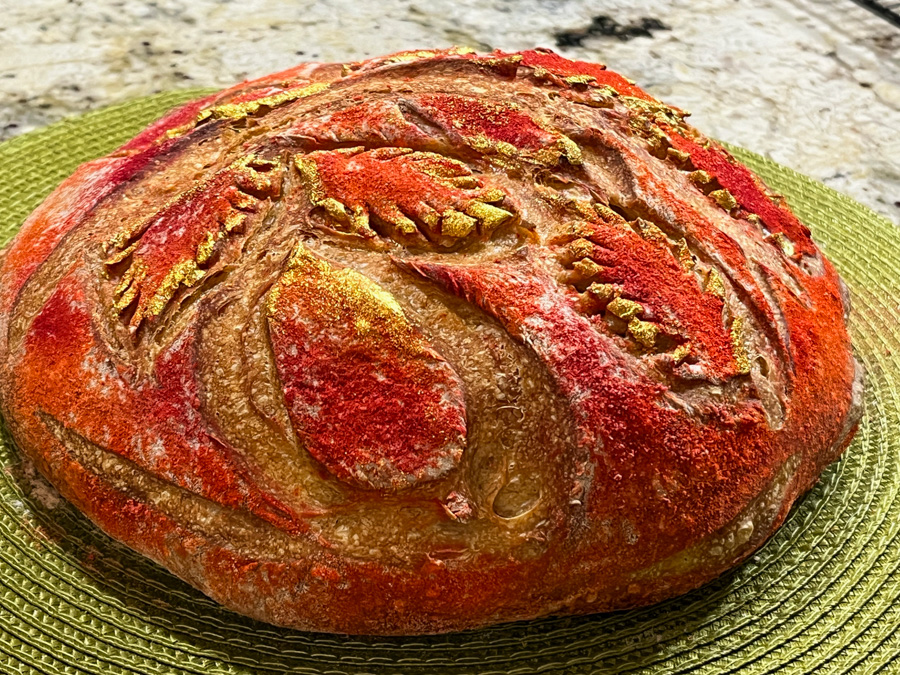
A series of sourdough bread made in the past couple of months in the Bewitching Kitchen…
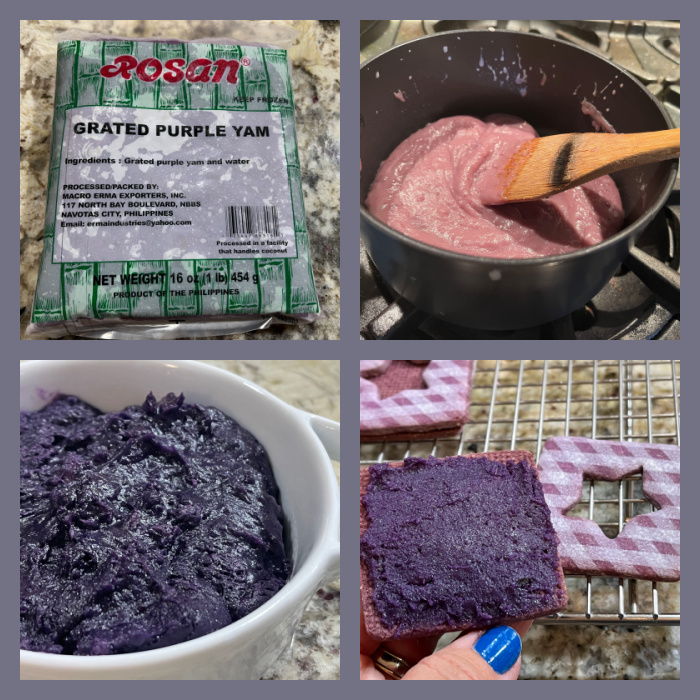
BASIC SOURDOUGH FORMULA
(from the Bewitching Kitchen)
480g white bread flour
20g spelt flour
10g salt
350g water
75-90g sourdough starter at 100% hydration
1 tsp spice mix of choice (optional)
Make the levain mixture about 6 hours before you plan to mix the dough. It should be very bubbly and active.
When you are ready to make the final dough, place the water in the bowl of a KitchenAid type mixer and dissolve the starter in it, mixing with a spatula briefly, then add the two types of flour, salt and spices. Turn the mixer on with the hook attachment and knead the dough for 4 minutes at low-speed all the time. You will notice the dough will gain quite a bit of structure even with just 4 minutes in the mixer. Remove from the machine, and transfer to a container lightly coated with oil, cover lightly with plastic wrap and allow it to ferment for 4 hours, folding every 45 minutes or so. Because the dough is already a bit developed from the initial time in the mixer, you should get very good structure after 3 and a half hours, or even sooner than that.
After four hours bulk fermentation, shape the dough as a ball, and place, seam side up, in a lightly floured banetton. Leave at room temperature one hour, and then place in the fridge overnight, from 8 to 12 hours.
Next morning, heat the oven to 450F.
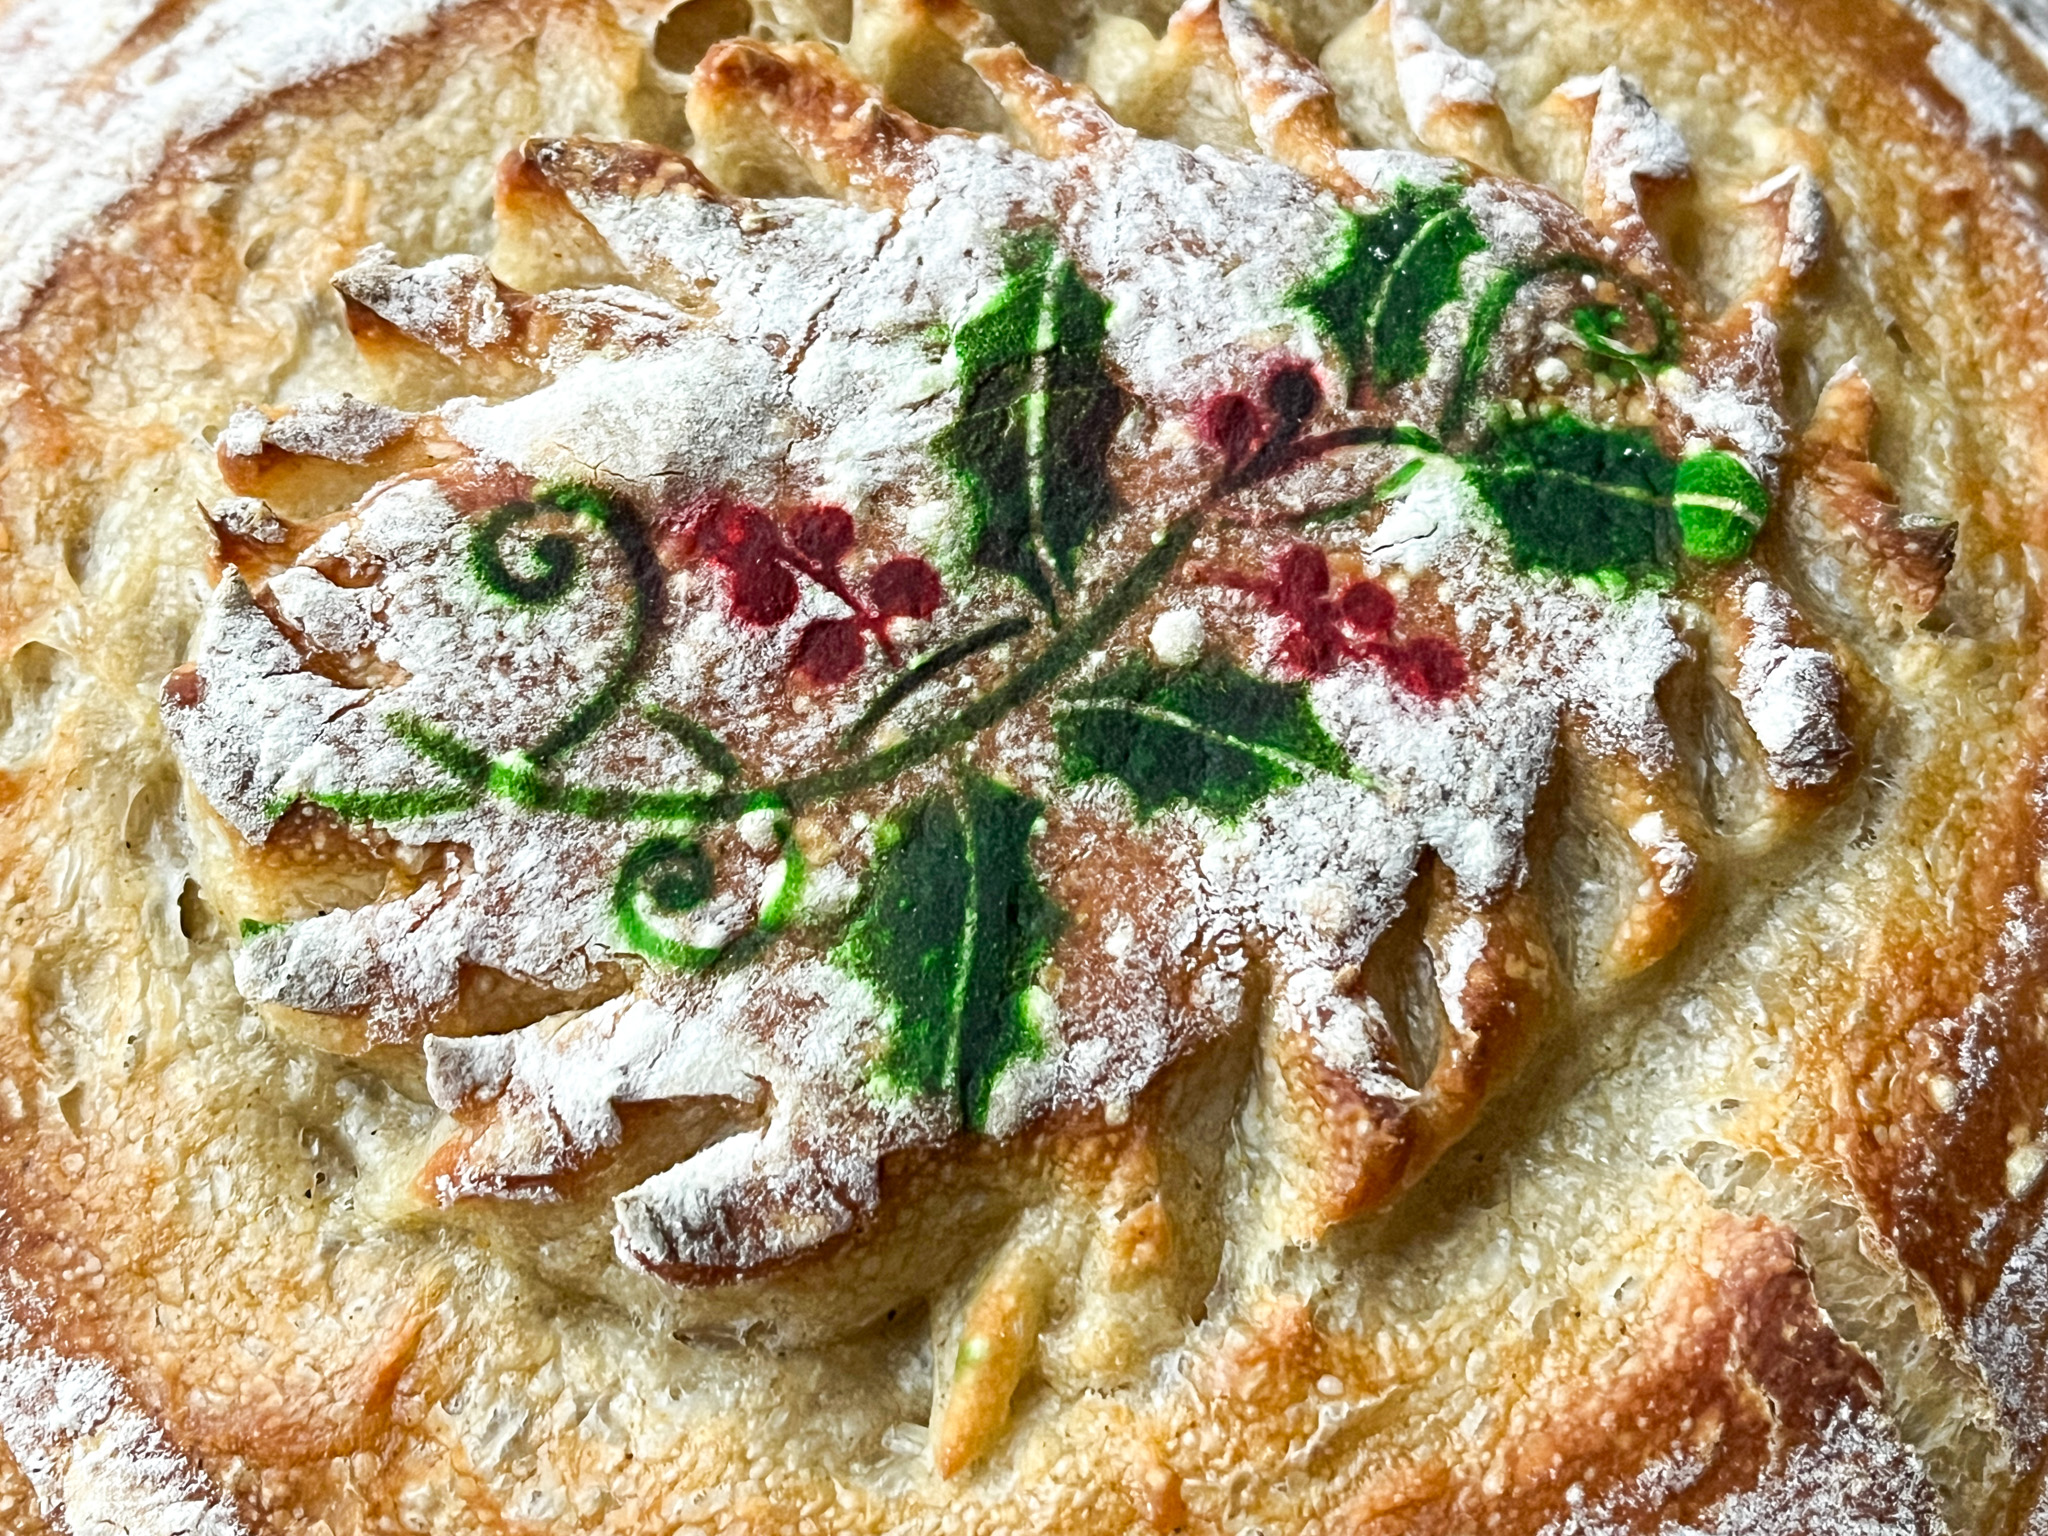
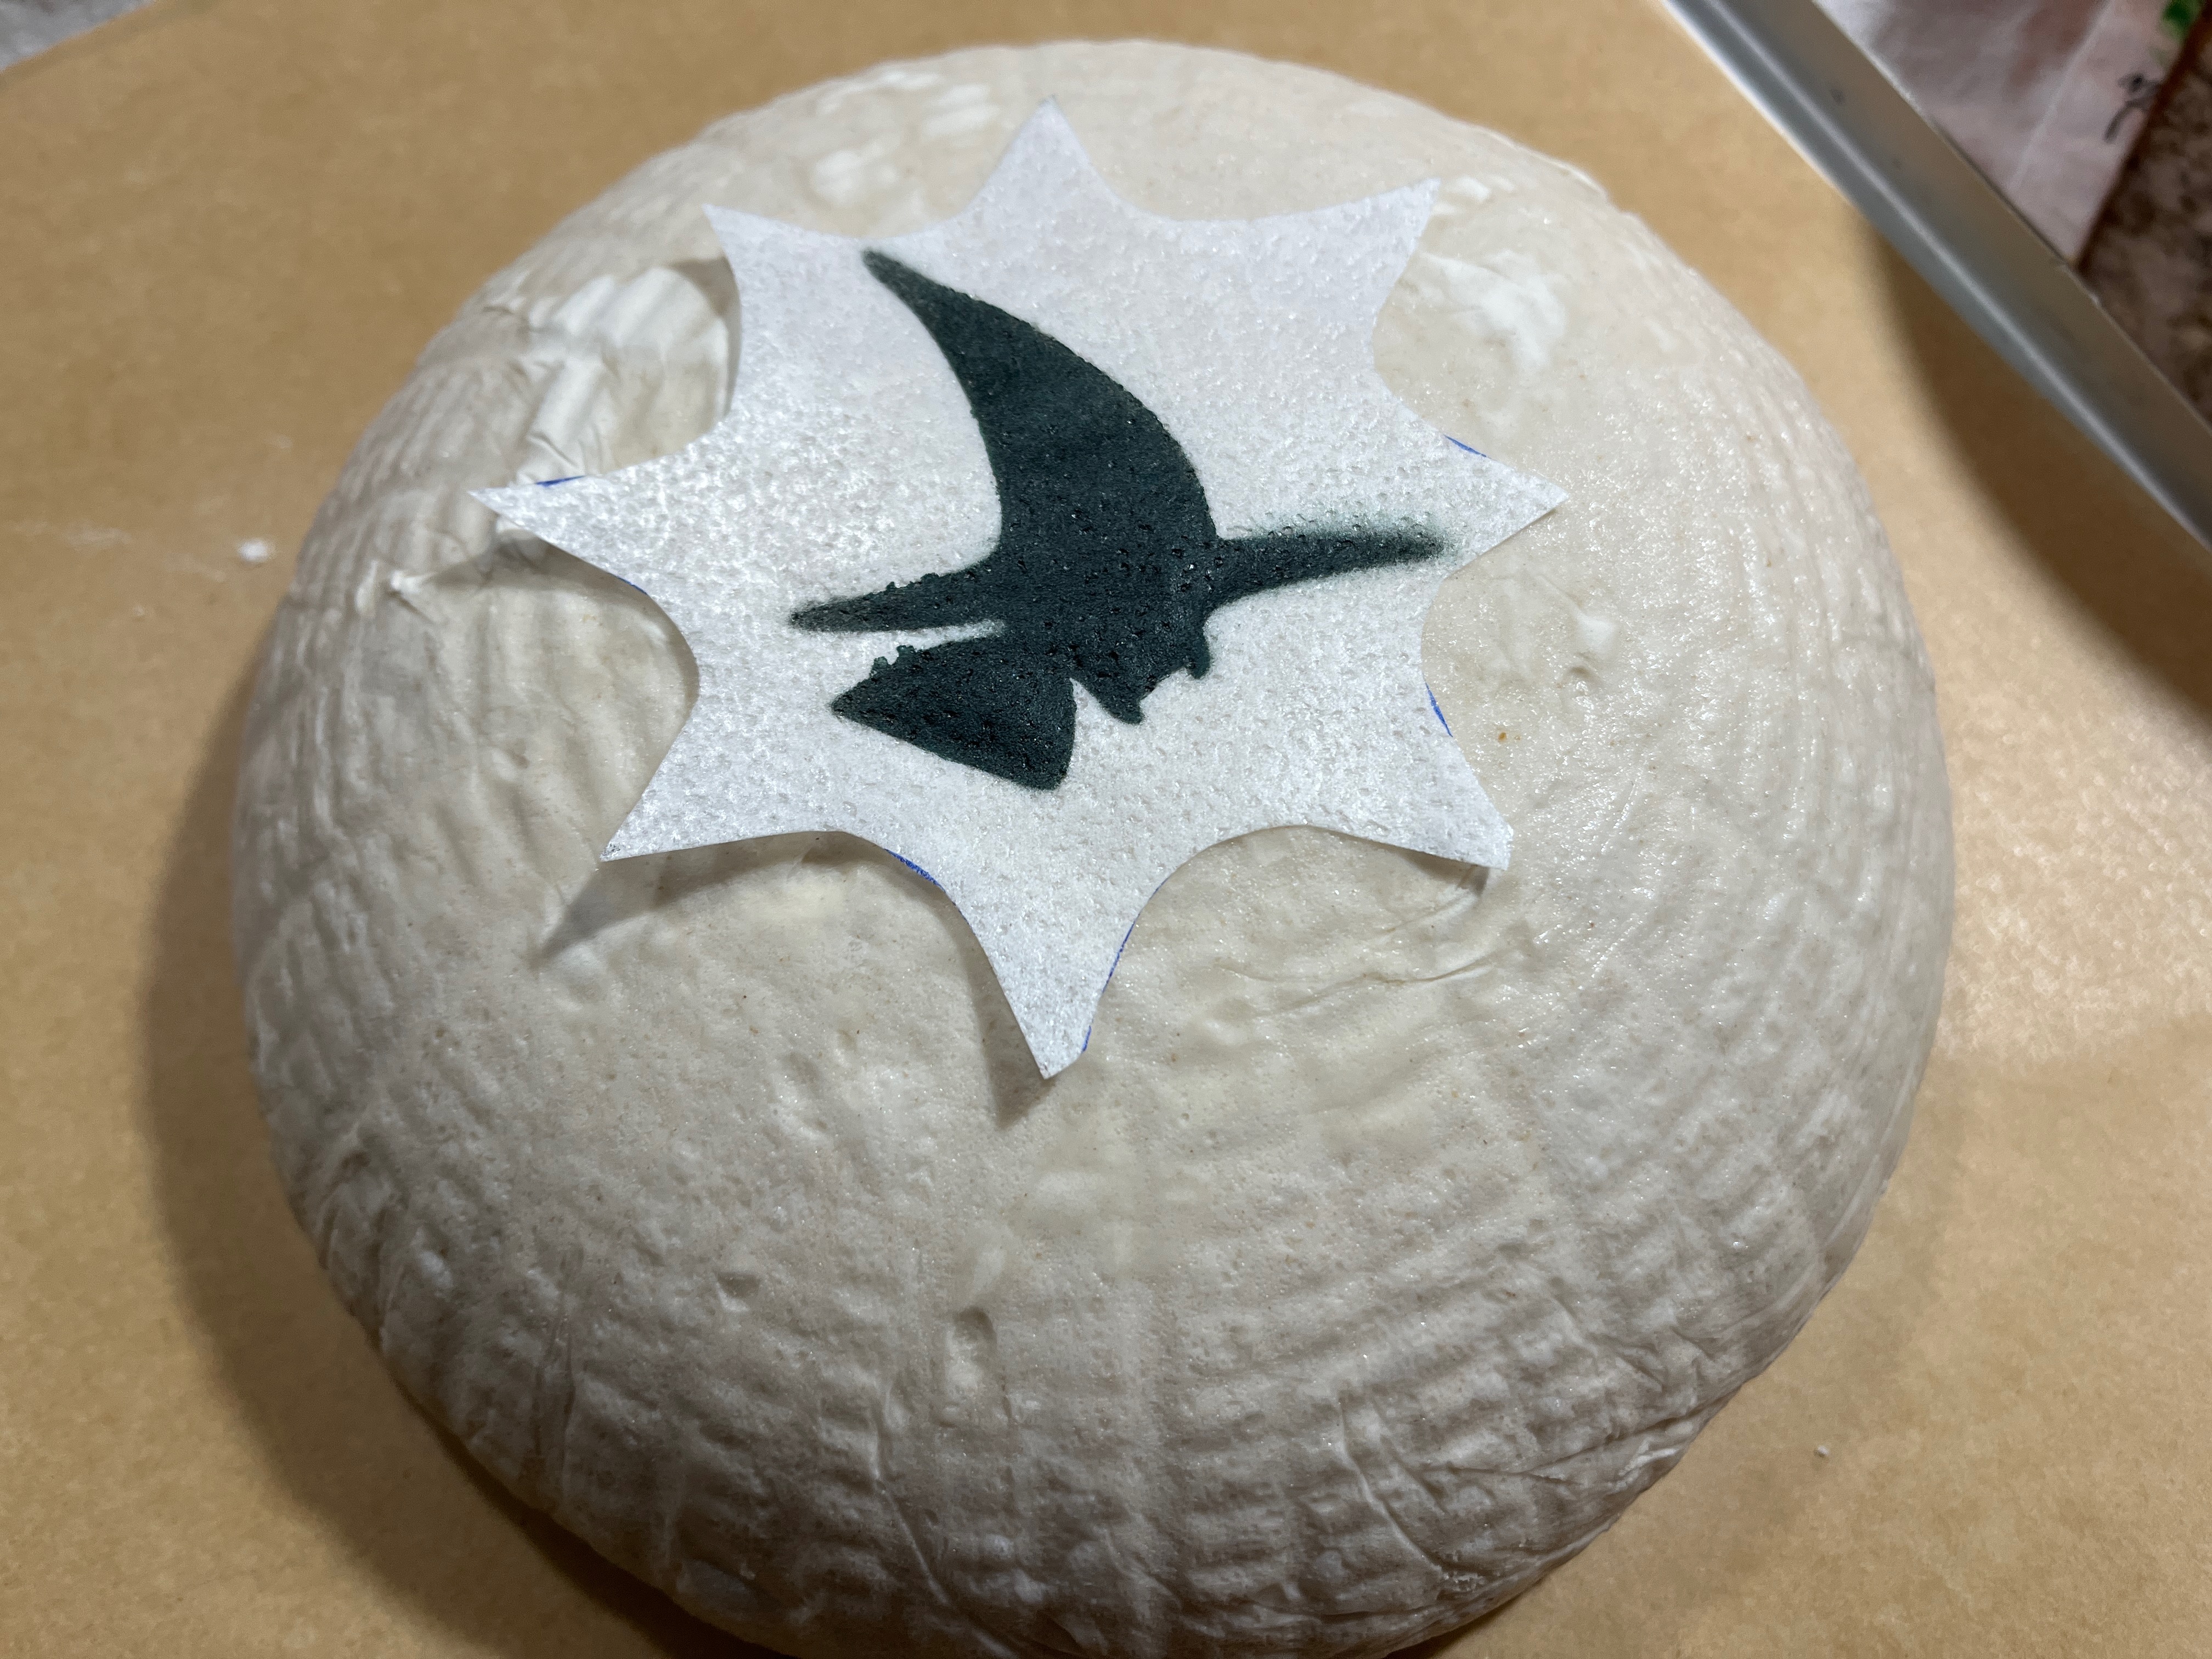
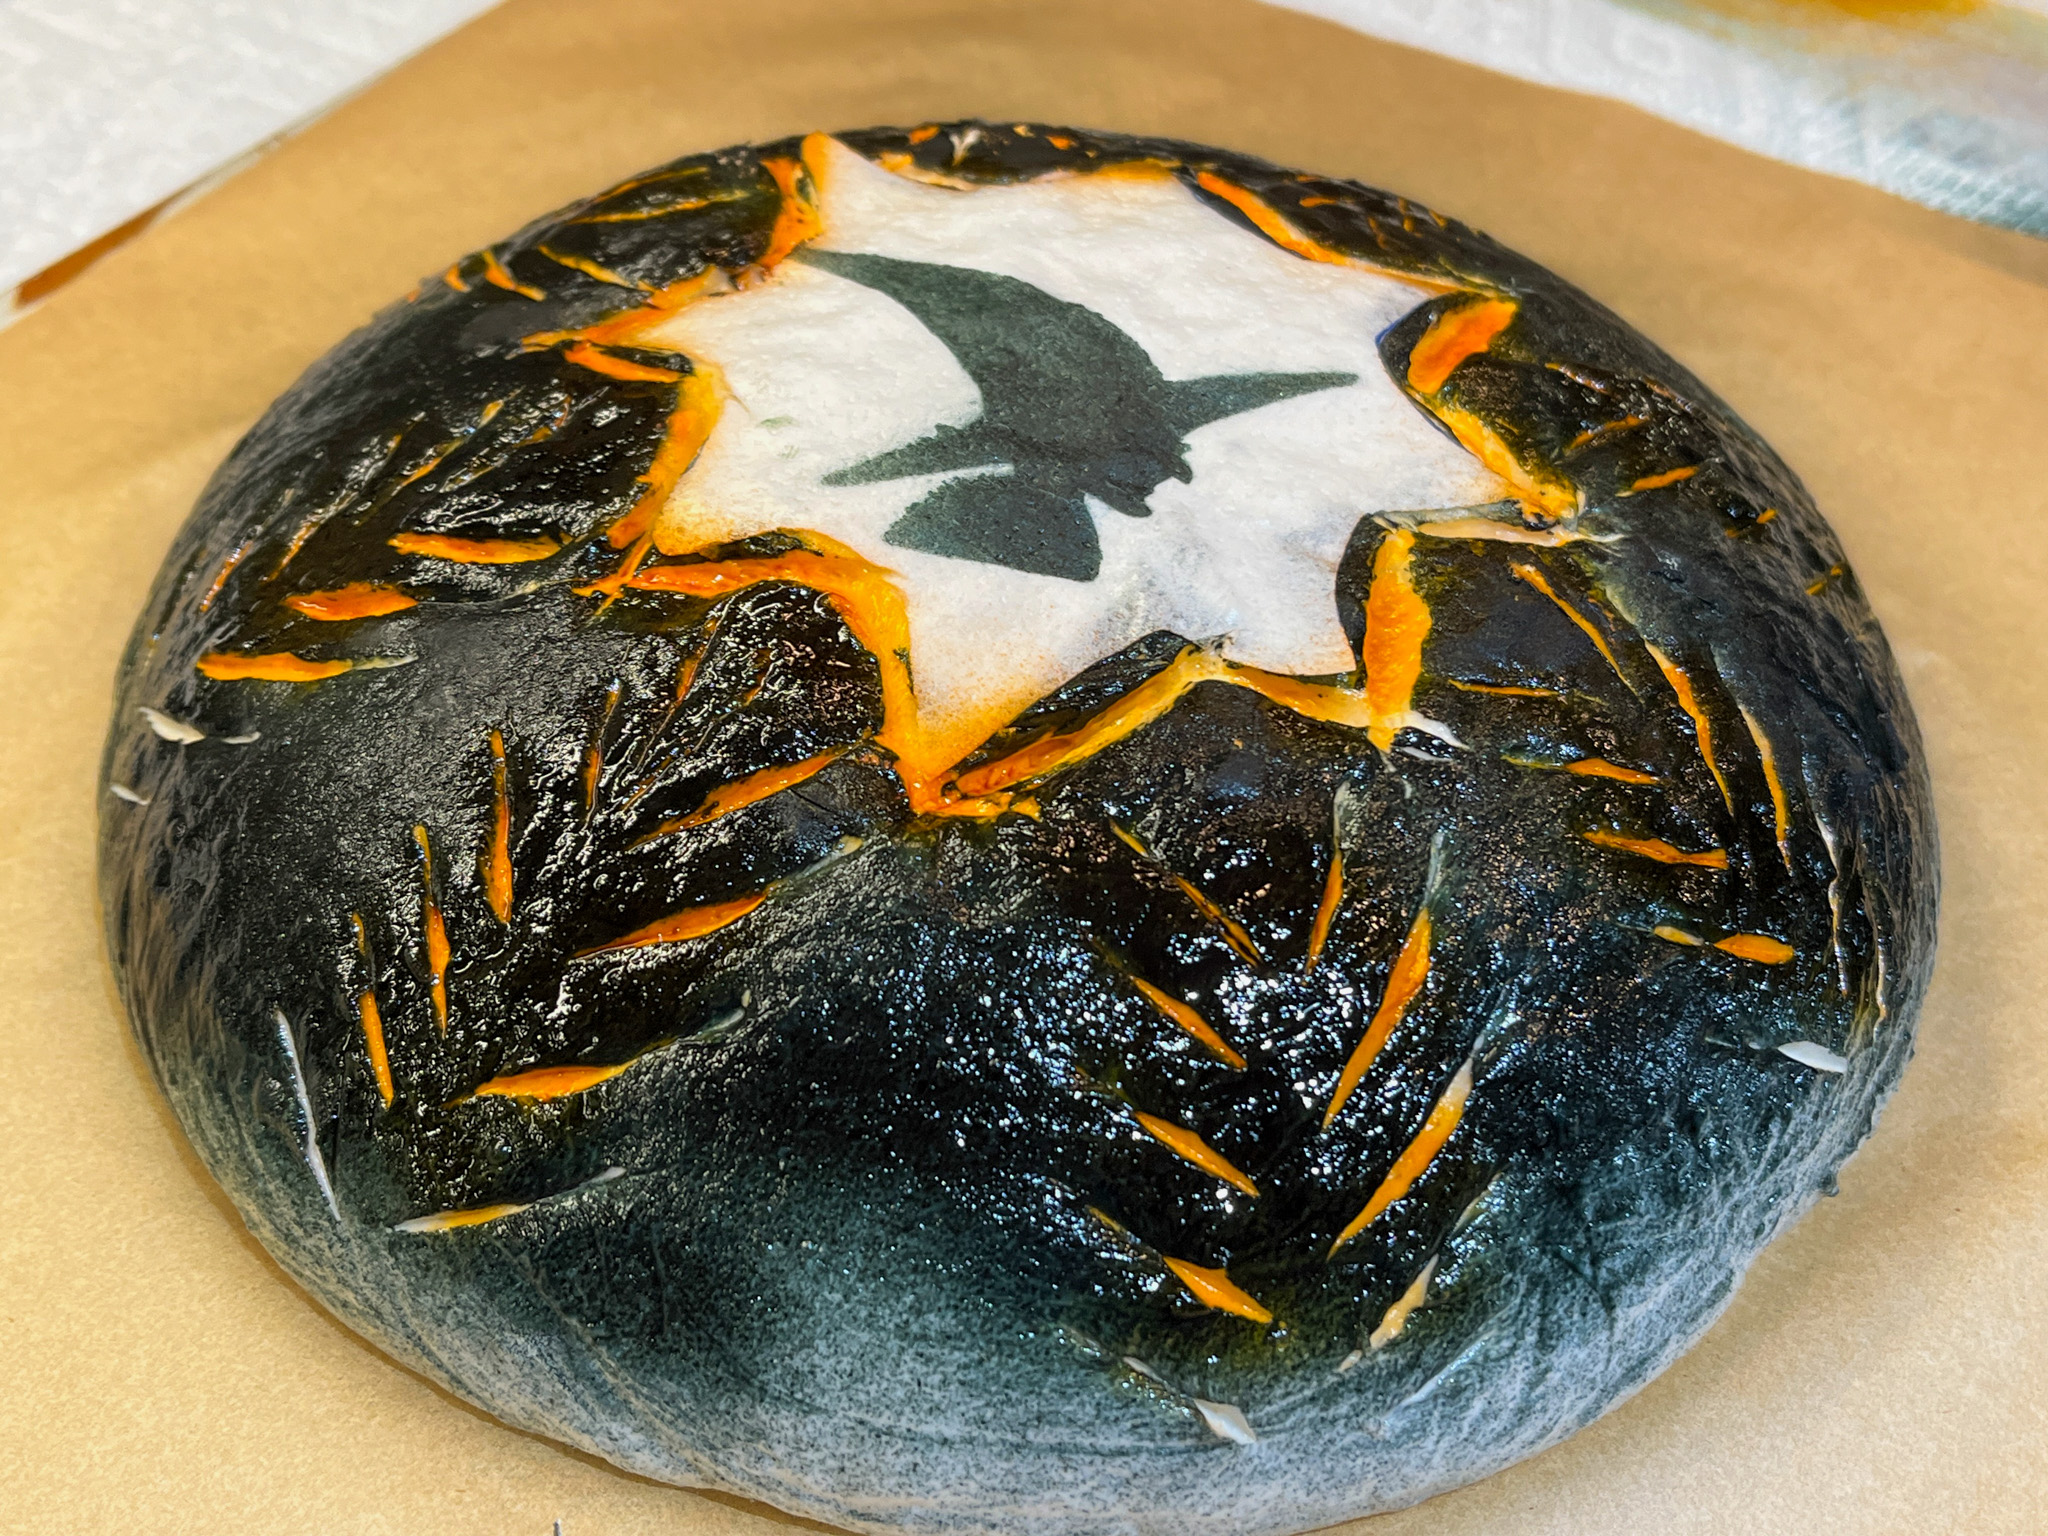
Place a parchment paper on top of the dough, a flat baking sheet, and invert the dough, flipping it out of the banneton. Flour the surface of the dough, add the stencil and air-brush if so desired. Score with a razor blade.
Bake at 450F for 45 minutes, preferably covered for the first 30 minutes to retain steam. Cool completely over a rack before slicing.
ENJOY!
to print the recipe, click here
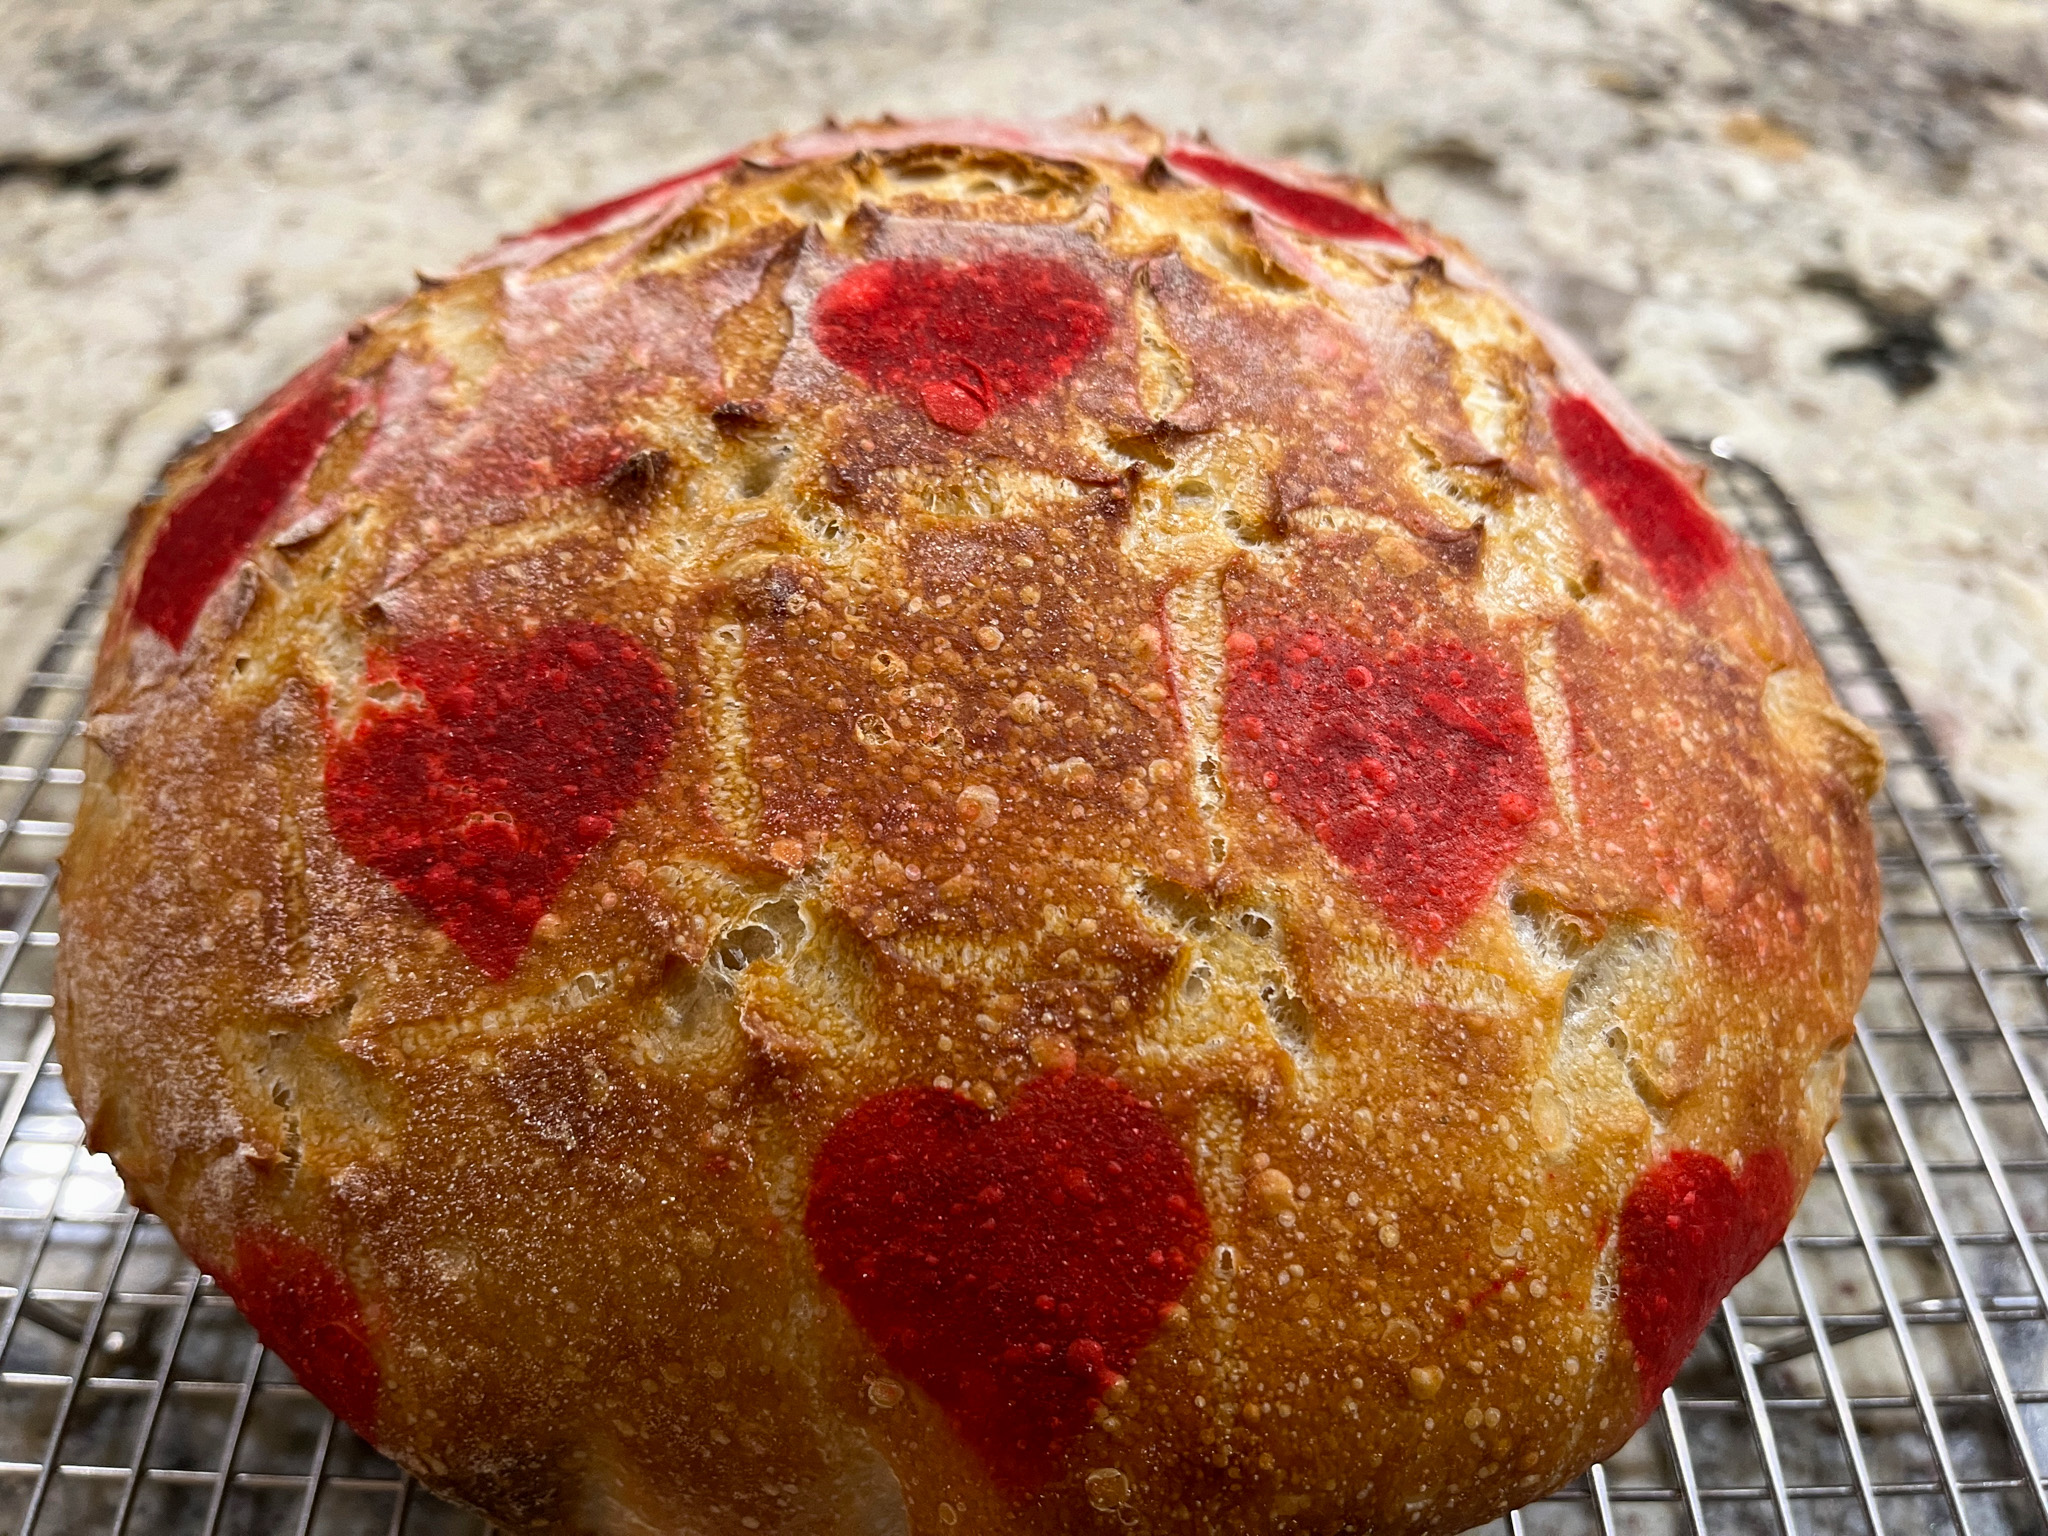
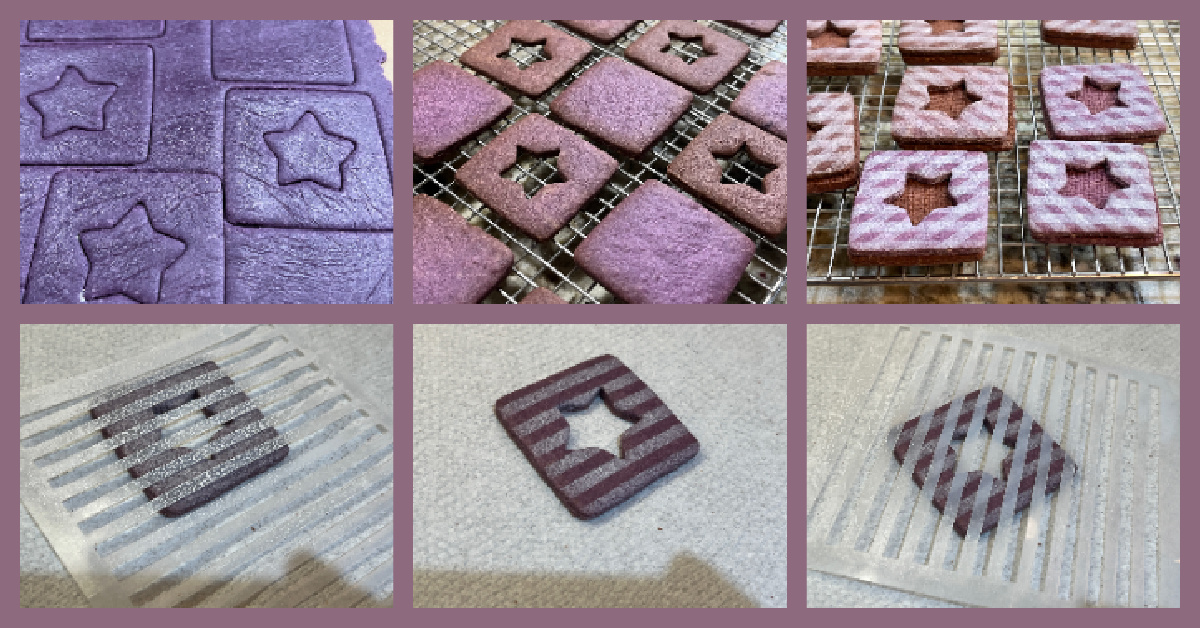
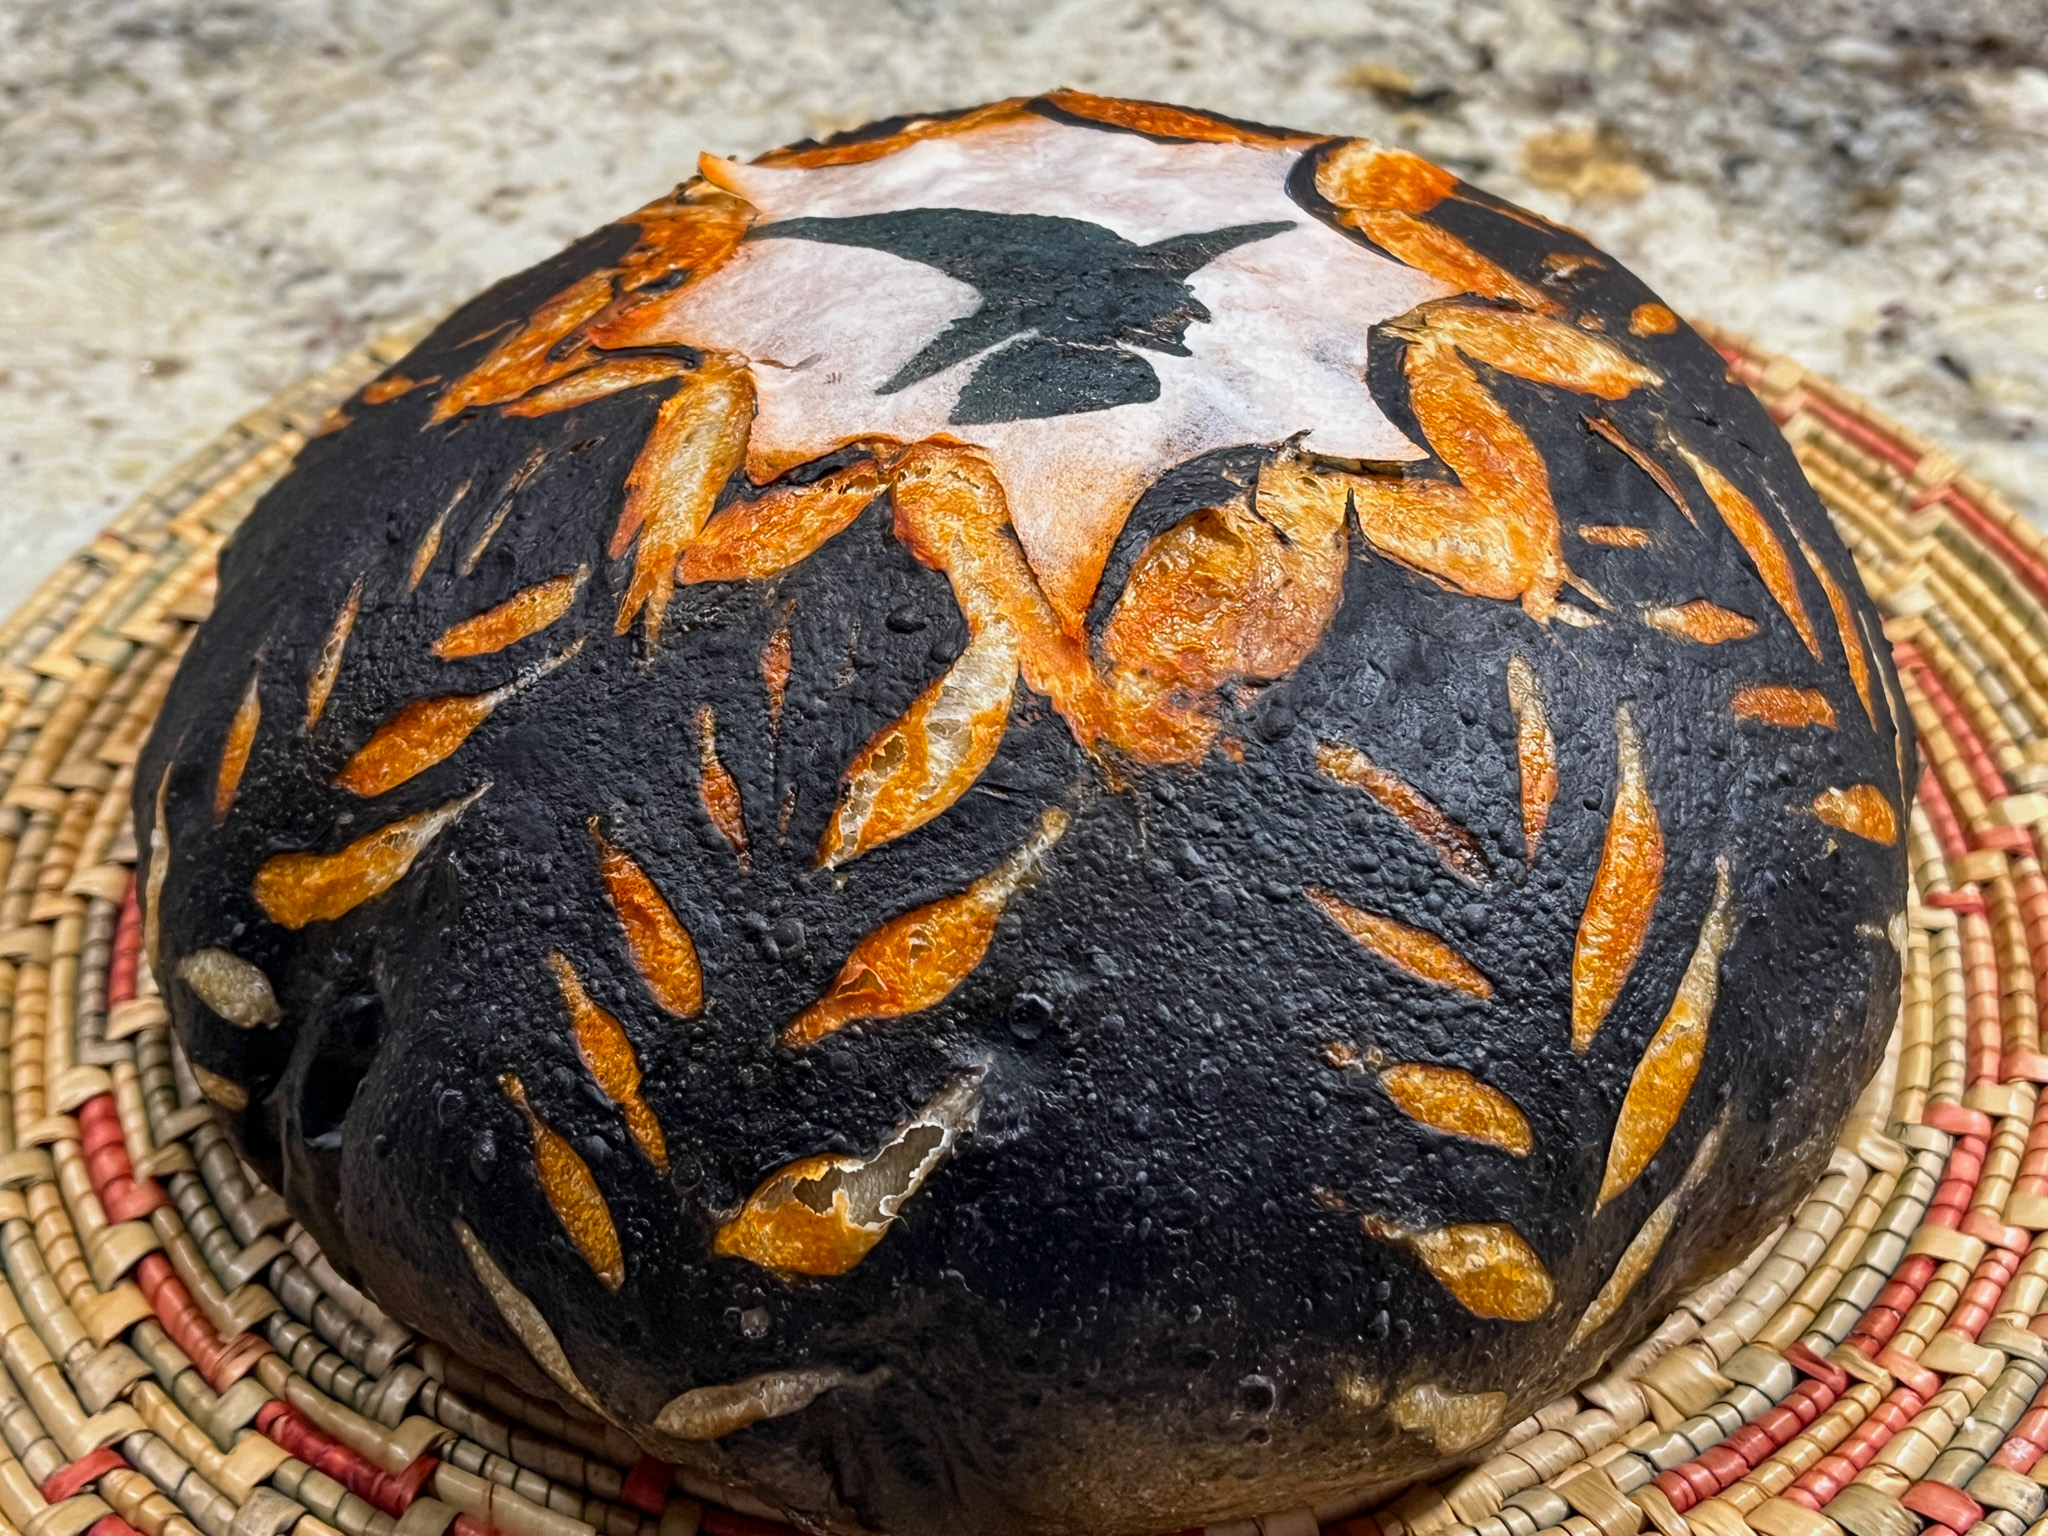
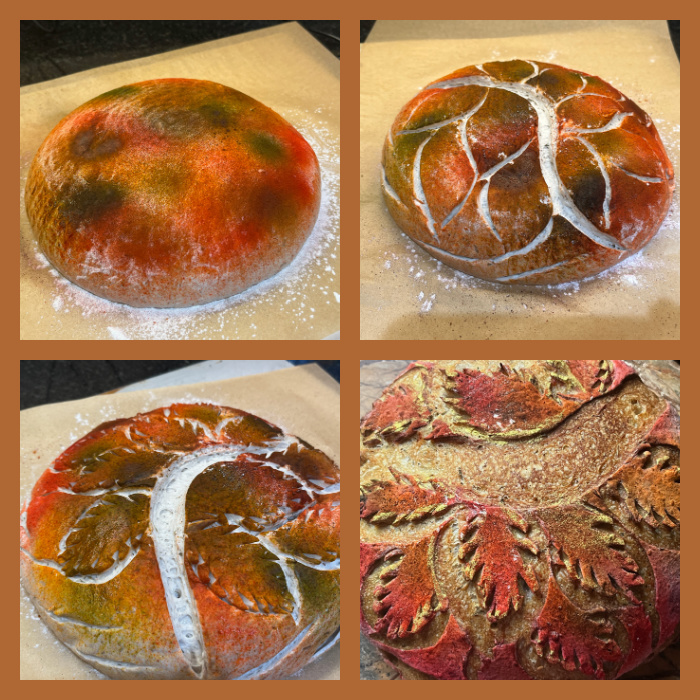
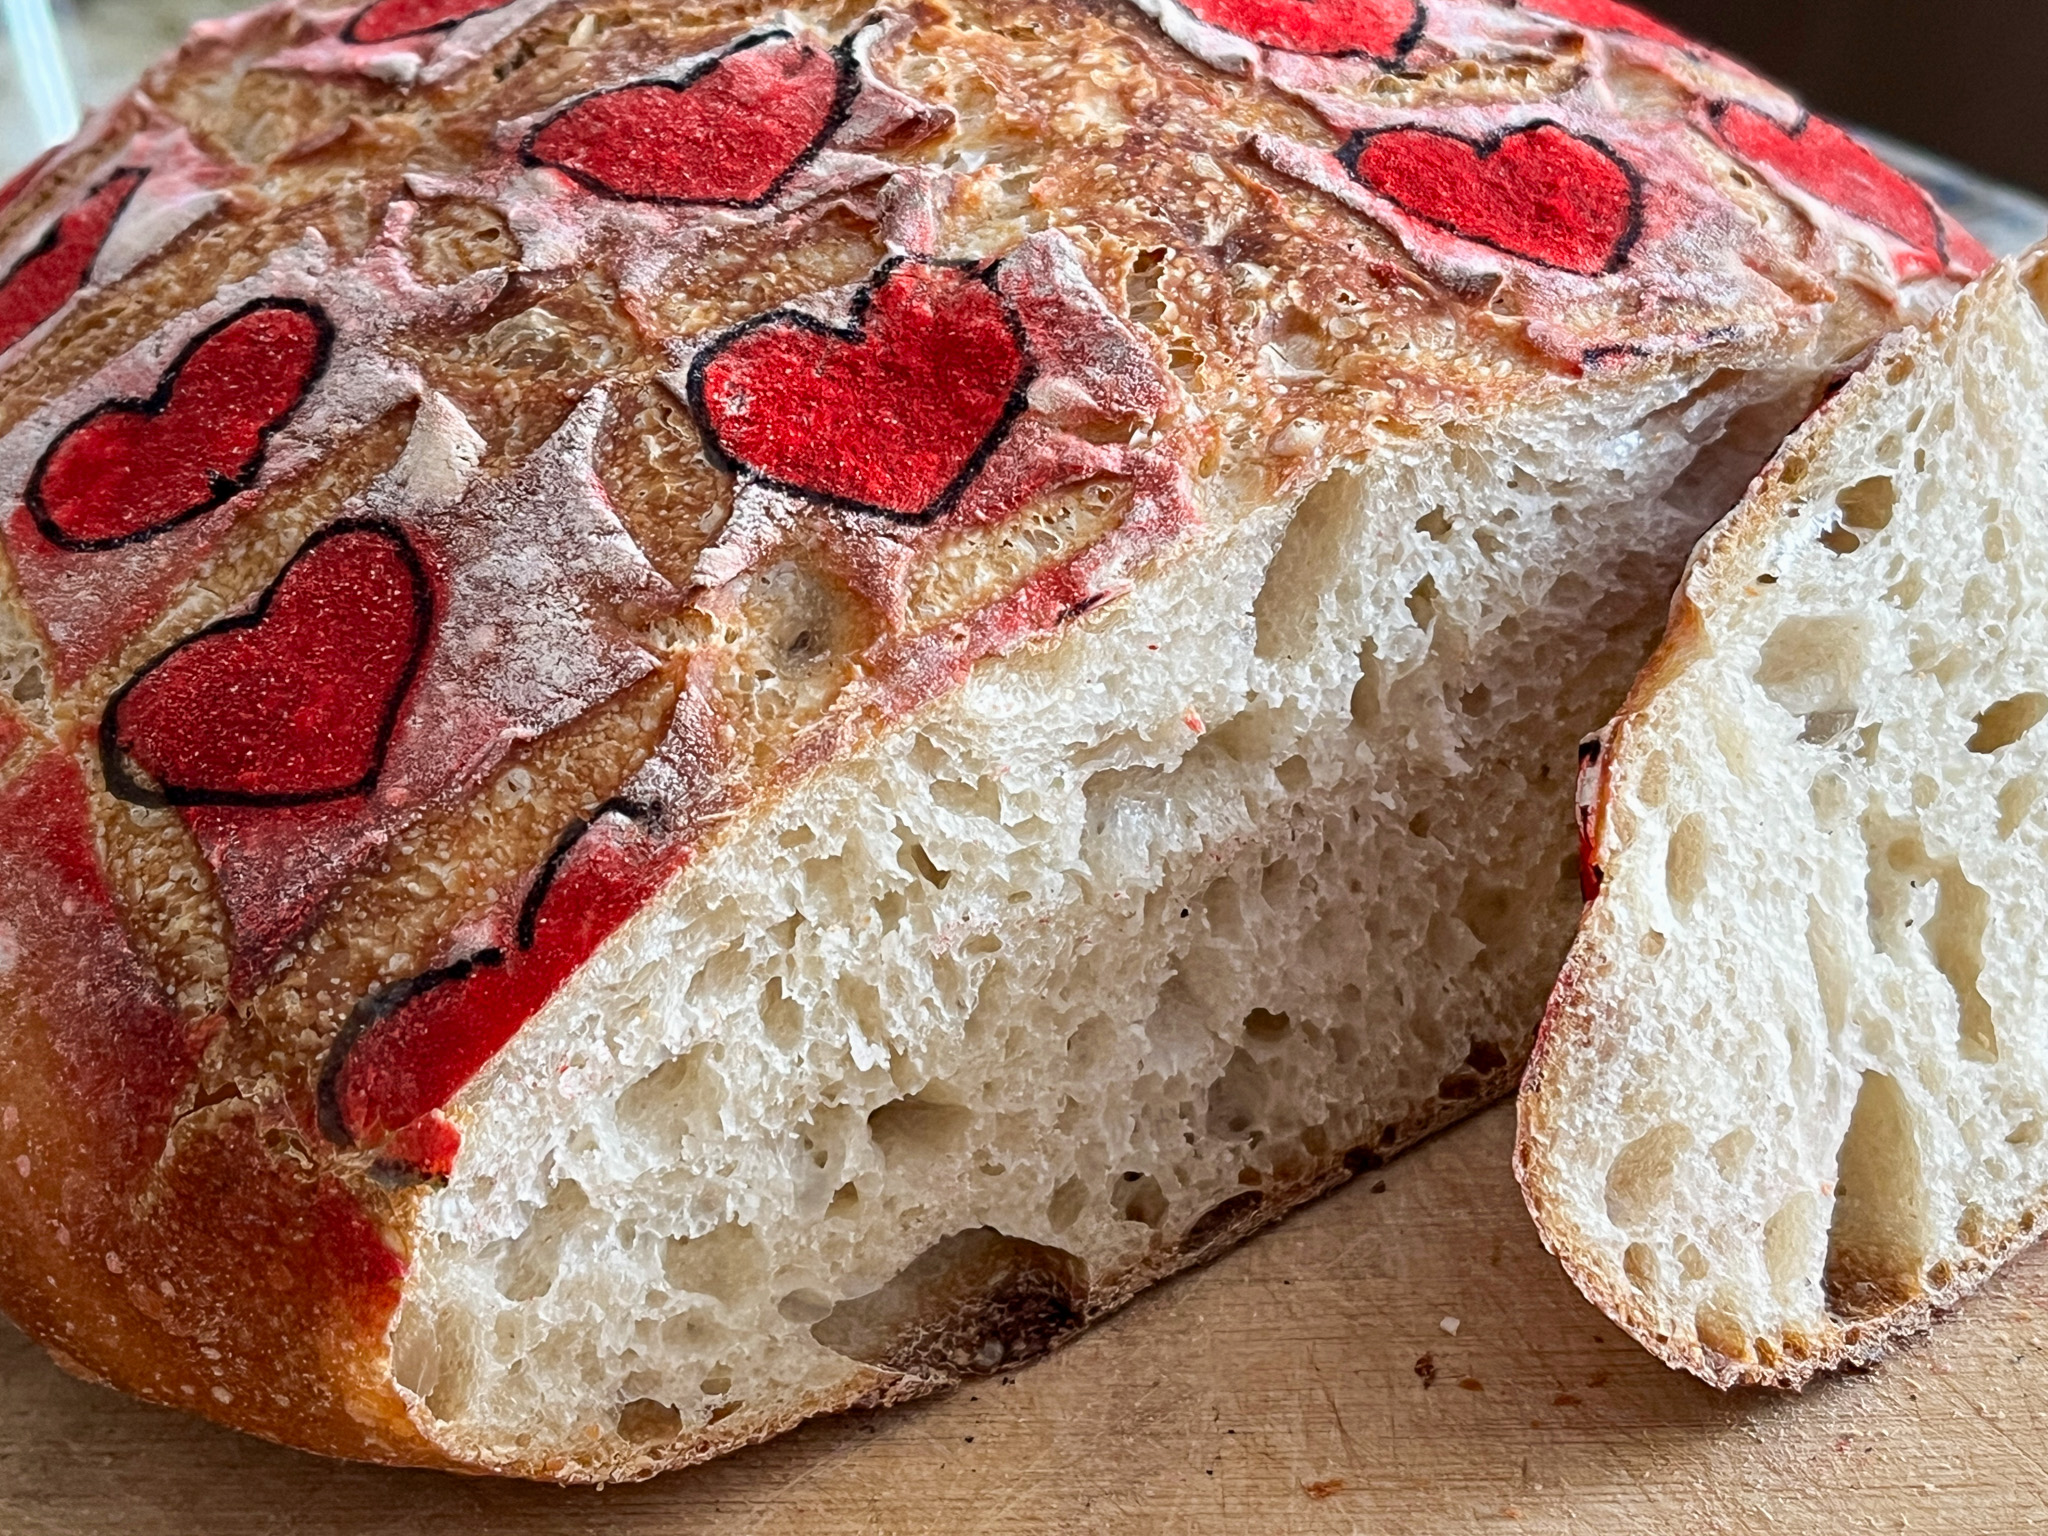
Here is how to make the decorations on the loaf…
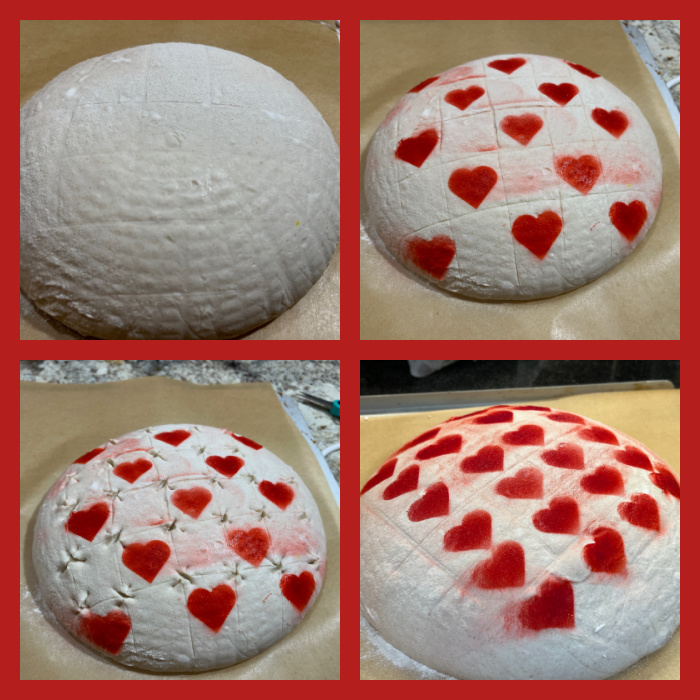
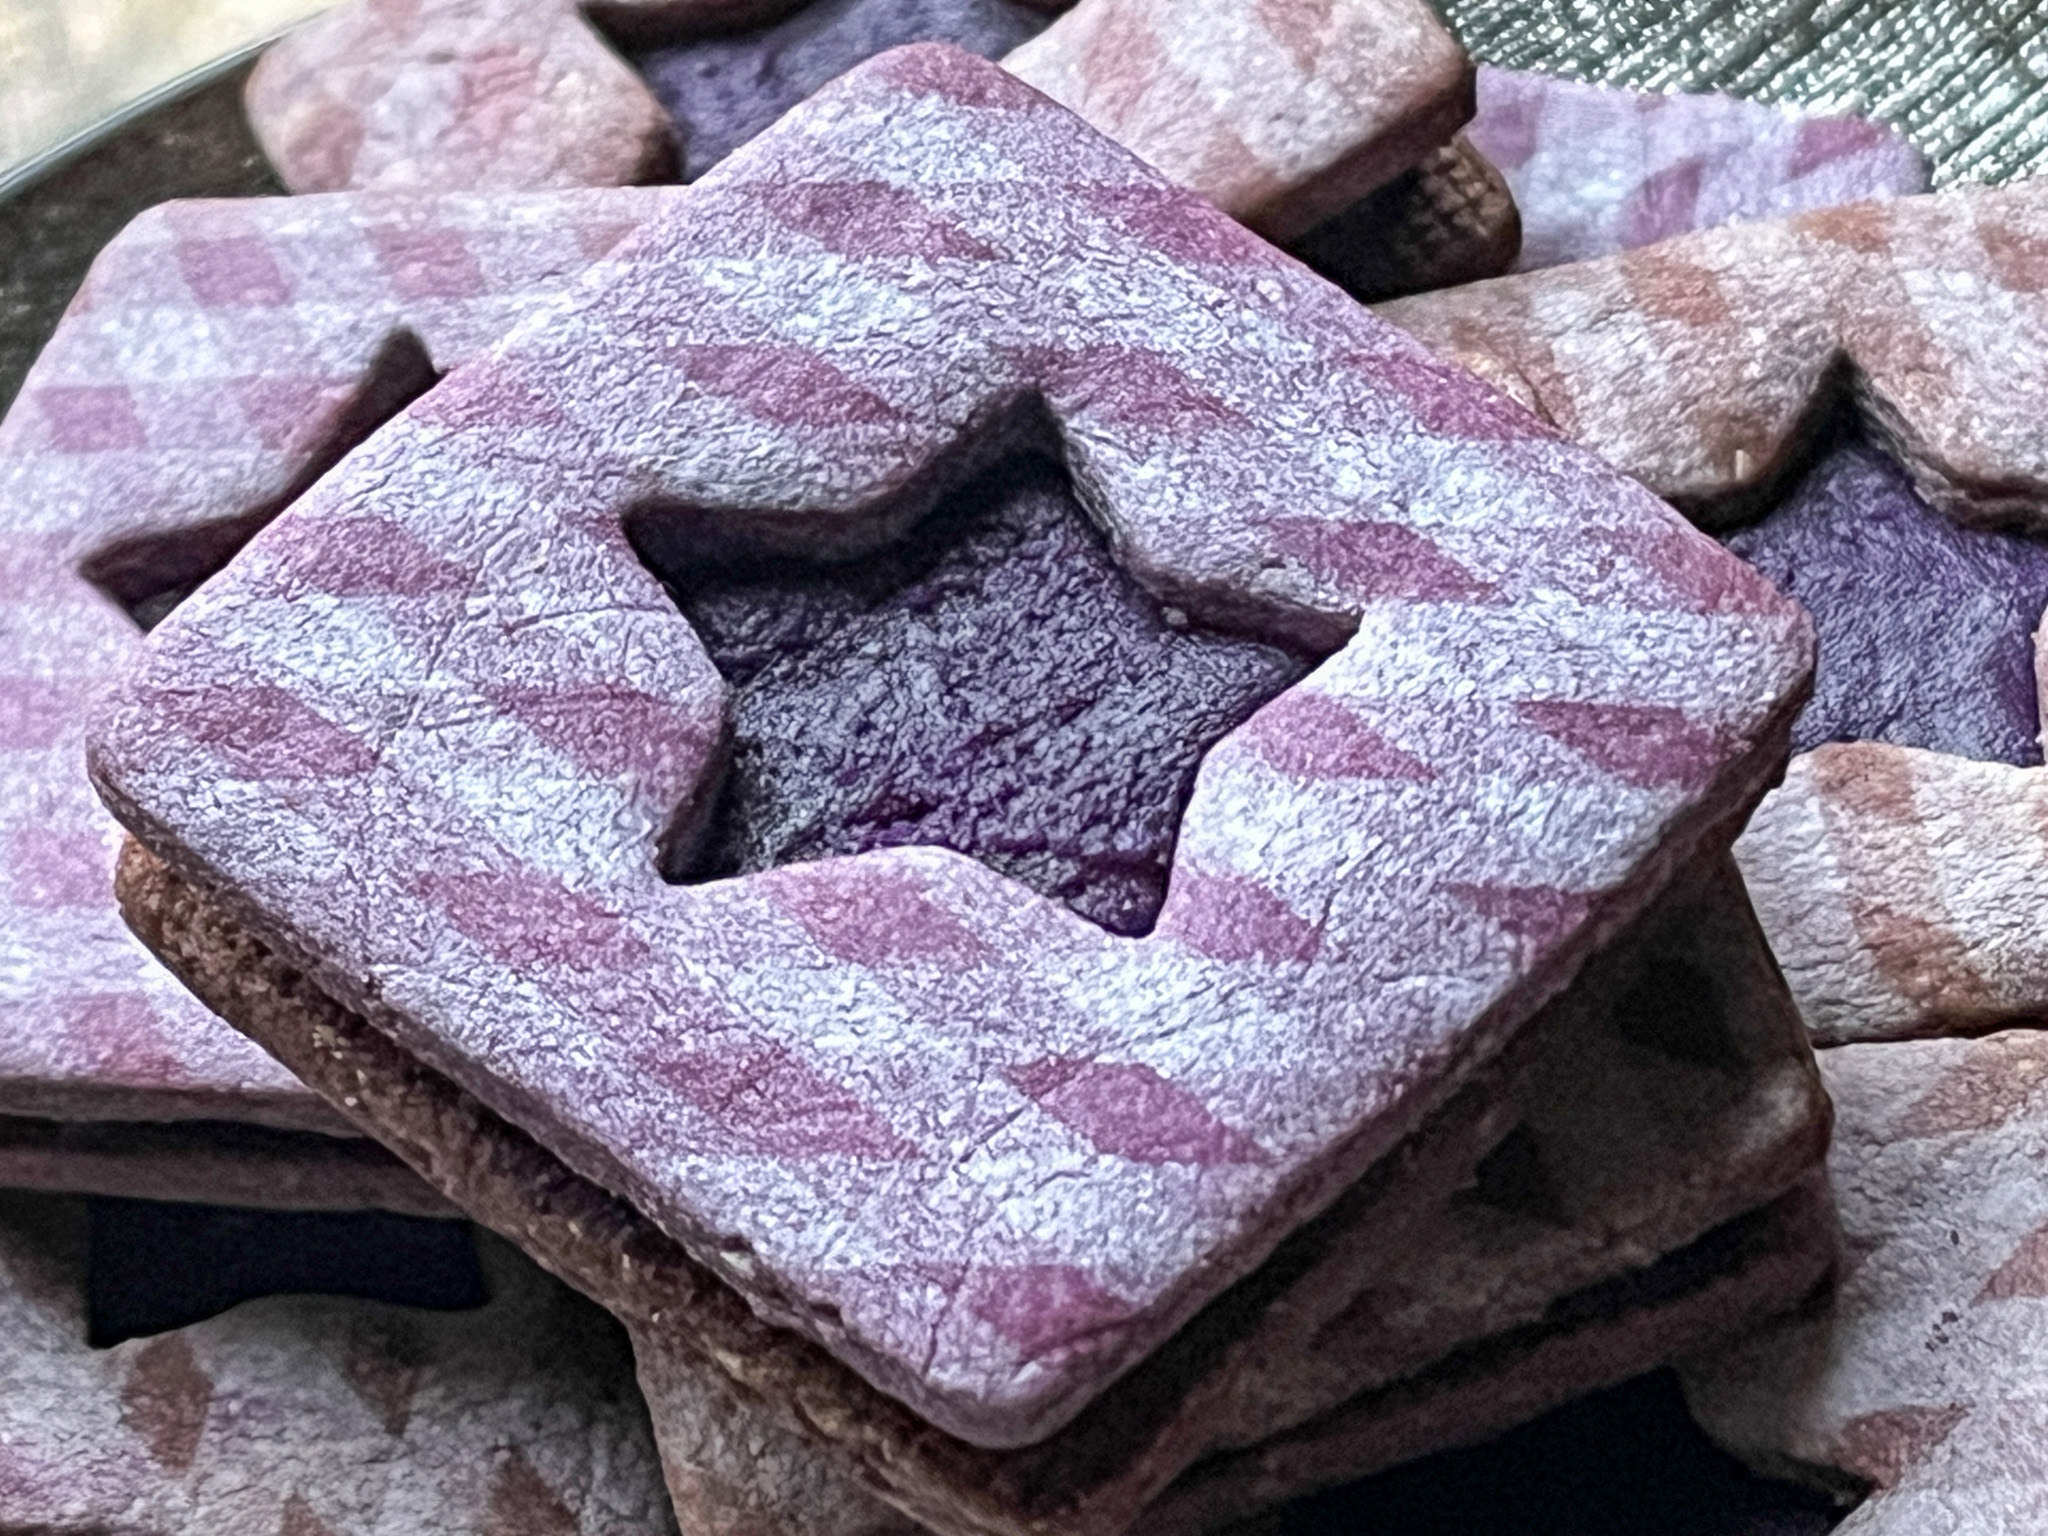
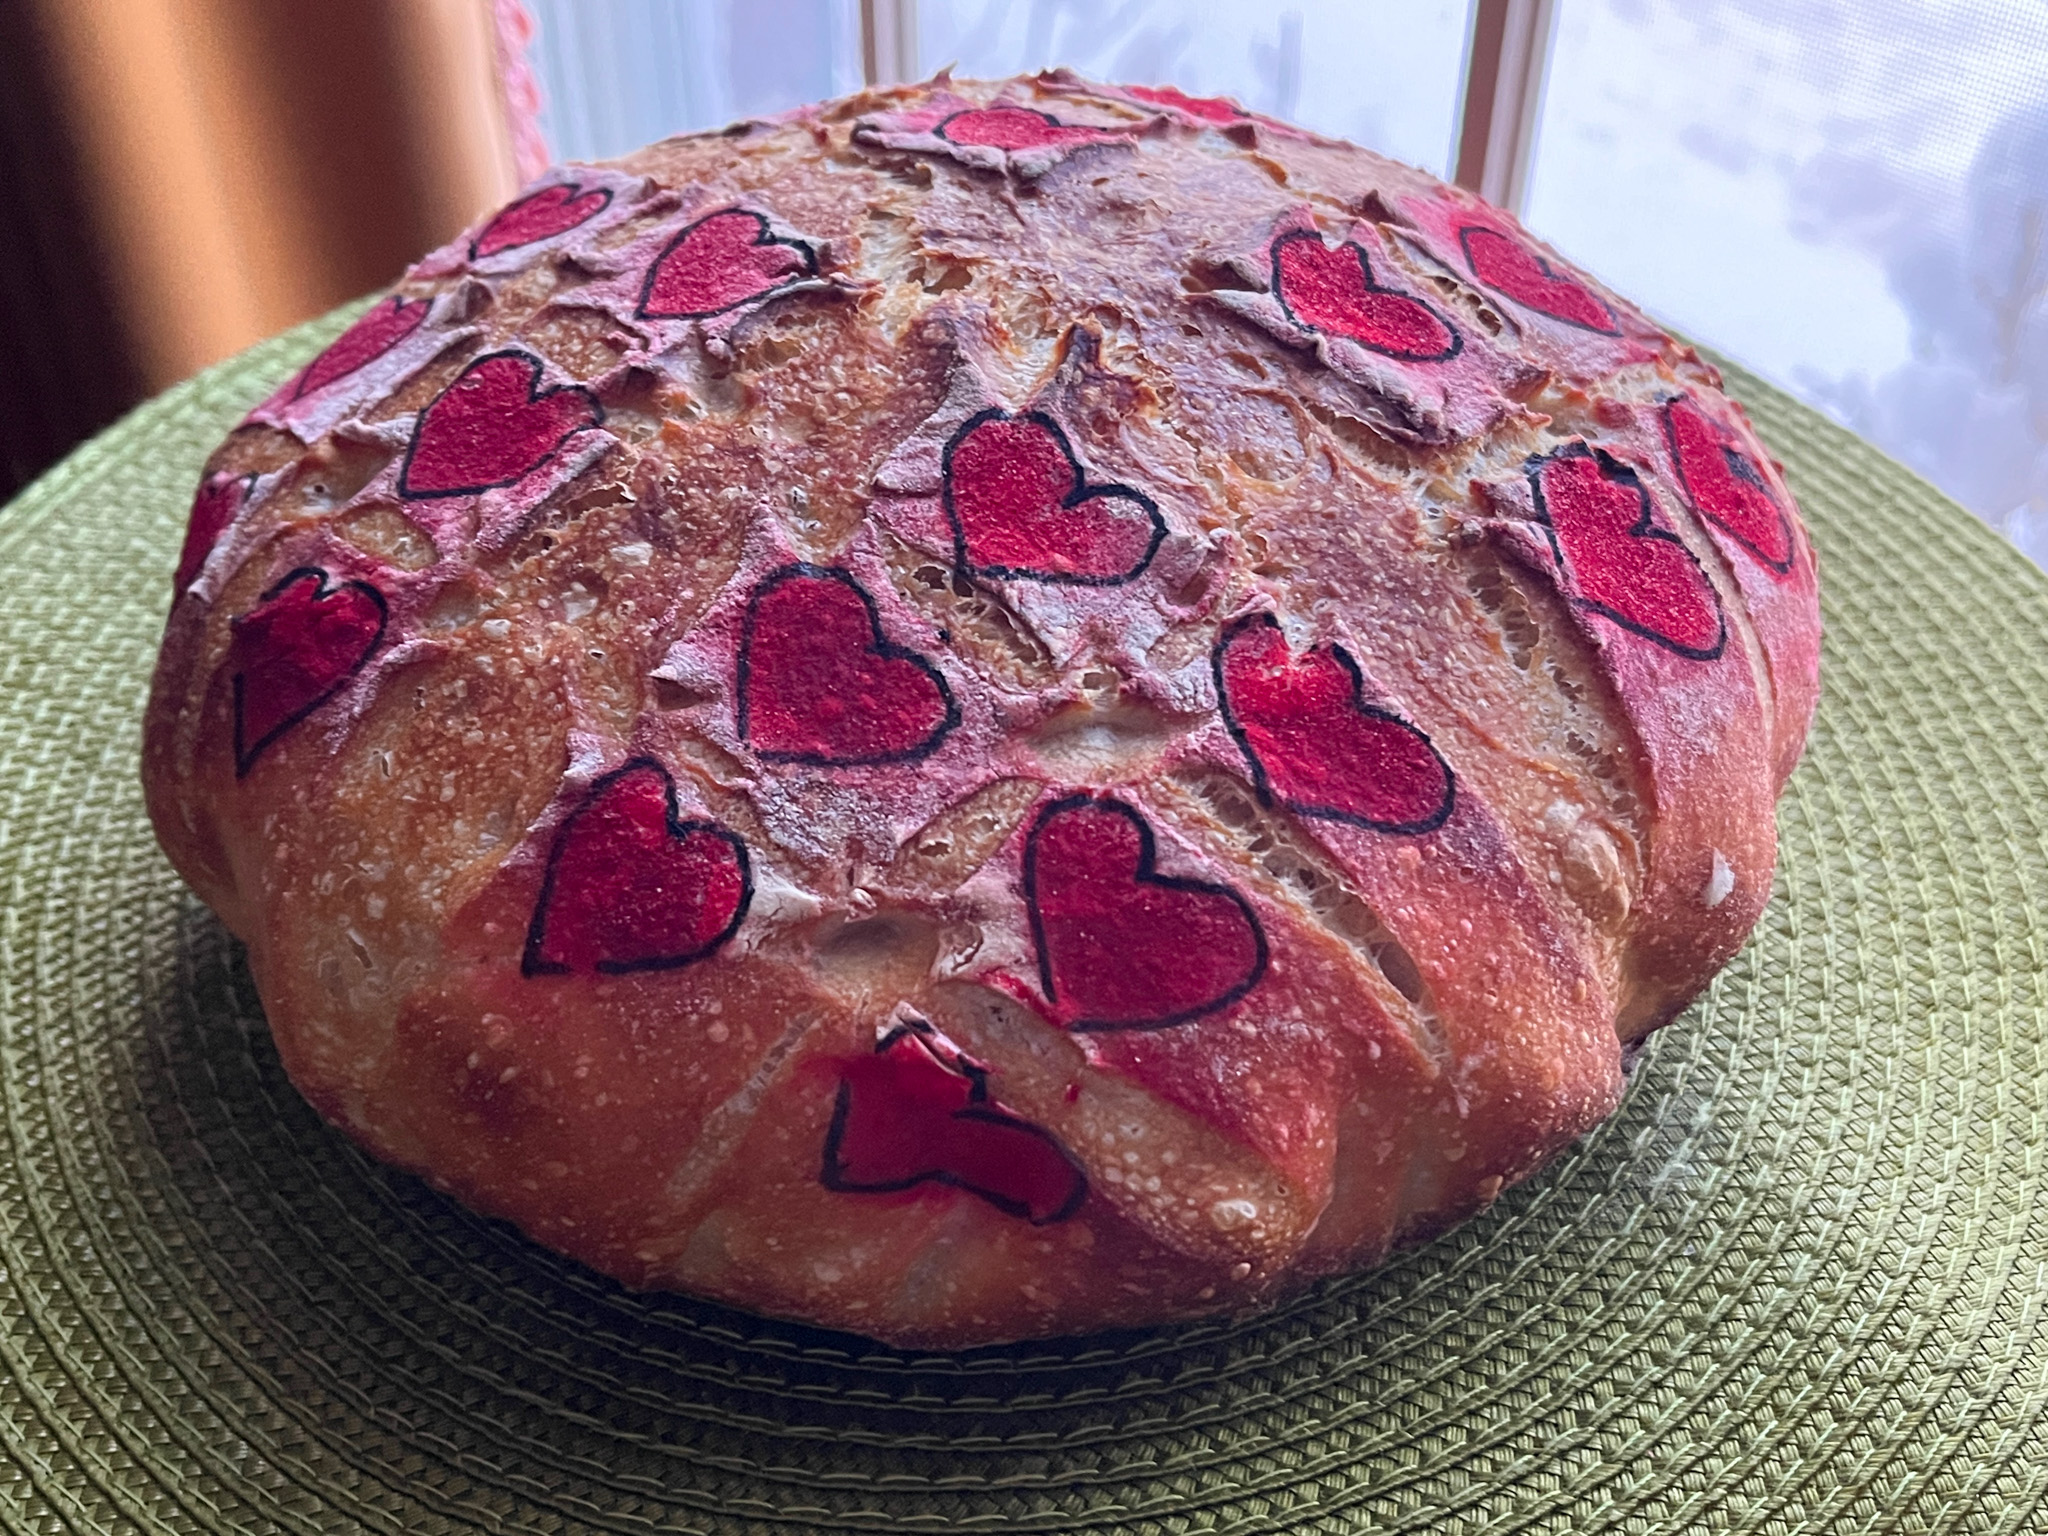
For the little hearts, the bread is painted using air-brush and a stencil, after scoring the surface with a grid pattern. The corners of each square get a small cut with scissors. One of the loaves had the little hearts outlined with black food pen, the other I left without the outline. Your kitchen, your rules…
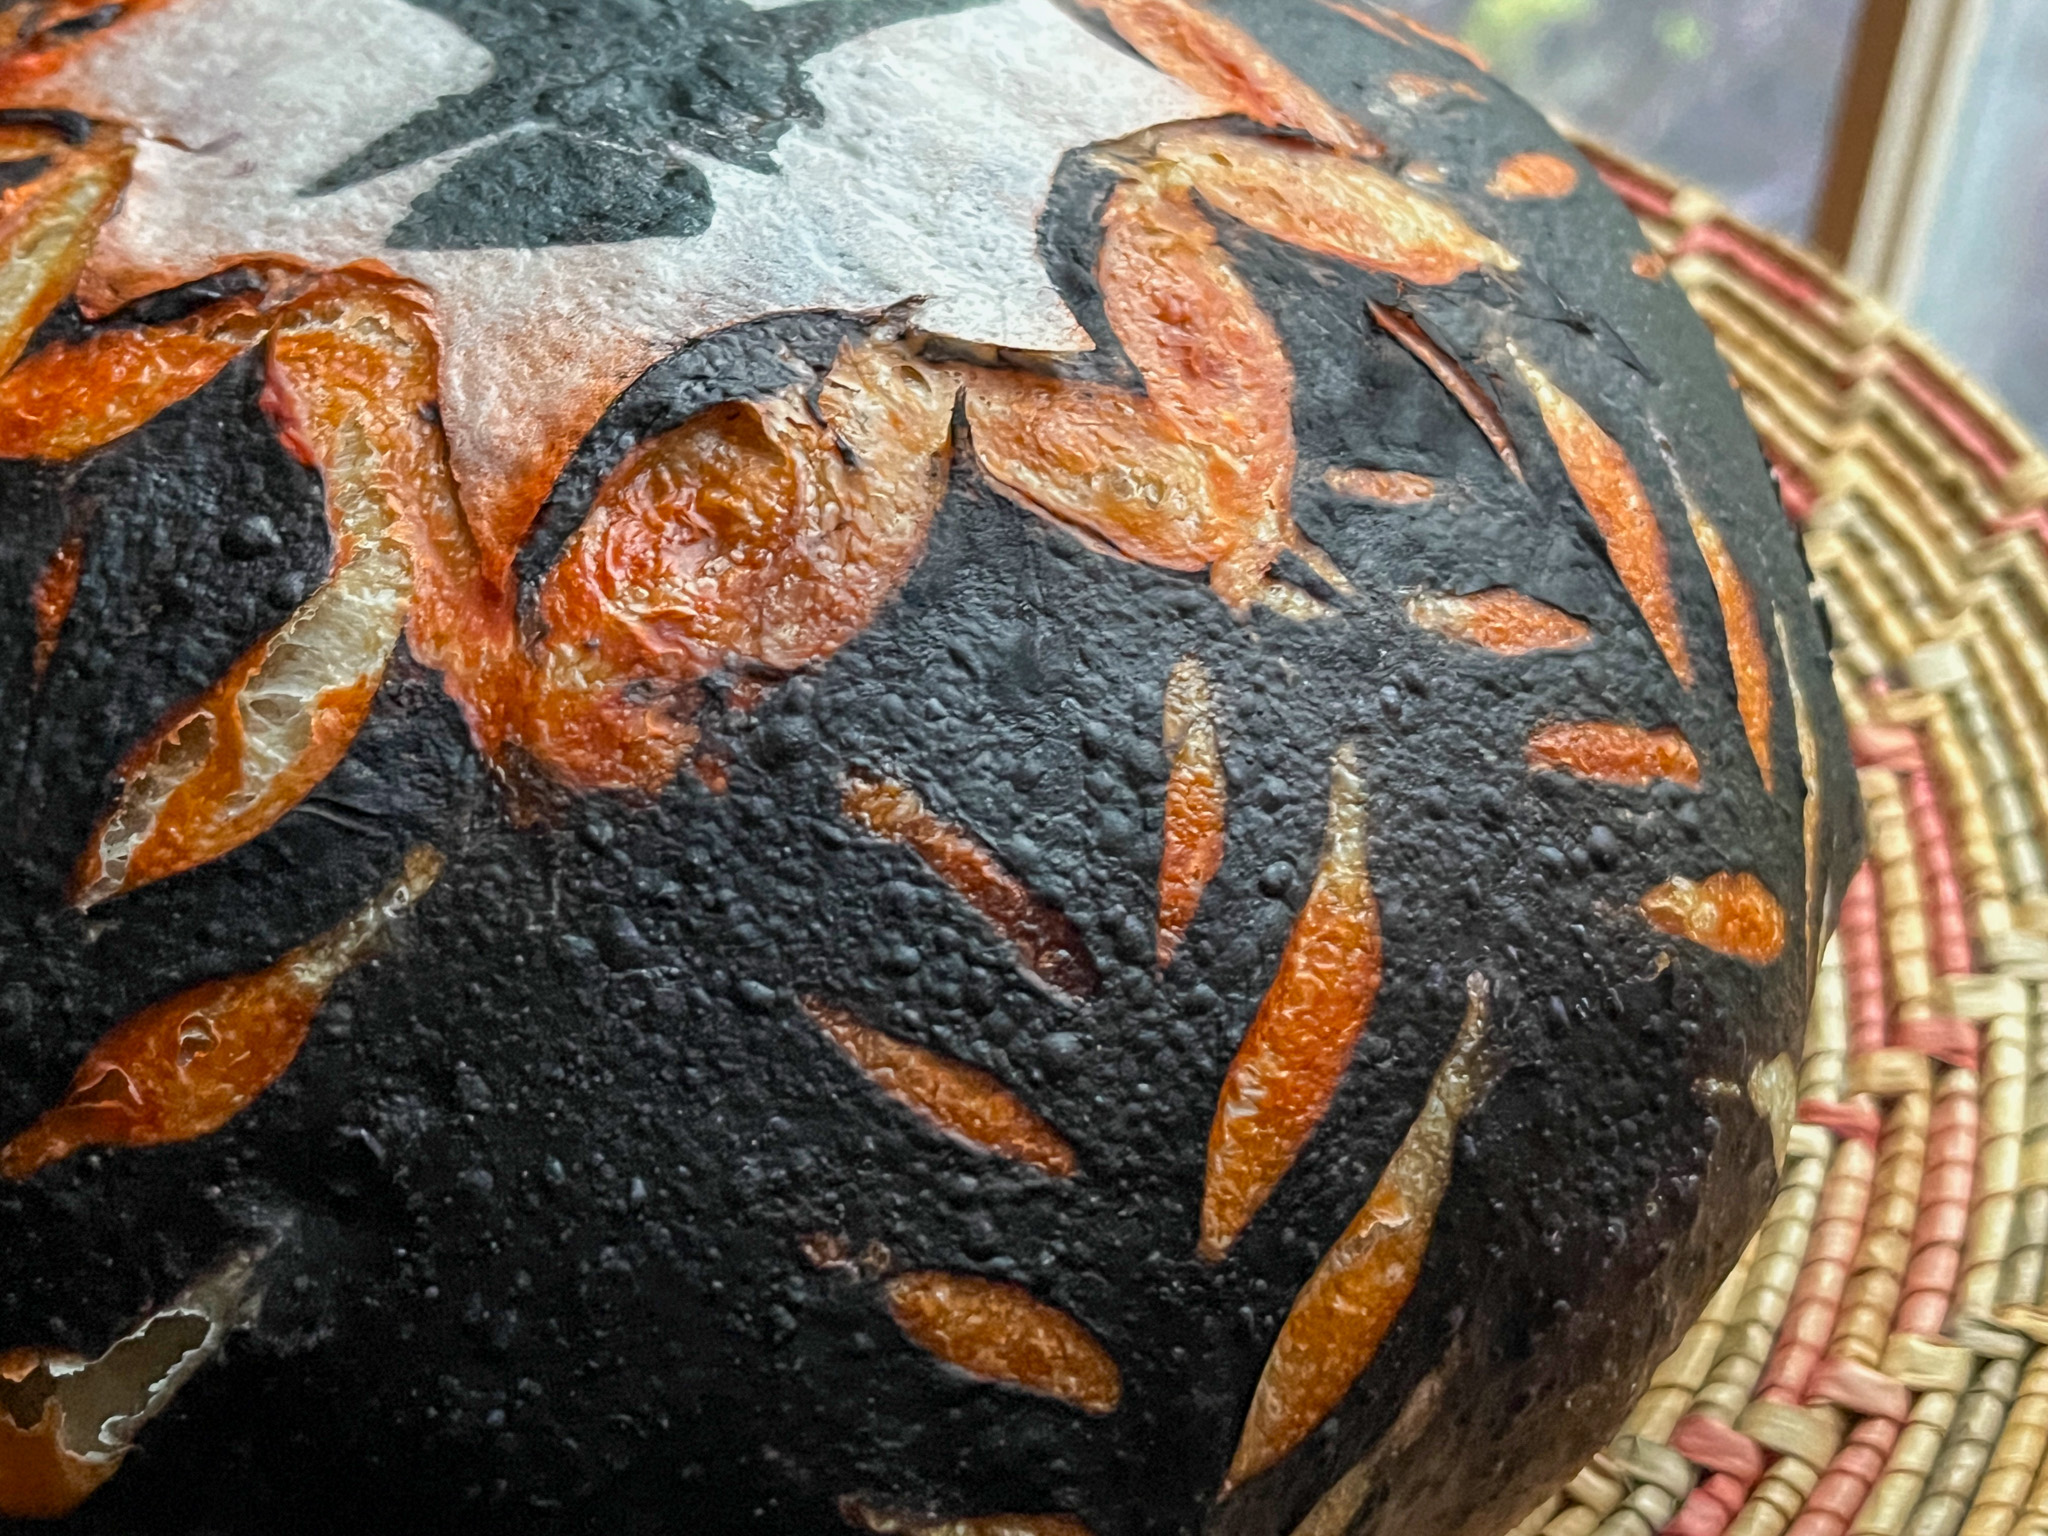
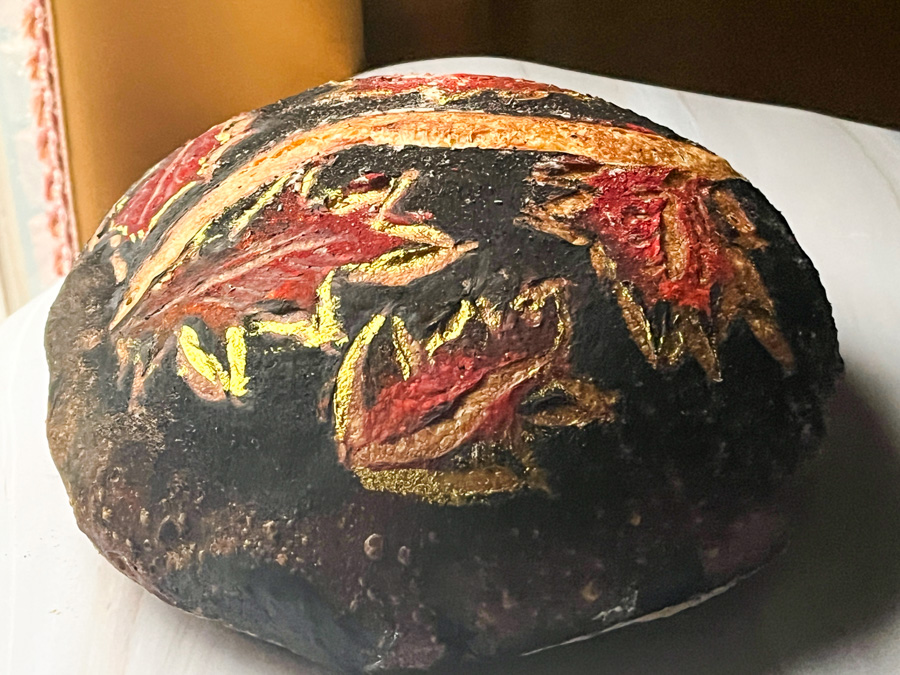
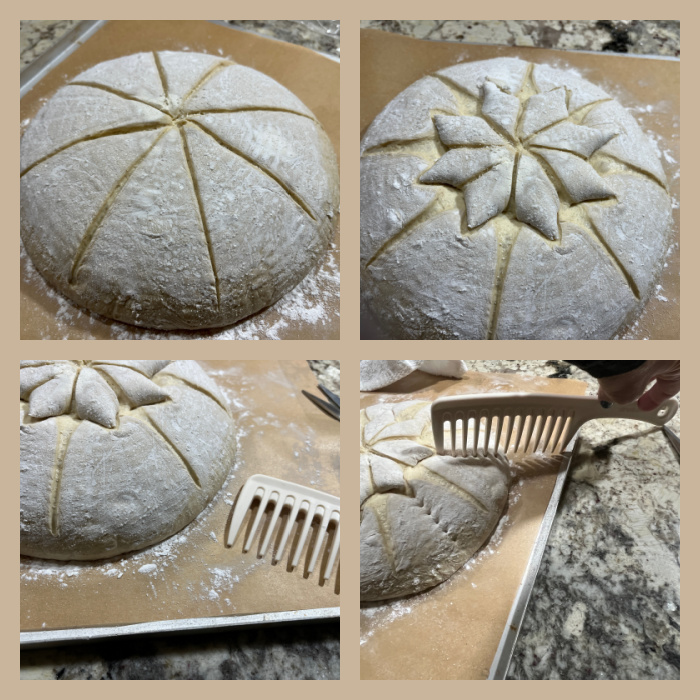
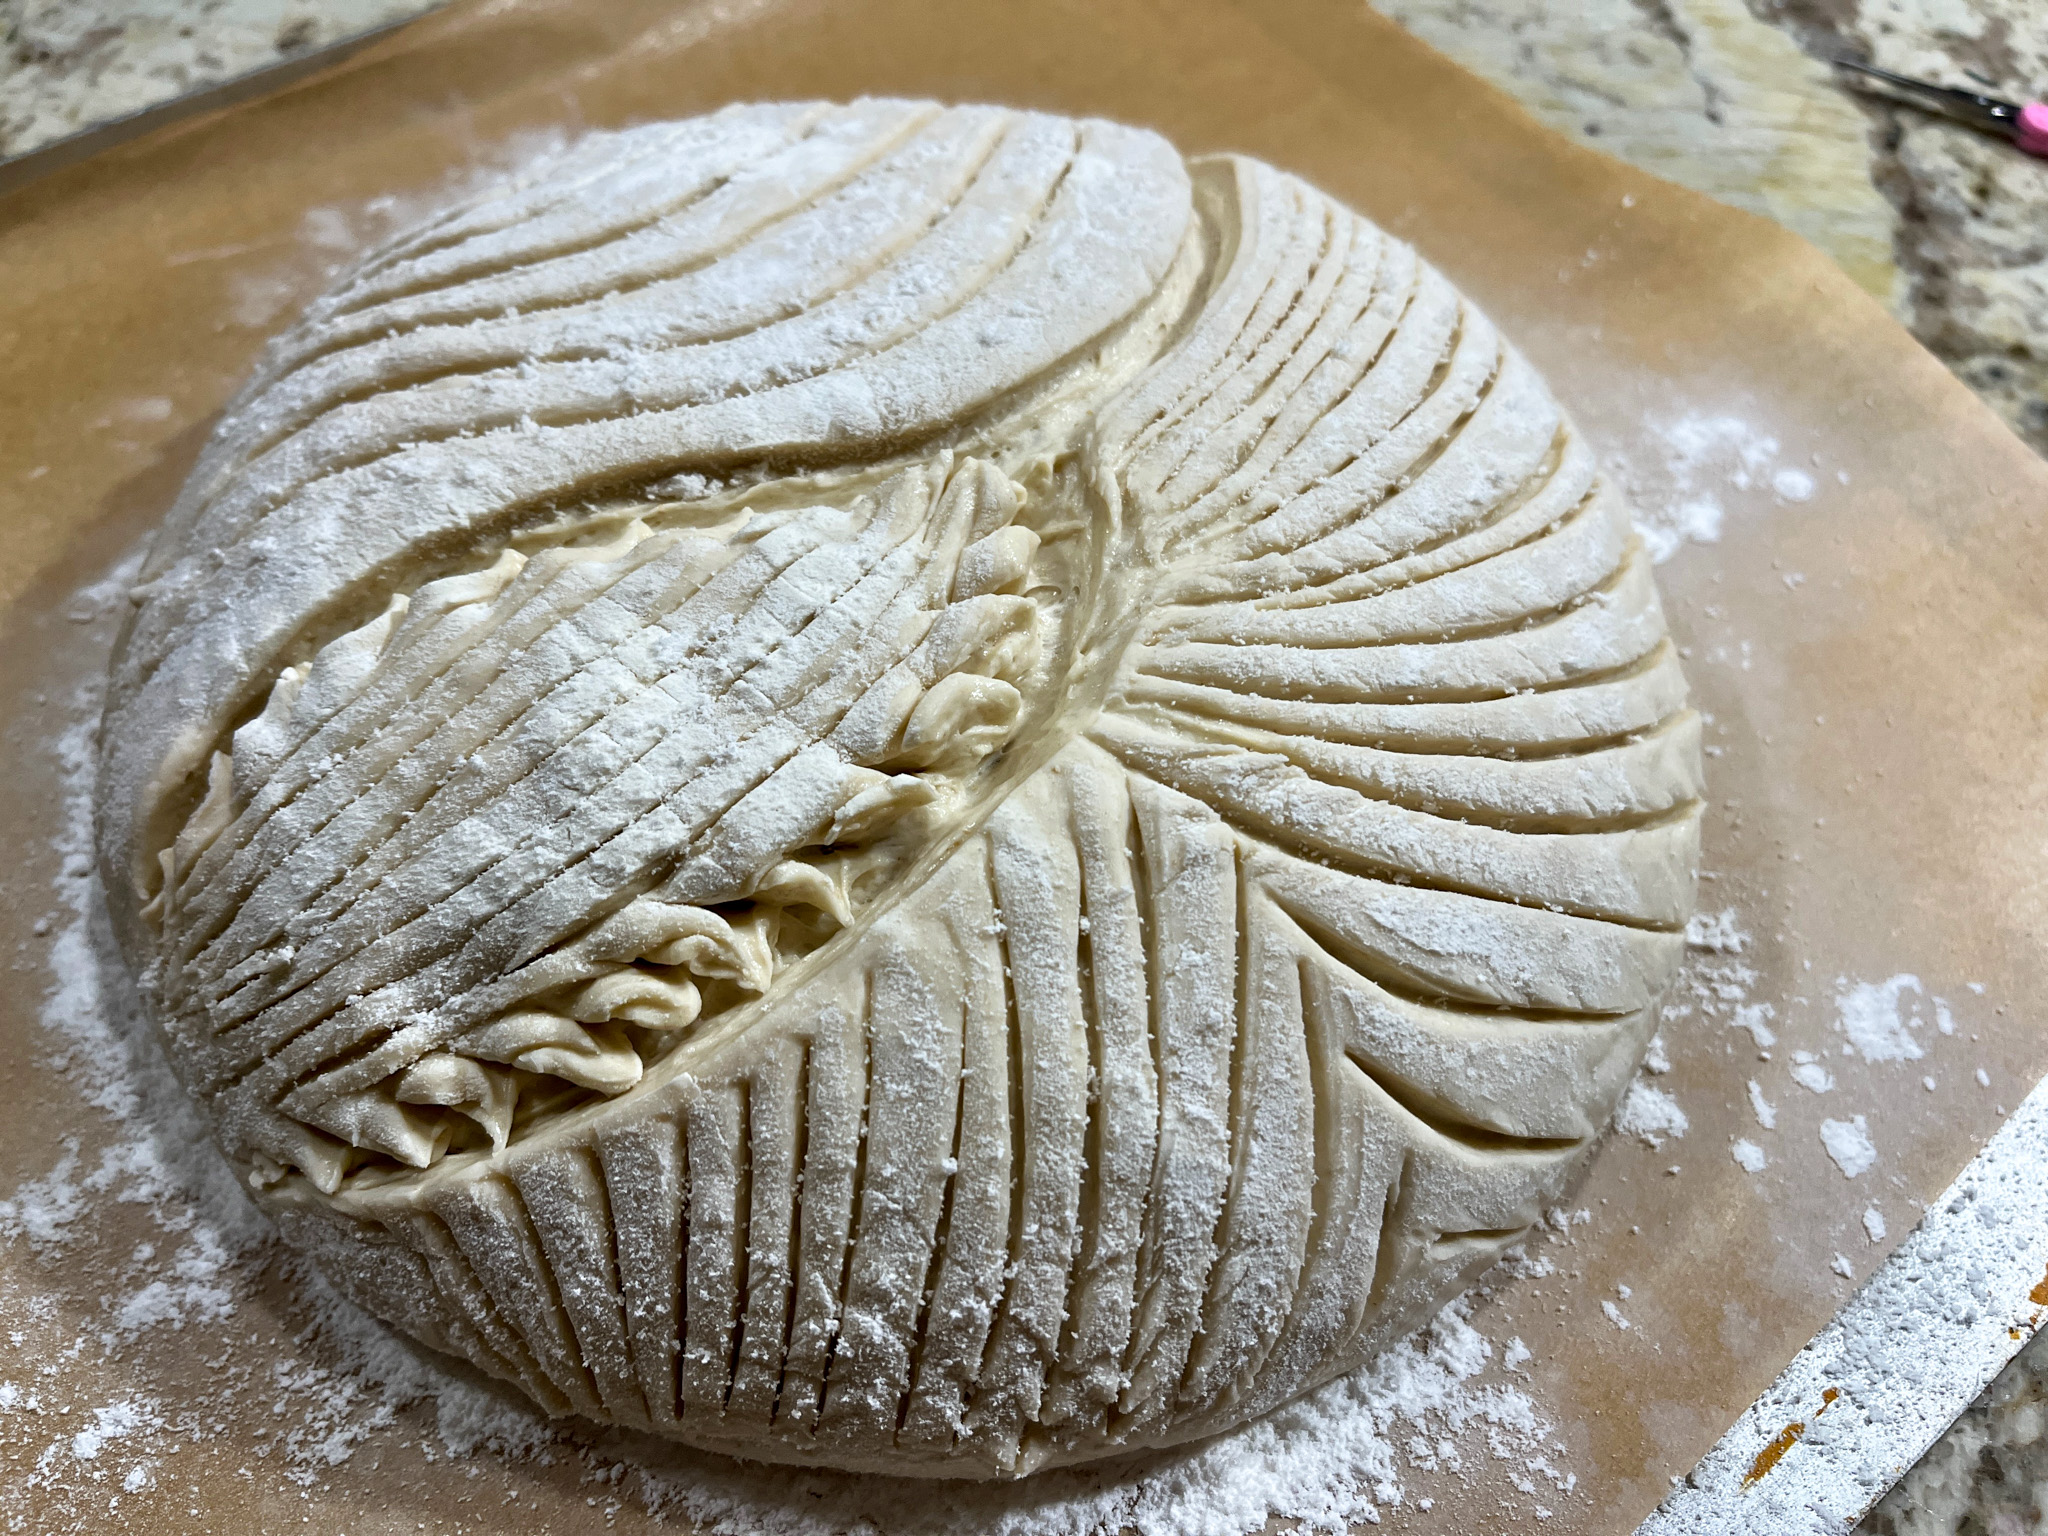
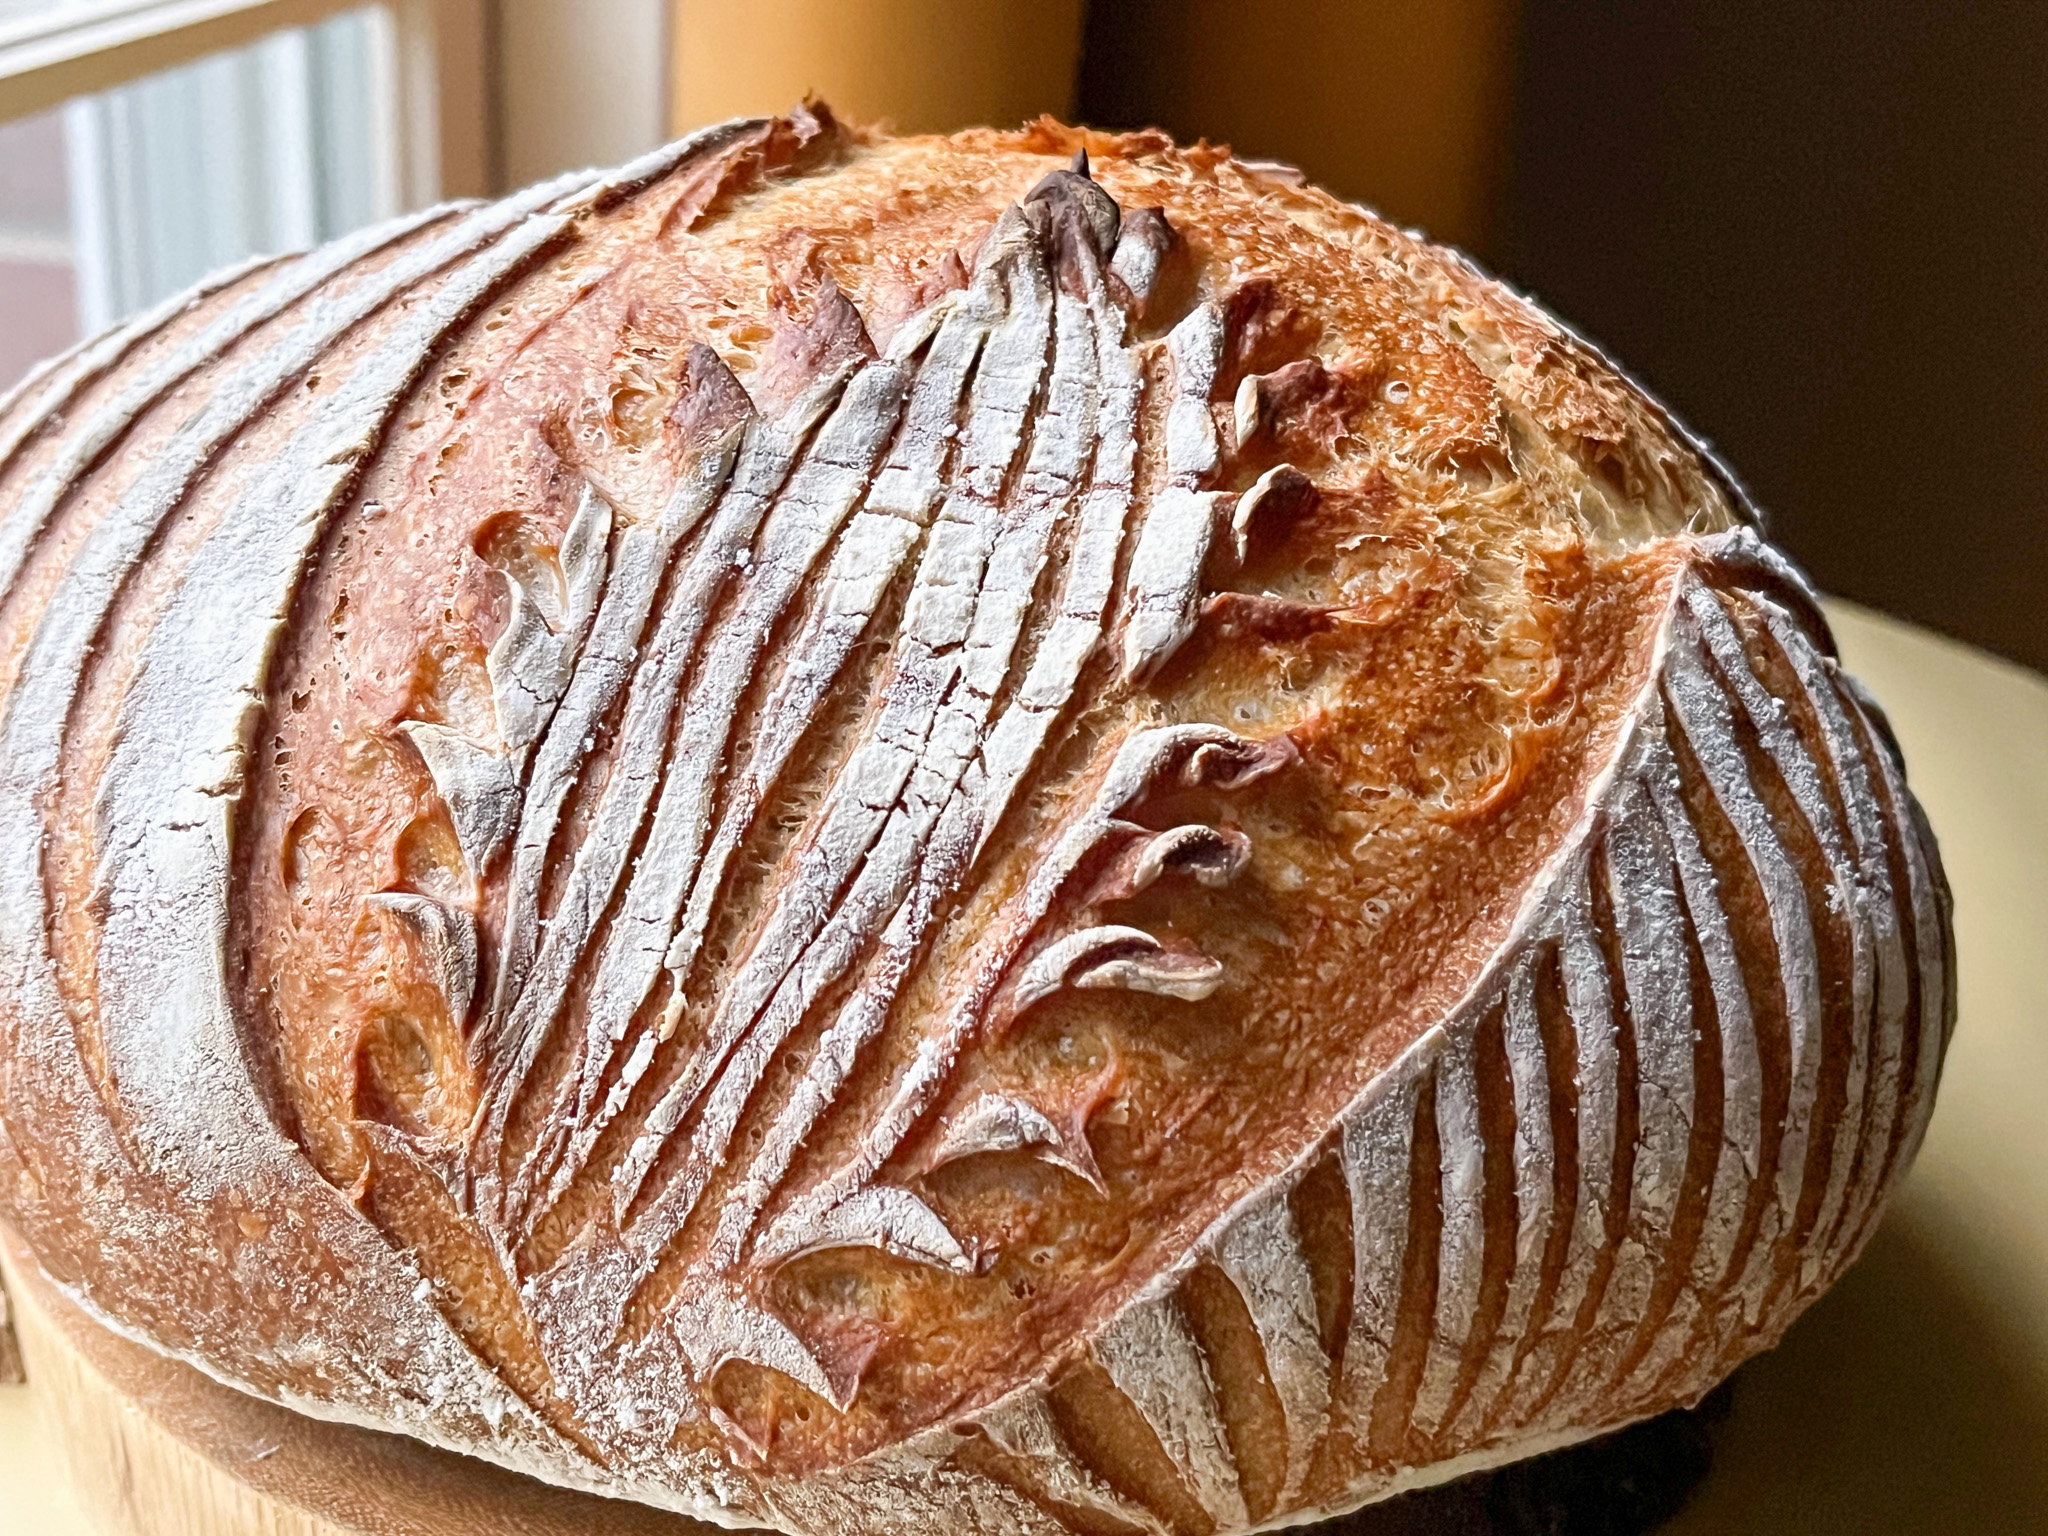
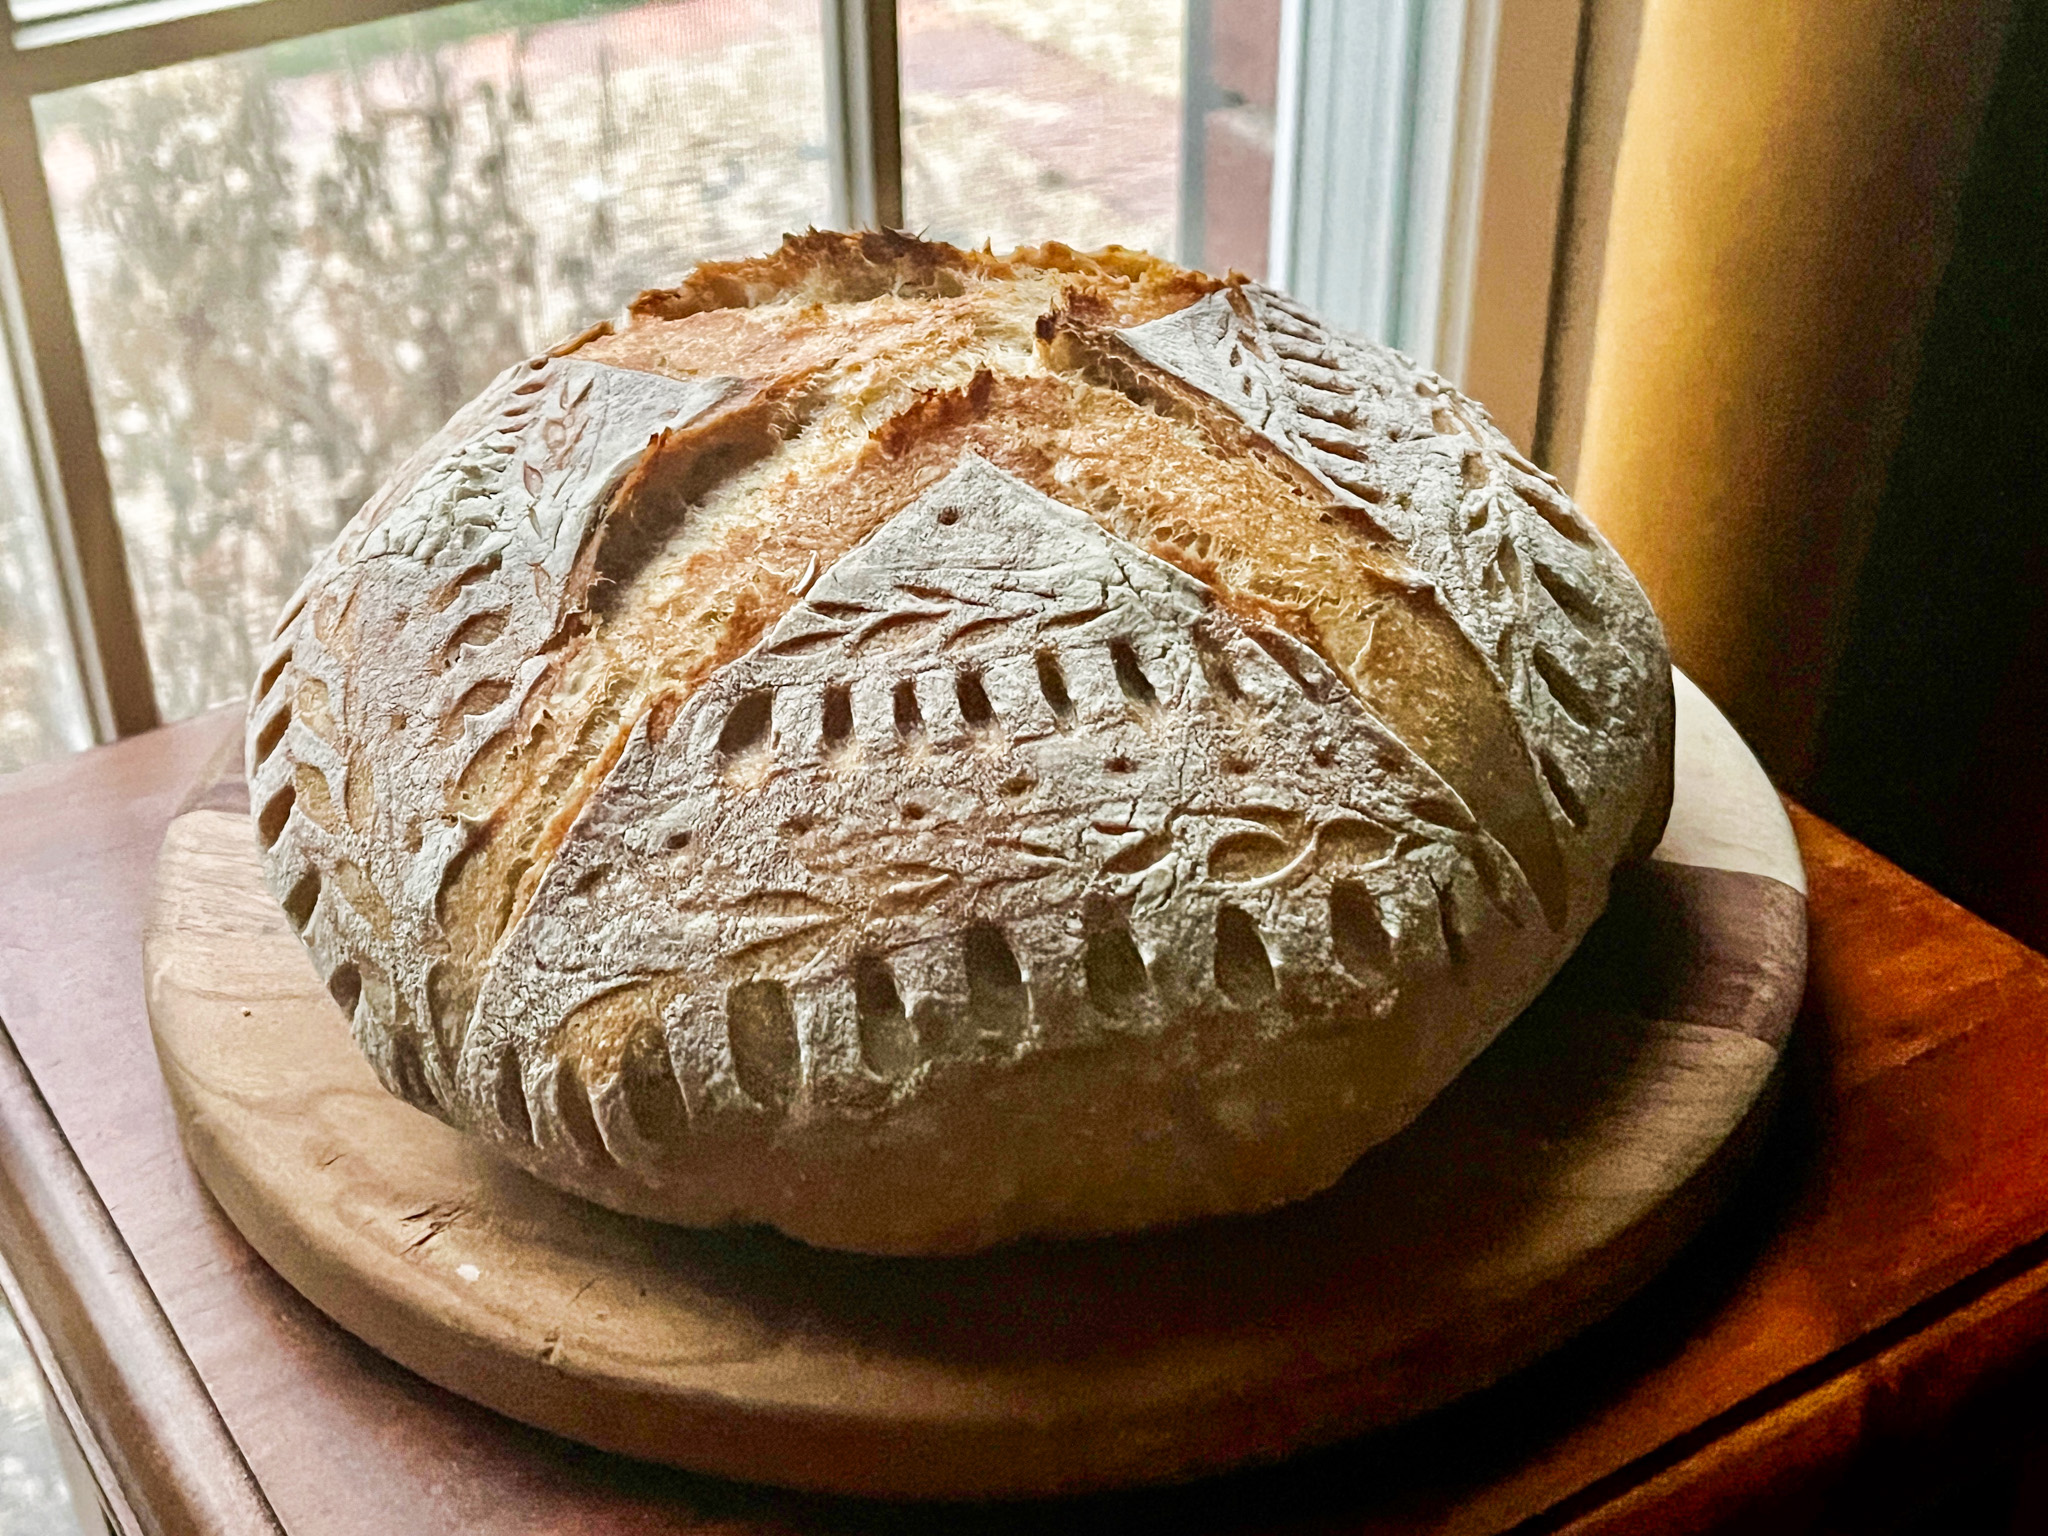
Below, a design in which a large comb was brought to play… No, I never used the comb on my hair, it was bought just to play with bread baking…
Inspired by Nicola’s recent reel on IG.
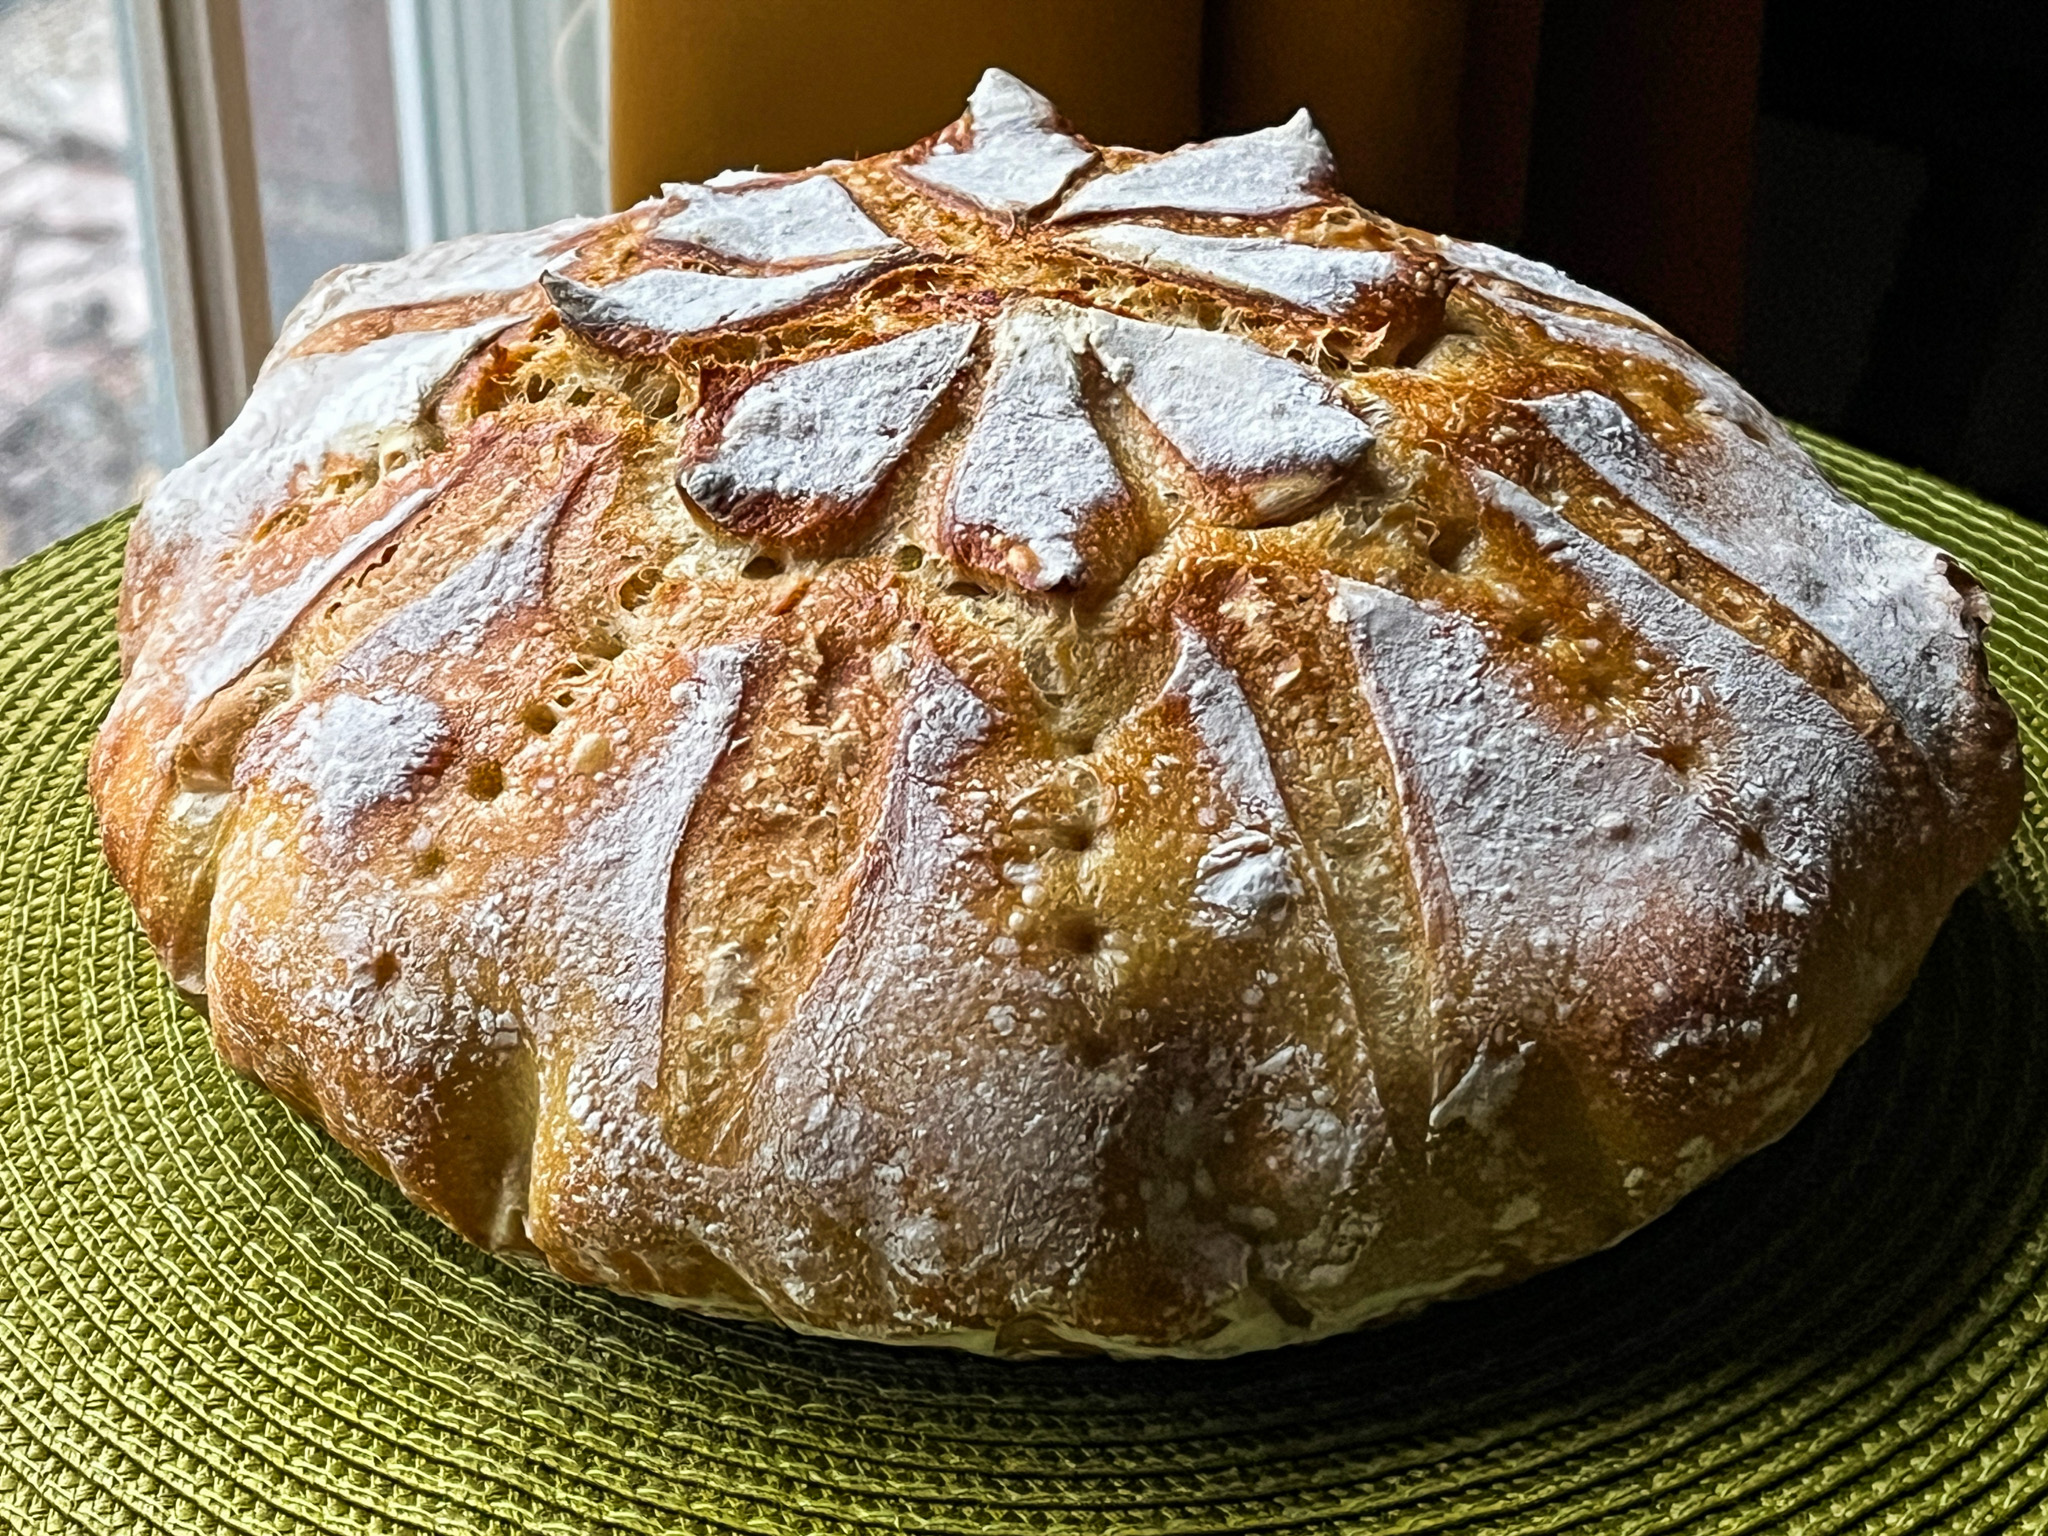
I used the Sonic blade for the scoring of this and all other loaves in this post.
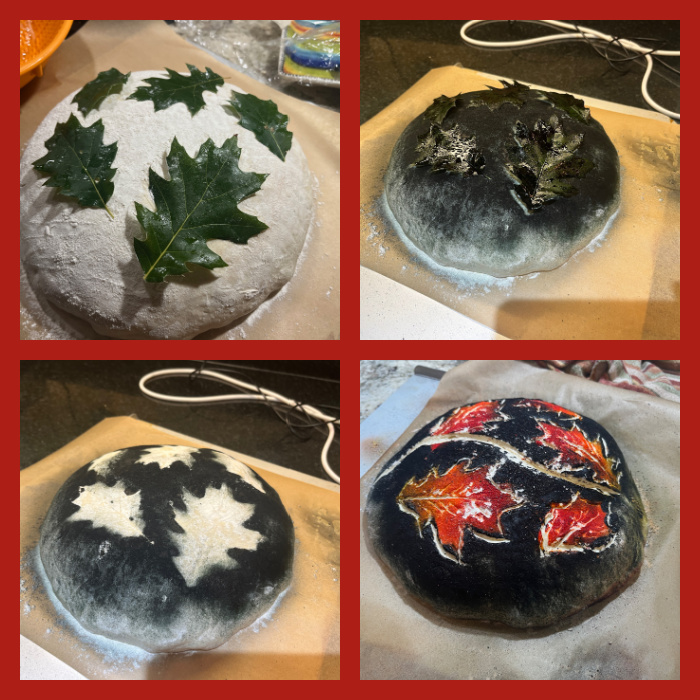
Before…
After…
Before…
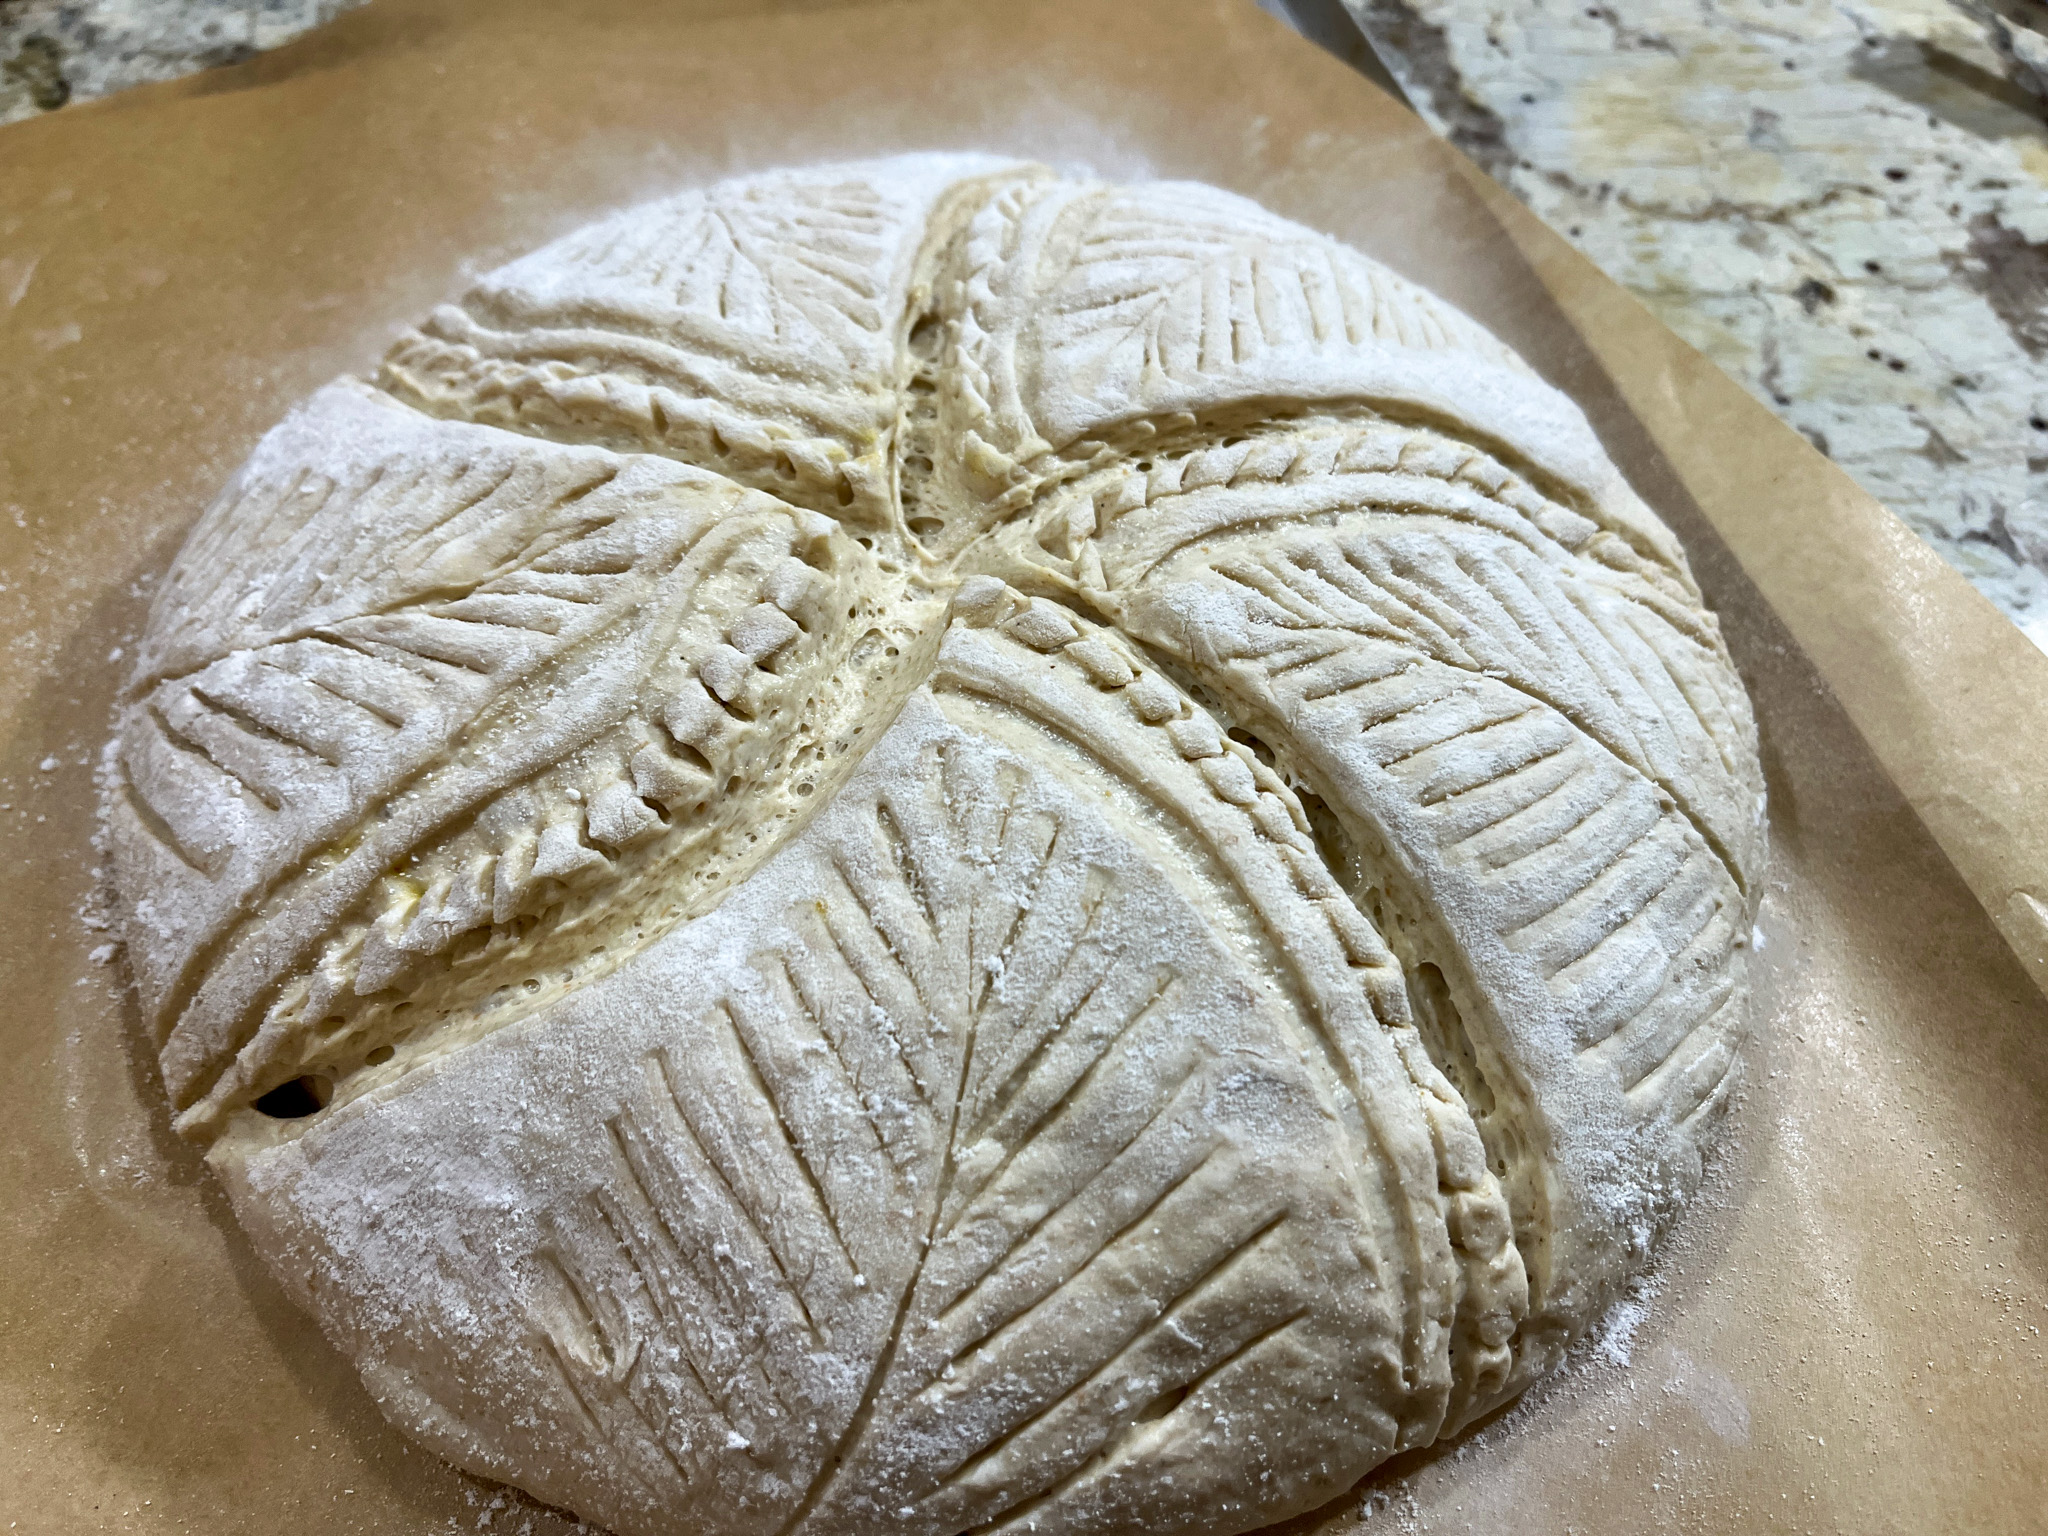
After…

Before…
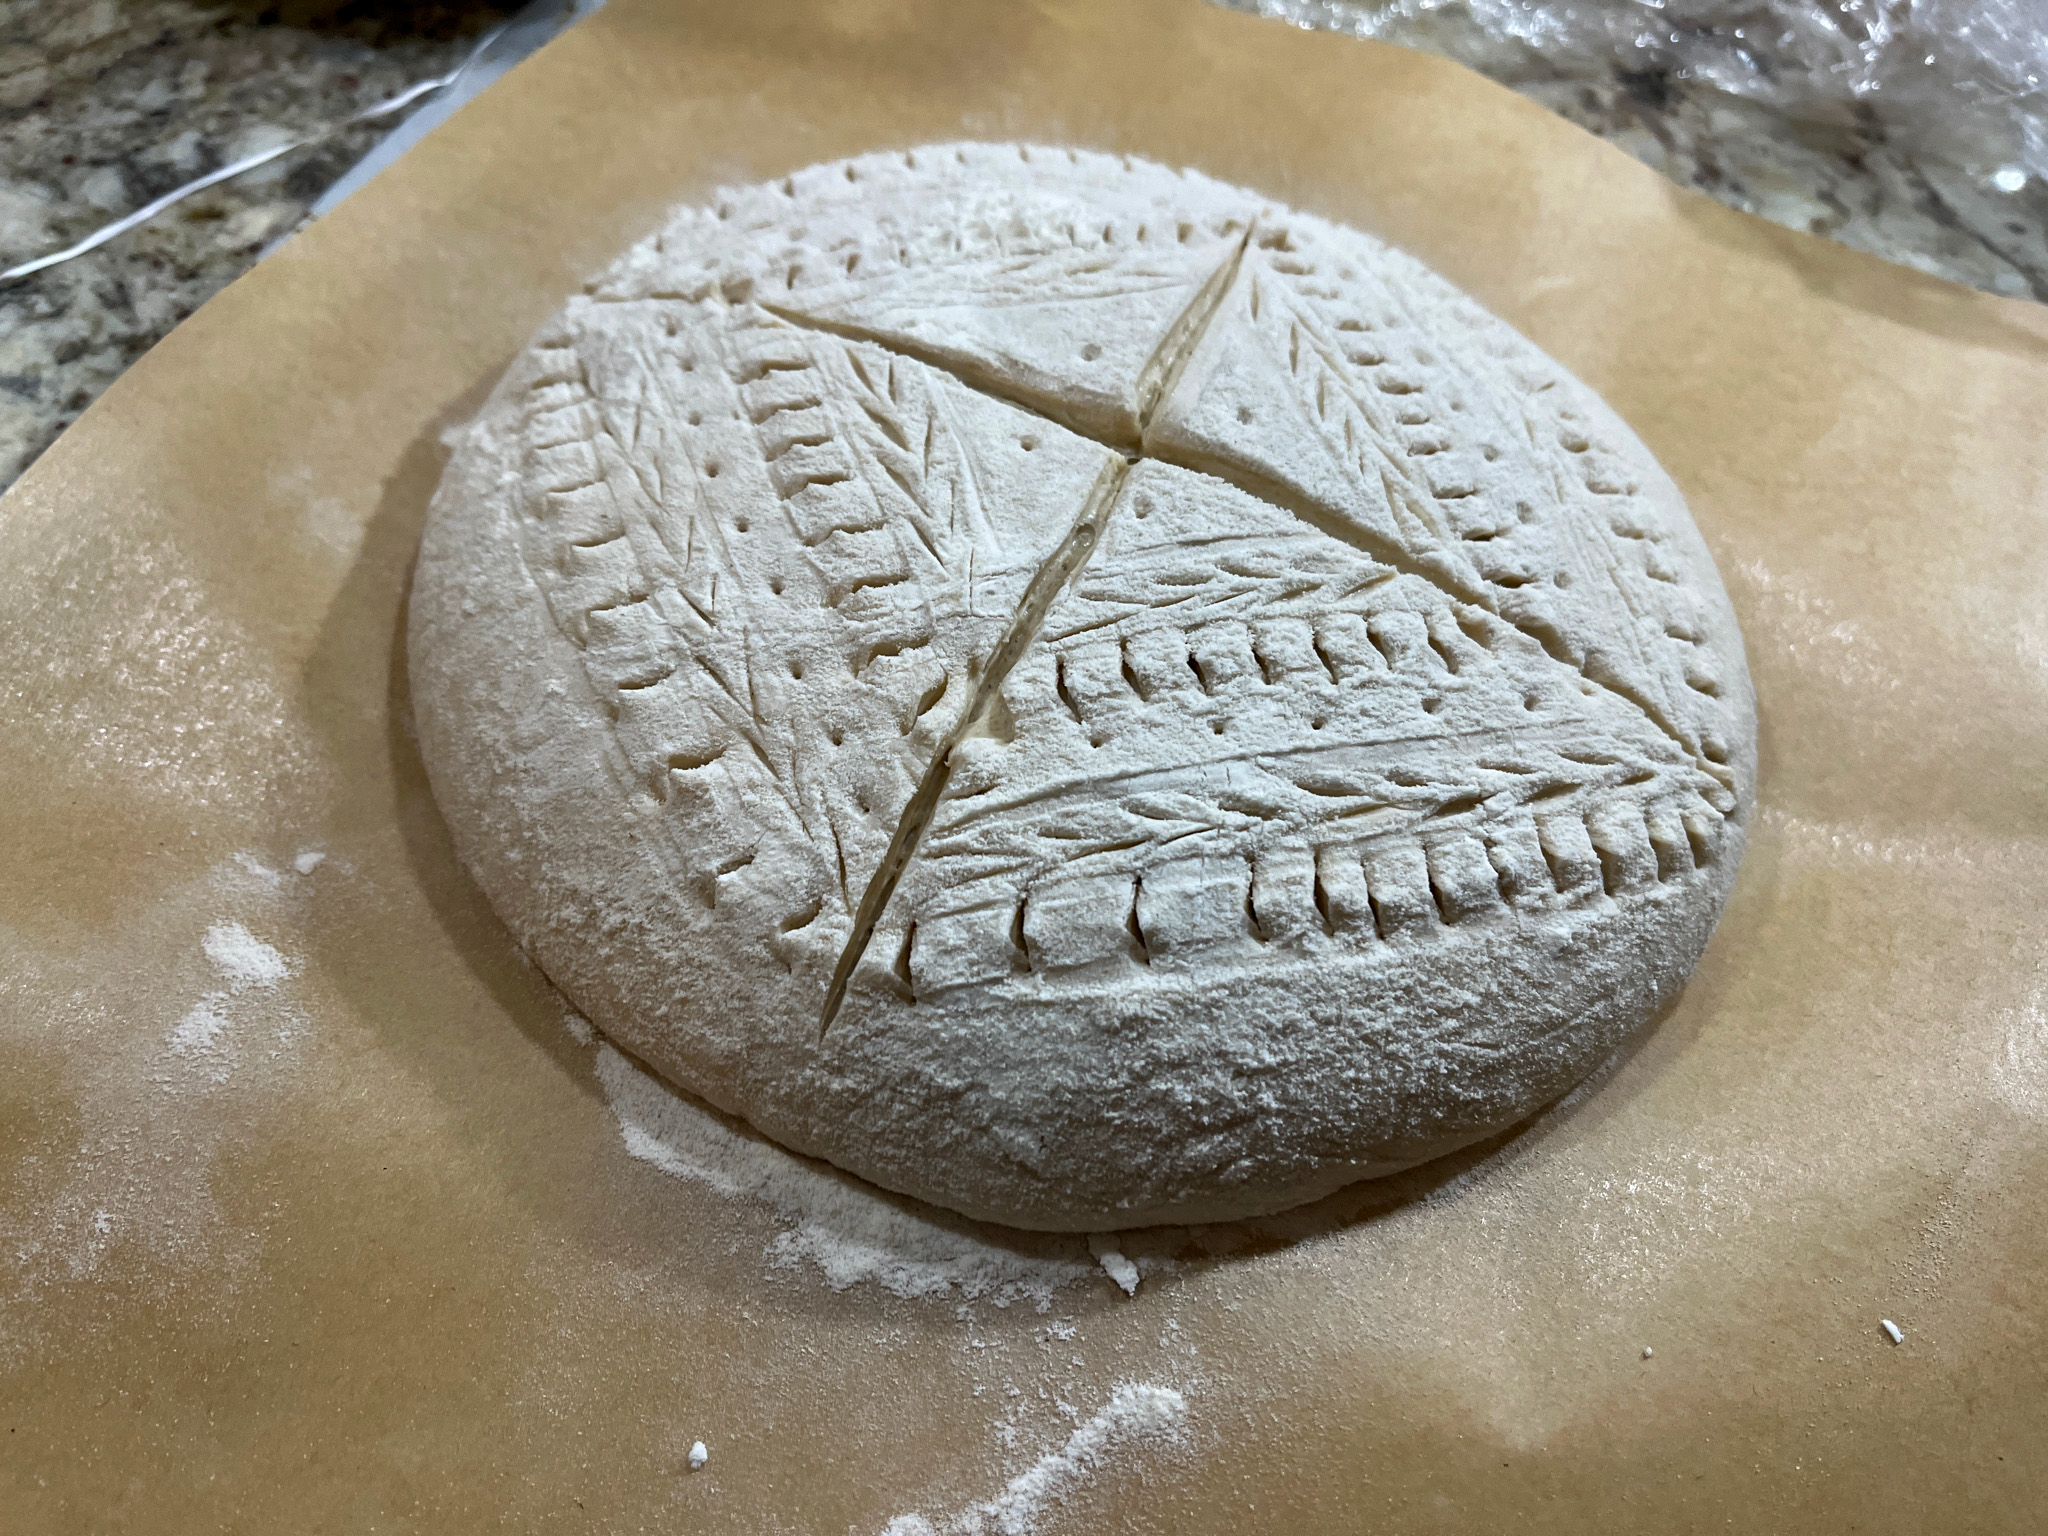
After…
ONE YEAR AGO: Zucchini-Prosciuto Parcels
TWO YEARS AGO: Double Peanut Sourdough Loaf
THREE YEARS AGO: Fennel-Rubbed Shrimp in Light Coconut Sauce
FOUR YEARS AGO: Puff Bread Balls, Two Salads and a Cookbook Review
FIVE YEARS AGO: Pistachio-Caramel and Apple Mousse Cakes
SIX YEARS AGO: La Couronne Bordelaise
SEVEN YEARS AGO: A Special Birthday Dinner
EIGHT YEARS AGO: Duck Confit for a Special Occasion
NINE YEARS AGO: Tuscan Grilled Chicken and Sausage Skewers
TEN YEARS AGO: Celebrate Wednesday with Pork Tenderloin & Apples
ELEVEN YEARS AGO: Salmon Wellington
TWELVE YEARS AGO: The Green Chip Alternative
THIRTEEN YEARS AGO: Weekend Pita Project
FOURTEEN YEARS AGO: Let it snow, let it snow, eggs in snow