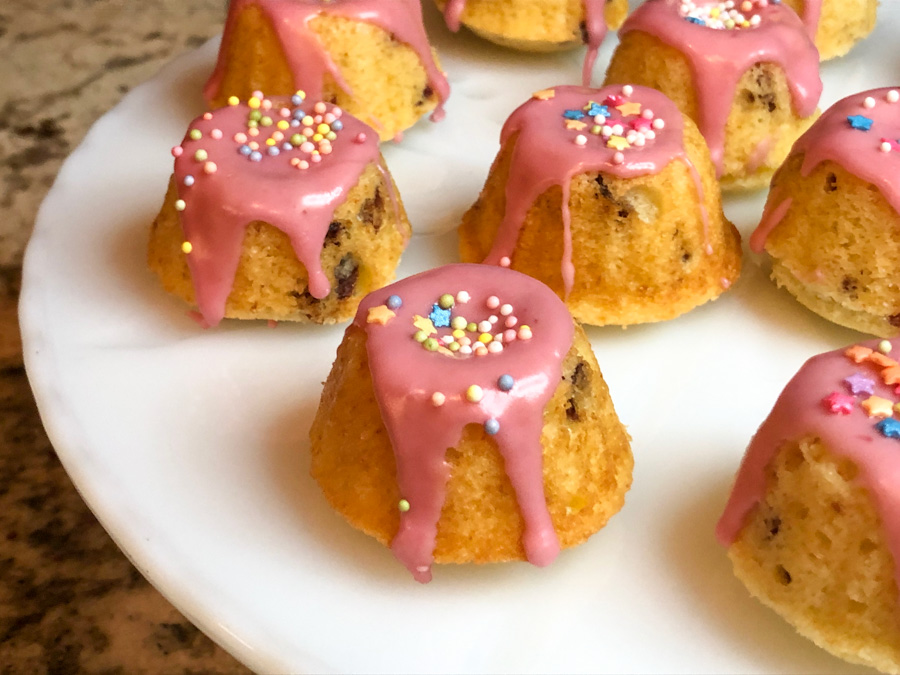
Some say these would be more appropriate for winter, but I will respectfully disagree… too adorable to restrict to a single season… Very easy to make, the mini format is impossible to resist.
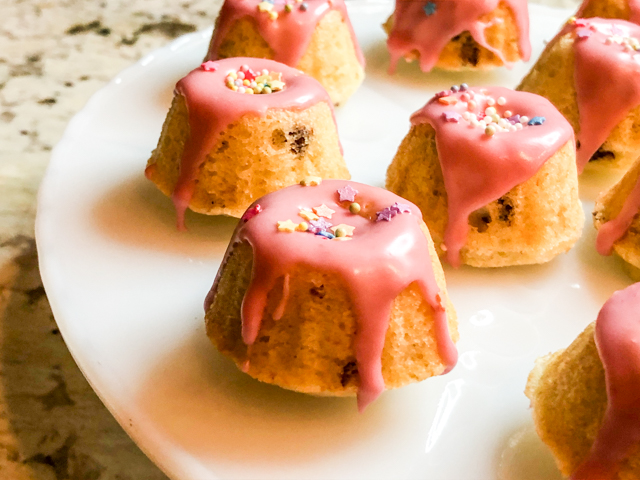
BLOOD ORANGE AND CRANBERRY MINI-CAKES
(adpated from several sources)
for the mini-cakes:
130g all-purpose flour
1 tsp baking powder
1/4 tsp salt
57g butter, softened (4 tablespoons) tablespoons
100g granulated sugar
1 egg
1 Tablespoon blood orange zest
1/2 cup milk
1/3 cup dried cranberries, cut in pieces
for the icing:
1 cup powdered sugar
2 Tablespoons blood orange juice
sprinkles
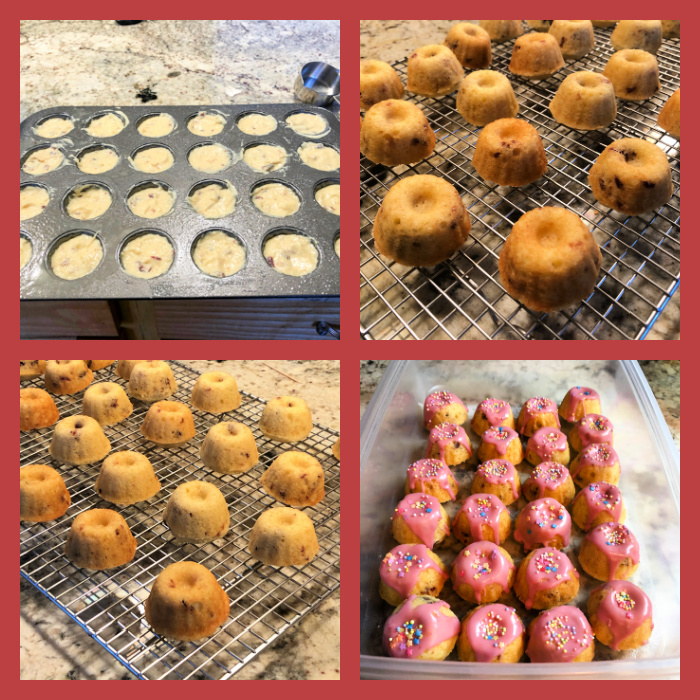
Heat oven to 325F.
Mix flour, baking powder and salt in a medium bowl. Reserve.
Cream the butter with sugar in a KitchenAid type mixer. Add egg and zest. Add 1/3 flour mixture, half of the milk, 1/3 flour, the rest of the milk, and end with the final third of the flour. Mix well to incorporate. Fold the cranberries, add batter to mini-cake pan, bake for about 13 minutes, until toothpick comes out clean.
Cool for minutes in pan, and invert on a rack. Make the icing by whisking all ingredients, if you want stronger color, add a tiny drop of pink food gel. Cover cooled cakes with icing, add sprinkles while still wet.
ENJOY!
to print the recipe, click here
Comments: These are soft, sweet and tangy at the same time. Two little bites of heaven, covered with the blood orange icing that, together with sprinkles make them all so festive. I suppose you could use raisins instead, but cranberries are perfect in this setting.
ONE YEAR AGO: Simnel Cupcakes
TWO YEARS AGO: Oat and Sesame Seed Sourdough
THREE YEARS AGO: Moroccan Turkey Pie with Olive Oil Crust
FOUR YEARS AGO: Another Twisted Sister of the Shepherd’s Pie
FIVE YEARS AGO: Cashew Chicken, My Way
SIX YEARS AGO: Two Deliciously Simple Salads
SEVEN YEARS AGO: In My Kitchen, April 2016
EIGHT YEARS AGO: Spring has Sprung with Suzanne Goin
NINE YEARS AGO: Chai Brownies
TEN YEARS AGO: Pomegranate-Molasses Glazed Carrots
ELEVEN YEARS AGO: Braised Brisket with Bourbon-Peach Glaze
TWELVE YEARS AGO: The Real Vodka Sauce
THIRTEEN YEARS AGO: Spring Rolls on a Spring Day