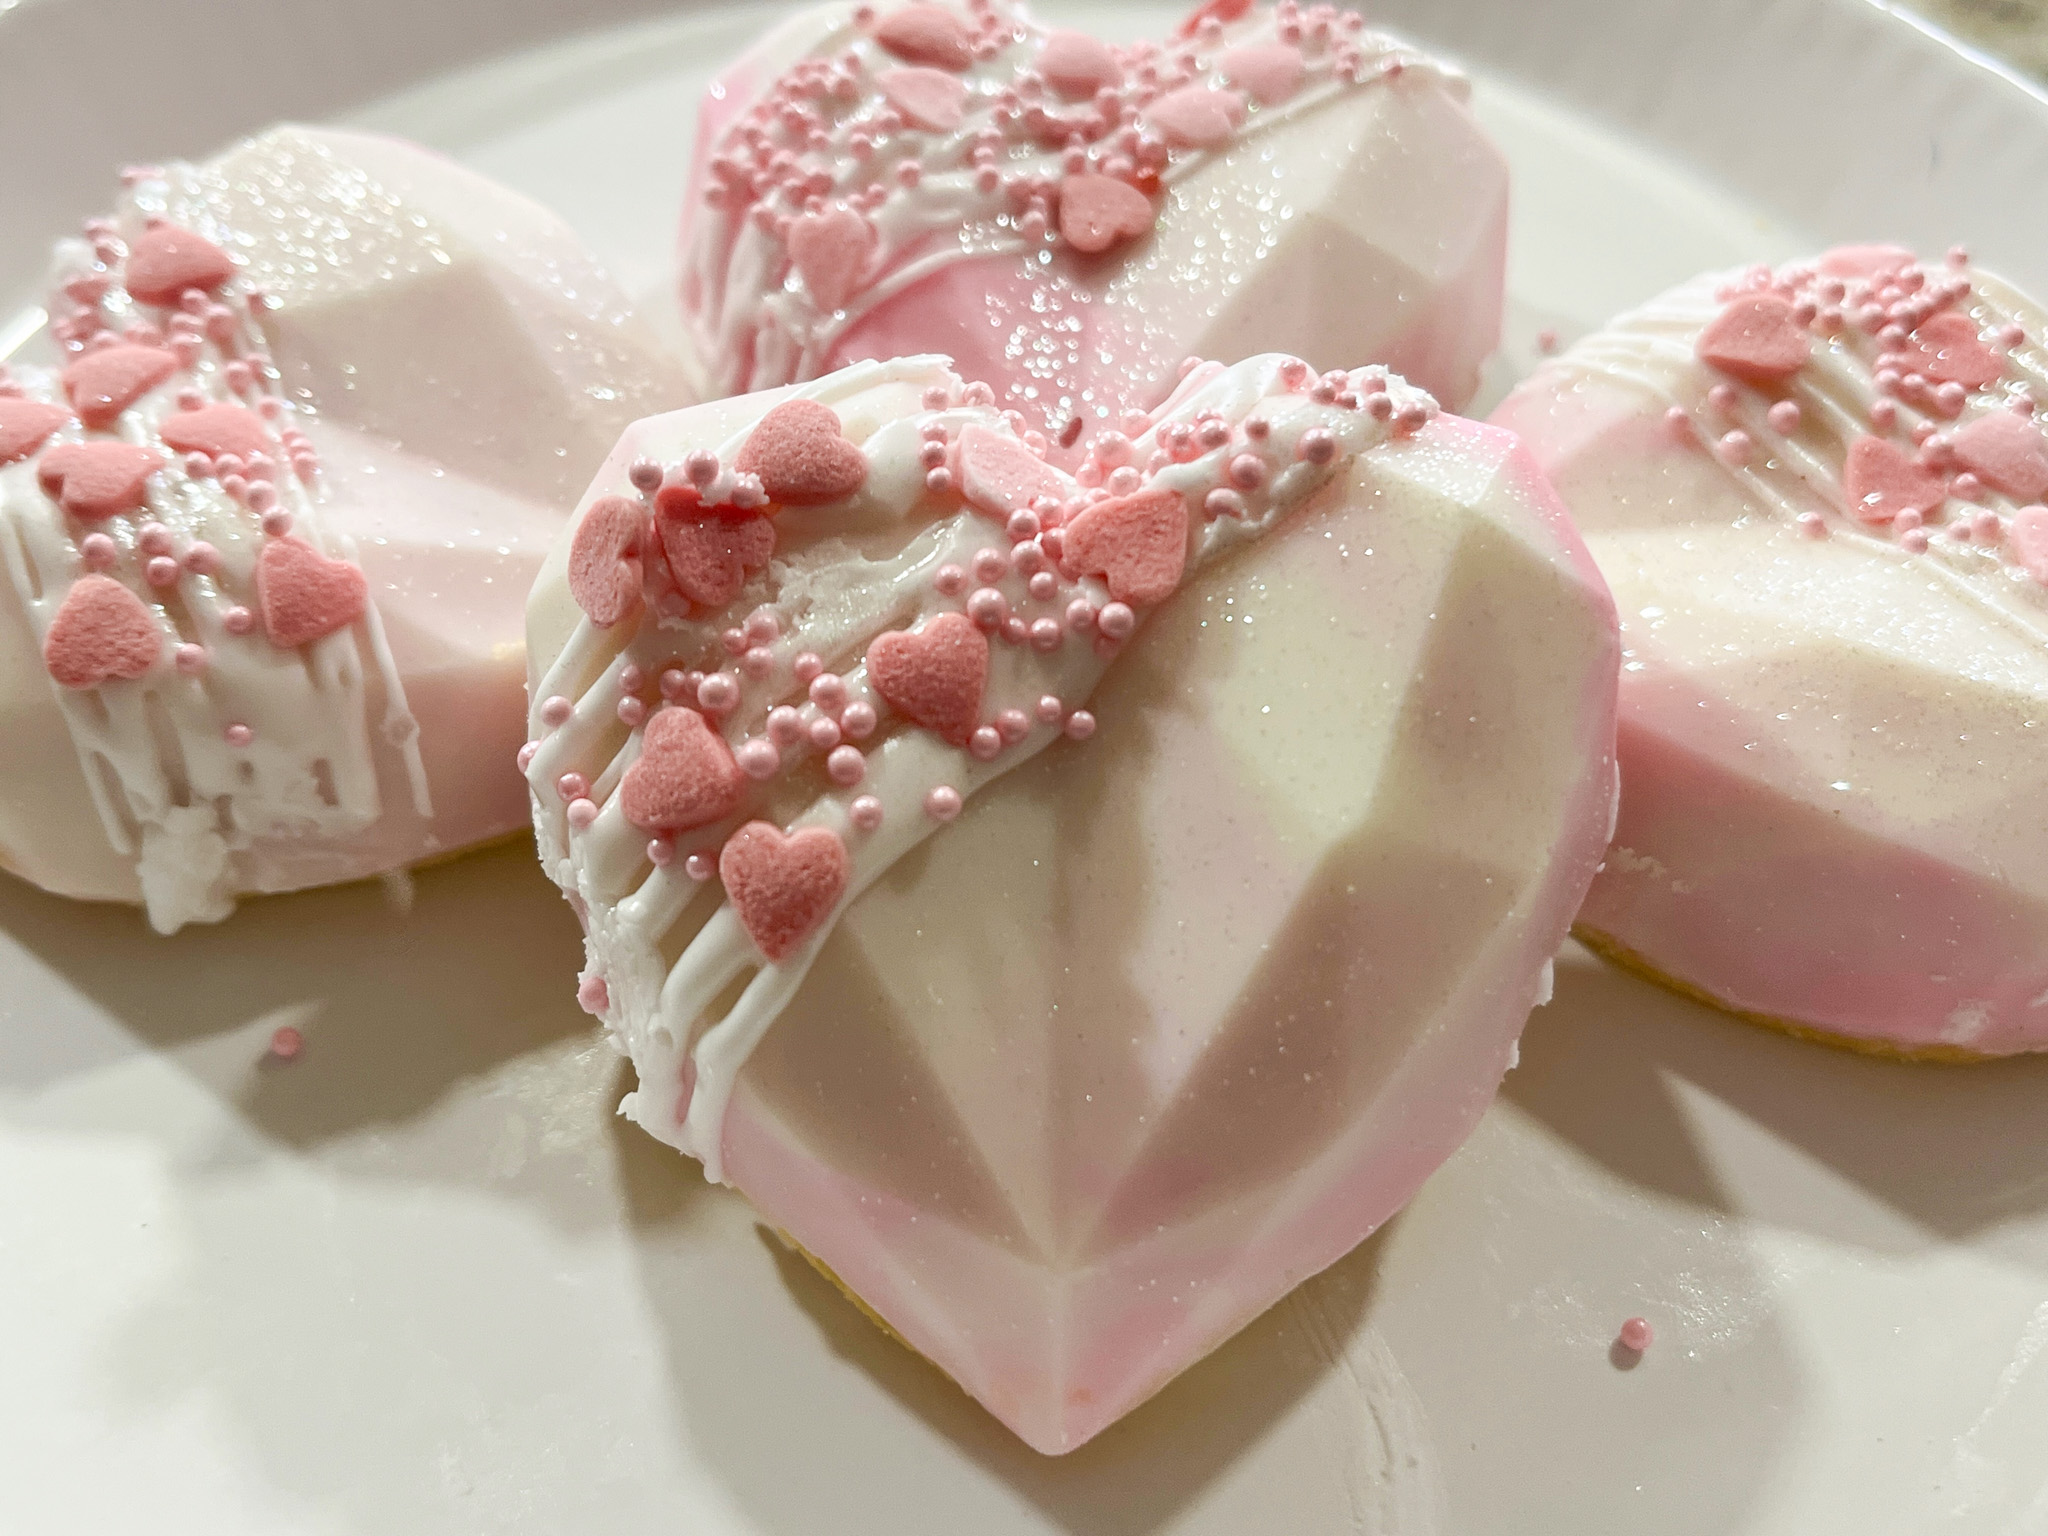
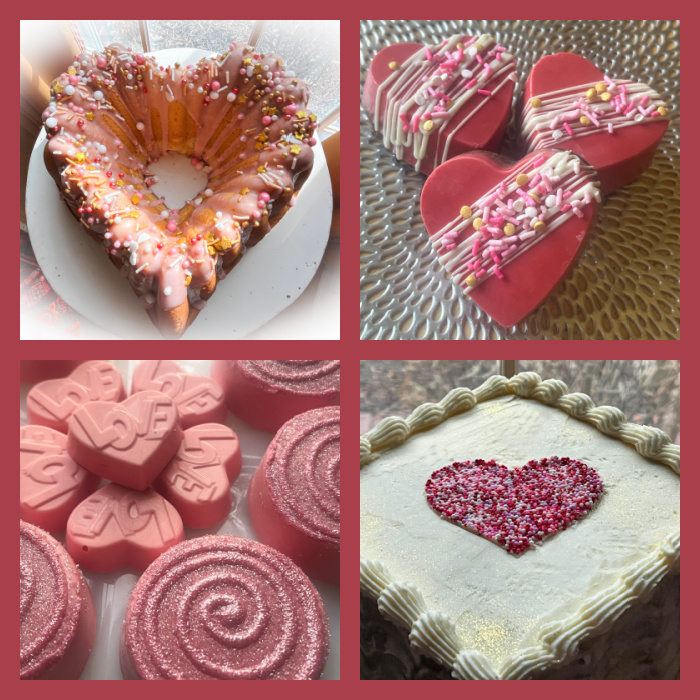
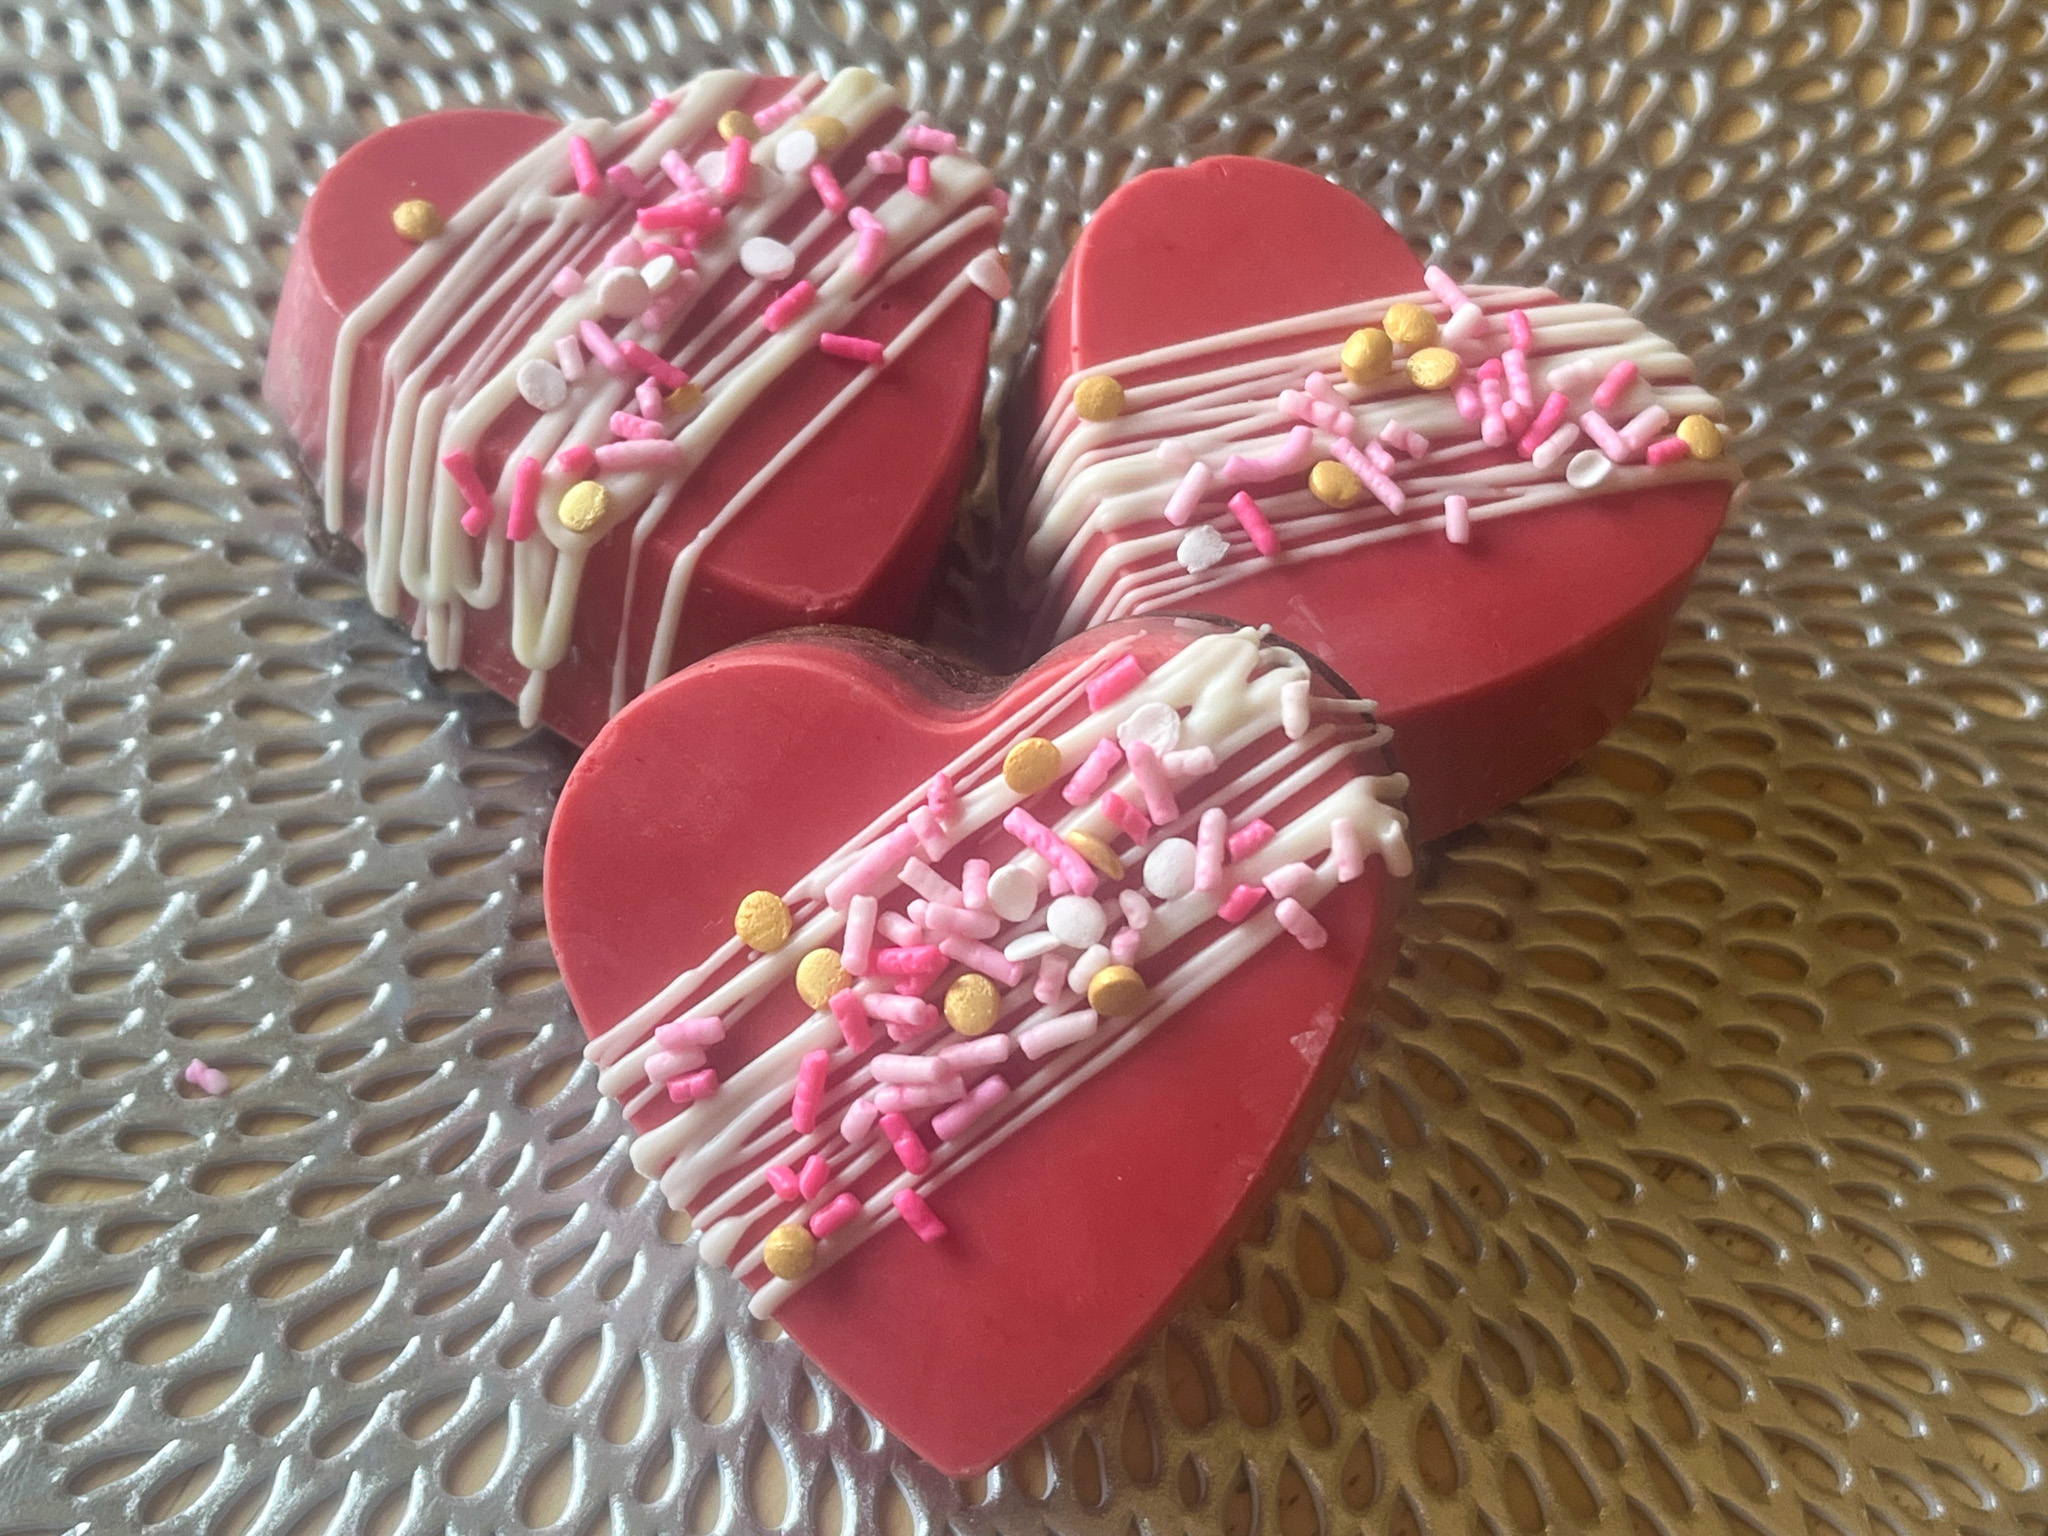
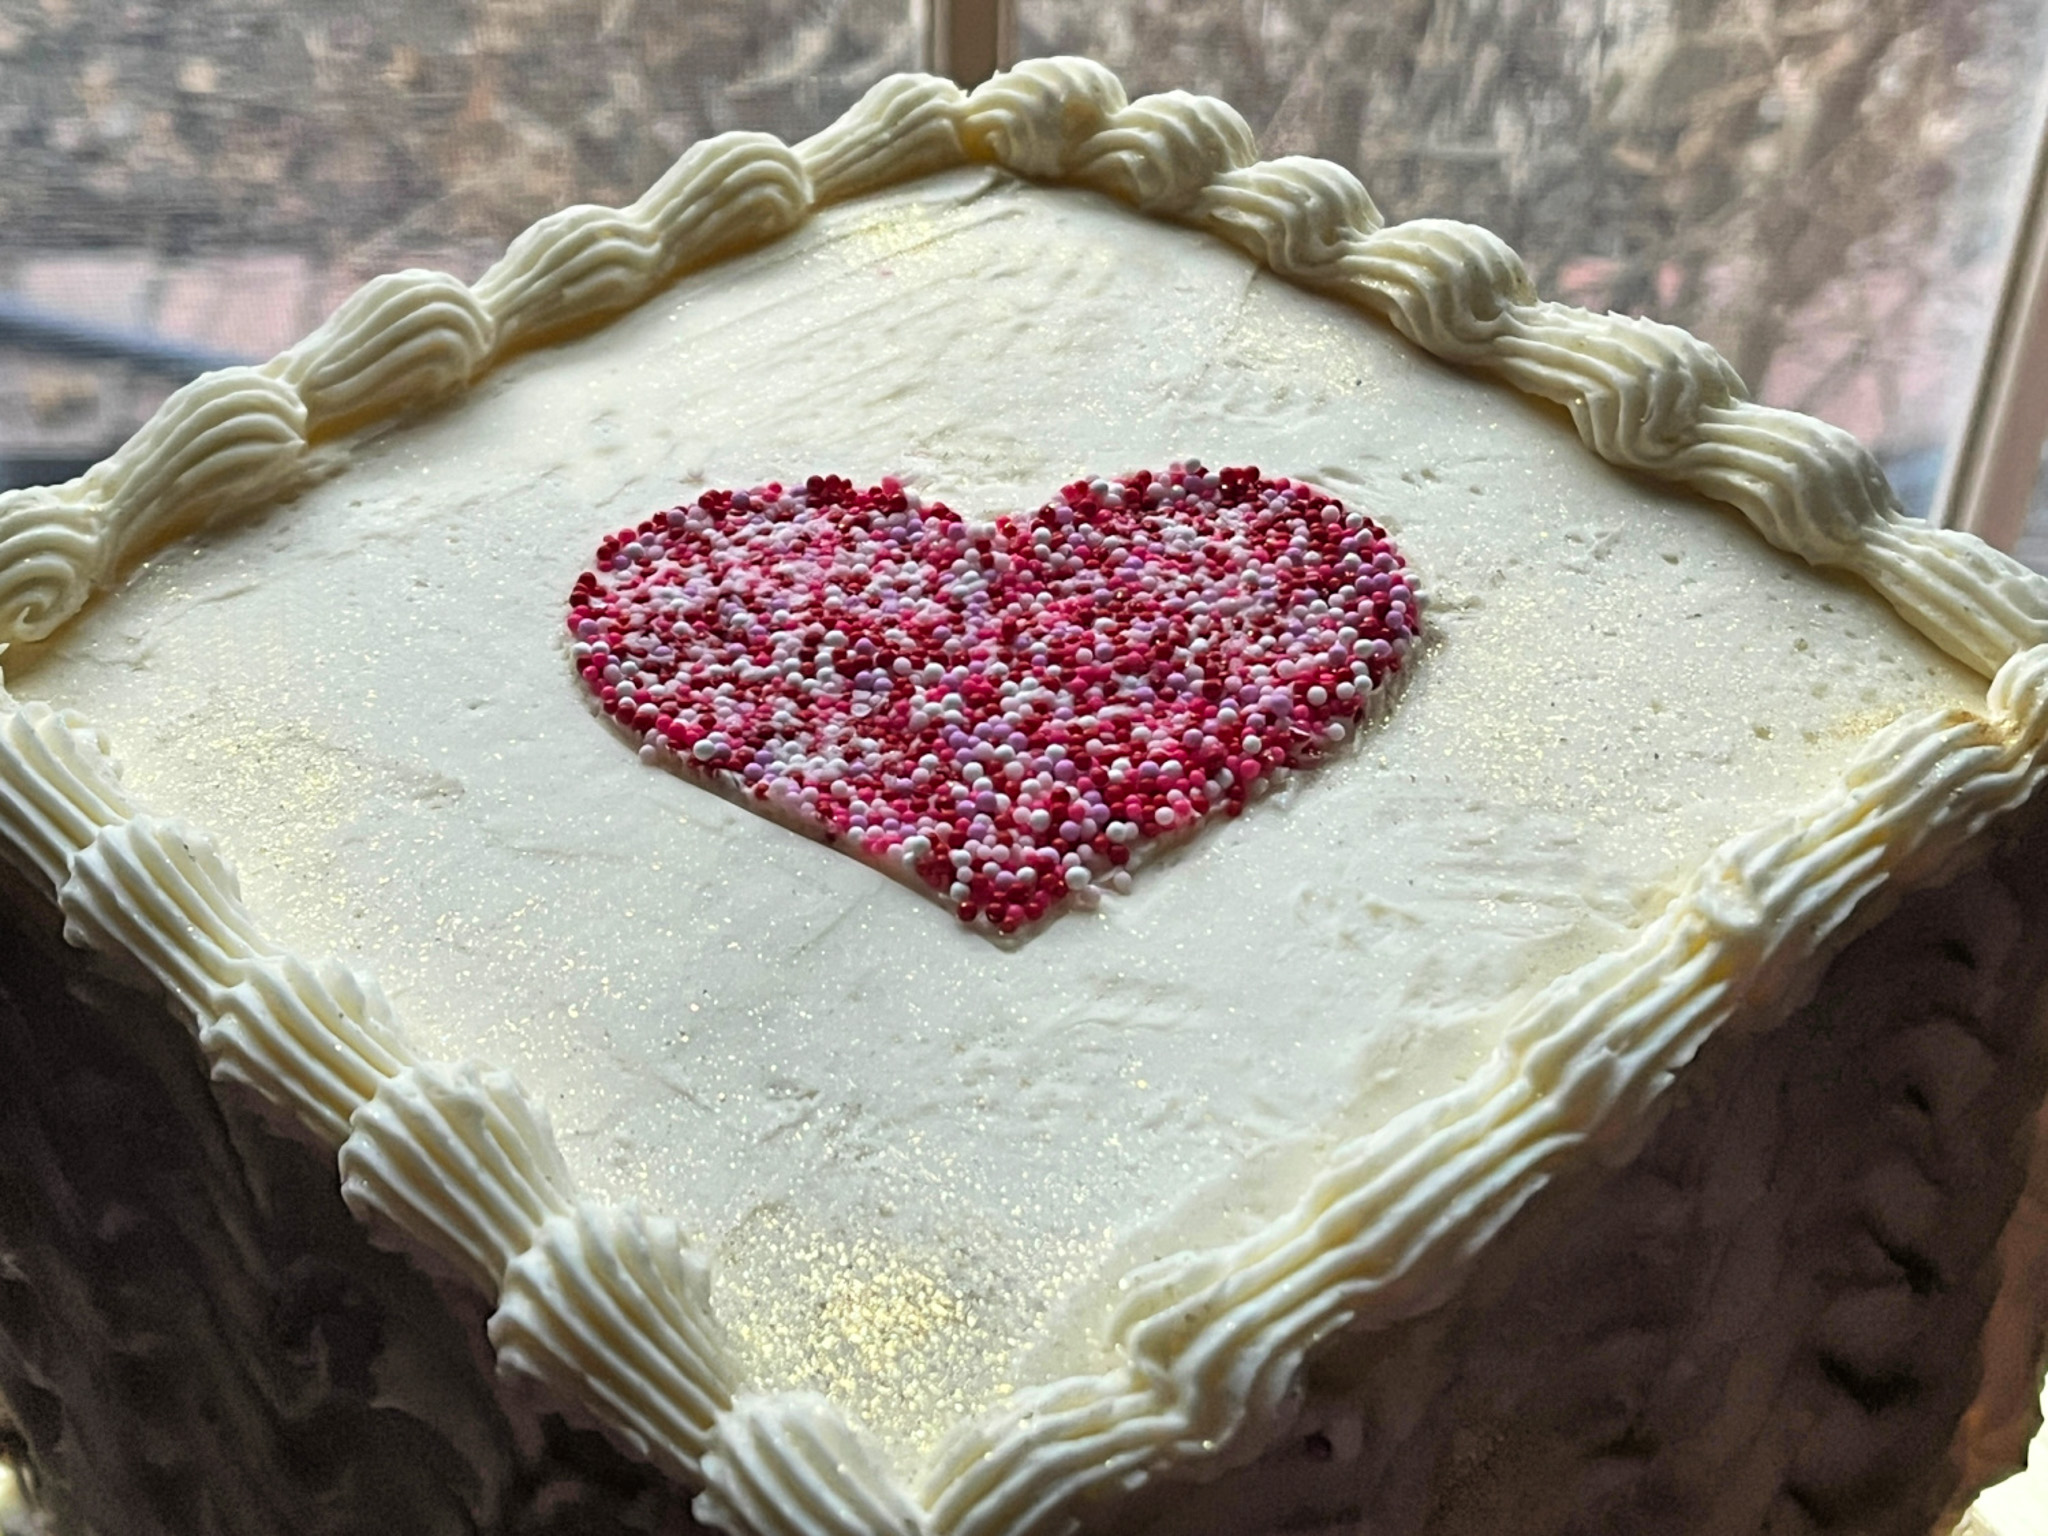
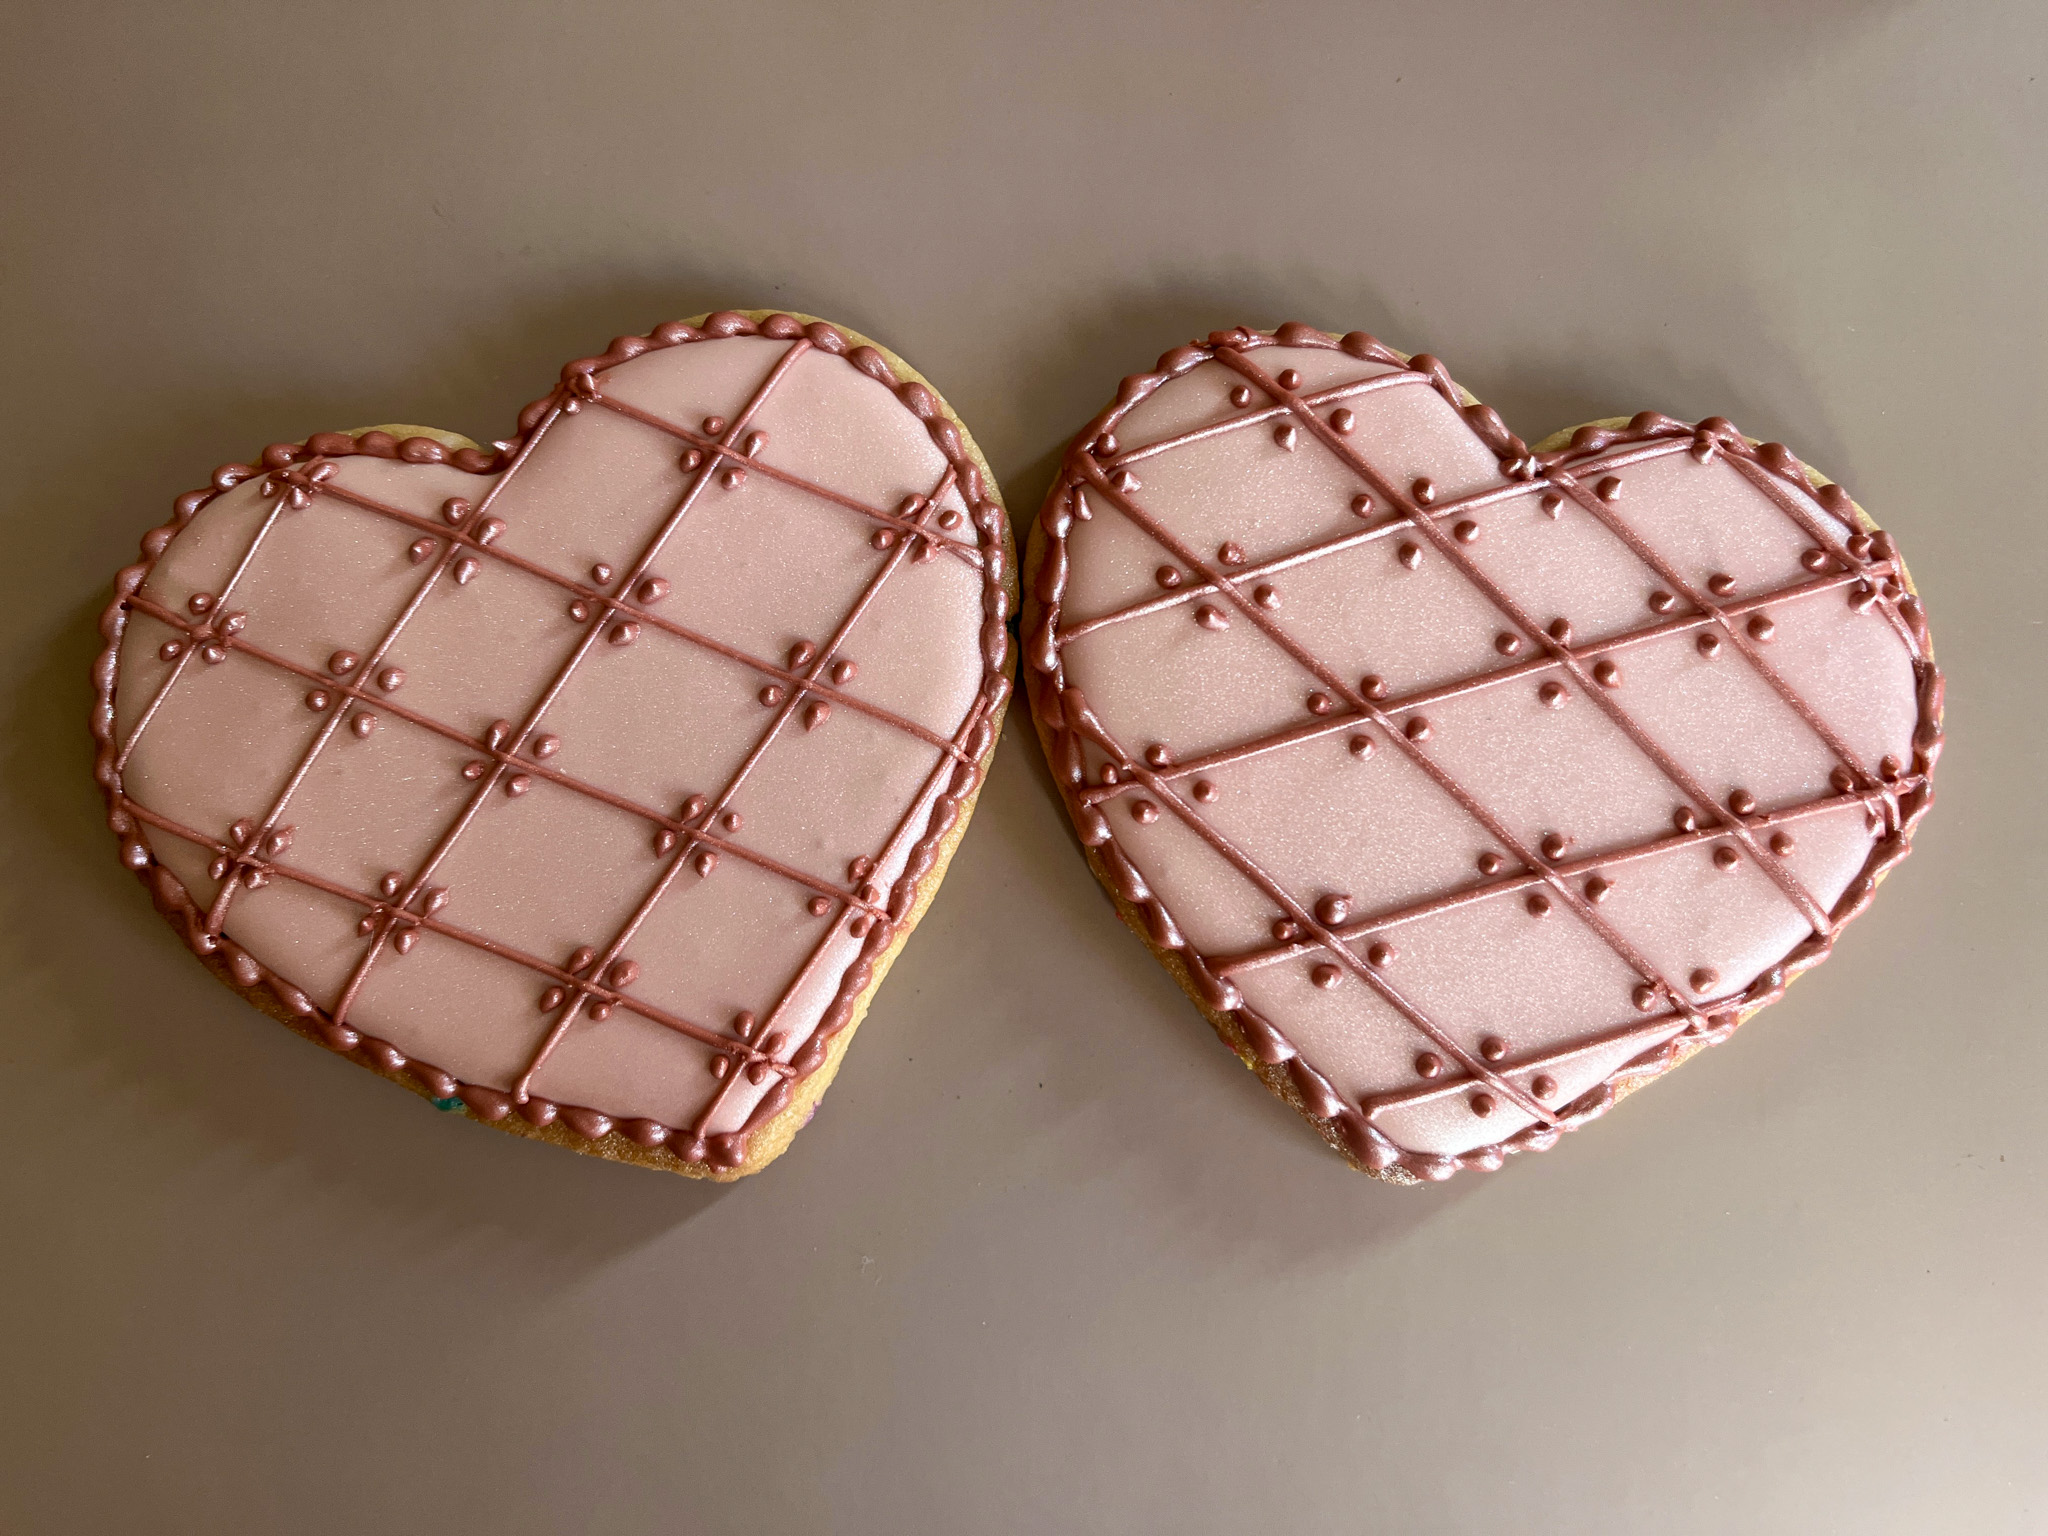
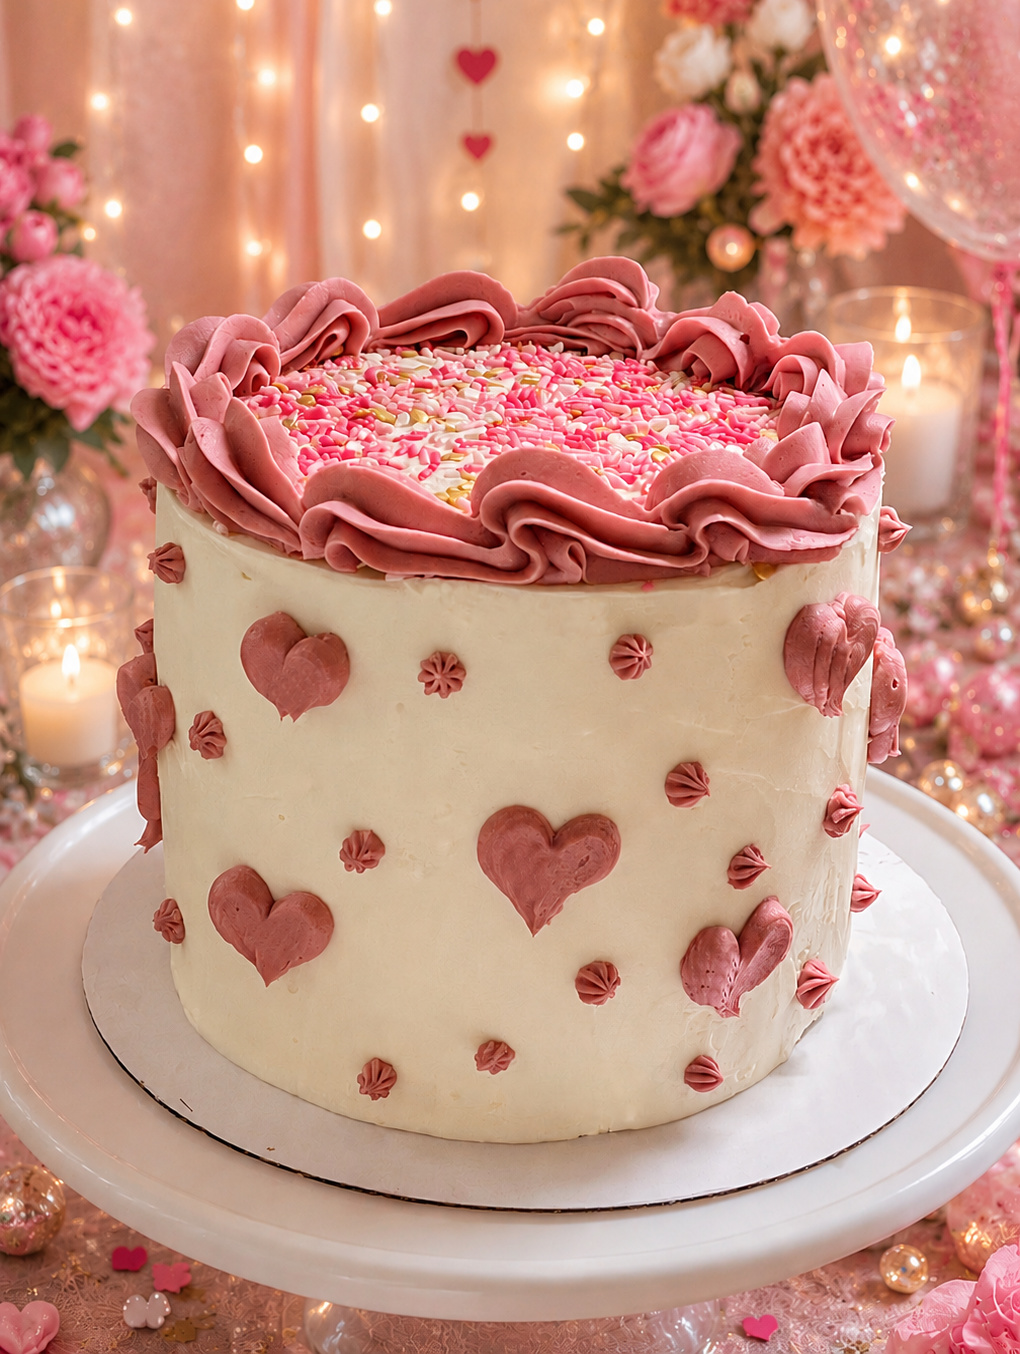
Perfect for Valentine’s Day, but wonderful for any other celebration, this is a real adorable design and not too complicated to make. However, it helps to have a smooth frosting to start with, and that can make a baker hyperventilate a bit. Don’t ask me how I know….
PINK VELVET LAYER CAKE
(slightly modified from I’ll Bring the Cake)
¾ cup buttermilk
⅔ cup sour cream
⅓ cup vegetable oil
4 egg whites
1 tablespoons raspberry emulsion (I used this one)
1 tablespoon vanilla extract
2 tablespoons freeze-dried raspberries, powdered in a food processor
1 box white cake mix
pink gel food dye, a couple of small drops
for the vanilla buttercream:
3 sticks (1½ cups) unsalted butter
Pinch of salt
1 teaspoon vanilla extract
¼ cup heavy cream (plus more if needed)
7 to 8 cups powdered sugar
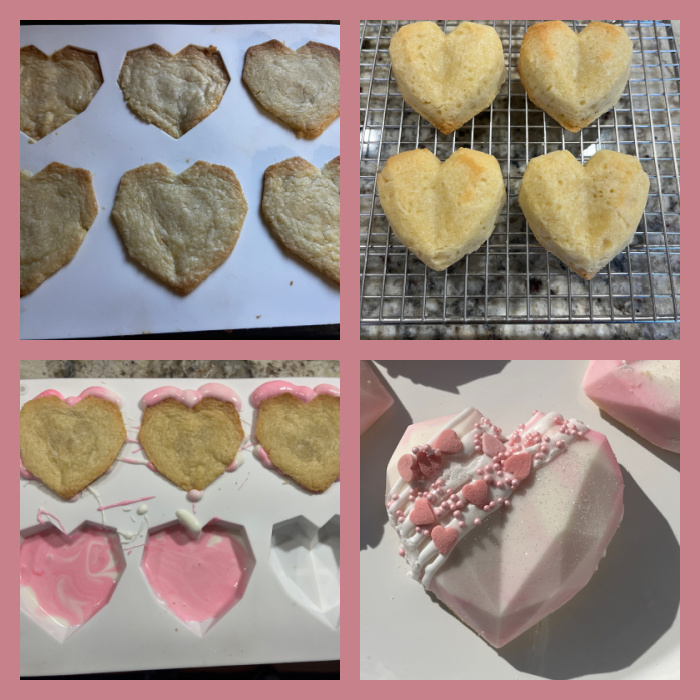
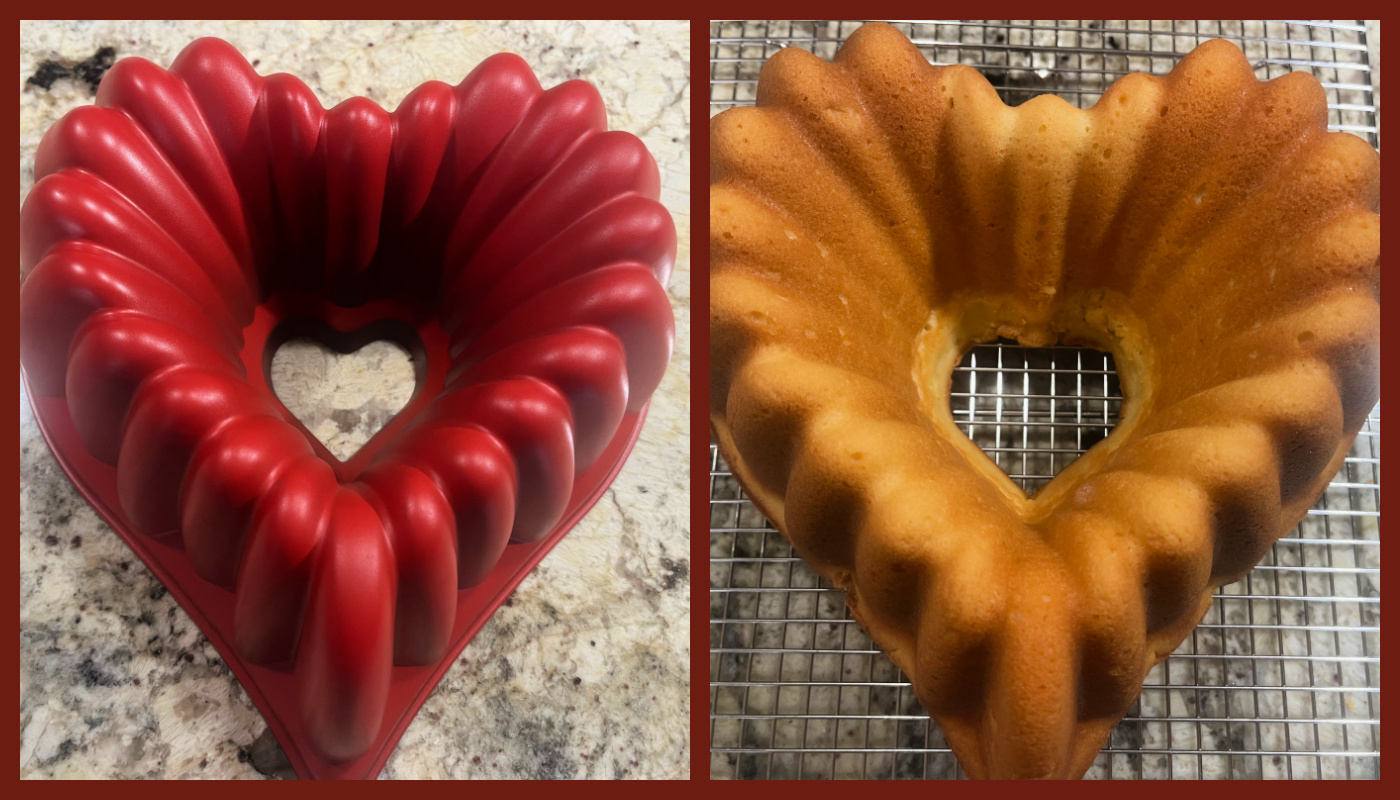
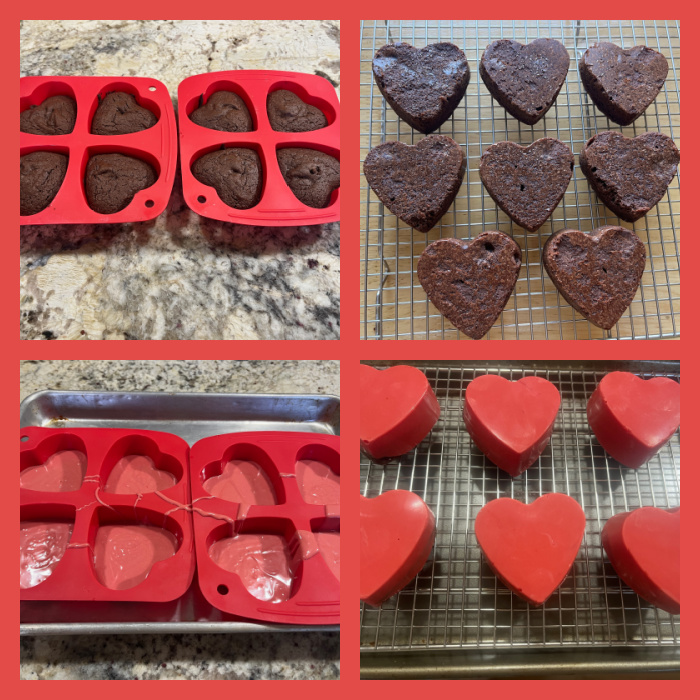
Heat the oven to 325°F. Prepare three 6-inch round cake pans covering the bottom with parchment and spraying baking spray on the sides and bottom. Reserve.
In a large bowl, whisk together the buttermilk, sour cream, oil, egg whites, raspberry emulsion, vanilla and freeze-dried raspberries until thoroughly combined. Sift in the cake mix and pink foo dye, whisk until just combined. Split the batter evenly among the prepared pans.
Bake for 25 to 27 minutes, until the center is baked through. Let the cakes cool in the pan for about a minute before flipping them out onto a wire rack to cool completely. Wrap and transfer the cakes to the freezer for 30 minutes before proceeding with frosting. You can also save them in the fridge to continue the following day.
Make the buttercream: In the bowl of a stand mixer fitted with a paddle attachment, beat the butter on medium speed until it’s light and fluffy. Add the salt, vanilla, and heavy cream and beat again until thoroughly combined. Scrape down the sides of the bowl. With the mixer on low speed, add the powdered sugar about ½ cup at a time. Add a little more heavy cream if needed, then flip the mixer to high speed and beat until the buttercream is lighter in color and texture, about 2 minutes. Separate one cup of frosting to dye pink, leave the rest plain.
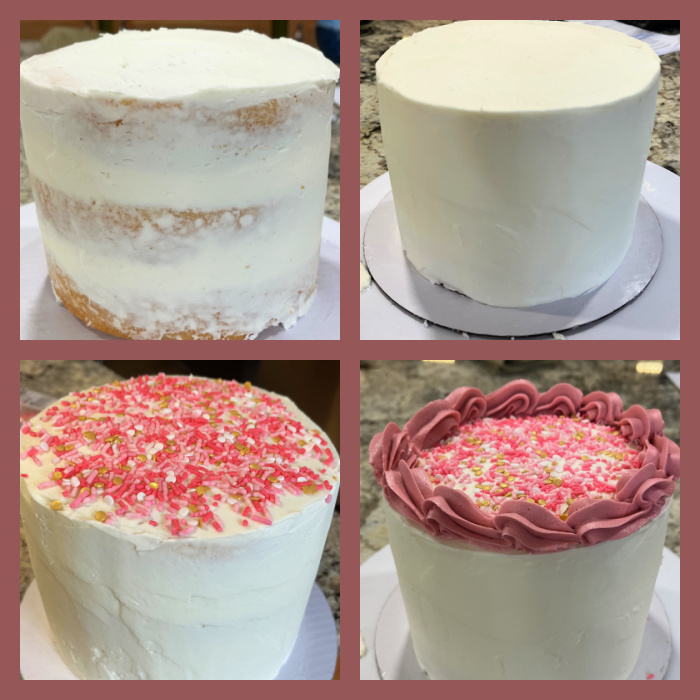
Assemble the cake: Place a cardboard cake round on a cake turntable. Dot a little bit of buttercream in the center of the round and spread it out with an angled icing spatula. Place the first chilled cake layer in the center. Add a layer of buttercream. Place the next cake layer on top, then repeat, making sure to line the layers up evenly. After adding the top cake layer, crumb coat the cake by spreading a thin layer of buttercream around the entire cake. Freeze the cake for 5 minutes.
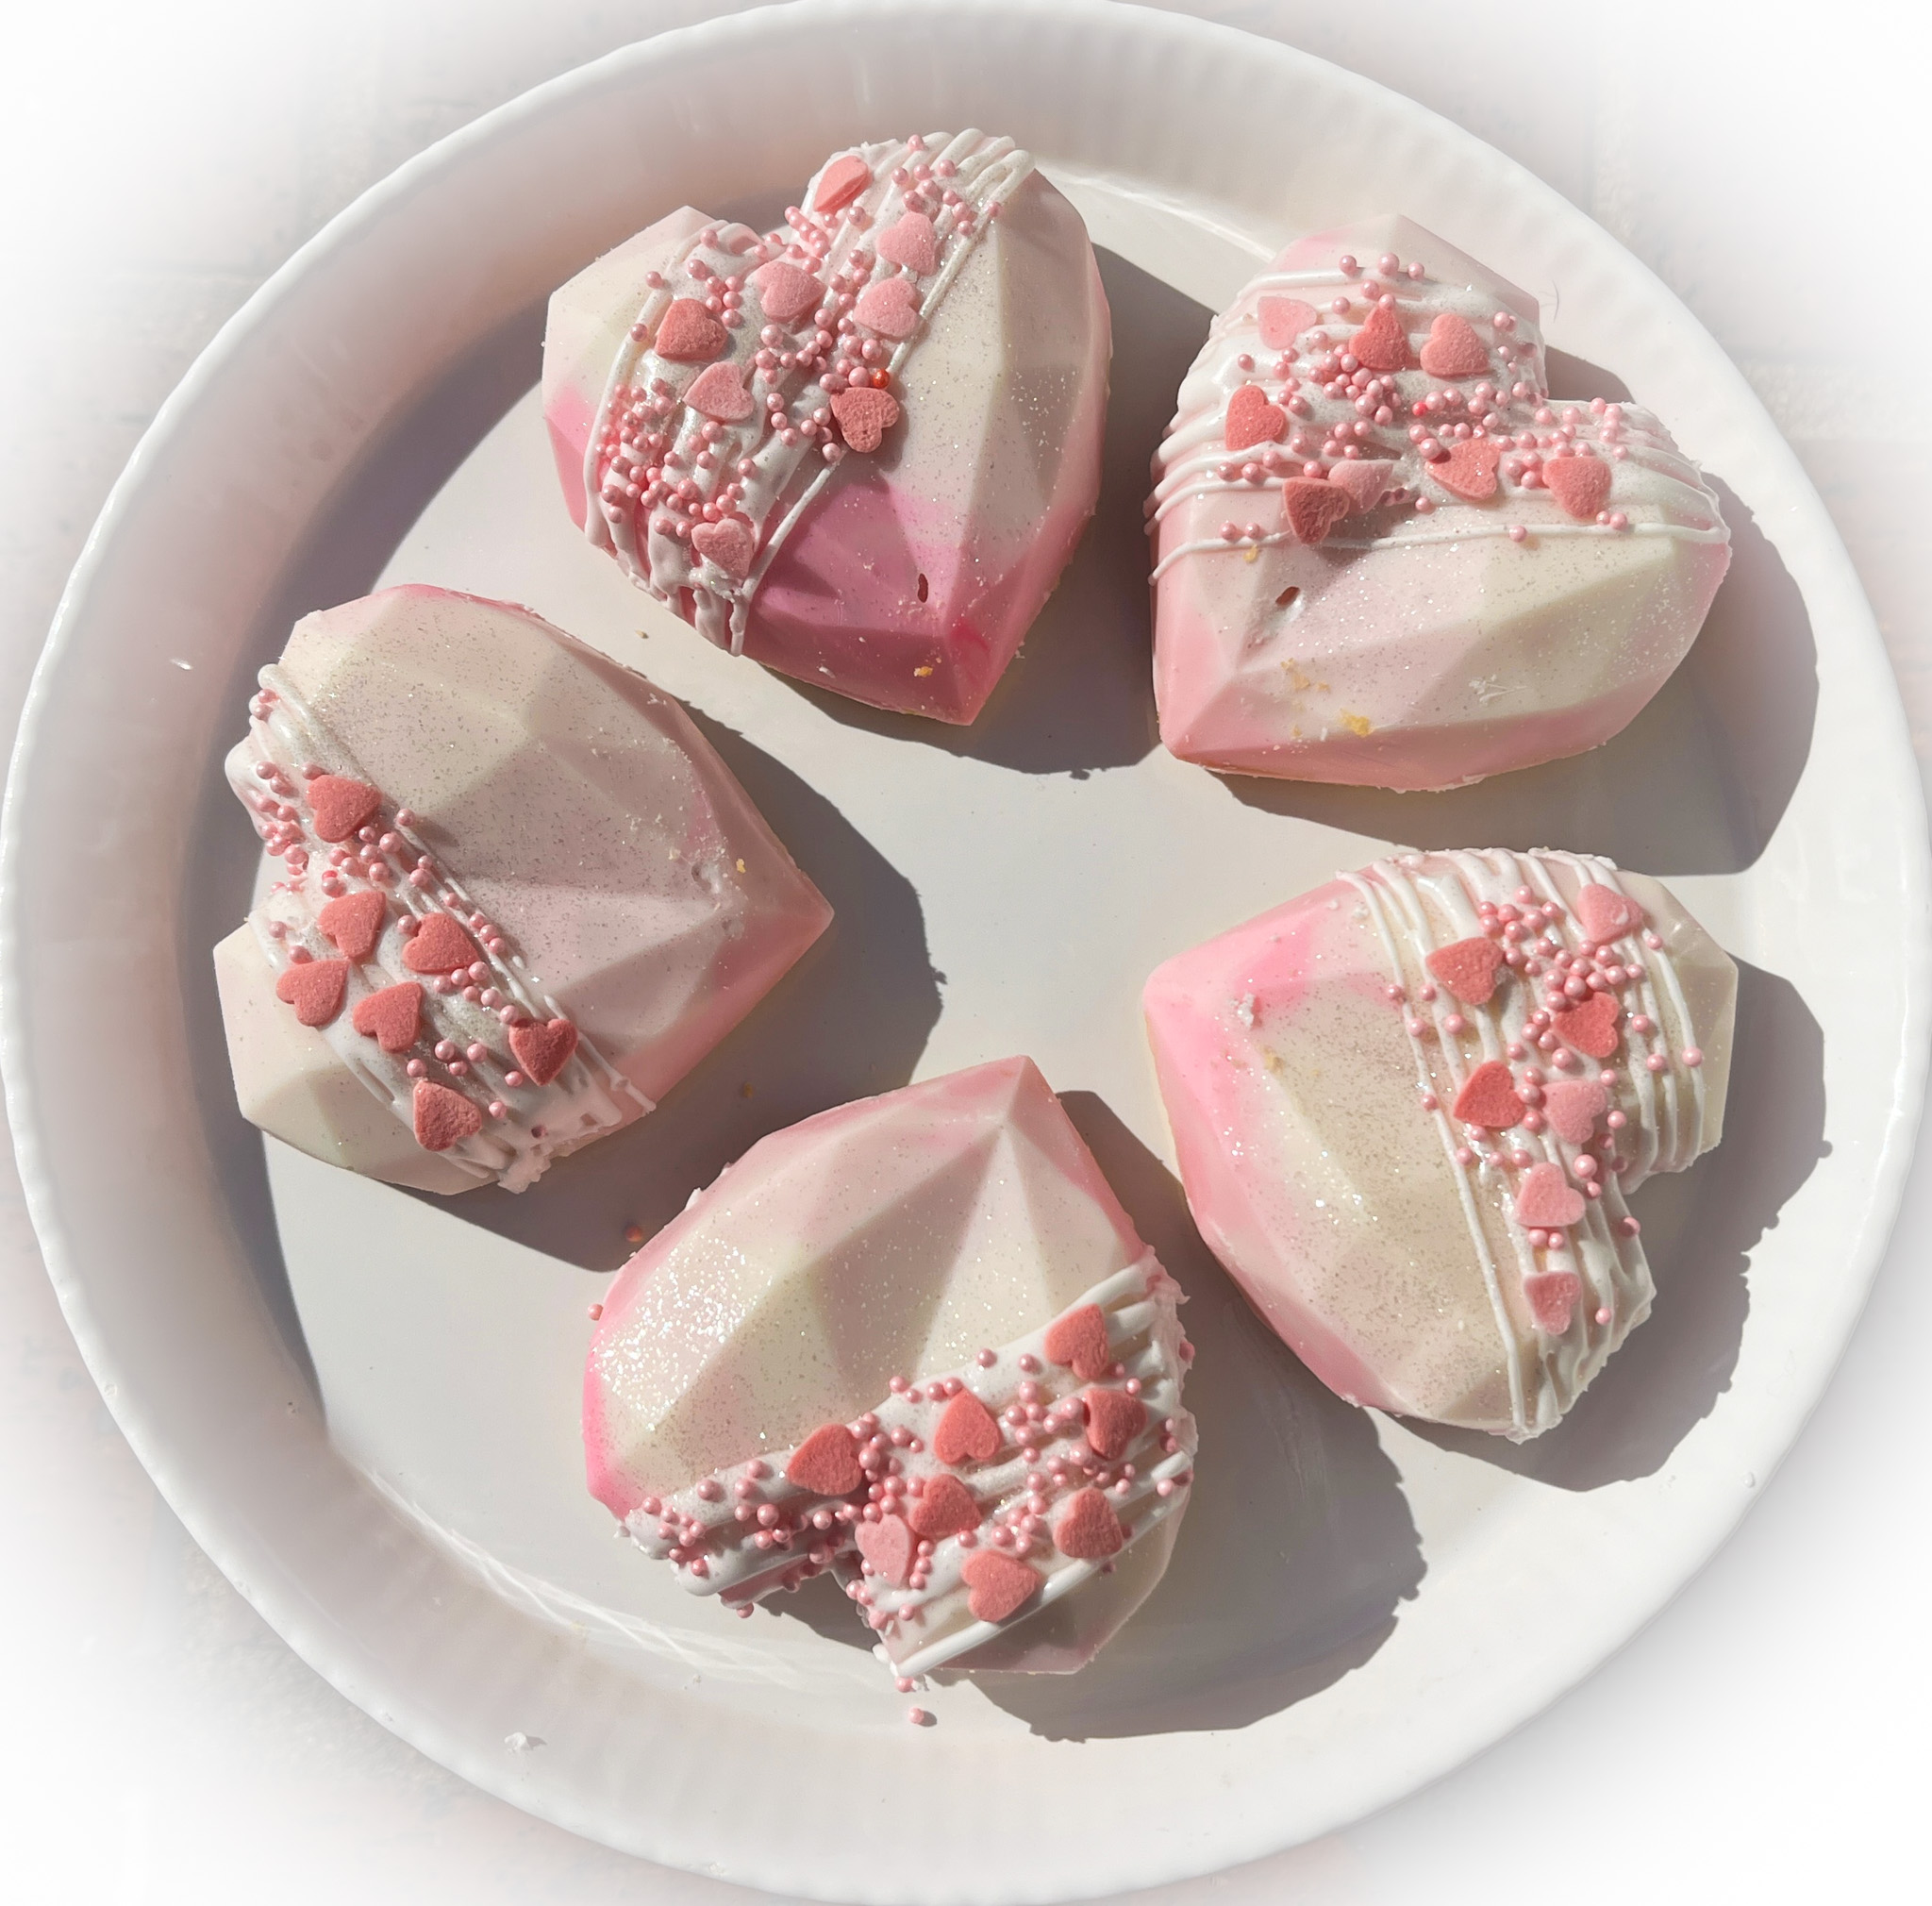
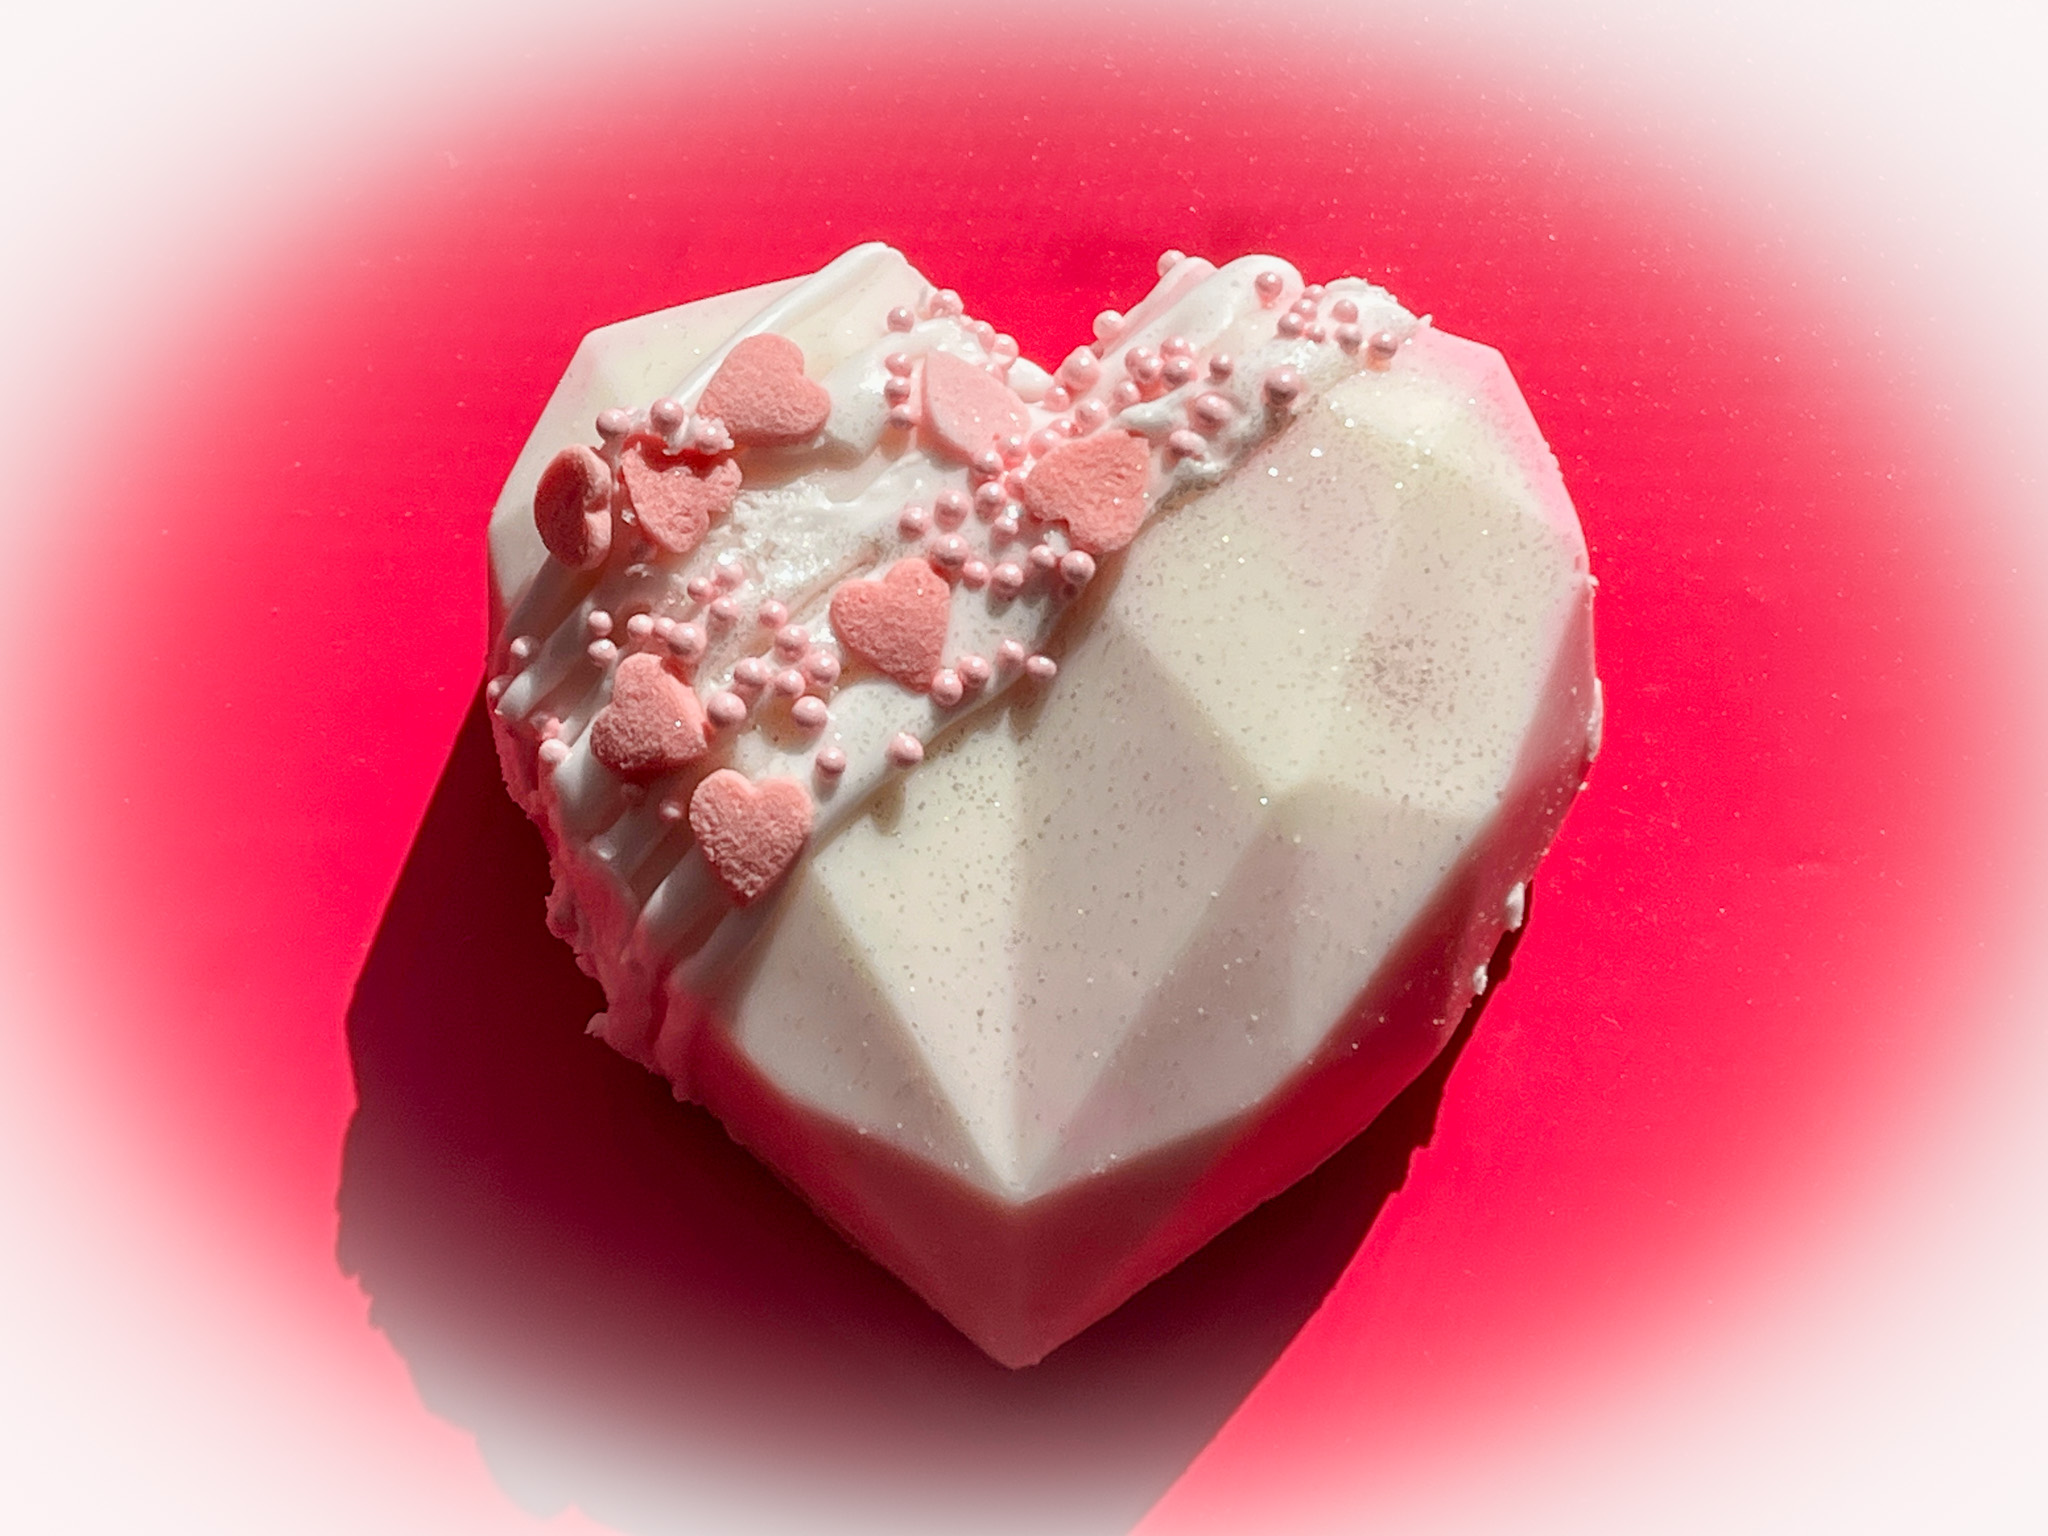
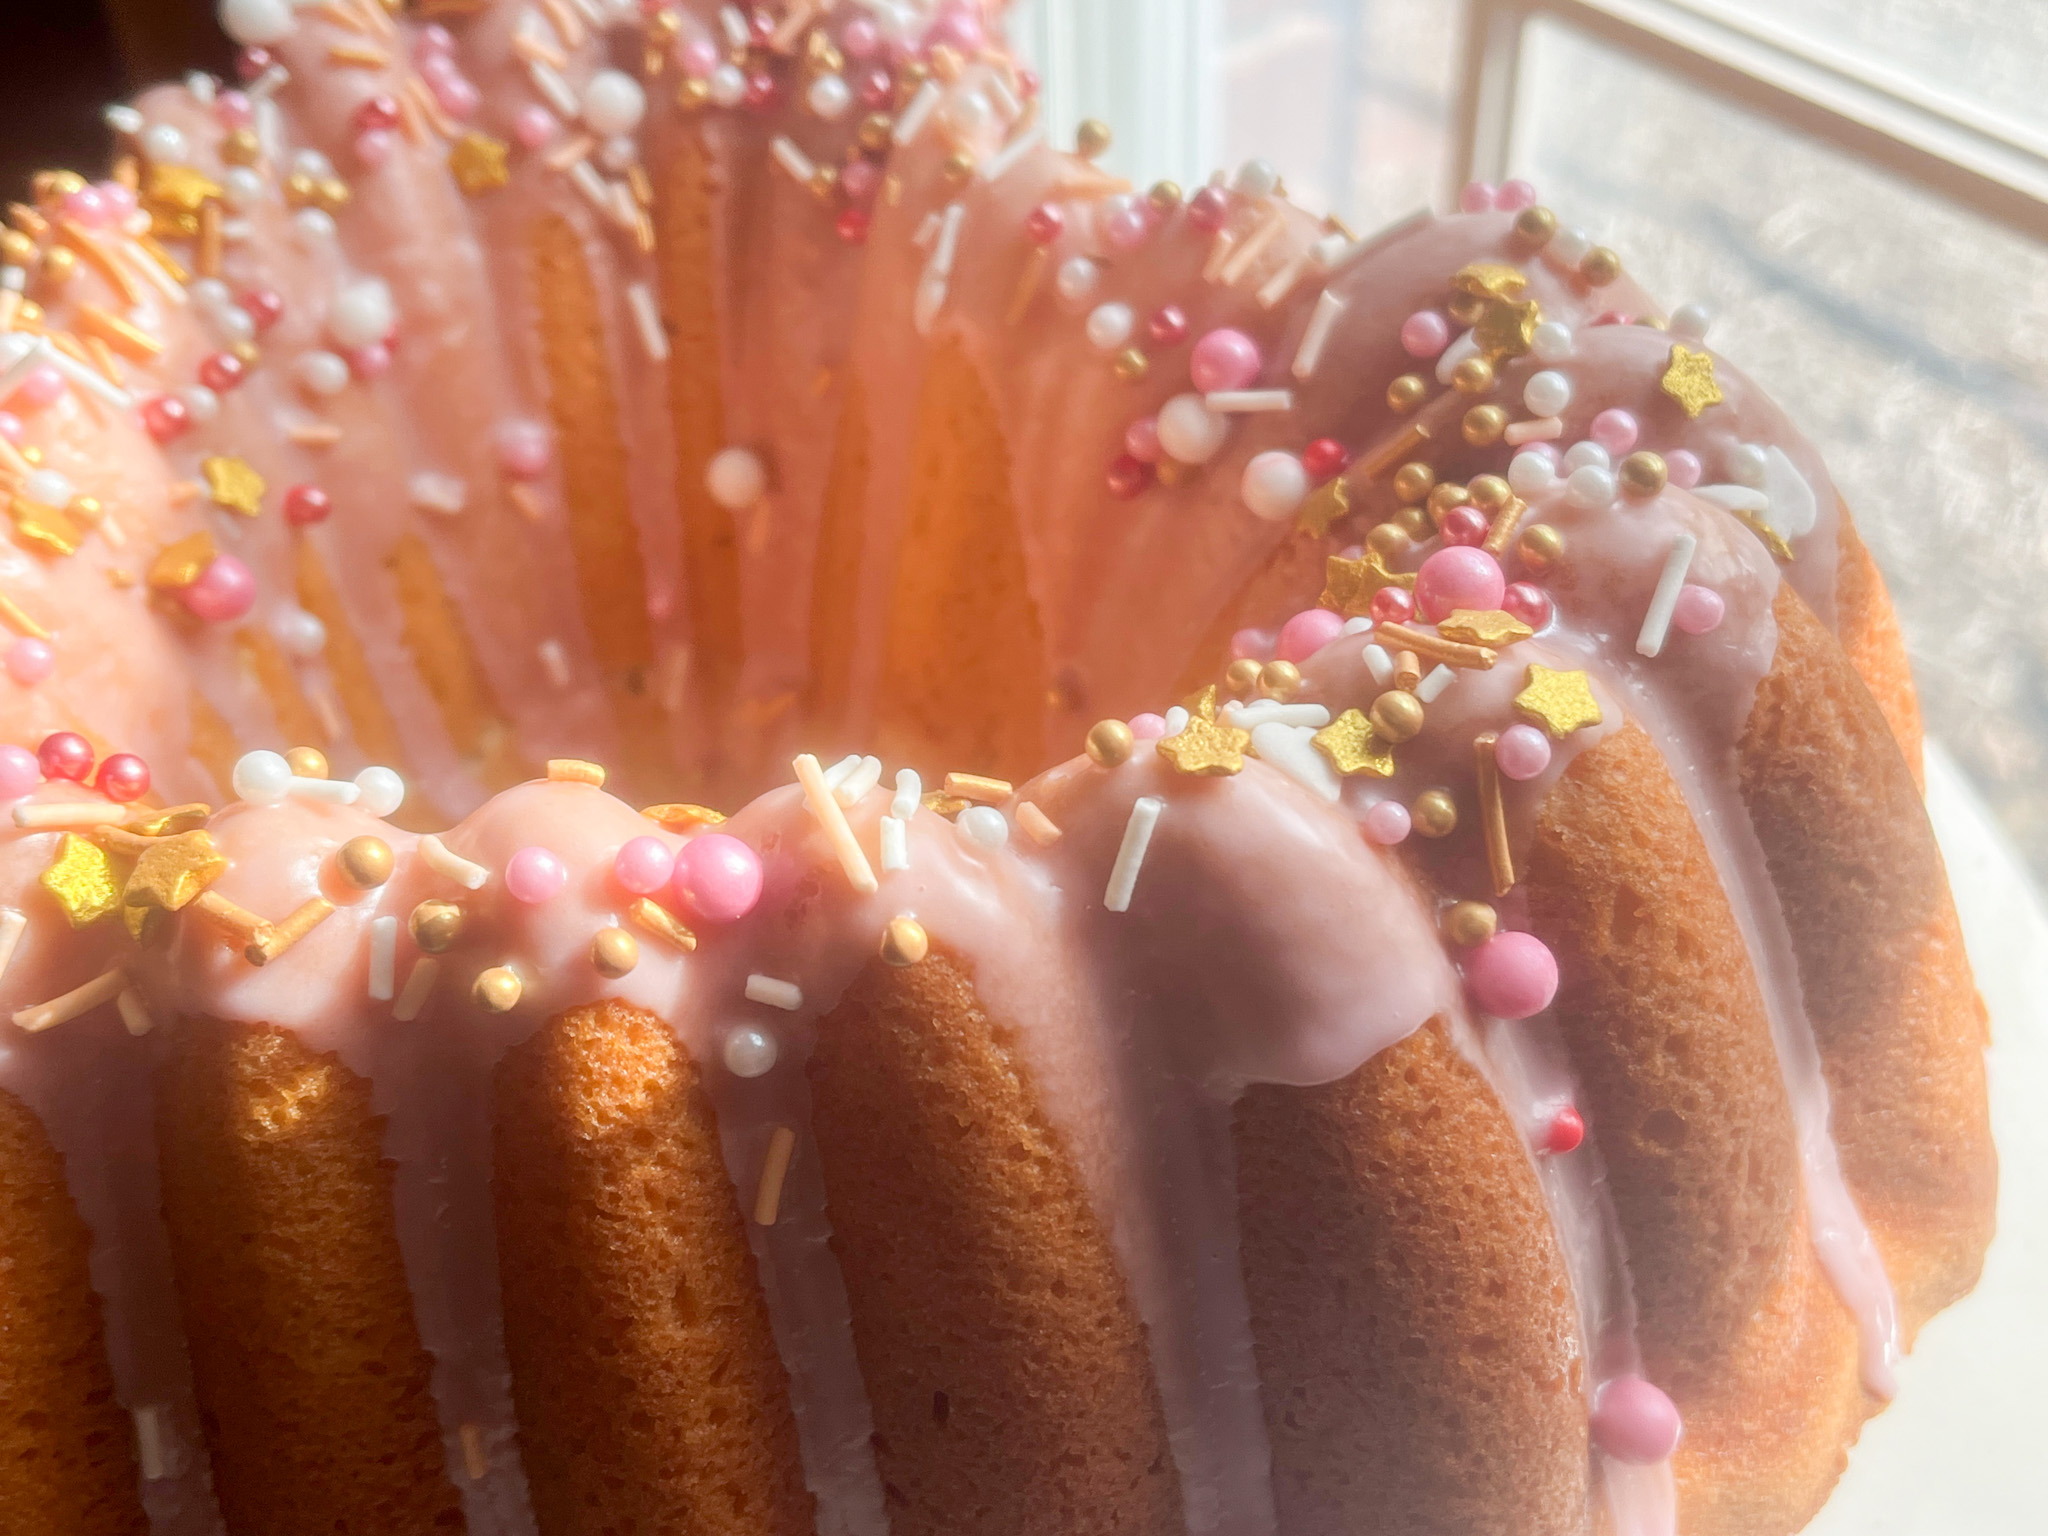
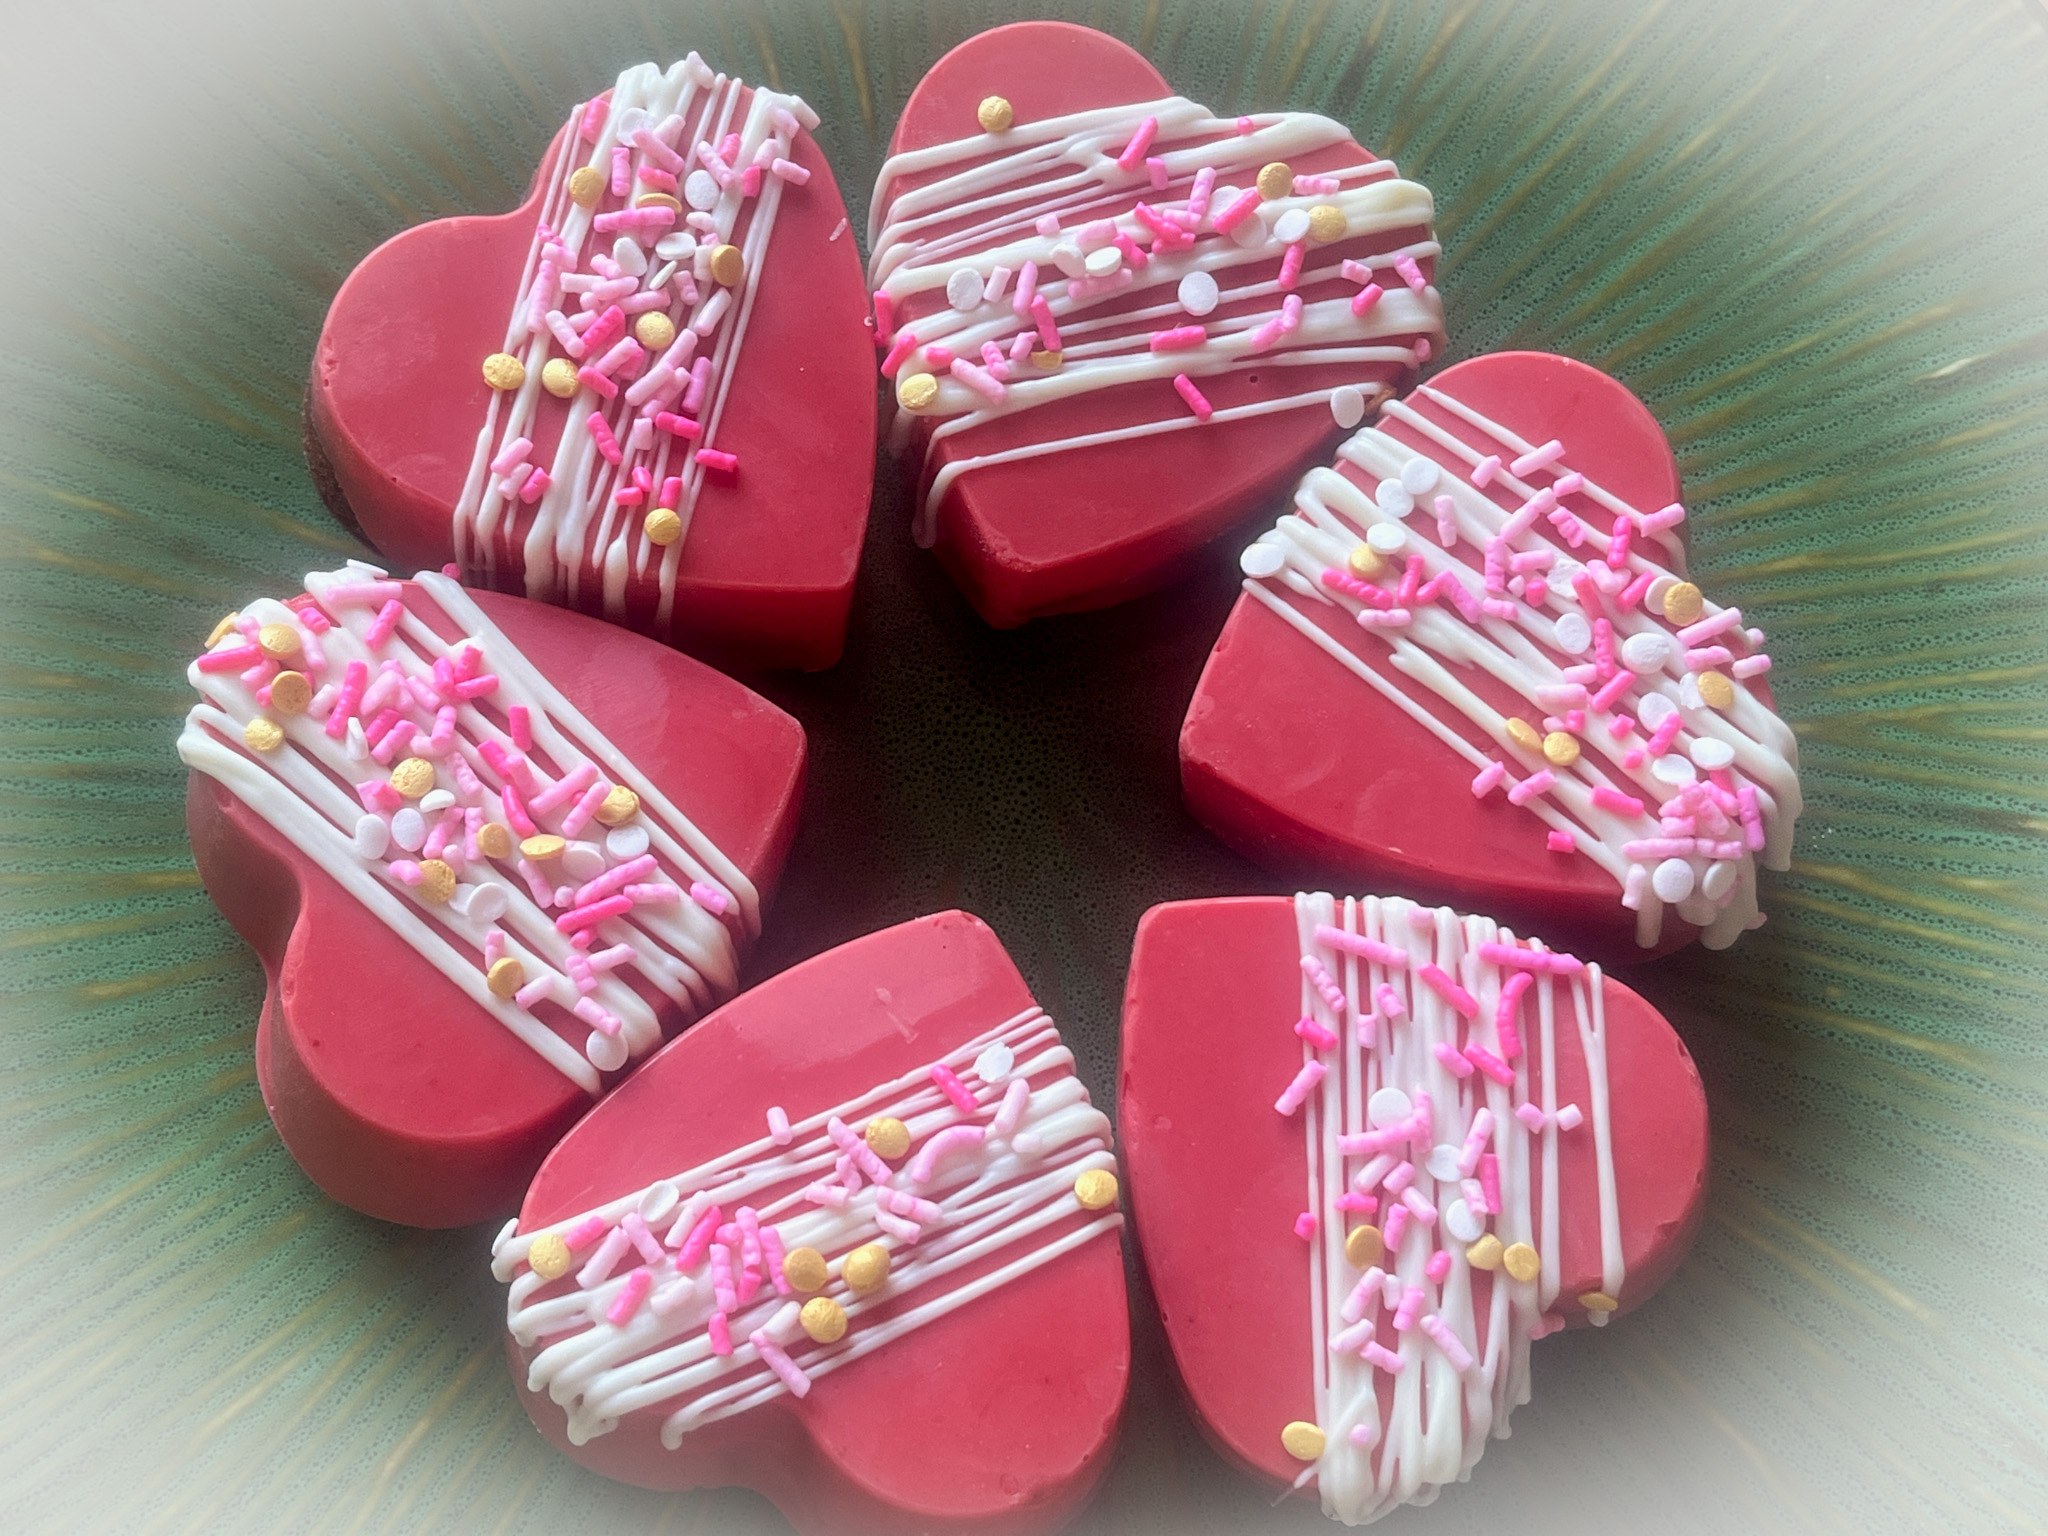
To the reserved buttercream, add 1 drop of soft-pink gel coloring and stir to incorporate. Pipe hearts and little blobs, using a round tip for the hearts, and an open star to the little blobs. Cover the top with sprinkles and add a decorative border with a 1M piping tip.
ENJOY!
to print the recipe, click here
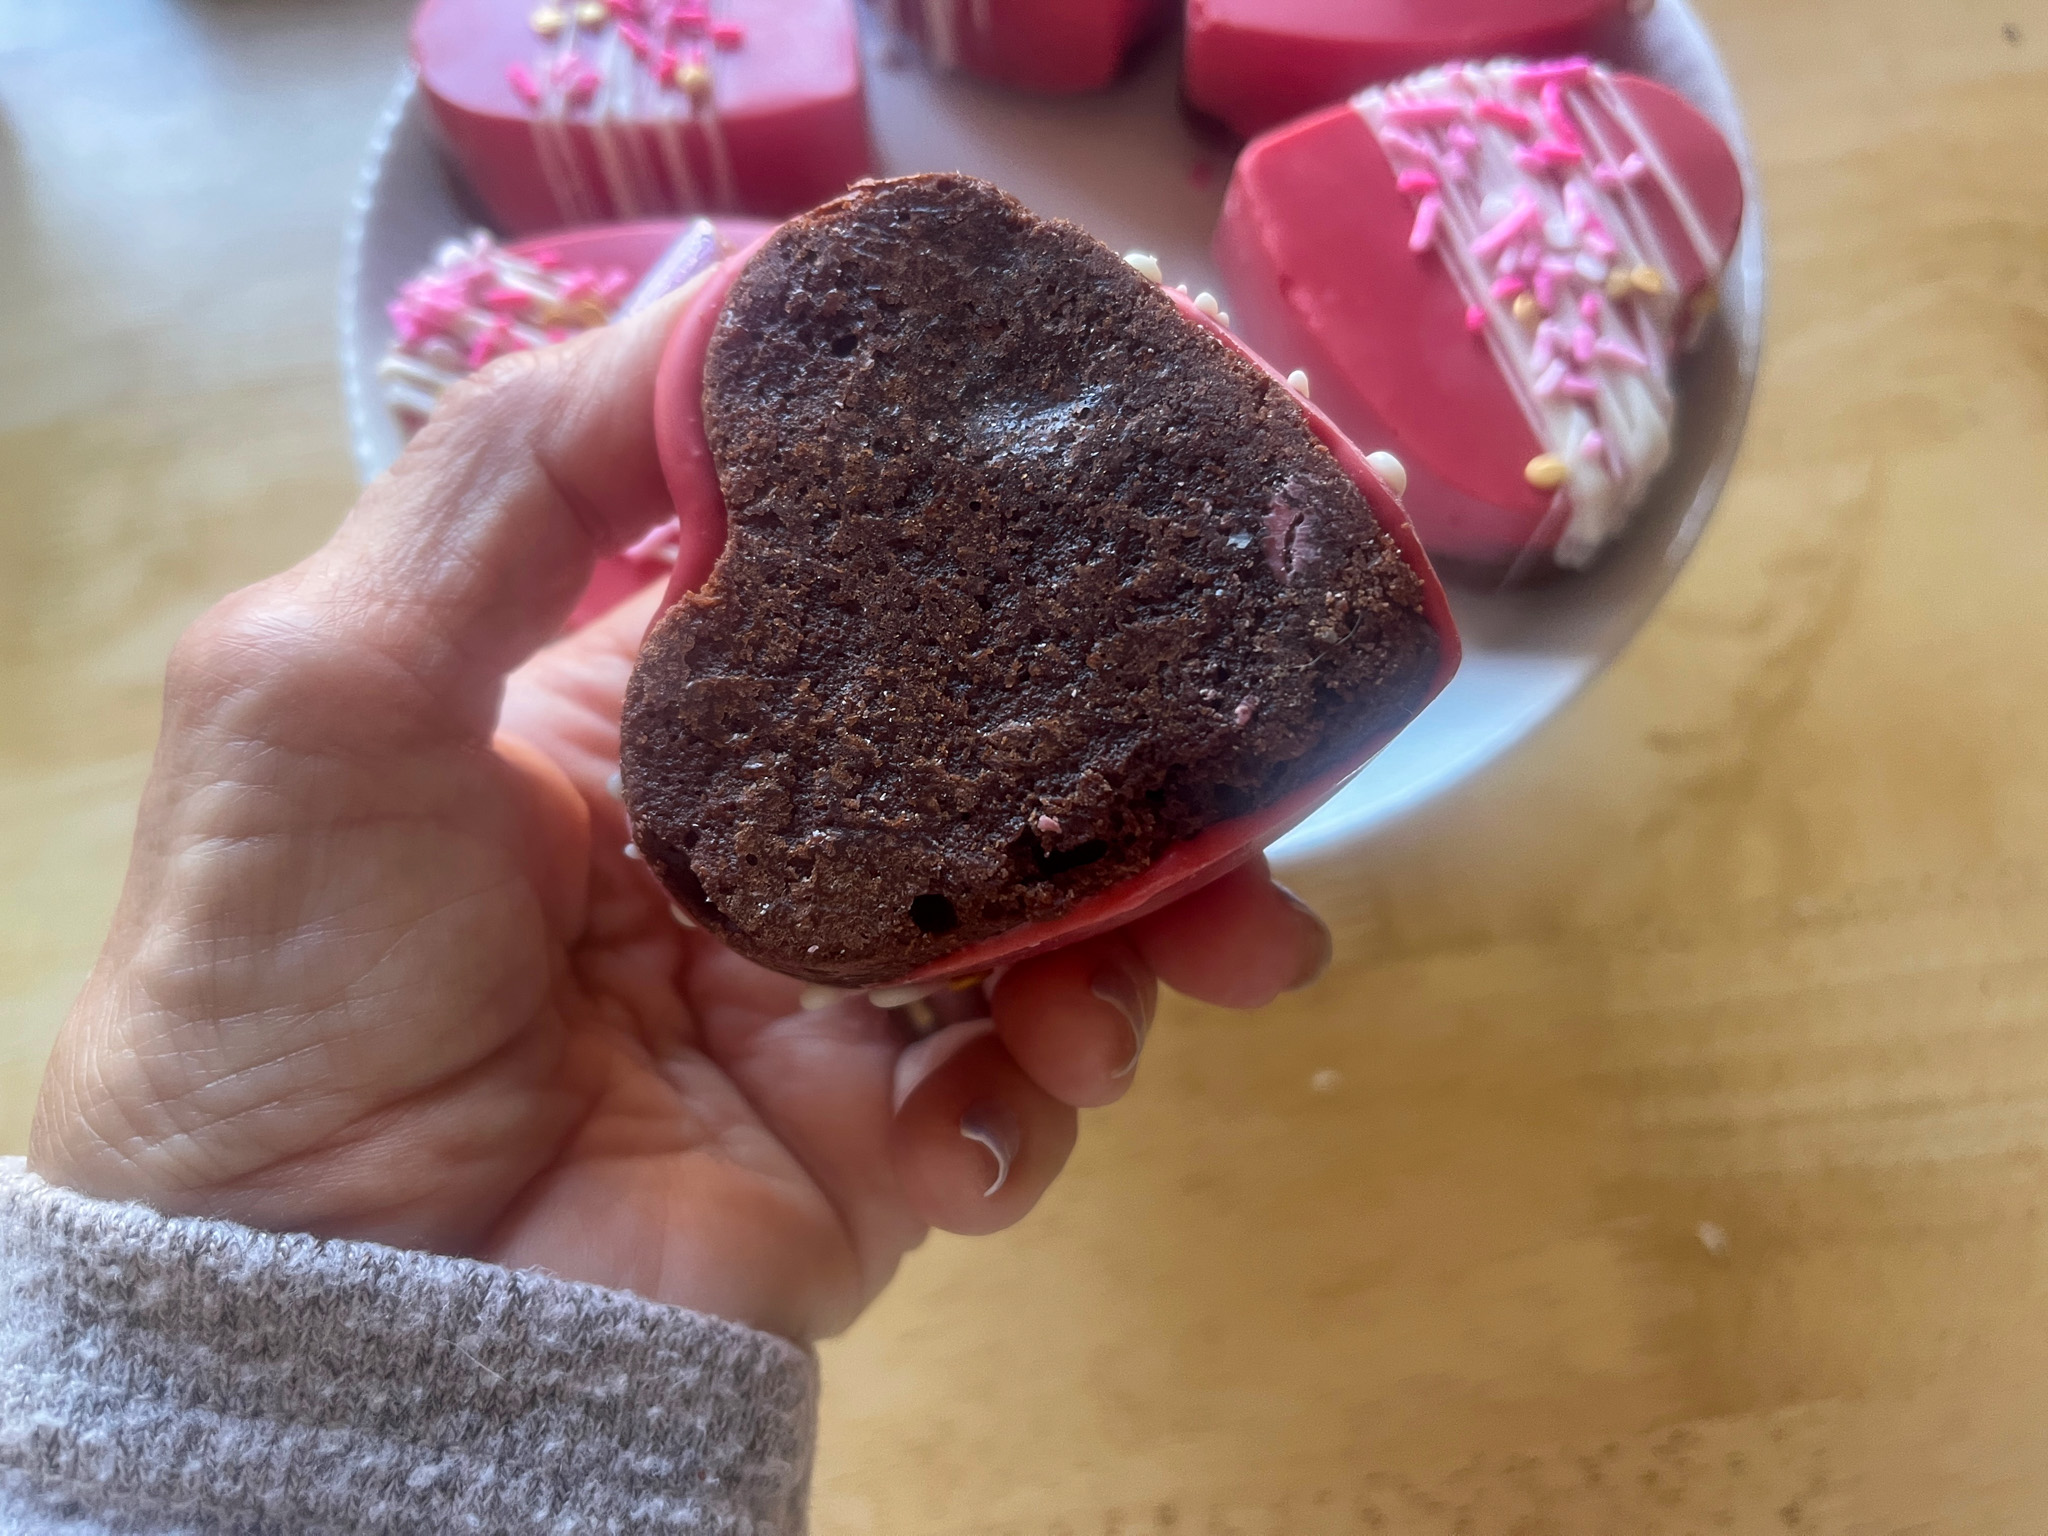
Comments: This recipe is an example of “doctored cake mix”, in which you start with a box cake component but add bells and whistles to it. Many will twist their noses, I honestly do not see anything wrong, I can bake a cake from scratch, but don’t mind taking a little shortcut here and there. I donated the cake whole, and I don’t feel like asking volunteers to take pictures for me, they have a lot to think about during the dinners, so I cannot show you the inside. It got very nice reviews, though, so I am confident about sharing the recipe with my readers. The pink color I used is my all-time-fave, Dusty Rose. Every chance I get, I incorporate it into my bakes.

1 YEAR AGO: Salmon and Baby Bok Choy over Sushi Rice
2 YEARS AGO: The Pizzsalad
3 YEARS AGO: Prosciutto-Wrapped Chicken Breasts with Pickled Jalapeños
4 YEARS AGO: Dressing Up the Roll Cakes
5 YEARS AGO: Roasted Carrot and Barley Salad
6 YEARS AGO: Ode to Halva
7 YEARS AGO: Brazilian Pao de Queijo (re-blogged)
8 YEARS AGO: Apricot Linzer Torte
9 YEARS AGO: A Trio of Air-Fried Goodies
10 YEARS AGO: Focaccia with Grapes, Roquefort and Truffled Honey
11 YEARS AGO: Moroccan Carrot Dip Over Cucumber Slices
12 YEARS AGO: White Chocolate Macadamia Nut Cookies
13 YEARS AGO: Cilantro-Jalapeno “Hummus”
14 YEARS AGO:A Moving Odyssey
15 YEARS AGO:Hoegaarden Beer Bread
16 YEARS AGO: Ancho-Chile Marinade: Pleased to Meat you!
17 YEARS AGO: Shrimp Moqueca