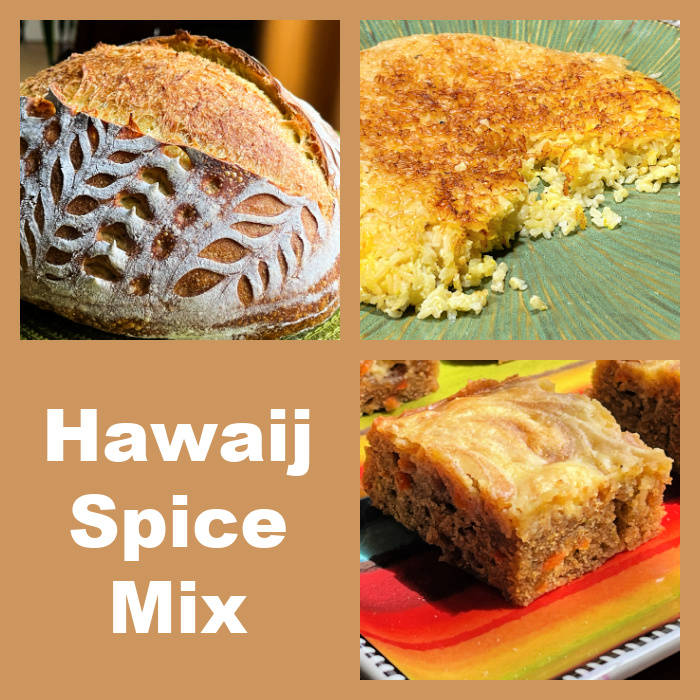
Hawaij (or Hawaj) is a spice mixture from Yemen that came to my attention very recently. I ordered a bottle, as you can see in my previous In My Kitchen post, and put it to use. Here you have three ideas, a sourdough, a tahdig type rice, and a delicious carrot cake with cream cheese topping, super easy to make. I have a soft spot for spice mixtures. I know that I could make my own version but I love the convenience of opening the bottle and having it ready to go. This mix of flavors is right up my alley! Read more about it here.
.
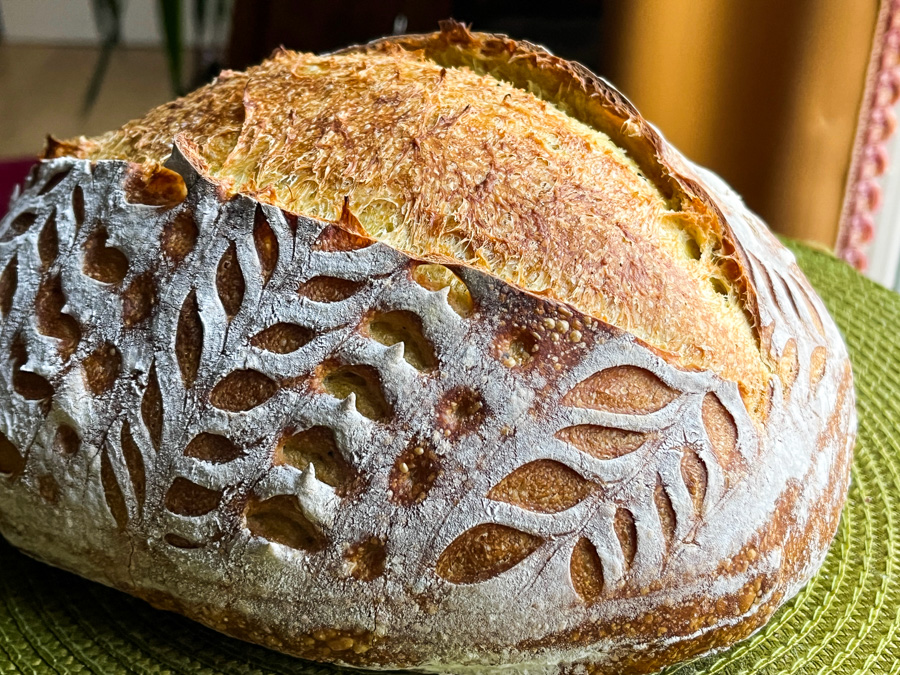
HAWAIJ SOURDOUGH
(from the Bewitching Kitchen)
365g water
75g sourdough starter at 100% hydration
470g white bread flour
30g spelt flour
1 tsp Hawaij spice mix
10g salt
Make the levain mixture about 6 hours before you plan to mix the dough. It should be very bubbly and active.
When you are ready to make the final dough, place the water in the bowl of a KitchenAid type mixer and dissolve the starter in it, mixing with a spatula briefly, then add the two types of flour, Hawaij mix, and salt. Turn the mixer on with the hook attachment and knead the dough for 4 minutes at low-speed all the time. You will notice the dough will gain quite a bit of structure even with just 4 minutes in the mixer. Remove from the machine, and transfer to a container lightly coated with oil, cover lightly with plastic wrap and allow it to ferment for 4 hours, folding every 45 minutes or so. Because the dough is already a bit developed from the initial time in the mixer, you should get very good structure after 3 and a half hours, or even sooner than that.
After four hours bulk fermentation, shape the dough as a ball, and place, seam side up, in a lightly floured banetton. Leave at room temperature one hour, and then place in the fridge overnight, from 8 to 12 hours.
Next morning, heat the oven to 450F.
Invert the dough on a piece of parchment paper and score with a pattern with a new razor blade.
Bake at 450F for 5 minutes, quickly remove the bread from the oven, and slash it with the blade just where you want the bread to open. Cover the bread with the lid, place back in the oven for 30 minutes, uncover and bake for 15 more minutes. Cool completely over a rack before slicing.
ENJOY!
to print the recipe, click here
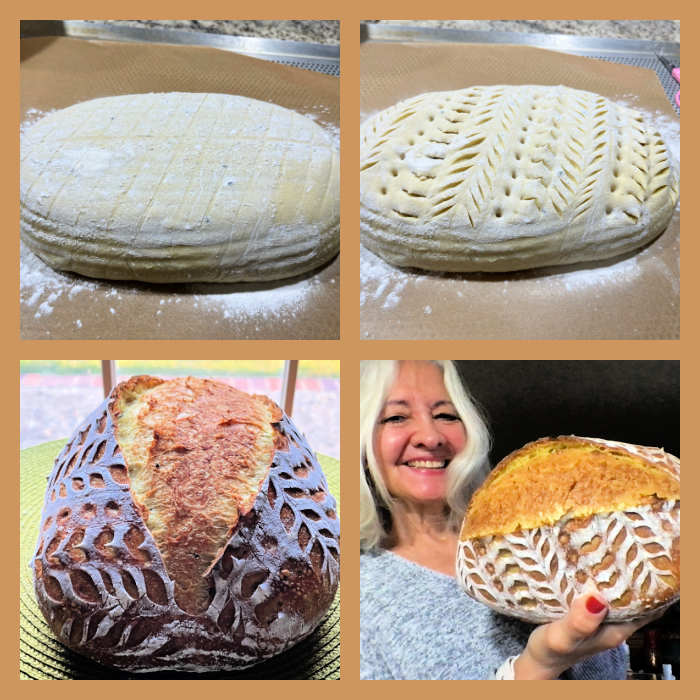
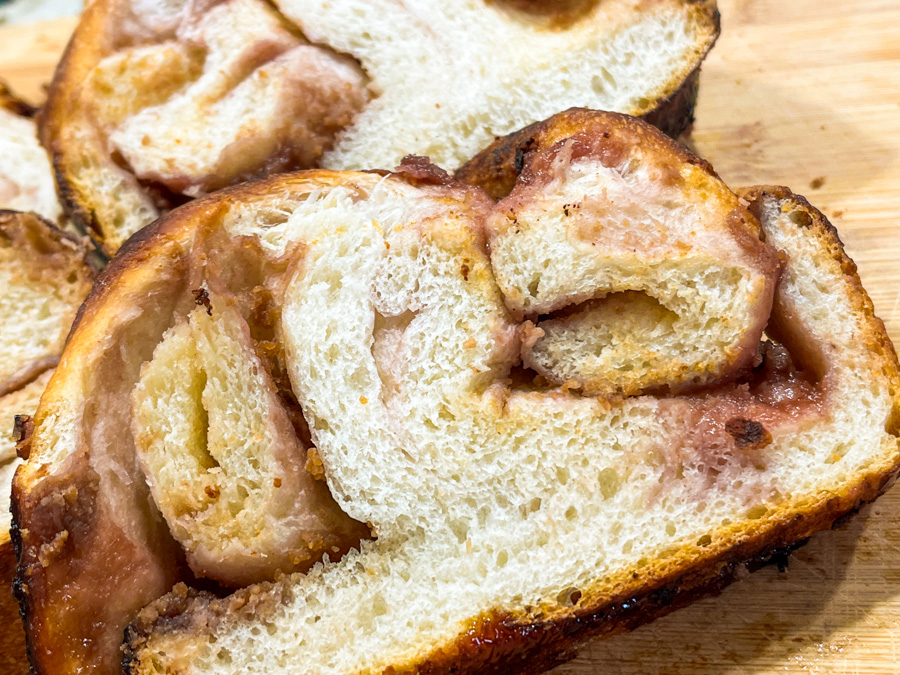
Comments: I really love the way the bread opens up with the second slashing once the dough has been in the oven for 5 to 7 minutes, not longer. It is a bit tricky to open the pan and do the second scoring, but totally worth it. Just be careful not to burn yourself. I’ve seen this tip on several IG posts and I am quite fond of it now. Whenever you want to coach your bread to open in a specific spot to preserve your design, think about incorporating this step in your baking.
.
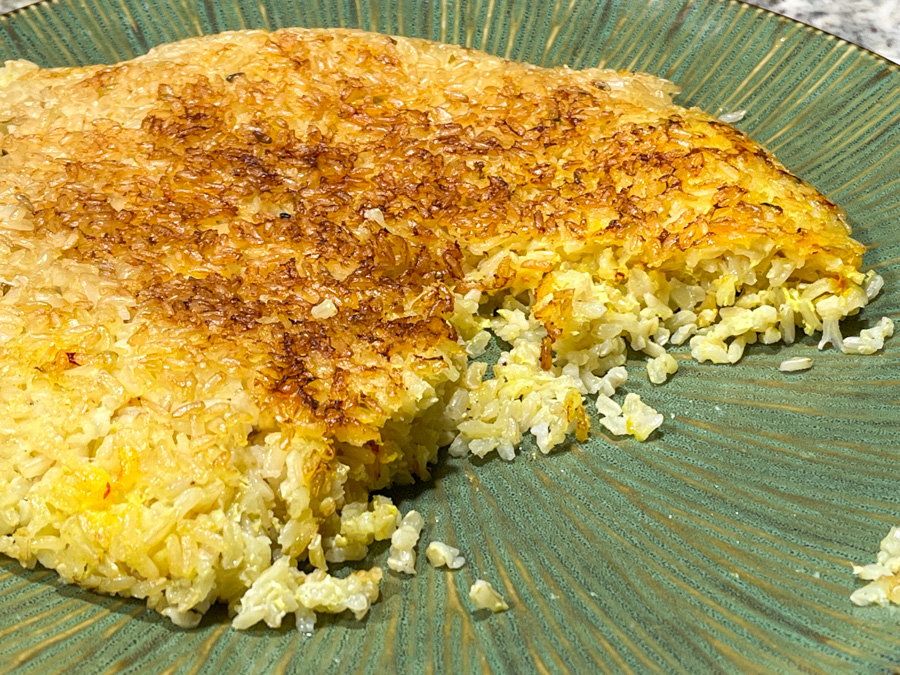
QUICK BROWN RICE TAHDIG WITH HAWAIJ SPICE
(from the Bewitching Kitchen)
1 cup brown rice
3 cups lightly salted water
1/3 cup full-fat yogurt
1/4 tsp salt
1/2 tsp Hawaij mix
drizzle of olive oil
Mix the yogurt with the salt and Hawaij mix. Reserve.
Cook the rice for 20 minutes in salted boiling water and immediately drain and rinse with cold water to stop cooking. Rice and yogurt mixture can sit separately for a couple of hours before continuing.
Mix the rice with the yogurt. Heat a 10-inch non-stick skillet and add olive oil, swirling around the whole surface. When the oil starts to get hot, add the rice-yogurt mixture and spread it all over the pan, smoothing the surface with a silicon spoon. Cover the rice with a paper towel moistened with water, then place a lid. Don’t worry if the lid is not totally tight.
Place on a low-burner for exactly 30 minutes. At the end of 30 minutes check to see if the bottom is golden, if not, increase the heat lightly and remove the lid. Leave it for a minute or two, should be enough to make a nice crust at the bottom. Carefully place a platter on top and invert the rice on it. Cut in wedges to serve.
ENJOY!
to print the recipe, click here
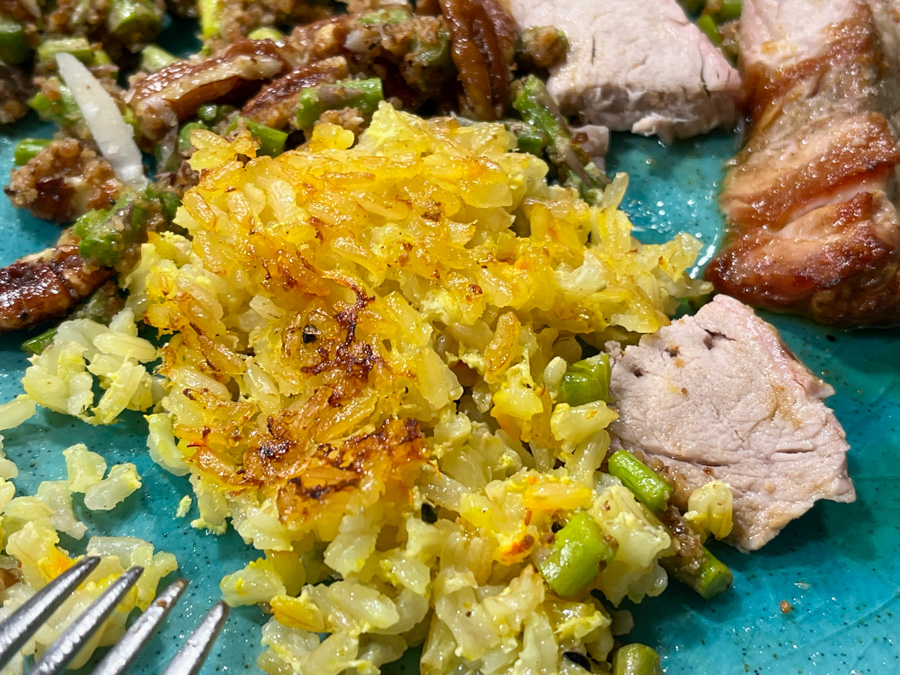
Comments: We love this quick version of tahdig made with brown rice instead of white. You will probably have to tweak the time to first parboil the rice a bit depending on the brand you use, but it is truly delicious. Again, not the most authentic version of tahdig out there, but we are hooked. I probably make it once a week ever since I first blogged about it (click here for flashback).
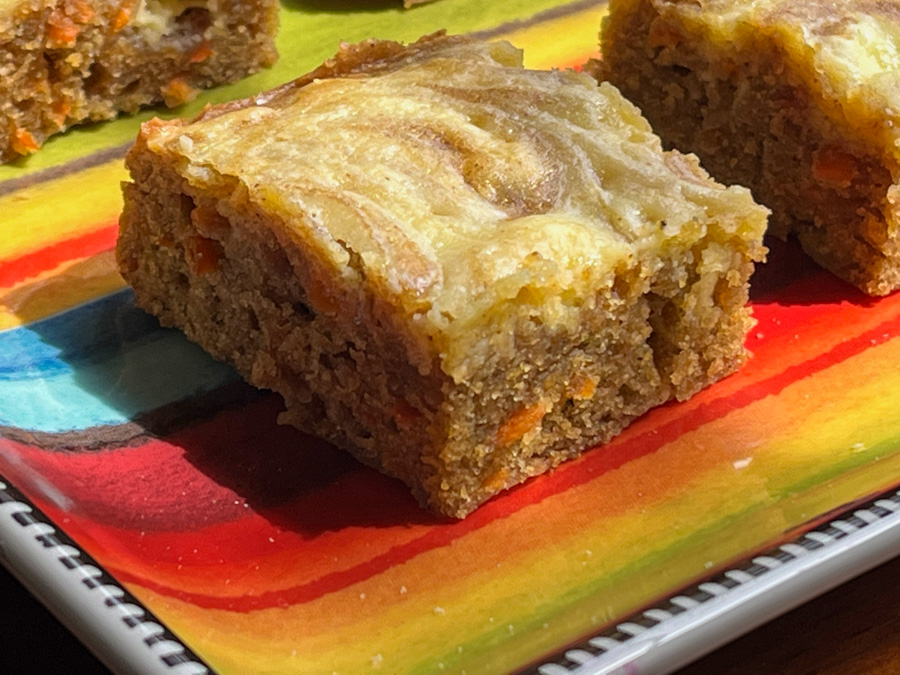
CARROT CAKE BARS WITH HAWAIJ MIX
(adapted from Averie Cooks)
1/2 cup unsalted butter, melted
1 large egg
1 cup brown sugar, packed
1 teaspoon cinnamon
1 teaspoon Hawaij spice mix
1 teaspoon vanilla extract
1 cup all-purpose flour
1/2 teaspoon salt
1 cup grated carrots, loosely packed
4 ounces brick-style cream cheese, softened to room temp
1 egg yolk
1/4 cup granulated sugar
Heat oven to 350F, line an 8×8-inch pan with parchment paper, and spray with cooking spray.
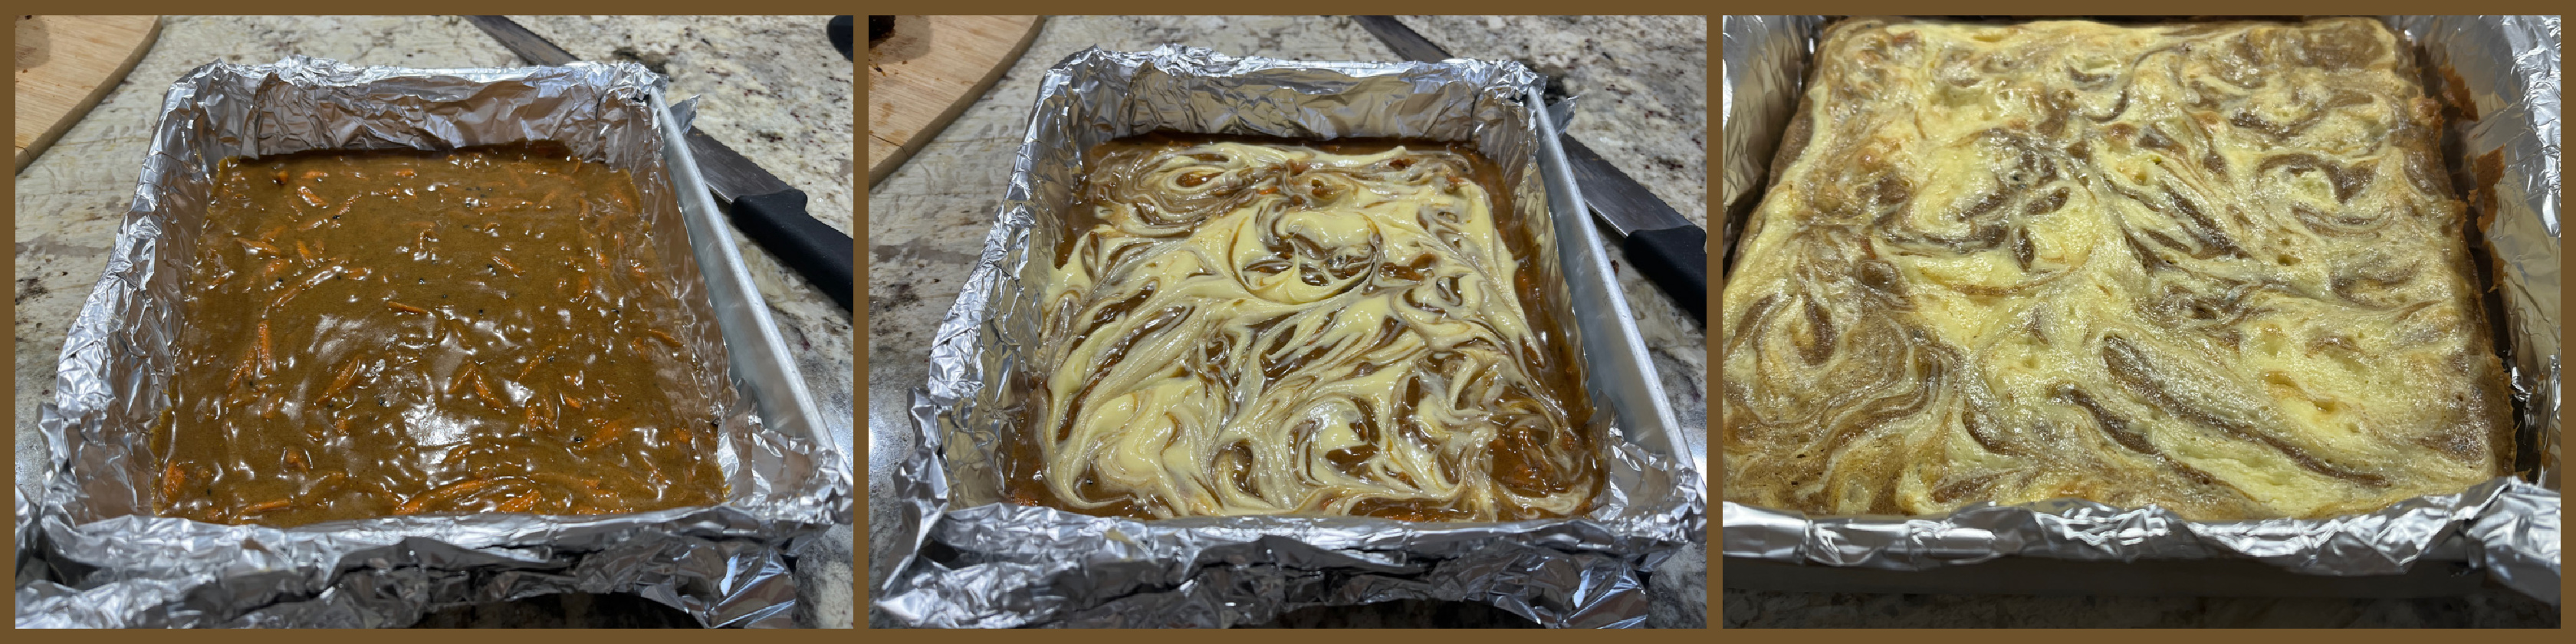
To a large microwave-safe bowl, add the butter and heat on high power to melt, about 1 minute. Allow the melted butter to cool slightly, then whisk in the egg, brown sugar, spices, and vanilla. Once it is all smooth, add the flour and salt, mixing gently. Add the carrots, fold them in, then pour the batter into the prepared pan. Smooth the top with a spatula.
Prepare the topping: into a medium bowl, add the cream cheese, egg, sugar, and beat on high with a handheld electric mixer until smooth and fluffy, about 4 minutes. Turn the cream cheese out over the carrot batter using the blade of a butter knife or the tip of a spatula, and lightly swirl the cream cheese into the carrot batter. Bake for about 25 to 30 minutes, or until a toothpick inserted in the center comes out clean.
Allow to cool, uncovered in the pan, at room temp, for at least 2 hours (overnight is preferred) before slicing and serving.
ENJOY!
to print the recipe, click here
Comments: These bars/blondies were a huge hit with our colleagues from the department, and I got a few emails of praise for them. They are not too sweet and the spice mixture goes perfectly with the carrot and cream cheese topping. I highly recommend you give them a try!
So that closes my first series of recipes using Hawaij.
I do hope you’ve found something to inspire you!
ONE YEAR AGO: A Most Painful Goodbye
TWO YEARS AGO: Masala Clay Pot Chicken Thighs
THREE YEARS AGO: Happy Swirls Tonka Macarons
FOUR YEARS AGO: Chocolate Tartlets with Honey-Caramel Filling
FIVE YEAR AGO: Zucchini Soup with Tahini
SIX YEARS AGO: Black Sesame Macarons
SEVEN YEARS AGO: Fine Tuning Thomas Keller
EIGHT YEARS AGO: Cauliflower Tortillas
NINE YEARS AGO: Majestic Sedona, Take Two
TEN YEARS AGO: Secret Ingredient Turkey Meatballs
ELEVEN YEARS AGO: Swedish Meatballs and Egg Noodles
TWELVE YEARS AGO: Italian Easter Pie
THIRTEEN YEARS AGO: Black Olive Bialy