One more example of a recipe in which looks do not do it justice… This was so delicious, it goes into our regular rotation, although the weather for this type of meal is coming to an end. Comfort food without being overly heavy. Please give it a try, you won’t be disappointed.
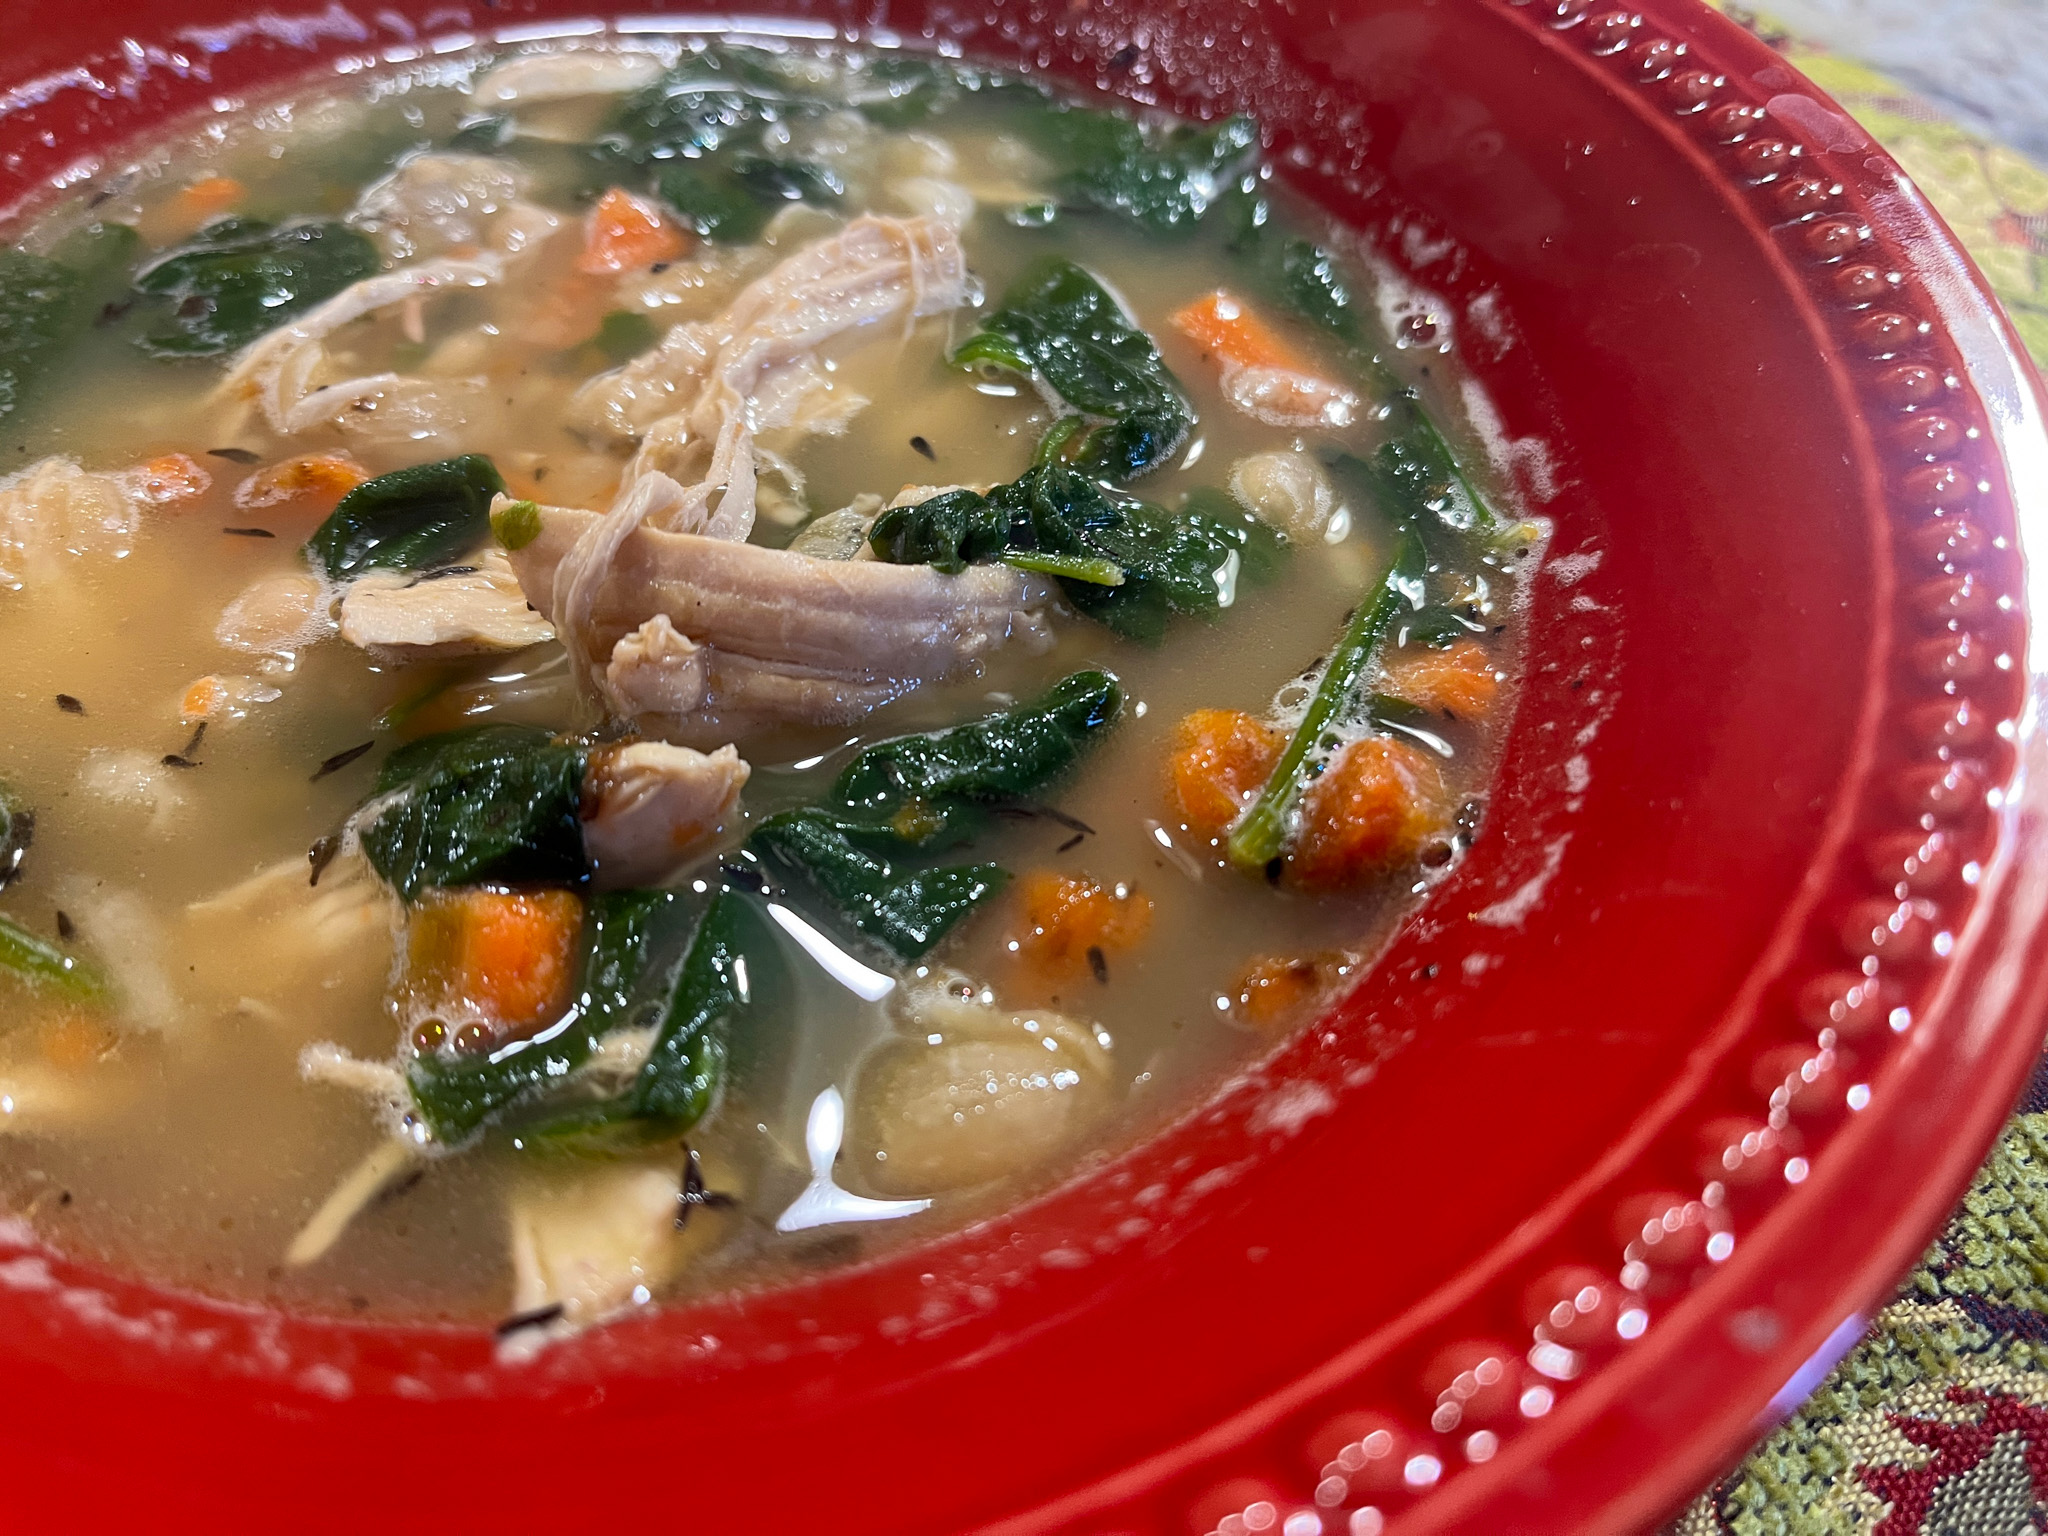
CHICKEN AND WHITE BEAN STEW
(slightly modified from The New York Times)
1 tablespoons unsalted butter
2 tablespoons olive oil
1 shallot, finely chopped
2 sage sprigs
Salt and black pepper
1 pound boneless, skinless chicken breasts
4 cups chicken broth
1 (15-ounce) can white beans, drained
1 bunch spinach leaves, coarsely chopped
fresh lemon juice to taste, for serving
In a large pot or Dutch oven, melt the butter and olive oil medium. When foaming, add the shallot and sage, season with salt and pepper. Cook, stirring often, until softened and golden. Remove the sage sprigs.
Add the chicken, broth and white beans. Bring to a simmer over medium heat, then reduce heat to low, cover the pot and simmer until the chicken is cooked through, 15 to 20 minutes, depending on the thickness of the meat.
Transfer the chicken to a bowl and smash some of the beans on the side of the pot. Stir the greens into the soup. Increase heat to medium and simmer, uncovered, while you shred the chicken. Use two forks to shred the chicken. Stir the chicken back in the soup and season to taste with salt and pepper, squirt the lemon juice right before serving.
ENJOY!
to print the recipe, click here
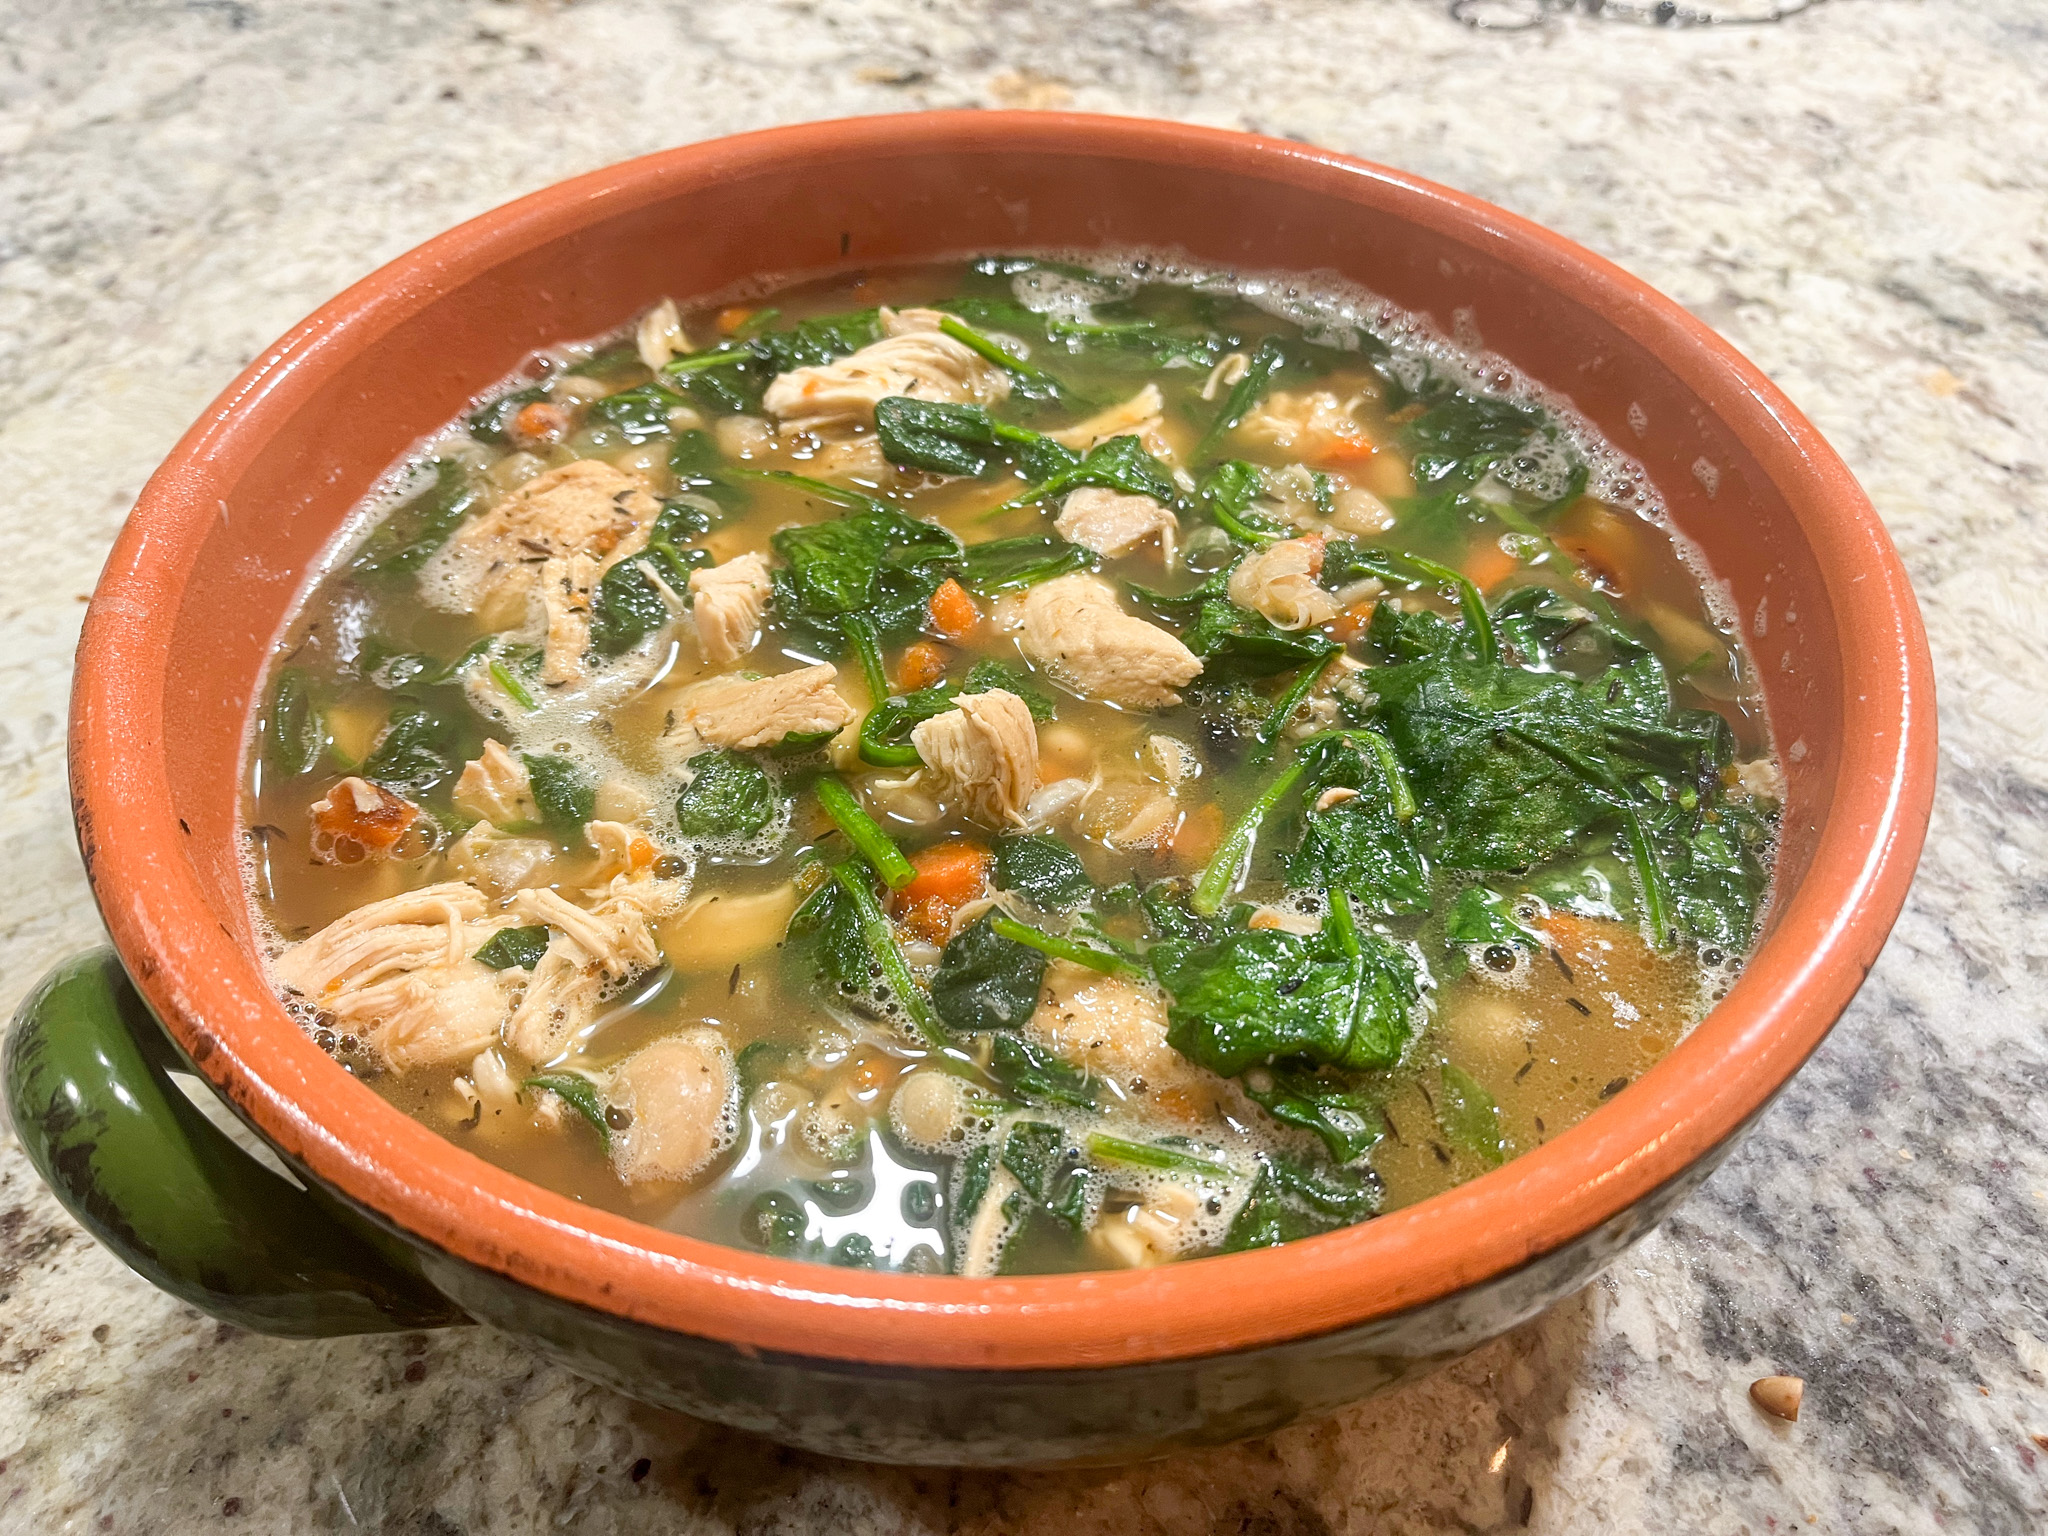
Comments: I love the way smashing the beans will give this stew a creamy, luscious texture, without any need to add heavy cream. I was pleasantly surprised by how much we enjoyed it, because it is such a simple preparation. You can use kale or other hearty greens instead of spinach, and add more beans, but I lightened it up a bit from the original. Leftovers are superb even after two days in the fridge. When I had the leftovers, I added a bit of harissa to my bowl, and that was a pretty nice touch, consider incorporating it into the recipe if you like some extra spice. Because, yes… some like it hot (wink, wink).
ONE YEAR AGO: Quilted Focaccia Buns
TWO YEARS AGO: Chocolate-Covered Oreos
THREE YEARS AGO: Zucchini-Chickpea Baked Bites
FOUR YEARS AGO: Slow-Cooker Hoisin Pulled Pork
FIVE YEARS AGO: I Will Cracker you Up
SIX YEARS AGO: Pickling Ribbons
SEVEN YEARS AGO: Green Beans and Carrots with Spicy Almonds
EIGHT YEARS AGO: Quiche 101
NINE YEARS AGO: Persian Butternut Squash Soup
TEN YEARS AGO: Walnut Cranberry Sourdough Bread
ELEVEN YEARS AGO: Ottolenghi in Brazil?
TWELVE YEARS AGO: Roasted Winter Vegetables with Miso-Lime Dressing
THIRTEEN YEARS AGO: 2012 Fitness Report: P90X2
FOURTEEN YEARS AGO: Caramelized Bananas
FIFTEEN YEARS AGO: Roasted Lemon Vinaigrette
SIXTEEN YEARS AGO: Whole Wheat Bread