In My Kitchen posts are hosted by Sherry, from Sherry’s Pickings. Please visit her site to see what everybody else is sharing this month. I join four times each year, on the first day of January, April, July and October. If you are a food blogger, consider taking part of this fun event. It is a chance to share those little things you bought or received as gifts and that make your life in the kitchen easier.
Starting with gifts….
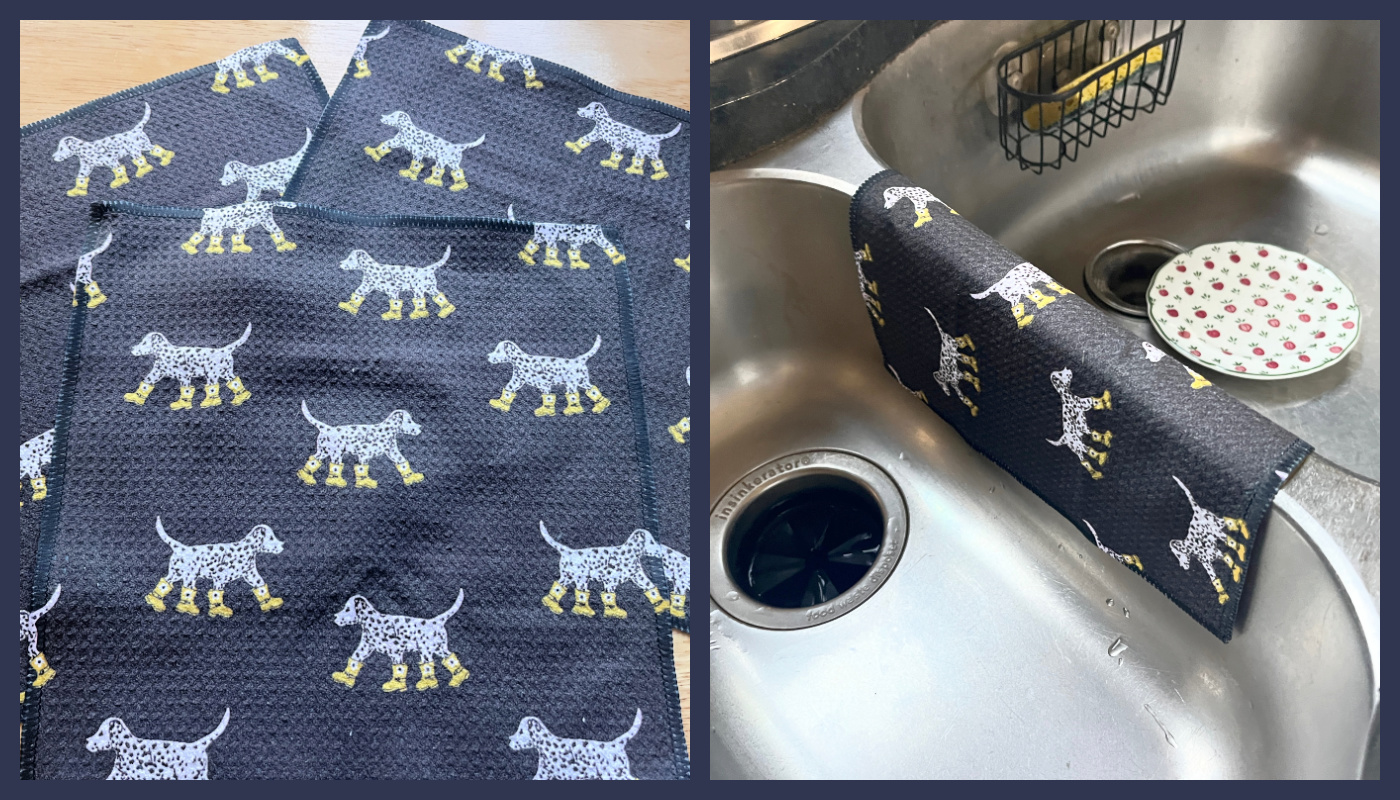
From Monique, my friend and volunteer of all things homeless and meals-on-wheels, a set of kitchen cloths that celebrate the loves of my life, Dalmatians! My heart flipped, thank YOU, Monique!
In our kitchen…
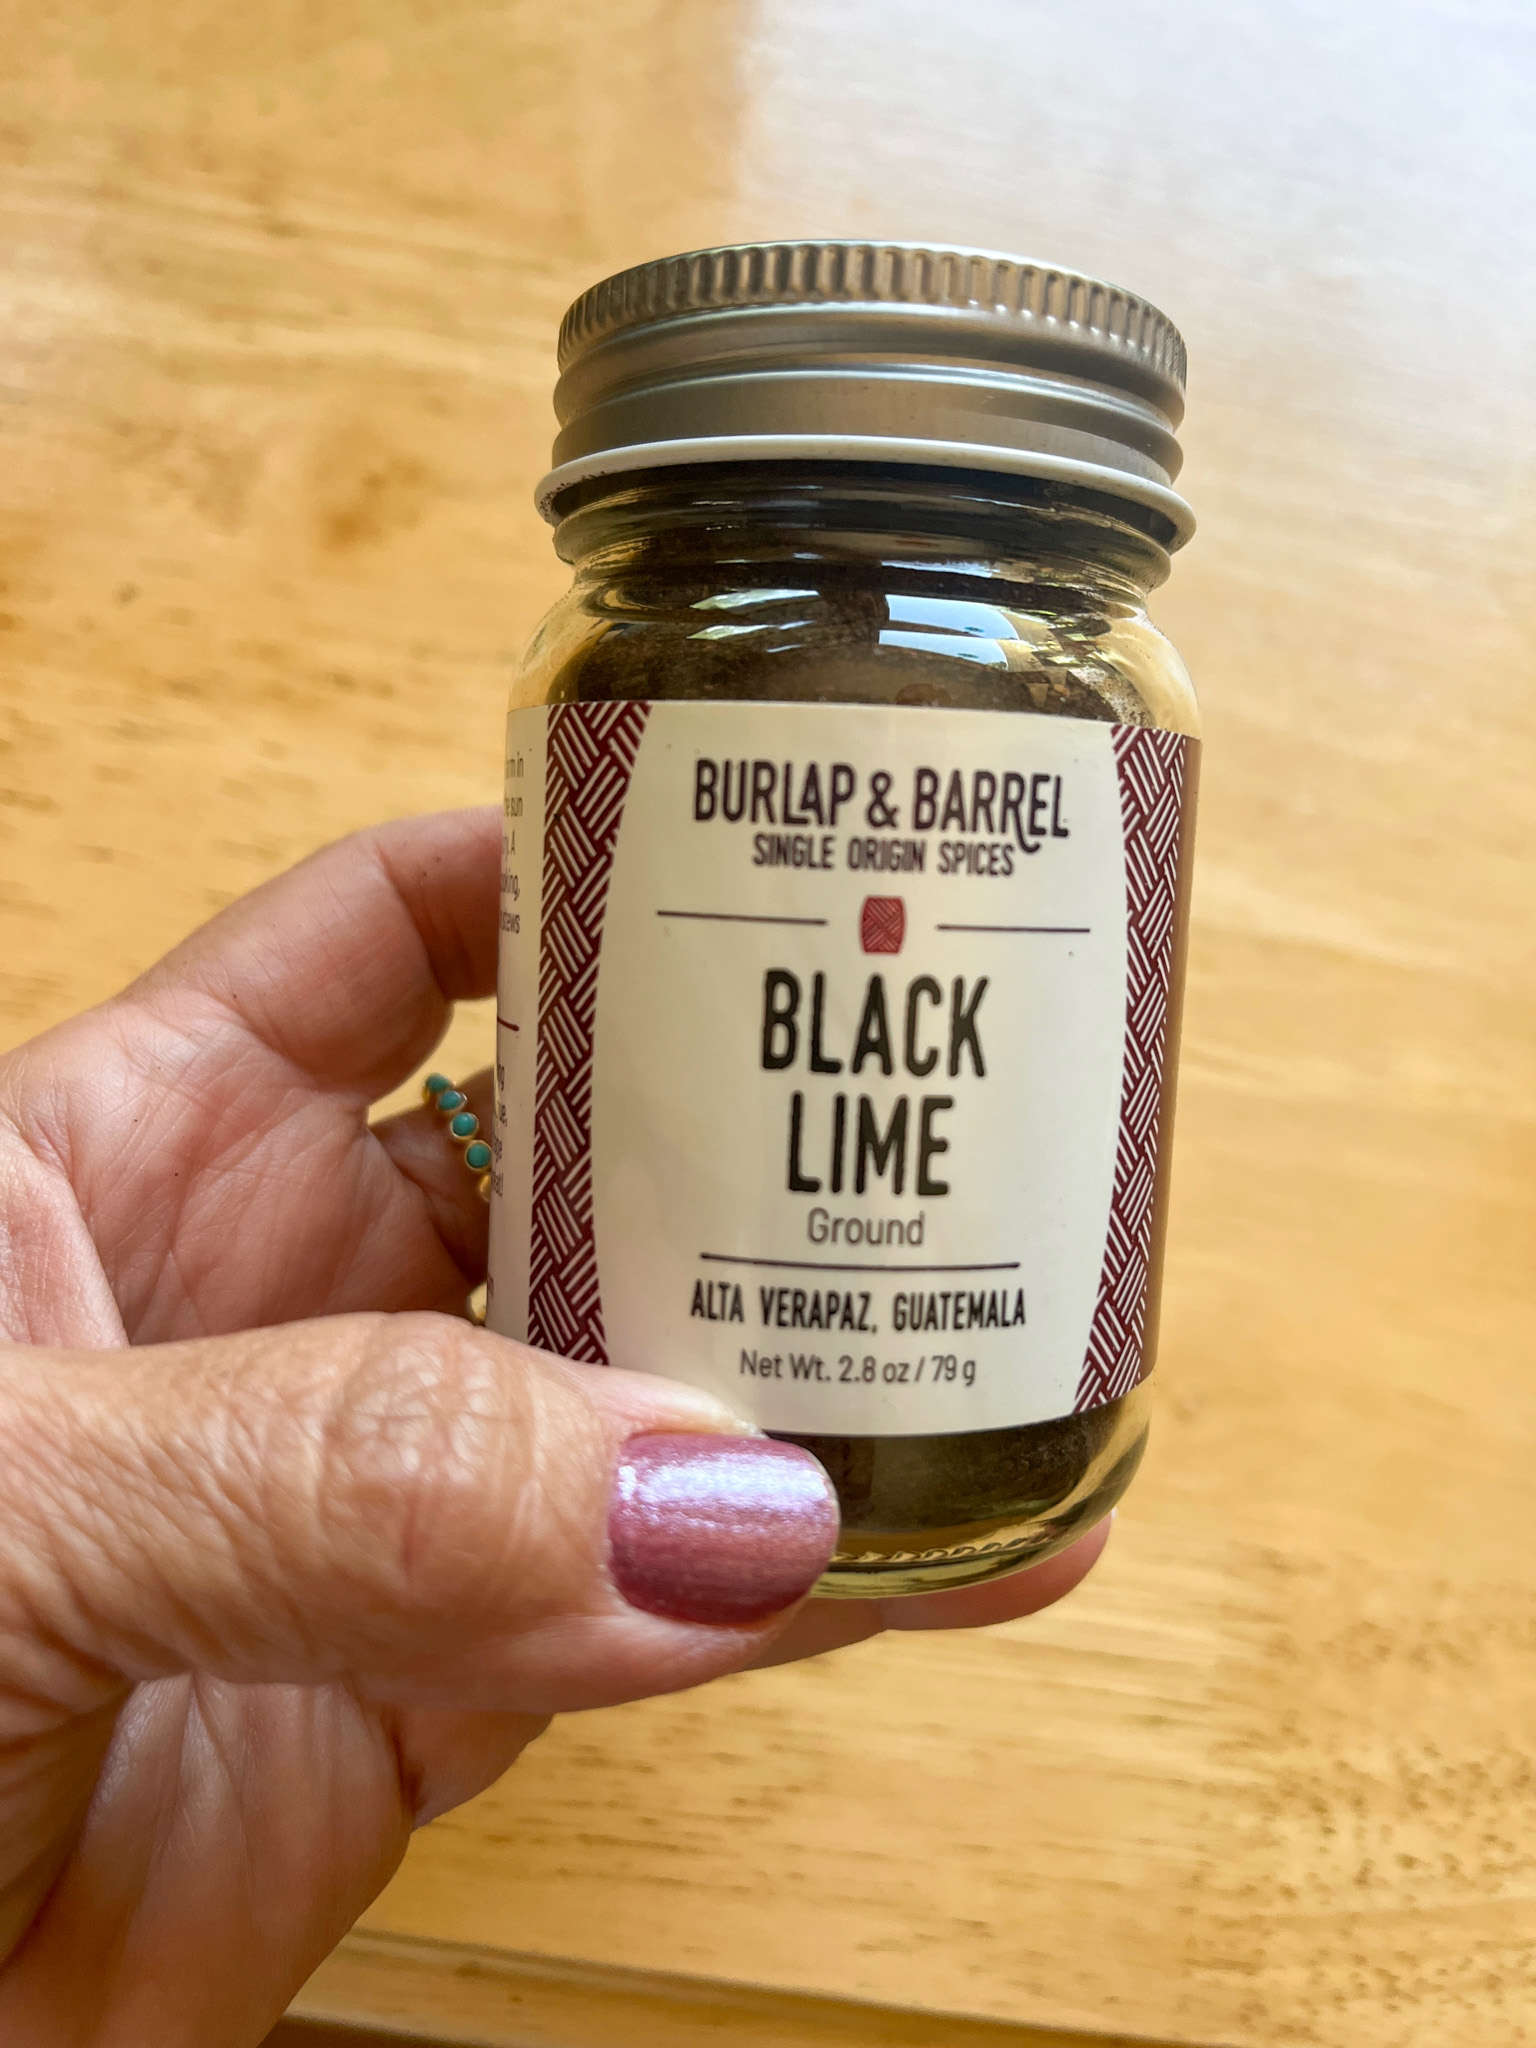
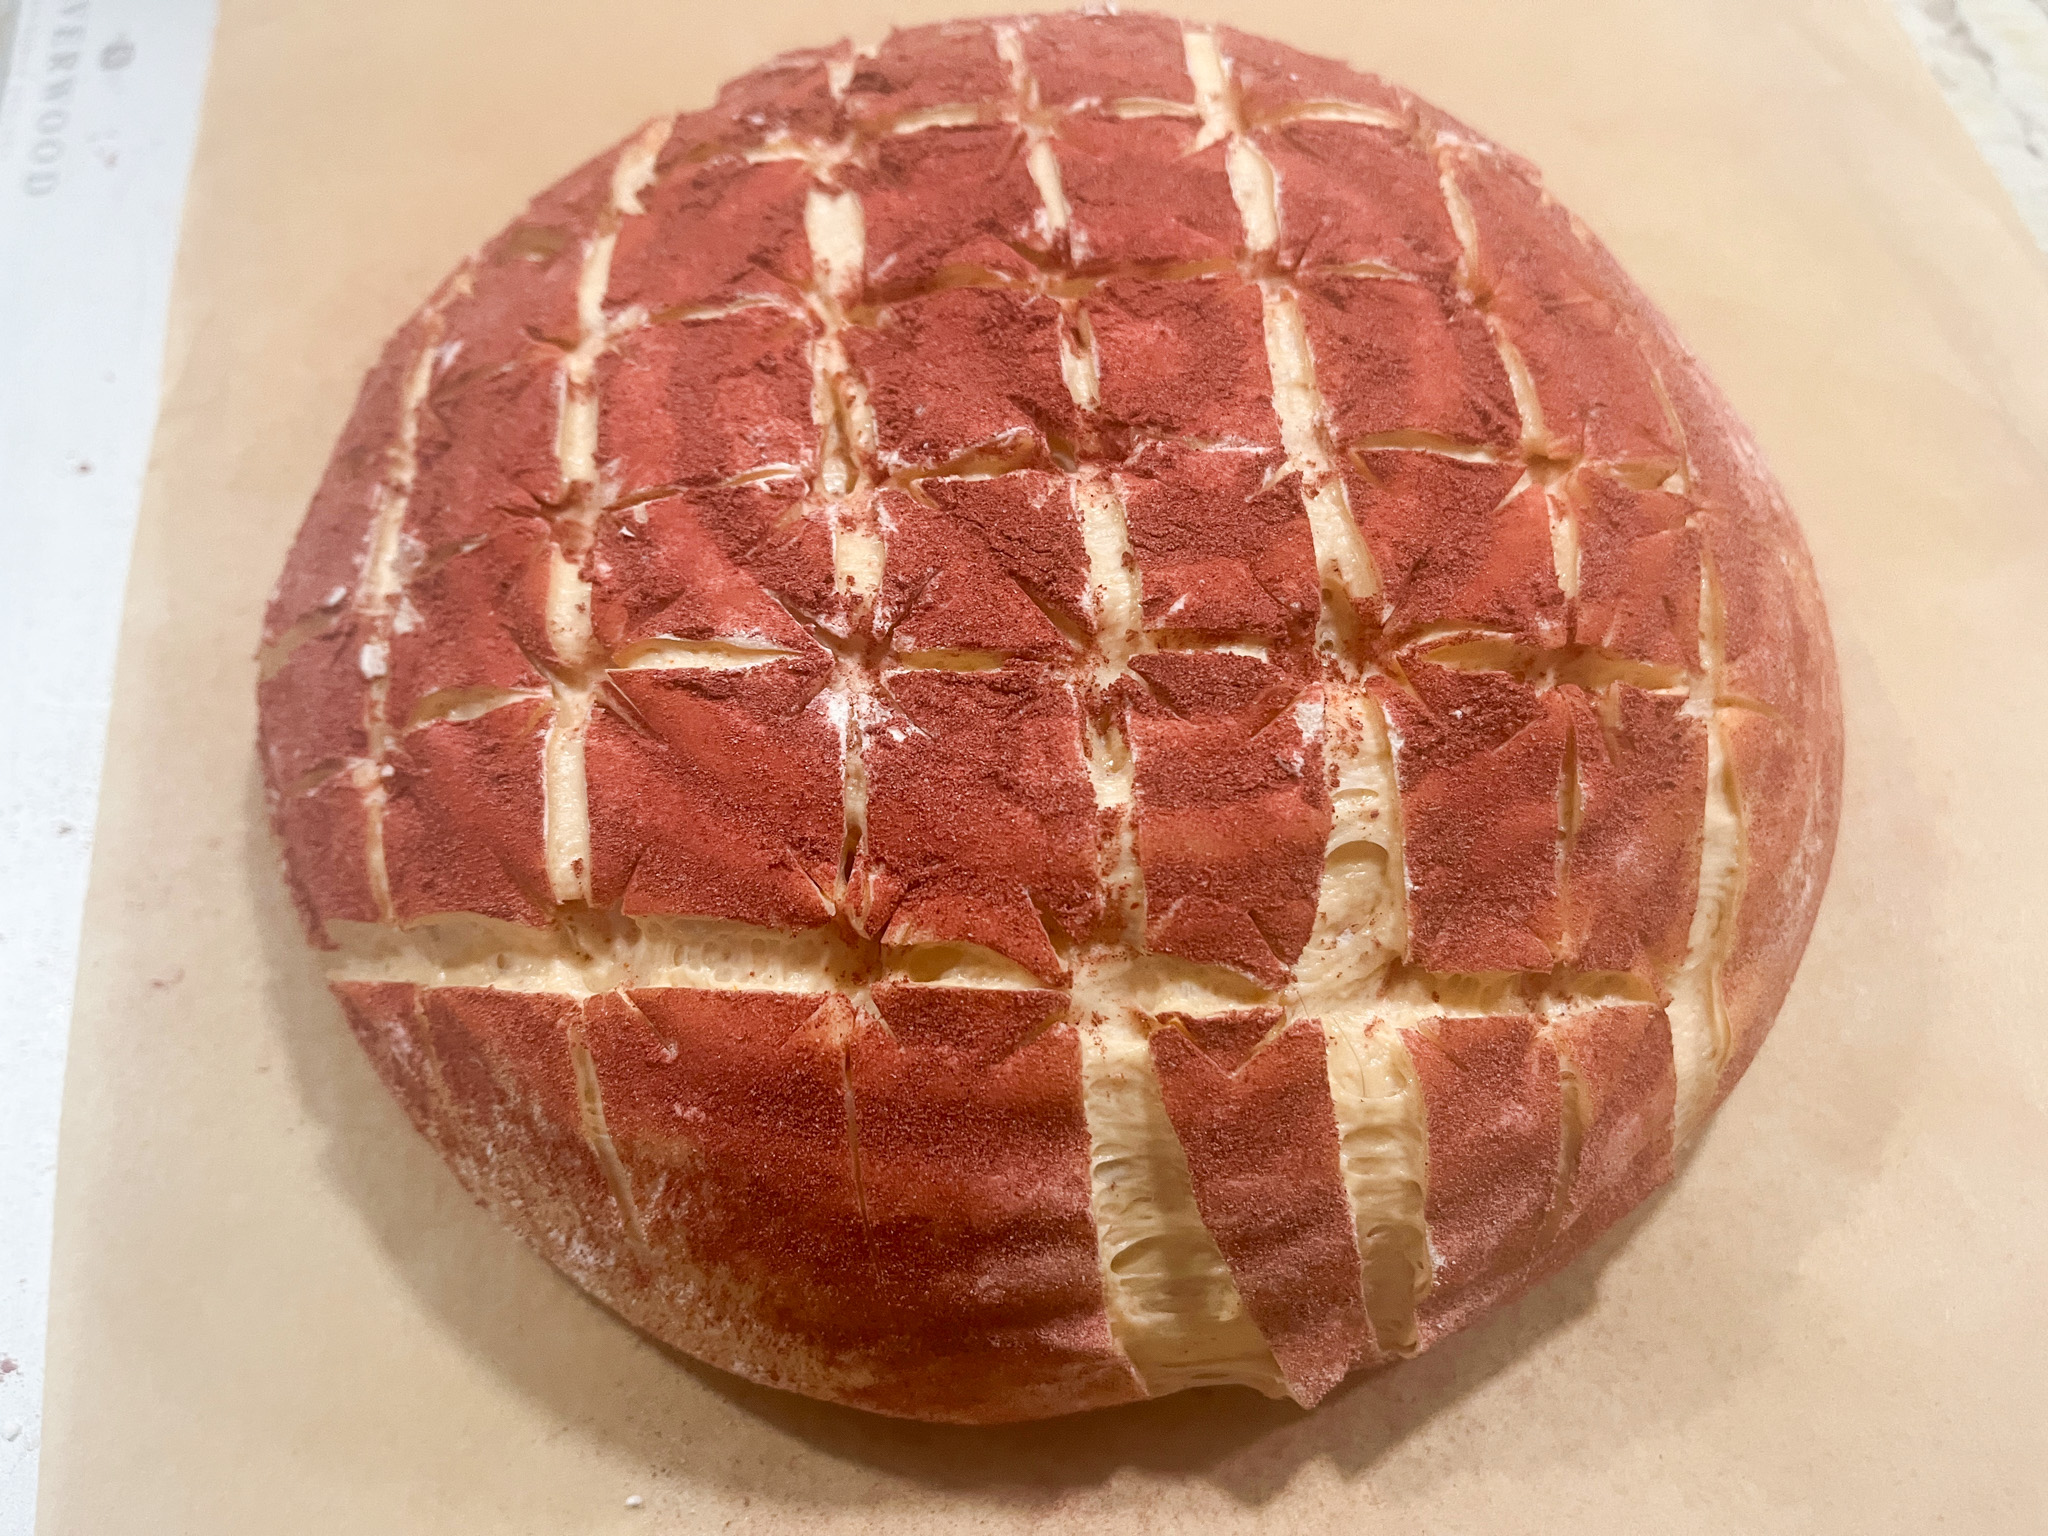
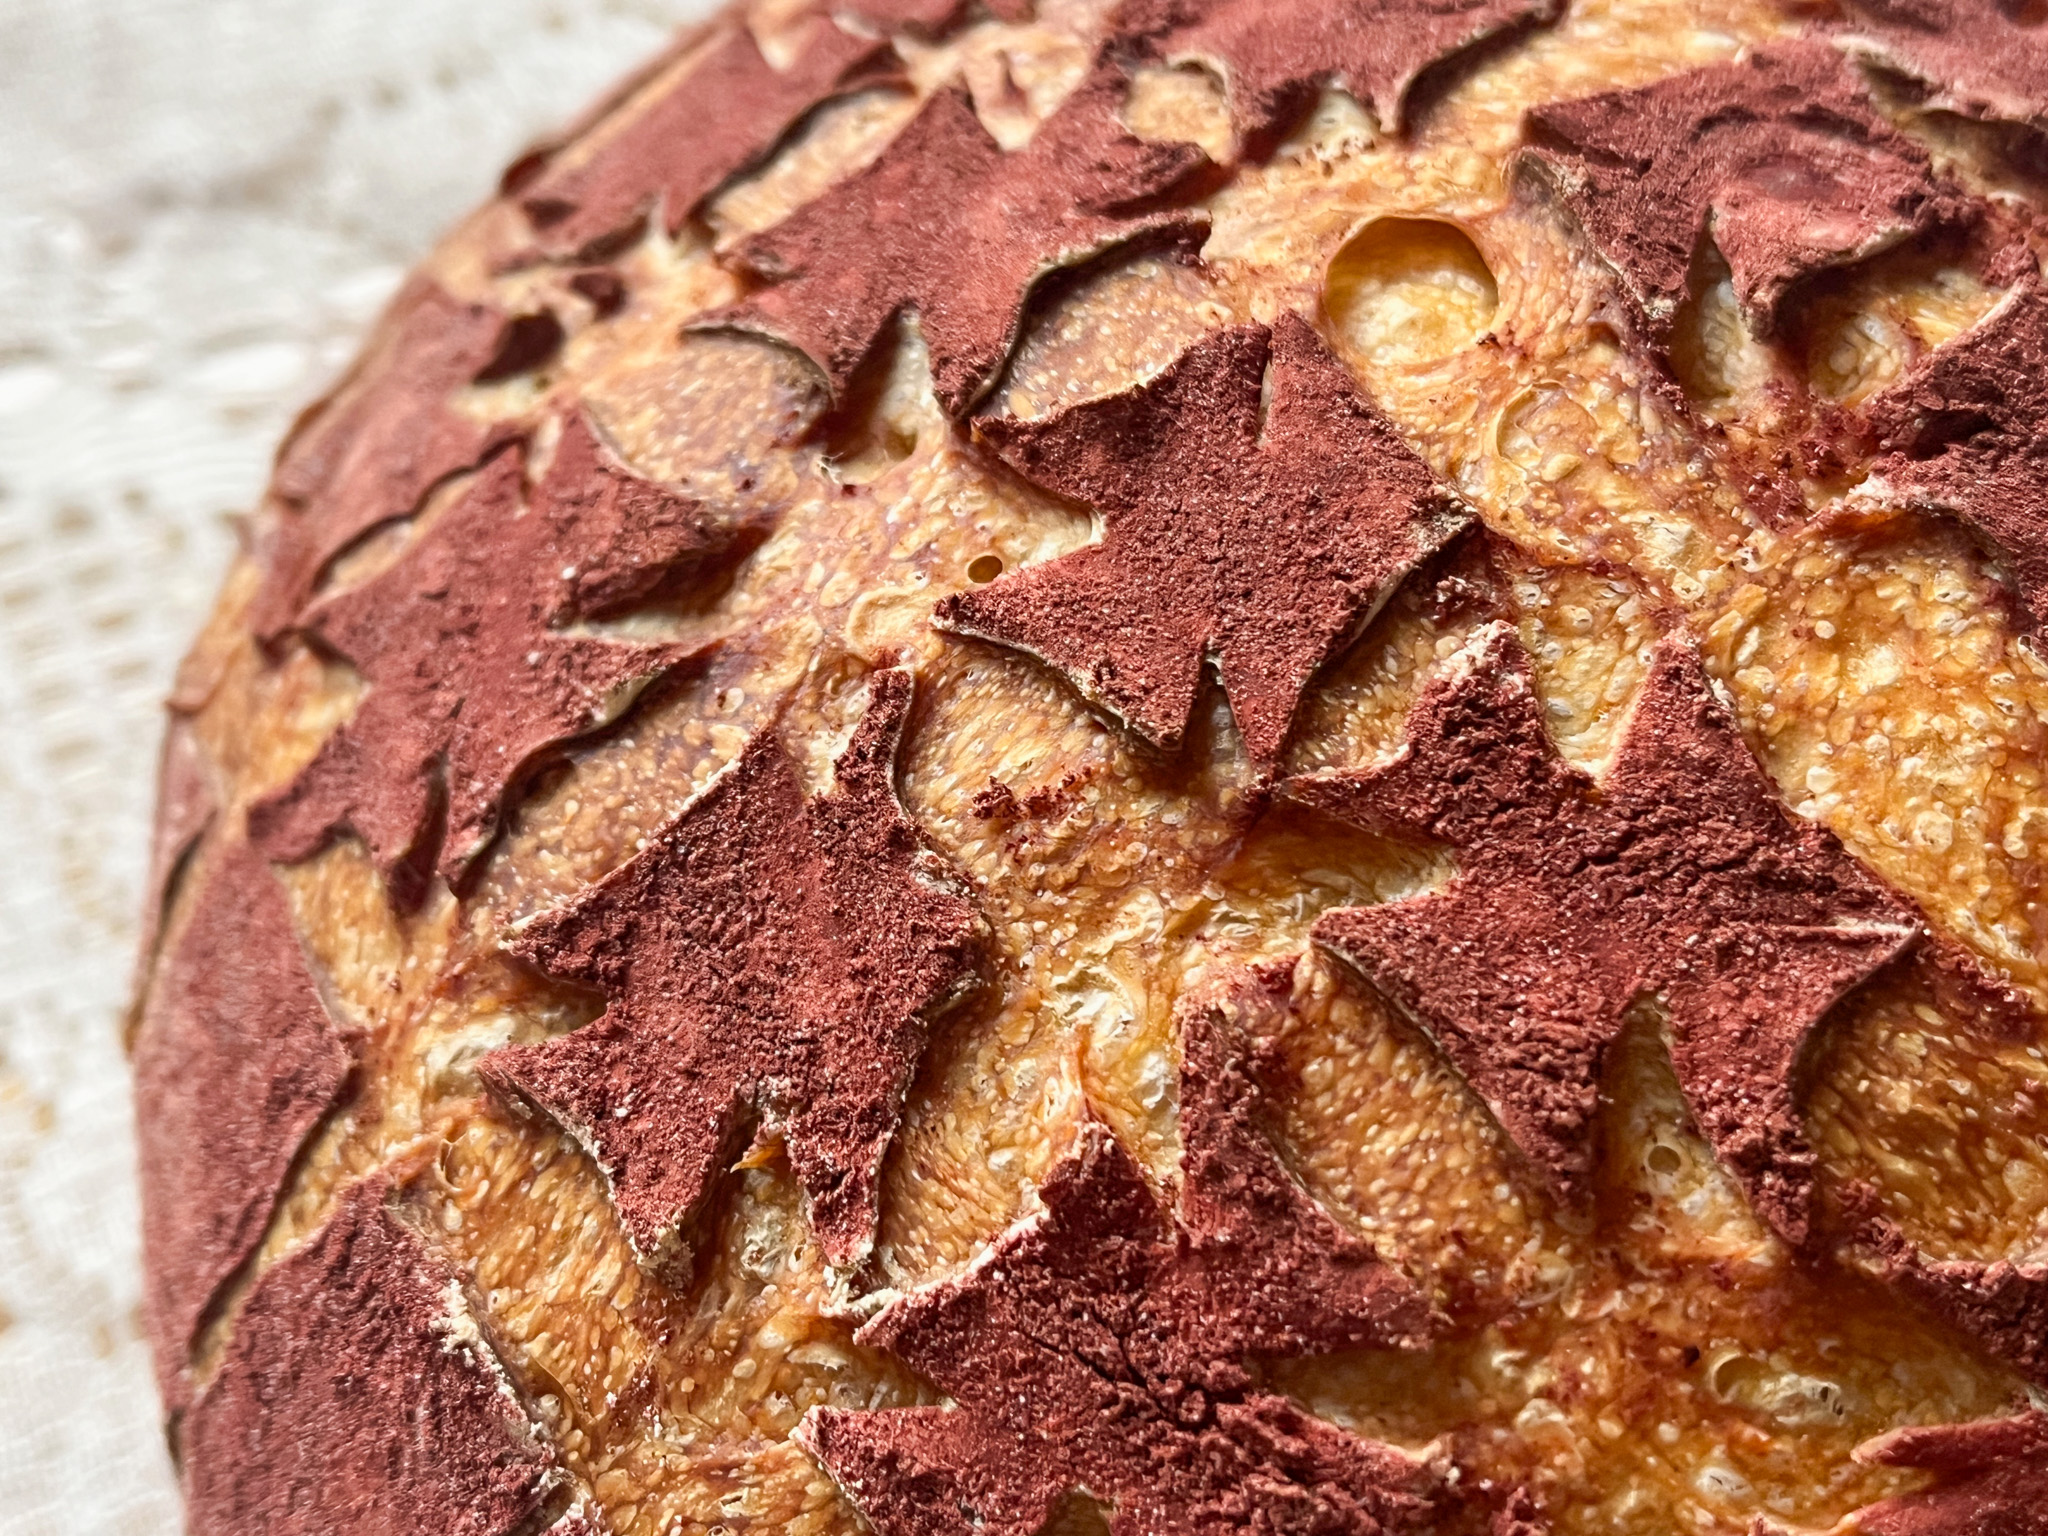
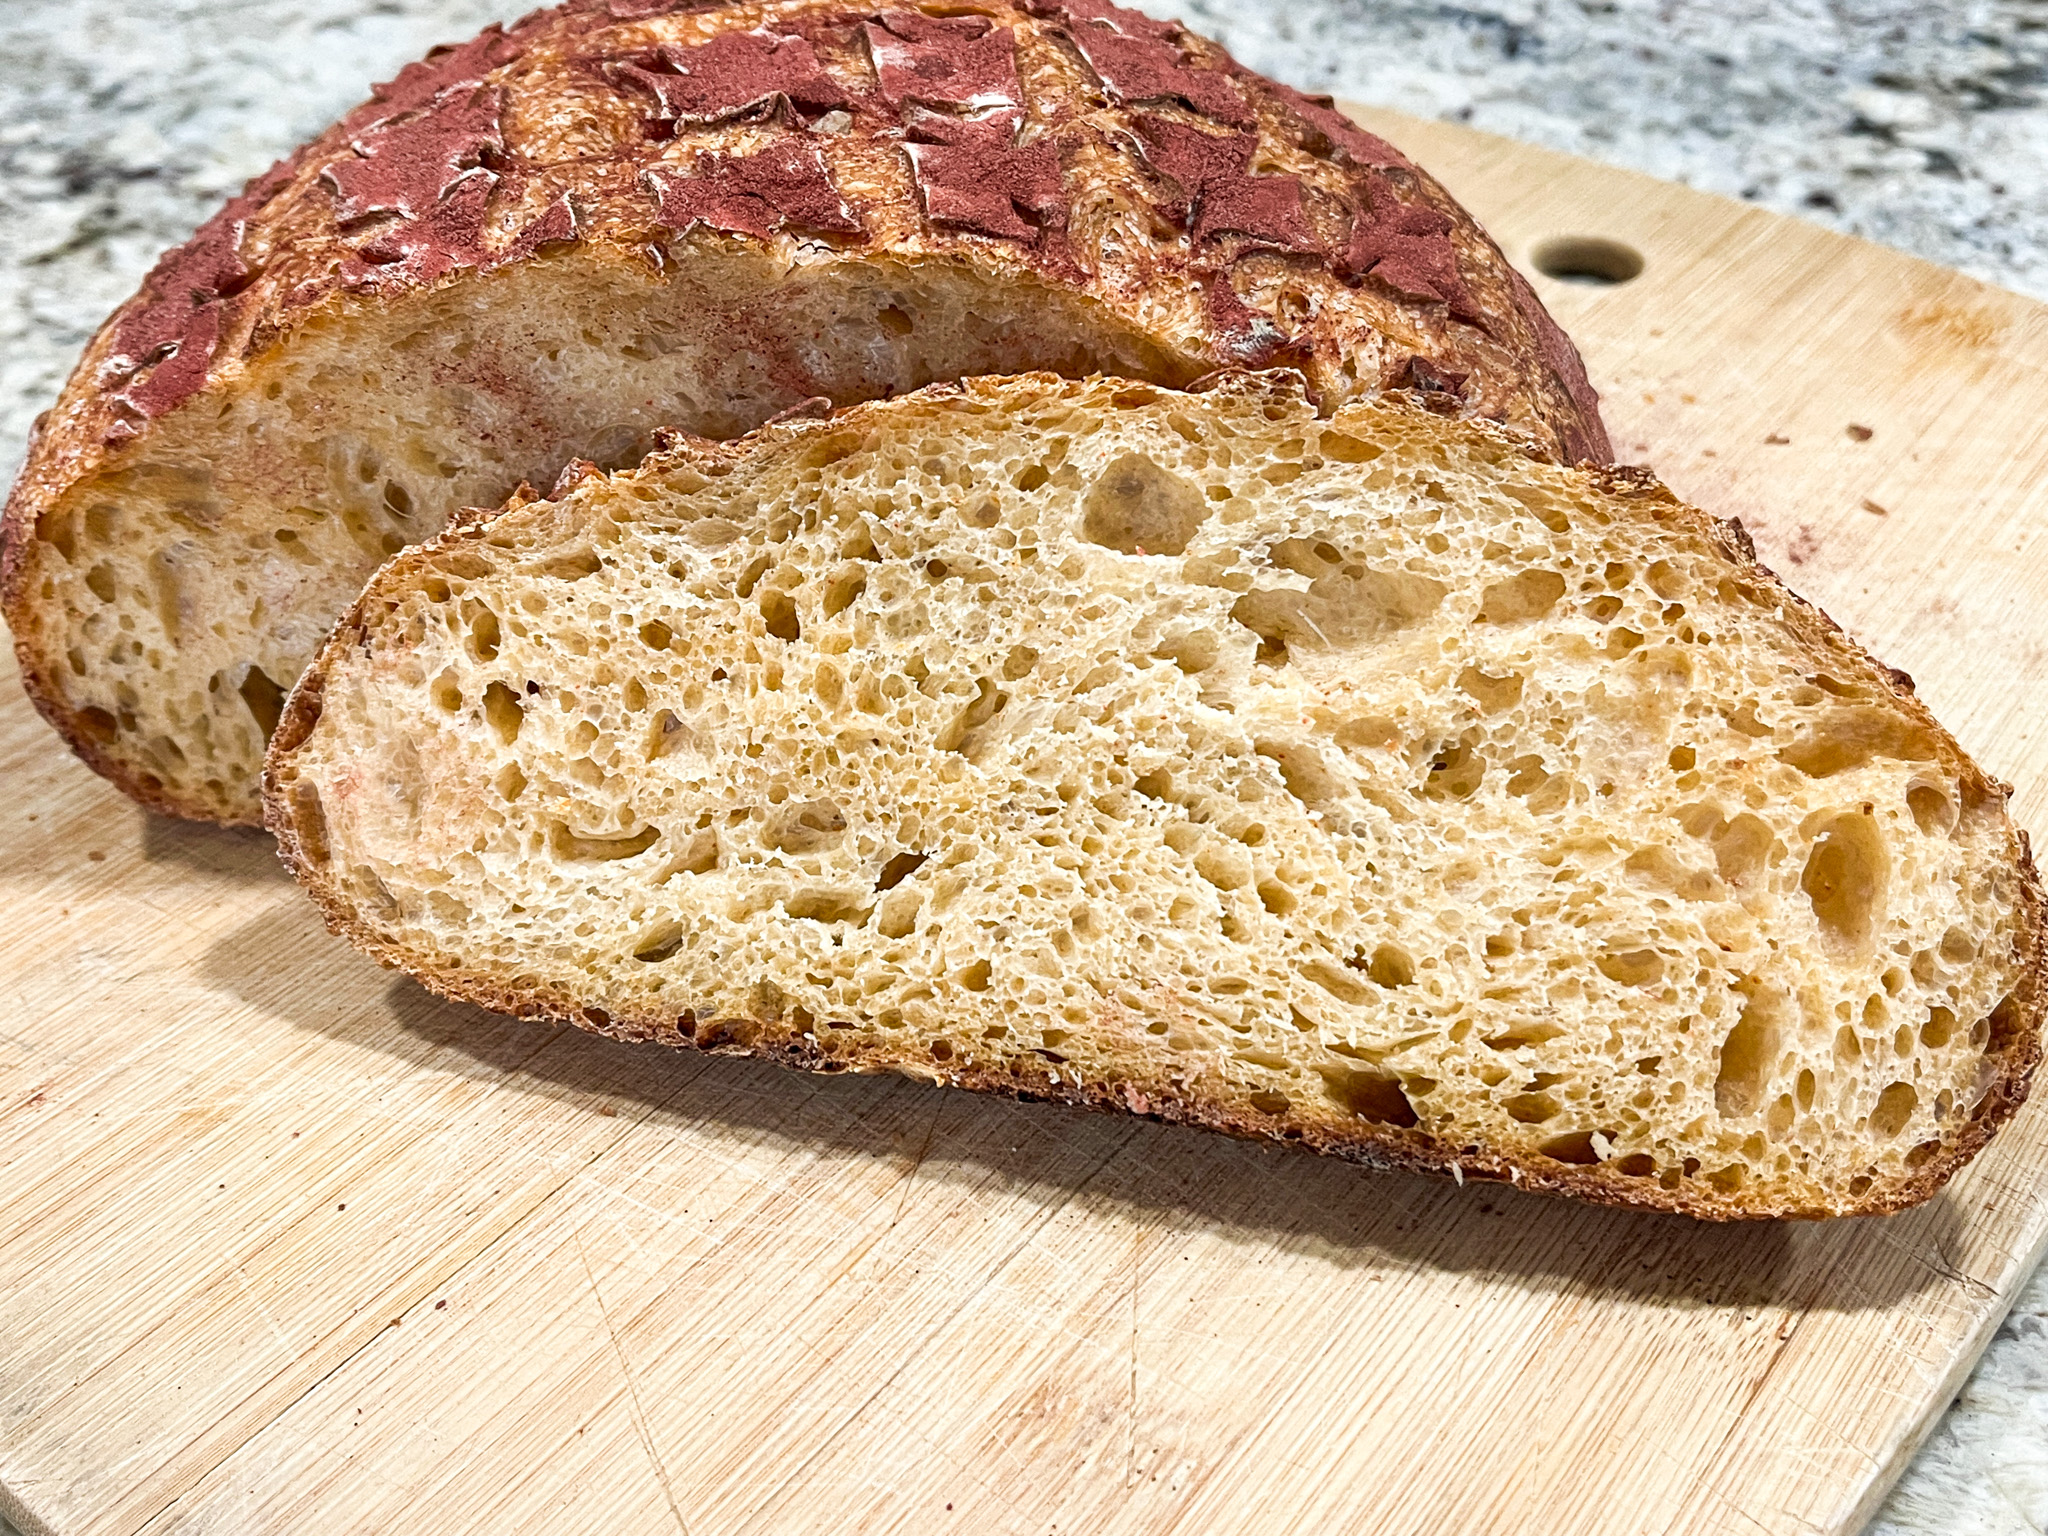
Black lime powder, something I had about online, and decided I had to bring home to play with. Stay tuned for my first recipe using it, if all goes according to plan, should be the next post in the blog. Available here. You can use it anytime and anywhere you want a sharp citric taste without adding any liquid.
.
In our kitchen…

A huge pizza peel, which we bought after visiting my stepson in San Diego. He and his wife make pizza often, and I was in love with their peel, so I ordered one for us. Pretty big and very efficient! This brand is truly the best.
In our kitchen…
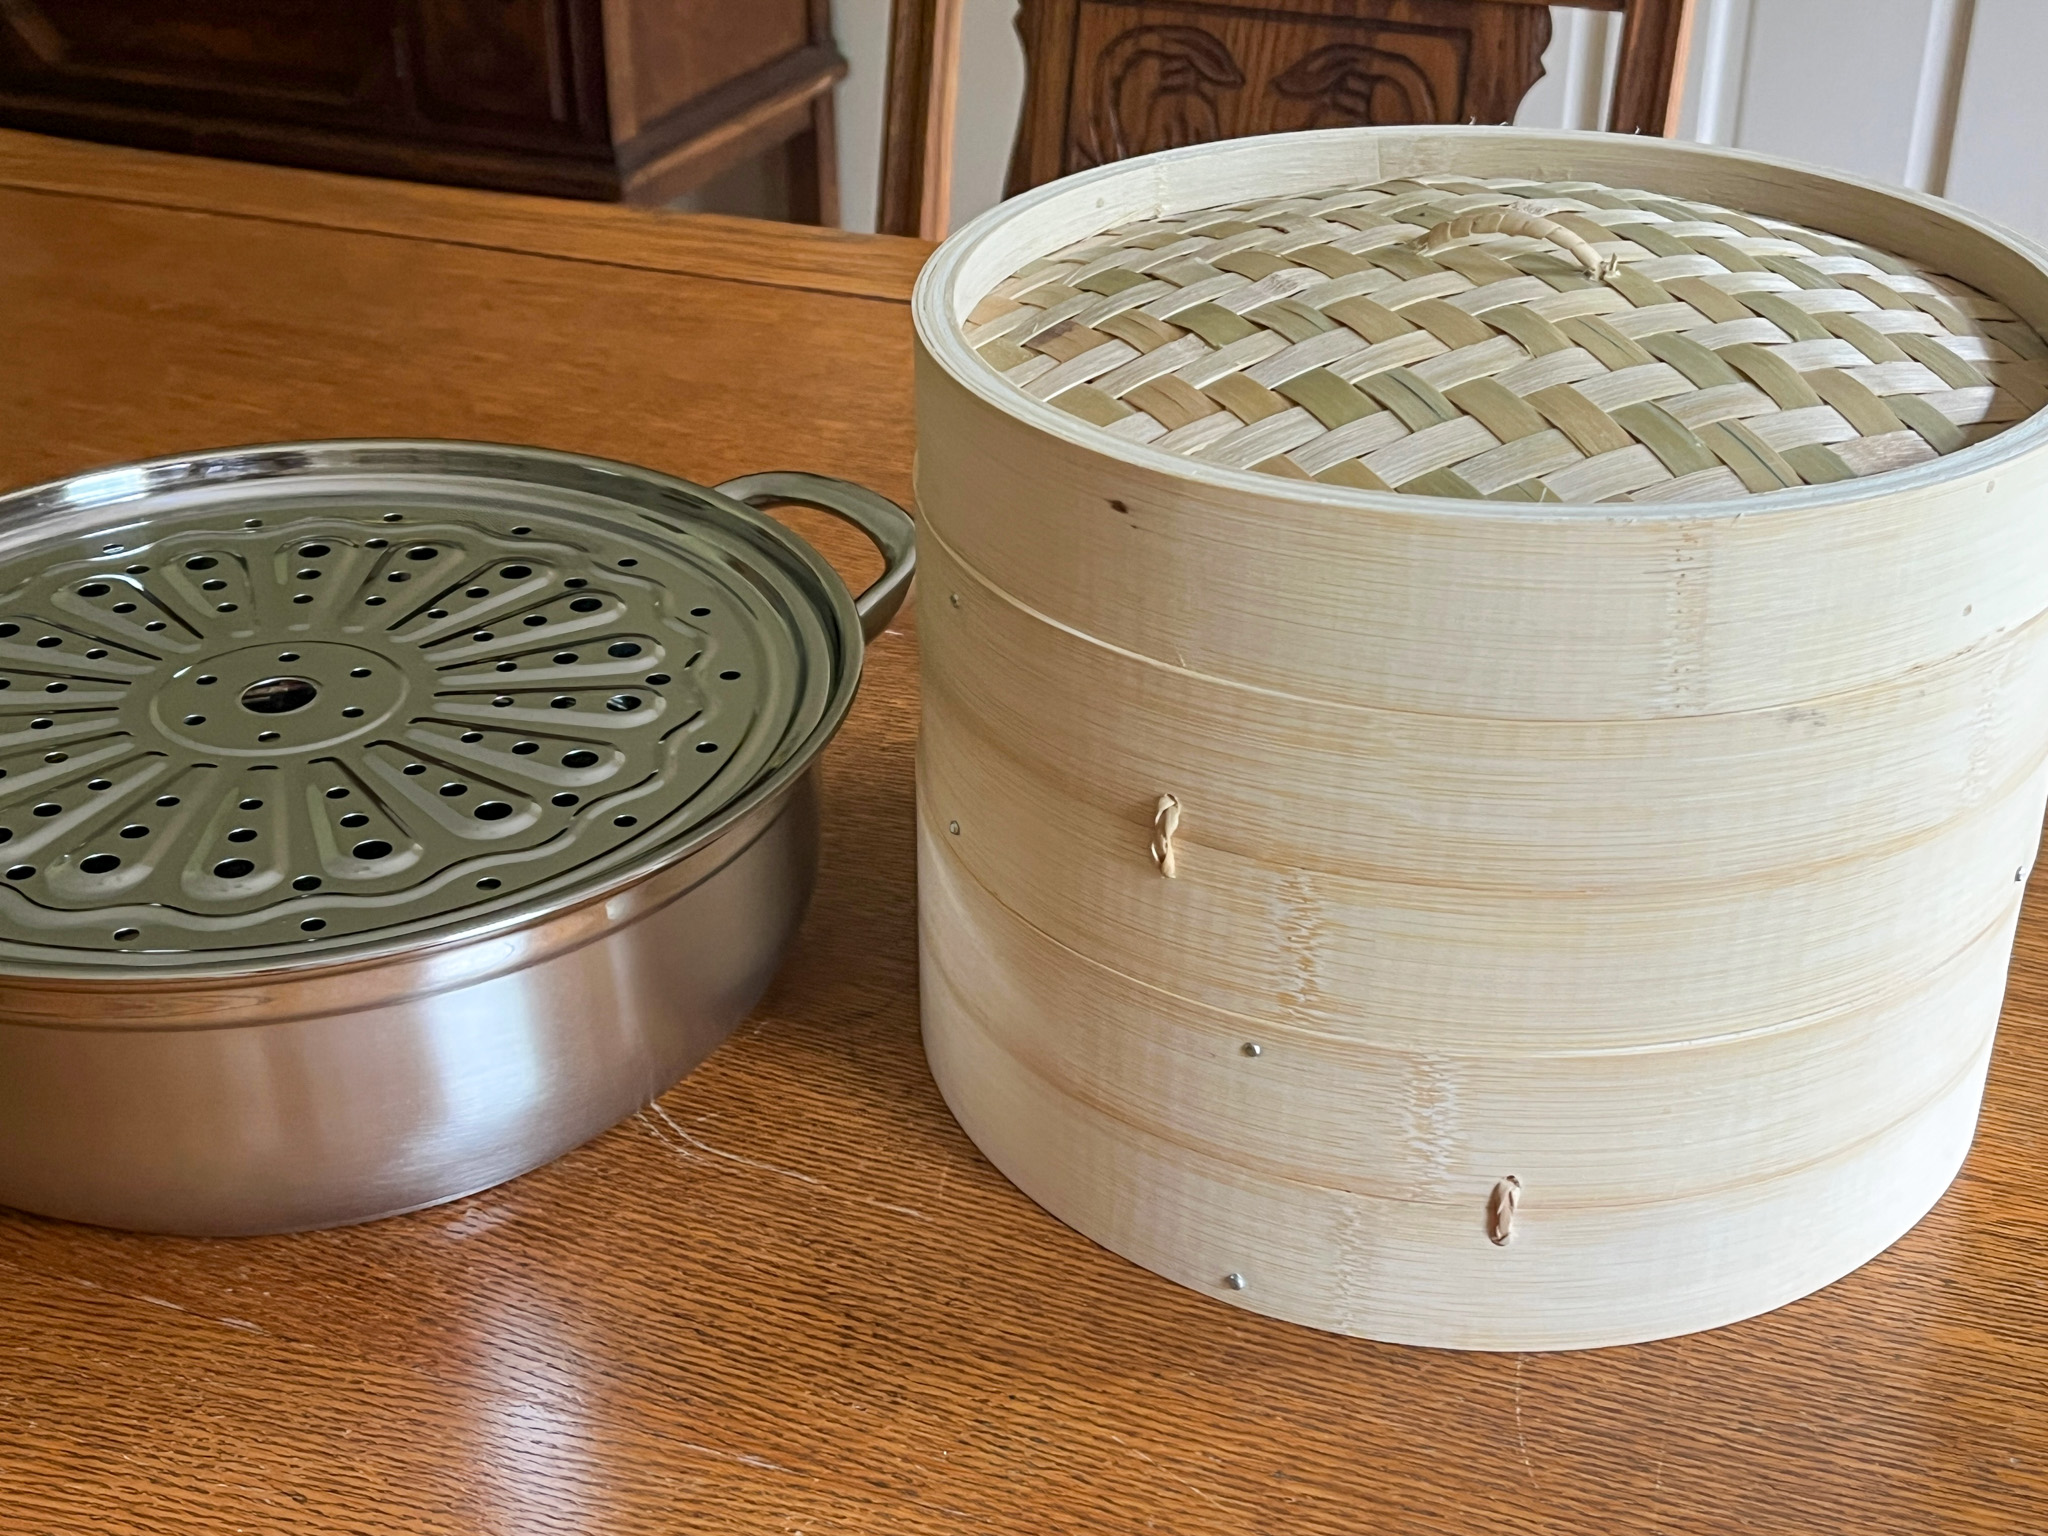
I splurged. Bought this super cool set of bamboo steamer + steamer pan. I want to learn and make Chinese dumplings and steamed bao, as part of the expansion of my horizons after retirement, and I firmly believe you need the right tools for the job. So that’s that. I got mine on eBay, but it is not available anymore, so I found the exact same product on Evil Empire, in case you are interested (click here).
In our kitchen…
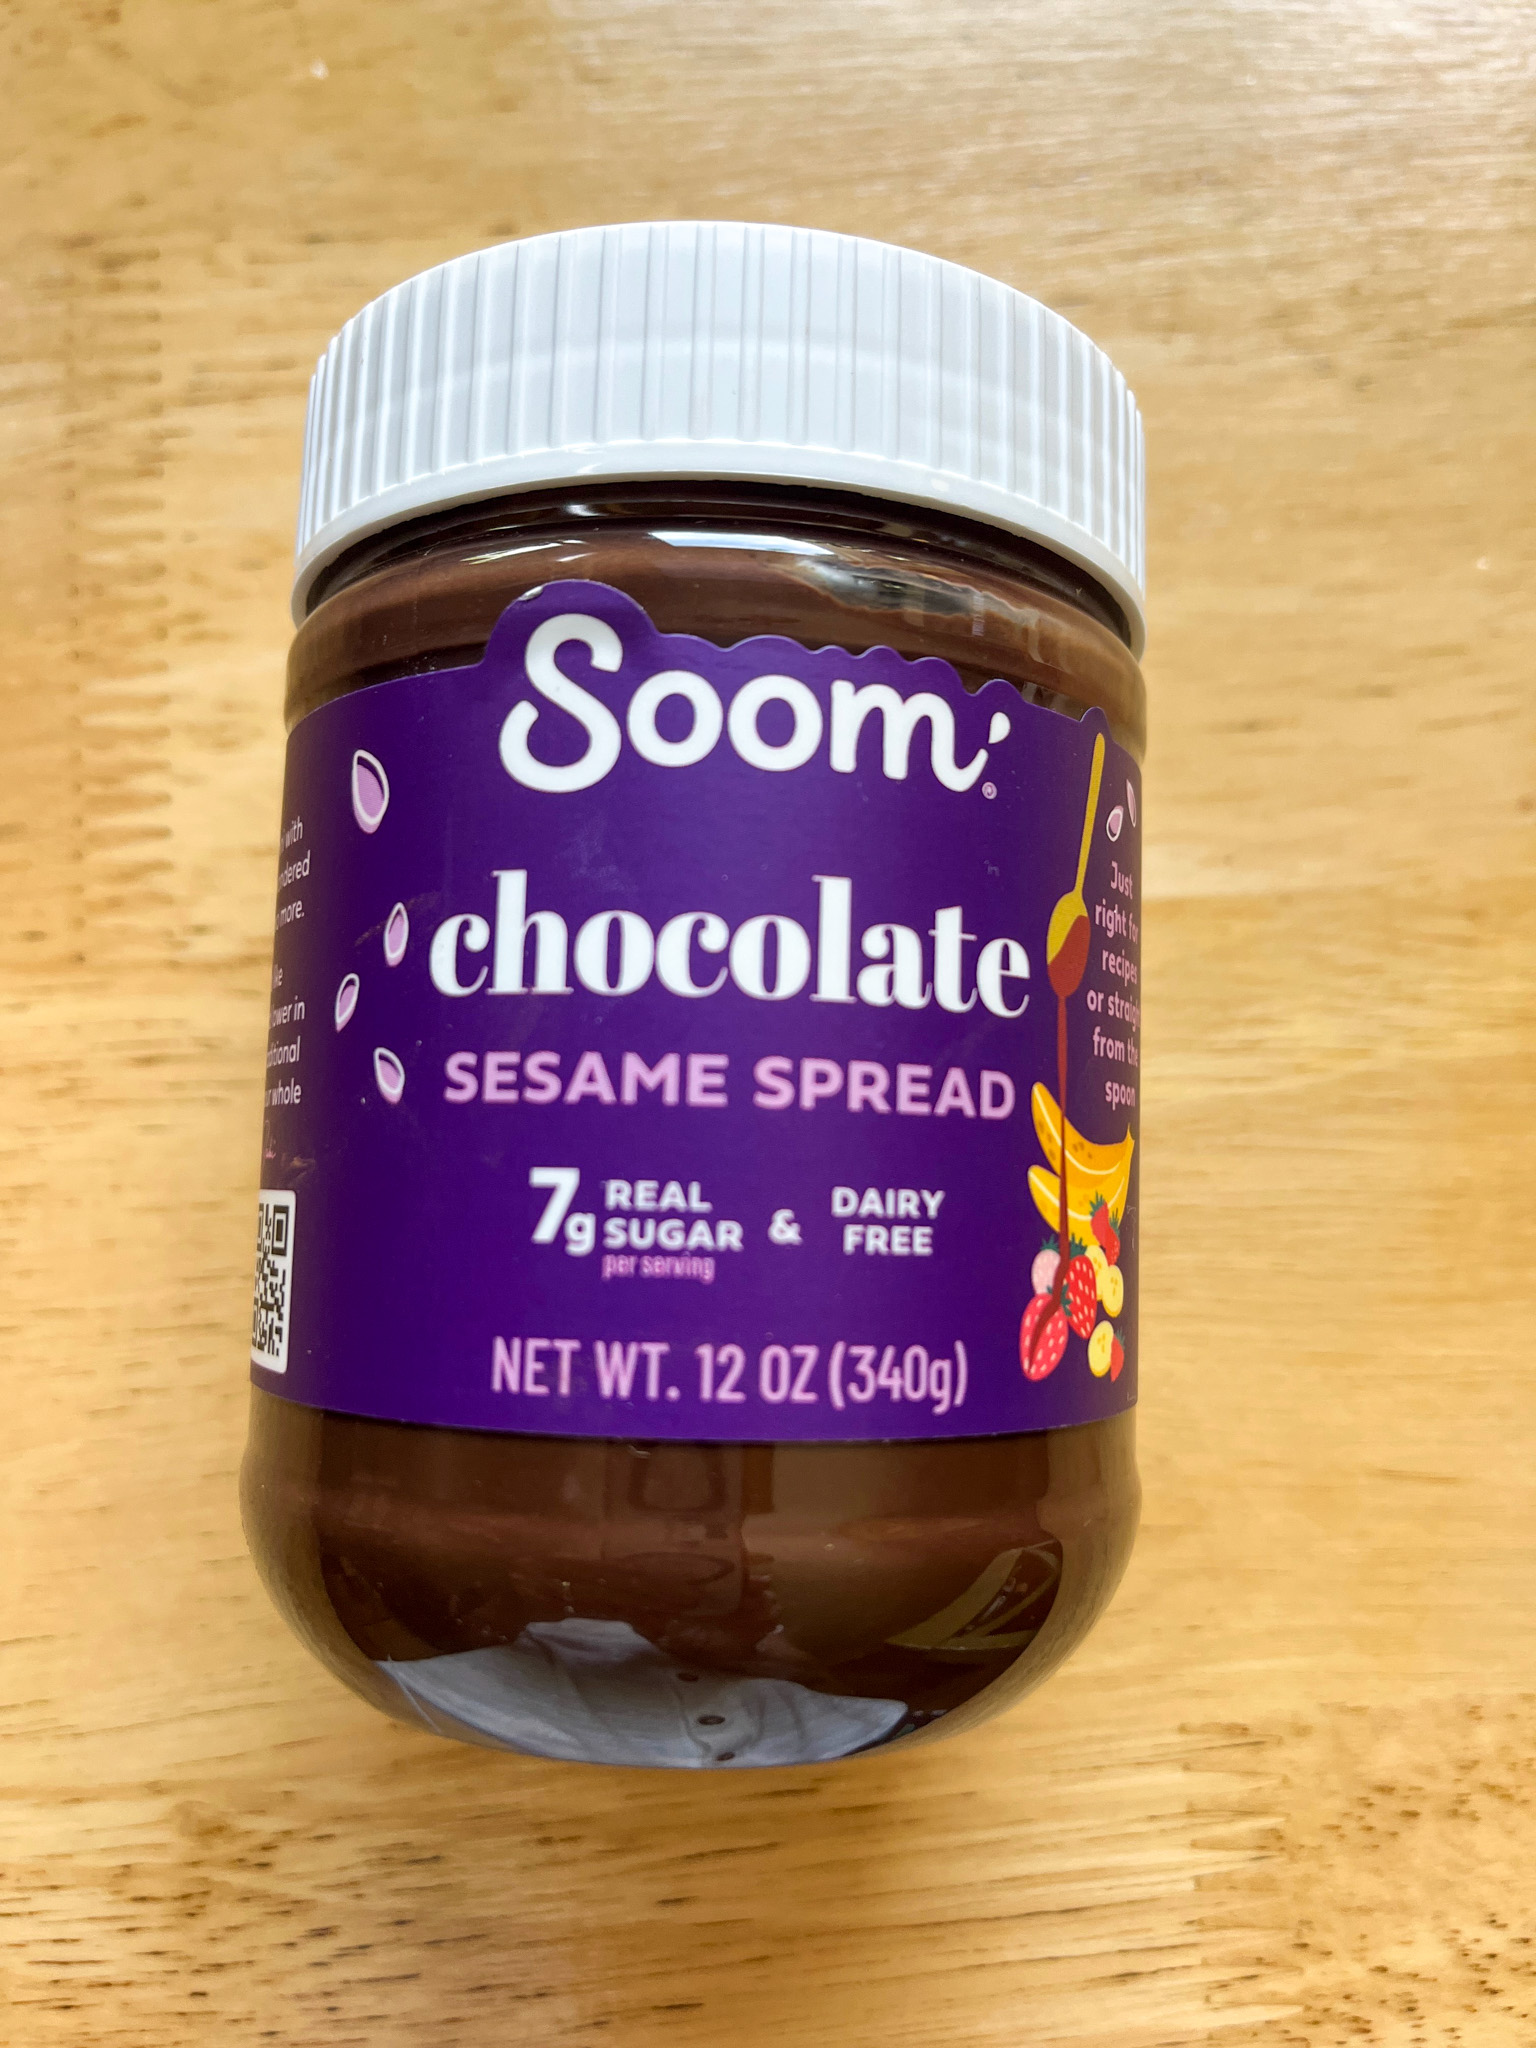
If you love Nutella, but hate the potential harm that industry causes to the environment, here is an alternative for you that is equally delicious, but environmentally-friendly: SOOM Sesame Spread. You might be able to find it in stores such as Whole Foods and Marshall’s, but of course, it is “there” too (click here).
.
In our kitchen…
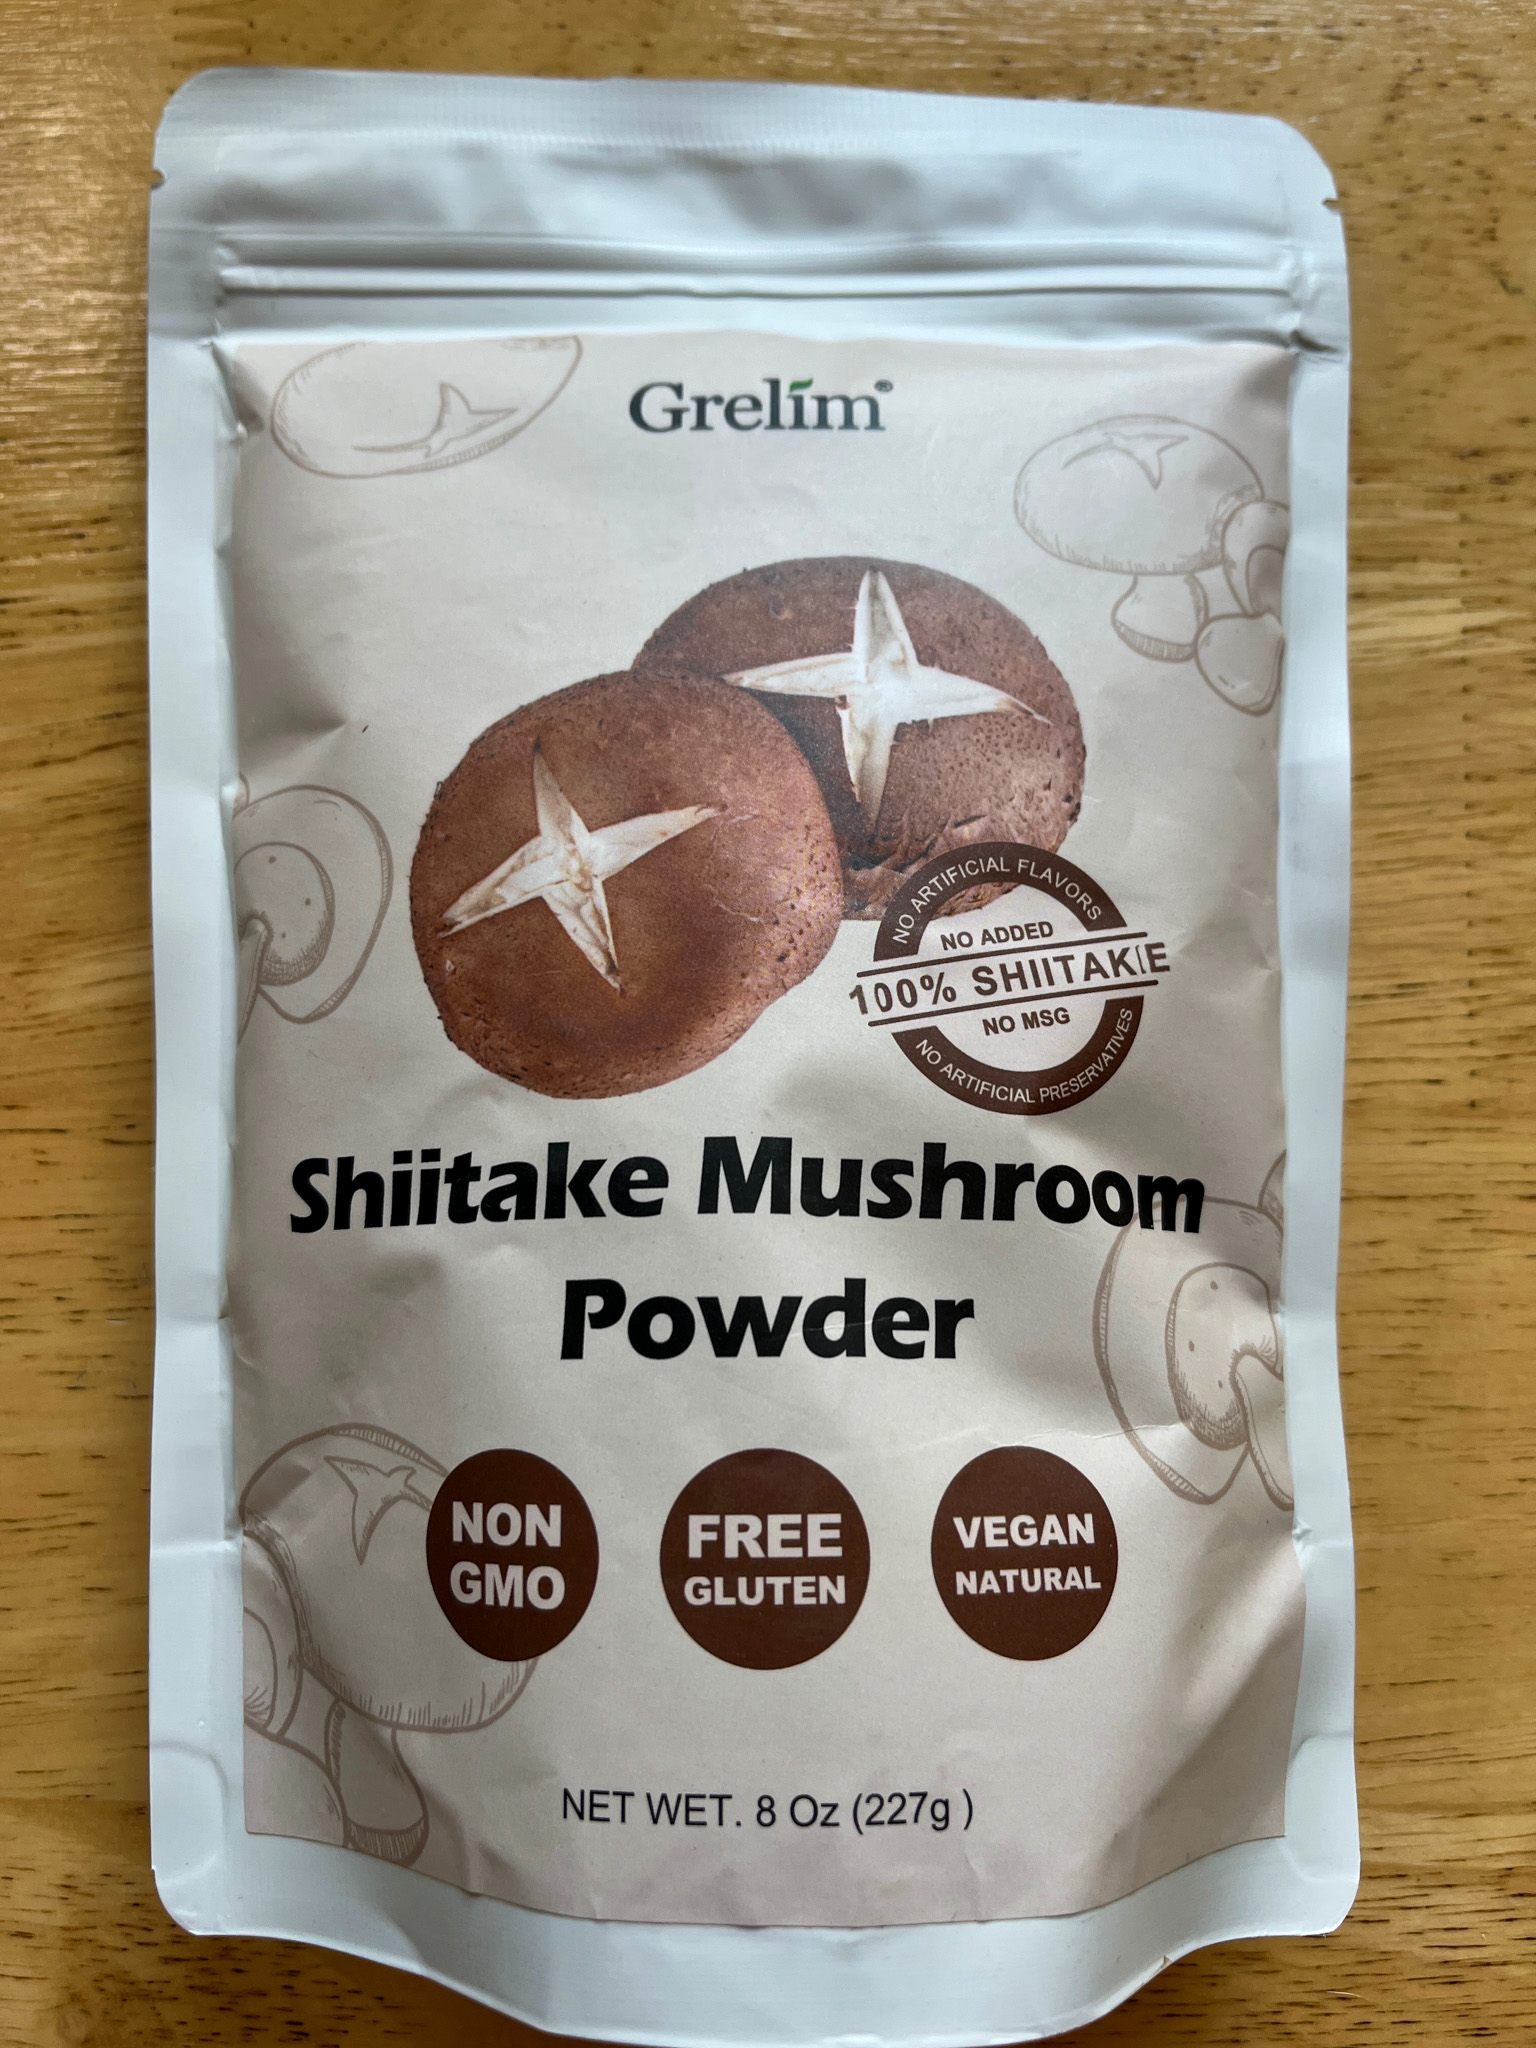
Shiitake mushroom powder, a great product to add to sauces, stir-fries, meatballs, for that added funky-umami flavor that can be quite pleasing to the palate. Available here.
In our kitchen…
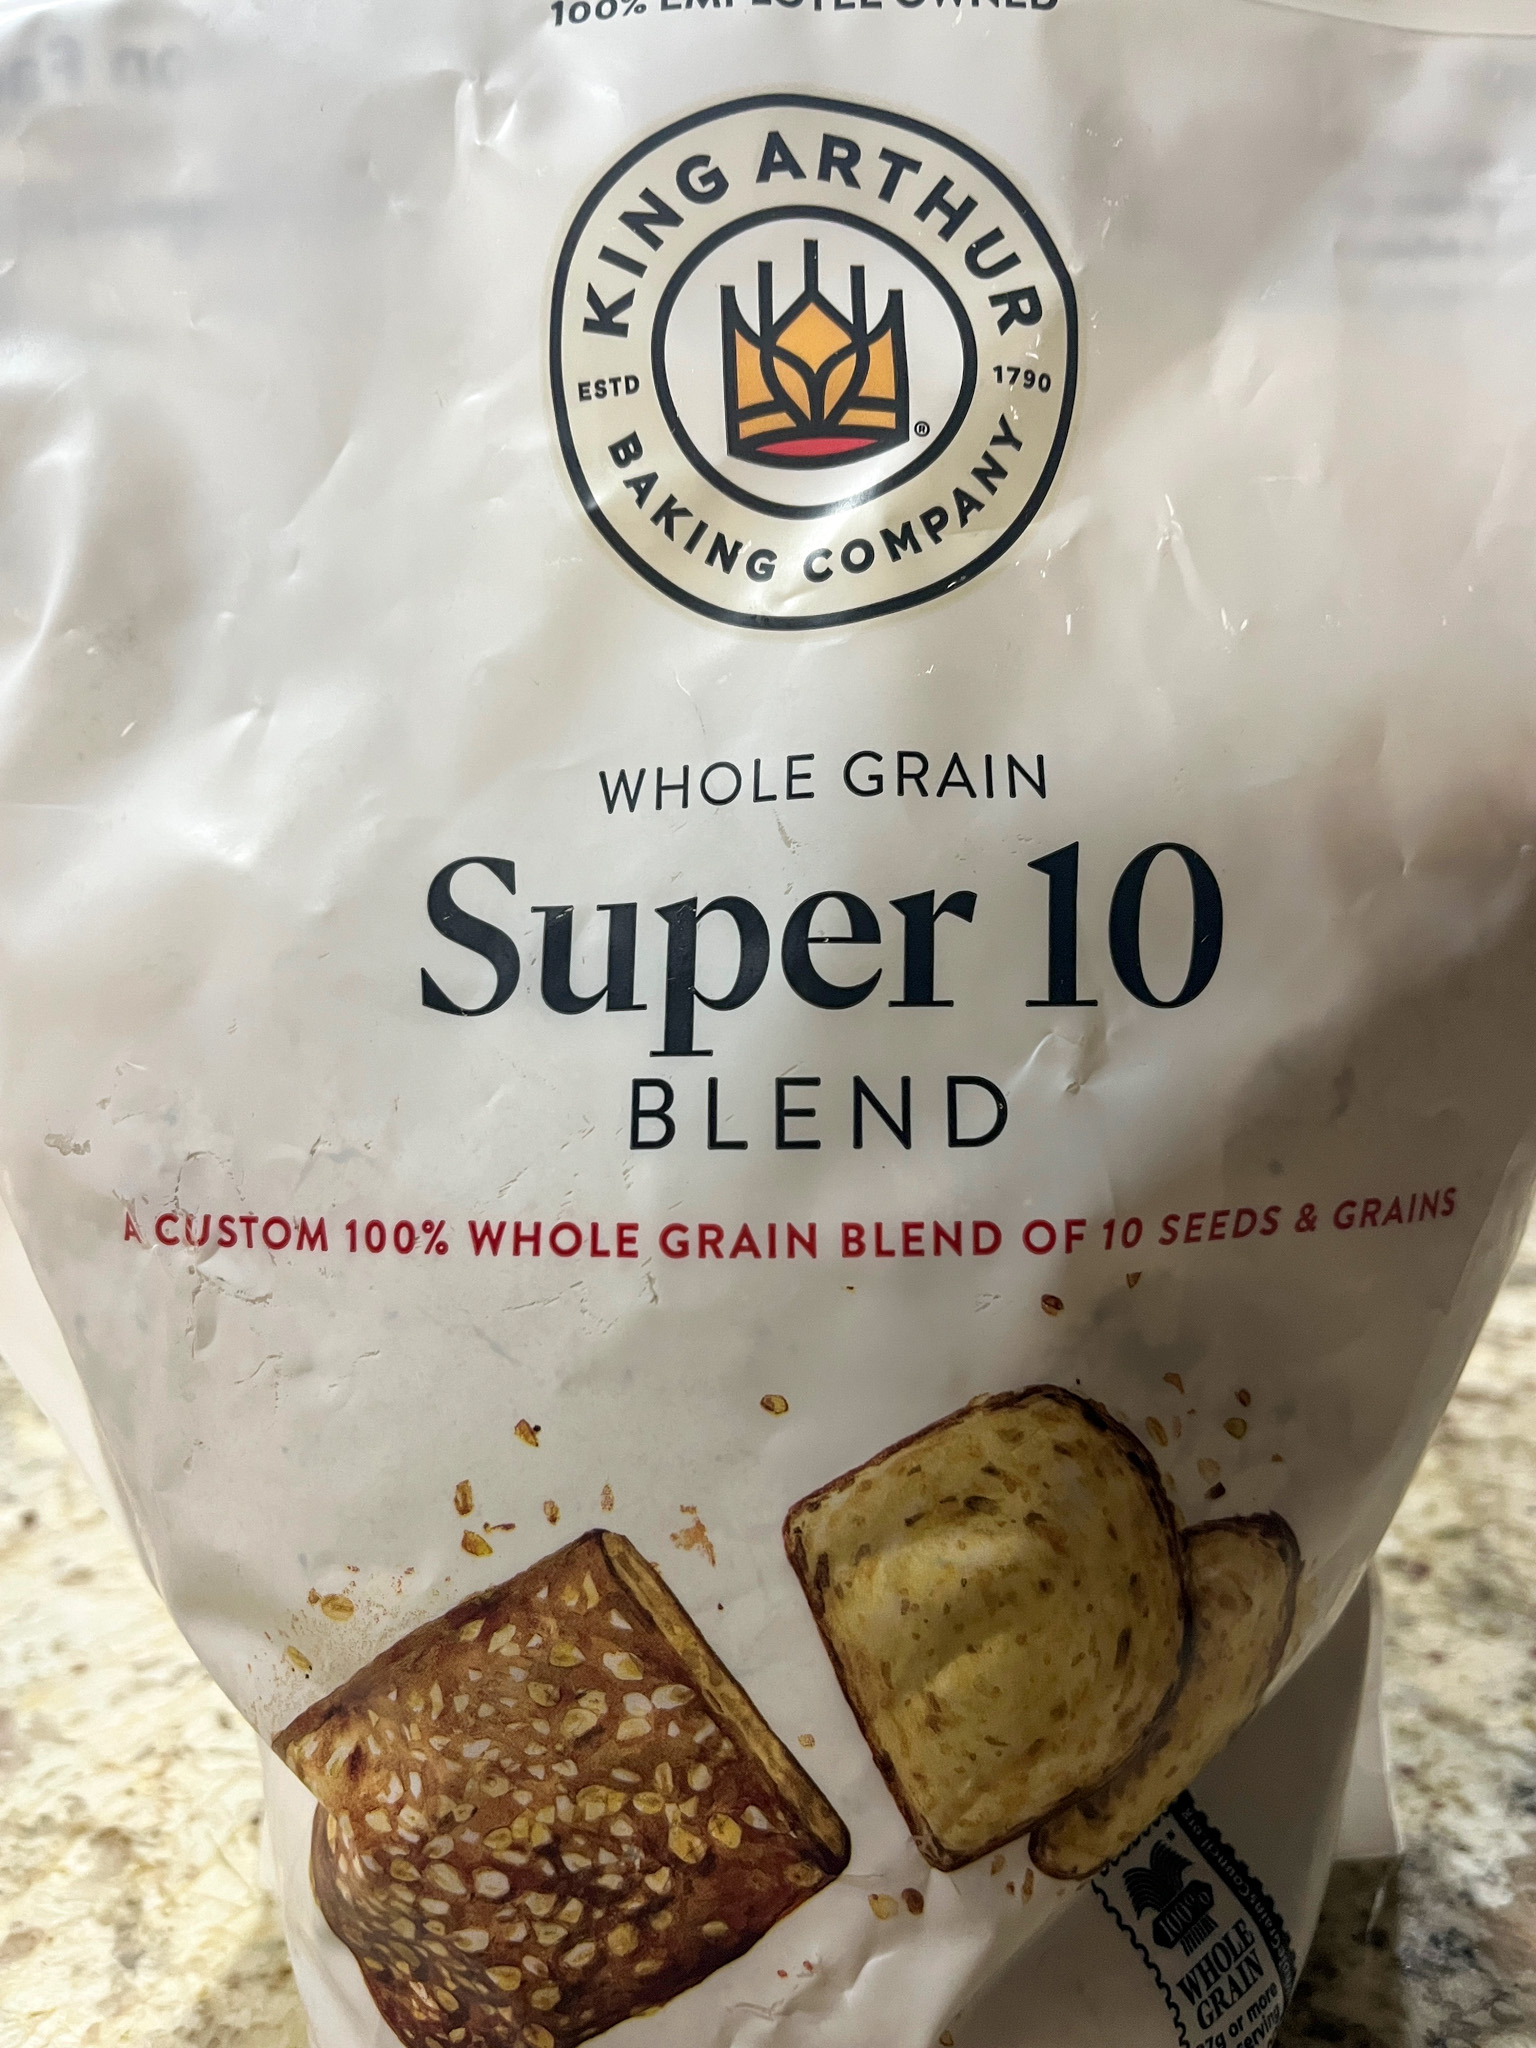
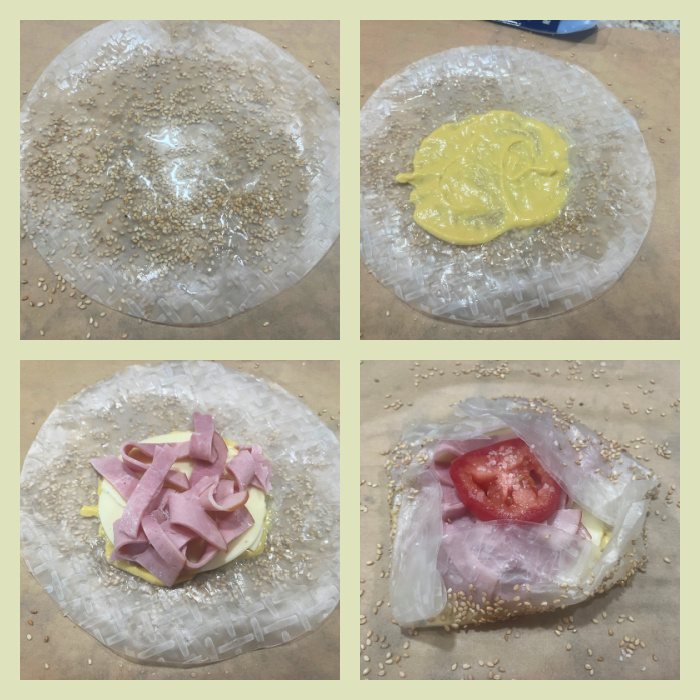
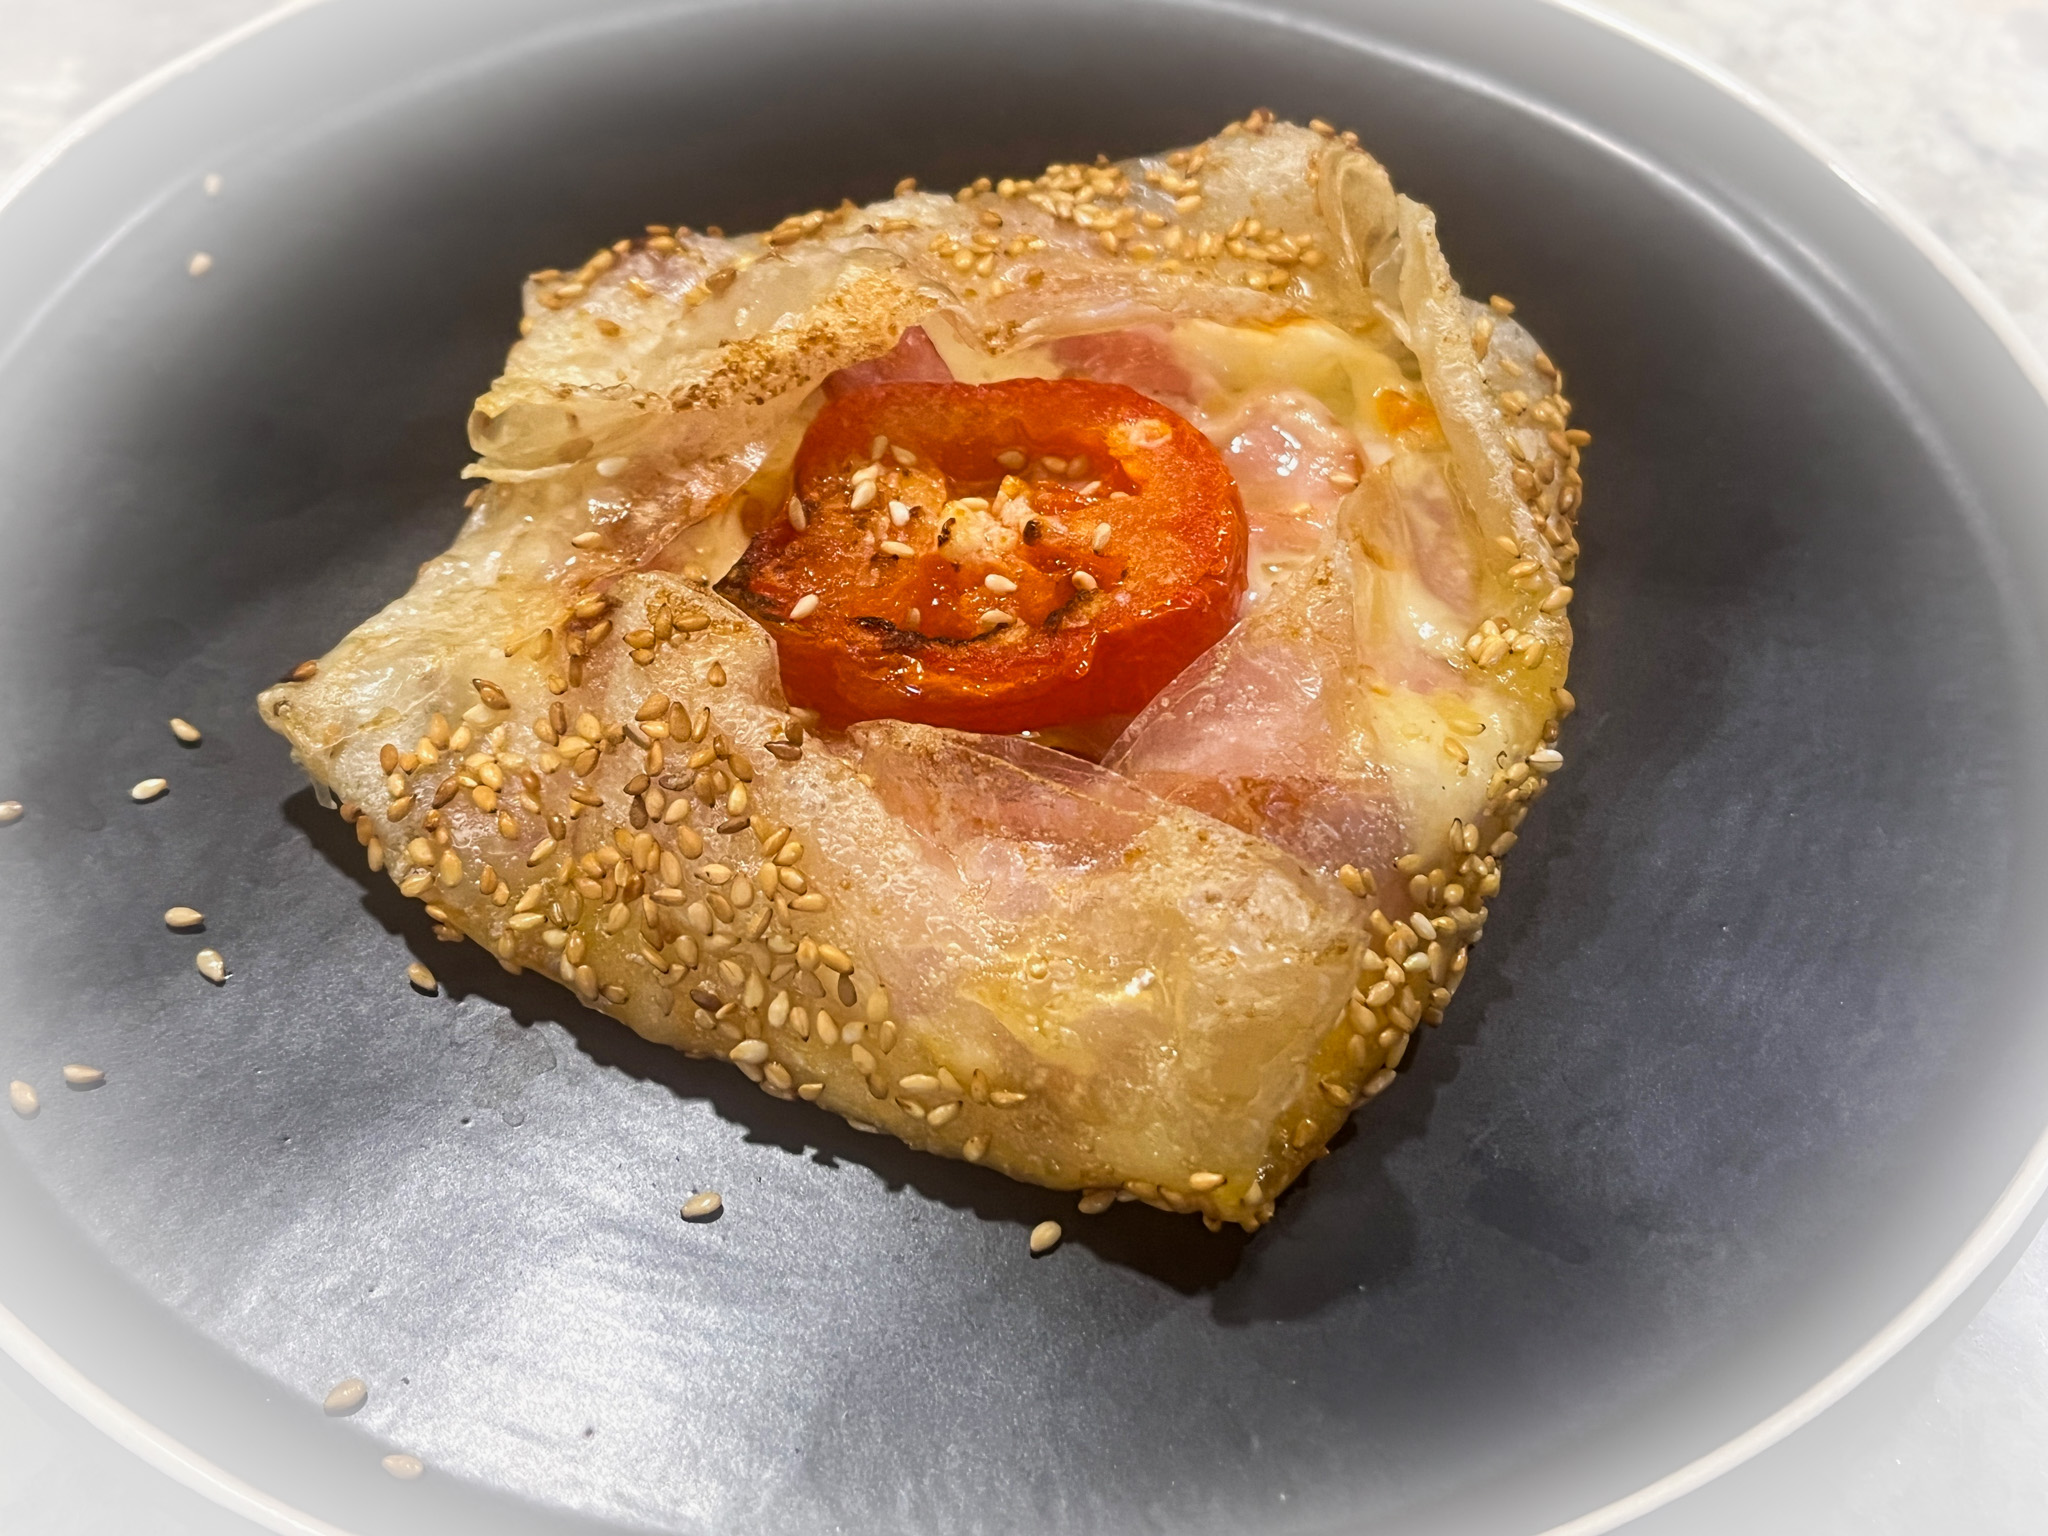
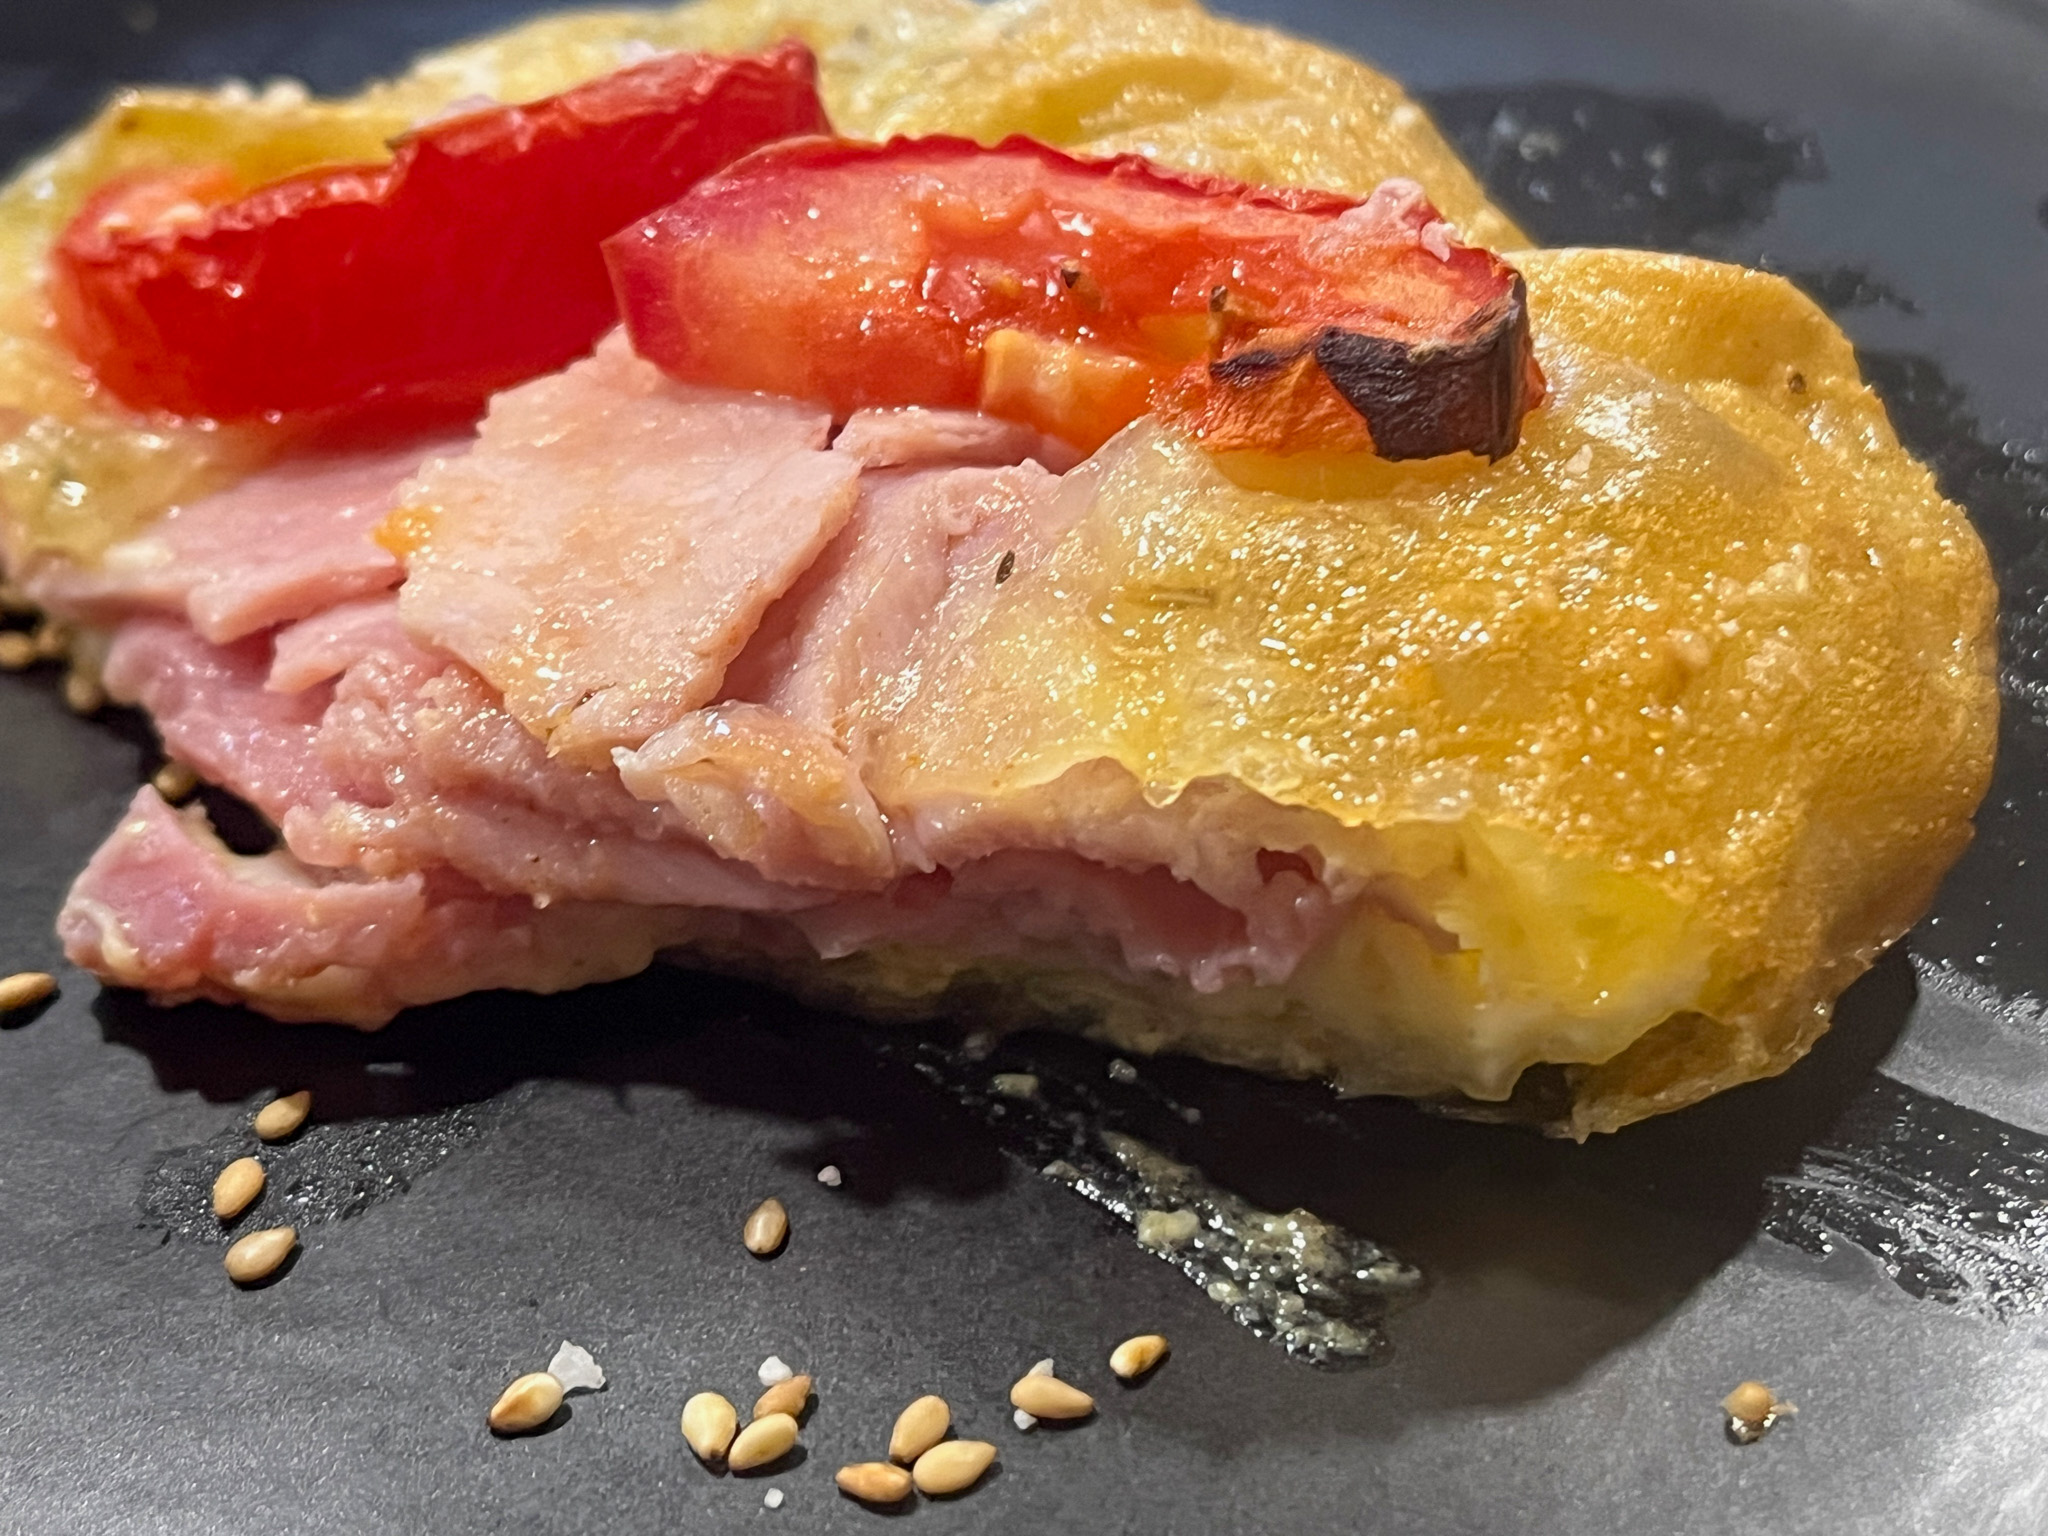
A blend of grains and seeds sold by King Arthur Flour (click here). I’ve been adding it to sourdough, in my basic formula of 500g total flour, adding about 25g of this product. It does not affect the texture and I love the taste, slightly richer than a plain sourdough bread.
In our kitchen…
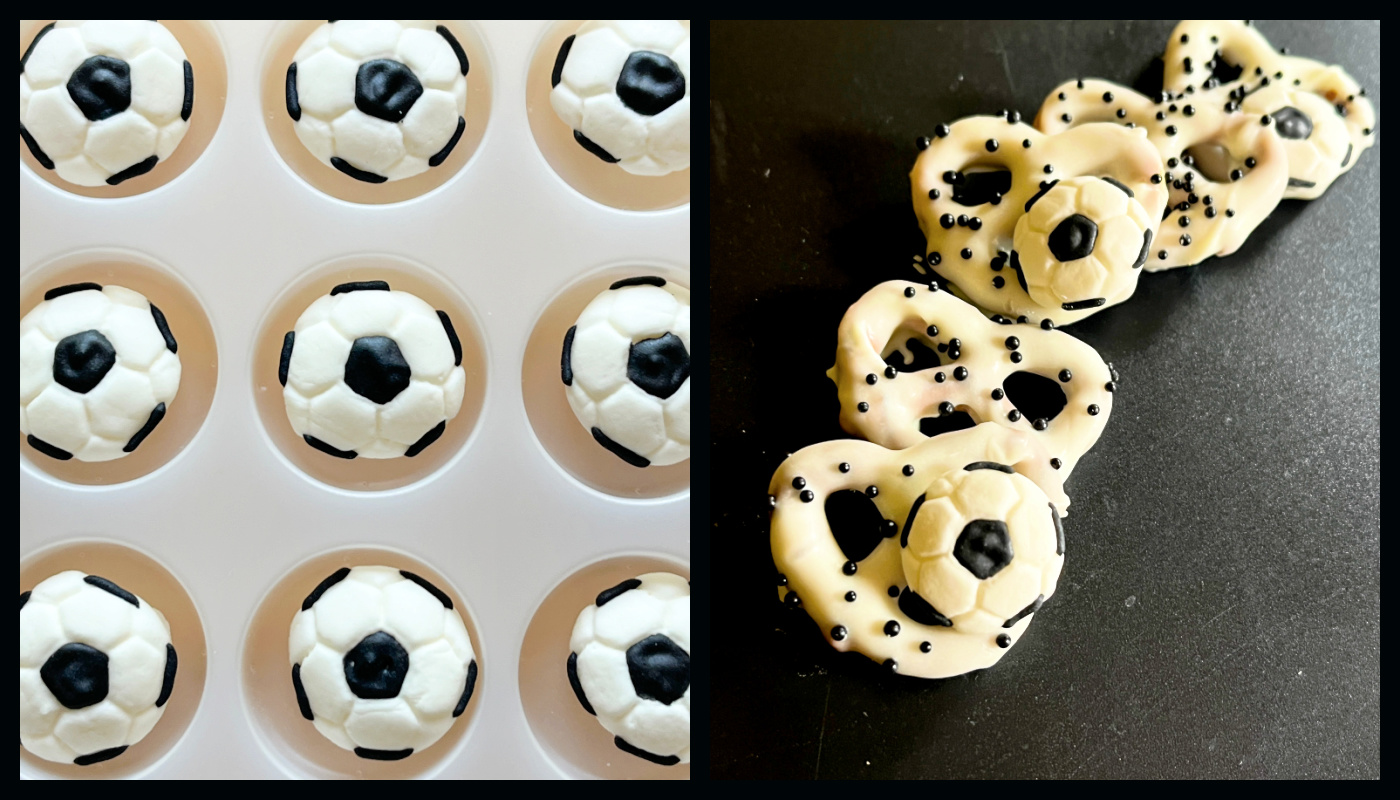
Little sugar decorations I bought for cookies a couple of months ago, but had a few leftover. They came in handy to celebrate the beginning of the World Cup of Soccer with chocolate-covered pretzels… Available here.
In our kitchen….
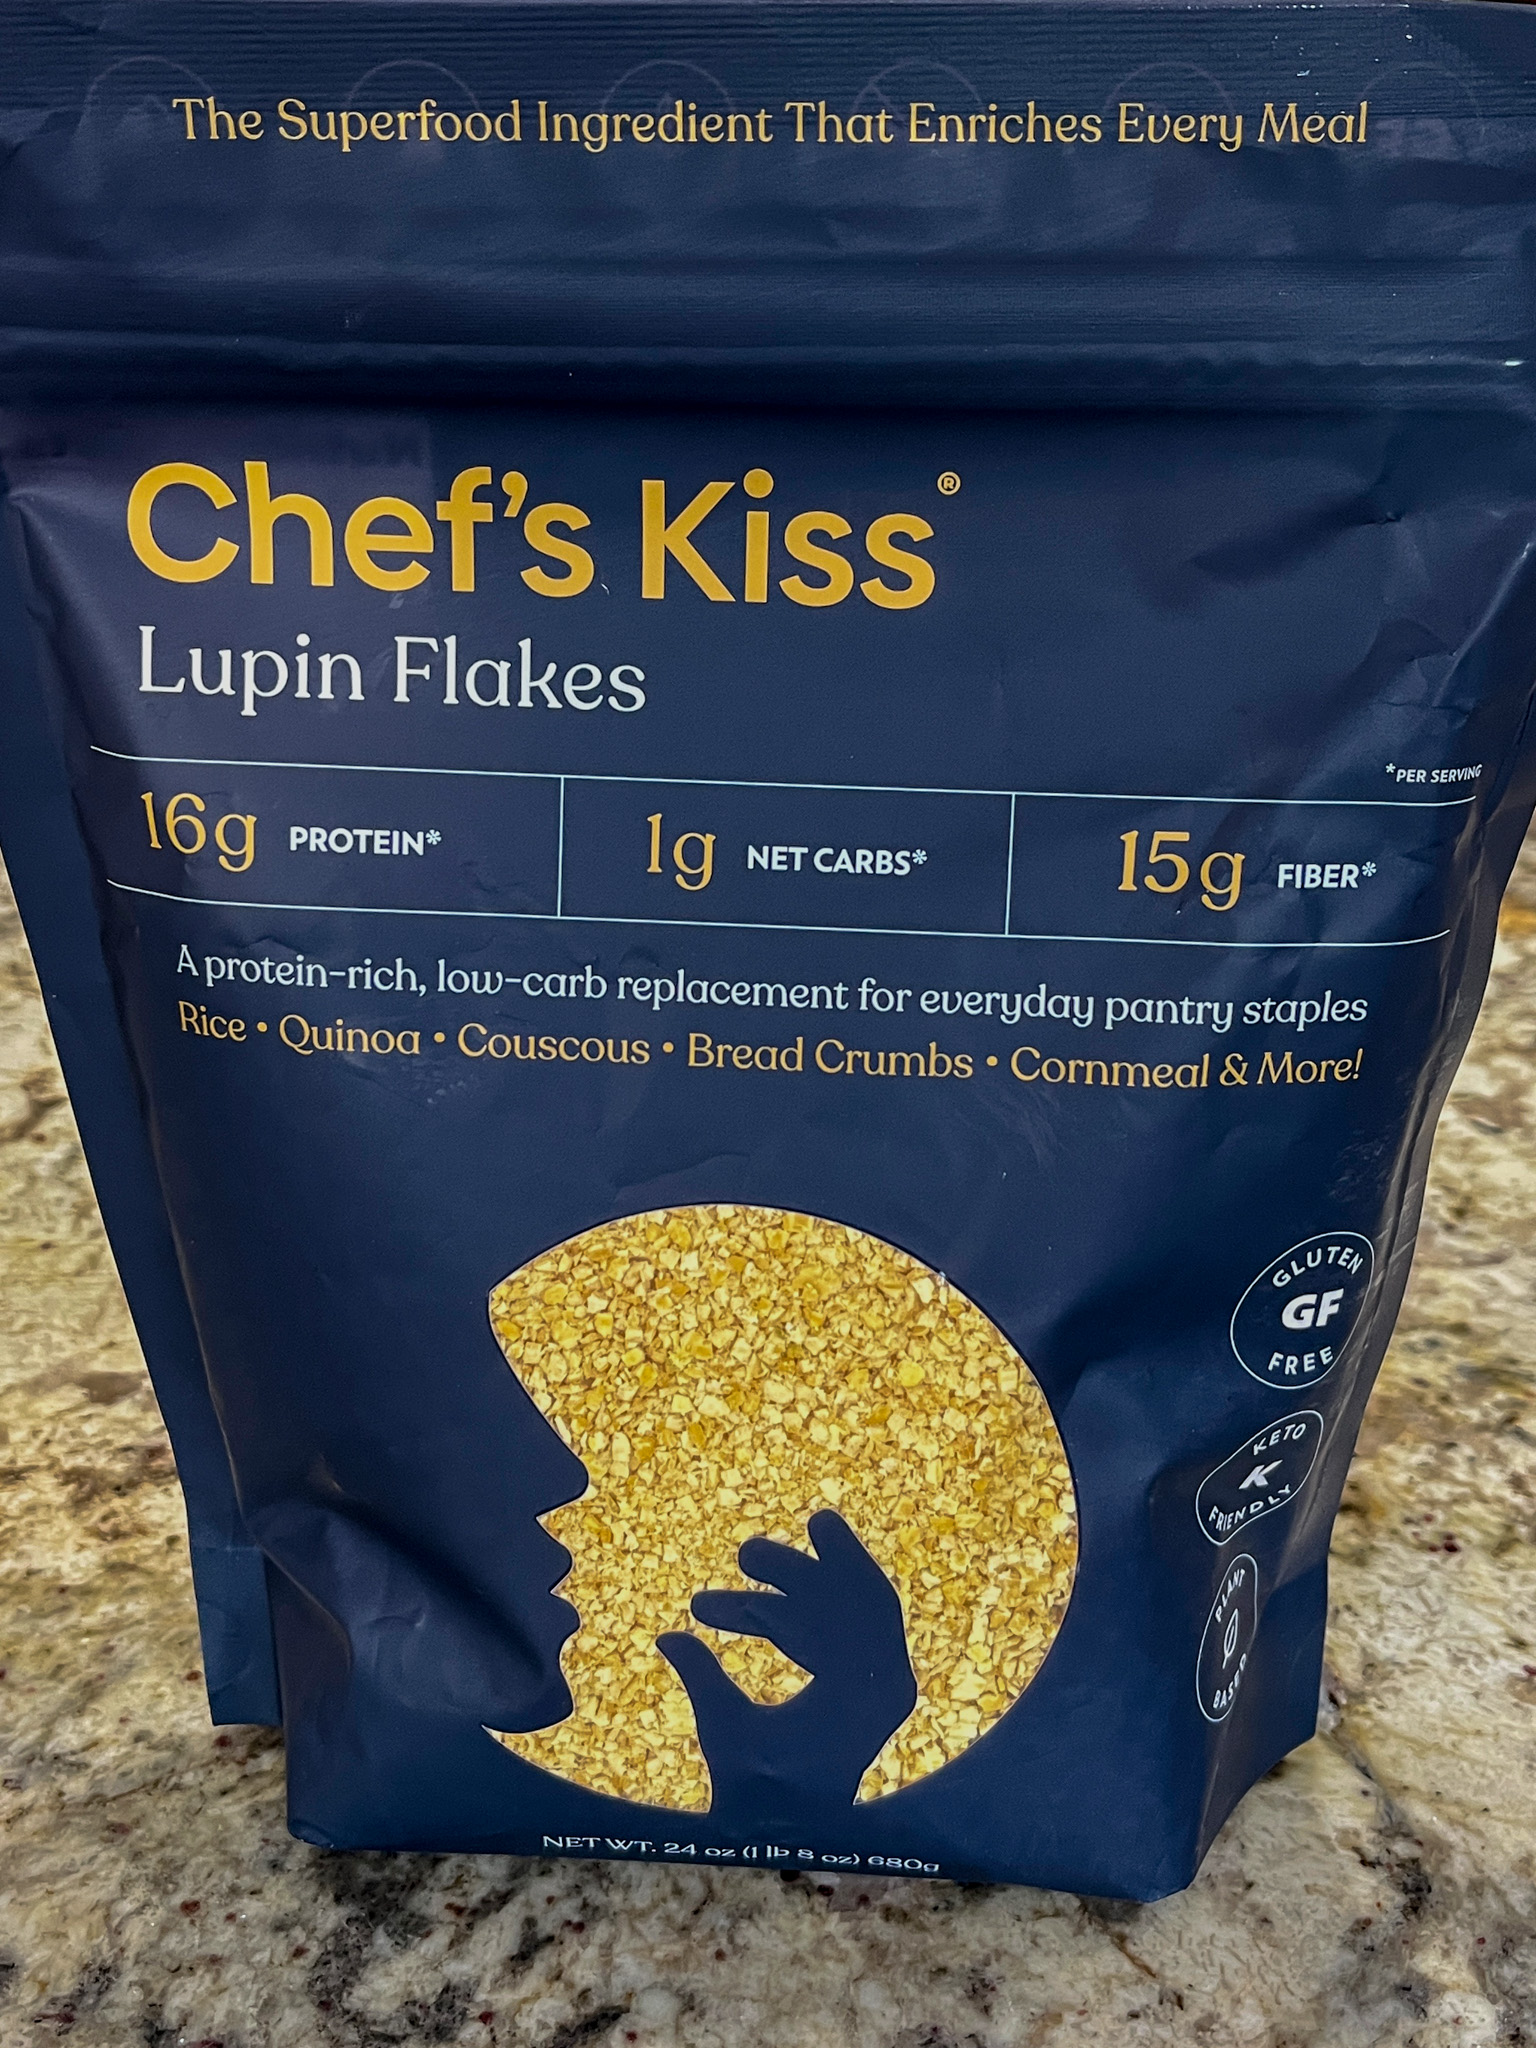
These are low-carb lupin flakes that can do the job of bread crumbs. I don’t follow a particularly strict low-carb approach, but often will search for ways to reduce them without compromising taste. I was intrigued by this product and very recently bough it, but have not tried it yet. Stay tuned I am just worried that there will be some after taste, but the reviews online seem quite stellar. We shall see…
In our kitchen…
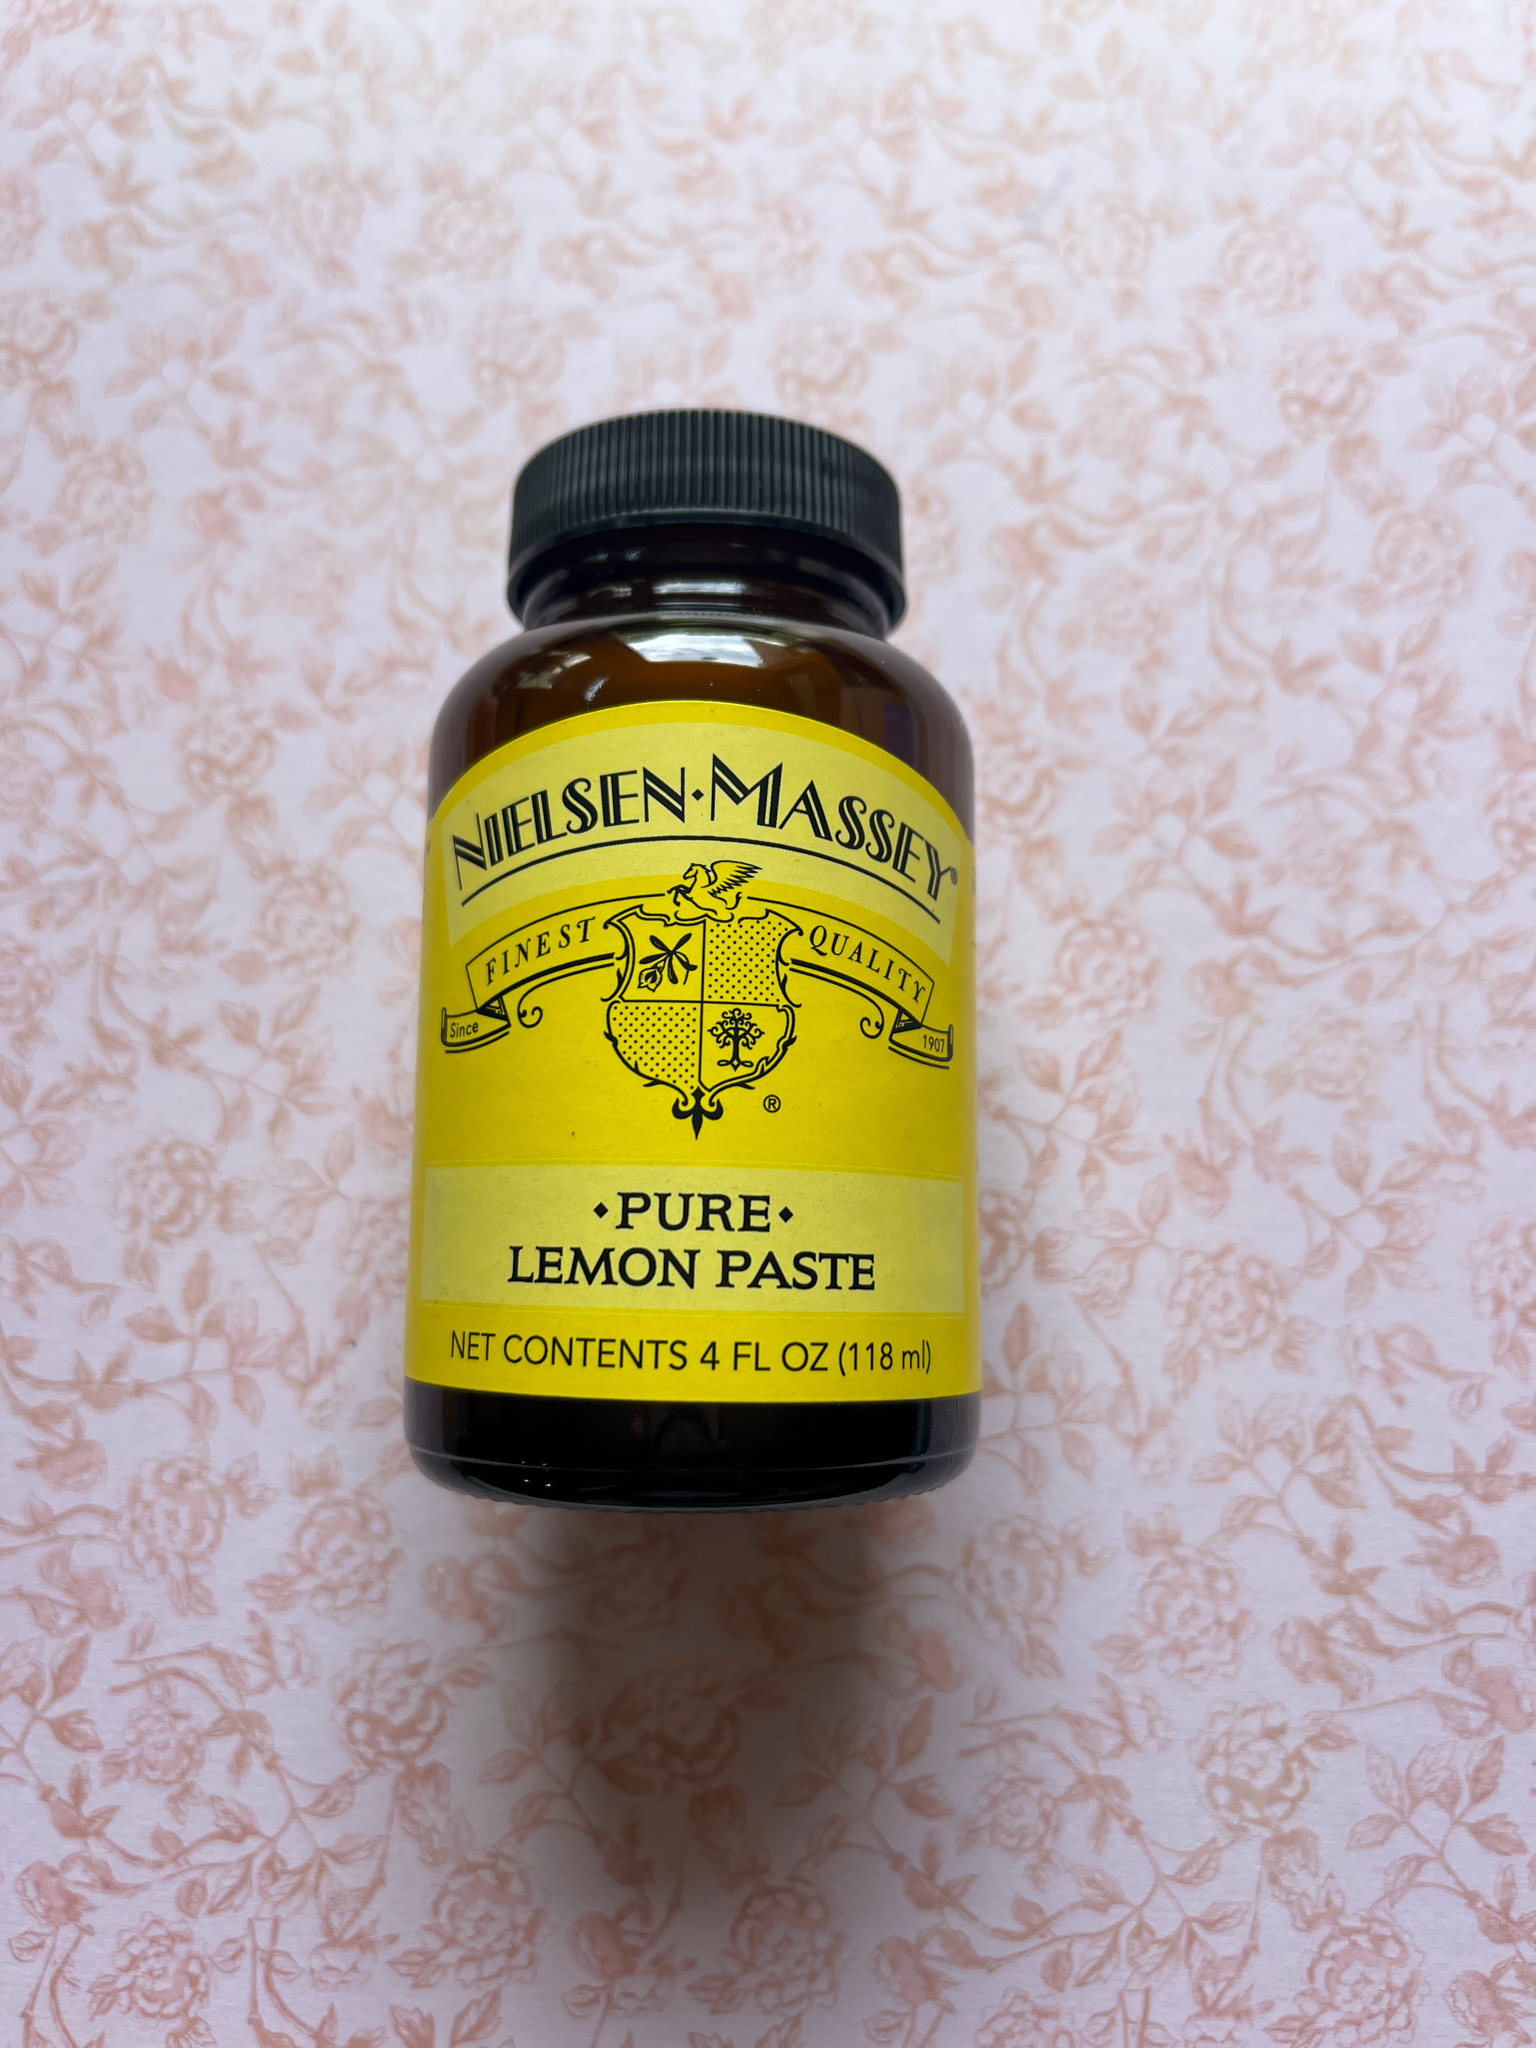
Something new to me, just like vanilla paste can substitute for vanilla extract, this is a lemon version. Very good, I’ve used it in cookies and buttercream. Highly recommend it, I think Nielsen-Massey is the only company that makes it, I love their stuff.
But now, it is time to get our furry friends to bark hello, they have been anxiously waiting, so without further ado, let’s go over their shenanigans.

Life has been pretty awesome, now that our humans are retired… they hang out with us more often, take us for longer walks, and even golfing is back in our routine…

Prince is a model golfing companion, but unfortunately the same cannot be said about his sister. She often runs wild after squirrels, bunny rabbits, birds, loose leaves blown by the wind, and the eventual lonely golfer trying to practice putting. We only take them when the golf course is closed, but she manages to generate chaos no matter what.

What if I give you kisses????

Well, I guess it is impossible not to forgive her, who can stay mad at that sweet face?
Even if sometimes she chooses the goofy path?

Star really gets a pass on a lot of naughtiness that girl… She defaced a poor pig that used to squeak when gently squeezed, turning him into a horror freaky creature, silenced for eternity.

And what was the consequence of this act of unparalleled brutality?

Full disclosure: Phil went on a shopping expedition to find the exact same piggy,
because “she needs a new one”.
Prince wants to know what does he get for being such a good boy?

.
Well, he gets to be the Official Kitchen Helper!

He is also the official golf-watching-TV-companion for Phil, and will sit and watch the longest of games like the very best buddy…

.
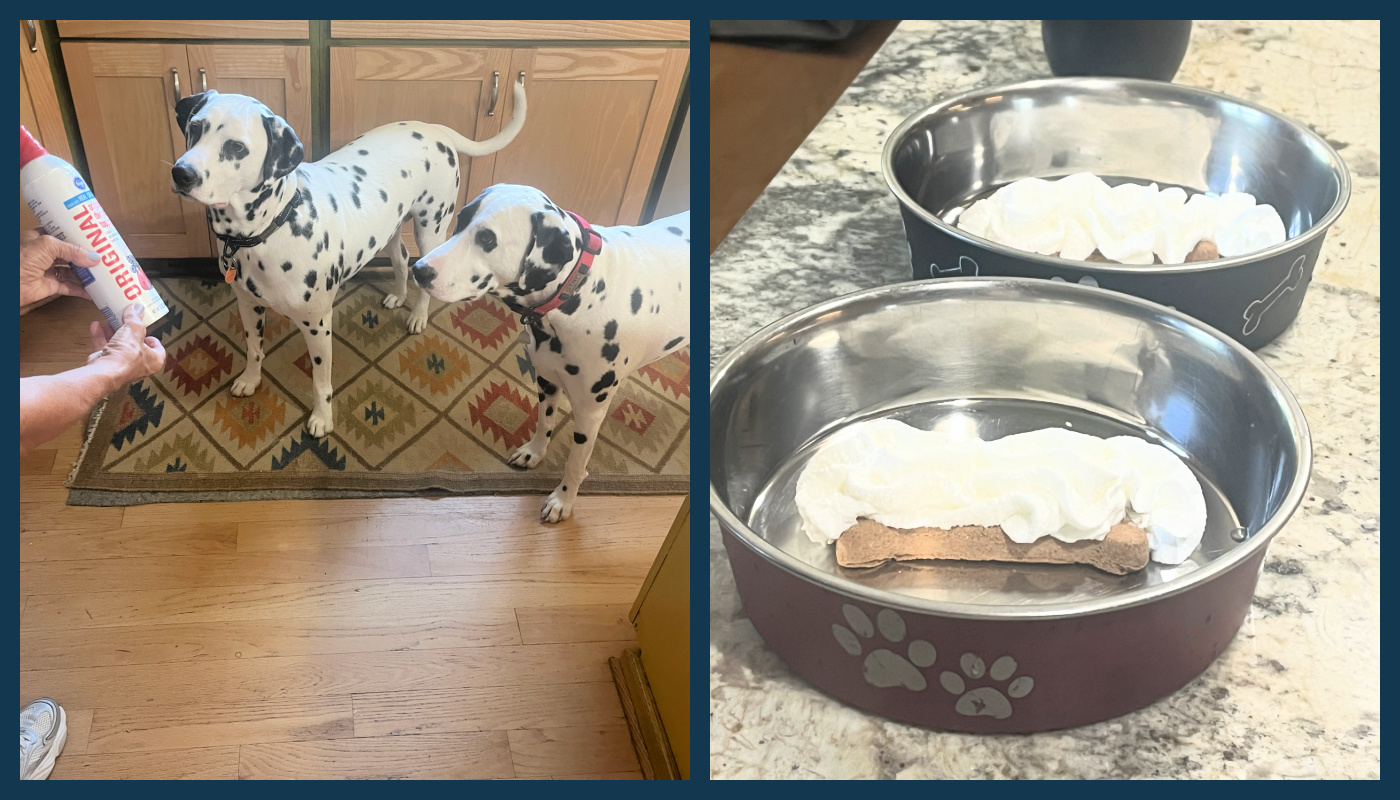
But maybe better than all that? They both get Homemade Puppacinos!
.
What can we say? Life has been good at The Kingdom of Tatarrax, even if Star gets into heavy tantrum mode when she finishes her chewy way ahead of her brother (sigh). Not sure where she gets the Drama Queen personality….
She is also expert at catching food mid-air, something Mr Picky Eater Prince does only reluctantly.
We are indeed very different,
but here’s is how our life is going to be….

.
See you in the Fall, friends! Until then, enjoy each minute of your life, we’ll do the same…

.
1 YEAR AGO: In My Kitchen, Summer 2025
2 YEARS AGO: In My Kitchen, Summer 2024
3 YEARS AGO: In My Kitchen, Summer 2023
4 YEARS AGO: In My Kitchen, Summer 2022
5 YEARS AGO: In My Kitchen, July 2021
6 YEARS AGO: In My Kitchen, July 2020
7 YEARS AGO: In My Kitchen, June 2019
8 YEARS AGO: In My Kitchen – July 2018
9 YEARS AGO: In My Kitchen, July 2017
10 YEARS AGO: Secret Recipe Club: Falafel and a Bonus Recipe
11 YEARS AGO: Chocolate Toffee Banana Bread
12 YEARS AGO: In My Kitchen, June 2014
13 YEARS AGO: Strawberry Frozen Yogurt
14 YEARS AGO: Baked Coconut and “The Brazilian Kitchen”
15 YEARS AGO: Honey-Glazed Chicken Legs
16 YEARS AGO: French-Style Rolls
17 YEARS AGO: Chicken Breasts, Coffee, and Serendipity