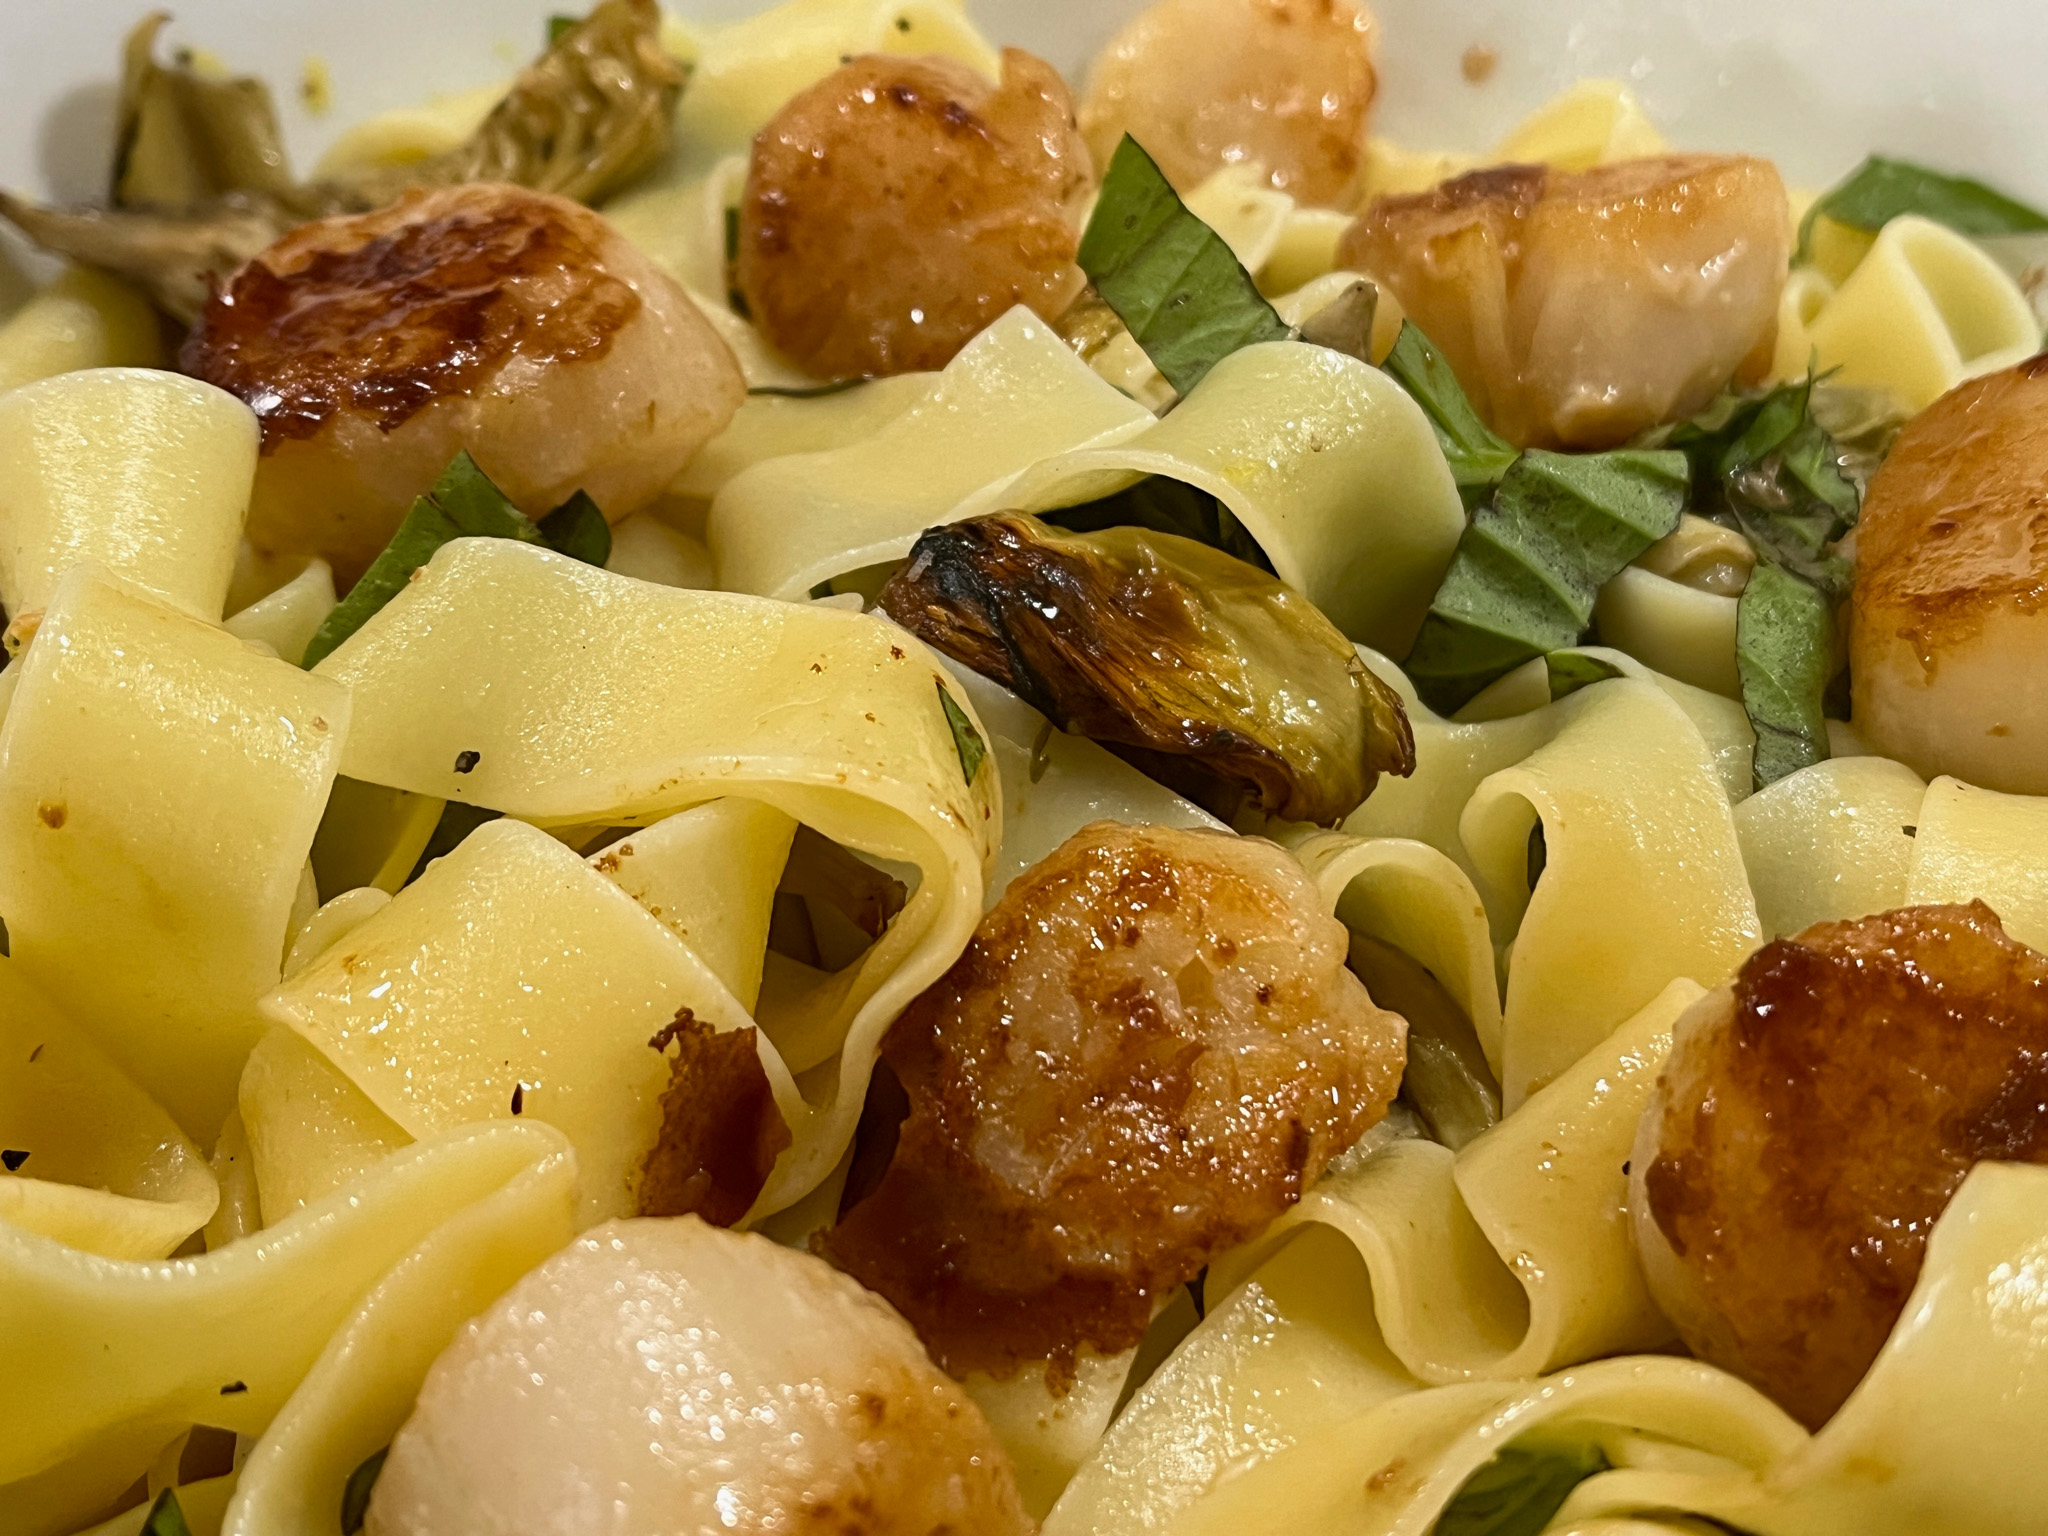
Since I’ve found out you can get a jar of artichokes hearts, drain it and roast the pieces until brown at the edges, I cannot stop using them. As topping for pizza, addition to pasta, even salads. In this recipe, it joins lemons and scallops. A wonderful dinner for a Saturday night…

PAPPARDELLE WITH SCALLOPS AND ROASTED ARTICHOKES
(from The Bewitching Kitchen)
1 or 2 bottles of artichoke hearts, in brine, oil or water, drained
4 tablespoons extra-virgin olive oil
Kosher salt and black pepper
1 pound pappardelle
1 large lemon, zested and juiced
¼ cup torn basil leaves
12 large scallops seasoned to taste with salt and pepper
1 tablespoon olive oil + 1 tablespoon butter
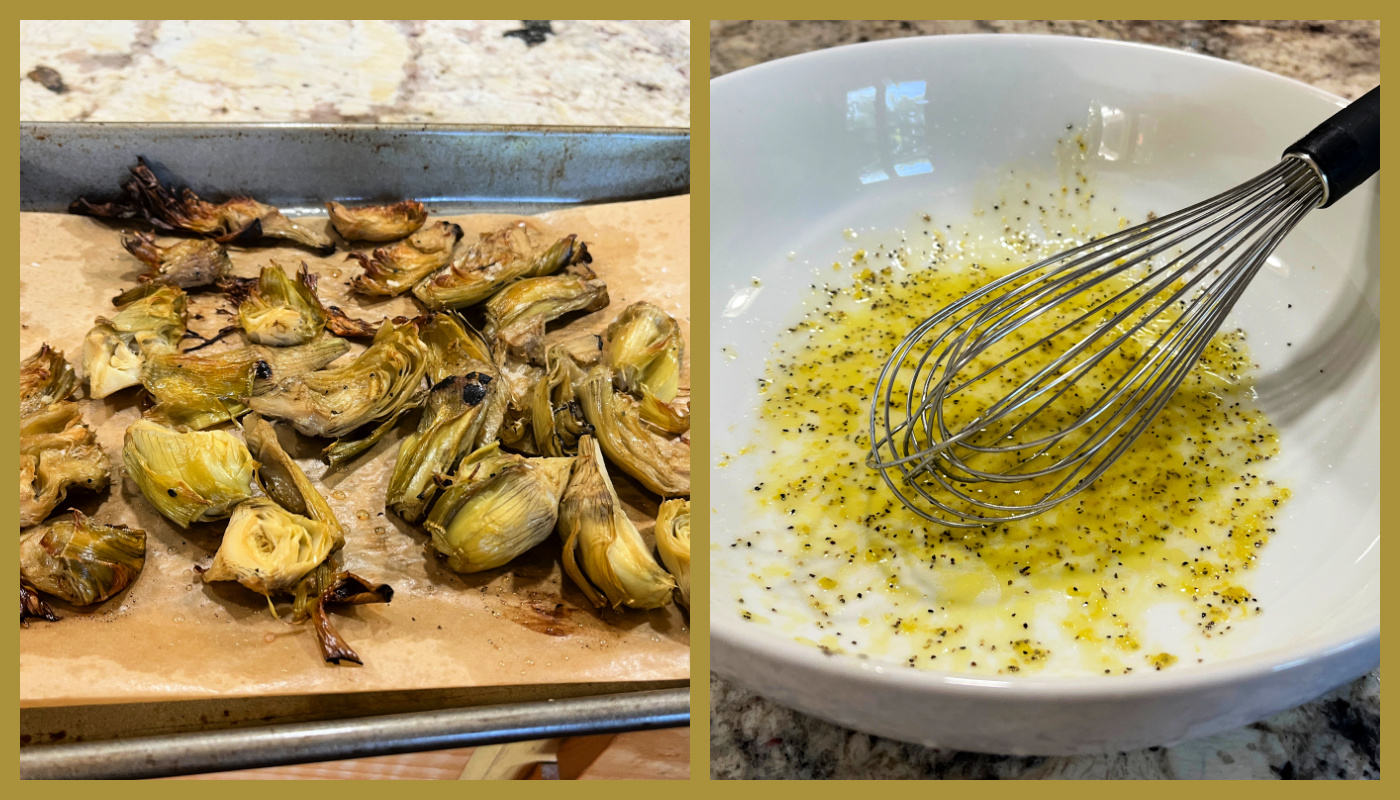
Heat oven to 425 degrees. Line a baking sheet with parchment paper. Gently pat the artichoke hearts with a paper towel to remove excess moisture. If they were packed in oil, simply roast them as they are. If they were in brine or water, drizzle one tablespoon of olive oil all over the pieces and proceed to roasting for 20 minutes in a single layer. Flip the pieces and roast for 5 to 10 minutes longer, until edges are turning golden. Reserve. You can do this step in advance.
Meanwhile, bring a large pot of well-salted water to a boil. Add the pasta and cook until al dente, about 10 minutes or according to package directions. While the pasta cooks, in a serving dish large enough to accommodate it, add the lemon juice, lemon zest, 3 tablespoons of olive oil, 1/2 tsp salt, 1/2 tsp black pepper, whisk to combine.
Cook the scallops. Dry them very well, season with salt and pepper. Add the tablespoon of oil and butter to a skillet, once very hot, cook the scallops, 2 minutes per side, until golden brown. Reserve.
Once the pasta is cooked, remove 1/2 cup of the cooking water. Drain the pasta and add to the bowl with lemon, seasonings and olive oil. Toss well, adjust consistency with the reserved pasta water, add fresh basil and serve with the scallops and the roasted artichokes.
ENJOY!
to print the recipe, click here
Comments: Pappardelle is pretty substantial, so this is by no means a light pasta dish. But everything worked well together. I am pretty addicted to roasting artichoke hearts. If they are packed in brine, the roasted artichokes get almost like a little hint of capers and olives, which of course is just the brine speaking. I love it. But you can also use frozen artichoke hearts and add herbs of your liking.
ONE YEAR AGO: Butterfly Pea Flower Accordion Bread
TWO YEARS AGO: Slow-Cooker Pineapple Carnitas
THREE YEARS AGO: Three Little Cakes
FOUR YEARS AGO: From our Garden to You
FIVE YEARS AGO: Lady Bug Macarons
SIX YEARS AGO: Five-Stranded Braided Bread
SEVEN YEARS AGO: Green Olive Salad
EIGHT YEARS AGO: Coffee Macarons Dressed up to Party
NINE YEARS AGO: Blogging Hiatus
TEN YEARS AGO: Tomato Tatin
ELEVEN YEARS AGO: Headed to Colorado!
TWELVE YEARS AGO: Farofa Brasileira
THIRTEEN YEARS AGO: Thai-Inspired Pork Tenderloin
FOURTEEN YEARS AGO: A yummy Brazilian cake: Bolo de Fuba’
FIFTEEN YEARS AGO: Summer’s Tomatoes
SIXTEEN YEARS AGO: Leaving on a jet plane…