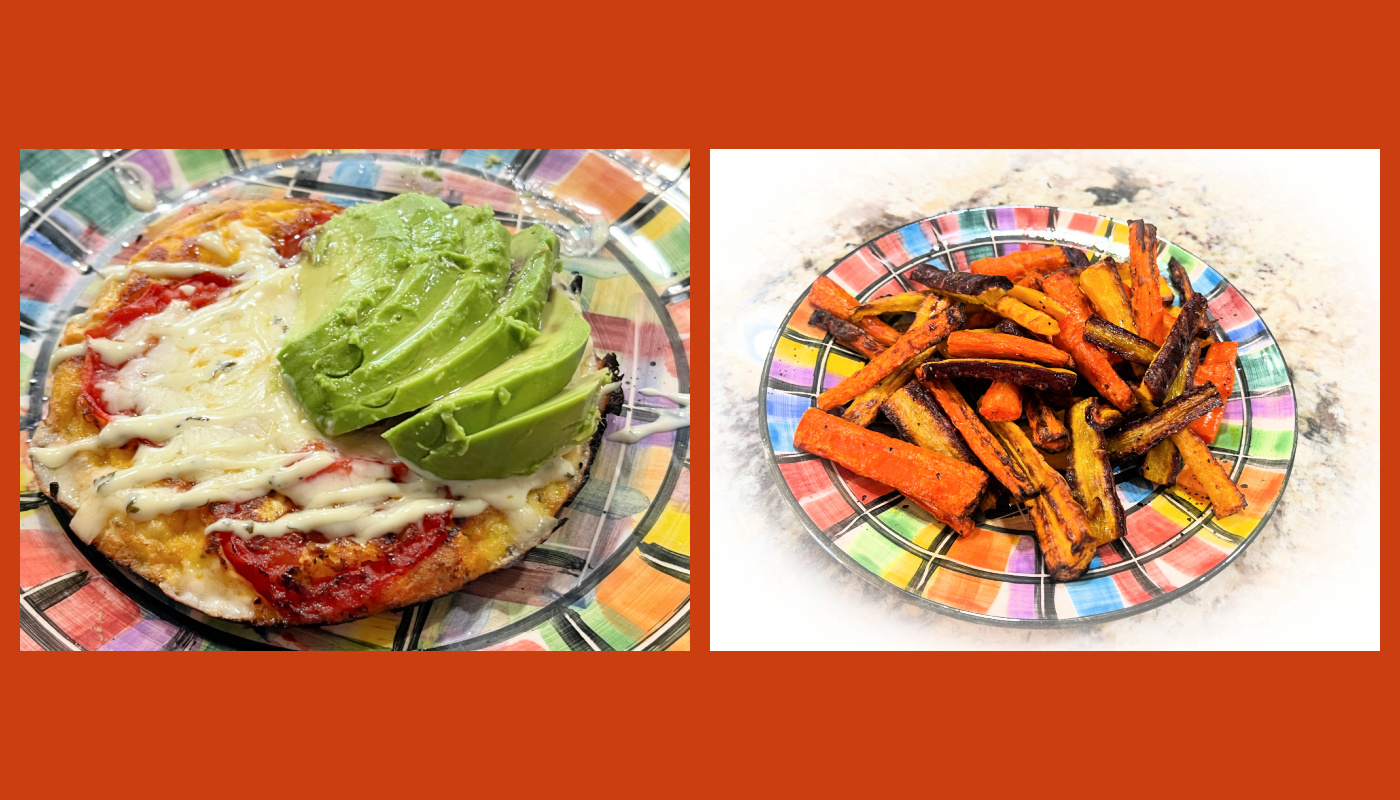
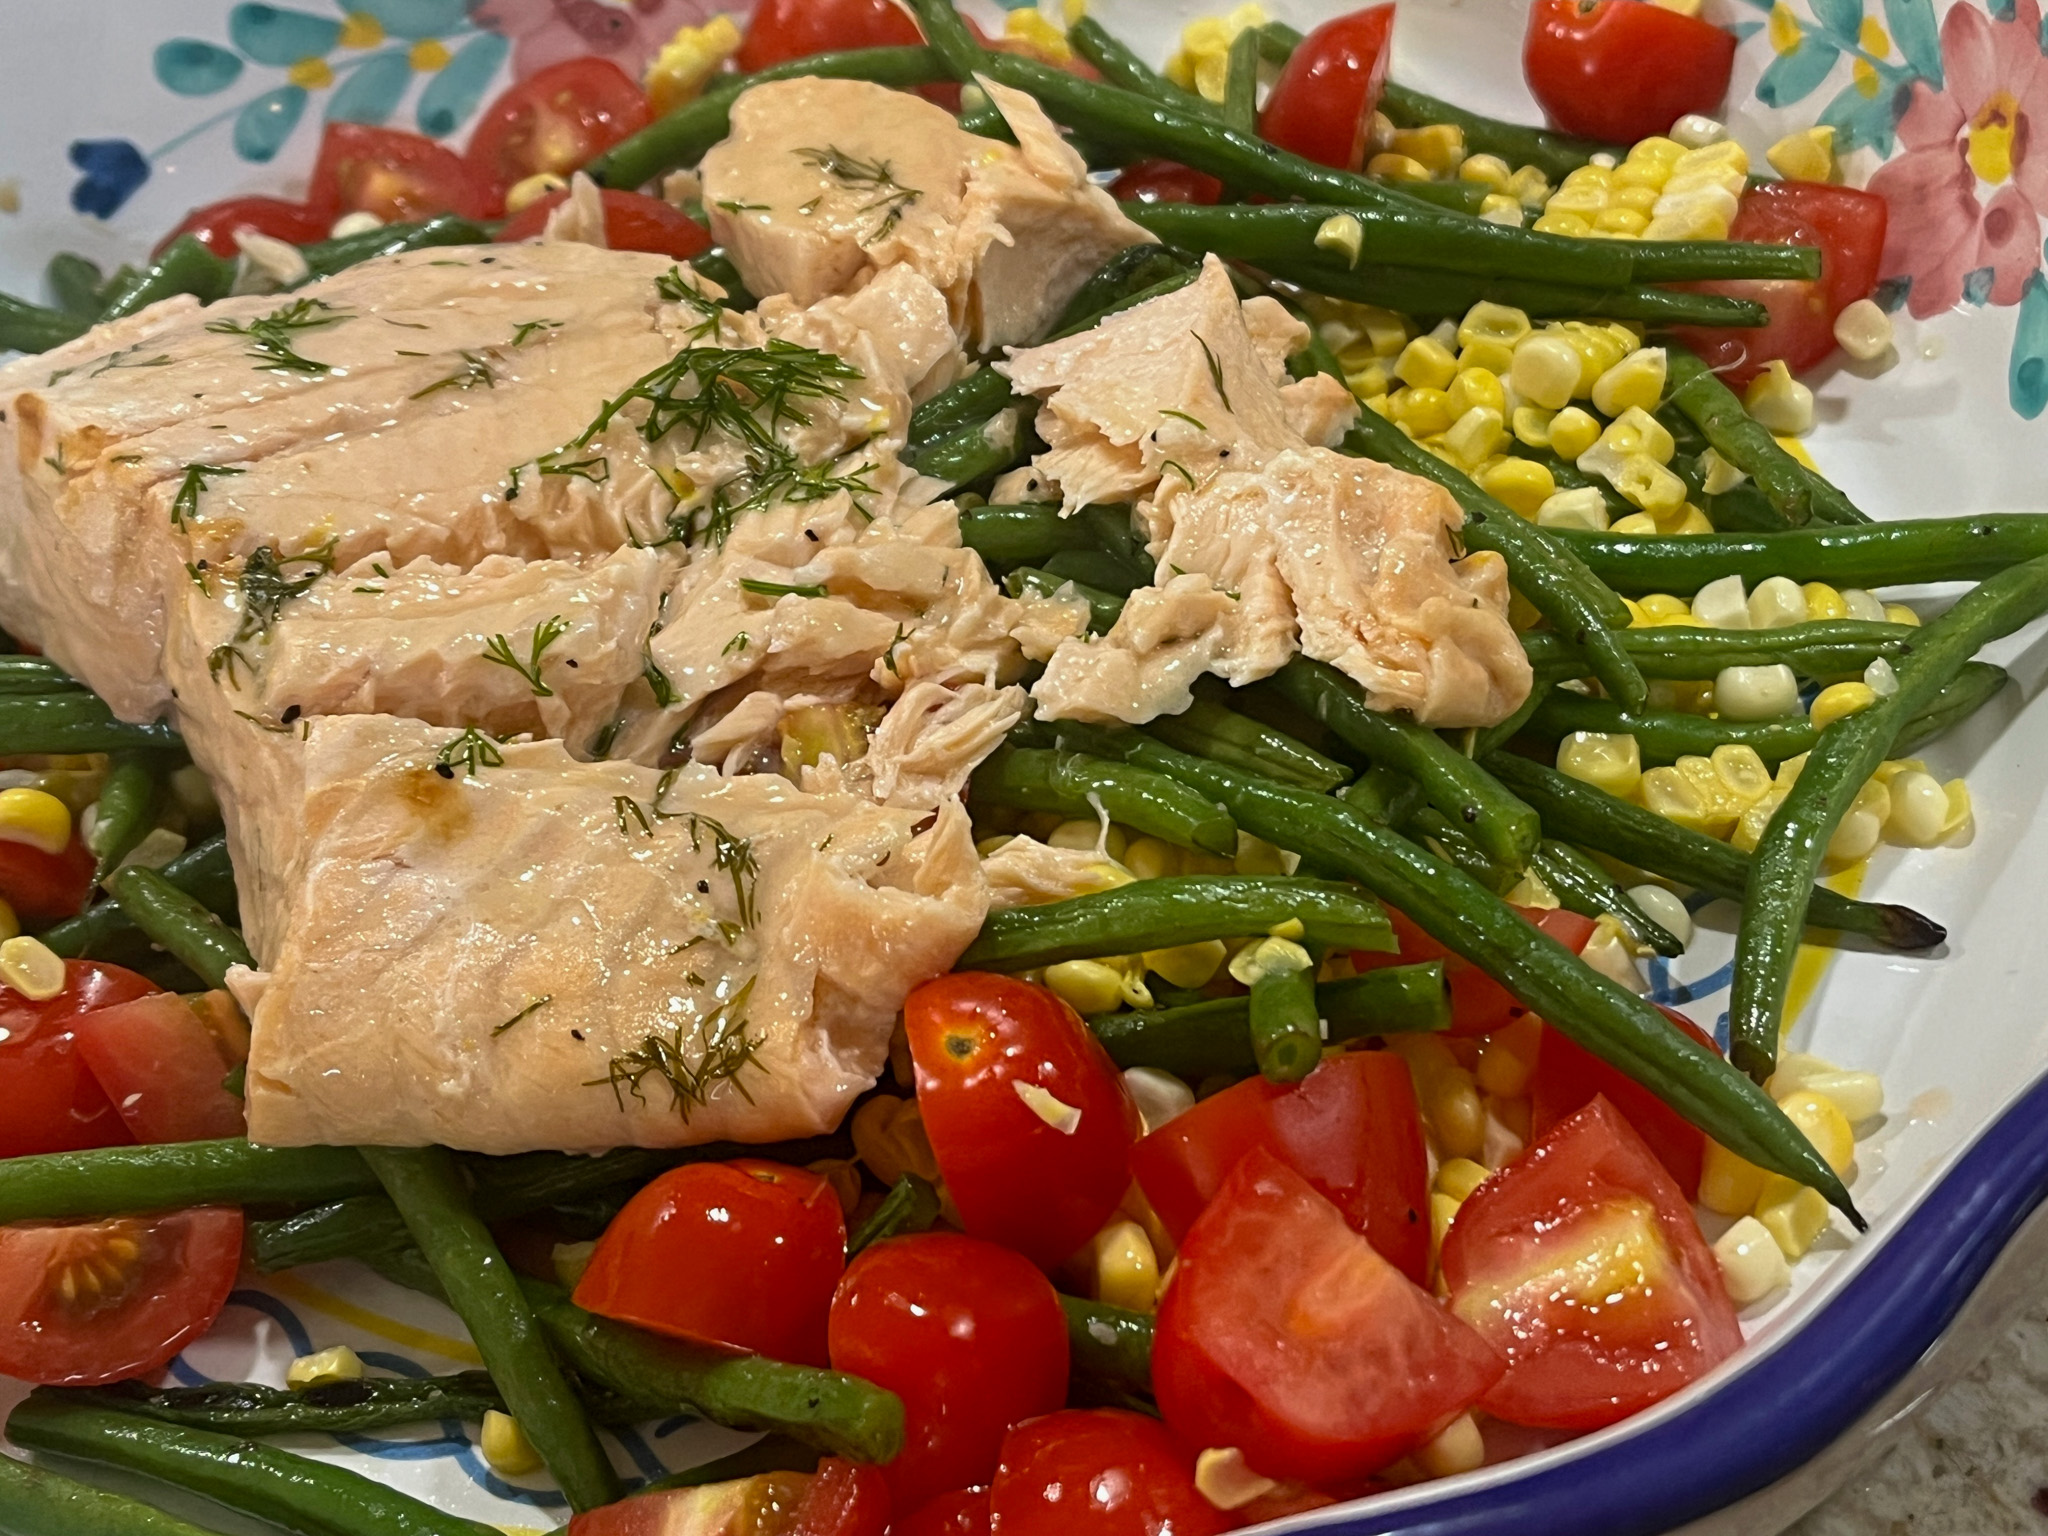
COCONUT-DILL SALMON WITH GREEN BEANS AND CORN

Huge thank you to my dear friend Margie, who recommended this recipe. In fact, she often sends me recipes she loves, and they are always winners. This one I found particularly unusual because apart from the use of dill, which is a traditional match with salmon, corn and green beans seemed unexpected to me. And you know what? They work like a charm! Margie is a fantastic cook, world-traveler and great writer. I take this opportunity to share her substack site (click here), so you can subscribe (it is free!) and read about her adventures.

COCONUT-DILL SALMON WITH GREEN BEANS AND CORN
(slightly modified from New York Times)

1 (2-pound) salmon fillet (skin on or off)
2 tablespoons plus 1 teaspoon olive oil
salt and pepper to taste
1/2 cup unsweetened coconut cream
1tablespoons dark brown sugar
2 tsp sherry vinegar
1 teaspoon Dijon mustard
1 lemon
chopped fresh dill to taste (you can use up to 1/2 cup)
8 ounces green beans, trimmed
1 cup fresh corn kernels
1 pint cherry tomatoes, sliced into halves or quarters if large

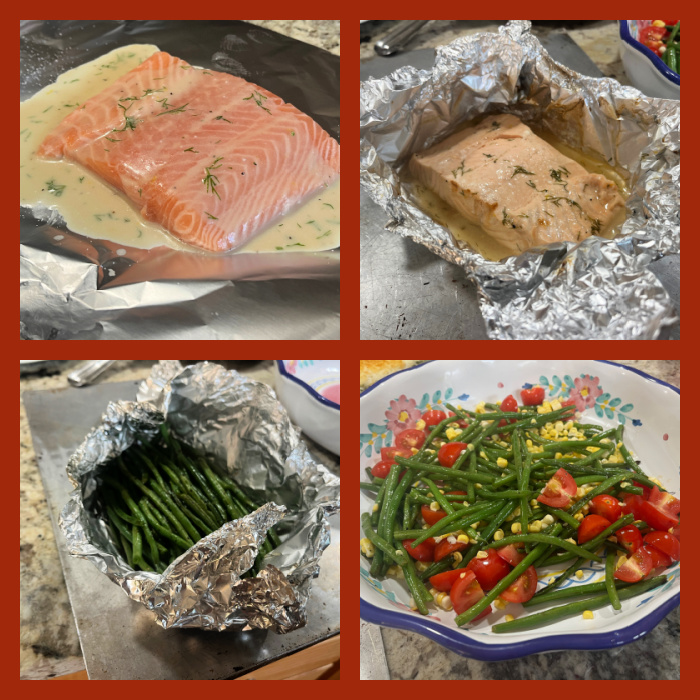
Heat an outdoor grill. Pat the fish dry with paper towels and place on a large strip of heavy-duty aluminum foil on a sheet pan. Drizzle with 1 tablespoon oil and sprinkle lightly with salt.

In a small bowl, combine the coconut cream, brown sugar, vinegar, mustard, 1 tablespoon oil, salt and pepper. Zest the lemon right into the bowl and squeeze in 1 tablespoons juice. Stir in the fresh dill. Pour half of the dressing over the fish and set the other half aside. Wrap the fish in the foil by turning up the sides and crimping them together to form a packet.

On another large strip of foil, toss the green beans with oil and a pinch each of salt and pepper. Wrap the beans in the foil to form a packet. Place both the salmon and green bean packets on the grill and cover if using a gas grill. Grill until the green beans and salmon are cooked through, about 10 minutes. Transfer the fish packet to a large serving platter and open the top.

Open the green bean packet, transfer the beans to a large bowl and add the corn, tomatoes, more fresh dill, half of the reserved dressing and a pinch of salt. Toss to coat. To serve, top the fish with some of the vegetables and remaining dressing.

ENJOY!

to print the recipe, click here
Comments: I had never grilled green beans in a packet like that, and loved the result, it is so easy and mess-free, I will be making it often, whenever the main dish involves grilling. The salmon, cooked in the foil, developed a very soft texture, with the nice added bonus of the coconut sauce, a bit on the sweet-and-sour path. Perfect! If you have a ton of dill available use it, I did not and was a bit shocked at the price of dill at the grocery store, so I reduced the amount considerably. Margie told me she made the recipe again and used cilantro, and thought it was a nice twist, consider that as another possibility. Hardest part of the recipe? Getting the corn kernels off the cob, I am not particularly fond of that, but nothing beats the freshness of corn prepared that way. Go for it. I do have a perfect tool to help that job, so not sure why I am winning….

x

Margie, thanks for always inspiring me!

.

1 YEAR AGO: Salmon and Baby Bok Choy over Sushi Rice

2 YEARS AGO: The Pizzsalad 

3 YEARS AGO: Prosciutto-Wrapped Chicken Breasts with Pickled Jalapeños

4 YEARS AGO: Dressing Up the Roll Cakes

5 YEARS AGO: Roasted Carrot and Barley Salad

6 YEARS AGO: Ode to Halva

7 YEARS AGO: Brazilian Pao de Queijo (re-blogged)

8 YEARS AGO: Apricot Linzer Torte

9 YEARS AGO: A Trio of Air-Fried Goodies

10 YEARS AGO: Focaccia with Grapes, Roquefort and Truffled Honey

11 YEARS AGO: Moroccan Carrot Dip Over Cucumber Slices 

12 YEARS AGO: White Chocolate Macadamia Nut Cookies

13 YEARS AGO: Cilantro-Jalapeno “Hummus”

14 YEARS AGO:A Moving Odyssey

15 YEARS AGO:
Hoegaarden Beer Bread

16 YEARS AGO:
 Ancho-Chile Marinade: Pleased to Meat you!


17 YEARS AGO:
 Shrimp Moqueca

COCONUT LAMINGTONS

Maybe you know Haniela from her amazing cookie decorating skills, but she goes way beyond that: she is an accomplished baker on all sorts of areas. One of her husband’s favorite desserts is the Australian classic, Lamington. Hani has used this recipe for a long, long time and her blog post about it makes this potentially intimidating concoction pretty straightforward to make. Check her detailed article here.

COCONUT LAMINGTONS
(from Haniela’s blog)

for the sponge cake:
2 + 1/3 cup all purpose flour (330 grams)
1 tbsp baking powder
1/2 tsp salt
4 large eggs, at room temperature
1 + 1/4 cup powdered sugar (150 grams)
6 tbsp oil (82-85 grams)
2 tbsp honey (45 grams)
1 tsp Vanilla Extract
1 cup milk, at room temperature (240-250 grams)

for the chocolate glaze:
2 + 1/2 cup powdered sugar (300 grams)
1/2 cup cocoa powder (50 grams)
6 tbsp milk (90-95 grams)
1 cup unsalted butter (226 grams)
1/2 tsp Vanilla Extract
unsweetened coconut (1 + 1/2 5oz bags)

Heat oven to 350°F.

Line a 9×13-inch cake pan with parchment. Into a bowl, combine all-purpose flour, baking powder and salt. Set aside.

In a large bowl, beat 4 large eggs with powdered sugar on medium-high, for 5-8 minutes, until pale in color. Then gradually beat in oil untill well combined. Then beat in honey and lastly add vanilla extract. Beat well. Gradually, on medium speed beat in flour mixture, alternating with room-temperature milk.

Pour cake batter into a prepared 9×13 inch cake pan. Use a spatula to evenly distribute the batter into a pan. Bake the cake for 20-25 minutes, until a toothpick inserted in the center comes out clean. Cool the cake in the pan for 5-10 minutes. Invert the cake onto a cooling rack, cover it with a kitchen towel, and cool completely.

Trim the sides of the cake, about 1/4 to 1/2 inch off each side. Then cut the cake into 2-inch squares. Cover with a towel while you prepare the chocolate glaze so teh cake doesn’t crust around the edges.

Make the glaze: In a saucepan, combine powdered sugar, cocoa powder and milk. Heat on low heat until completely melted and smooth. Then, gradually add cut-up butter and heat the glaze until all the butter is melted. Whisk until the glaze is homogeneous. Remove from the heat, stir in vanilla extract. Keep chocolate glaze warm for dipping. Glaze thickens as it cools, simply warm it up as needed.

Pour glaze into a bowl, dip one square cake at a time. Use a fork to help you turn the cake to coat. Then let the cake sit on a fork and tap the fork or your wrist to release any excess glaze, allowing it to drip back into a bowl. Coat each glazed cake square in coconut.

ENJOY!

to print the recipe, click here

Comments: The sponge cake component was a total dream to work with, perfect bake, flat, allowing me to cut square pieces without any struggle. I made the cake the day before, kept it covered with Saran wrap and a towel at room temperature. Next morning I cut the pieces, glazed and coated them with coconut. My advice is to work near a sink, rinse and dry your fingers after each piece that gets coated. It is a messy process but I thought it was going to be much worse. To coat in coconut, I dropped the glazed piece on the bowl, then used a fork to flip it. At that point I could hold the piece with my fingers touching the two sides that already had coconut on them, and coated the sides turning the piece with my hand. That worked well, using a fork was just too awkward for me. I donated the whole batch, but whenever I make a recipe for the first time, I save one for me and the husband to taste. Two thumbs all the way up, moist cake, delicious coating, chocolate and coconut make a wonderful match. I really hope you give Haniela’s recipe a try, it is a nice baking project to tackle, and you will feel quite accomplished later…

1 YEAR AGO: Mexican Conchas

2 YEAR AGOS: Red Velvet Sugar Cookies, Three Ways

3 YEARS AGO: Lemon Macarons

4 YEARS AGO: Thai Chicken with Peanut Sauce

5 YEARS AGO: Baharat Flower Sourdough

6 YEARS AGO: Biscoitinhos de Canela

7 YEARS AGO: Salmon Tacos

8 YEARS AGO: The Chignon

9 YEARS AGO: Rack of Lamb Sous-Vide with Couscous Salad

10 YEARS AGO: Focaccia with Grapes, Roquefort and Truffled Honey

11 YEARS AGO: Moroccan Carrot Dip over Cucumber Slices

12 YEARS AGO: White Chocolate Macadamia Nut Cookies

13 YEARS AGO: Cilantro-Jalapeno “Hummus”

14 YEARS AGO:A Moving Odyssey

15 YEARS AGO:Hoegaarden Beer Bread

16 YEARS AGO:
 
Ancho-Chile Marinade: Pleased to Meat you!

17 YEARS AGO: Shrimp Moqueca

SESAME-CRUSTED FETA WITH BLACK LIME HONEY SYRUP

This recipe has Ottolenghi written all over, as it should because he created it. Available online clicking here. It was my first time using black lime powder, an ingredient I recently showcased in In My Kitchen.

SESAME-CRUSTED FETA WITH BLACK LIME HONEY SYRUP
(slightly modified from Ottolenghi)

serves 2

for the cheese:
1 block of Greek feta (360g), cut into 4 triangles
35g rice flour
1 large egg, well beaten
100g mixed black and white sesame seeds, lightly toasted
olive oil spray

for the honey syrup:
120g honey
1 tsp ground black lime
juice of 1 lemon


Line a small, shallow baking dish with parchment paper. Pat dry the feta pieces, then dip each piece in the flour, gently shaking off the excess. Coat in the egg, followed by the sesame seeds,
making sure the feta pieces are completely coated. Transfer each piece to your prepared dish and refrigerate for 2 hours.

Heat the oven to 425 or use an air-fryer. Spray the coated feta pieces with the oil and bake from cold, for 18 minutes, very gently flipping the pieces over halfway, or until golden and warmed.
.
While the feta is baking, put the honey and black lime into a small saucepan on a medium-high heat. Once it starts to bubble, turn the heat to medium and cook, stirring occasionally, until it turns a deep amber caramel, about 5 minutes. Take off the heat and stir in the lemon juice. Set aside to cool for 5 minutes.

When the feta triangles are ready, pour the lemon syrup directly over the feta in the baking
dish and serve.

ENJOY!

to print the recipe, click here

Comments: It is really important to cool the feta triangles in the fridge, they need to be absolutely firm before baking or they will be too soft and melt too quickly. The honey syrup: you will make more than you need, but it is hard to scale it down, so just keep it in the fridge, and I am sure you will find plenty of ways to use it. You can also make more triangles, like in the original recipe from Ottolenghi’s website. Even when cool to almost room temperature these feta concoctions are tasty, with a very complex mixture of flavors. A lovely simple appetizer or brunch item.

I don’t think the honey should be reduced for more than five minutes, because it might get a little bitter. But that might also depend on the kind of honey you start with. I used an all-natural raw honey from a farm in Kansas.

1 YEAR AGO: Pan de Cristal

2 YEARS AGO: Raspberry Vovo and Savour Online Classes 

3 YEARS AGO: Egyptian Goulash

4 YEARS AGO: Steamed Chicken with Black Bean Sauce

5 YEARS AGO: Ginger-Dill Salmon

6 YEARS AGO: Eleven Years, Time for Goodbye

7 YEARS AGO: Salmon Tacos

8 YEARS AGO: A Dream that did not come true 

9 YEARS AGO: Kaleidoscopic Macarons

10 YEARS AGO: Zucchini Noodles with Sun-dried Tomato Pesto

11 YEARS AGO: In My Kitchen, July 2015

12 YEARS AGO: Sous-vide Pork Chops with Roasted Poblano Butter

13 YEARS AGO: Roasted Strawberry-Buttermilk Sherbet

14 YEARS AGO: Amazing Ribs for the 4th of July!

15 YEARS AGO: Baby Back Ribs on the 4th of July

16 YEARS AGO: Blueberry Muffins

17 YEARS AGO: A Pie for your 4th of July

HAPPY 4TH OF JULY!


I’ve baked quite a few 4th of July inspired goodies in the past couple of weeks, but the only new recipe is the one I share today. Quite excited about this sourdough, not for the design, which is quite simple and easy, but for the formula: 2 egg yolks were added to the dough right at the beginning stage. I follow the bulk fermentation by removing a small amount of dough to a glass vial, and was amazed at the way it rose like a rocket. It doubled in size in 5 hours, which is definitely a first for me. Normally it takes 7 to 8 hours to get to that point.

DOUBLE-EGG YOLK SOURDOUGH BREAD
(from The Bewitching Kitchen)

475g white bread flour
25g spelt flour
70g sourdough starter at 80% hydration (you can use 100% if you prefer)
350g water
10g salt
2 egg yolks

for rubbing on surface:
red yeast powder (I used this product)
to paint:
blue luster powder + vodka
star shape cut from parchment or regular paper

Mix all ingredients in the bowl of a KitchenAid type mixer fitted with the dough hook. Knead gently for about 4 minutes (first or second speed maximum).

Transfer dough to a lightly oiled bowl and do a bulk fermentation with 4 to 5 folds made 45 minutes apart. Before you start the fermentation , remove a very small amount of dough to a small glass container (like those that hold spices), and mark where the level of the dough is with a permanent marker. Keep that at room temperature to monitor fermentation.

After the last folding cycle, keep an eye on the fermentation using the small vial. Ideally you want to let the dough ferment until it is double in size. The inclusion of egg yolks will considerably speed up the process.

Once bulk fermentation is over, shape the dough as a boule and place in a banneton. Move it to the fridge, covered, and leave it there overnight.

Next day, freeze the dough for 30 minutes in the banetton, to make it easier to score later. Invert the dough on a paper liner, place the piece of paper shaped as a star on top of the shaped dough, wetting it just lightly to make it glue to the surface. Sprinkle red yeast powder all over, rubbing it gently. Remove the paper, and paint that area with blue luster powder. Score with a sharp razor blade in any pattern you like.

Bake in a Dutch oven with the lid on at 450F for 30 minutes, open and allow the bread to brown for a further 15 minutes.

Cool completely over a rack before slicing.

ENJOY!

to print the recipe, click here

Comments: The dough is particularly smooth and nice to work with. I still cannot quite get over how much faster it rose during bulk fermentation. The temperature in our house does not change much during the year, thanks to air-conditioning and a bread proofing box for the winter months. The crumb has a slightly yellow hint, and the taste is a tad richer than your regular sourdough bread. I really liked it a lot, and so did the husband. If you are into sourdough baking, consider playing with this recipe.

I was ready to re-paint the bread once it was out of the oven, but much to my delight, the luster powder kept its intensity throughout the baking process! How cool is that?

.

1 YEAR AGO: In My Kitchen, Summer 2025

2 YEARS AGO: In My Kitchen, Summer 2024

3 YEARS AGO: In My Kitchen, Summer 2023

4 YEARS AGO:  In My Kitchen, Summer 2022

5 YEARS AGO: In My Kitchen, July 2021

6 YEARS AGO: In My Kitchen, July 2020

7 YEARS AGO: In My Kitchen, June 2019

8 YEARS AGO: In My Kitchen – July 2018

9 YEARS AGO: In My Kitchen, July 2017

10 YEARS AGO: Secret Recipe Club: Falafel and a Bonus Recipe

11 YEARS AGO: Chocolate Toffee Banana Bread

12 YEARS AGO: In My Kitchen, June 2014

13 YEARS AGO:  Strawberry Frozen Yogurt

14 YEARS AGO: Baked Coconut and “The Brazilian Kitchen”

15 YEARS AGO: Honey-Glazed Chicken Legs

16 YEARS AGO: French-Style Rolls

17 YEARS AGO: Chicken Breasts, Coffee, and Serendipity

IN MY KITCHEN, SUMMER 2026


In My Kitchen posts are hosted by Sherry, from  Sherry’s Pickings. Please visit her site to see what everybody else is sharing this month. I join four times each year, on the first day of January, April, July and October. If you are a food blogger, consider taking part of this fun event. It is a chance to share those little things you bought or received as gifts and that make your life in the kitchen easier.

From Monique, my friend and volunteer of all things homeless and meals-on-wheels, a set of kitchen cloths that celebrate the loves of my life, Dalmatians! My heart flipped, thank YOU, Monique!

Black lime powder, something I had about online, and decided I had to bring home to play with. Stay tuned for my first recipe using it, if all goes according to plan, should be the next post in the blog. Available here. You can use it anytime and anywhere you want a sharp citric taste without adding any liquid.

.

A huge pizza peel, which we bought after visiting my stepson in San Diego. He and his wife make pizza often, and I was in love with their peel, so I ordered one for us. Pretty big and very efficient! This brand is truly the best.


I splurged. Bought this super cool set of bamboo steamer + steamer pan. I want to learn and make Chinese dumplings and steamed bao, as part of the expansion of my horizons after retirement, and I firmly believe you need the right tools for the job. So that’s that. I got mine on eBay, but it is not available anymore, so I found the exact same product on Evil Empire, in case you are interested (click here).

If you love Nutella, but hate the potential harm that industry causes to the environment, here is an alternative for you that is equally delicious, but environmentally-friendly: SOOM Sesame Spread. You might be able to find it in stores such as Whole Foods and Marshall’s, but of course, it is “there” too (click here).

Shiitake mushroom powder, a great product to add to sauces, stir-fries, meatballs, for that added funky-umami flavor that can be quite pleasing to the palate. Available here.

A blend of grains and seeds sold by King Arthur Flour (click here). I’ve been adding it to sourdough, in my basic formula of 500g total flour, adding about 25g of this product. It does not affect the texture and I love the taste, slightly richer than a plain sourdough bread.

Little sugar decorations I bought for cookies a couple of months ago, but had a few leftover. They came in handy to celebrate the beginning of the World Cup of Soccer with chocolate-covered pretzels… Available here.


In our kitchen….

These are low-carb lupin flakes that can do the job of bread crumbs. I don’t follow a particularly strict low-carb approach, but often will search for ways to reduce them without compromising taste. I was intrigued by this product and very recently bough it, but have not tried it yet. Stay tuned I am just worried that there will be some after taste, but the reviews online seem quite stellar. We shall see…


Something new to me, just like vanilla paste can substitute for vanilla extract, this is a lemon version. Very good, I’ve used it in cookies and buttercream. Highly recommend it, I think Nielsen-Massey is the only company that makes it, I love their stuff.

But now, it is time to get our furry friends to bark hello, they have been anxiously waiting, so without further ado, let’s go over their shenanigans.

Screenshot

Life has been pretty awesome, now that our humans are retired… they hang out with us more often, take us for longer walks, and even golfing is back in our routine…

Prince is a model golfing companion, but unfortunately the same cannot be said about his sister. She often runs wild after squirrels, bunny rabbits, birds, loose leaves blown by the wind, and the eventual lonely golfer trying to practice putting. We only take them when the golf course is closed, but she manages to generate chaos no matter what.

What if I give you kisses????

Well, I guess it is impossible not to forgive her, who can stay mad at that sweet face?
Even if sometimes she chooses the goofy path?

Star really gets a pass on a lot of naughtiness that girl… She defaced a poor pig that used to squeak when gently squeezed, turning him into a horror freaky creature, silenced for eternity.

And what was the consequence of this act of unparalleled brutality?

Full disclosure: Phil went on a shopping expedition to find the exact same piggy,
because “she needs a new one”.

Prince wants to know what does he get for being such a good boy?

.

Well, he gets to be the Official Kitchen Helper!

He is also the official golf-watching-TV-companion for Phil, and will sit and watch the longest of games like the very best buddy…

.

.


What can we say? Life has been good at The Kingdom of Tatarrax, even if Star gets into heavy tantrum mode when she finishes her chewy way ahead of her brother (sigh). Not sure where she gets the Drama Queen personality….

She is also expert at catching food mid-air, something Mr Picky Eater Prince does only reluctantly.

We are indeed very different,
but here’s is how our life is going to be….

.

.

1 YEAR AGO: In My Kitchen, Summer 2025

2 YEARS AGO: In My Kitchen, Summer 2024

3 YEARS AGO: In My Kitchen, Summer 2023

4 YEARS AGO:  In My Kitchen, Summer 2022

5 YEARS AGO: In My Kitchen, July 2021

6 YEARS AGO: In My Kitchen, July 2020

7 YEARS AGO: In My Kitchen, June 2019

8 YEARS AGO: In My Kitchen – July 2018

9 YEARS AGO: In My Kitchen, July 2017

10 YEARS AGO: Secret Recipe Club: Falafel and a Bonus Recipe

11 YEARS AGO: Chocolate Toffee Banana Bread

12 YEARS AGO: In My Kitchen, June 2014

13 YEARS AGO:  Strawberry Frozen Yogurt

14 YEARS AGO: Baked Coconut and “The Brazilian Kitchen”

15 YEARS AGO: Honey-Glazed Chicken Legs

16 YEARS AGO: French-Style Rolls

17 YEARS AGO: Chicken Breasts, Coffee, and Serendipity