TRICOLOR CHICKPEA SALAD

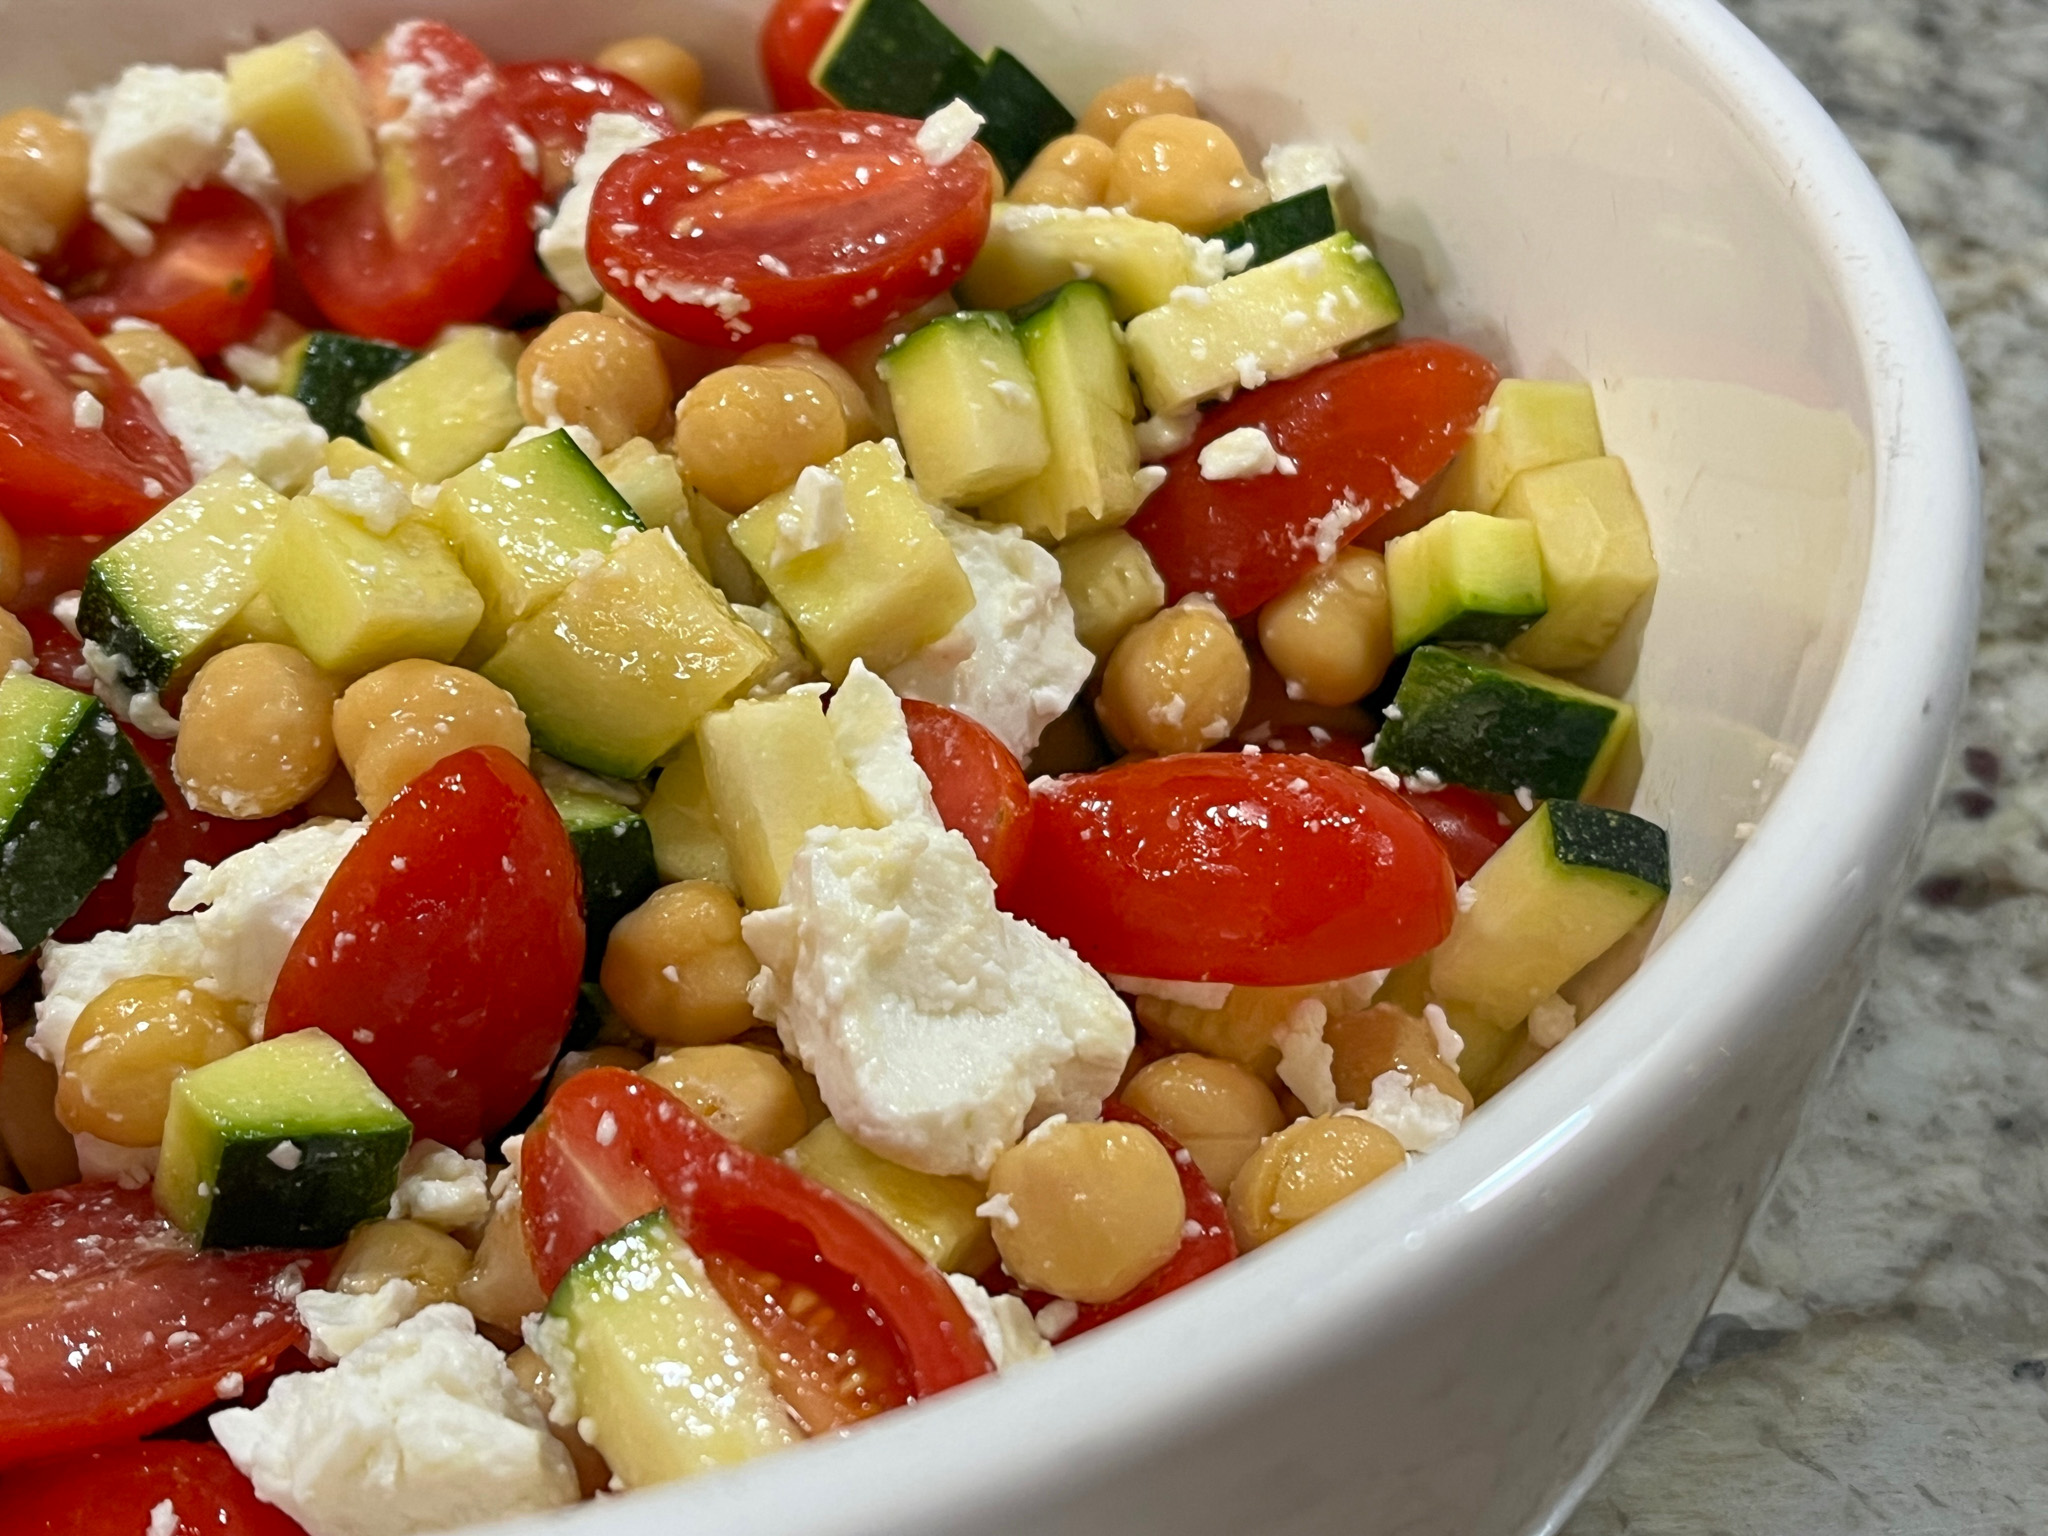
When I make a salad, I don’t really expect that much enthusiasm coming from the husband, so I was pleasantly surprised by how much he enjoyed this one. Plus, not only it is quite a simple recipe, but leftovers held well for two days in the fridge. Very sturdy. Chickpeas, raw zucchini, grape tomatoes and feta cheese. If white is to be considered a color, well, then let’s make it a “Four-Color Salad” and call it a day!
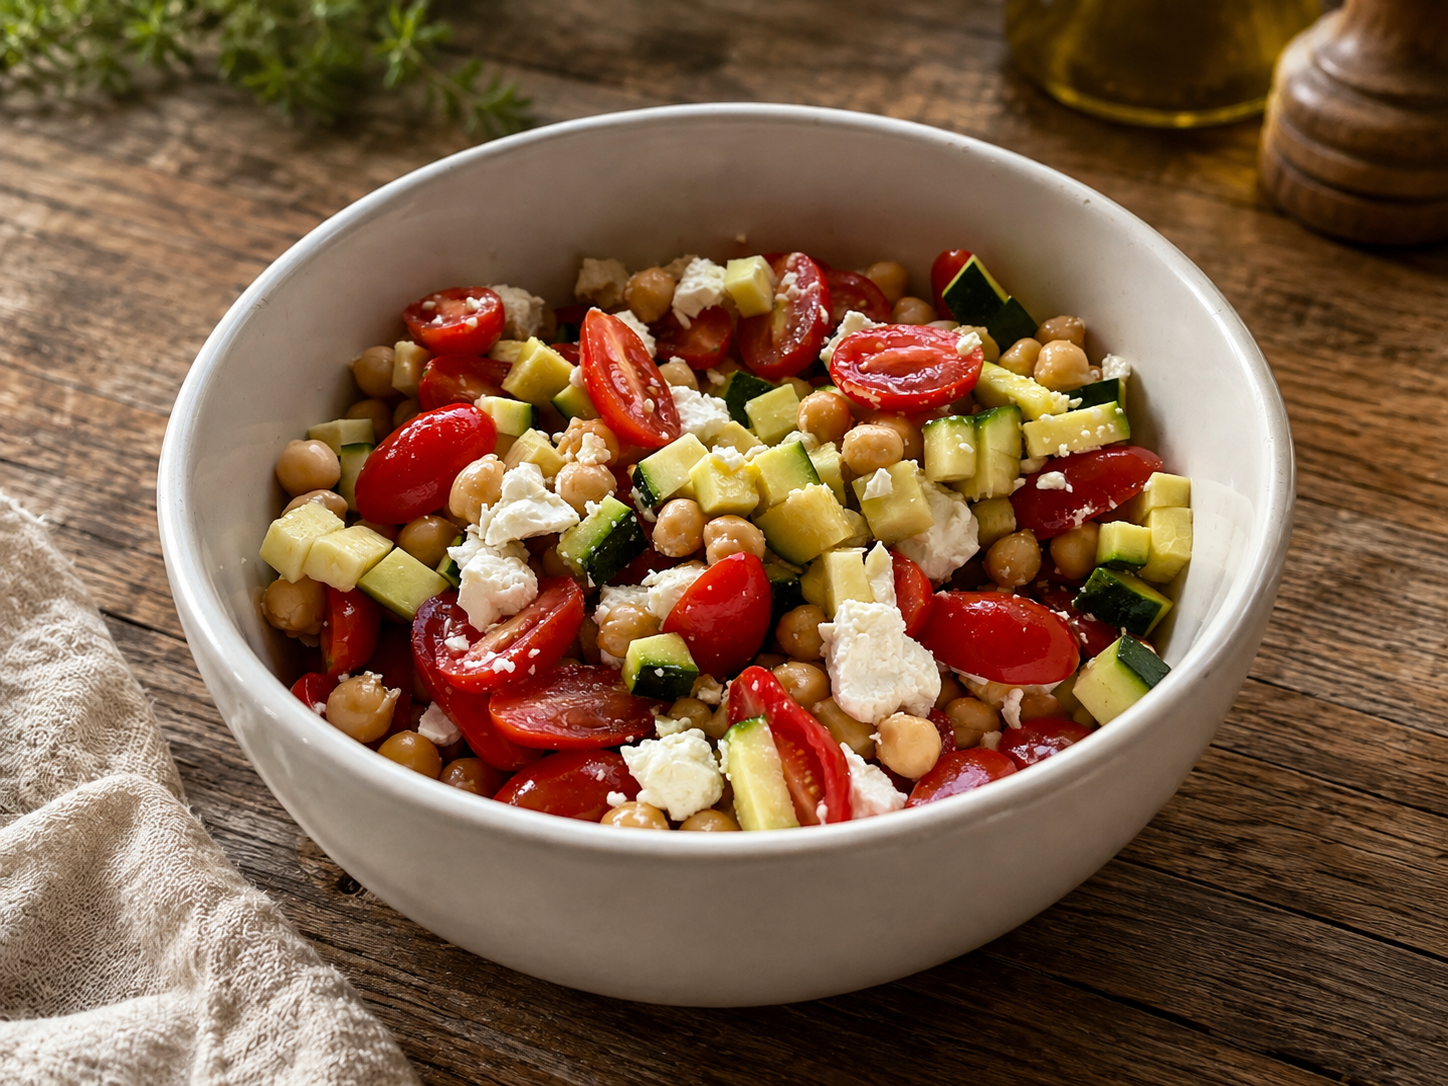
TRI-COLOR CHICKPEA SALAD
(inspired by several sources)

1 cup halved grape tomatoes
1 large zucchini, cut in small dice
1 can chickpeas, drained and rinsed (15 oz)
¼ cup olive oil
2 tablespoons Calamansi vinegar (or apple cider vinegar with squirt of lemon juice)
salt and pepper to taste
crumbled feta cheese to taste

Whisk the olive oil with vinegar in a small bowl, set aside.

Add tomatoes, zucchini and chickpeas to a large bowl. Season with salt and pepper. Drizzle the mixture of olive oil/vinegar and mix well. Keep in the fridge for 15 minutes, then add the crumbled feta and serve. Adjust seasoning if needed.

ENJOY!

to print the recipe, click here
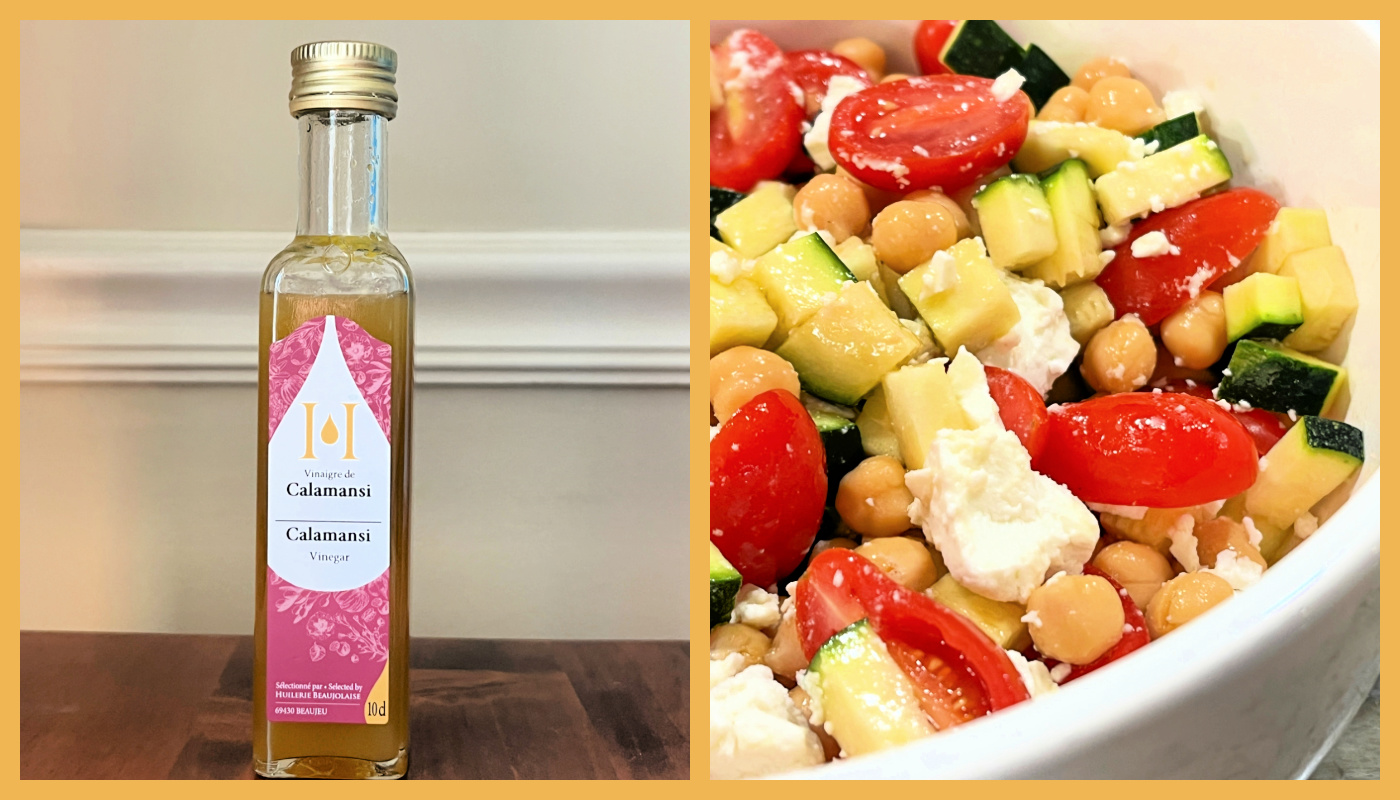
Comments: I am quite in love with Calamansi vinegar, which believe ir or not, I found at Walmart… It is available at The Very Evil Empire, but it will cost you a lot more. I first heard about it on Milk Street, and they were right, it is a great product. Back to the salad: cut the zucchini in very small dice, because it will be incorporated raw, so the 15 minutes in the presence of the acidic dressing will be enough to mellow it, but not if it is cut in large pieces. A little cilantro could go well with all the other flavors, or maybe some mint. I had neither, so my salad was a bit more austere. This one will also be part of our rotation side dishes because whenever the husband loves a salad, I know it is a real keeper.
.

1 YEAR AGO: Banana Cupcakes with Honey Buttercream Frosting

2 YEARS AGO: Air-Fryer Chicken Skewers

3 YEARS AGO: Almond-Cranberry Sandwich Cookies

4 YEARS AGO: Brazilian Candy, Surpresa de Uva

5 YEARS AGO: Red Quinoa “Tabbouleh”

6 YEARS AGO: Cucumber Salad with Yogurt-Harissa Dressing

7 YEARS AGO: Sundried Tomato and Feta Cheese Torte 

8 YEARS AGO: Hickory-Smoked Beef Tenderloin

9 YEAR AGO: Spaghetti Squash, Revisited

10 YEARS AGO: Stir-fried Chicken and Cabbage in Spicy Almond Sauce

11 YEARS AGO: Fifteen Years!

12 YEARS AGO: Light Brioche Burger Buns

13 YEARS AGO: Sourdough Blues

14  YEARS AGO: Headed to Hawaii

15 YEARS AGO: A yummy Brazilian cake: Bolo de Fuba’

16 YEARS AGO:  Hidden Treasure

17 YEARS AGO: Avocado Three Ways
MARINATED CHICKPEAS WITH SLOW-ROASTED RED PEPPERS

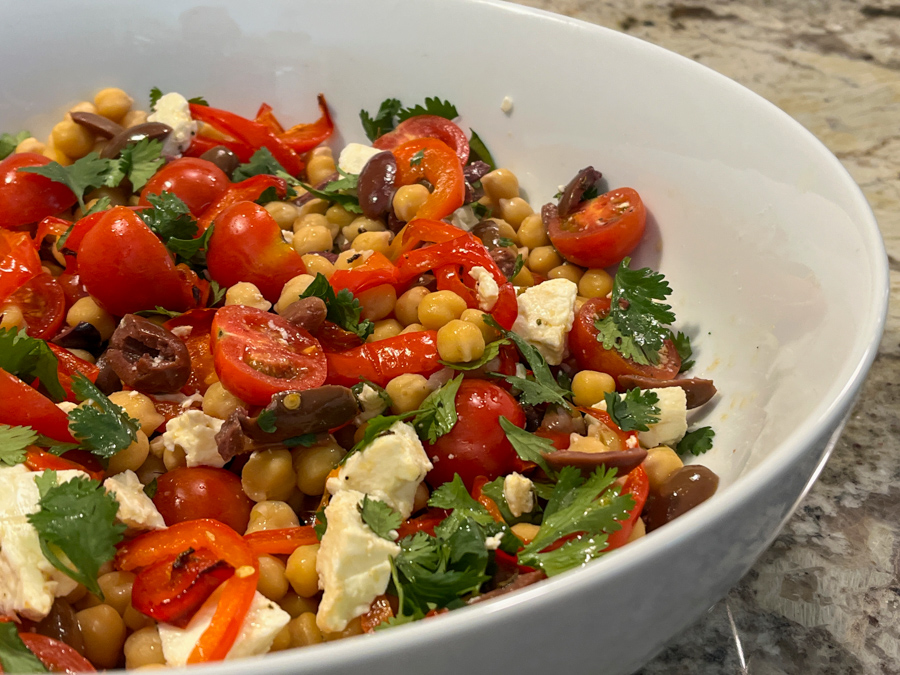
I follow a group of food bloggers I completely trust. Kelly from Inspired Edibles is part of this group. When she raves about a recipe, I usually jump on making it. This is the most recent example, and I know if you make it you will rave about it also. Two things: do not be tempted to use canned chickpeas. And go for the slow-roasting of bell peppers. These two small details make the dish shine.

MARINATED CHICKPEAS WITH SLOW-ROASTED RED PEPPERS
(adapted from Inspired Edibles)

for the veggie mixture:
1 + 1/4 cup dried chickpeas (from 1 1/4 cup dry)
2 large red bell peppers, cut into strips
110 g Feta cheese
60 g pitted Kalamata olives, sliced
10 cherry tomatoes, halved
parsley to serve

for the marinade:
⅓ cup olive oil
2 Tbsp fresh lemon juice
1 ½ Tbsp red wine vinegar
1 tsp Herbes de Provence
¾ tsp salt or to taste
black pepper to taste
½ Tbsp honey

Soak the chickpeas overnight in cold water. Next day, drain and rinse, then cook in slightly salted water until tender, but still al dente – about 40 minutes. the chickpeas in a large pot with lots of water until desired consistency is achieved (for this recipe, I prefer the chickpeas to have some texture – not too mushy – so I aim for al dente, it takes over 1 hour). This step can be made in advance.

Heat oven to 300F and prepare the marinade by whisking together all the ingredients. Make sure when you add the honey that it gets fully integrated with the other components.

Place the cooked chickpeas (ideally still warm) in serving platter with tomatoes, olives, and feta cheese. intermingle with tomatoes, onion, olives and half of the feta. Pour the marinade over top, tossing gently to combine.

While the chickpea mixture marinades at room temperature, spread the sliced peppers out on a baking sheet, drizzle with 1.5-2 Tbsp olive oil and add a couple shakes of salt, and roast for about one hour. Add them to the chickpea mixture, and serve, sprinkled with parsley leaves.

ENJOY!

to print the recipe, click here

Comments: This recipe is a winner, all the way. Leftovers were fantastic next day and even better on the second day. I warmed everything in the microwave, just barely, and there was no compromise in the texture, the taste of the marinade just got more intense. Perfect.

Make sure to stop by Kelly’s blog and read her post, as she offers a different way to enjoy it, with cucumbers in tzatziki sauce. The key is to cook the chickpeas from scratch. Totally different from canned, which works fine for other preparations such as hummus. The slow-roasting of the bell peppers is another great twist, they develop a milder flavor and very soft texture.

ONE YEAR AGO: Passionfruit Millionaire’s Shortbread

TWO YEARS AGO: Chai-Mango Rosette Macarons

THREE YEARS AGO: Common Table, Something New in My Life

FOUR YEAR AGO: The Daisy, a Bread with Brioche Alter-Ego

FIVE YEARS AGO: Pork Tenderloin, Braciole Style

SIX YEARS AGO: Raspberry Buckle

SEVEN YEARS AGO: Seafood Gratin for a Special Dinner

EIGHT YEARS AGO: Cooking Sous-Vide: Sweet and Spicy Asian Pork Loin

NINE YEARS AGO:  Farewell to a Bewitching Kitchen

TEN YEARS AGO: In My Kitchen. June 2012

ELEVEN YEARS AGO: Goodbye L.A.

TWELVE YEARS AGO: 7-6-5 Pork Tenderloin

SHEET PAN CHICKEN THIGHS WITH GARBANZO BEANS AND CAULIFLOWER

Every blog should have an OMG FOLDER. Mine does not. If it had, this recipe would be rushed into it with great enthusiasm. Normally I bake chicken thighs low and slow, but this method won my heart because it gave a full meal with side-dish included, with very little effort. This would be great for company. Keep that in mind, if dinner parties are coming back to your world.

SHEET-PAN CHICKEN THIGHS WITH GARBANZO BEANS AND CAULIFLOWER
(adapted from several sources)

6 chicken thighs, bone-in, with skin on
Kosher salt and freshly ground pepper
3/4 cup full-fat Greek yogurt
2 tablespoons fresh lemon juice
2 teaspoons ground turmeric, divided
2 tablespoons water
1 (15-ounce) can chickpeas, drained and rinsed
1 small head of cauliflower, florets cut in small pieces
1 tablespoon fennel seed
1 teaspoon ground cumin
2 tablespoons olive oil

Season chicken parts with salt and pepper to taste. Combine yogurt, lemon juice, turmeric and water in a large bowl, add 1/2 tsp additional salt. Add chicken and toss to coat evenly. Let sit at least 2 hours in the fridge, up to overnight.

Heat oven to 425F.

In a large bowl, mix the oil with the spices (fennel seed, cumin, remaining teaspoon of turmeric). Add the garbanzo beans and cauliflower florets, toss well to coat. Add the veggies to a baking sheet covered with aluminum foil, open small spaces to fit the chicken pieces, and bake for 45 to 50 minutes until the chicken is golden brown, and the skin starts to get crispy.

ENJOY!

to print the recipe, click here

Comments: This was one of the best meals of 2022. I did not touch the veggies during the roasting time, although I intended to. But a lot was happening and I never got to it. It turns out that some of the garbanzo beans caramelized so intensely that they had this delicious crunchy texture at the bottom. Same for some pieces of cauliflower. So I advise you to keep an eye on it, but don’t worry about mixing things often. Let the oven do its magic.

If you want to make a full meal just with this sheet pan, I advise on doubling the amount of veggies. We paired it with a simple salad. Couscous would be perfect, if you don’t mind some carb-indulgence. Tahdig rice would take this into sinful territory. I intend to explore that territory in the near future, because life is short, and tahdig too good.

ONE YEAR AGO: Clay Pot Cornish Hens with Rice-Pecan Stuffing

TWO YEARS AGO: Ivory Lentils, my newfound love

THREE YEARS AGO: Bouillabaise for a Chilly Evening

FOUR YEARS AGO: Bergamot-Cherry Macarons

FIVE YEARS AGO: Roasted Veggies with Queso Cotija Dressing

SIX YEARS AGO: Creamy Broccoli and Mushroom Casserole

SEVEN YEARS AGO: Maple Walnut Biscotti

EIGHT YEARS AGO: Barley Risotto with Peas

NINE YEARS AGO: Oatmeal Fudge Bars

TEN YEARS AGO: Cauliflower Steaks

ELEVEN YEARS AGO: Soft Spot for Chevre

TWELVE YEARS AGO: Quick sun-dried Tomato Crostini

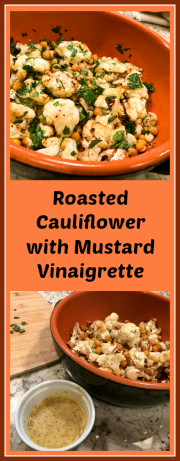
ROASTED CAULIFLOWER & CHICKPEAS WITH MUSTARD VINAIGRETTE

A long time ago I decided that a blog cannot have too many cauliflower recipes. Once I made peace with that decision, bringing yet another version to this virtual spot became easier and easier. So here I am. Playing with one of my favorite veggies once again.

ROASTED CAULIFLOWER AND CHICKPEAS WITH MUSTARD VINAIGRETTE
(from thebrookcook)

14 oz can garbanzo beans, drained, rinsed, and dried
1 large head of cauliflower, cut into bite-sized florets
7 tablespoons extra-virgin olive oil, divided
coarse salt or sea salt and freshly ground black pepper
1 tablespoon Dijon mustard
1 tablespoon whole grain seeded mustard
1 tablespoon white wine vinegar
4 tablespoons fresh flat leaf parsley, chopped

Set a rack in the center of the oven and heat to 400ºF, preferably on convection roast.

Toss the chickpeas and cauliflower florets together on a parchment paper lined rimmed baking sheet or in a large roasting pan with 3 tablespoons of olive oil and a big pinch of salt. Roast, stirring now and then, until everything is dark brown and the cauliflower is quite soft, about 30 to 35 minutes.

Meanwhile, whisk together the mustards, vinegar, and 4 tablespoons of olive oil. Season with a big pinch of salt and a few grinds of black pepper, or to taste. While the chickpeas and cauliflower are still warm, toss them with the mustard dressing and the parsley. Serve warm or at room temperature.

ENJOY!

to print the recipe, click here

Comments: I bet you are wondering why two kinds of mustard, and what if you only have one kind? Use what you have. I happen to have both because we love mustard. I imagine that if you use full whole-grain it could be a bit too harsh. But whatever you choose to do, this is a real keeper of a side dish. Both chickpeas and cauliflower have that earthy, almost funky nature, and the acidity of the vinaigrette does a beautiful job tying them together. Leftovers were great two days later, barely warmed in the microwave.

Josette always shares amazing recipes in her blog, so I invite you to visit her site and browse around. I made this one just a few days after she published it, and repeated it the following week because we loved it so much.

ONE YEAR AGO: Great American Baking Show, Spice Episode (insert bucket of tears here)

TWO YEARS AGO: Pork Tenderloin Roulade with Pumpkin and Pecans

THREE YEARS AGO: White-Chocolate Peppermint Macarons

FOUR YEARS AGO: Shrubs, a fun alternative to alcoholic drinks

FIVE YEARS AGO: Date Truffles 

SIX YEARS AGO: Mascarpone Mousse from Baking Chez Moi

SEVEN YEARS AGO: Pumpkin Brigadeiros

EIGHT YEARS AGO: Pumpkin Espresso Loaf

NINE YEARS AGO: Caramelized Carrot Soup

TEN YEARS AGO: Miso-Grilled Shrimp

ELEVEN YEARS AGO: A Special Holiday Fruitcake

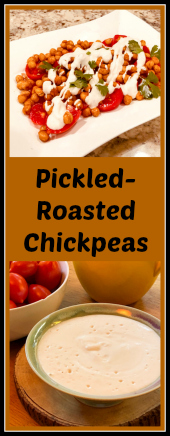
PICKLED-ROASTED CHICKPEAS WITH CASHEW CREAM

I share with you today another slightly unusual side dish, or main dish if you add to it a nice helping of couscous. It starts with chickpeas simmered in white vinegar, then roasted with smoked paprika. After pairing them with juicy tomatoes, the whole thing was dressed with the number one choice for vegans when they crave sauces like bechamel: cashew cream.  It has the advantage of being very low in saturated fat, so those who are watching their intake of all things butter and cheese, can indulge without worries.

PICKLED-ROASTED CHICKPEAS WITH CASHEW CREAM
(from the Bewitching Kitchen)

1 (15-ounce) can chickpeas, drained and rinsed
2 cups white vinegar
drizzle of olive oil
1/2 tsp salt or to taste
1/2 tsp smoked paprika or to taste
fresh tomatoes, cut into slices or small pieces
cilantro leaves (optional)

for the cashew cream:
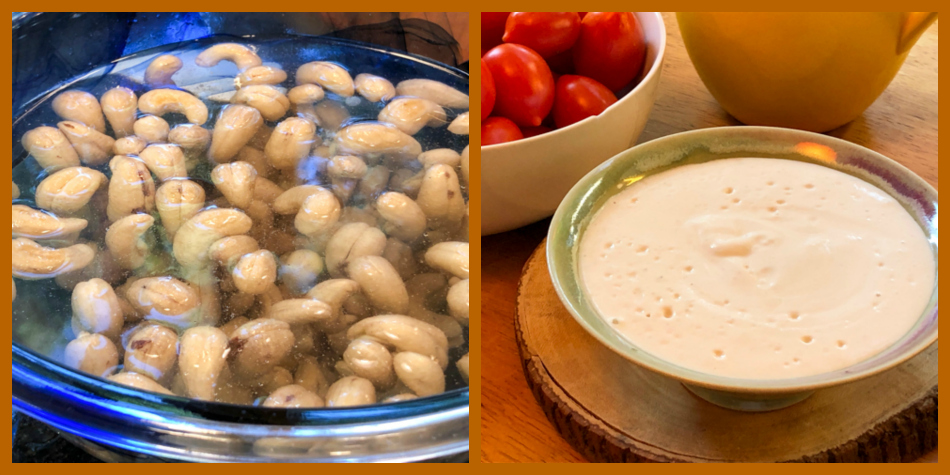
1 cup cashews, soaked for 4 hours to overnight in a large volume of cold water
2 tablespoons lemon juice
salt to taste
1 cup water

Heat oven to 420F.

Bring the vinegar with a pinch of salt to a boil in a sauce pan. Immediately add the chickpeas, boil for 30 seconds, close the pan and remove from heat. Leave the chickpeas in the hot vinegar for 20 minutes. Drain.

Place the drained chickpeas in a roasting pan covered with aluminum foil. Drizzle the olive oil, season with salt and smoked paprika, rubbing them gently to coat well. Roast for about 25 minutes, until dark golden.  Remove them to a paper towel lined plate to cool.

Make the cashew cream. Place the drained cashews with lemon juice and salt into a Vitamix type blender, blend until almost smooth (it won’t turn completely smooth until you add water). Add the water slowly with the motor running. Add as much water as you like to achieve a smooth, creamy consistency.

Assemble the dish: place tomatoes on a serving platter, season lightly with salt, pepper, and a drizzle of olive oil. Spoon the roasted, cold chickpeas on top, and drizzle with the cashew cream. Decorate with cilantro leaves if desired.

ENJOY!

to print the recipe, click here

Comments: If you love pickled things, you will enjoy this take on chickpeas. If you are not too fond of the sharp taste of vinegar, simply skip that step and roast the chickpeas without simmering first. They will still be delicious, and complement the tomatoes well.

The cashew cream. This is a simpler version of one I made a few years ago.  I actually made a double batch and enjoyed it over smoked chicken fajitas, drizzled over roasted butternut squash, and replacing cheese on eggplant Parmigiana. The secret is to soak the cashews for several hours. You can speed up the process by using boiling water and letting them sit for 30 minutes or so, but I find that the taste is brighter and the texture better if you take the longer route. Next on my list is to use cashews as a base for “buttercream” in macaron filling. Perhaps with matcha flavor. Stay tuned.

ONE YEAR AGO: Twice-Baked Goat Cheese Souffle

TWO YEARS AGO: A Star from England in the Bewitching Kitchen

THREE YEARS AGO: Hommage to the Sun