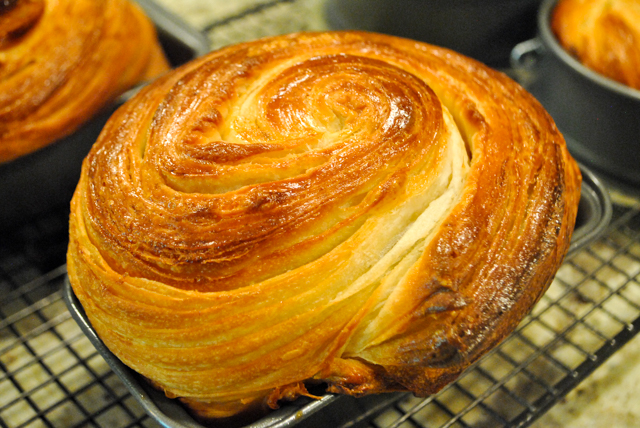
One day a handsome croissant was minding his own business when he spotted this gorgeous brioche in a French boulangerie. It was love at first sight. Marriage was a natural move, and being a very adventurous couple, they chose Japan for their honeymoon. Their first baby was named Fujisan Bread. Little Fujisan turned out as a real showstopper. Layers and layers of buttery sweetness, perfect mixture of Mr. Croissant and Ms. Brioche. Depending on how you shape it, it will indeed remind you of Mount Fuji…

FUJISAN BREAD
(from BakeStreet)
400 g strong/bread flour
100 g cake flour
220-250 g water (you will use 220 to begin with, hold the rest)
75 g sugar
50 g tangzhong (recipe below)
1 egg
20 g milk powder
30 g condensed milk
40 g unsalted butter at room temperature
5 g dry yeast
7 g salt
250 g cold unsalted butter (to laminate)
for tangzhong (water roux):
9 g plain flour
44 g water
DAY ONE:
Make tangzhong. In a small saucepan pour the water together with the flour, place on low heat and stir with the help of a whisk. Cook, stirring constantly, until it thickens slightly. Remove from heat and pour into an airtight container. Cover and let cool completely. Once the tangzhong is completely cold, make the dough. Tangzhong is a Japanese method of adding cooked flour to bread dough. It provides a creamy texture and allows the bread to stay fresh longer.
Set aside a tablespoon of water to dissolve the yeast. In the bowl of the stand sift both types of flour, along with 220 g of water, egg , milk powder, prepared (cold) tangzhong, condensed milk, sugar and salt. Knead with the dough hook at low-speed until the dough is well-developed, about 15 minutes.
Add half of the butter and knead again until completely integrated. Add the remaining butter and the yeast dissolved in the tablespoon of water, and again knead until fully incorporated. At this point, if you think the dough can absorb more water, add a bit more up to a maximum of 30g. My dough was good without it. The dough should feel very soft but slightly sticky to the touch.
Remove the dough from the bowl, make a ball and place it in an airtight container, previously greased, until it grows by one-third of the volume, about 2 hours. Retard it in the fridge overnight.
DAY TWO:
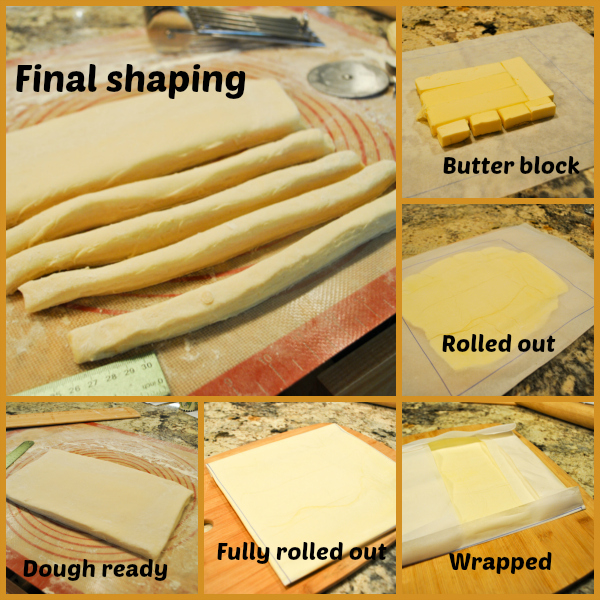
Make the butter sheet.
Prepare a sheet of parchment and draw a square of 9 inches in the center. Flip the parchment around so that the drawing is at the bottom. Place the butter cut in flat pieces in the center of the square as shown in the composite photo. Add a sheet of parchment on top, and beat the butter with a rolling-pin. Your goal is to stretch it a little, but don’t worry yet about filling the space of the square. As the butter stretches a bit, fold the parchment sheets together using the dimensions of the square you drew. Now roll the butter with the rolling-pin until it covers that exact area, as uniformly in thickness as possible. Freeze if while you roll the dough out.
Take the dough out of the fridge and roll it over a lightly floured surface to a rectangle of 18 by a little over 9 inches (you want to enclose the dough in it, so make it a bit wider than 9 inches. Remove the butter from the freezer. If it is too hard, wait a few minutes until it is a bit flexible (if you roll it around the edge of your table, it should not break, but bend nicely).
Place the butter in the center of the dough, so that the width of the butter and the width of the dough is about the same, with just a bit of dough hanging at the edge. Fold the ends of the dough on the butter, bringing them to meet in the center (you should have about 4.5 inches on each side of the butter block. Pinch the dough to enclose the butter, in the center and all around the upper and lower edges. Roll the dough again to 18 by a little over 9 inches. Fold in thirds, like an envelope, with the long edge facing you. This is the first fold. Refrigerate for 20 to 30 minutes. Roll the dough again to 18 by 9 inches. Use flour on the surface, but not too much. Move the dough around to make sure it does not stick.
Do two more folds exactly the same way, refrigerating after each one. After the third and last fold, refrigerate the dough for 30 to 40 minutes, then roll out to a rectangle of 14 by 8 inches. Use a pizza roller to cut the edges so that you expose the lamination, and correct any problems with the dimensions.
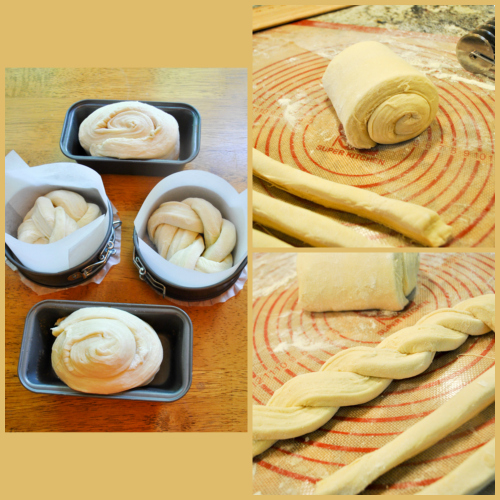
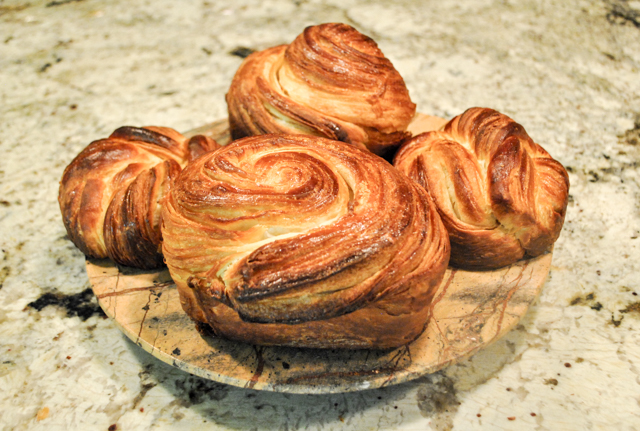
To make the smaller rolls, cut strips that are about 1.2 inches thick, then use two strips to make a braid. As you form the braid, keep the laminated part facing always up (see the photo). Roll the braid keeping the ends underneath, and place inside any baking container that will fit them snuggly. I used 4 inch springform pans lined with parchment.
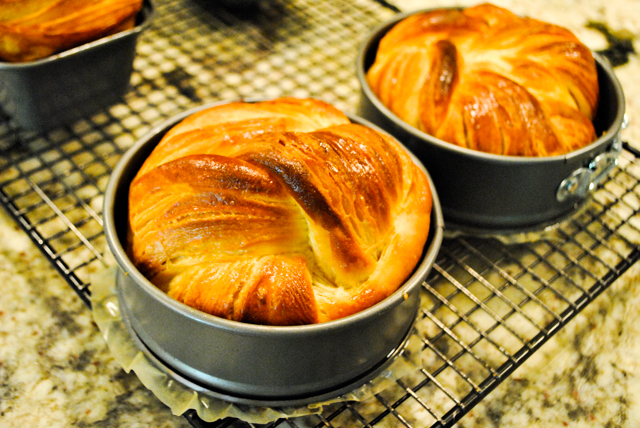
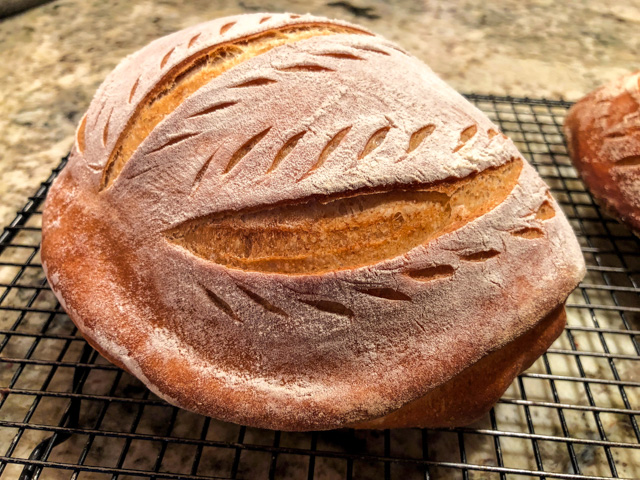
To make the loaves, roll the dough tightly, jelly-roll style, then cut slices. Add them to any container that will seem a bit tight to hold them. This will force the dough to expand up during baking, giving the bread its characteristic look.
Let the shaped breads proof for 3 hours at room temperature, then bake in 400 F oven for 10 minutes, reduce the temperature to 375 F, and bake for 20 more minutes.
Cool for 10 minutes before removing from the baking pans, and cool completely before slicing.
ENJOY!
to print the recipe, click here

Comments: Laminated dough can be a bit scary to tackle, but as long as you pay attention to a few details, all should go reasonably smoothly. First, keep in mind the dimensions. I find it helpful to keep a big wooden ruler laying right on the surface I’m working on, so that even before I take precise measurements, I can judge if I am almost there. Second, make sure to lock the butter inside the dough by checking that every single bit of the two layers of dough are properly sealed. Third, do not rush any part of the process. Allow the dough to cool down after each folding cycle, that is what ultimately will give you the nice layers you are hoping for. Melted butter will work against you. And speaking of butter, I highly recommend the trick of rolling it inside the folded package of parchment. Make the fold tight, and you will end up with a perfect square of butter, with uniform thickness. You can make a rectangle if it fits your method of lamination better.

You can shape the dough in many ways, I tried two different methods. In the first, the braided dough is rolled and lodged inside a round baking dish. When you form the braid, make sure the laminated side of the dough is kept exposed. Obviously, as you roll it in a coiled structure, some of it will be hidden, but try to allow some bits out there on the surface of the shaped bread.

The Mount-Fuji-shape was my favorite, by far. Since the lamination is fully exposed, the dough explodes up in a very impressive way. Such a pleasure to see it in the oven. Yeah, I was kneeling in front of it for a while, which left the pups quite amused.

This amount of dough made enough for four breads. It could be fun to bake the full amount in a single, large round pan, perhaps shaped in four separate regions, each exploding up according to their mood… So many possibilities!
As far as taste, this is really a very rich croissant-type bread, the high sugar content (given by the condensed milk and sugar) makes it reach a golden brown tone quite quickly. Be prepared to reduce the temperature of the oven and/or protect the surface with a bit of foil, if needed.

The crumb is moist and flavorful enough for Fujisan to be enjoyed without any adornments, but a nice smear of your favorite jam could be a winning combination.

This bread is a perfect project for a weekend. I think that the final proofing (of the shaped loaves) could conceivably be retarded in the fridge overnight, so that you could have Fujisan for a special breakfast or brunch. I have not tried that, but it’s definitely worth experimenting with.

ONE YEAR AGO: Air-Fried Tomatoes with Hazelnut Pesto and Halloumi Cheese
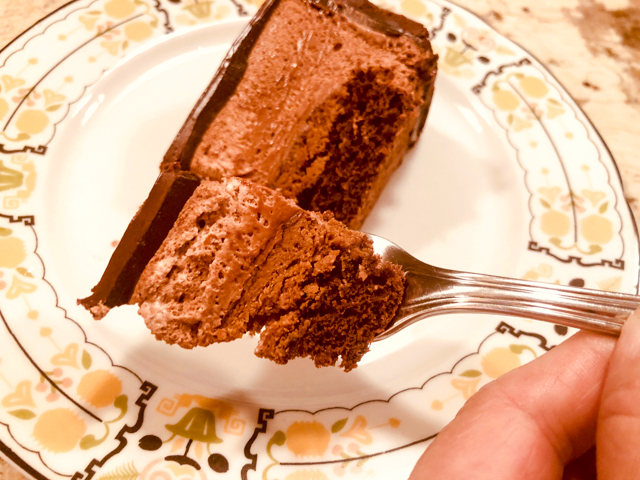
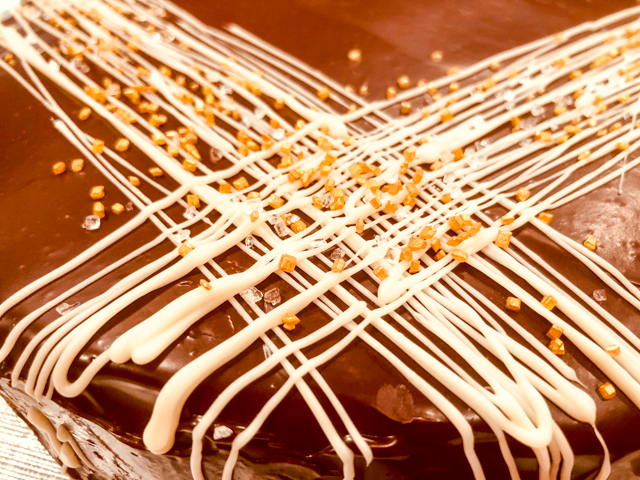
TWO YEARS AGO: Red Velvet Layered Cake
THREE YEARS AGO: Lemon-Lavender Bars
FOUR YEARS AGO: Quinoa Fried Rice
FIVE YEARS AGO: Carrot Flan with Greens and Lemon Vinaigrette
SIX YEARS AGO: The Secret Recipe Club: Granola Bars
EIGHT YEARS AGO: Awesome Broccolini
NINE YEARS AGO: A Twist on Pesto
EIGHT YEARS AGO: Ciabatta: Judging a bread by its holes
SaveSave
SaveSave
SaveSave
SaveSave
SaveSave
SaveSave
SaveSave
SaveSave
SaveSave
SaveSave
SaveSave
SaveSave
SaveSave
SaveSave
SaveSave
SaveSave
SaveSave
SaveSave
SaveSave
SaveSave
SaveSave
SaveSave
SaveSave