MUERTOS RANCHEROS

The moment I stumbled on this amazing blog – Ghoulatheart.com – I knew I had to make something from it right away. The recipe for Muertos Rancheros called my name really loud, as I had the right pan for it and the timing could not be more perfect: the week before Halloween! I made a tomato-free version, so if you want a more authentic version, check her blog post.

MUERTOS RANCHEROS
(inspired by Ghoulatheart.com)

Mock tomato sauce:
1 jar of roasted red bell pepper (12 ounce)
8 ounces mushrooms
1 tablespoon balsamic vinegar
salt to taste

2 tablespoons olive oil
1 shallot, finely minced
1 celery stalk, diced
1 pound ground turkey
1 tsp salt
1/2 tsp chili powder
1/2 tsp cumin
1 can black beans
cilantro leaves to taste
chicken stock to adjust consistency

jumbo eggs, whites and yolks separated
olive oil spray

garnish (optional)
flour tortillas cut in ghost shapes
olive oil spray

Heat oven to 350F.

Cut flour tortilla in ghosts shapes of varied sizes. Spray olive oil on both sides and bake until golden. Reserve for garnish.

Make the bell pepper sauce by running all ingredients in a food processor until super smooth. Reserve.

Heat the olive oil on a large skillet, add the celery and shallots, season lightly with salt. Sautee until fragrant. Add the ground turkey, salt, chili, cumin, and cook until the turkey is almost cooked through. Add 1 cup of the red bell pepper sauce, cook gently in low heat for 10 minutes, with the lid on. Add the black beans, cilantro, and a little chicken stock to loosen the sauce and make it a good environment to place the eggs over. Cover the pan and keep it at a simmer.

Make the eggs. Spray the skull pan with olive oil, add the egg white of the JUMBO egg, season lightly with salt. Cook in the oven for 4 minutes. Remove the pan, add the egg yolks, one per cavity. Put back in the oven and cook for 3 to 4 minutes more. Remove the pan from the oven, go over the edges of the eggs with a plastic knife or spatula to make sure it is loose enough to slip off the pan. Place a parchment paper and a baking sheet on top of the pan (careful, it is HOT), invert it. Eggs should slip off easily. Carefully place them with a silicone spatula over the sauce, with the heat turned off. You might need to add more chicken stock depending on how dry the sauce looks. Serve immediately decorated with tortilla ghosts.

ENJOY!

to print the recipe, click here

Comments: If you ever need to adapt a recipe that calls for tomato sauce due to food sensitivities, I recommend you try this red bell pepper version. I saw it online in a discussion forum and was intrigued. We really like it a lot. It is of course a huge departure from the ranchero sauce, but I hope the Ranchero Police won’t come after me. Cooking the eggs in the pan can be tricky, I had a big mess on my first try, I did not use spray, I rubbed olive oil in the cavities and that was clearly not effective. Some readers of her blog recommended adding the yolk to the sauce and just cooking the whites in the pan, but I found it harder to invert the egg whites only as the volume is very shallow. I think what works best is add the eggs to the sauce with the heat OFF, and let the yolks just cook in the residual heat. You might want to practice with one egg in your oven and see how it goes. Nudge the egg gently with a plastic spatula before inverting on the parchment paper.

Such a fun meal for scary times! The tortilla ghosts I saw on FoodTV The Kitchen show, and thought it was a good way to add something else to this meal. Poor little ghost was a little scared, knowing his end – another end – was near!

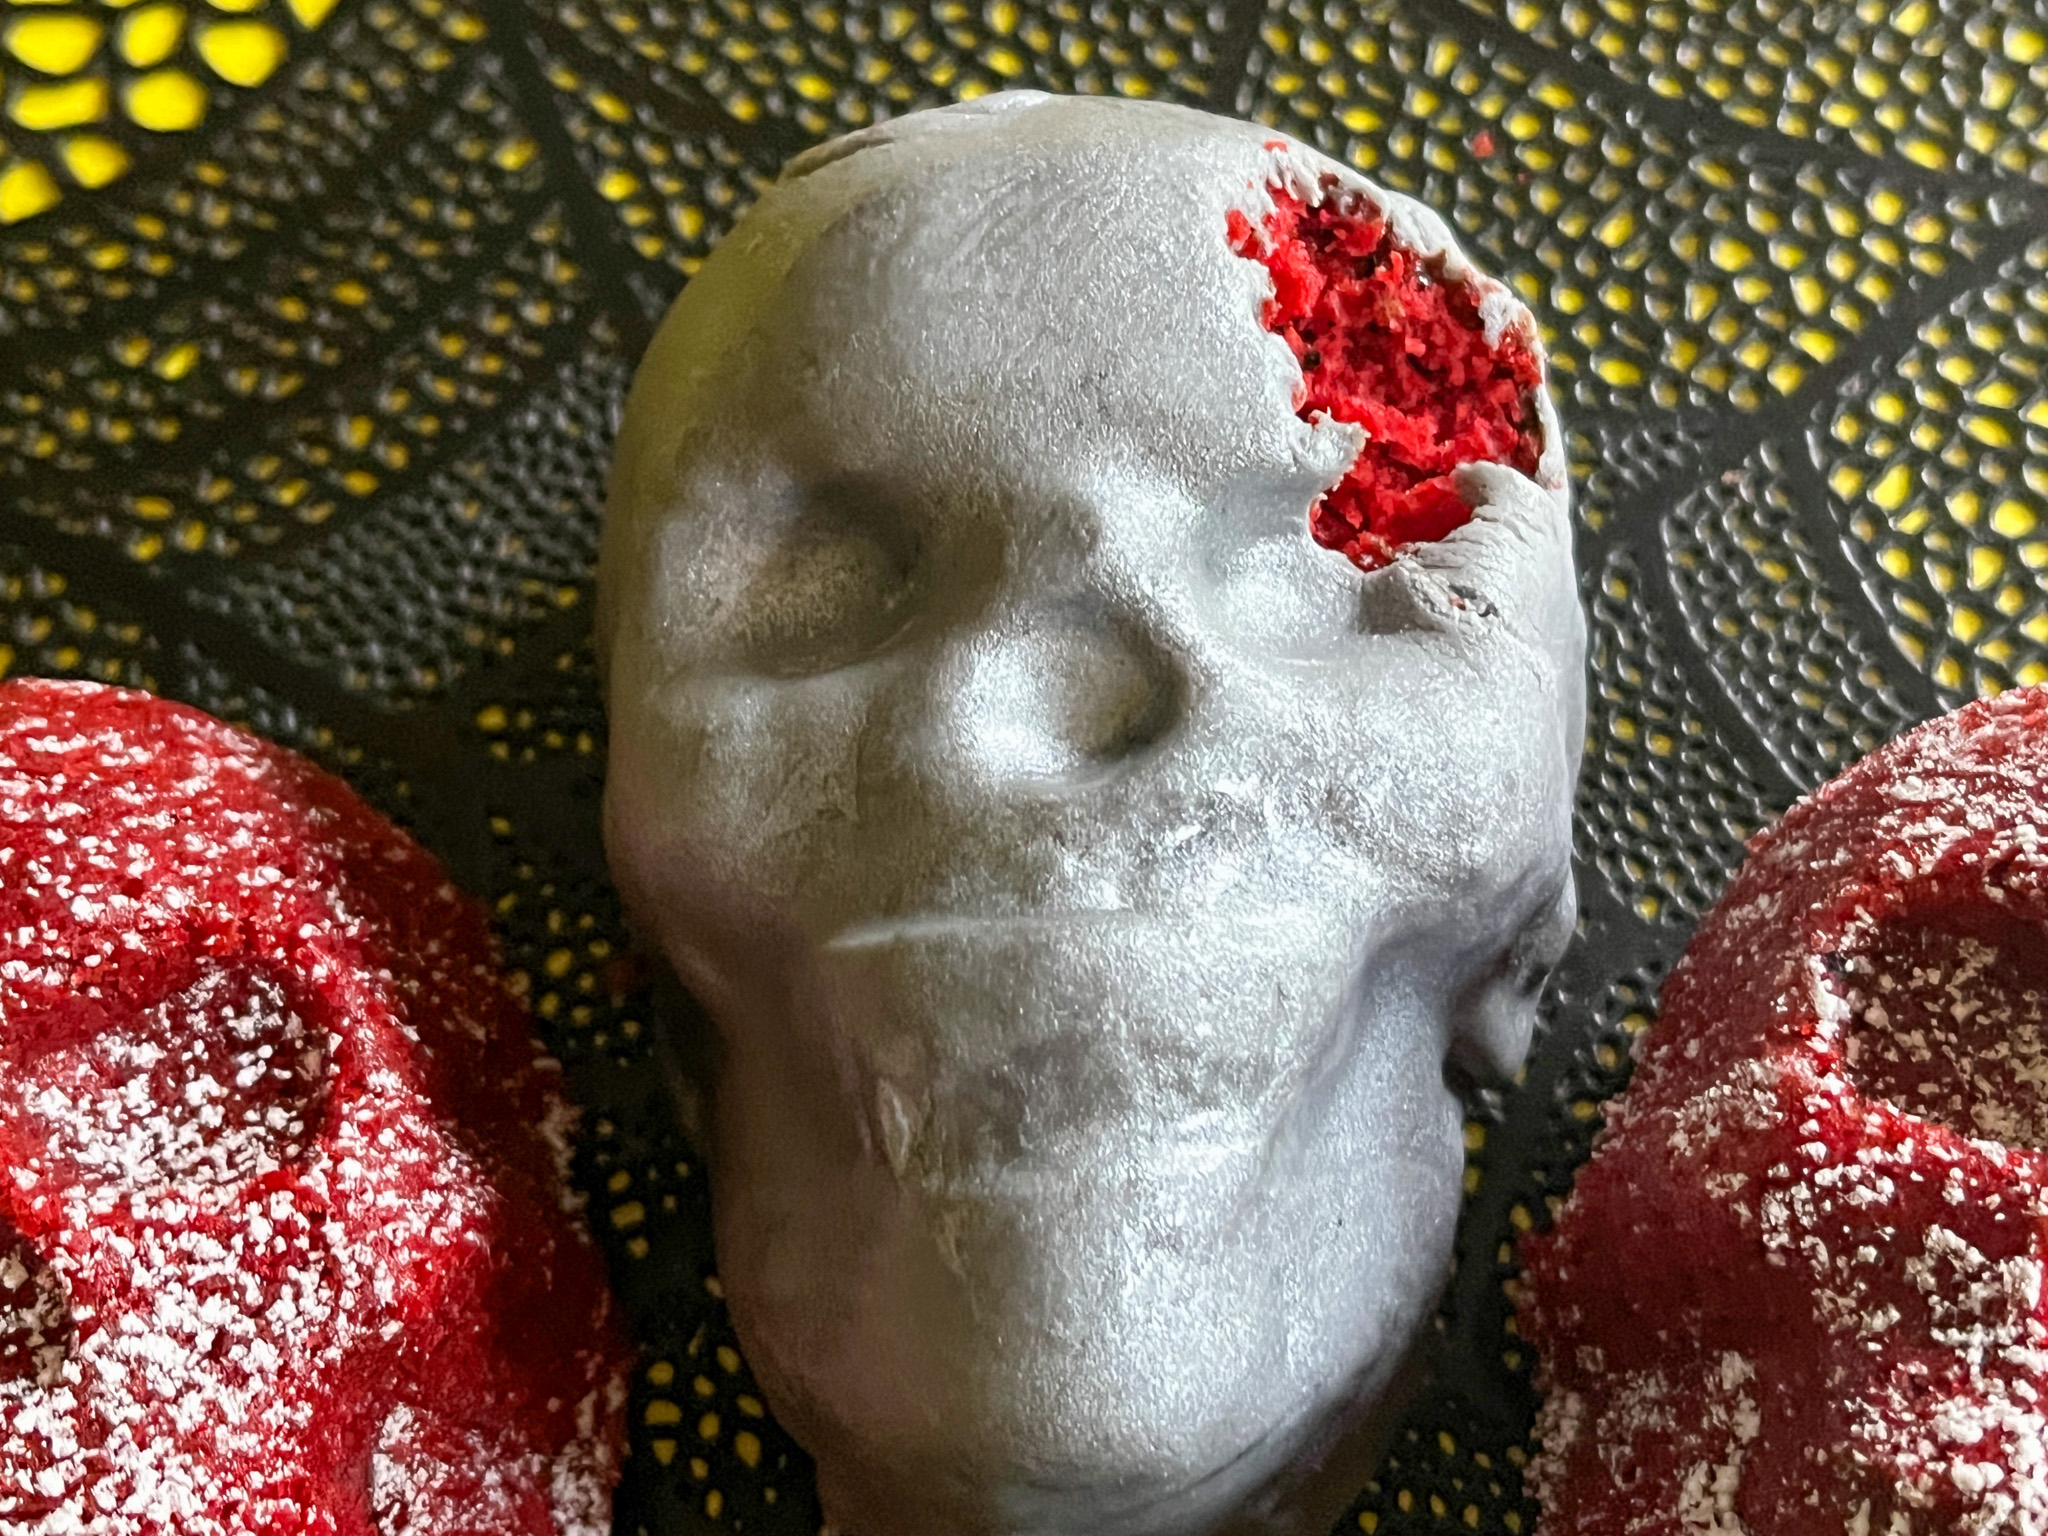
ONE YEAR AGO: Scary Skull Bakes

TWO YEARS AGO: Spicy Citrus Peanut Salad

THREE YEARS AGO: Shrimp Stir-Fry, Kung Pao-Inspired

FOUR YEARS AGO: Cauliflower Steaks with Olive and Caper Salsa

FIVE YEARS AGO: Twice-Cooked Eggplant

SIX YEARS AGO:  Turkey Burger, Japanese-Style

SEVEN YEARS AGO: Pumpkin Macarons

EIGHT YEARS AGO: Slow-Cooked Whole Chicken

NINE YEARS AGO: Chocolate Zucchini Cake with Chocolate Frosting

TEN YEARS AGO: Pecan-Crusted Chicken with Honey-Mustard Dressing

ELEVEN YEARS AGO: Bewitching Kitchen on Fire!

TWELVE YEARS AGO: Cashew Chicken Lettuce Wraps

THIRTEEN YEARS AGO: Chiarello’s Chicken Cacciatore

FOURTEEN YEARS AGO: Donna Hay’s Thai-Inspired Dinner

FIFTEEN YEARS AGO: Panettone

HALLOWEEN ALMOND COOKIES

I am not quite sure why they are described as cookies, to me they are more like little cakes. They are often served during the holiday season in Italy, known as Almond Rainbow Cookies. To mimic the colors of the Italian flag, the layers are green, white and red. I used the basic recipe and turned them into Halloween creatures. What do you think?

HALLOWEEN SESAME-ORANGE ALMOND COOKIES
(from the Bewitching Kitchen)

4 eggs (separated)
1 cup sugar
7 oz almond paste
2 + 1/2 sticks unsalted butter
1 tsp almond extract
2 cups all-purpose flour
½ tsp salt
2 tsp black sesame paste
1/2 tsp orange emulsion
black and orange food coloring
raspberry jam (I used SOLO raspberry filling)
7 oz semi-sweet chocolate
small amount of white chocolate and orange fat-soluble dye for decoration (optional)

Heat your oven to 350°F and line 3 baking pans (13 by 9 inch) with parchment paper. Reserve.

In an electric mixer, whisk the egg whites using the whisk attachment on medium-high speed and add 1/4 cup of the sugar a little at a time. Beat at high speed until you have glossy stiff peaks then transfer to another bowl and reserve until needed.

Clean the bowl and switch to the paddle attachment. Mix the almond paste and remaining 3/4 cup sugar until well incorporated, about 3 minutes. They will look like small pebbles. Add the butter and beat until pale and fluffy, another 3 minutes. Next add in the yolks and almond extract until well combined. Reduce the speed to low, then add flour and salt and mix until combined. Fold half of the egg white mixture into almond mixture to lighten, then fold in remaining whites gently until everything is mixed all together.

Weigh the batter and add 1/3 to one bowl, 2/3 to another. To the smaller portion, add the sesame paste and the black dye, mix well to incorporate. Add the orange extract and orange dye to the other bowl.

Spread the black batter into one of the prepared pans. Spread the orange batter divided in the two other pans. Bake each pan for about 12 minutes, until a toothpick inserted in the center comes out clean. Let them cool completely. Now it is time to assemble.

Place one orange layer onto a baking sheet with some parchment paper. Spread a thin layer of jam, then place the black layer on top, and spread another thin layer of the jam. Place the second orange layer on top of the black and cover with plastic wrap. Place another baking sheet on top with some weight and let it chill in the fridge for 4 hours.

Remove the weight and plastic and bring layers to room temperature (so that the chocolate won’t set too fast when you spread it). Melt chocolate in a microwave at 50% power until smooth. Trim the edges of the assembled layers and spread a thin layer of the chocolate on top of the cake. Place it back in the fridge to chill and until chocolate is firm. Cover with a sheet of parchment paper, place another baking sheet on top, carefully flip the cake. Spread a thin layer of chocolate and chill again until firm. Melt some white chocolate and dye it with fat-soluble orange dye, then make swirls on top (optional).

With a serrated knife cut the cookie/cake in rectangles while still very cold.

ENJOY!

to print the recipe, click here

Comments: I cannot lie to you, as it stands right now, I am not sure I will ever make these again… Labor of love, yes, no doubt. Maybe a second time will be easier but I was quit exhausted at the end and until I cut the pieces and looked at them all lined up, I was not sure of the outcome. For starters, it is hard to judge the thickness of the batter as you spread it on the baking sheet, so it was not easy for me to make sure the three layers had the same dimension. But overall, I think it was all fine. The taste (I tasted some trimmings) was really pretty spectacular. I love almonds and any sweets made with almonds so if you are part of my cheerleading team, you will love these!

ONE YEAR AGO: Miso-Honey Chicken Thighs

TWO YEARS AGO: Raw Zucchini and Chickpea Salad with Tahini Yogurt

THREE YEARS AGO: Black Tahini Shortbread Cookies

FOUR YEARS AGO: A Fruitful Trio (of Macarons)

FIVE YEARS AGO: Halloween Entremet Cake

SIX YEARS AGO: Pork with Prunes, Olives and Capers

SEVEN YEARS AGO: Kansas Corn Chowder

EIGHT YEARS AGO: Impossibly Cute Bacon and Egg Cups

NINE YEARS AGO: Pulling Under Pressure

TEN YEARS AGO: Cooking Sous-vide: Two takes on Chicken Thighs

ELEVEN YEARS AGO: Miso Soup: A Japanese Classic

TWELVE YEARS AGO: On my desk

THIRTEEN YEARS AGO: A must-make veggie puree

FOURTEEN YEARS AGO: Vegetarian Lasagna

FIFTEEN YEARS AGO:  Brazilian Pão de Queijo

REVVING THE ENGINES FOR HALLOWEEN!


It is almost time!!!! I share with you three baking ideas to keep you appropriately spooked…

SKULL AND SPIDER MACARONS

The idea for these came from my friend Dorothy, who tagged me on Instagram after seeing this post. I opted for a filling of Caramel Buttercream and Apple Jelly for these scary creatures.

CARAMEL AND APPLE MACARONS
(from the Bewitching Kitchen)

for the shells, use my default recipe.
I dyed the shells with a very small amount of AMERICOLOR CORK

For the filling:
60g butter
120g powdered sugar
pinch of salt
5 soft caramels (Werther’s)
2 tablespoon milk
apple jelly (store-bought is ok)

Pipe the shells in skull shape or round (if you prefer to simplify). Bake them, let them cool, and pair them.

Draw the design of your choice (skull or spider) on the shells.

Make the buttercream: beat the room temperature butter for a couple of minutes. Add the salt and powdered sugar, beat until almost incorporated (mixture will be dry). Microwave the caramels with the milk until very hot, and whisk the caramels to dissolve. Let them cool slightly and add to the buttermilk. Finish creaming everything together, you should not need to add any more liquid, but if necessary, add a few drops of milk to achieve piping consistency.

Add a circle of buttercream to the bottom shell, a little blob of apple jelly in the center, and close the macaron with the top shell. Keep in the fridge for 24 hours before eating.

ENJOY!

to print the recipe, click here


Comments: The idea for the filling came from this post. That is a great site for macaron ideas, by the way. I did not make a template for the skulls, just improvised them starting from a regular circle, so they are not all the same shape, which I think is even better for a spooky bake.


SPOOKY CHOCOLATE-COVERED OREOS

Use your regular mold for covering Oreos and use a contrasting color of chocolate to drizzle and glue sprinkles. The ghost is made with a smear of white compound chocolate on parchment paper, and orange sprinkles for the eyes. Once that is set (within a few minutes), place on the covered Oreo with a tiny amount of melted chocolate.


NINE BLACK CATS

These are my default Chocolate-Chipotle cutout cookies, iced with orange Royal icing and painted with Sugarprism. I just did a free-hand drawing, following the design of Kathy Barbro (IG page here).

ONE YEAR AGO: Happy Halloween from my Cookie Blog to You!

TWO YEARS AGO: Incredibly Simple Carrots

THREE YEARS AGO: Sarah Bernhardt’s Cookies

FOUR YEARS AGO: A Really Big Announcement

FIVE YEARS AGO: Stir-Fried Chicken in Sesame-Orange Sauce

SIX YEARS AGO: Monday Blues

SEVEN YEARS AGO: A New Way to Roast Veggies

EIGHT YEARS AGO: Two Takes on Raspberries

NINE YEARS AGO: Spice Cake with Blackberry Puree

TEN YEARS AGO: Own Your Kitchen with Cappuccino Panna Cotta

ELEVEN YEARS AGO: Chicken Parmigiana, the Thriller

TWELVE YEARS AGO: Wild Mushroom Risotto

THIRTEEN YEARS AGO: Tartine Bread:  Basic Country Loaf 

FOURTEEN YEARS AGO:  Pugliese Bread

SCARY SKULL BAKES

.

One pan, many possibilities to scare your family and friends, because now is the time to really go for it!

RED VELVET SKULL CAKES
(from the Bewitching Kitchen, inspired by Jo-Ann)

275g cake flour
1 teaspoon baking powder
1 teaspoon salt
2 tablespoons cocoa powder (unsweetened)
1 tsp Red Velvet Emulsion (LorAnn)
red food gel (I used Super Red Americolor, about 1/2 tsp)
113g (1/2 cup) unsalted butter, at room temperature
300g sugar
2 eggs, at room temperature
1 cup buttermilk, at room temperature
1 teaspoon white vinegar
1 teaspoon baking soda

chocolate buttercream (home-made or store-bought)

Fondant (I used Renshaw)
Gun Metal food gel (Americolor)
Air-Brush silver (or Wilton silver spray)

Skull pan from Nordicware (available here)


Heat oven to 350F. Spray your skull pan with baking spray or coat with butter and flour. Reserve.

Sift together the cake flour, baking powder, and salt into a medium bowl; set aside. In a small bowl, mix food coloring, Red Velvet emulsion and cocoa powder to form a smooth paste.

In the mixing bowl of your stand mixer, cream butter and sugar together until light and fluffy. Beat in the 2 eggs, one at a time, then add the cocoa-red gel mixture, scraping down the bowl with a spatula as you go. Add one third of the flour mixture to the butter mixture, mix well, then add half of the buttermilk. Beat in another third of flour mixture, then second half of buttermilk. End with the last third of the flour mixture, beat until well combined, making sure to scrape down the bowl with a spatula. As the mixer is going, whisk the baking soda with the vinegar, and as it is sizzling, add to the mixer.

Fill the cavities of the skull pan about 2/3 of the volume. You might have a little batter leftover. Bake for 28 to 30 minutes, until toothpick comes out clean. Cool for 15 minutes in the pan, then invert on a rack for the cakes to cool.

Coat them with a very thin layer of buttercream, place in the fridge. Grab a portion of fondant and dye it with gun metal gel. Roll it thin to a size large enough to coat one of the cakes. Remove the cakes from the fridge, and coat with the fondant. Use a fondant baller tool to get the fondant to go into the eyes and nose cavities. Trim the excess. Air-brush the surface with silver, or spray with Wilton Silver Shimmering Mist. Once the fondant is fully set, you can carve out a small portion to reveal the red cake underneath.

ENJOY!

to print the recipe, click here

Comments: I saw these mini-cakes at Jo-Ann site, but the instructions were a bit vague, and it also used a boxed cake mix, so I took baking matters into my own hands. My only shortcut was to buy buttercream icing at the store because my schedule was tight and I figured that the buttercream was such a tiny component, basically just a glue to get the fondant to stick to the cake. You can serve it in two different ways, intact or with some of the skull exposed…

.
Just grab a fork and go at it… yes, the baker can eat the piece removed, and call it “quality control”. I really wanted to make a knife in fondant to stick into the cake, but my skills were not good enough and I don’t have a knife mold. I know, SHOCKING!


The red cakes can also be decorated with a simple buttercream, if you prefer them to be more festive. I think they get a little scarier this way.


The skull mold also works for savory bakes, but I cannot share a recipe yet because it is a work in progress…. I need to tweak the tortilla component.

The tortilla was gluten-free and the recipe I used was impossible to roll out thinly. It turned out too dense and heavy. But I will work on it some more. The filling was ground turkey with the usual taco seasonings, corn, black beans and peppers. But I definitely like the way the mold behaved for a savory bake.

I am already sad that Halloween is almost gone… I feel that for one reason or another, I did not bake enough scary things. Oh, well… there are much more serious problems in life. Let’s go with the flow and embrace…………. THANKSGIVING!

ONE YEAR AGO: Spicy Citrus Peanut Salad

TWO YEARS AGO: Shrimp Stir-Fry, Kung Pao-Inspired

THREE YEARS AGO: Cauliflower Steaks with Olive and Caper Salsa

FOUR YEARS AGO: Twice-Cooked Eggplant

FIVE YEARS AGO:  Turkey Burger, Japanese-Style

SIX YEARS AGO: Pumpkin Macarons

SEVEN YEARS AGO: Slow-Cooked Whole Chicken

EIGHT YEARS AGO: Chocolate Zucchini Cake with Chocolate Frosting

NINE YEARS AGO: Pecan-Crusted Chicken with Honey-Mustard Dressing

TEN YEARS AGO: Bewitching Kitchen on Fire!

ELEVEN YEARS AGO: Cashew Chicken Lettuce Wraps

TWELVE YEARS AGO: Chiarello’s Chicken Cacciatore

THIRTEEN YEARS AGO: Donna Hay’s Thai-Inspired Dinner

FOURTEEN YEARS AGO: Panettone

IT’S SOURDOUGH, WITCHES!

Once again I put a little wafer paper to work for some bewitched sourdough bread. I used just a basic recipe with my default method described many times in this blog of mine (click here). I lowered the hydration a bit to try to control the expansion of the design (for 500g total flour I used 335g water).

I was inspired by a Halloween bread from Kelsey (@3catsandapig) to come up with my design.
She is an incredibly talented bread artist.

It all starts with cutting the wafer paper in the spider web shape, and painting a little witch’s design (I used a stencil and air-brushing). Make sure to cut the wafer paper shape twice, as you will use one of them to cover the dough as you either rub cocoa powder or air-brush with black all over. Then you will peel that off and place a clean one on that spot, proceeding with the scoring around it.

After covering the surface with black, score the design with a razor blade, and then immediately spray some orange (or red) air brush color in the cuts. That will give a nice contrast, but of course you can omit this step.

Bake the bread normally, I do 30 minutes with the lid on, and 15 minutes without the lid. Allow it to cool completely before slicing.

I find that air-brushing the whole surface makes the crust a bit soft, so depending on how you like your bread, rubbing with cocoa powder or charcoal might be better. What I dislike about those options is that they rub off on your hands as you cut the bread later. But it is not a big deal, really.

.

ONE YEAR AGO: Raw Zucchini and Chickpea Salad with Tahini Yogurt

TWO YEARS AGO: Black Tahini Shortbread Cookies

THREE YEARS AGO: A Fruitful Trio (of Macarons)

FOUR YEARS AGO: Halloween Entremet Cake

FIVE YEARS AGO: Pork with Prunes, Olives and Capers

SIX YEARS AGO: Kansas Corn Chowder

SEVEN YEARS AGO: Impossibly Cute Bacon and Egg Cups

EIGHT YEARS AGO: Pulling Under Pressure

NINE YEARS AGO: Cooking Sous-vide: Two takes on Chicken Thighs

TEN YEARS AGO: Miso Soup: A Japanese Classic

ELEVEN YEARS AGO: On my desk

TWELVE YEARS AGO: A must-make veggie puree

THIRTEEN YEARS AGO: Vegetarian Lasagna

FOURTEEN YEARS AGO:  Brazilian Pão de Queijo