Post quickly edited by members of our household……

In My Kitchen posts are hosted by Sherry, from Sherry’s Pickings. Please visit her site to see what everybody else is sharing this month. I join four times each year, on the first day of January, April, July and October. If you are a food blogger, consider taking part of this fun event. It is chance to share those little things you bought or received as gifts and that make your life in the kitchen easier.
Starting with gifts….
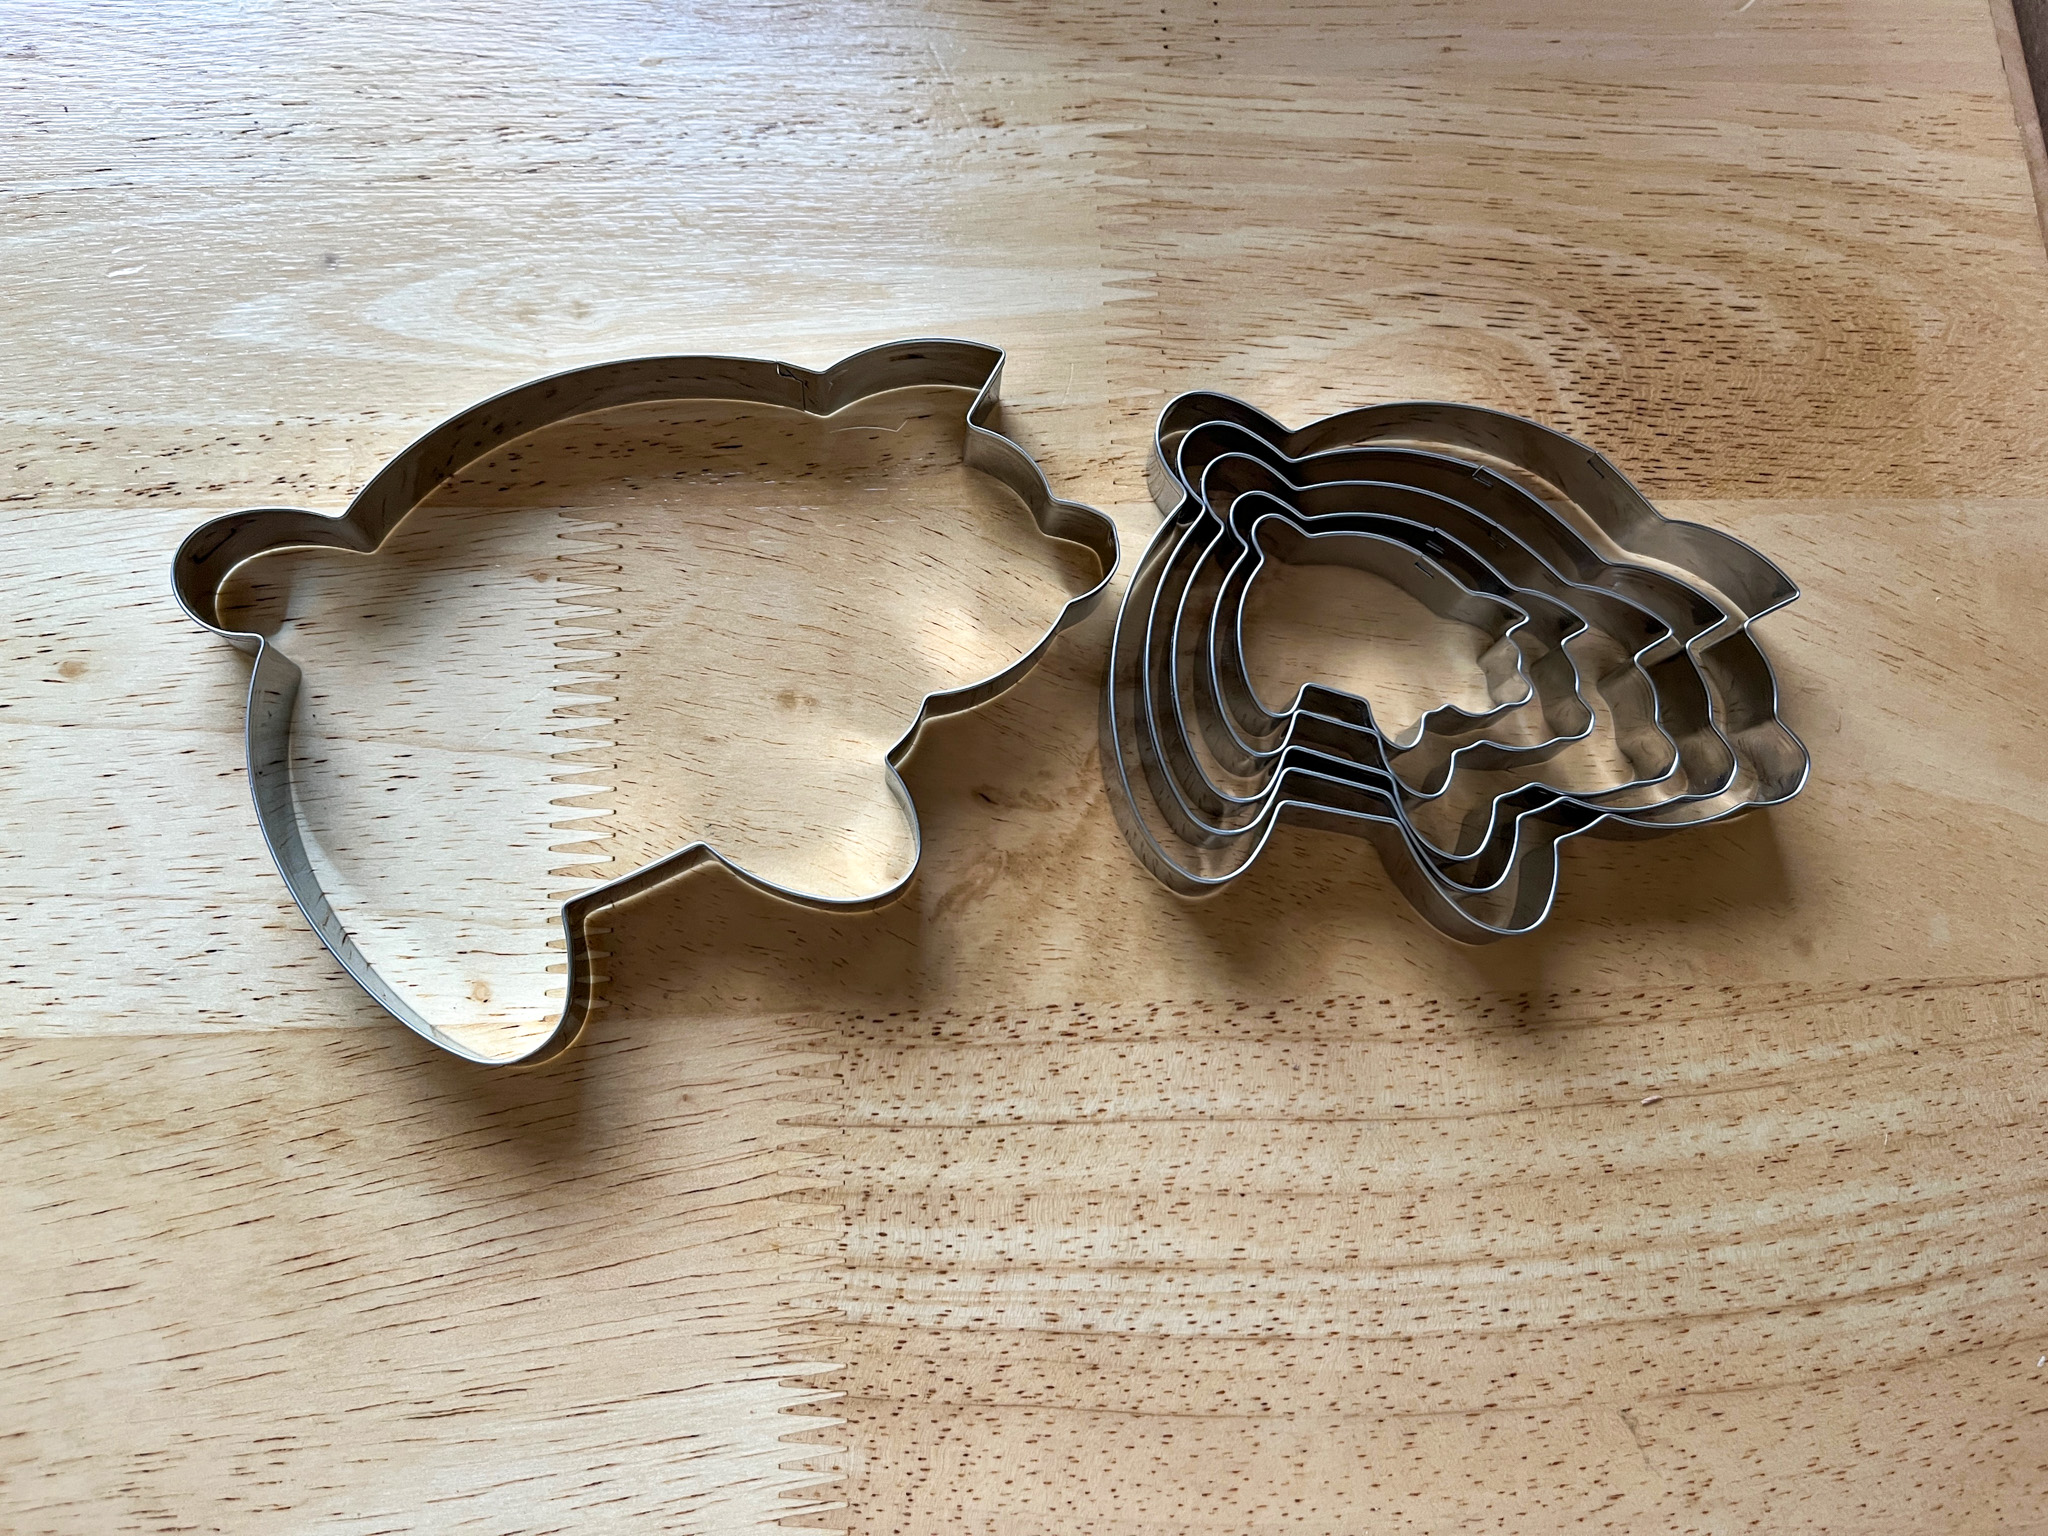
From our friend Virginia, who spent a couple of hours decorating cookies with me this month, this super cute set of cookie cutters in the shape of a pig, that are the authentic shape for Biscochitos (need to make them again soon!)
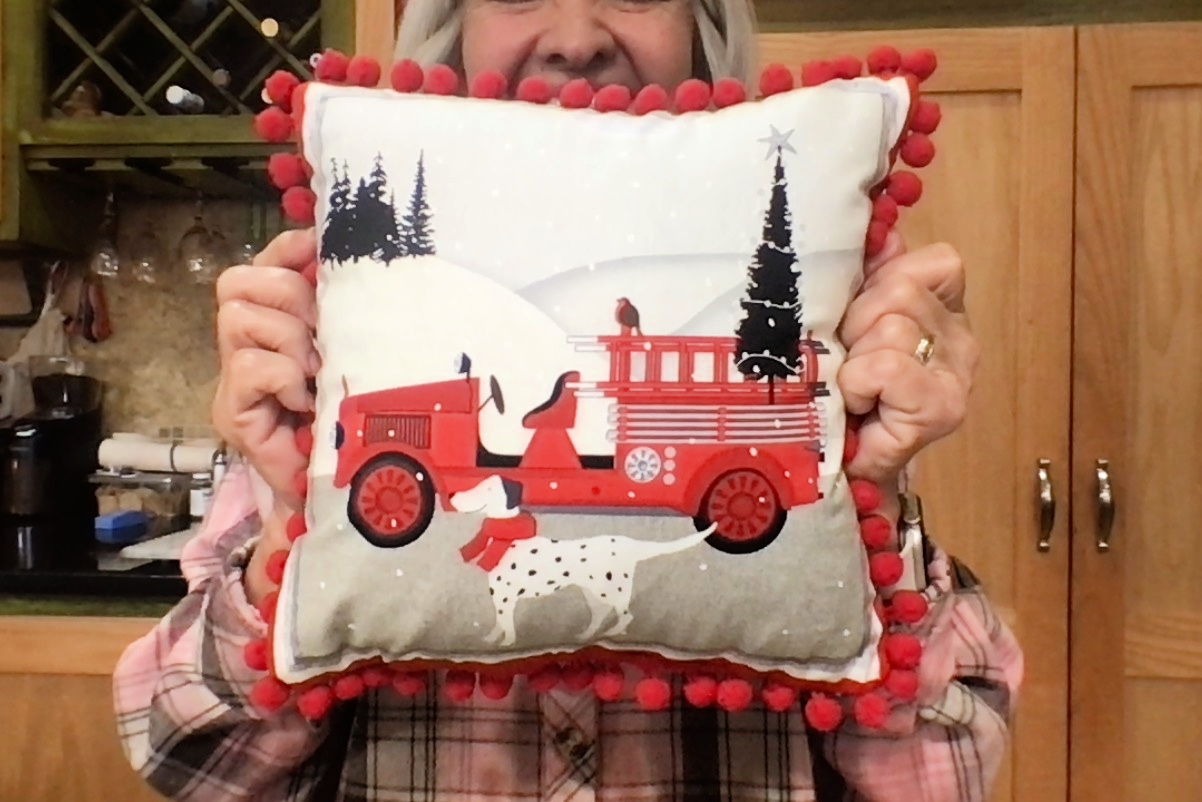
From our friends Keith and Sarah, the most amazing pillow! That we will have to keep away from the pups, for obvious reasons….. Slobber, anyone?
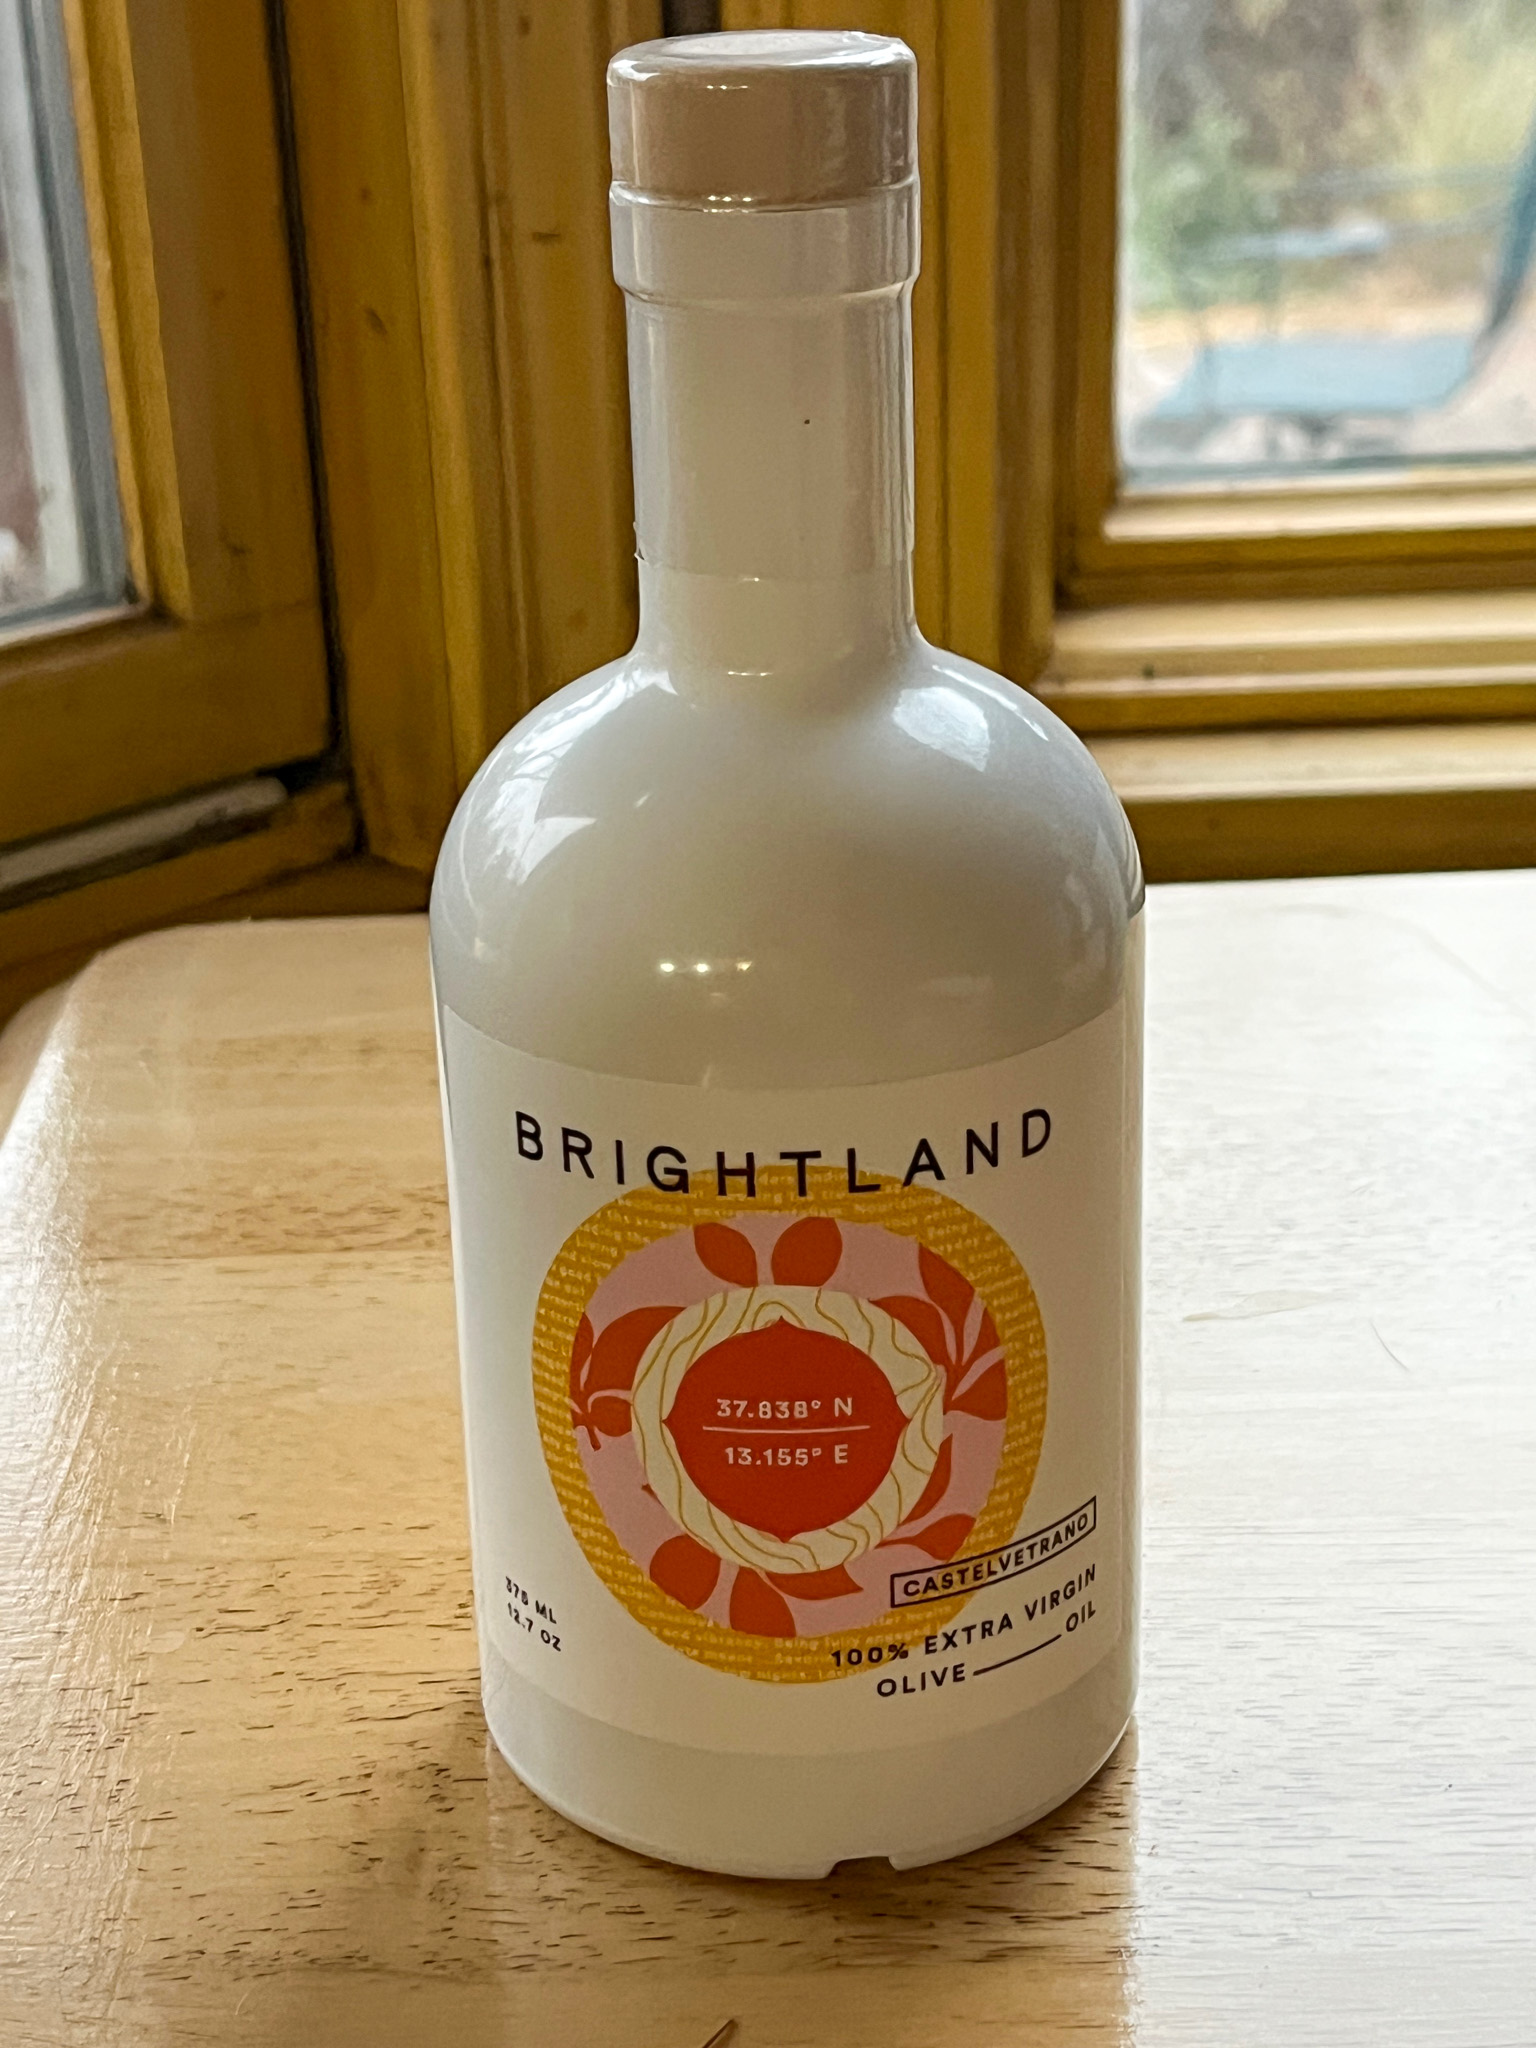
From Courtnie and Alex, a super special olive oil,
made from Castelvestrano olives…. amazing!
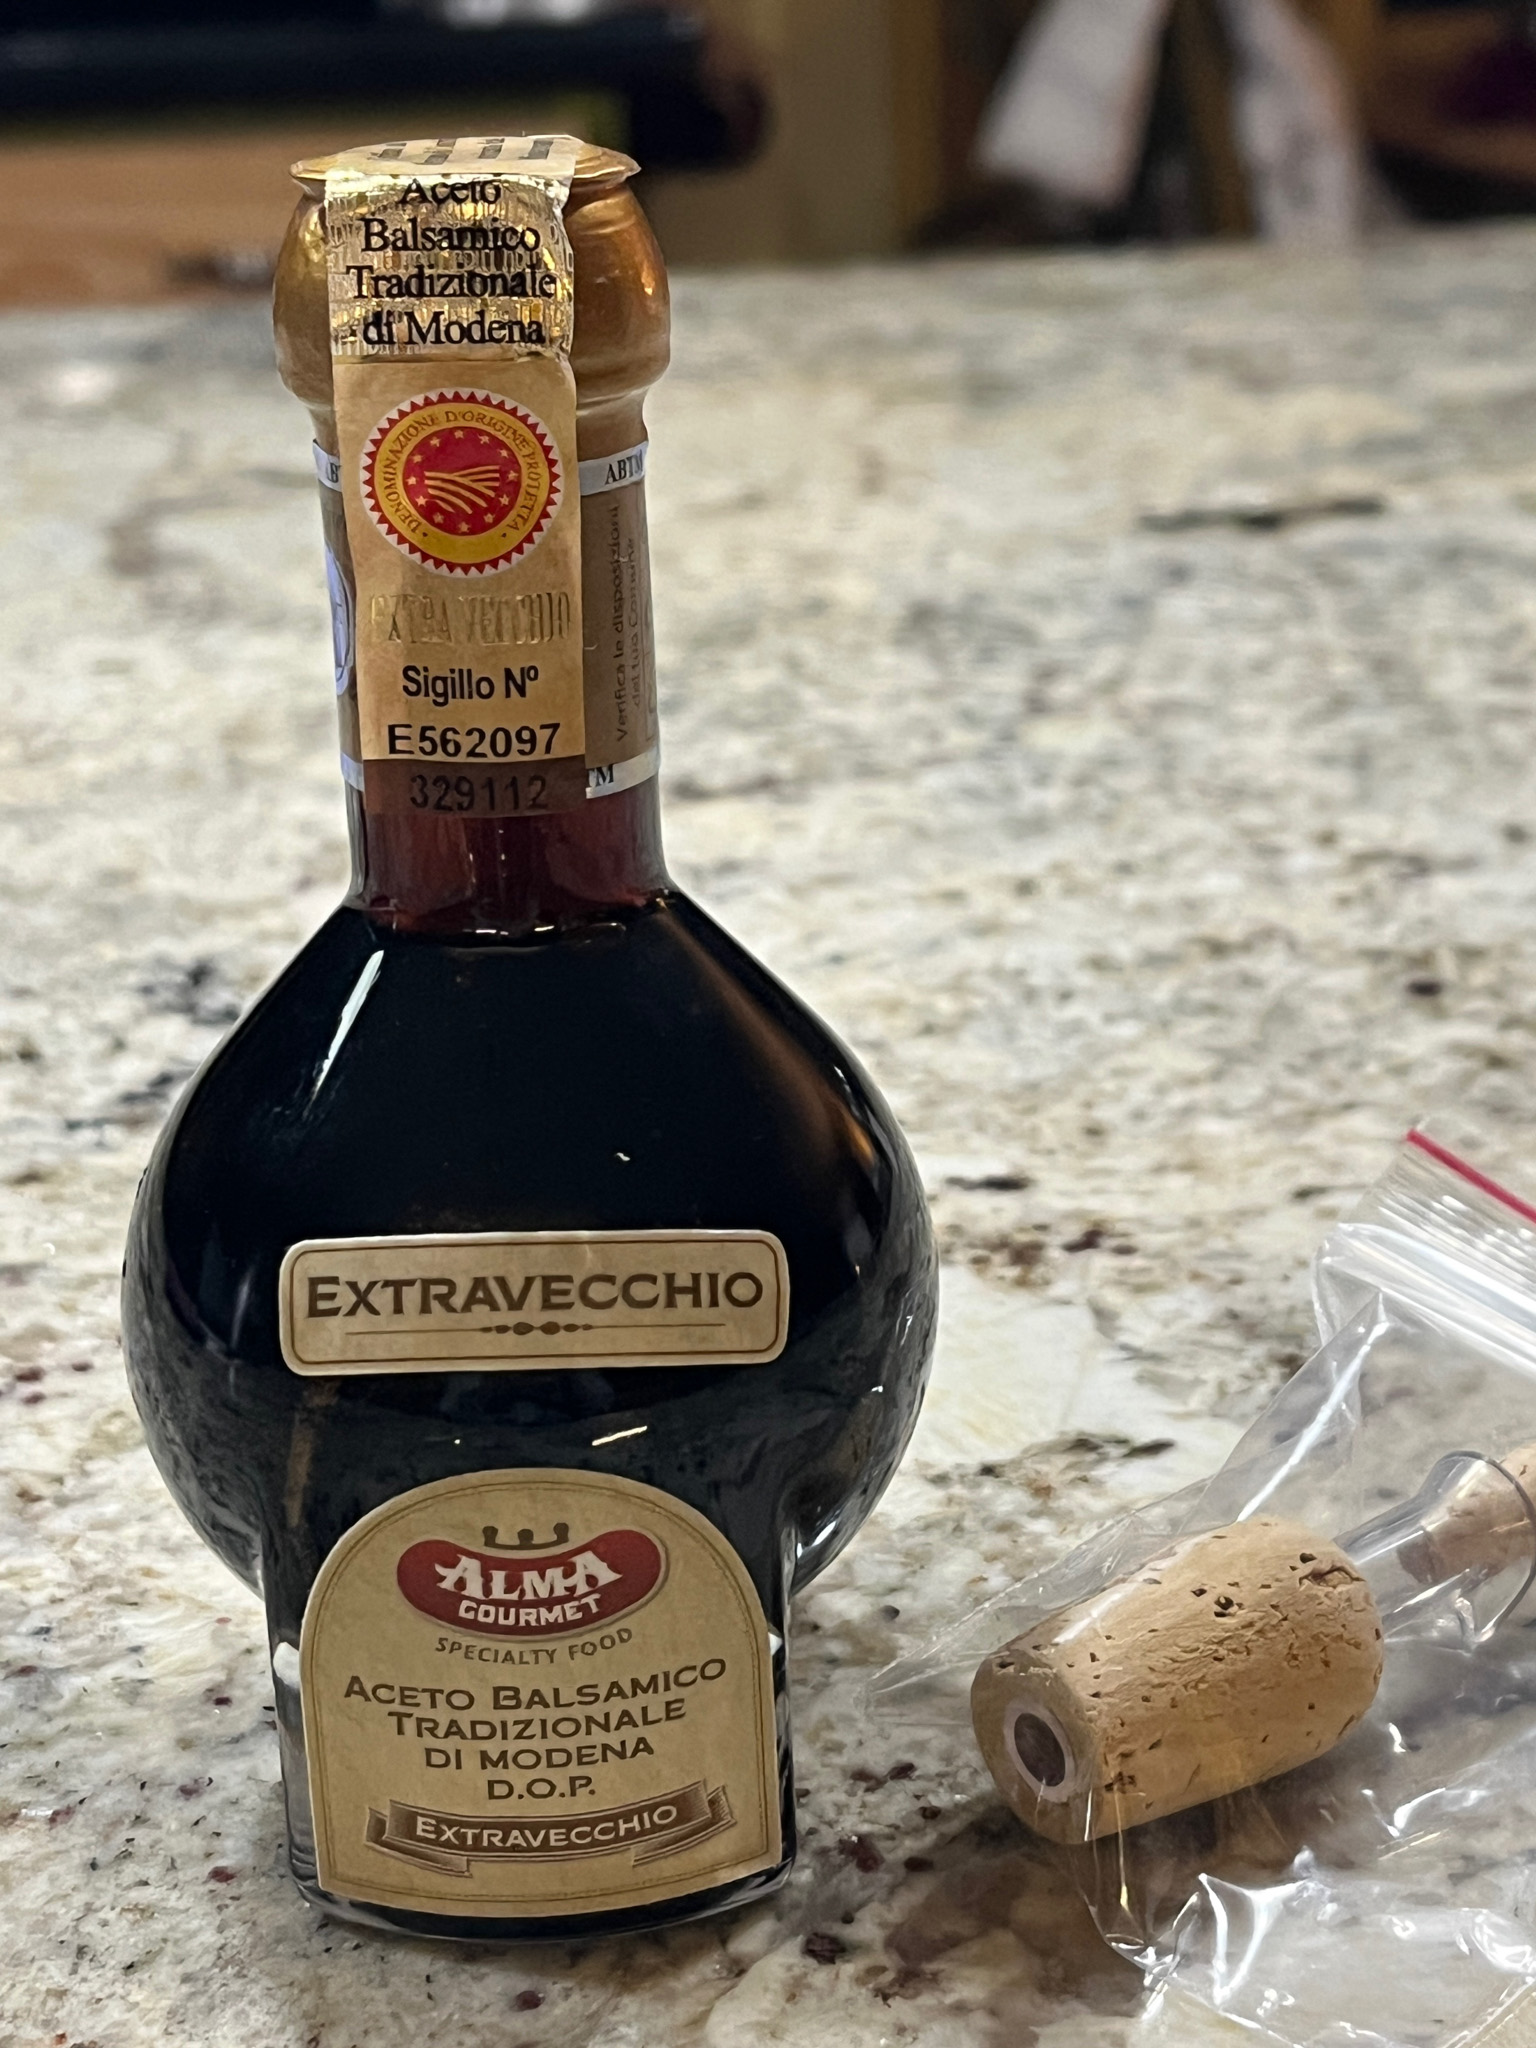
One of my gifts for Phil at Christmas, a bottle of aged balsamic vinegar…. goes perfectly well with that olive oil…
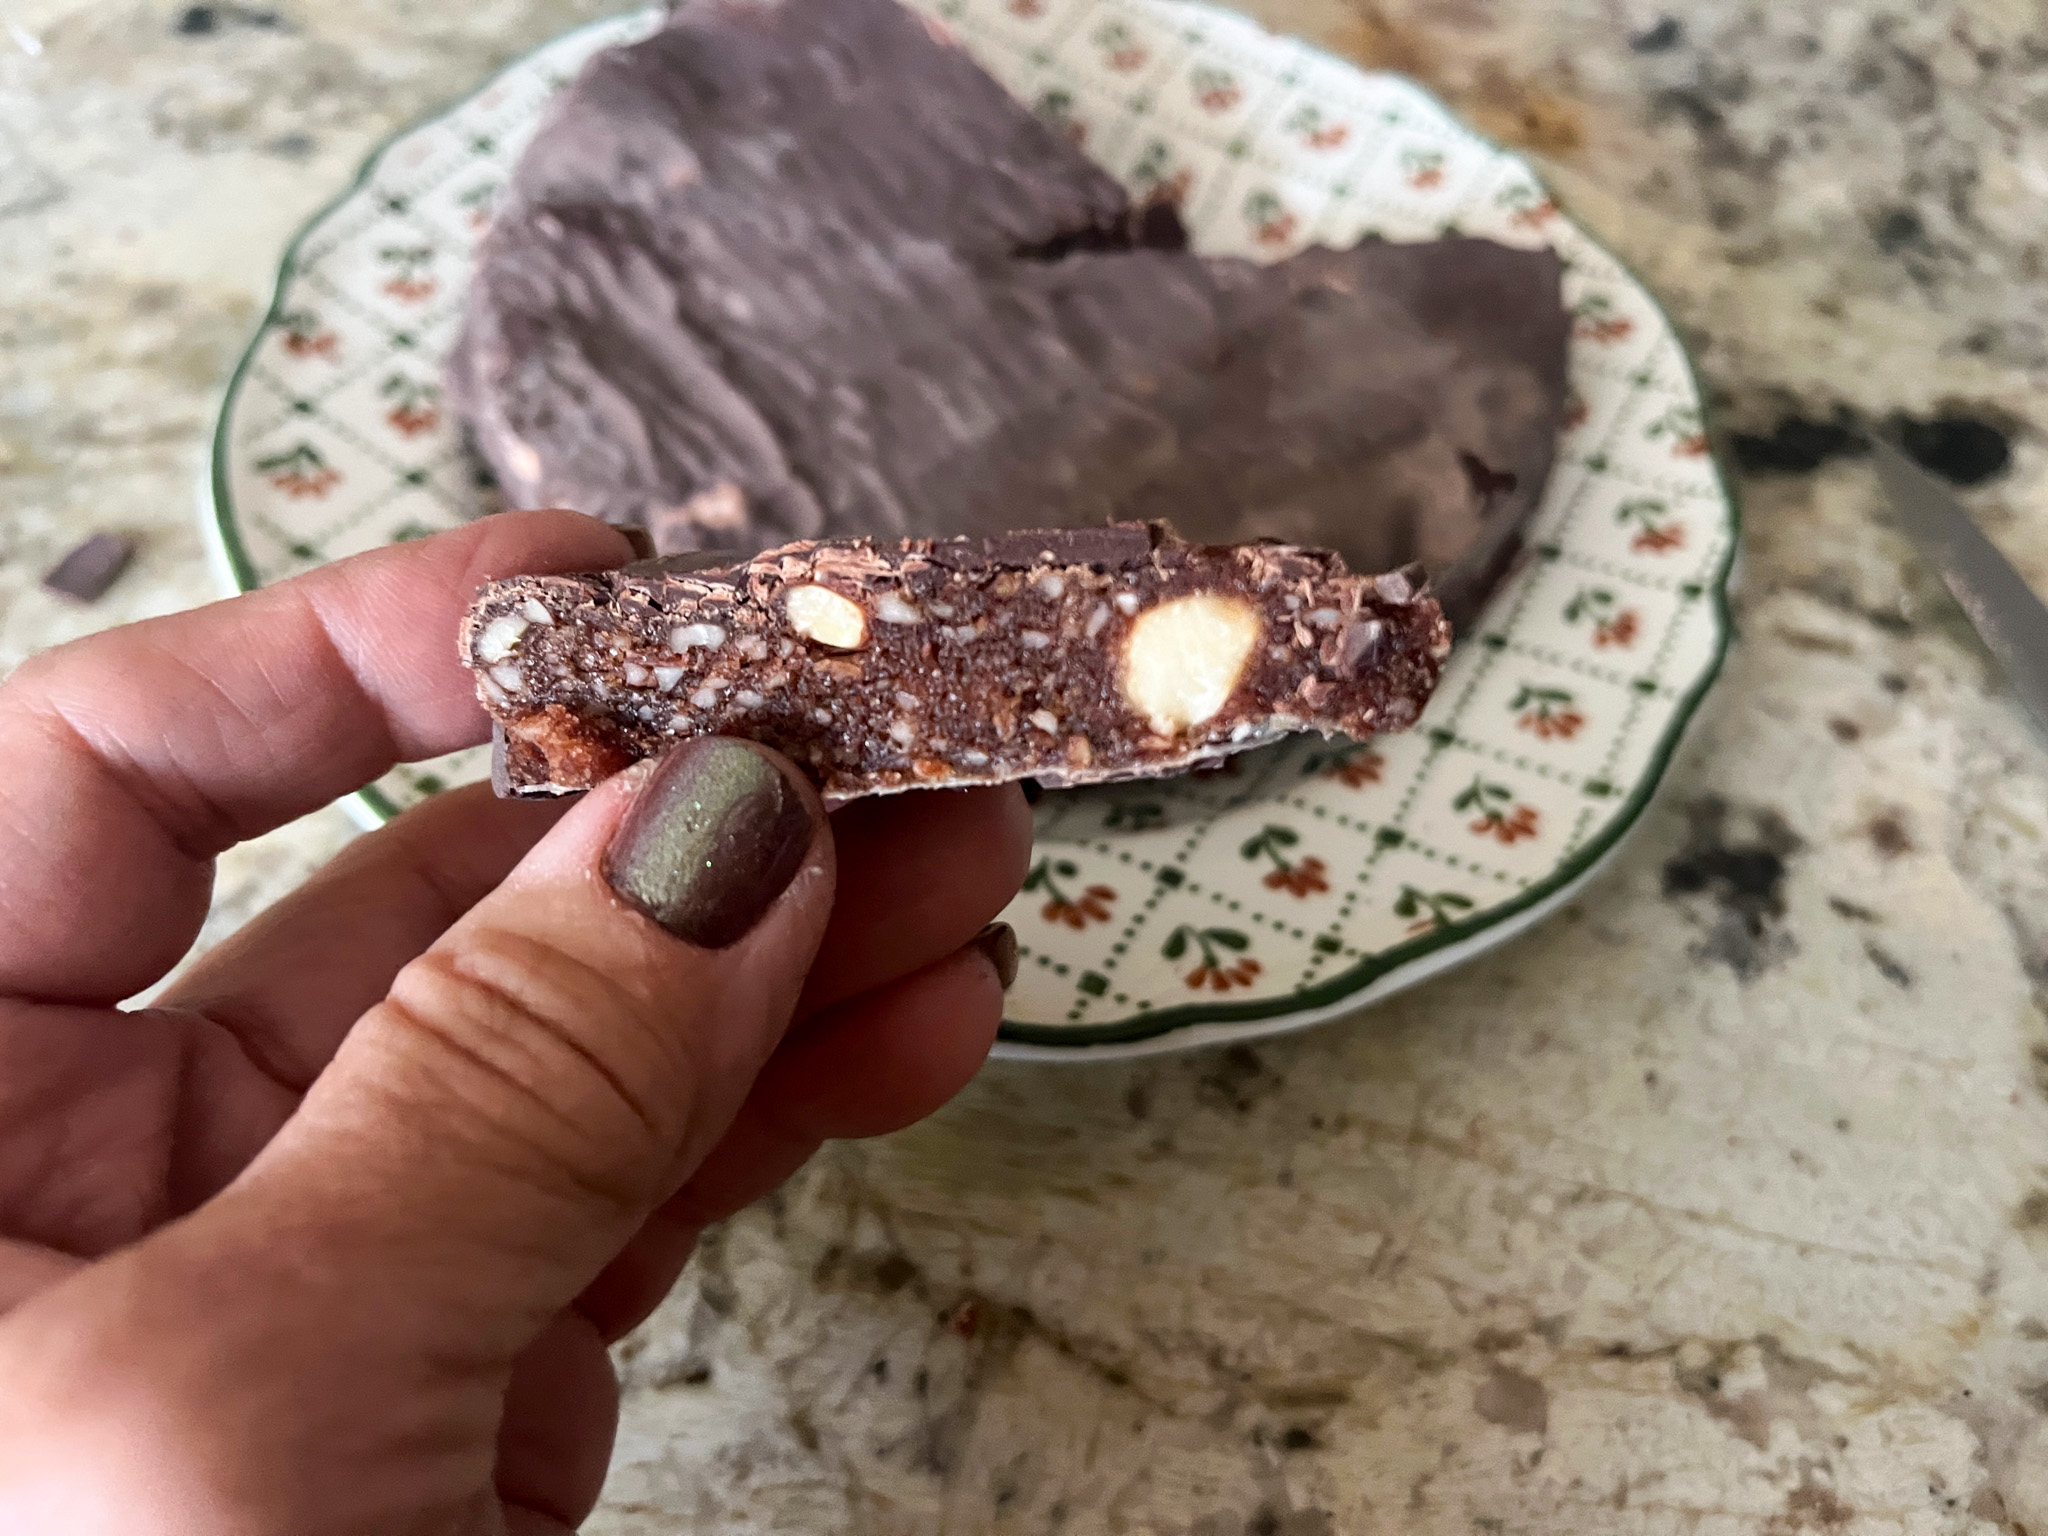
From our friends Ines, Ben and Gi, Panforte from Siena, they sent us every year, but this time it was a different type, coated in chocolate. Can you say OH MY GOD, loud and clear?
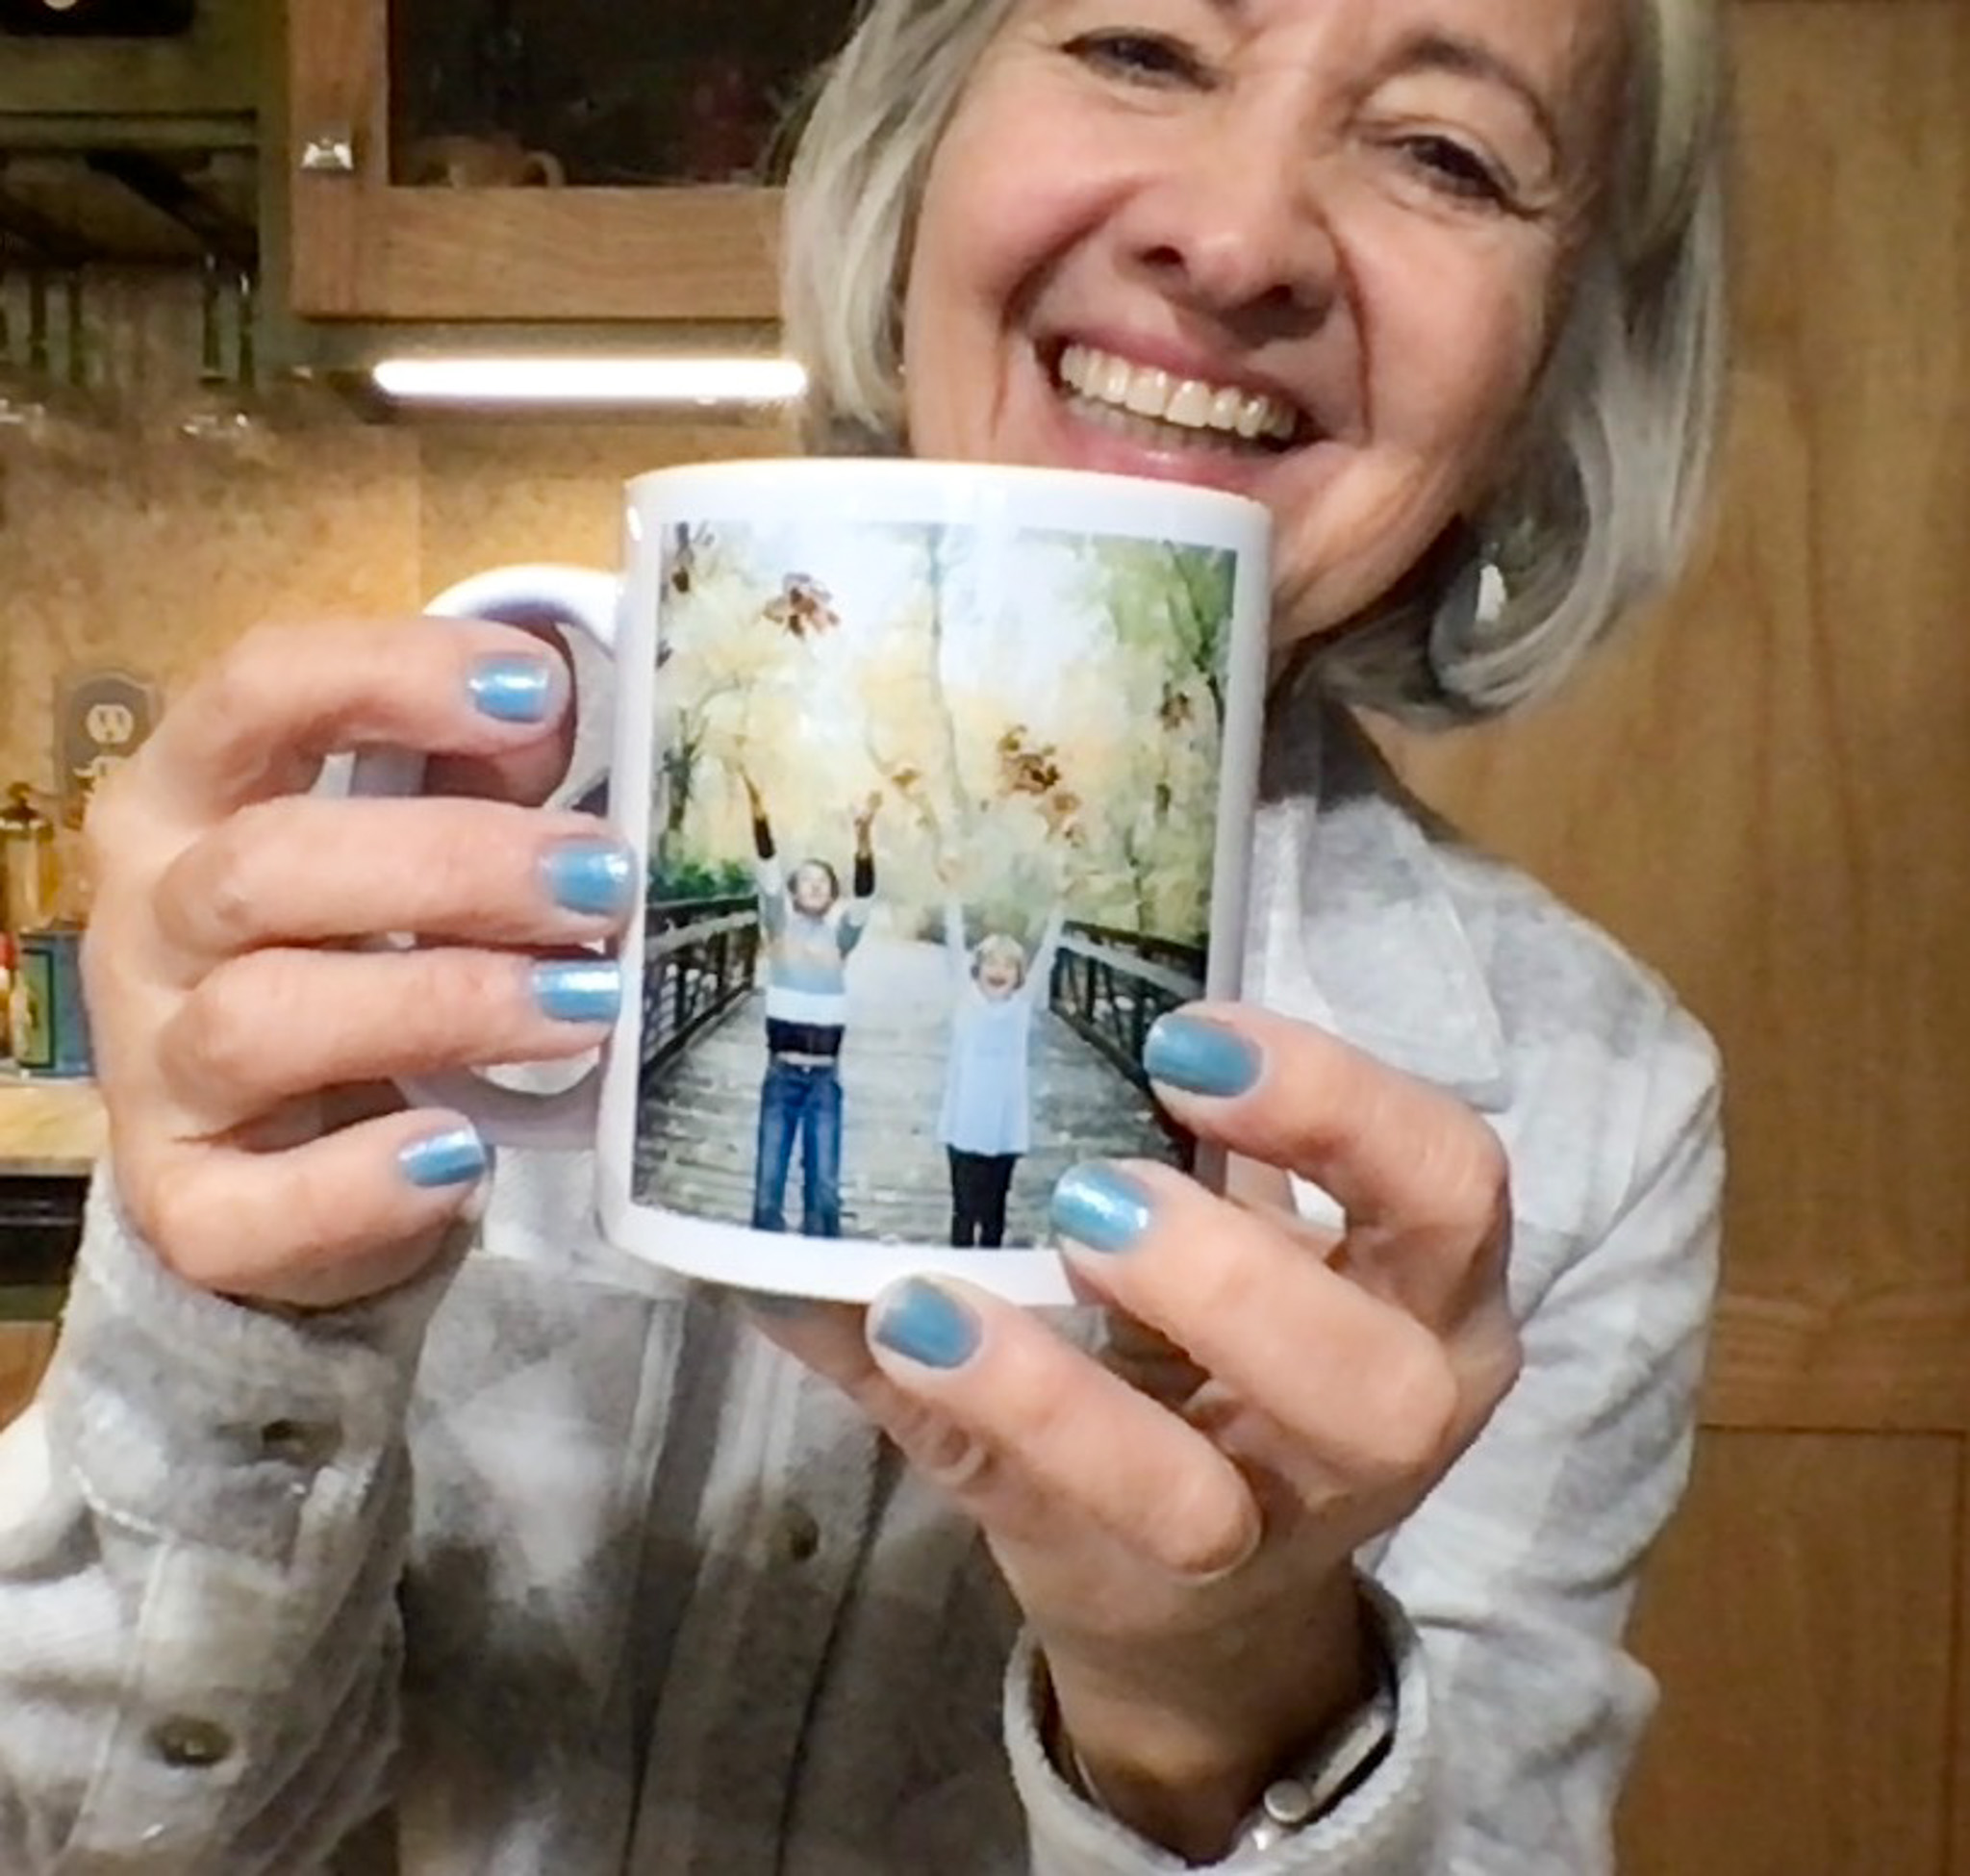
From The Hayden Family, a tea cup with the photos of their beautiful daughters on it! Will cherish it forever….
Now, moving on to things I got since our last “In My Kitchen” get-together…
In our kitchen….

I will have to start with a bang… Our Blue Star range, after a few problems over the past 5 years, finally bit the dust. We bought a new range, not as fancy but definitely with more features and easier repair in case it needs. Meet Thor, the new addition to The Bewitching Kitchen, installed on Dec 28th…
In our kitchen…
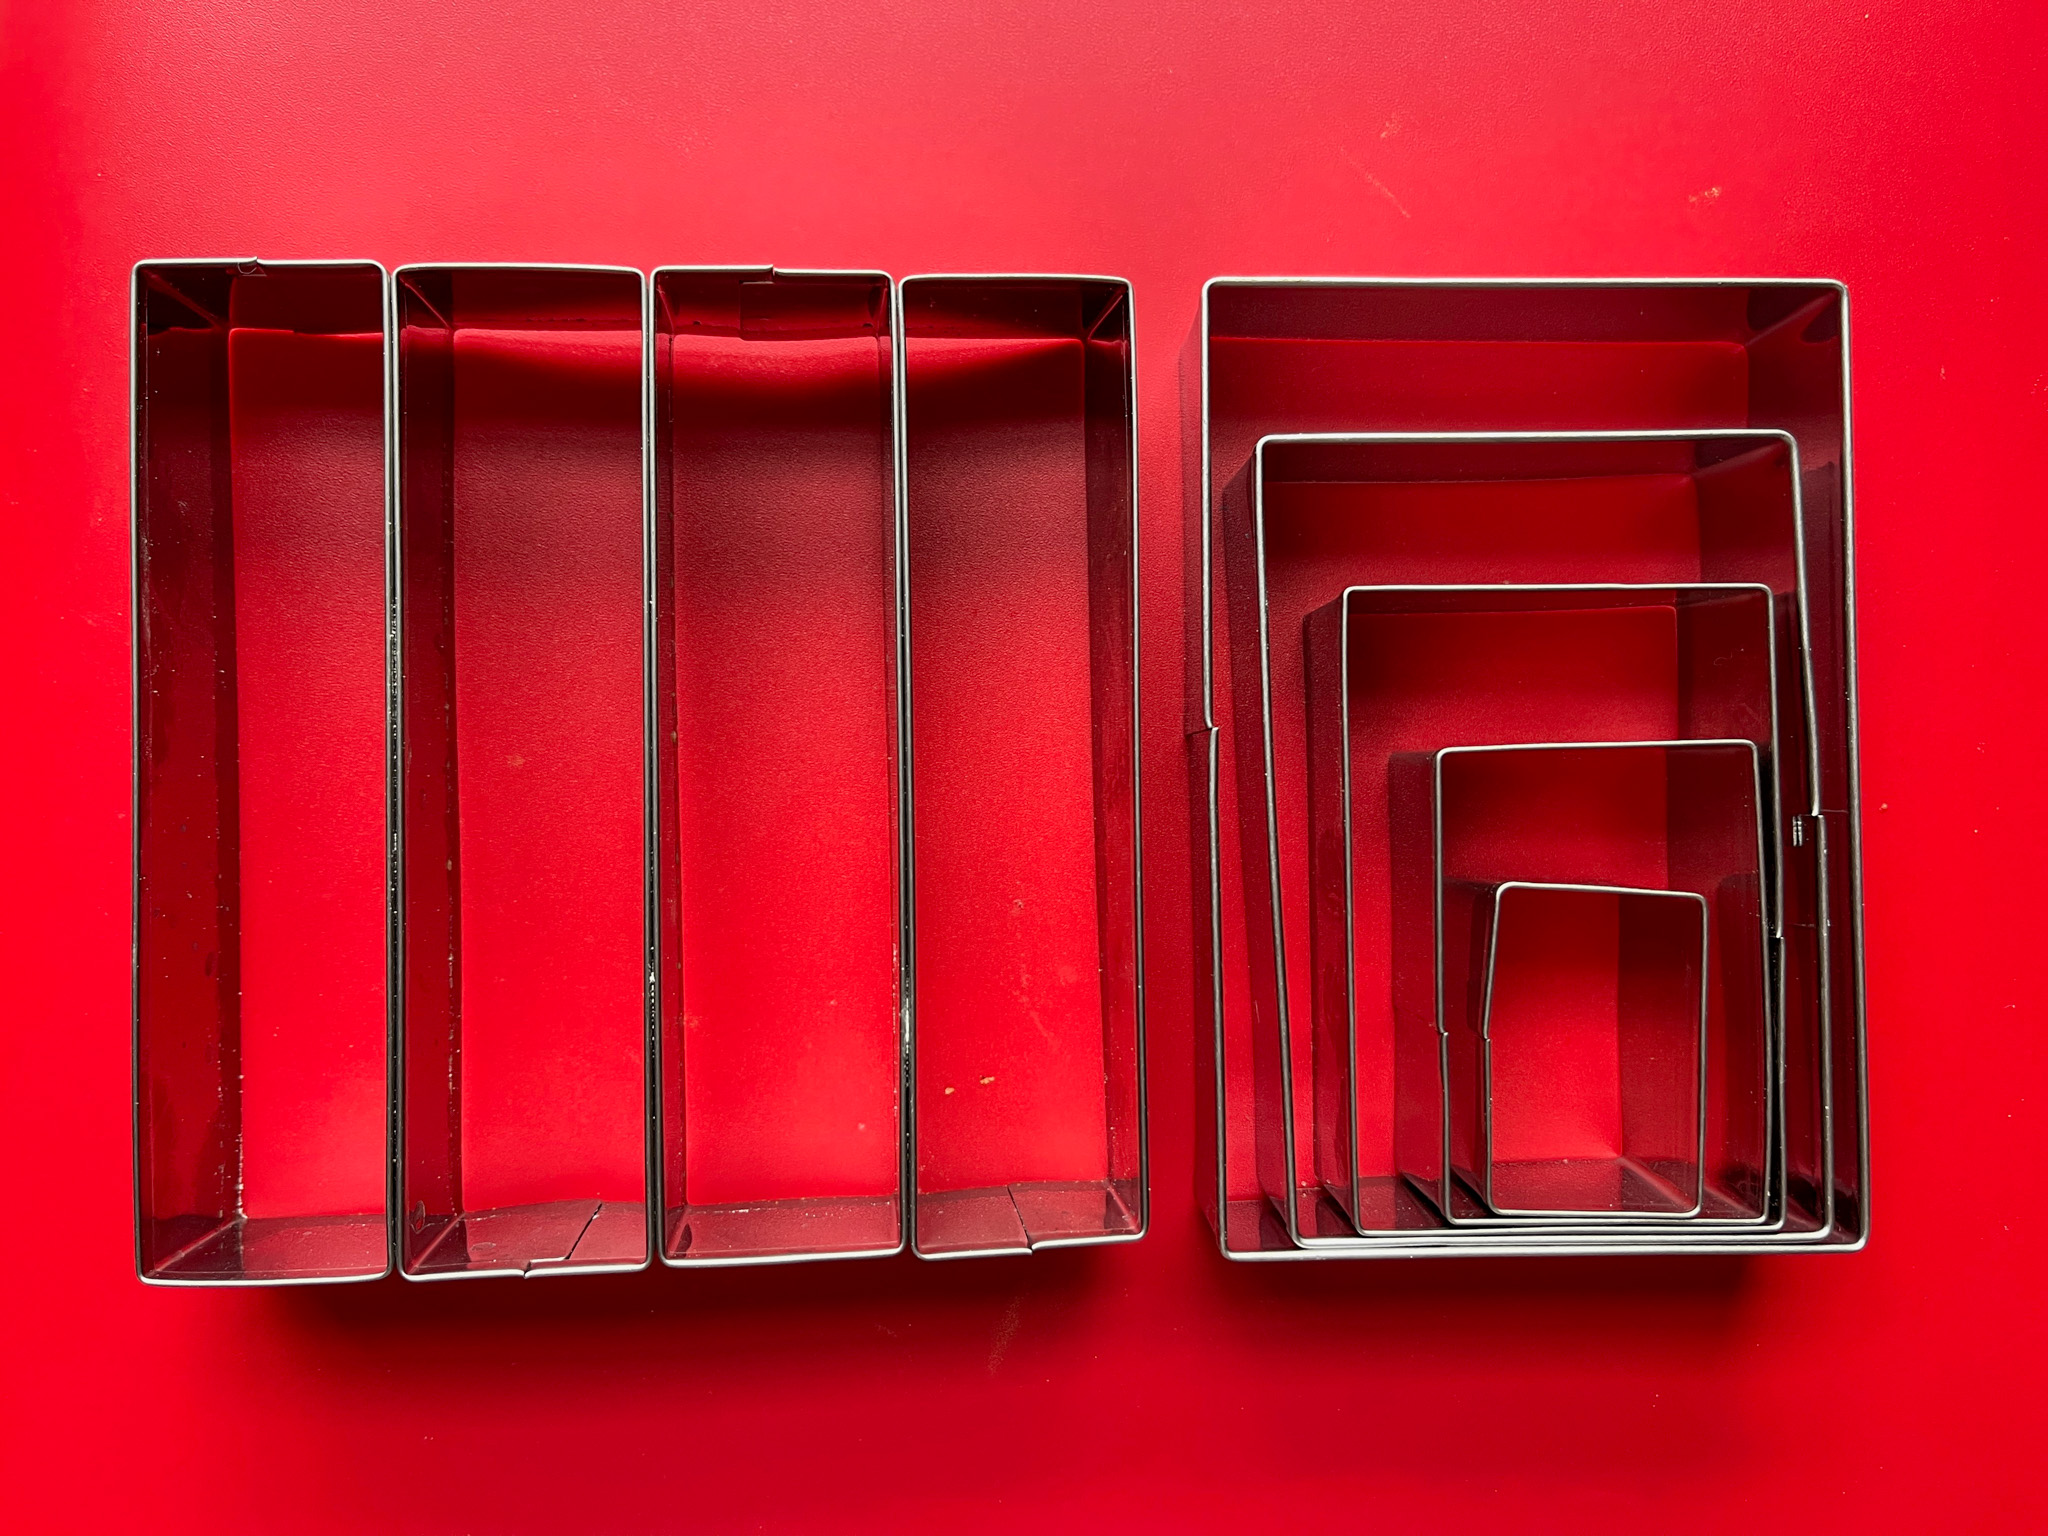
Virginia’s gift made me realize how much I love sets of cookies of varying sizes. I do have a box dedicated just for them… Stars, bells, ovals, flowers, they are so convenient… I also love the set of sticks that cut four at a time.
In our kitchen…
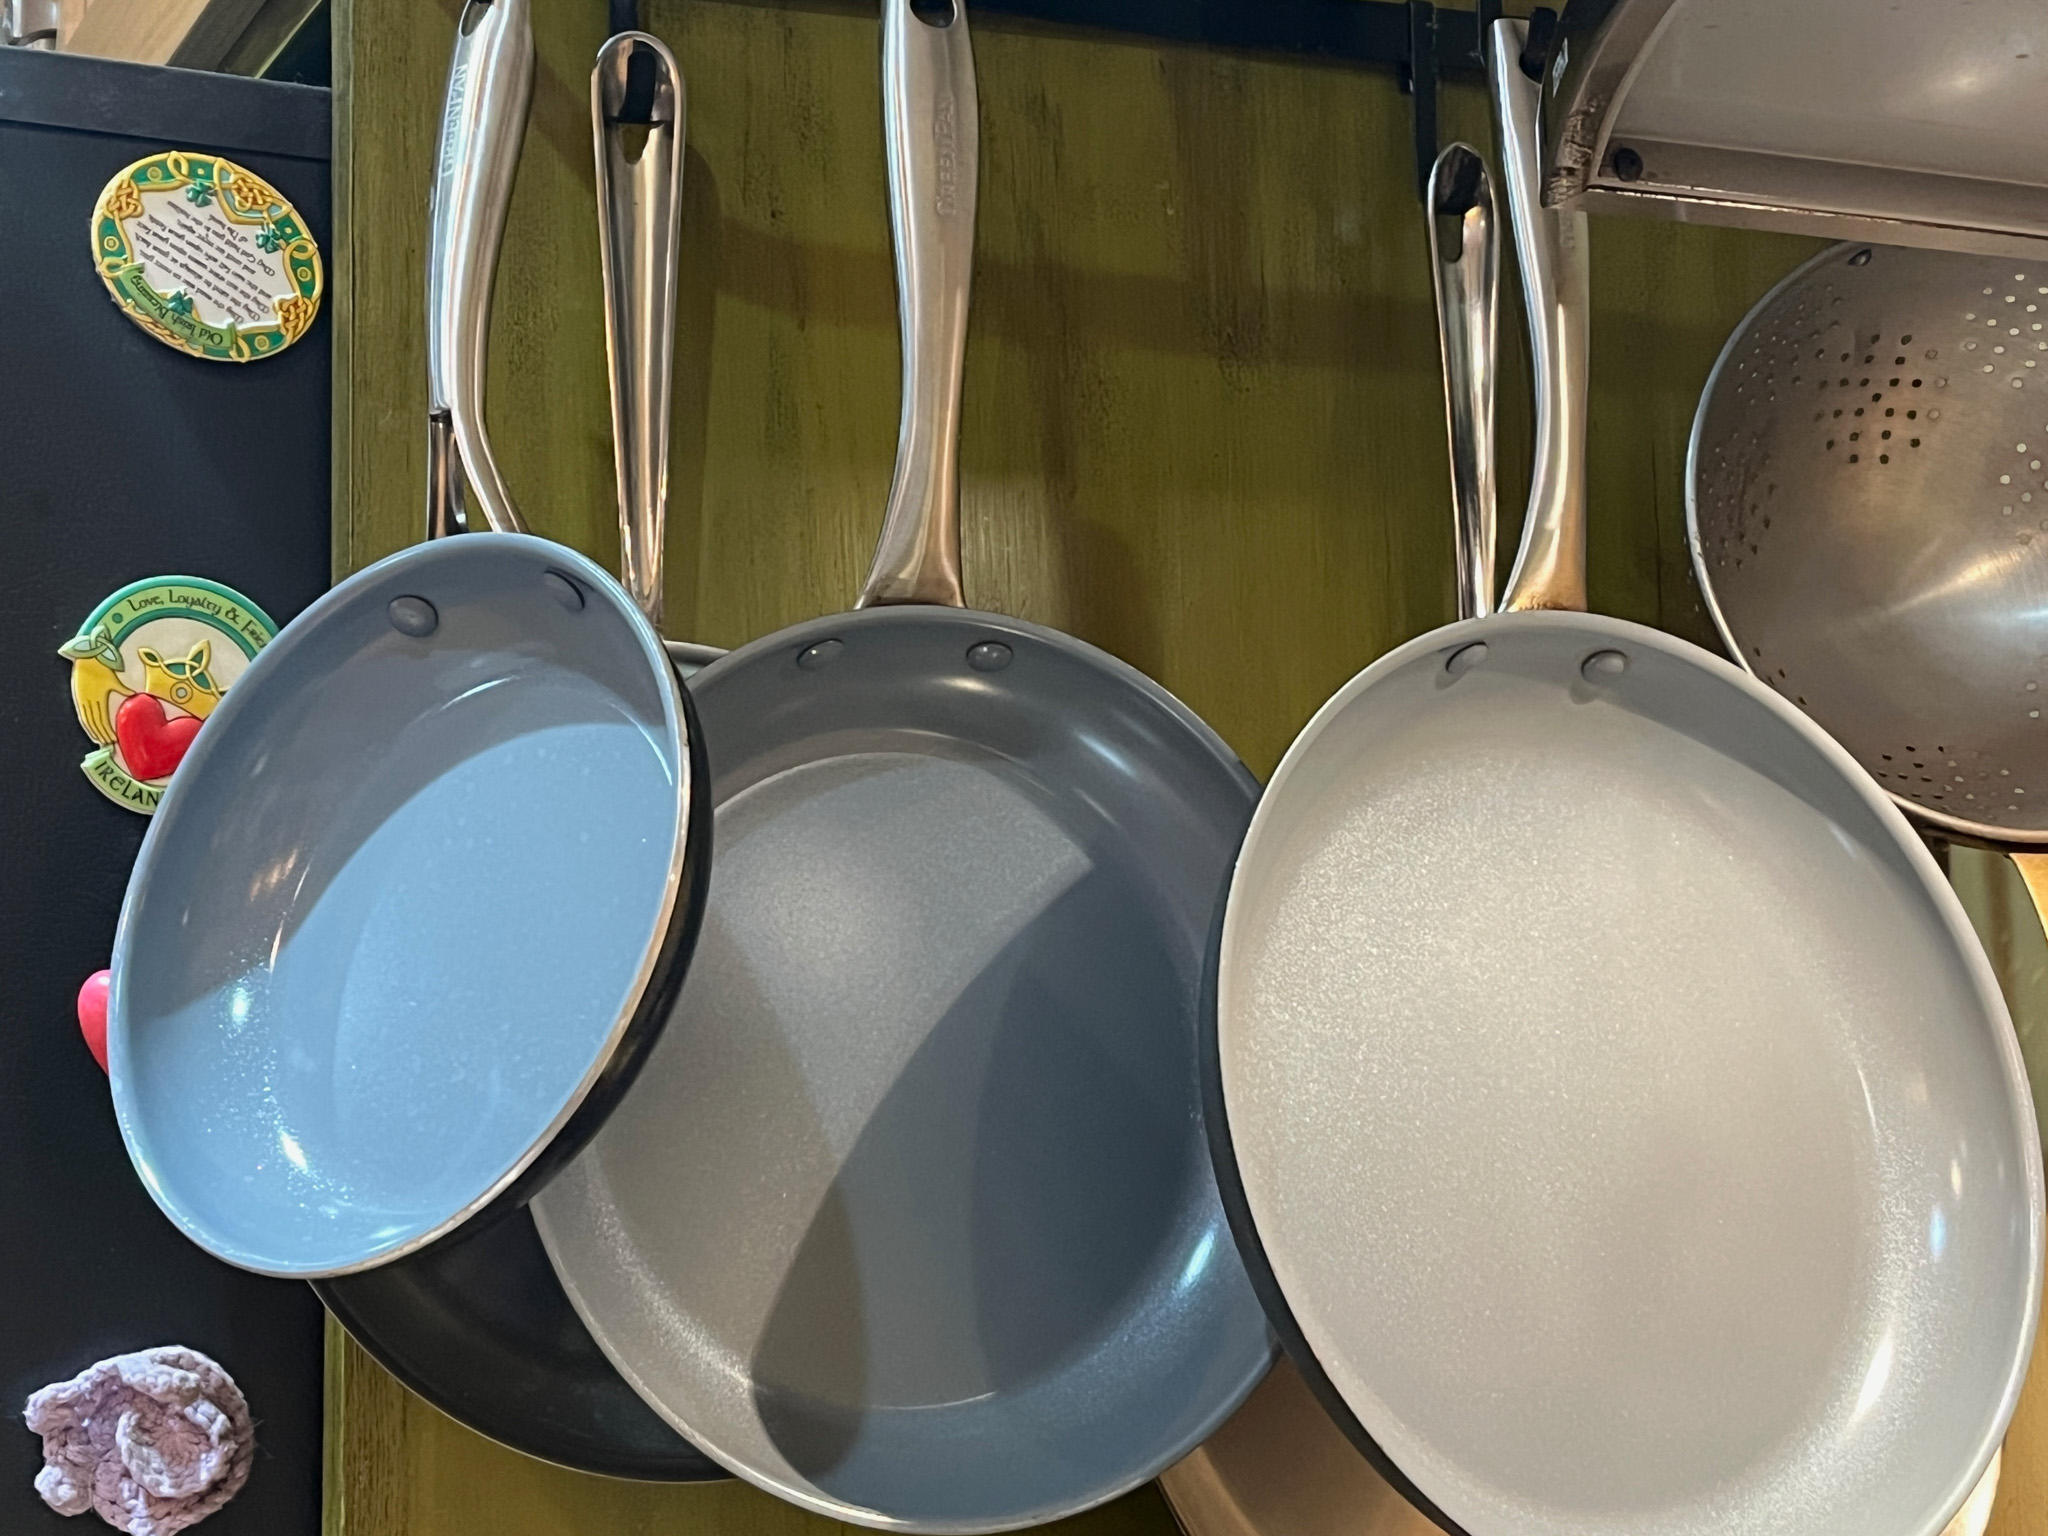
We got rid of all our regular non-stick pans in favor of this ceramic brand called Green Pan. They do not have the nasty chemicals (PFAs) that get into the food and stay in our body forever like regular non-stick pans do. Especially if you cook for kids, consider getting rid of those. You can read more about the issues here.

They are a pleasure to cook with!
In our kitchen…
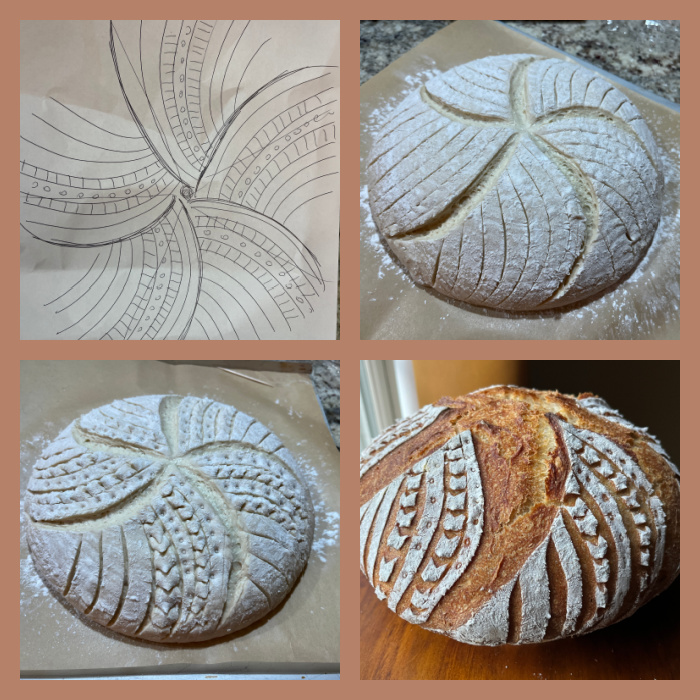
A little sourdough, super simple, just white bread flour, but I liked the way I planned the design on paper and then transferred to the dough. I am easily amused…
In our kitchen…
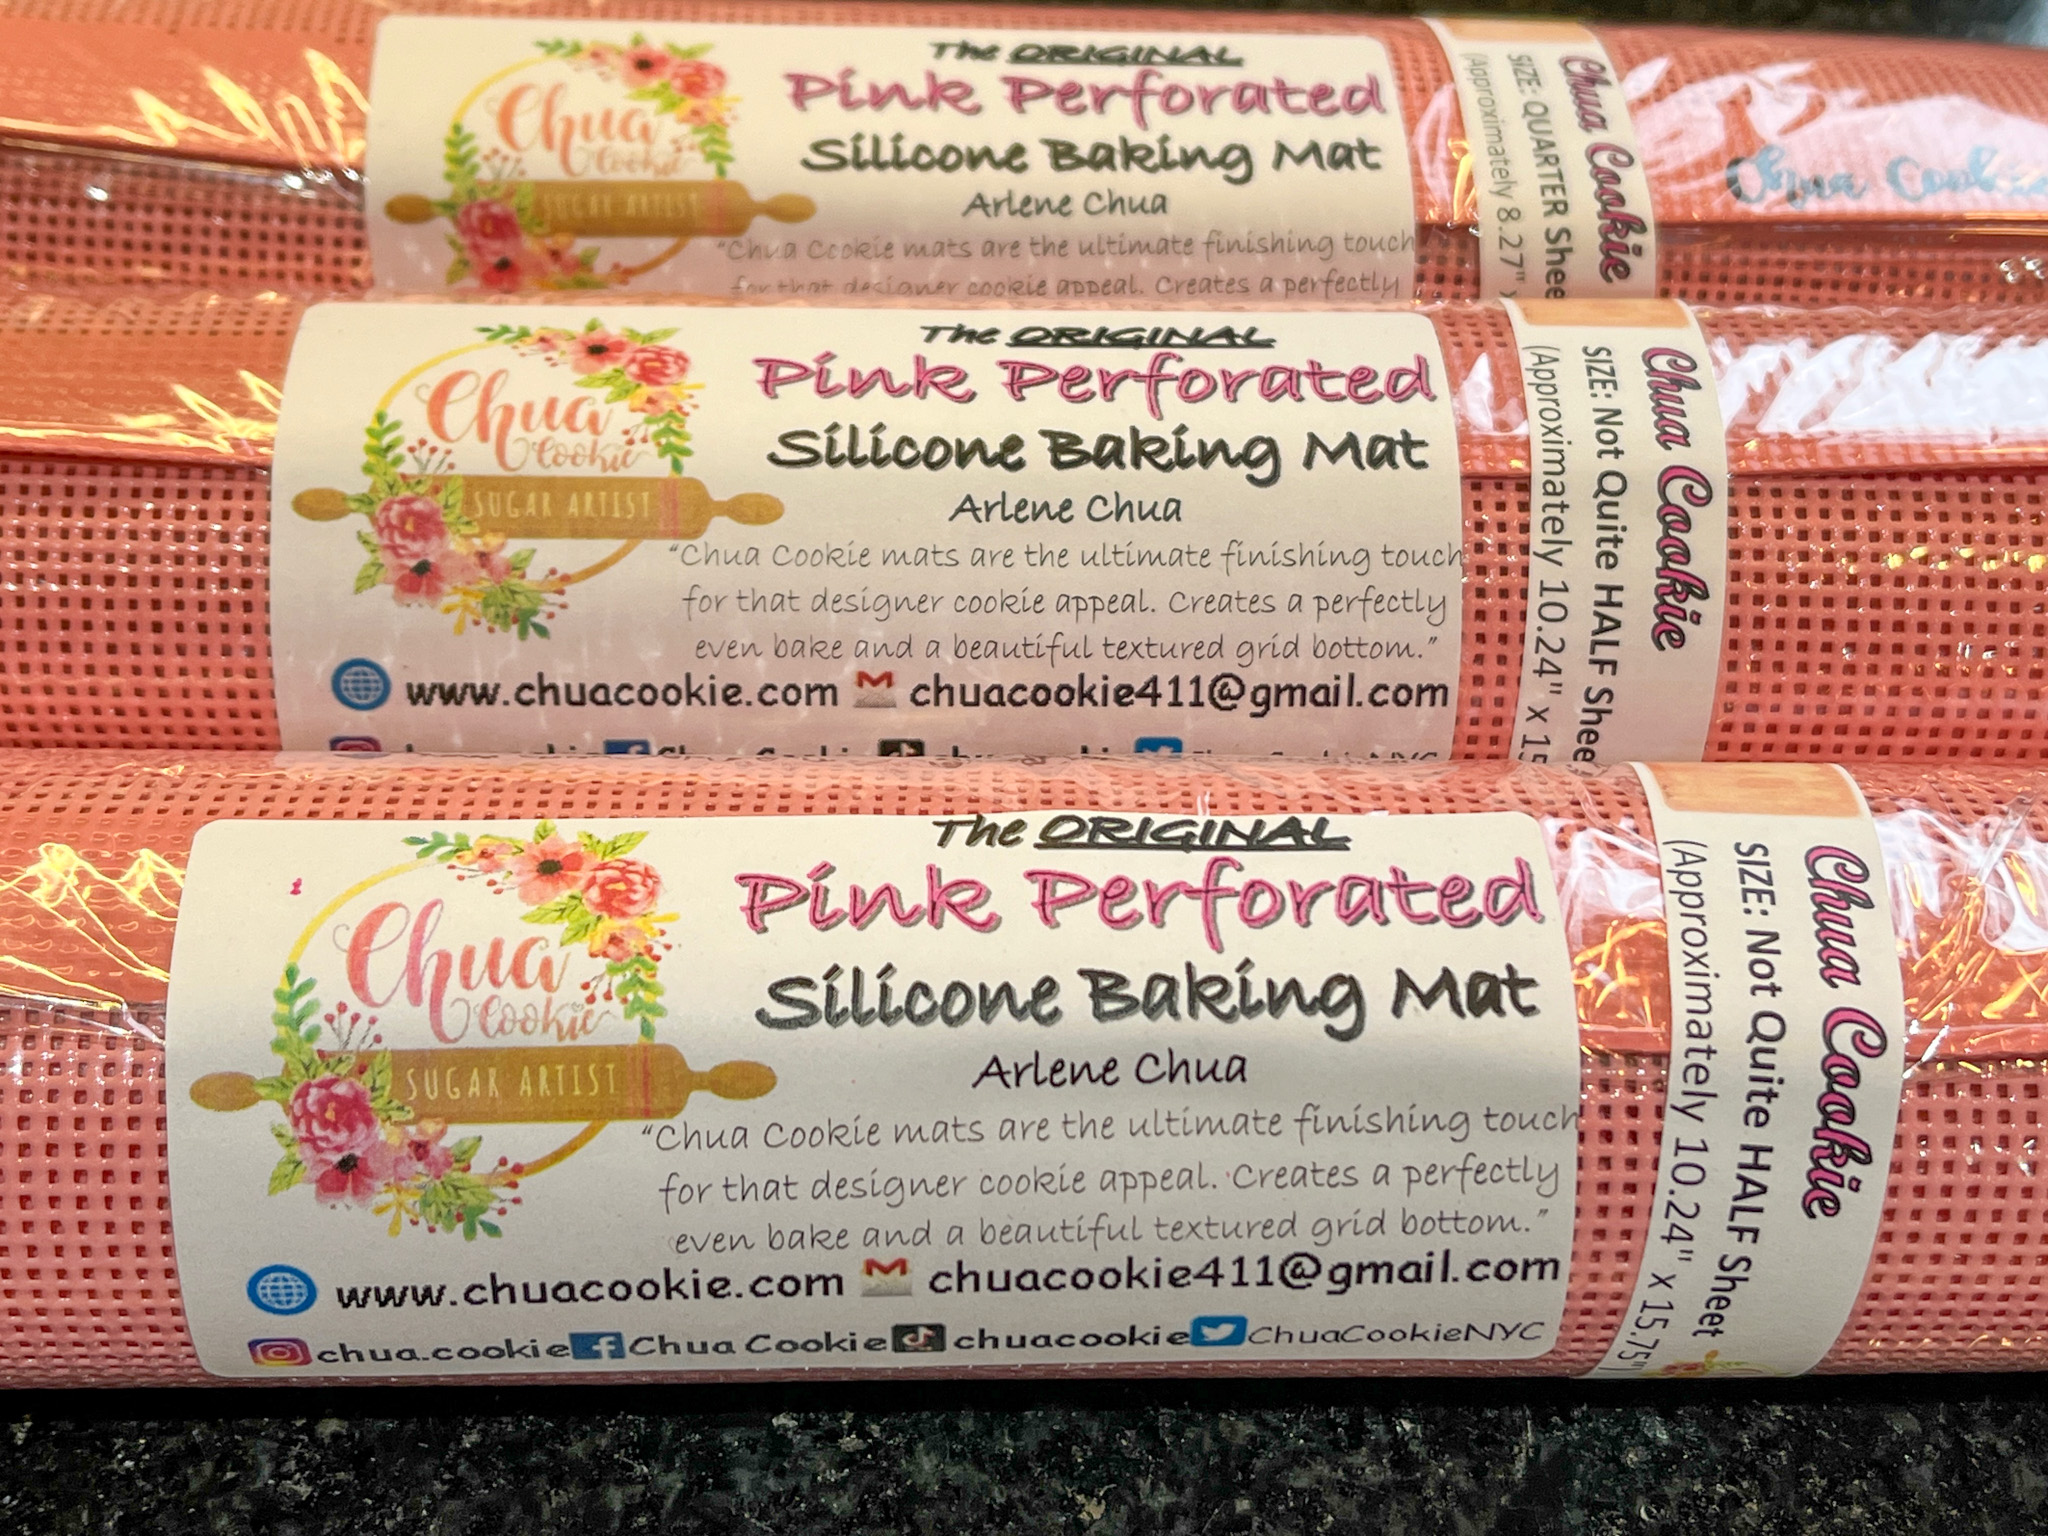
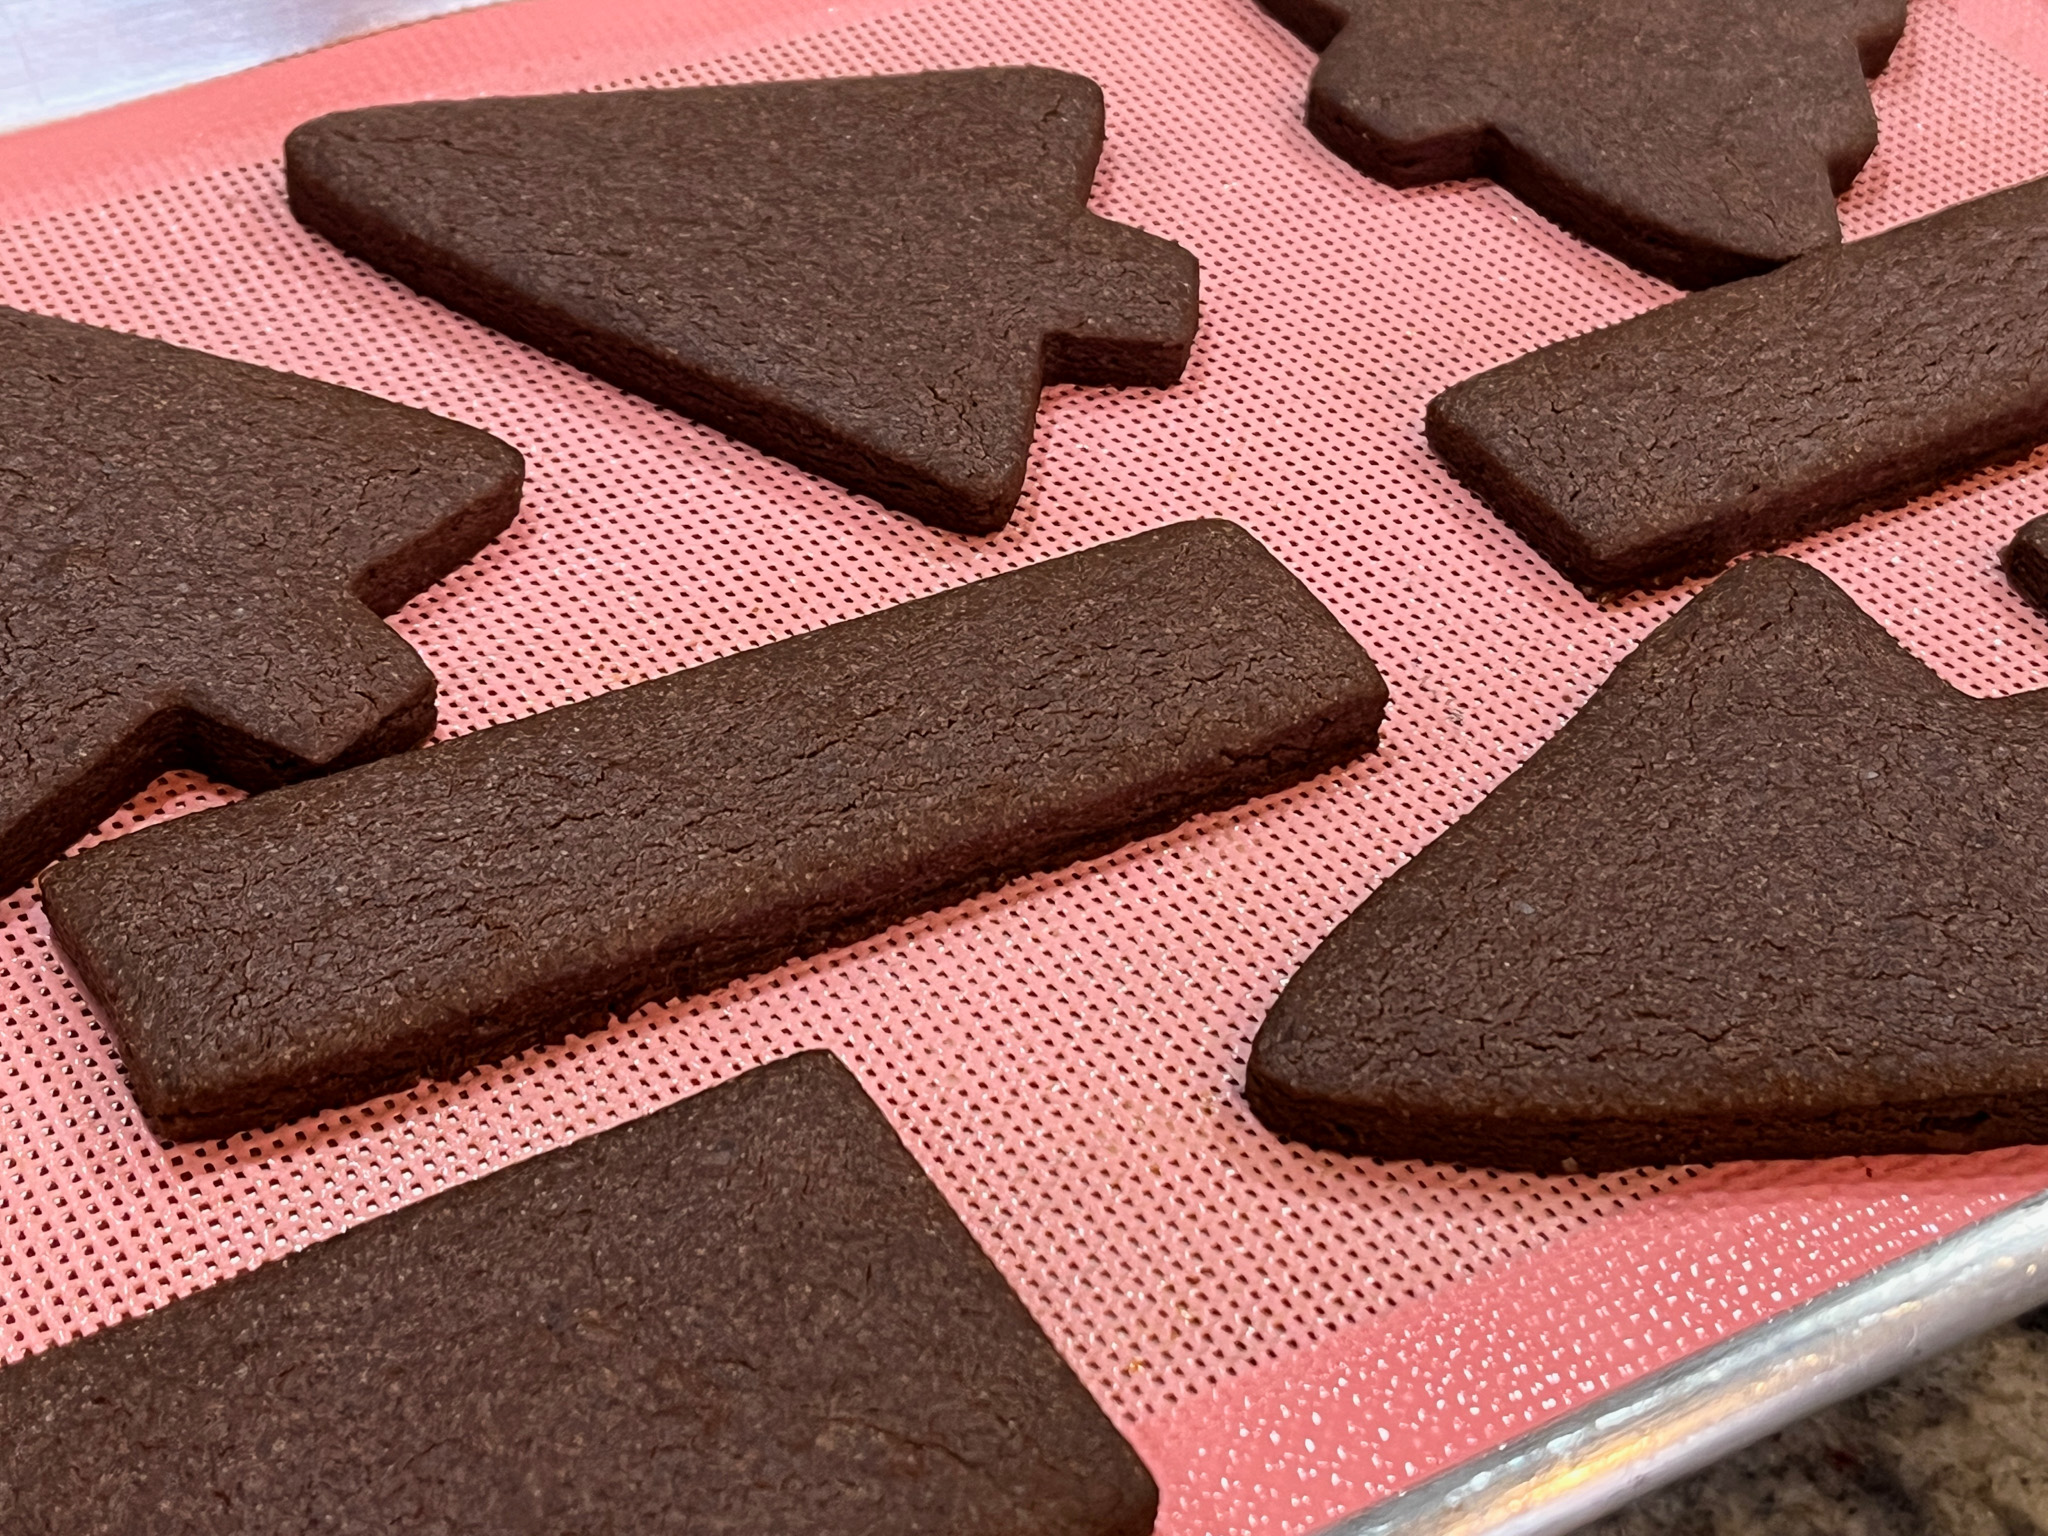
Have you noticed I bake a lot of cookies? Did you know I have blog devoted JUST for cookies? I hope you do know… But what you may not know is that I’m pretty partial to perforated mats for baking. And this brand, that makes pink ones, is my favorite. The cookies do not darken excessively, bake just right.
In our kitchen…
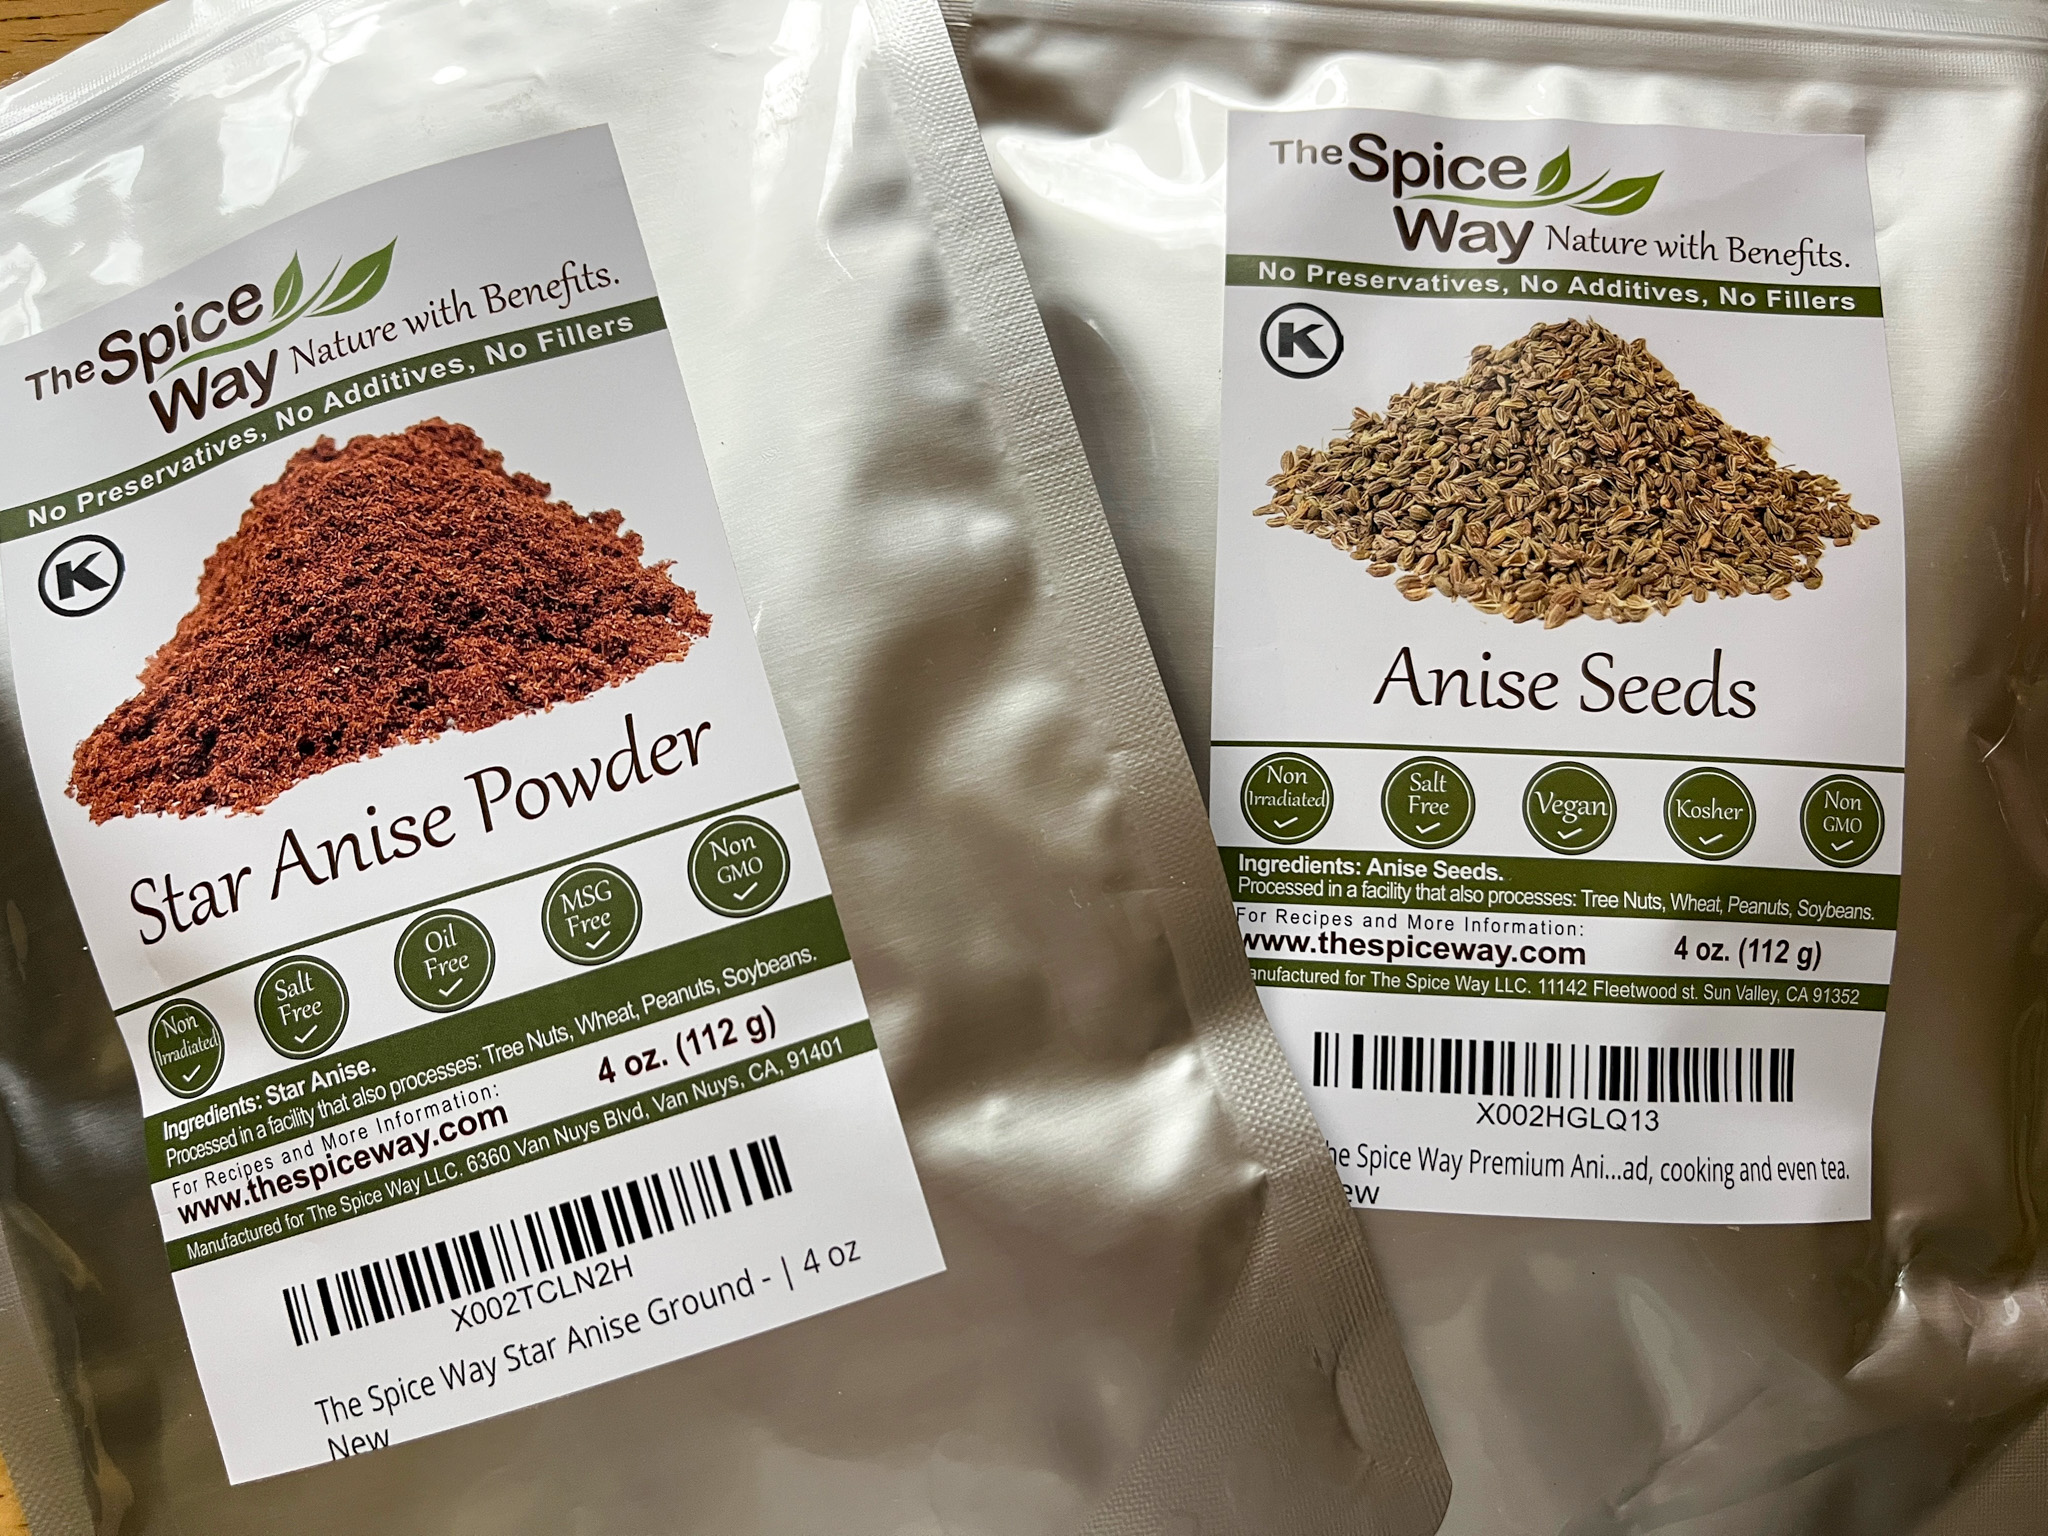
I love the quality of spices from this company… One of my favorites to use in gingerbread is Star Anise powder. Highly recommend it.
In our kitchen…
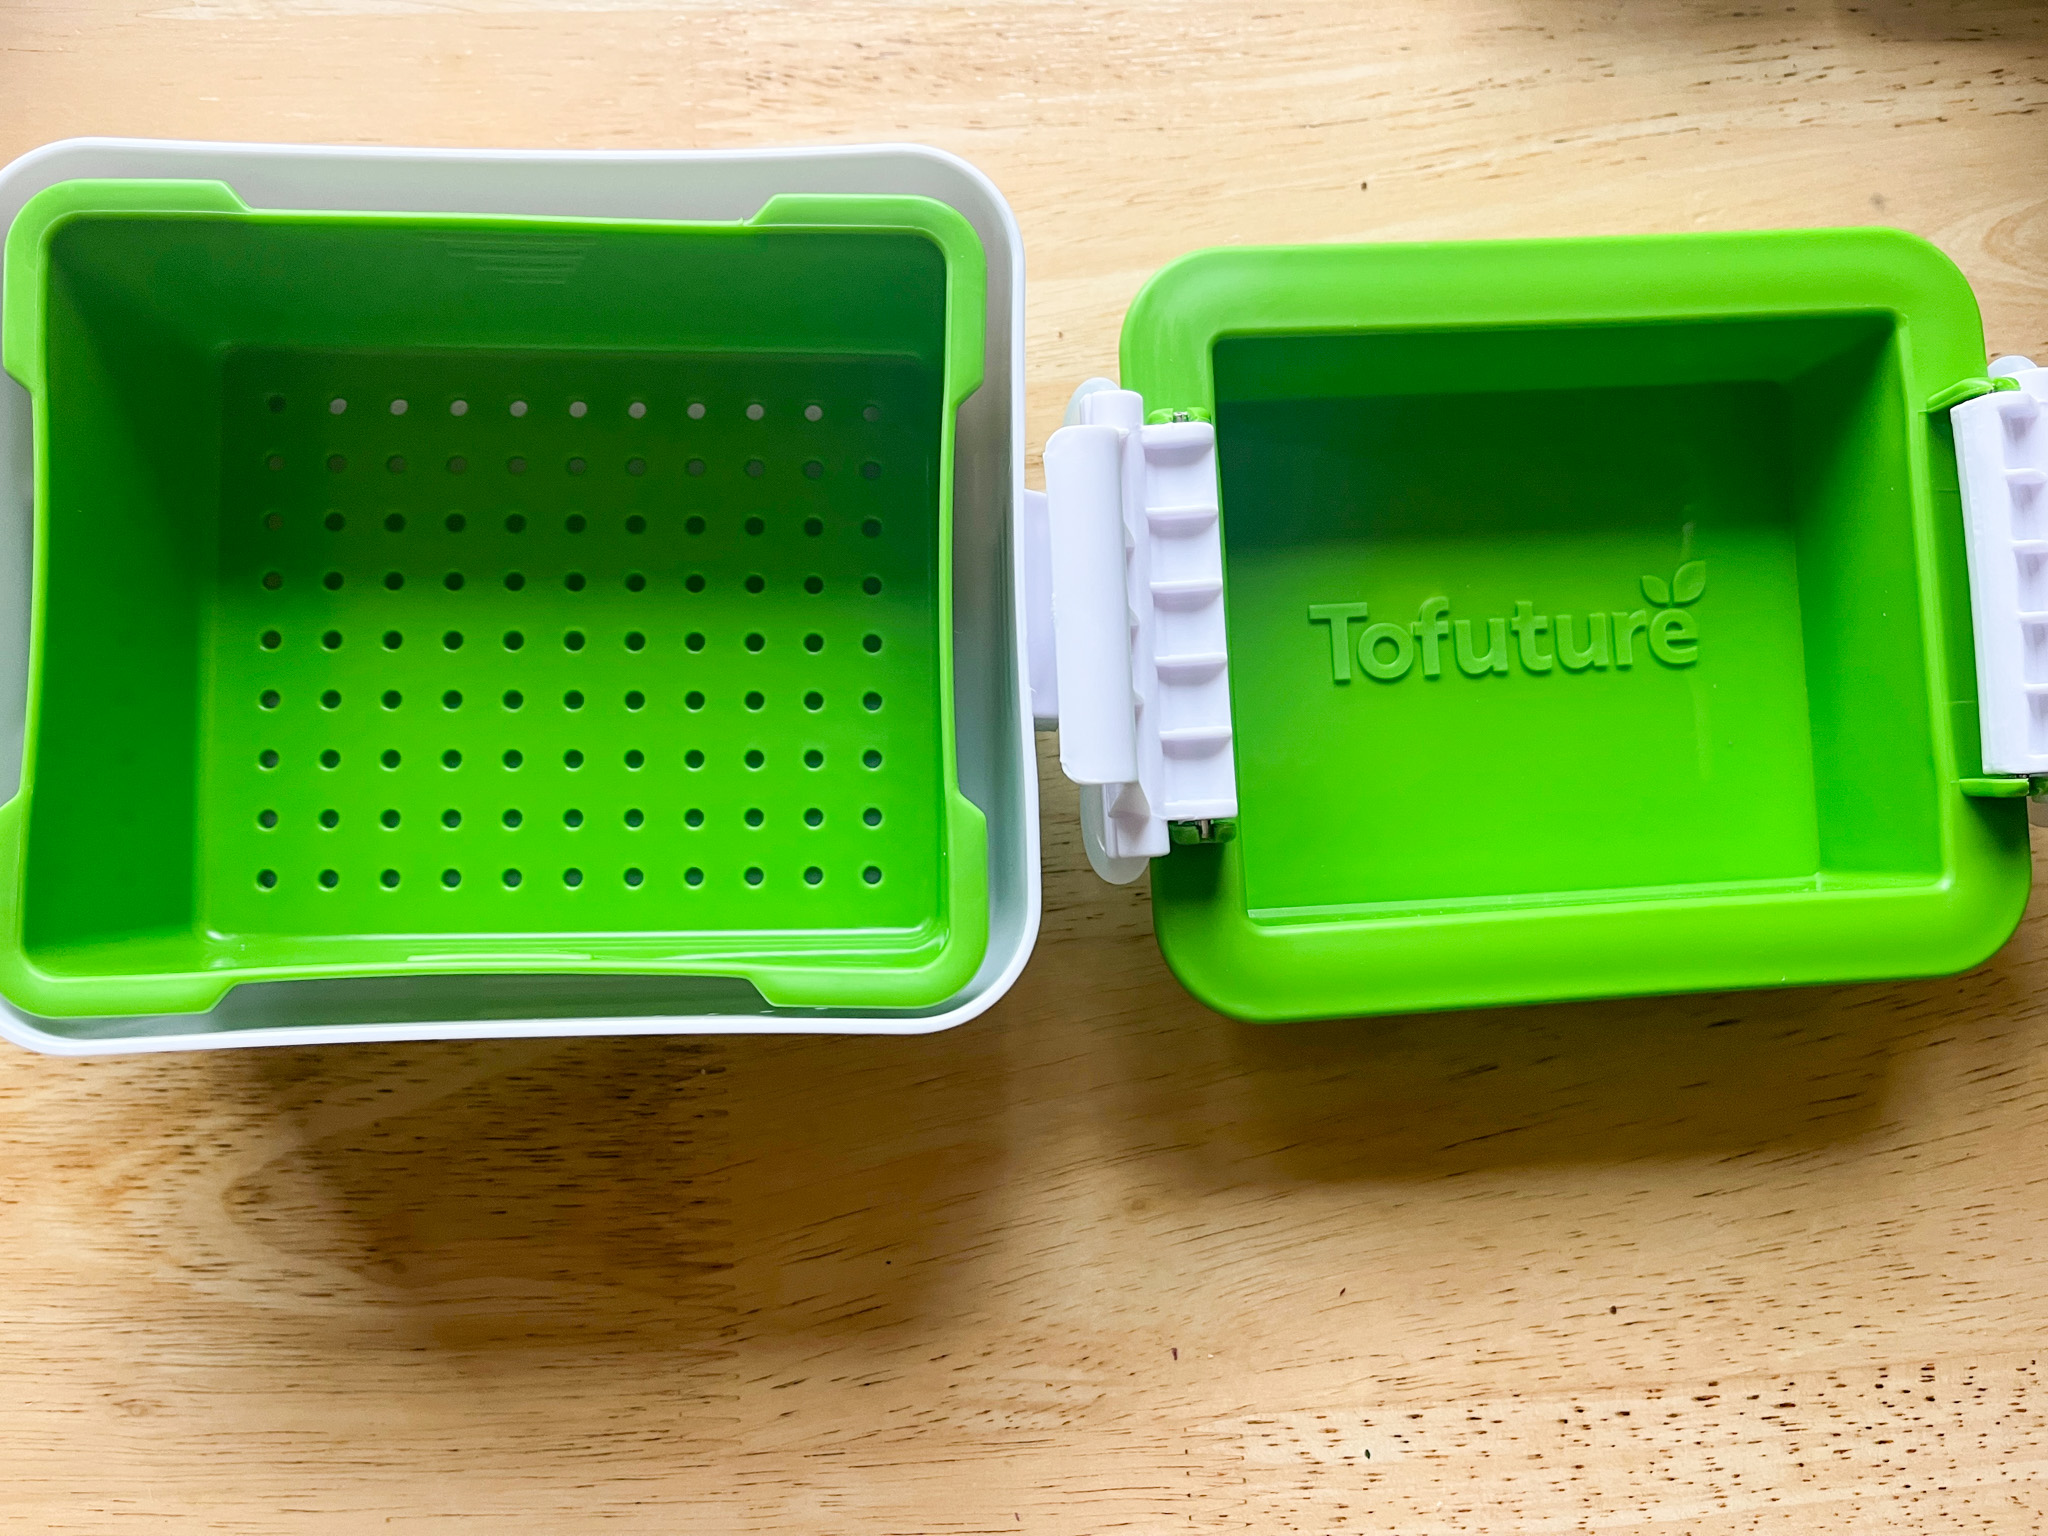
A tofu press! I’ve been flirting with the idea of trying some interesting recipes using tofu, but they all call for pressing it before using. You know me, I like to have the right tools for the job, so I ordered this one. Will report back once I put it to use.
In our kitchen…
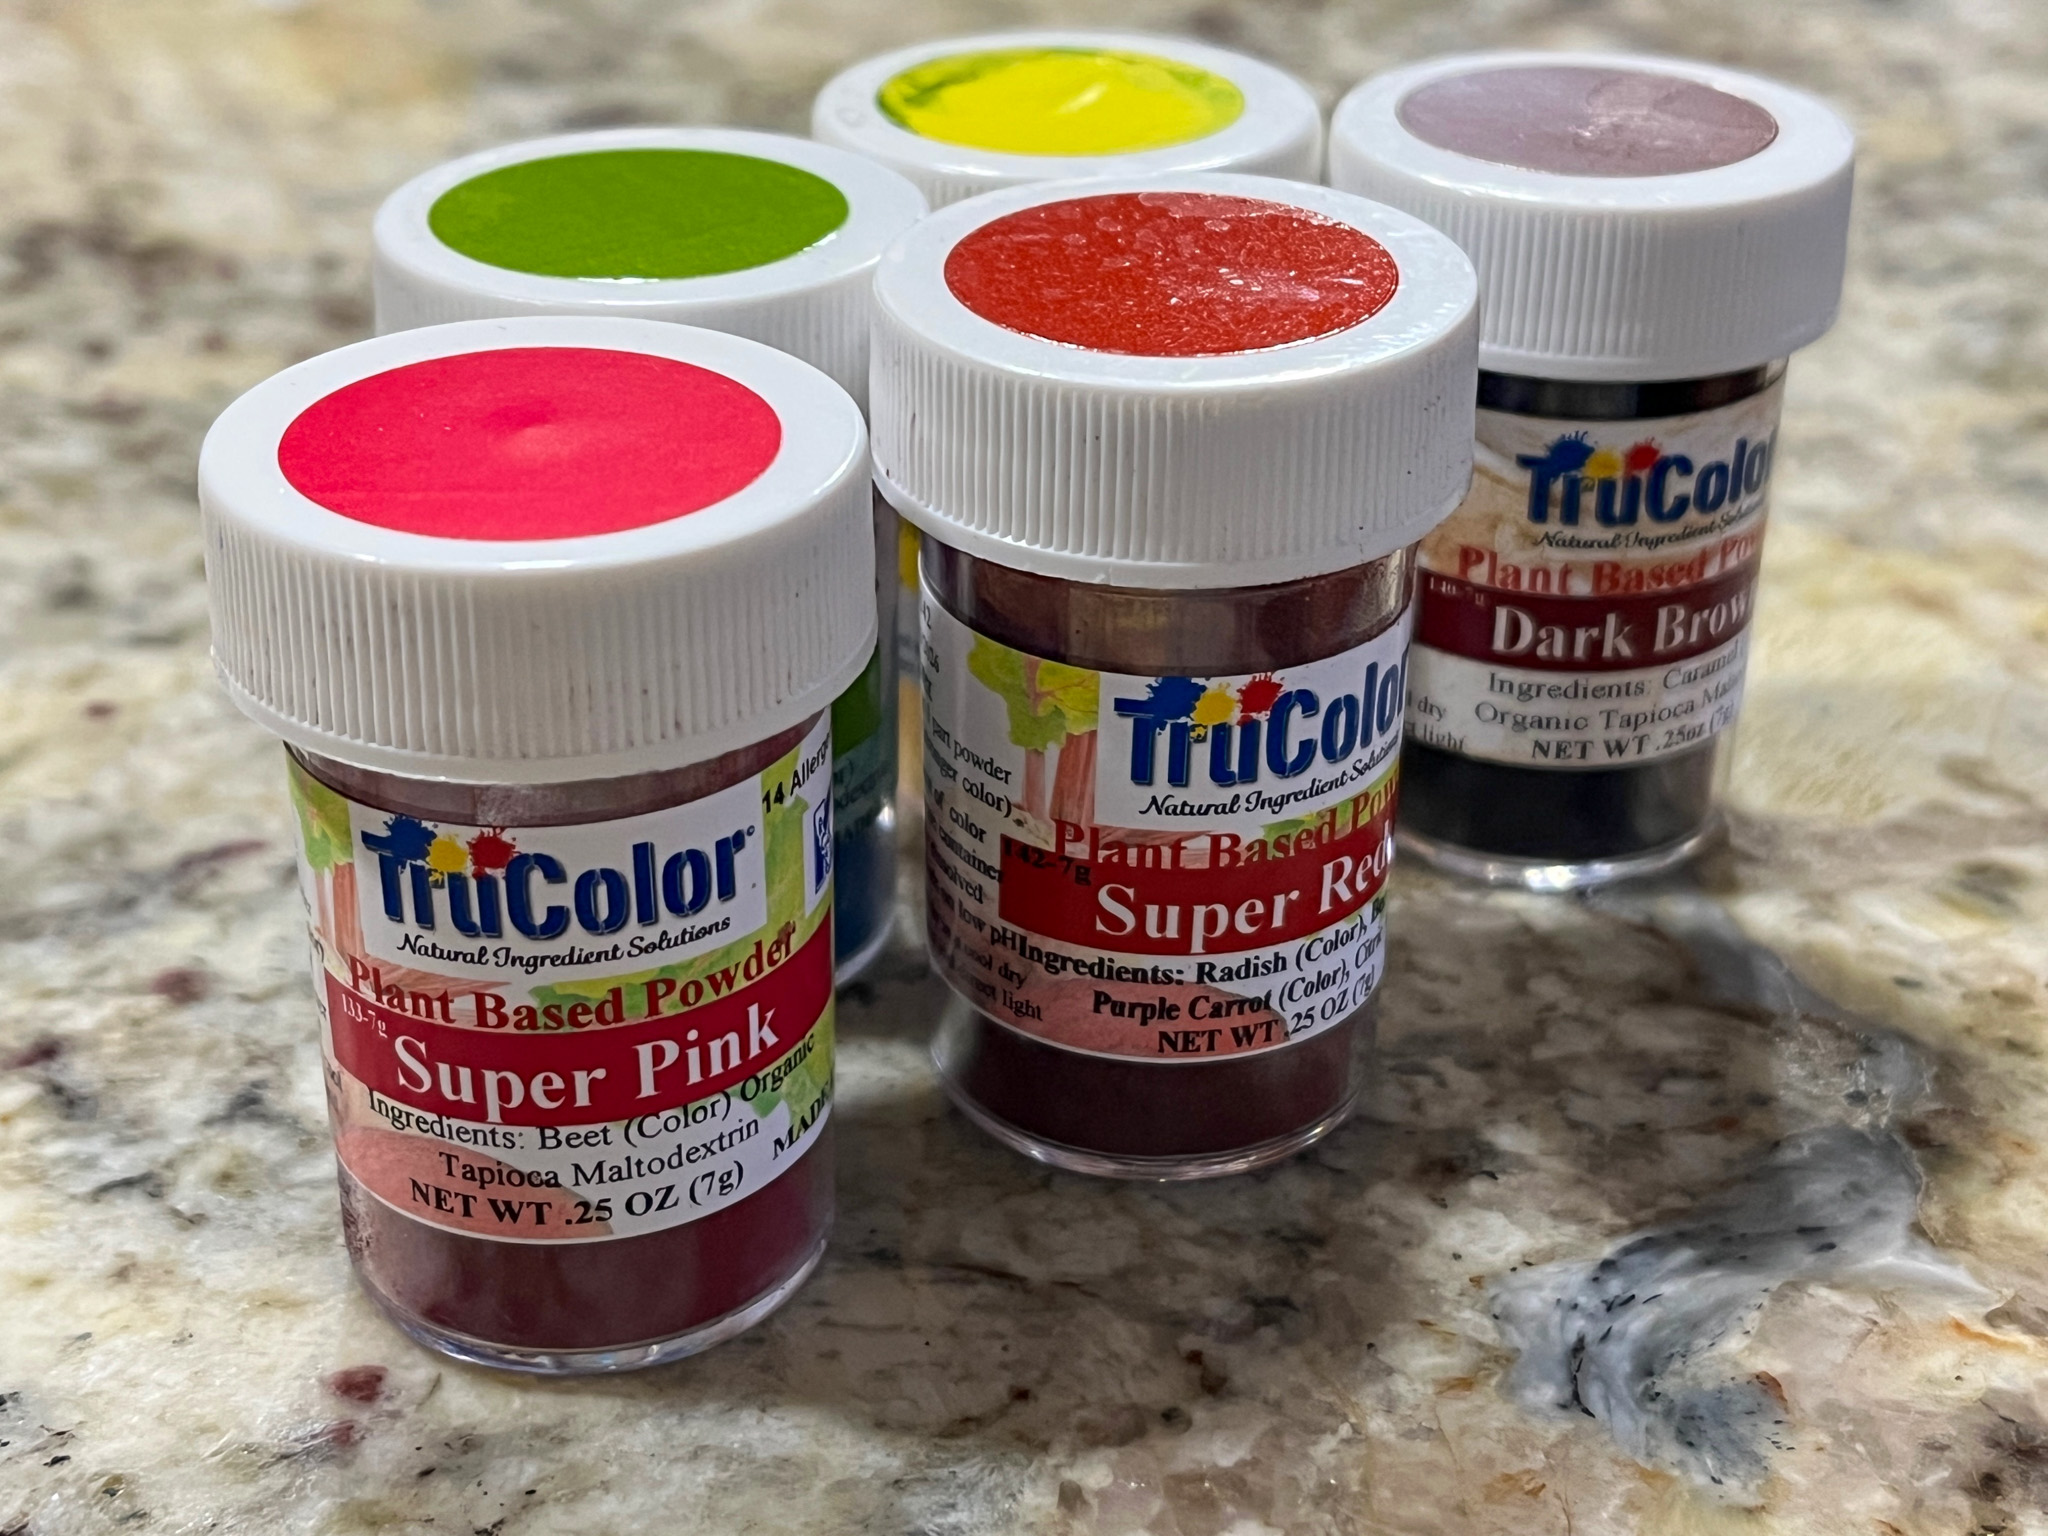
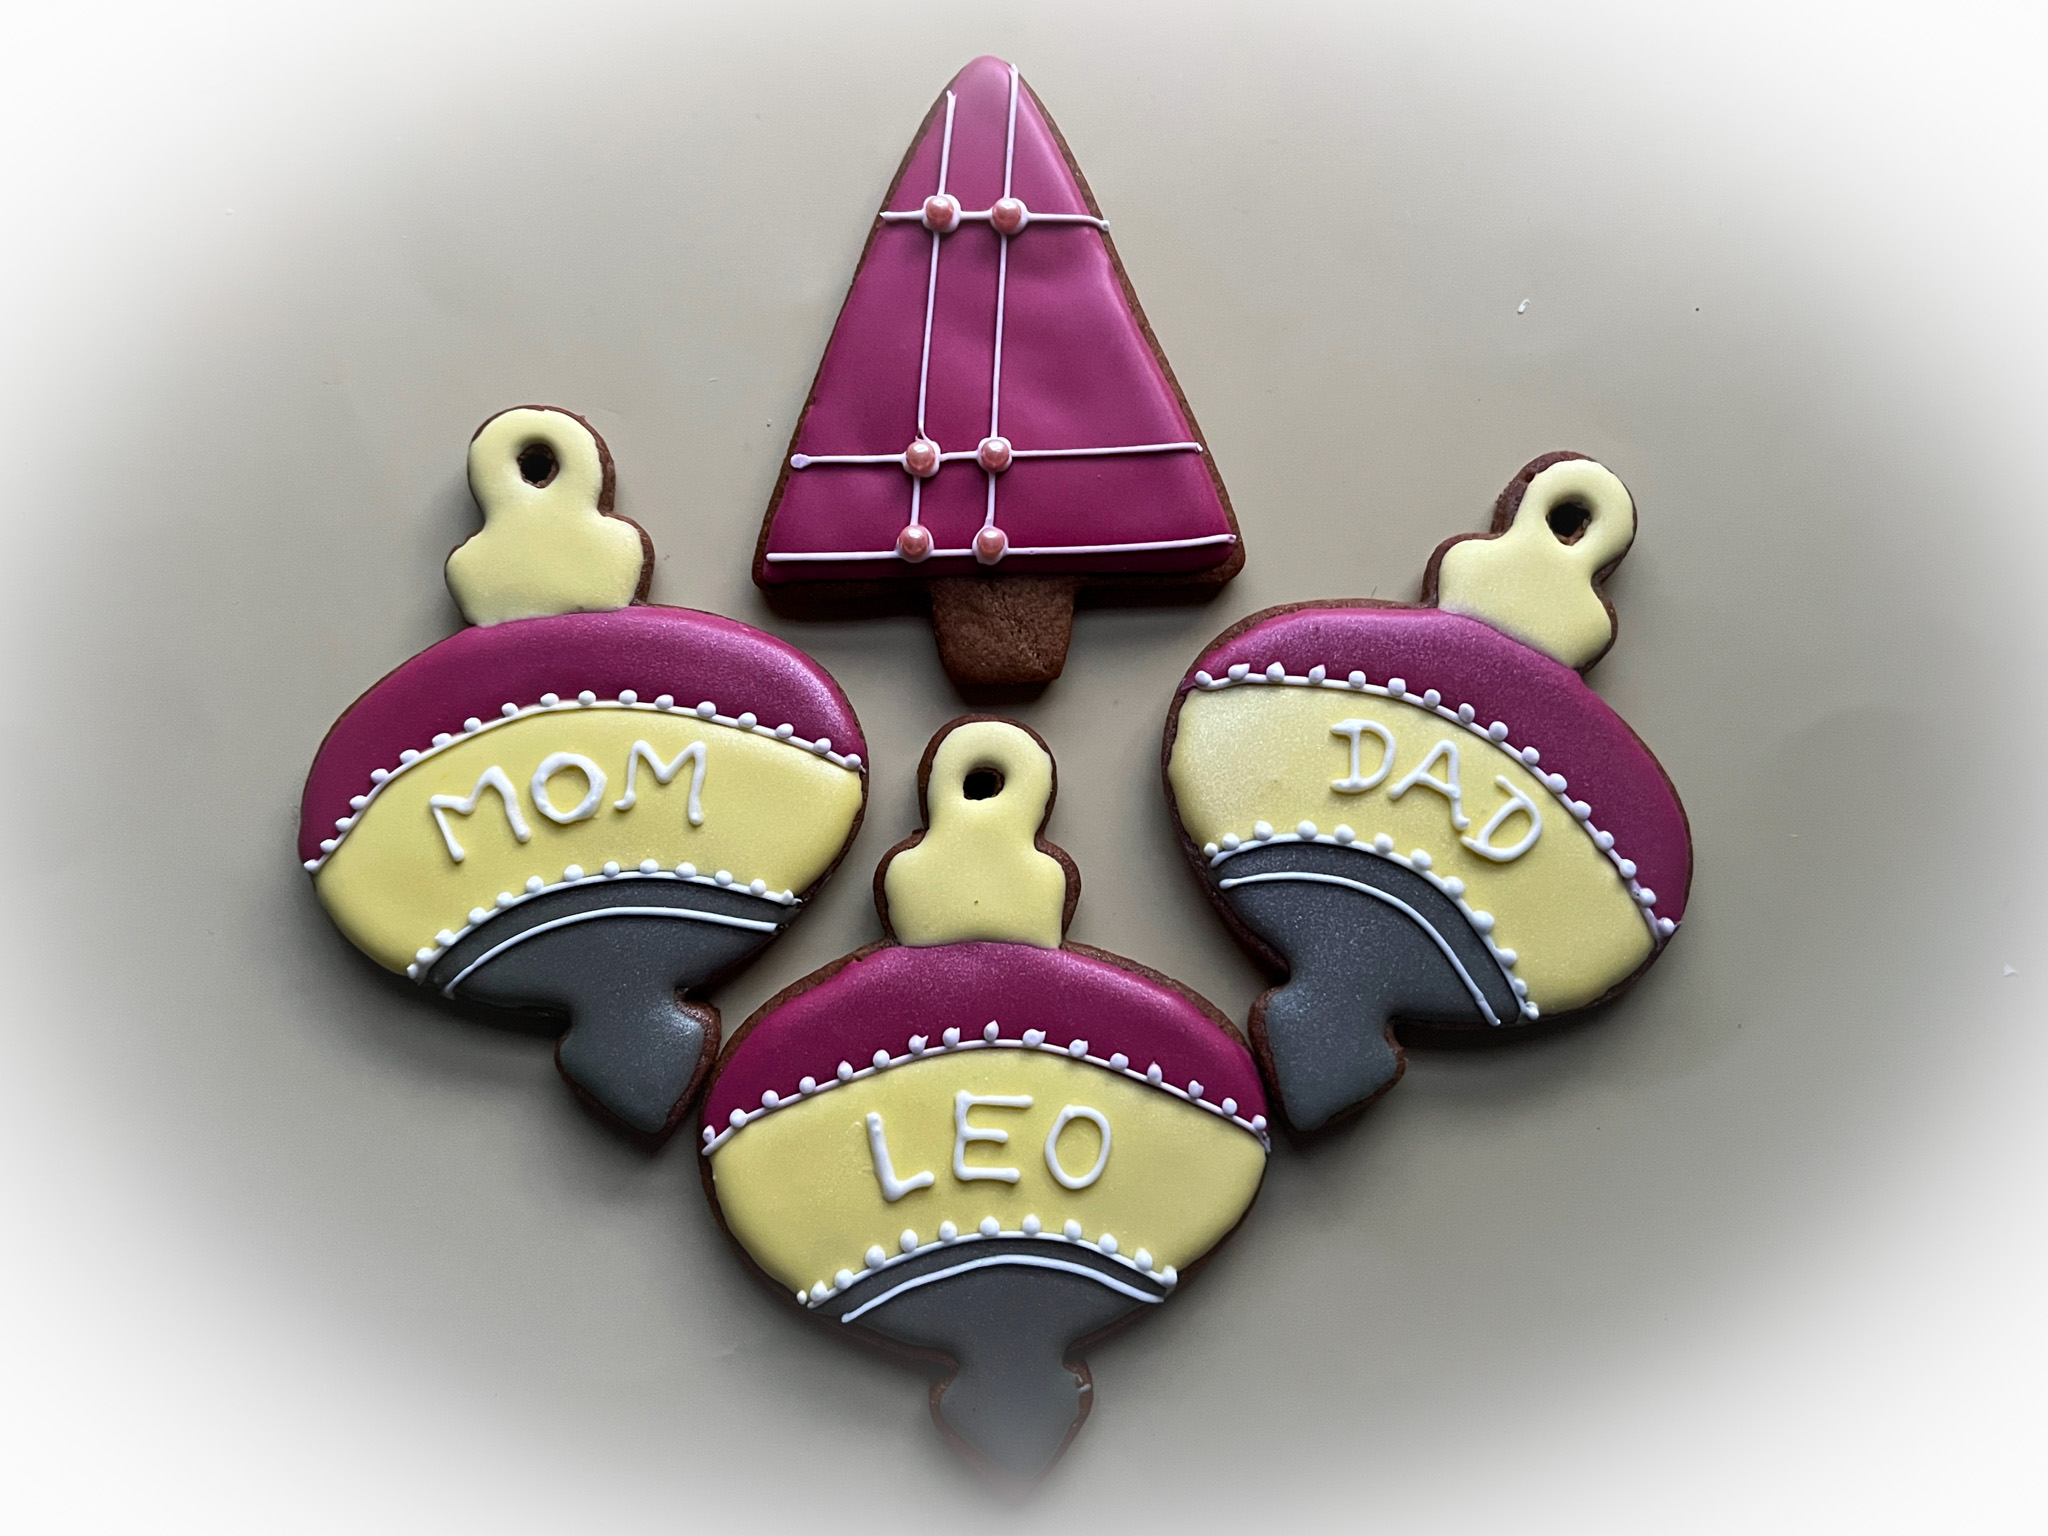
I bit the bullet and ordered some colors for cookie decorating that do not have artificial dyes. They are all made from natural ingredients – spinach, beets, raspberries. I tried a few color over the holiday season. I have to say I am very disappointed at the red. It is not really red, and to have enough color you need to use a lot but it always ends up with a more burgundy-mauve tone. Other colors behaved better. It will take a lot of practice but it might work in the end. Fingers crossed. This is a recent example of a red that is not quite the way I hoped.
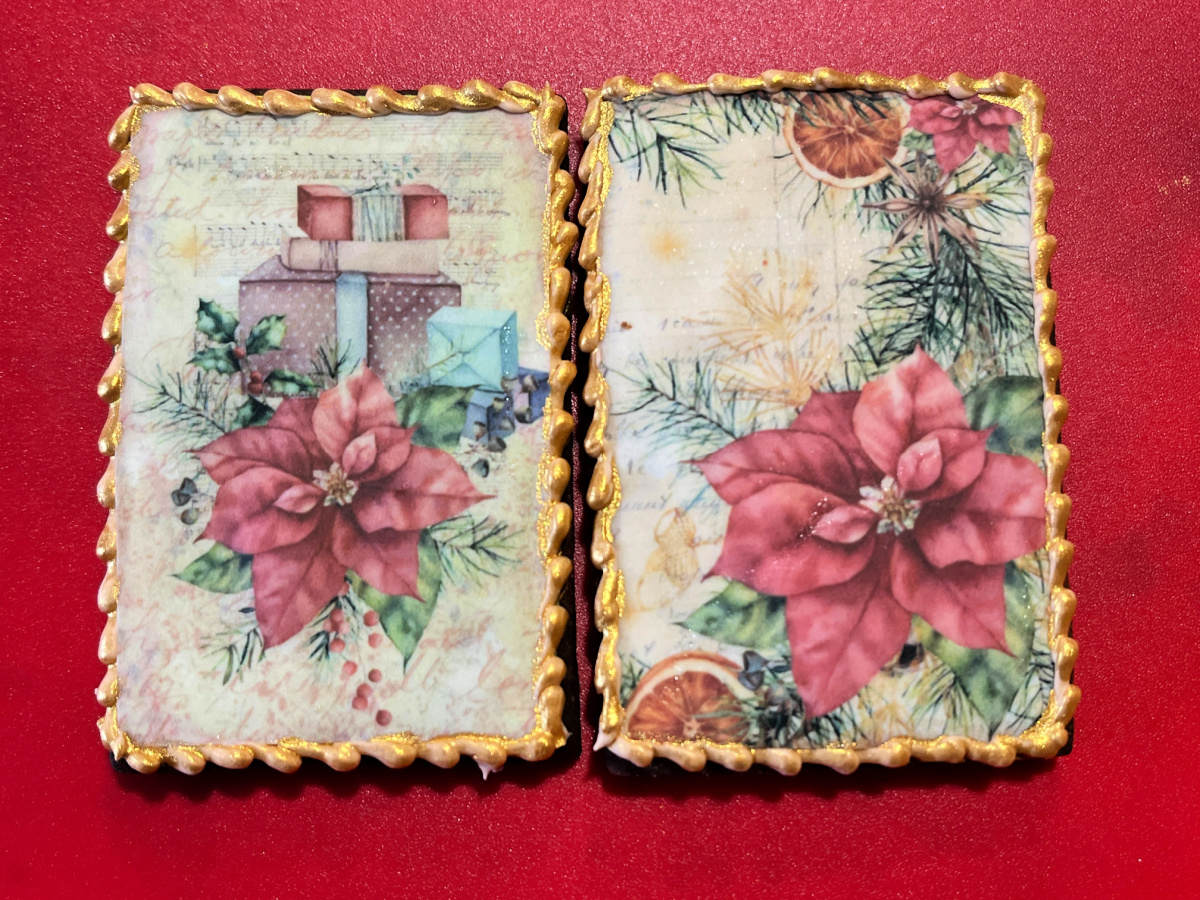
In our kitchen…
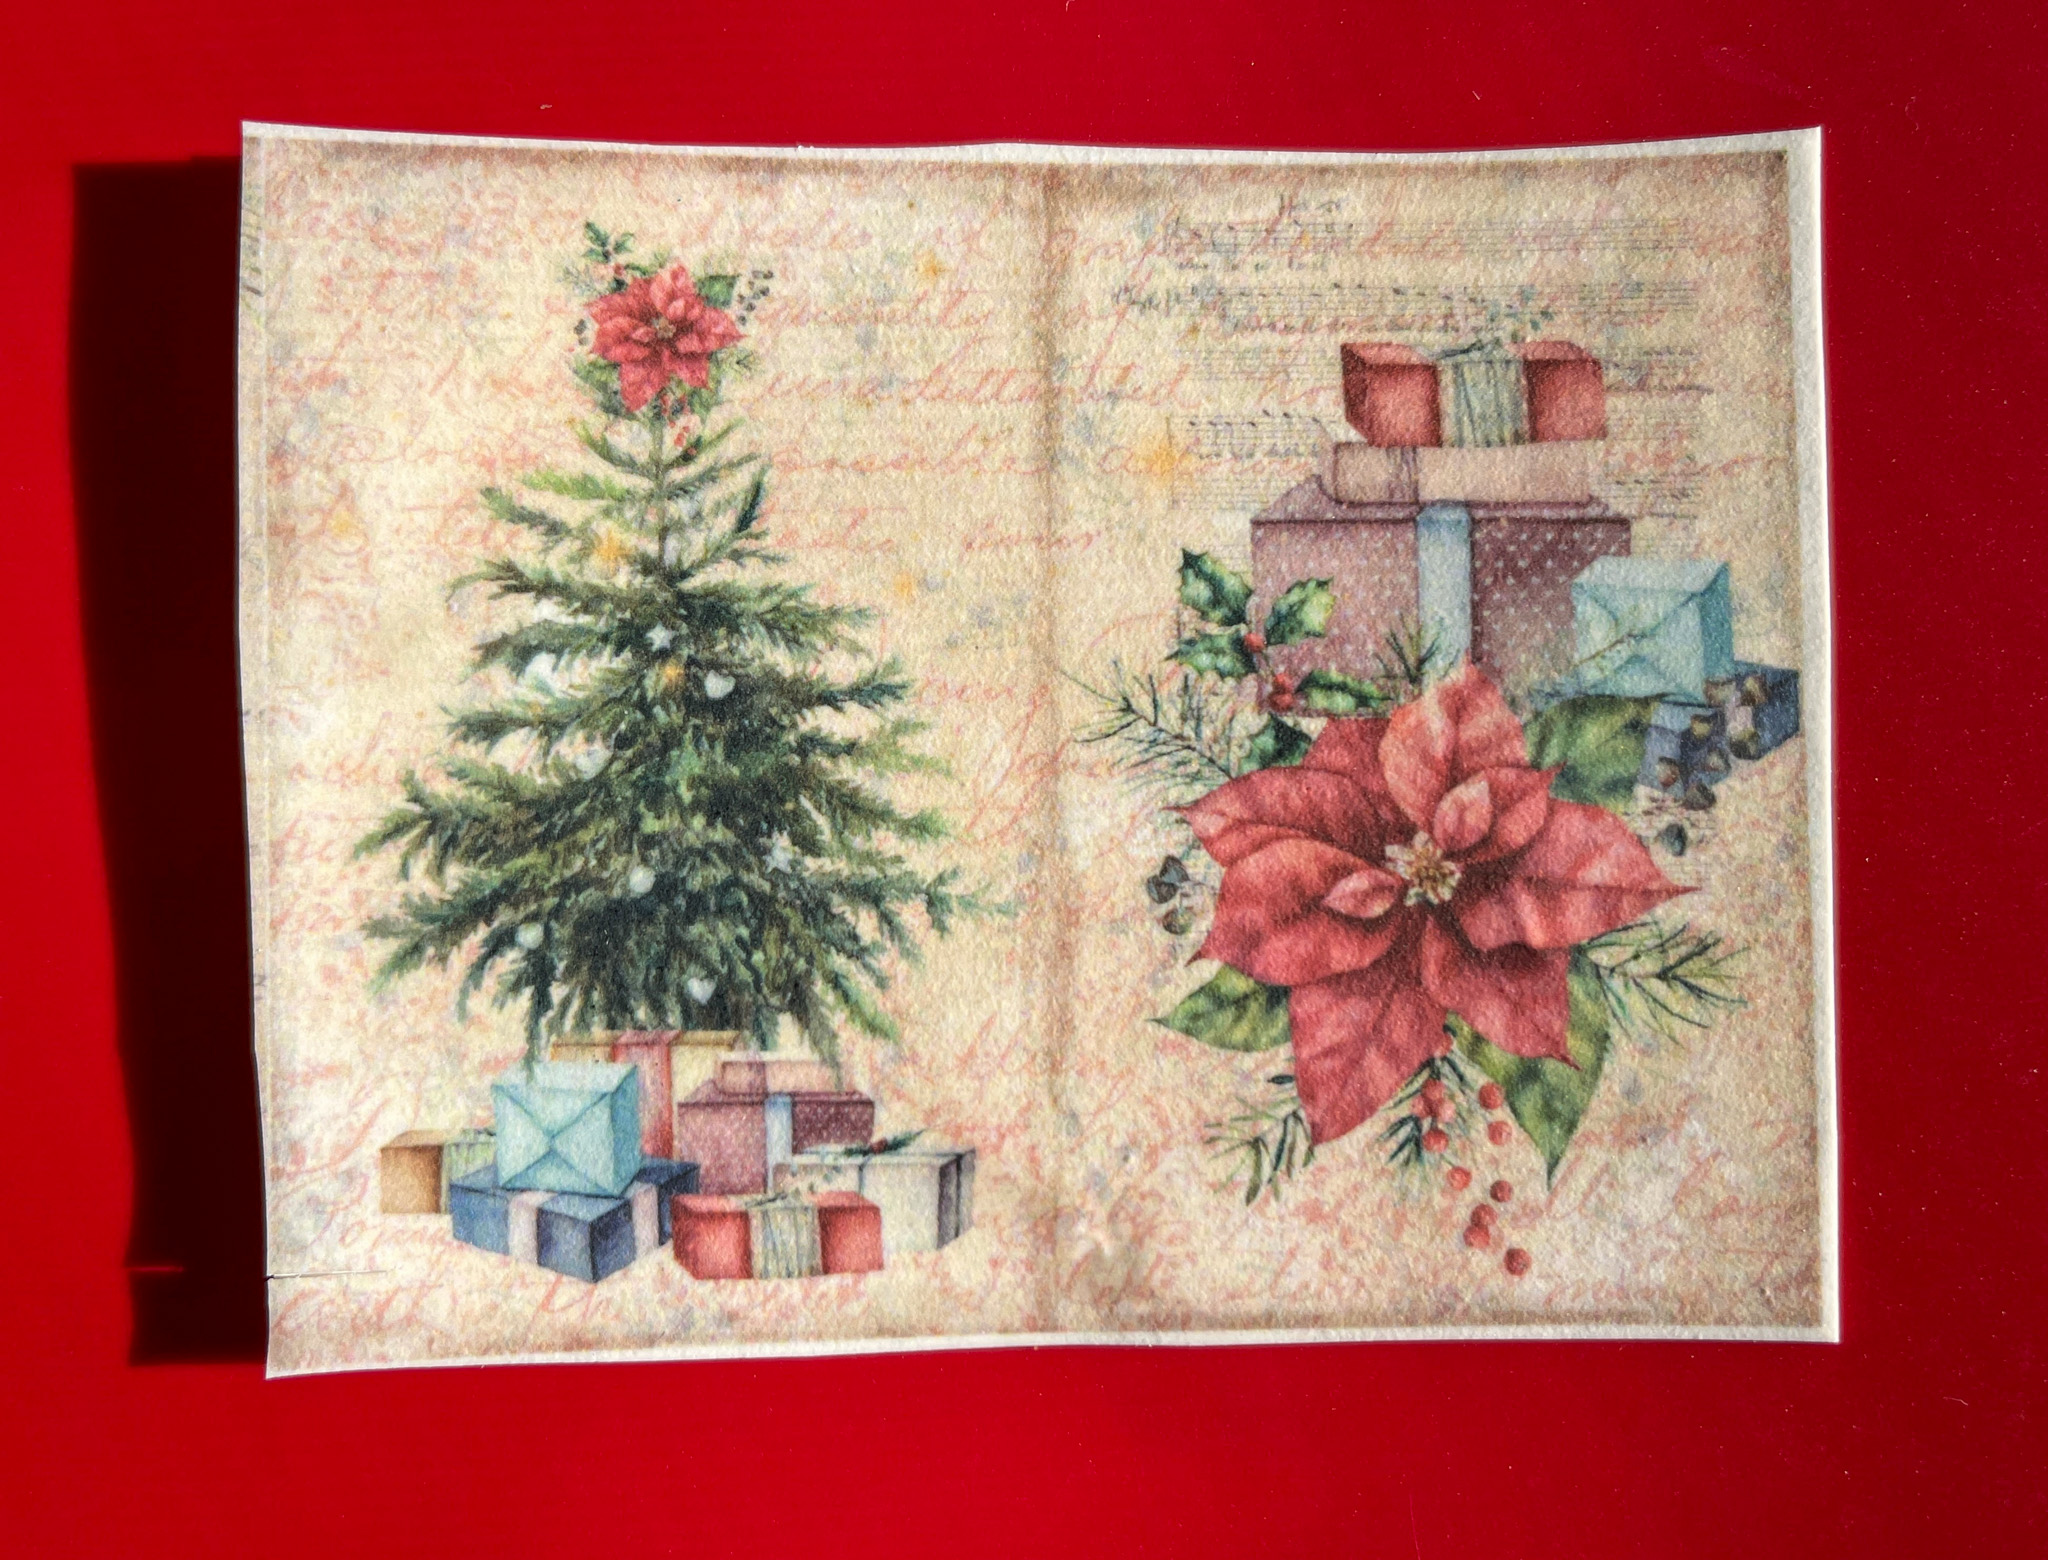
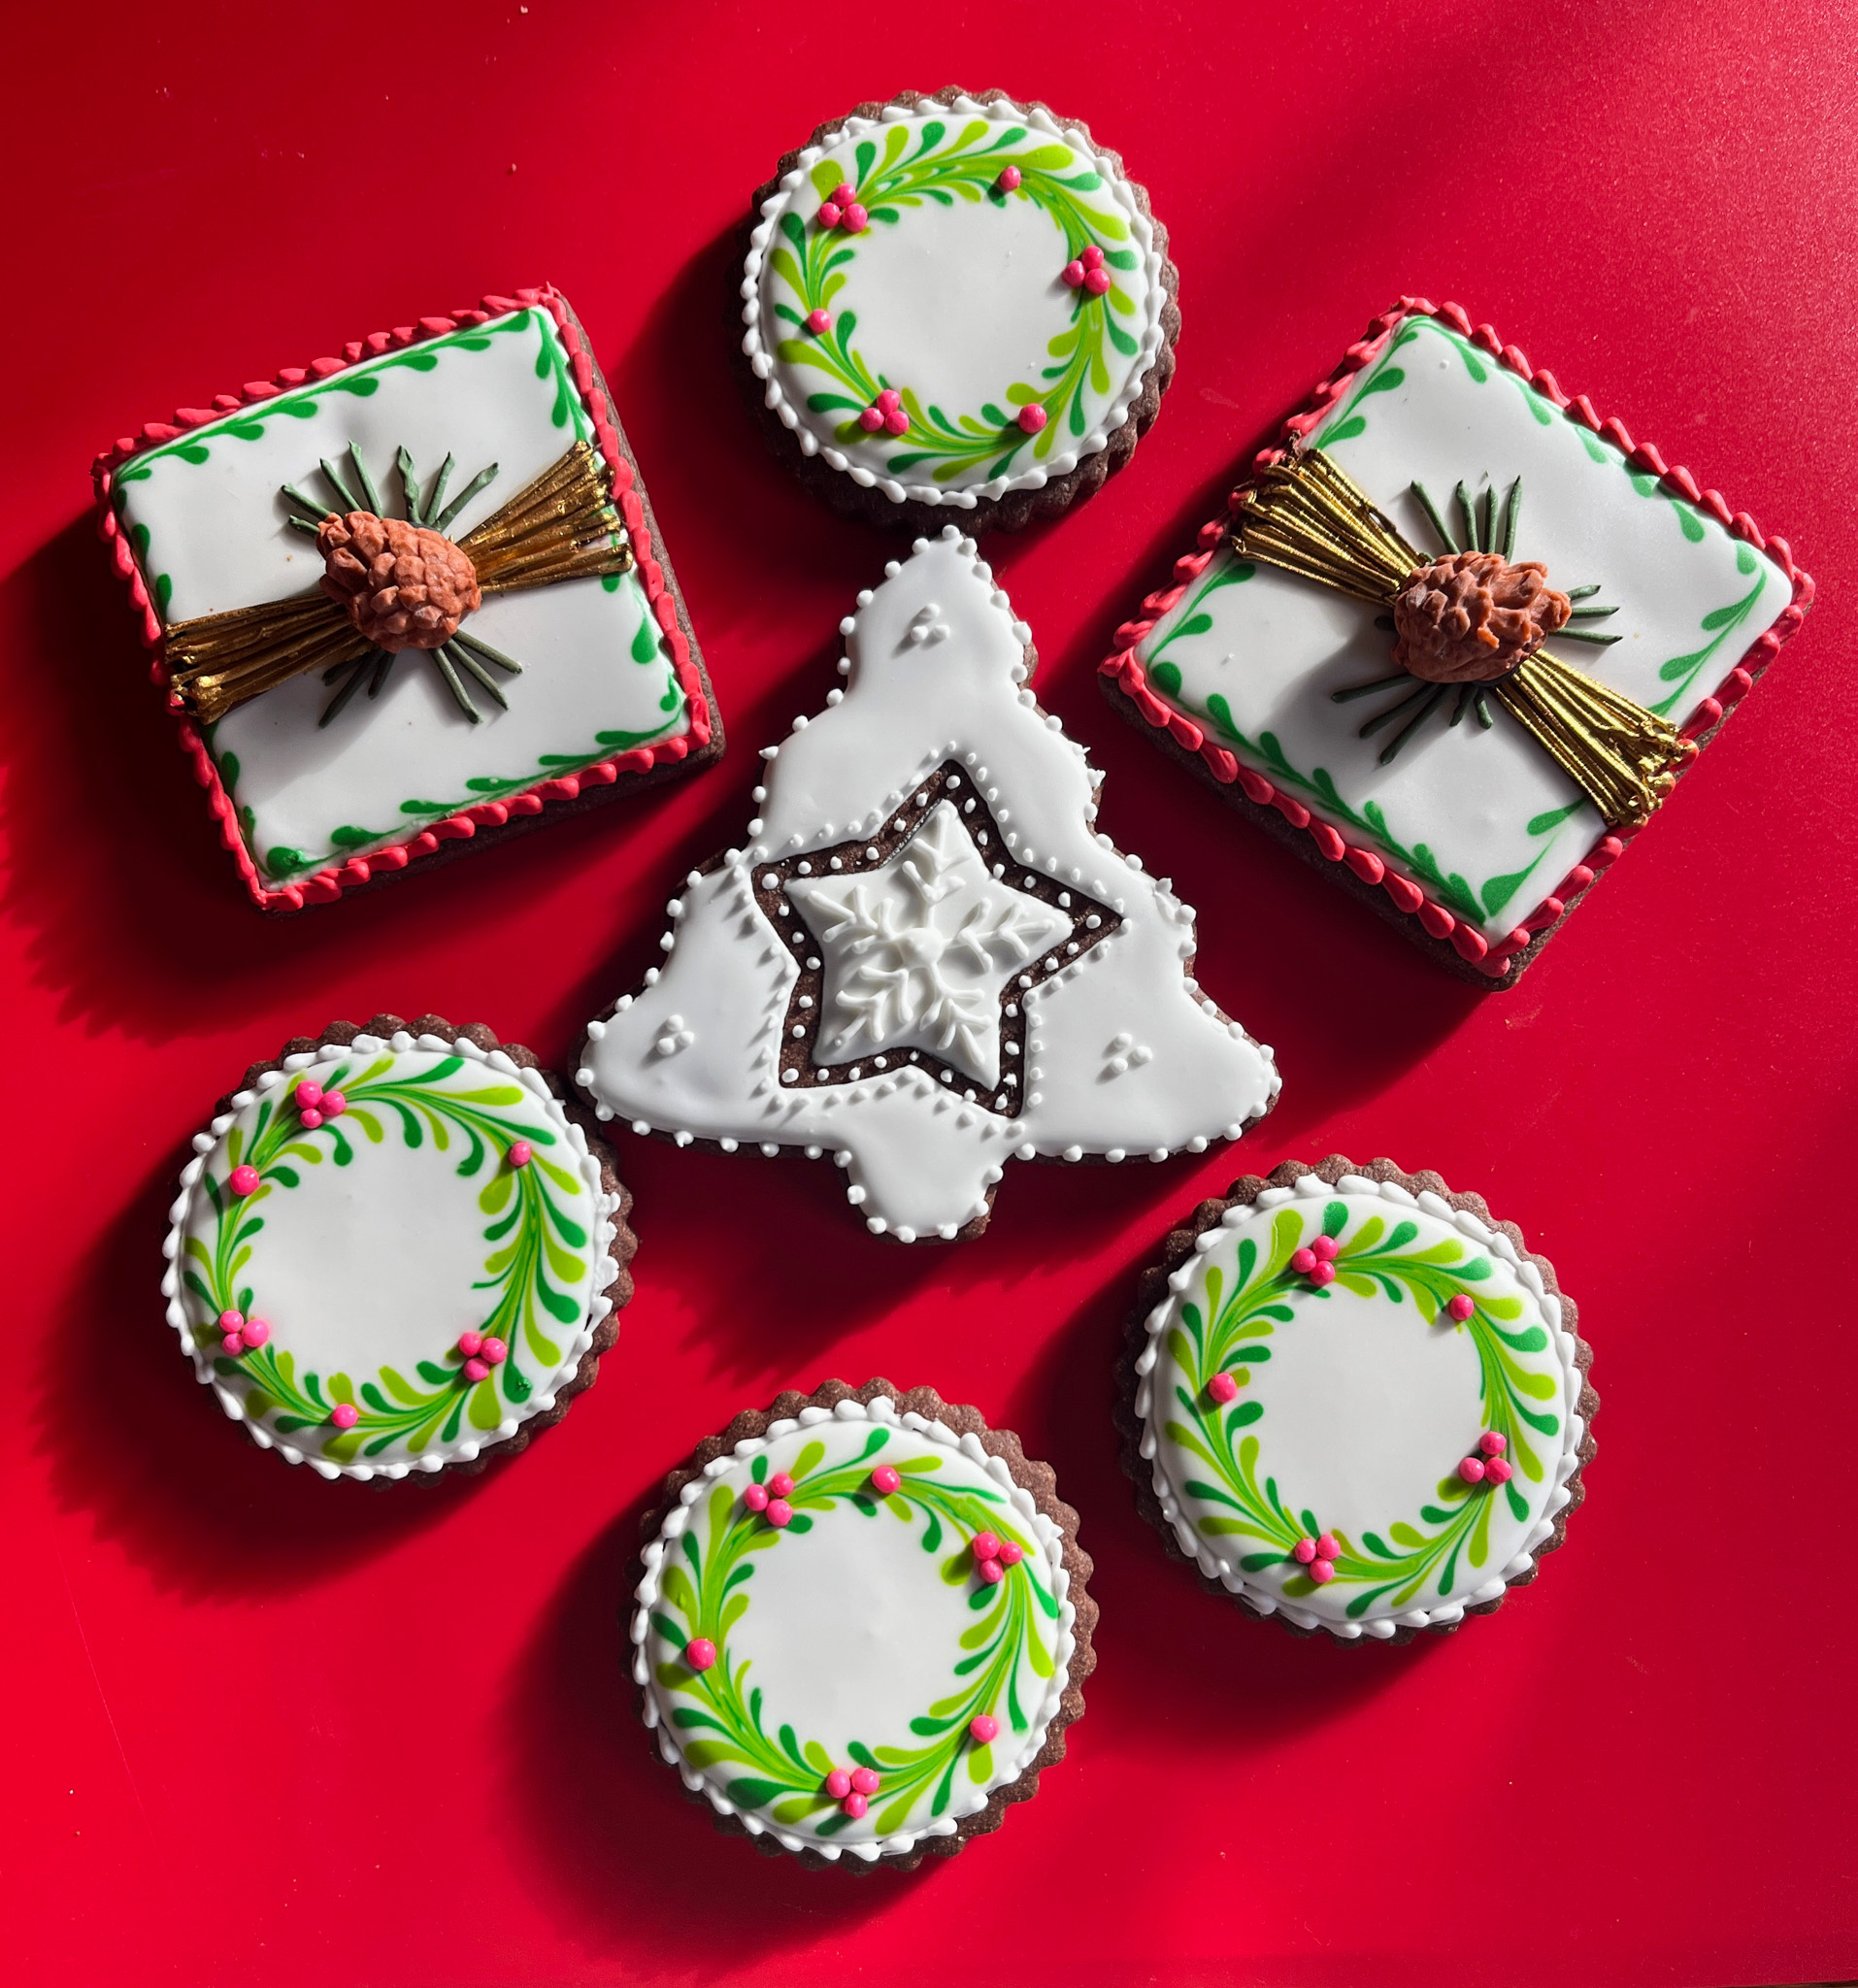
Printed wafer paper that can be used to decorate cookies. I got them at evilcakegenius, all in Christmas motifs (click here). They are easy to glue to iced cookies with a little brushing of corn syrup as glue. Here they are, over chocolate cookies.
In our kitchen… or rather…. in our basement!
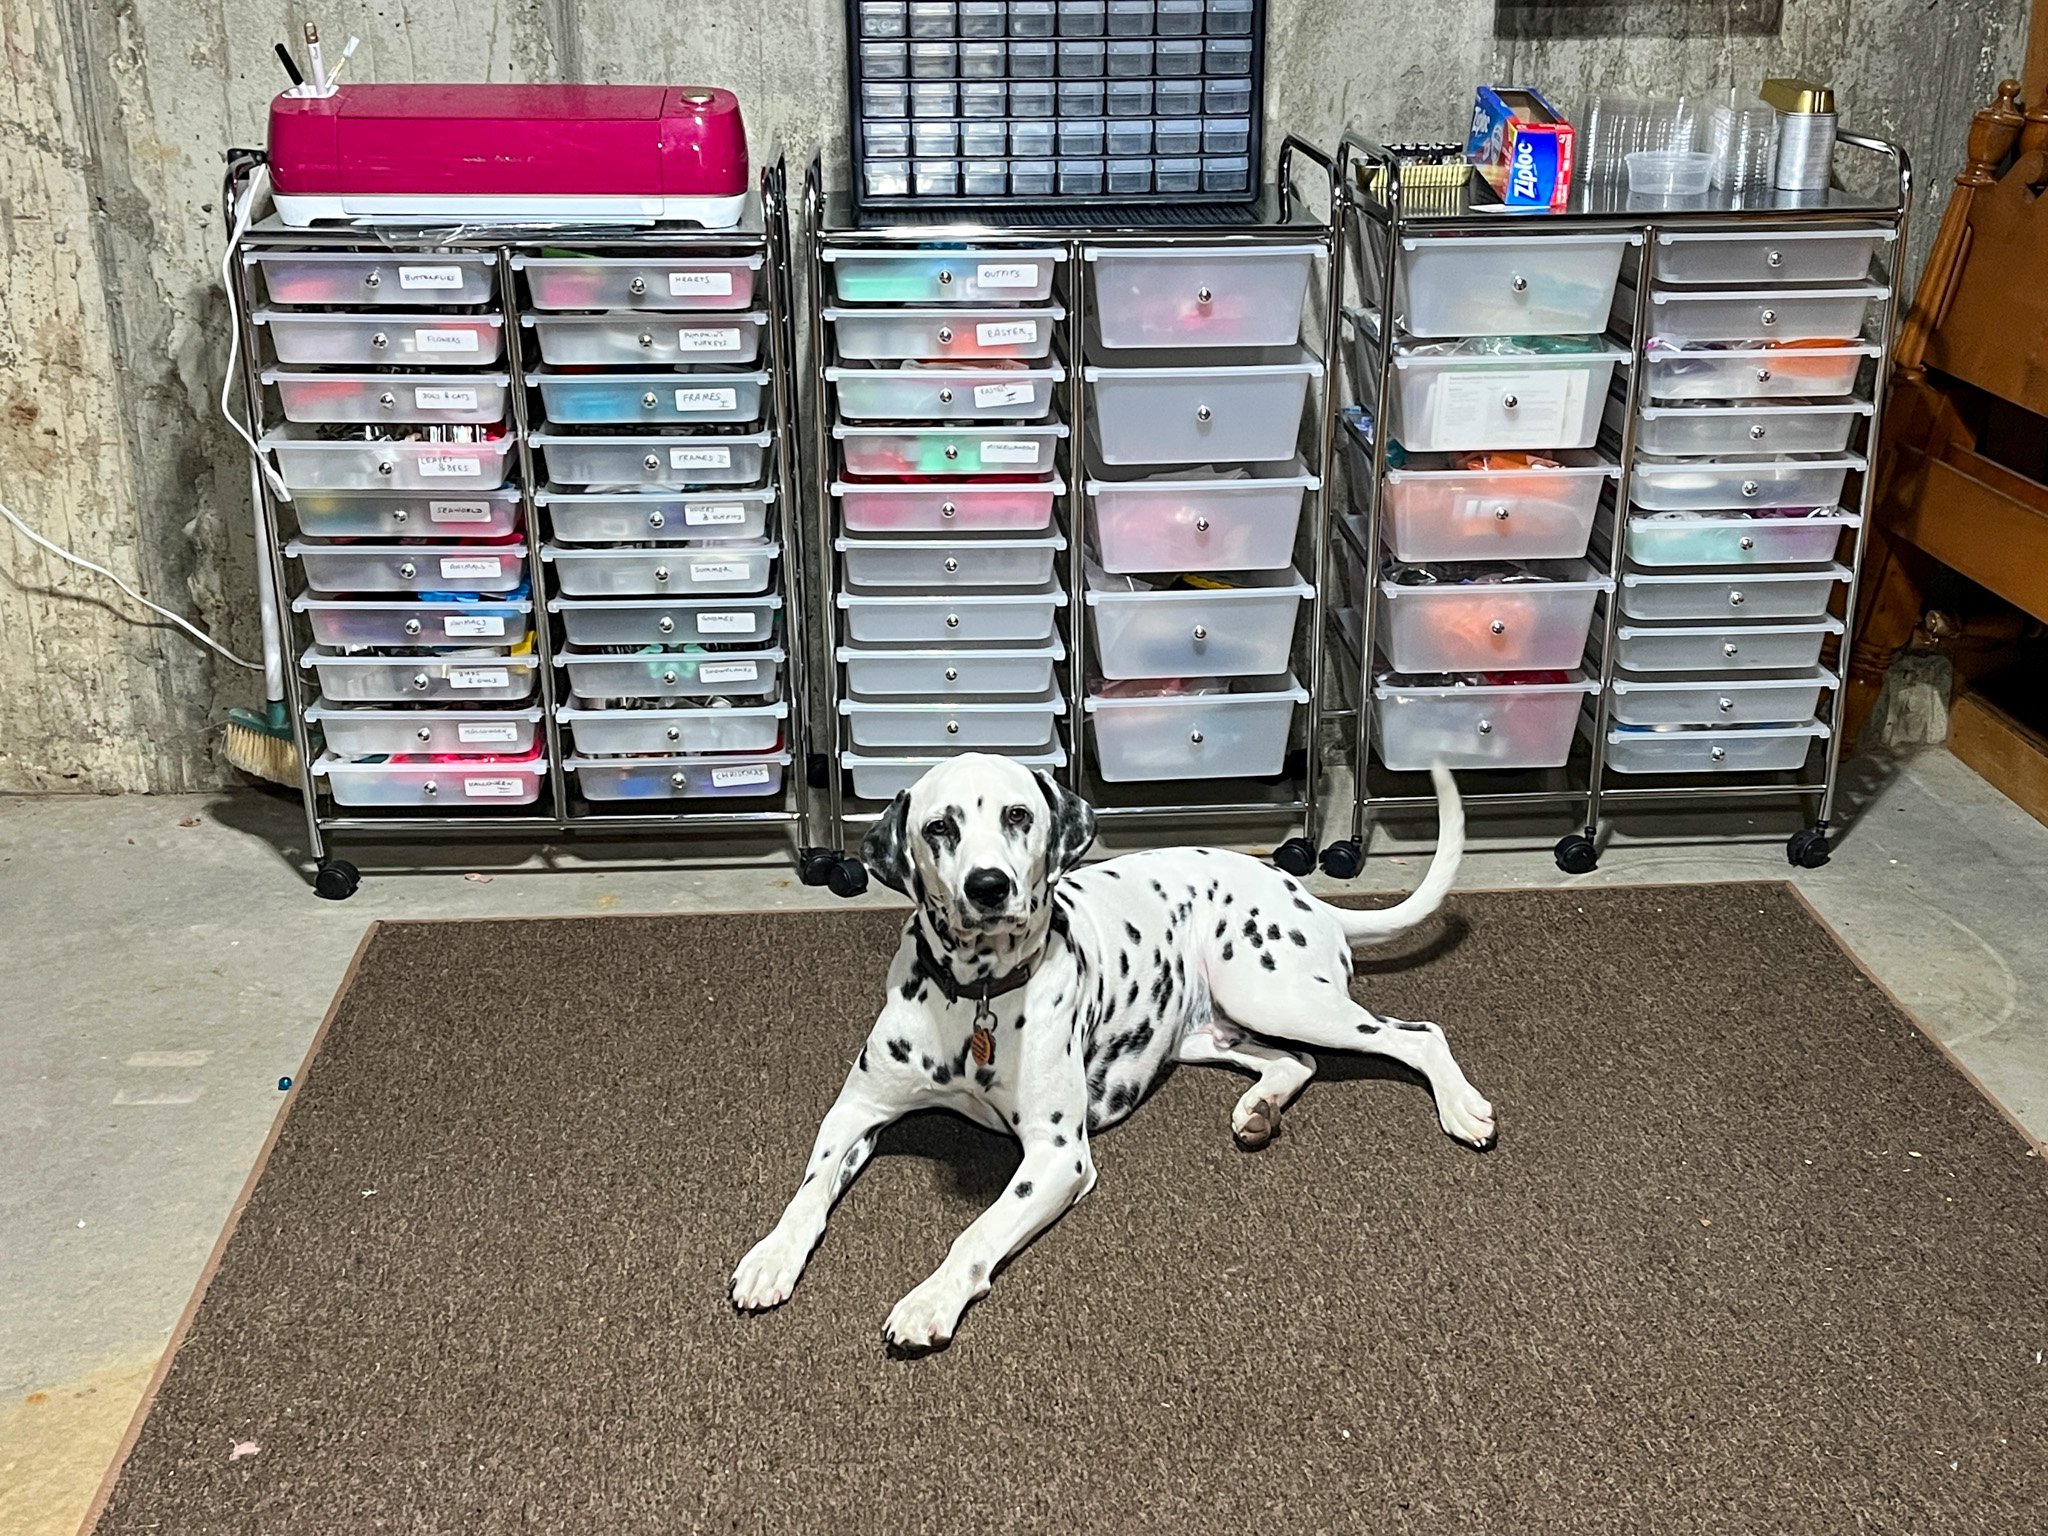
My “small collection” of cookie cutters, in an attempt of organization, and guarded by Royalty…

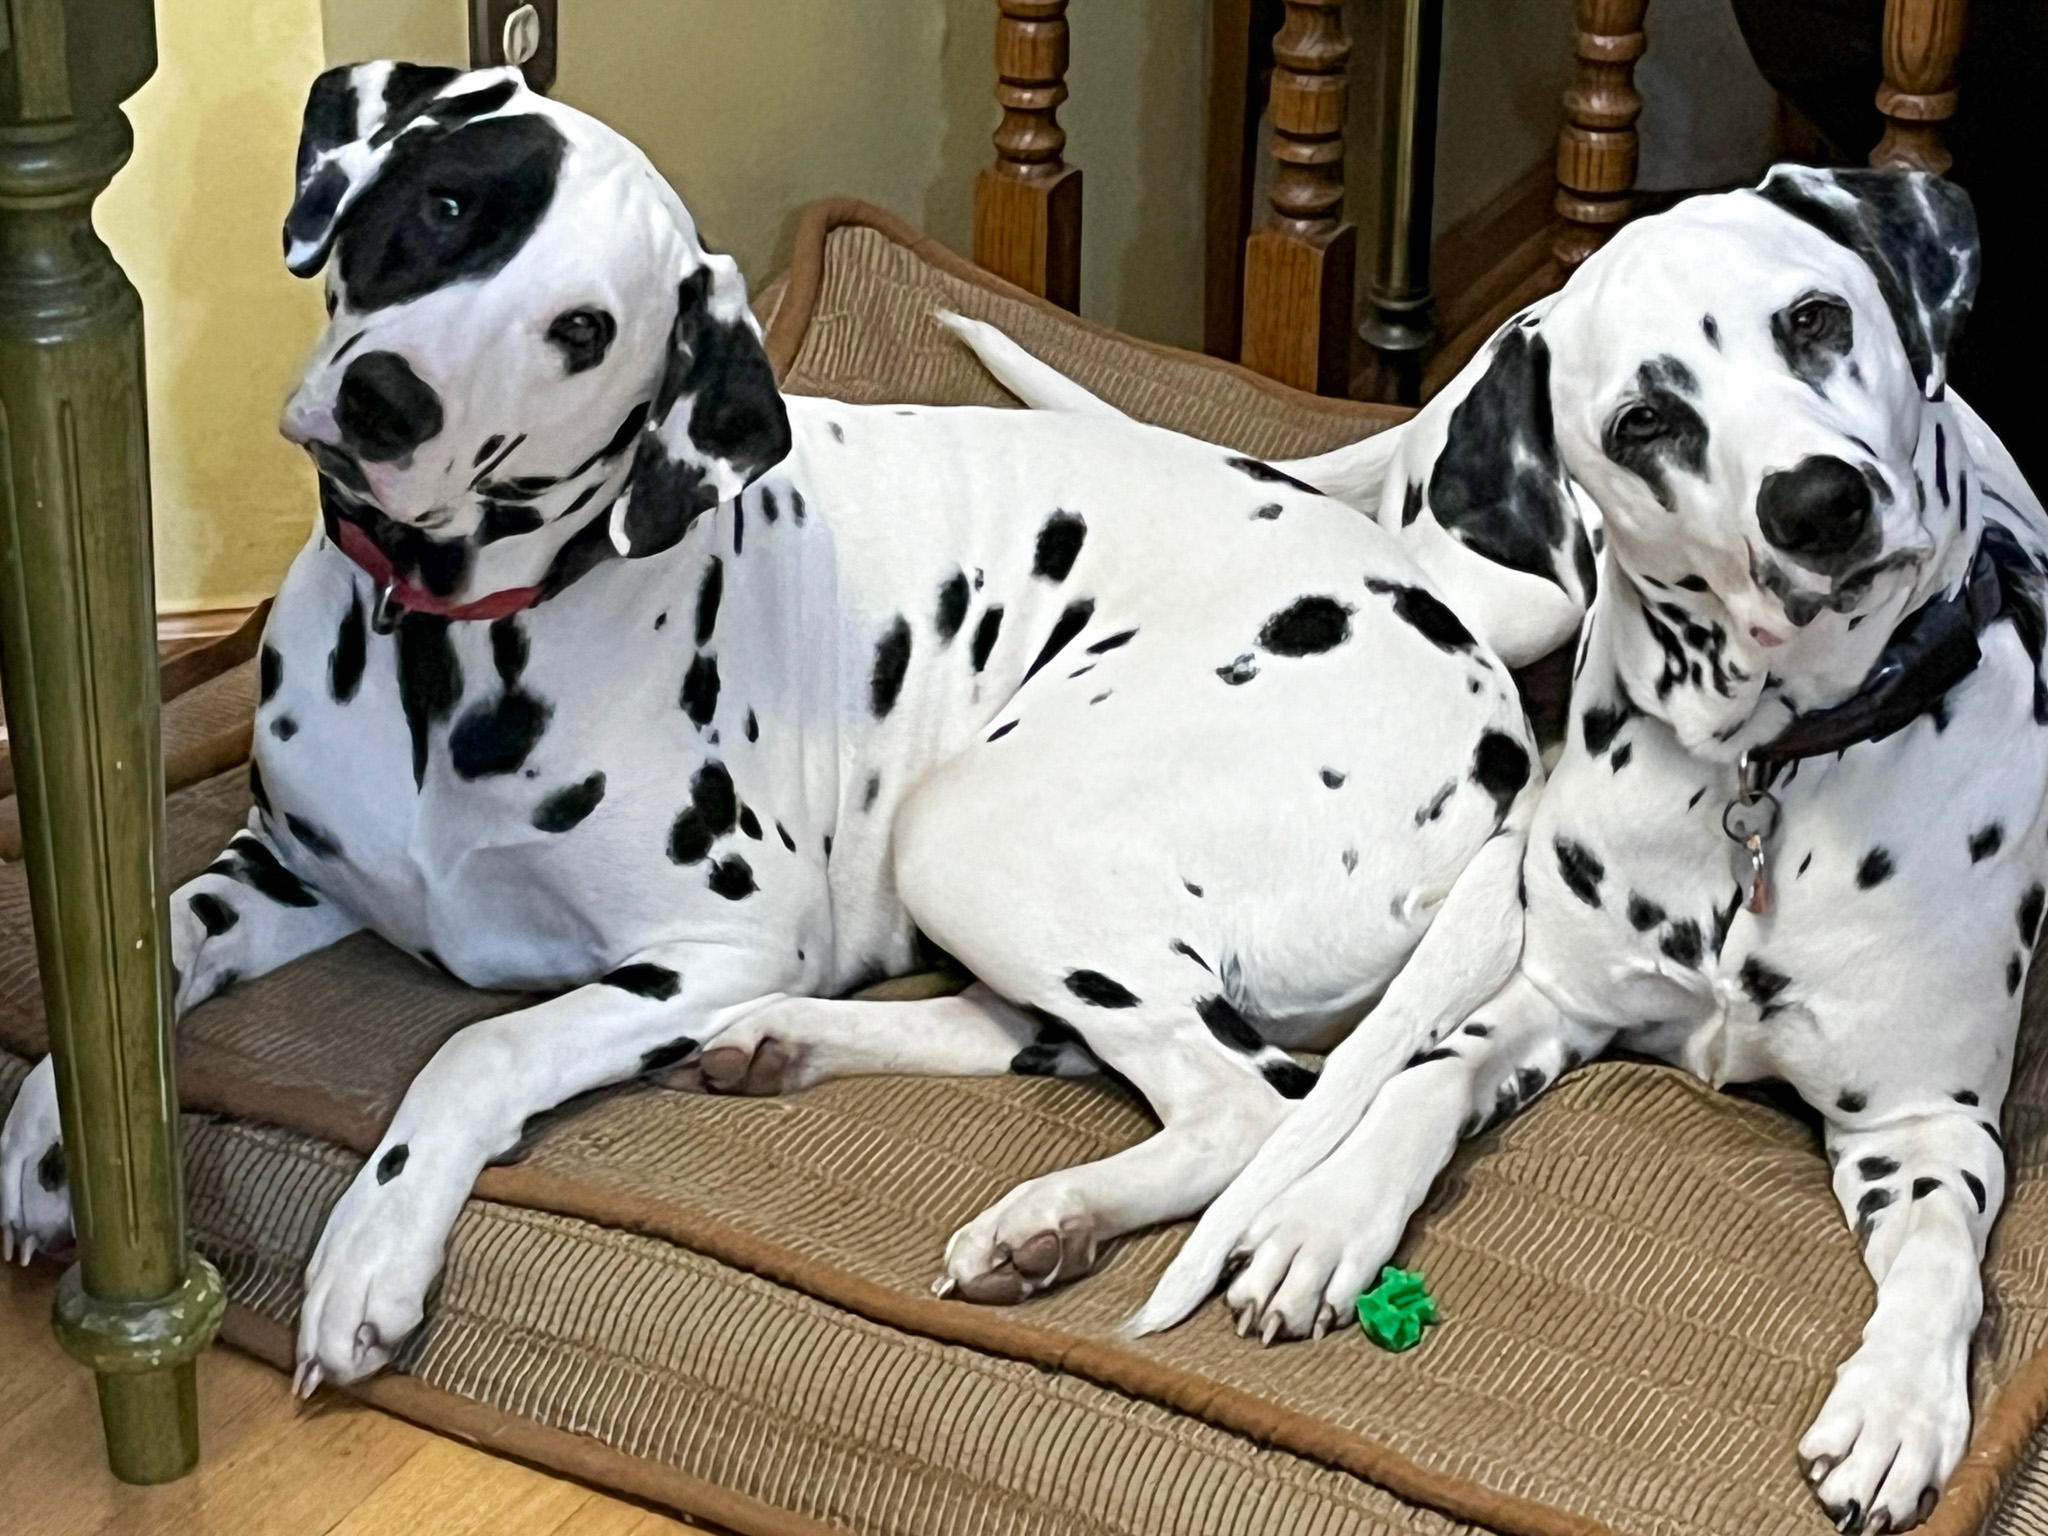
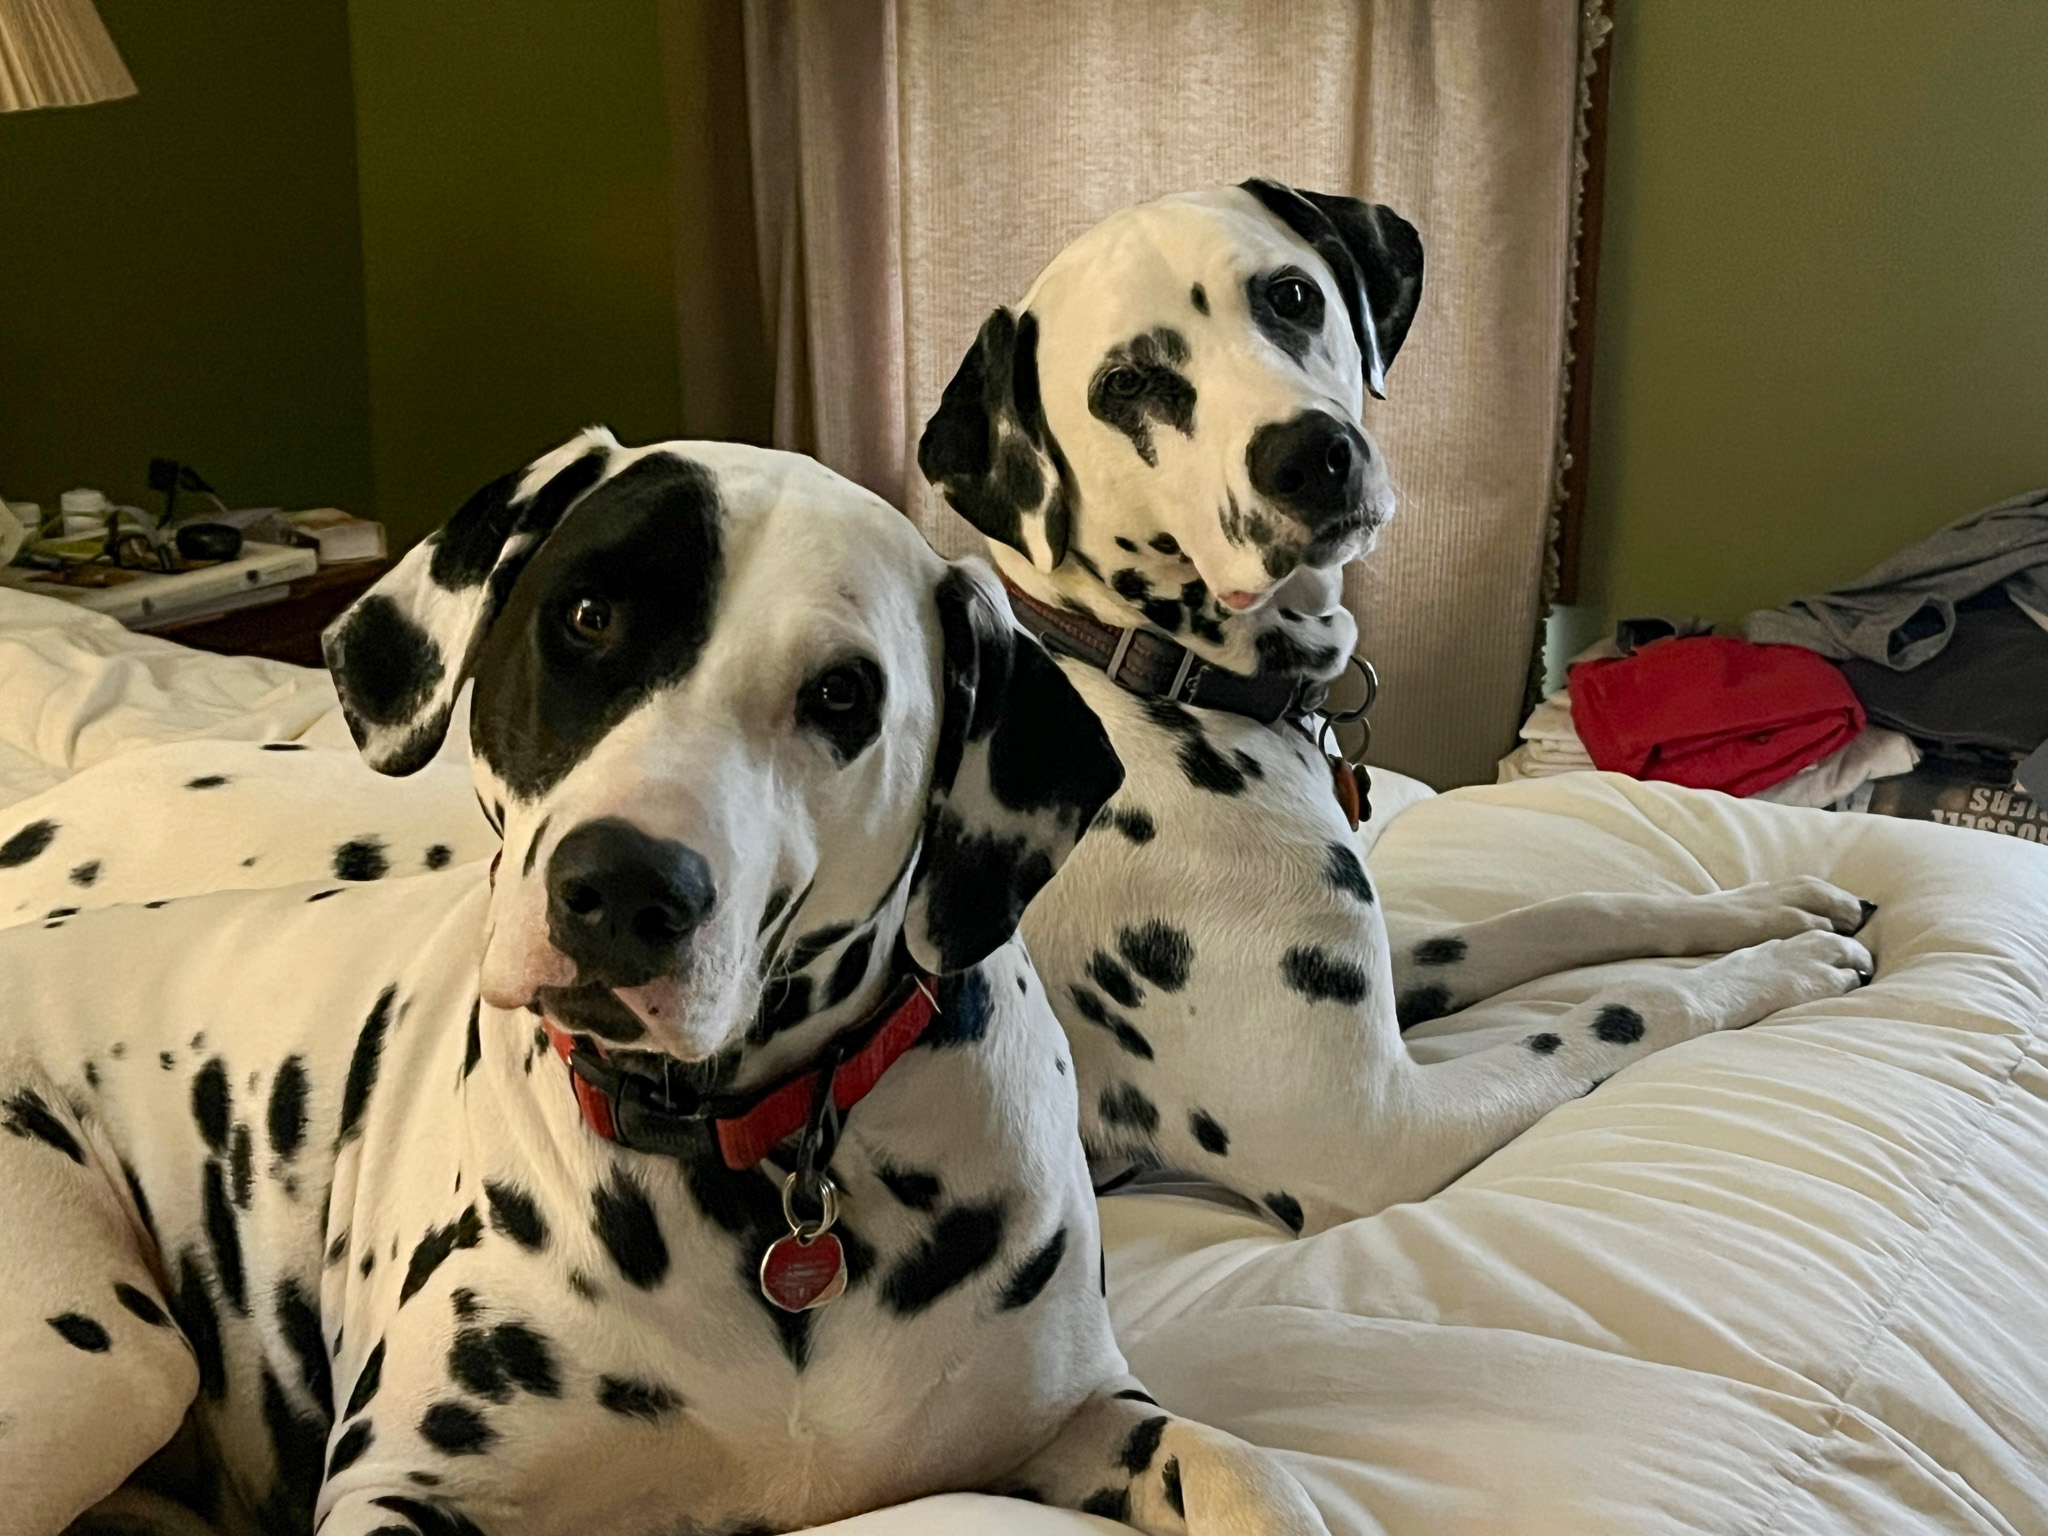
That brings to the spotlight our black spotted heroes and their oldest brother Osky, who’s been having ups and downs lately, due to his advanced canine age…. Let them bark their stories, they’ve been anxious to do so since our last IMK chapter.
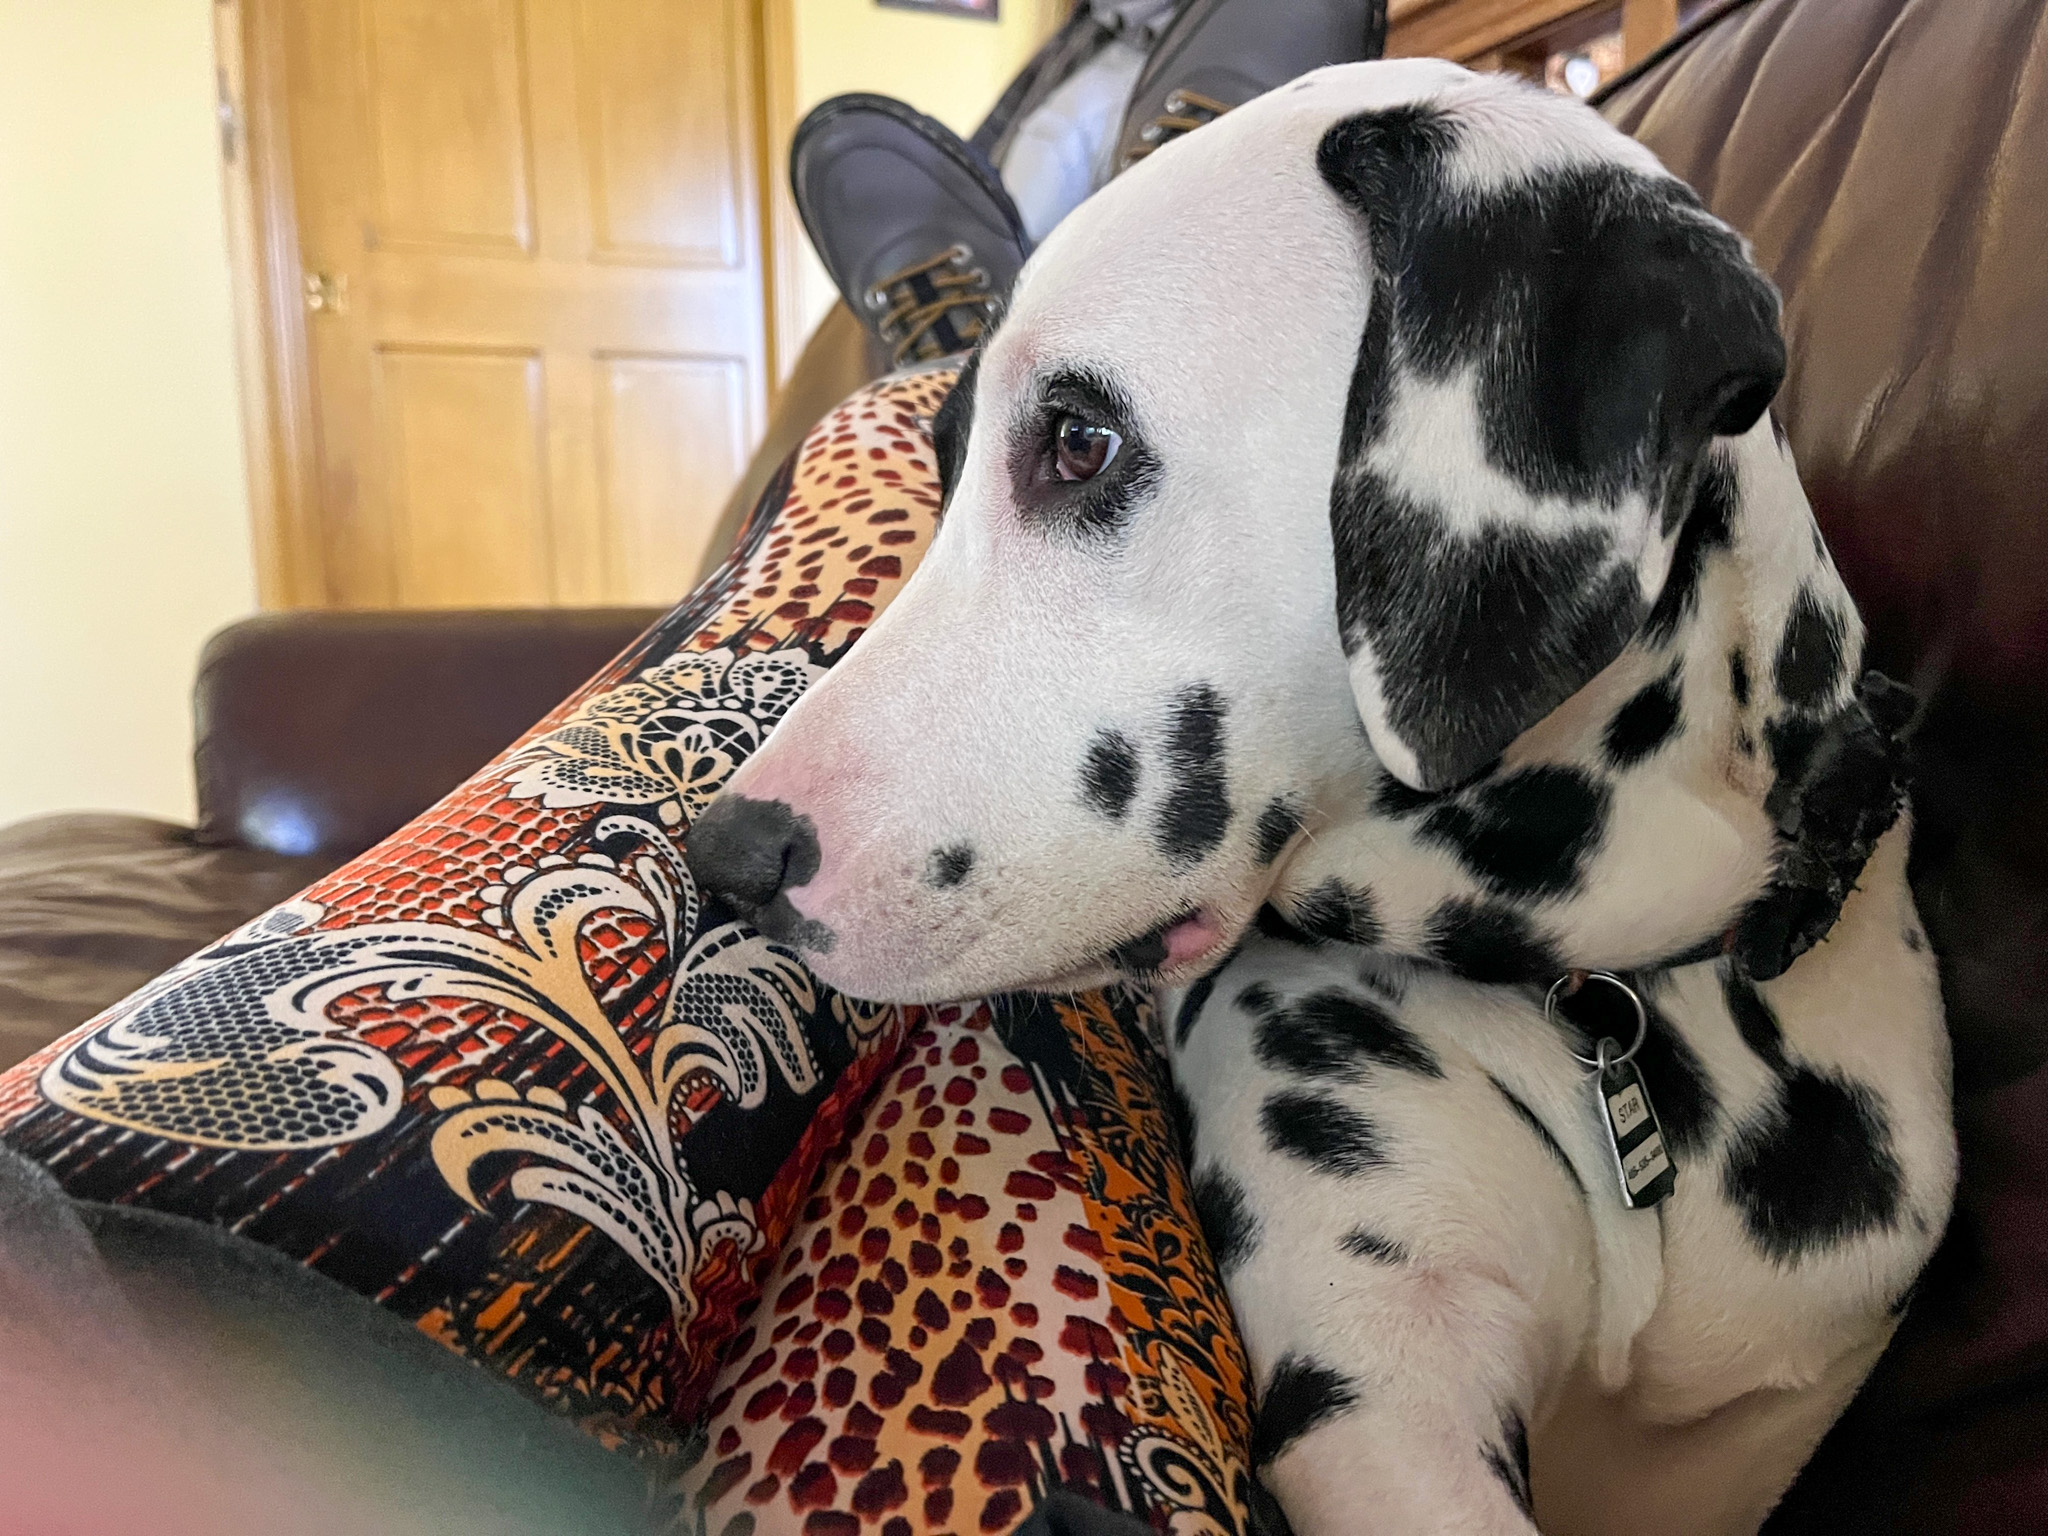
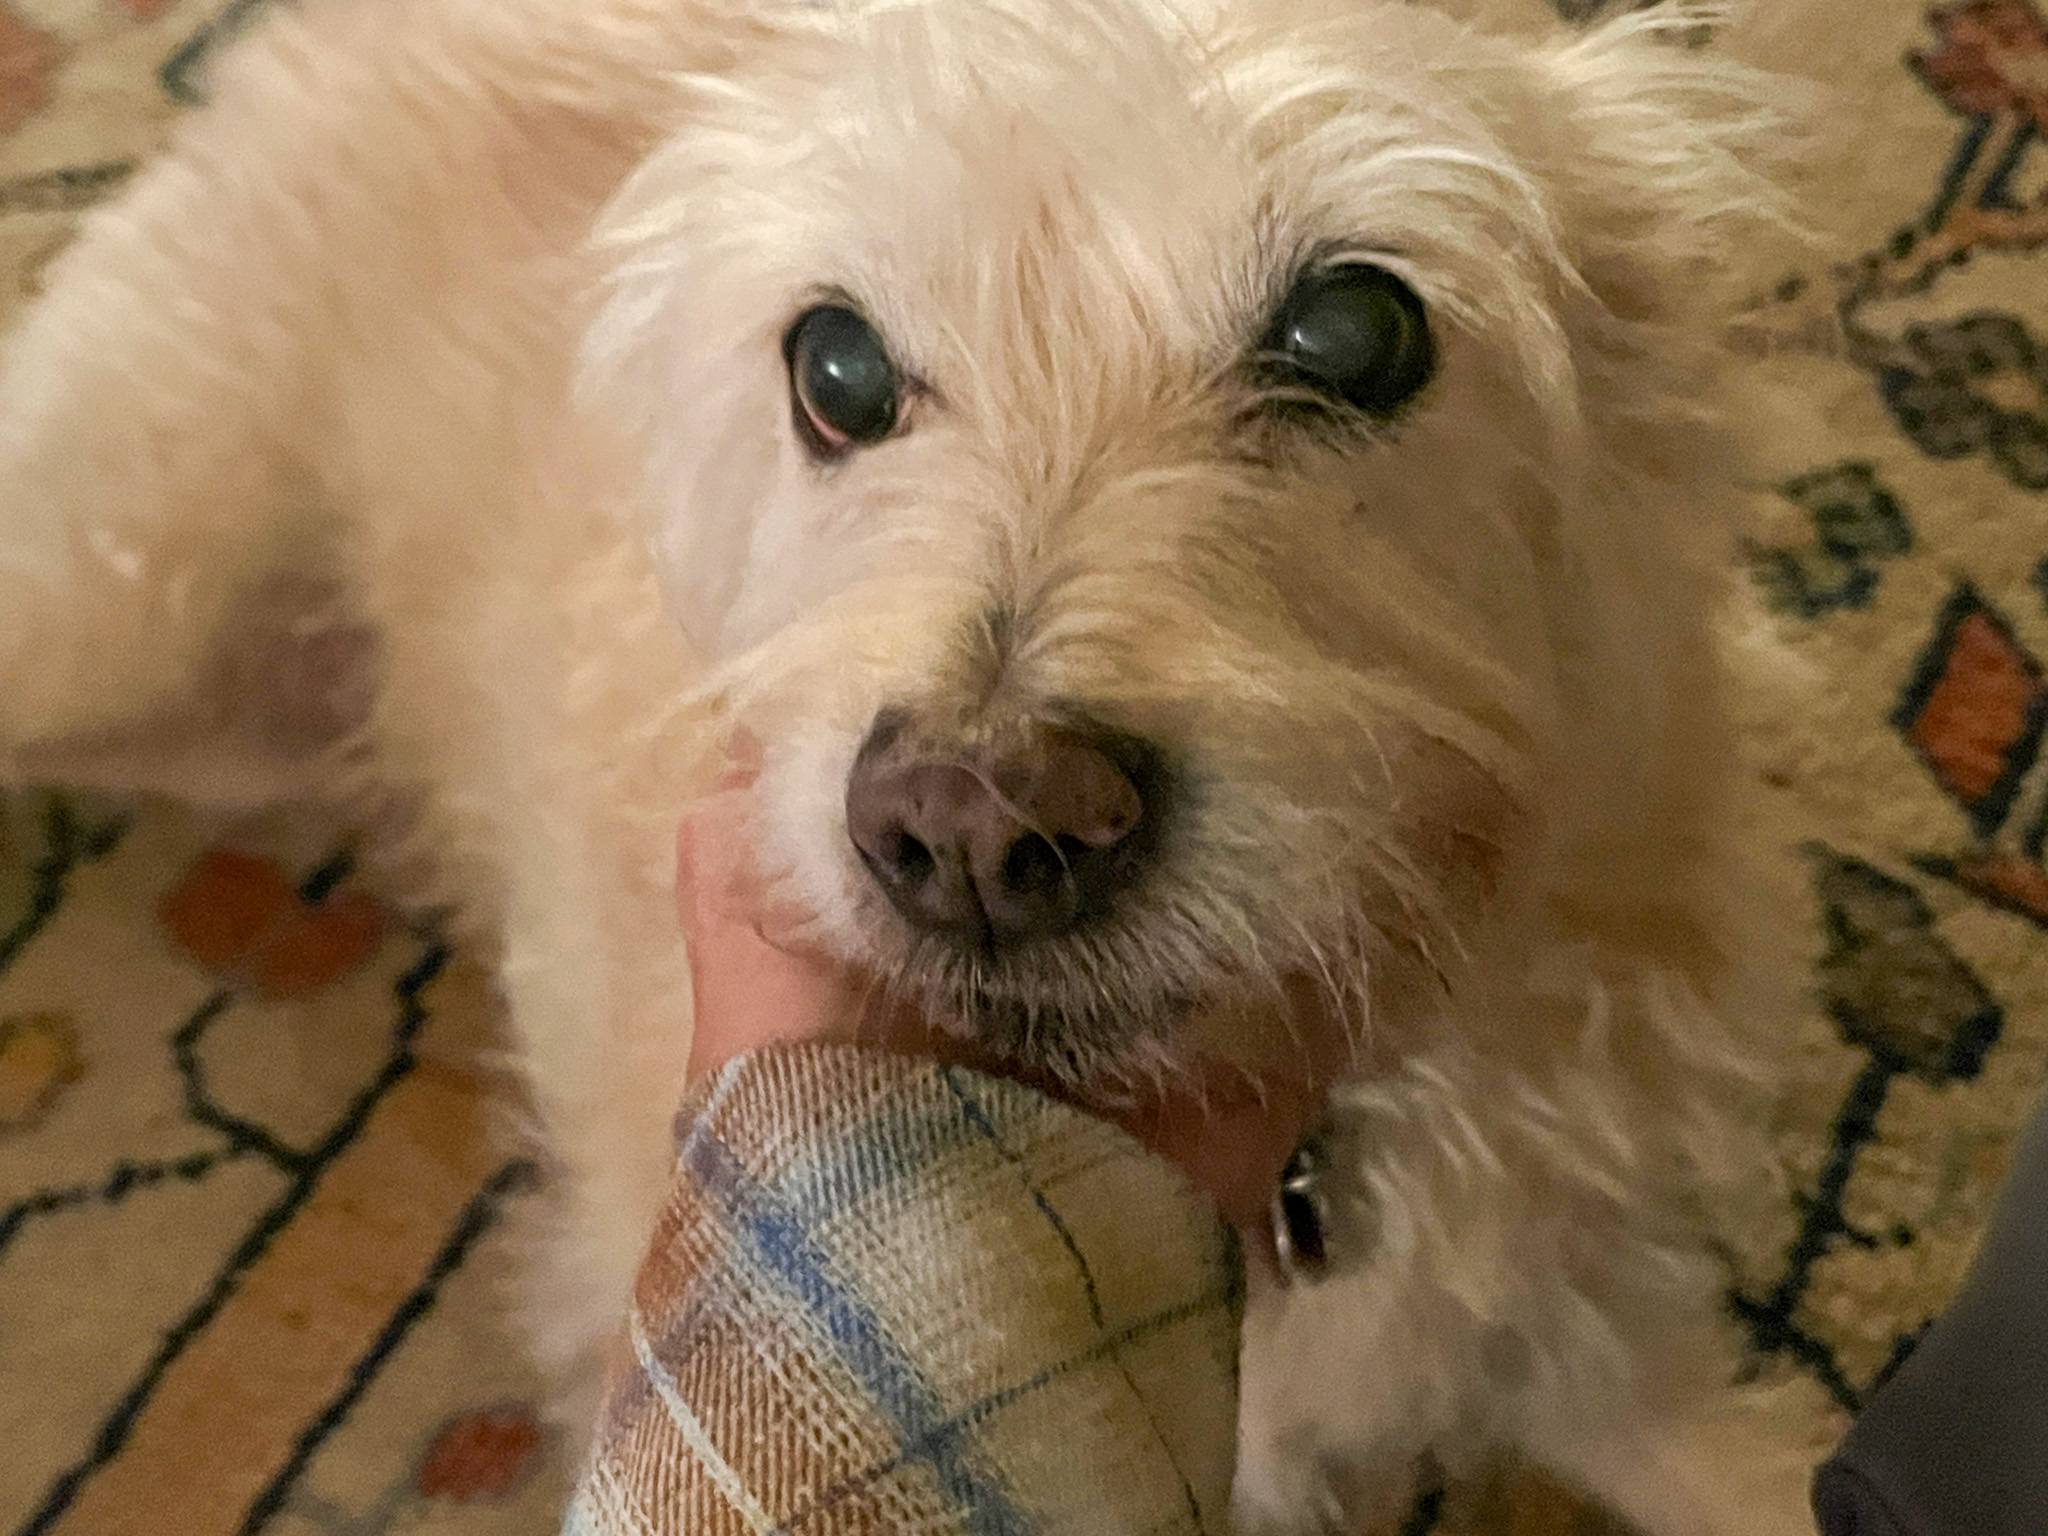
Hi, Friends of The Bewitching! Here we are, me and my little sister, who is now slightly heavier (methinks it is all in the butt). She has the appetite of a bear fresh out of hibernation, and usually polishes her food bowl in seconds, then goes in search of leftovers from mine and Grumpy’s bowl. Contrary to the male canines, she does tend to get in trouble on a regular basis, and endure that “did-you-do-that” monologue, which is known to hurt puppy’s ears. She IS just a puppy, after all…
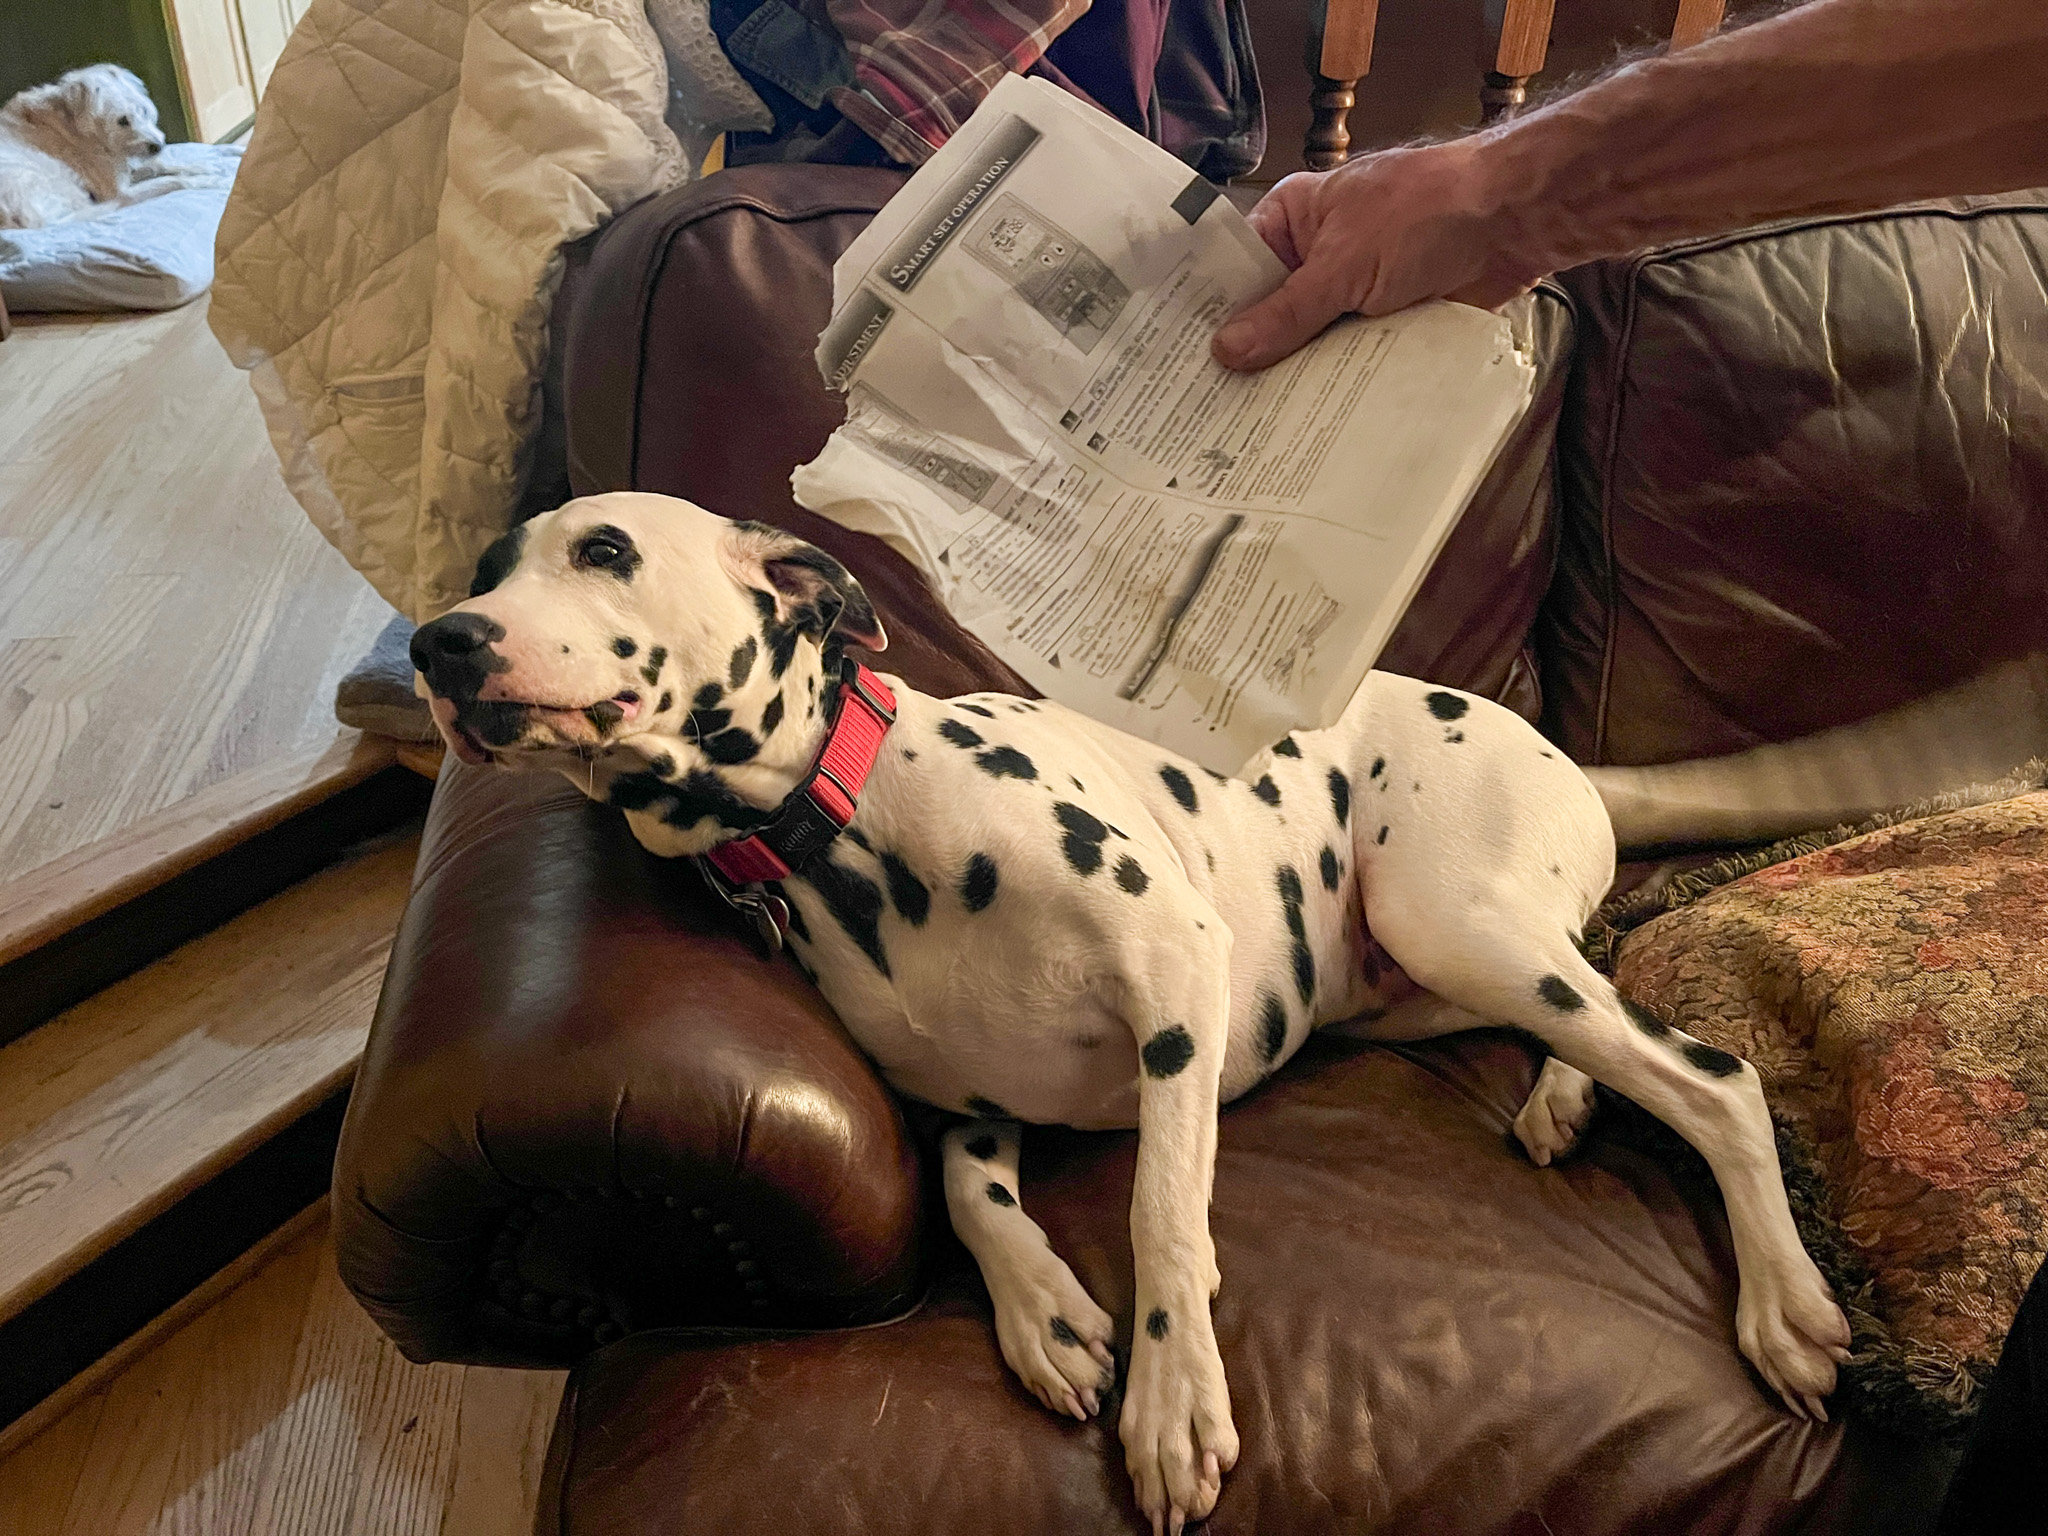
Those were apparently “precioussssss” instructions from some toy our Dad bought for himself. Personally, methinks he should be buying toys to play with us, so can you really blame Little Star? Isn’t she the portrait of an angel 99% of the time? You tell me!
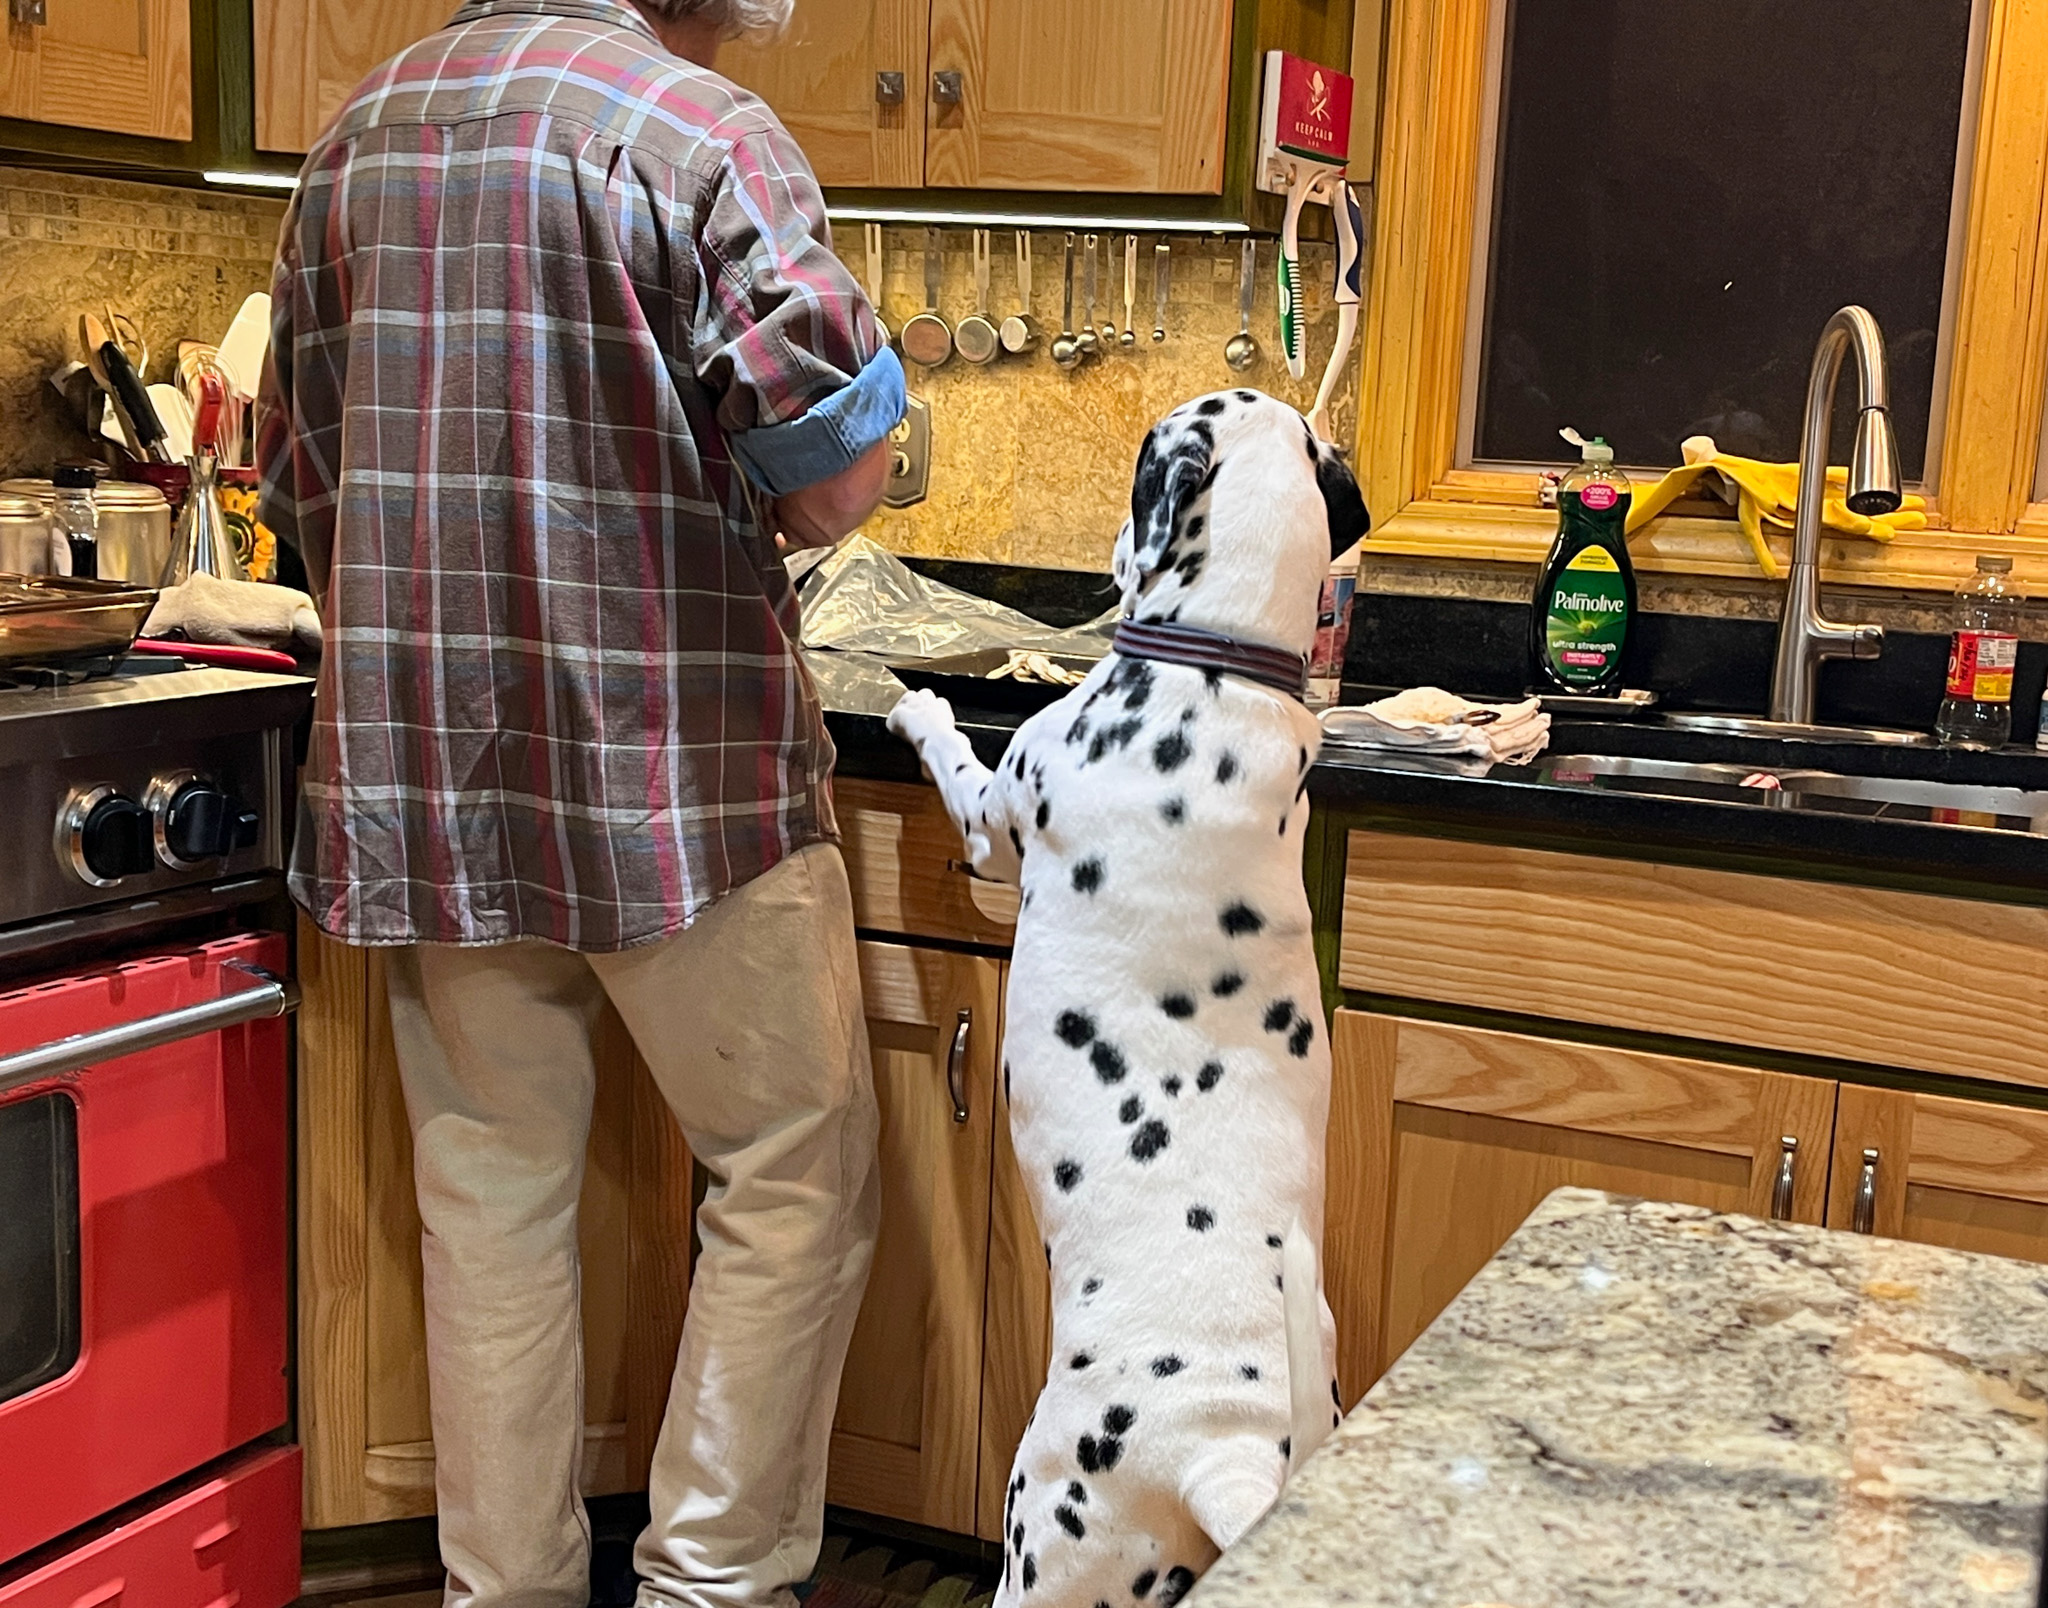
Now me, Prince Freckles of Tatarrax, I work hard. I make sure preparations for our meals run smoothly and that they are delivered on time. Humans can be slow and easily distracted from the task at hand, so I rise to the challenge and take the task at my own paws.
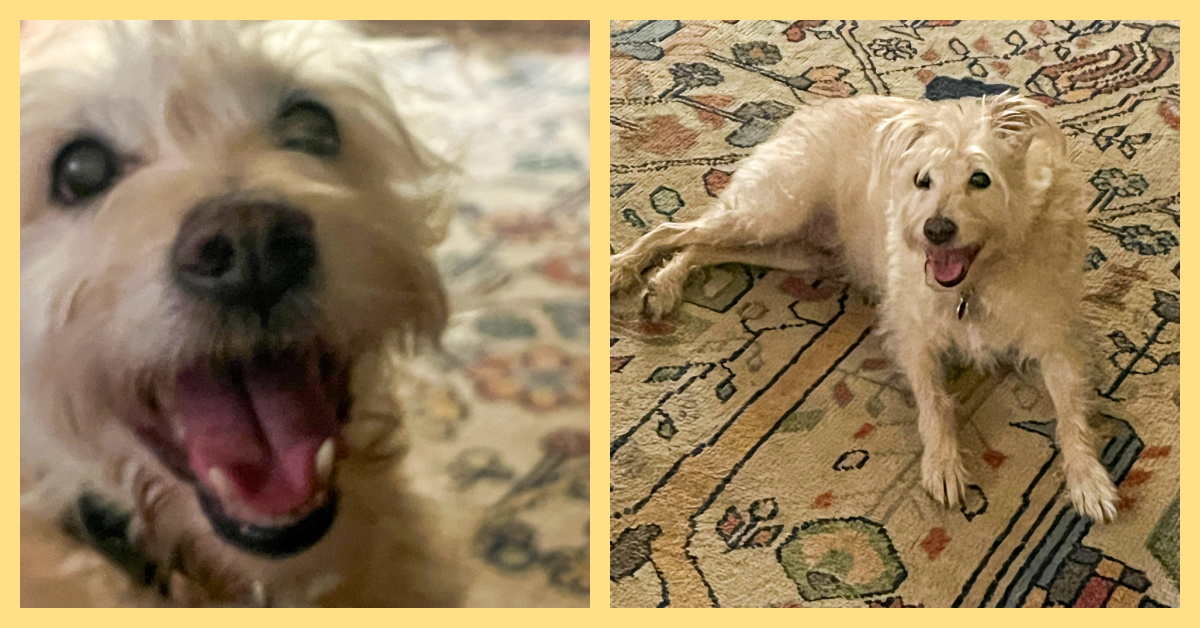
Osky is for the most part being Osky, and lacks the elegance and dignity that is so characteristic of Dalmatians.

Oh, you REALLY want to talk about dignity? Elegance? How about your behavior as you ride in the pickup truck with The Humans? Is that “elegance” in the Dalmatian universe?
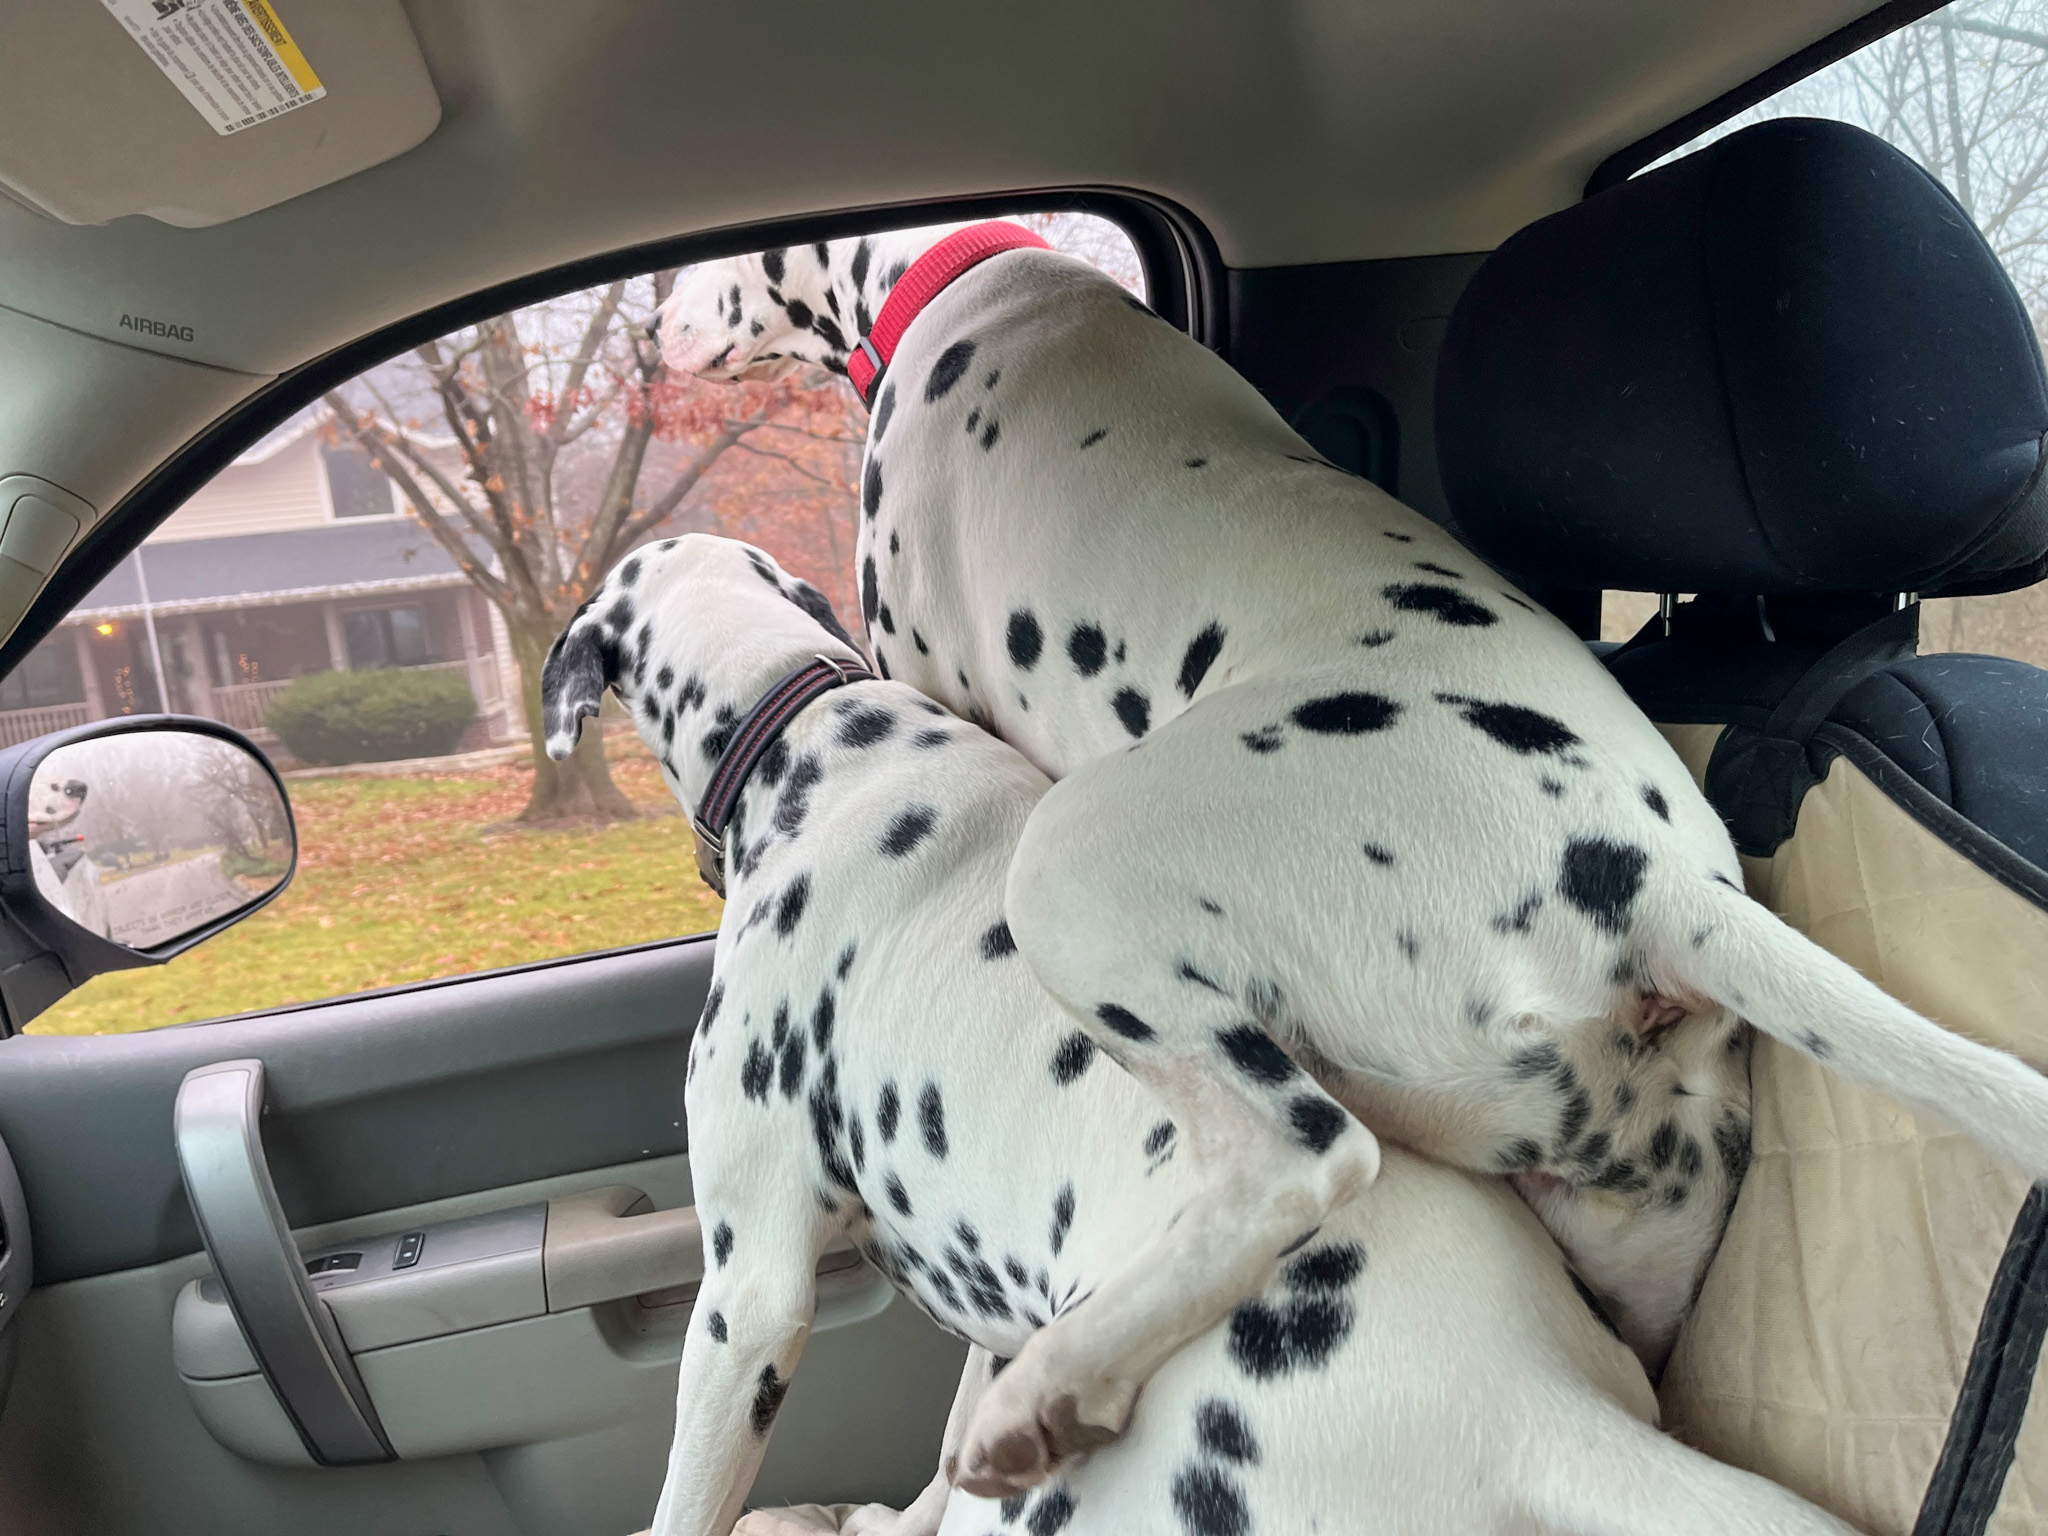
Well, we just have excessive enthusiasm at times, and if you want to know, there was
a squirrel teasing us! Unacceptable!
I am obviously the most dignified of the canines in The Kingdom, The Alpha Male, The Ruler,
The One with Paws in Charge…. And the one who gets Human Affection on a regular basis….
Yeah, right… but The Dalmatians are the only ones who get to The Higher Territory and enjoy ELYSIUM!
And we are also the only ones who can play the REAL fun games with Mom!
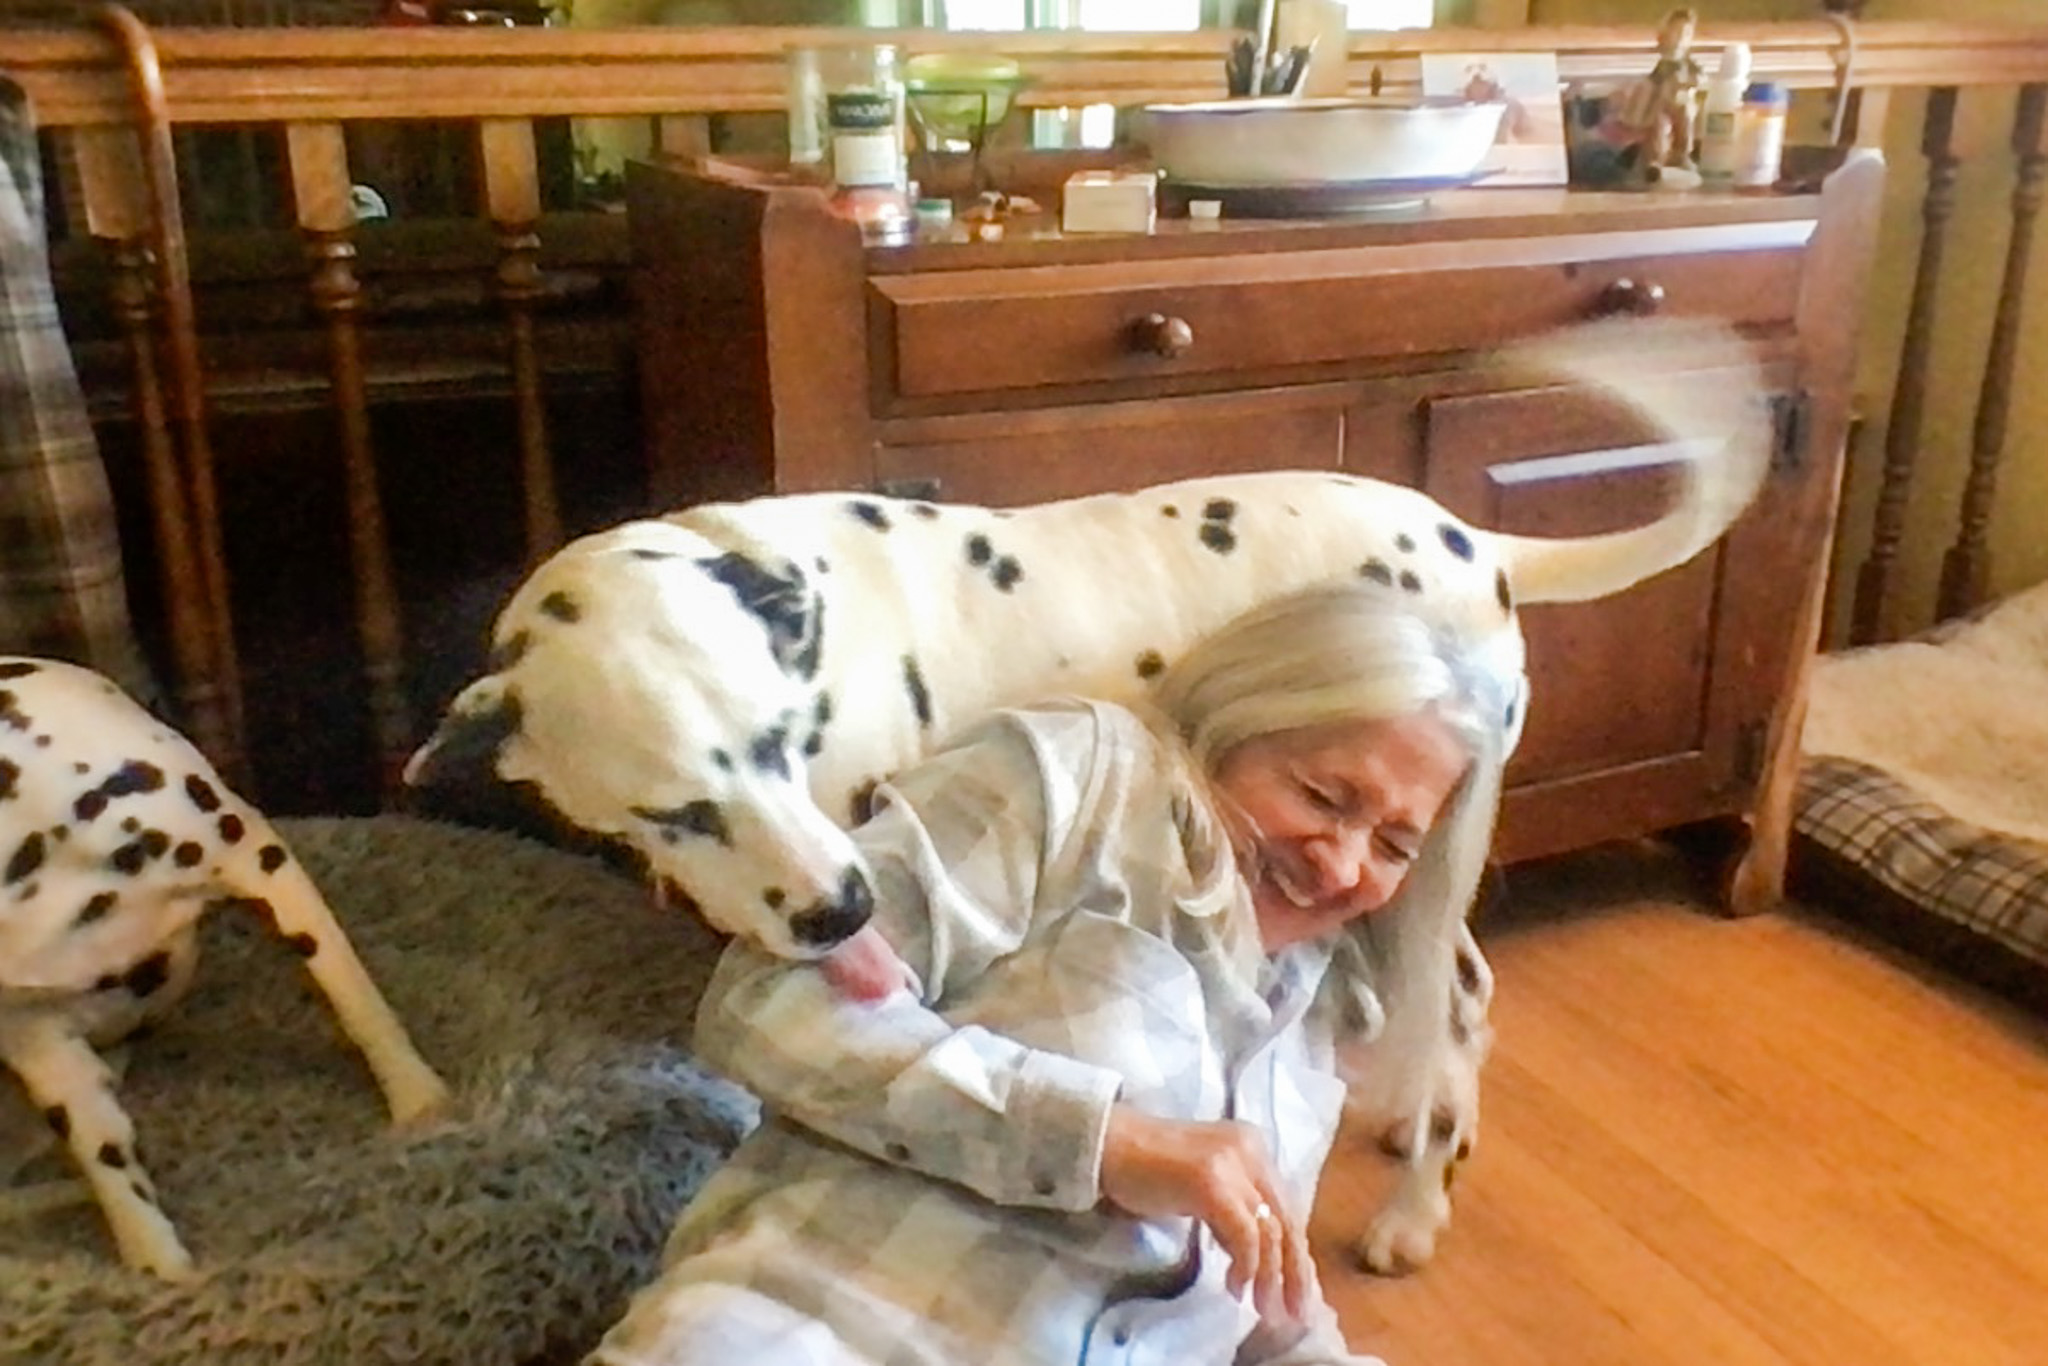
I simply dance to a different kind of tune, my friends……

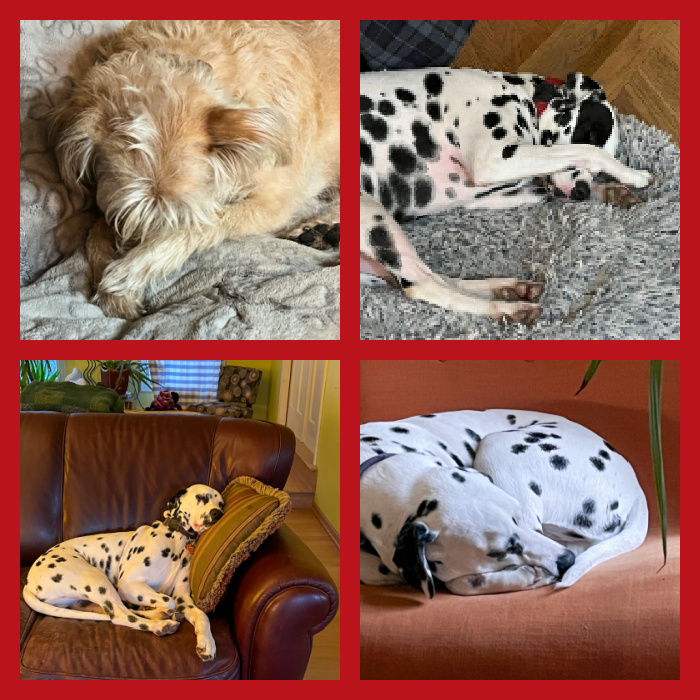
Well, it’s been a nice holiday season, no doubt… Pups are enjoying slow times, a lot of snoozing around, getting ready for a full new year in The Kingdom of Tatarrax!
SEE YOU IN THE SPRING,
MY FRIENDS!
ONE YEAR AGO: Happy New Year in My Kitchen, 2024
TWO YEARS AGO: In My Kitchen, January 2023
THREE YEARS AGO: Happy New Year in My Kitchen!
FOUR YEARS AGO: Happy New Year in My Kitchen!
FIVE YEARS AGO: Happy 2020 In My Kitchen!
SIX YEARS AGO: Happy 2019 In My Kitchen!
SEVEN YEARS AGO: Happy New Year In My Kitchen!
EIGHT YEARS AGO: Happy New Year In My Kitchen!
NINE YEARS AGO: In My Kitchen: Happy New Year!
TEN YEARS AGO: And another year starts…
ELEVEN YEARS AGO: In My Kitchen: January 2014
TWELVE YEARS AGO: Tacos with Pork in Green Sauce
THIRTEEN YEARS AGO: Maui New Year!
FOURTEEN YEARS AGO: Natural Beauty
FIFTEEN YEARS AGO: Sunflower Seed Rye