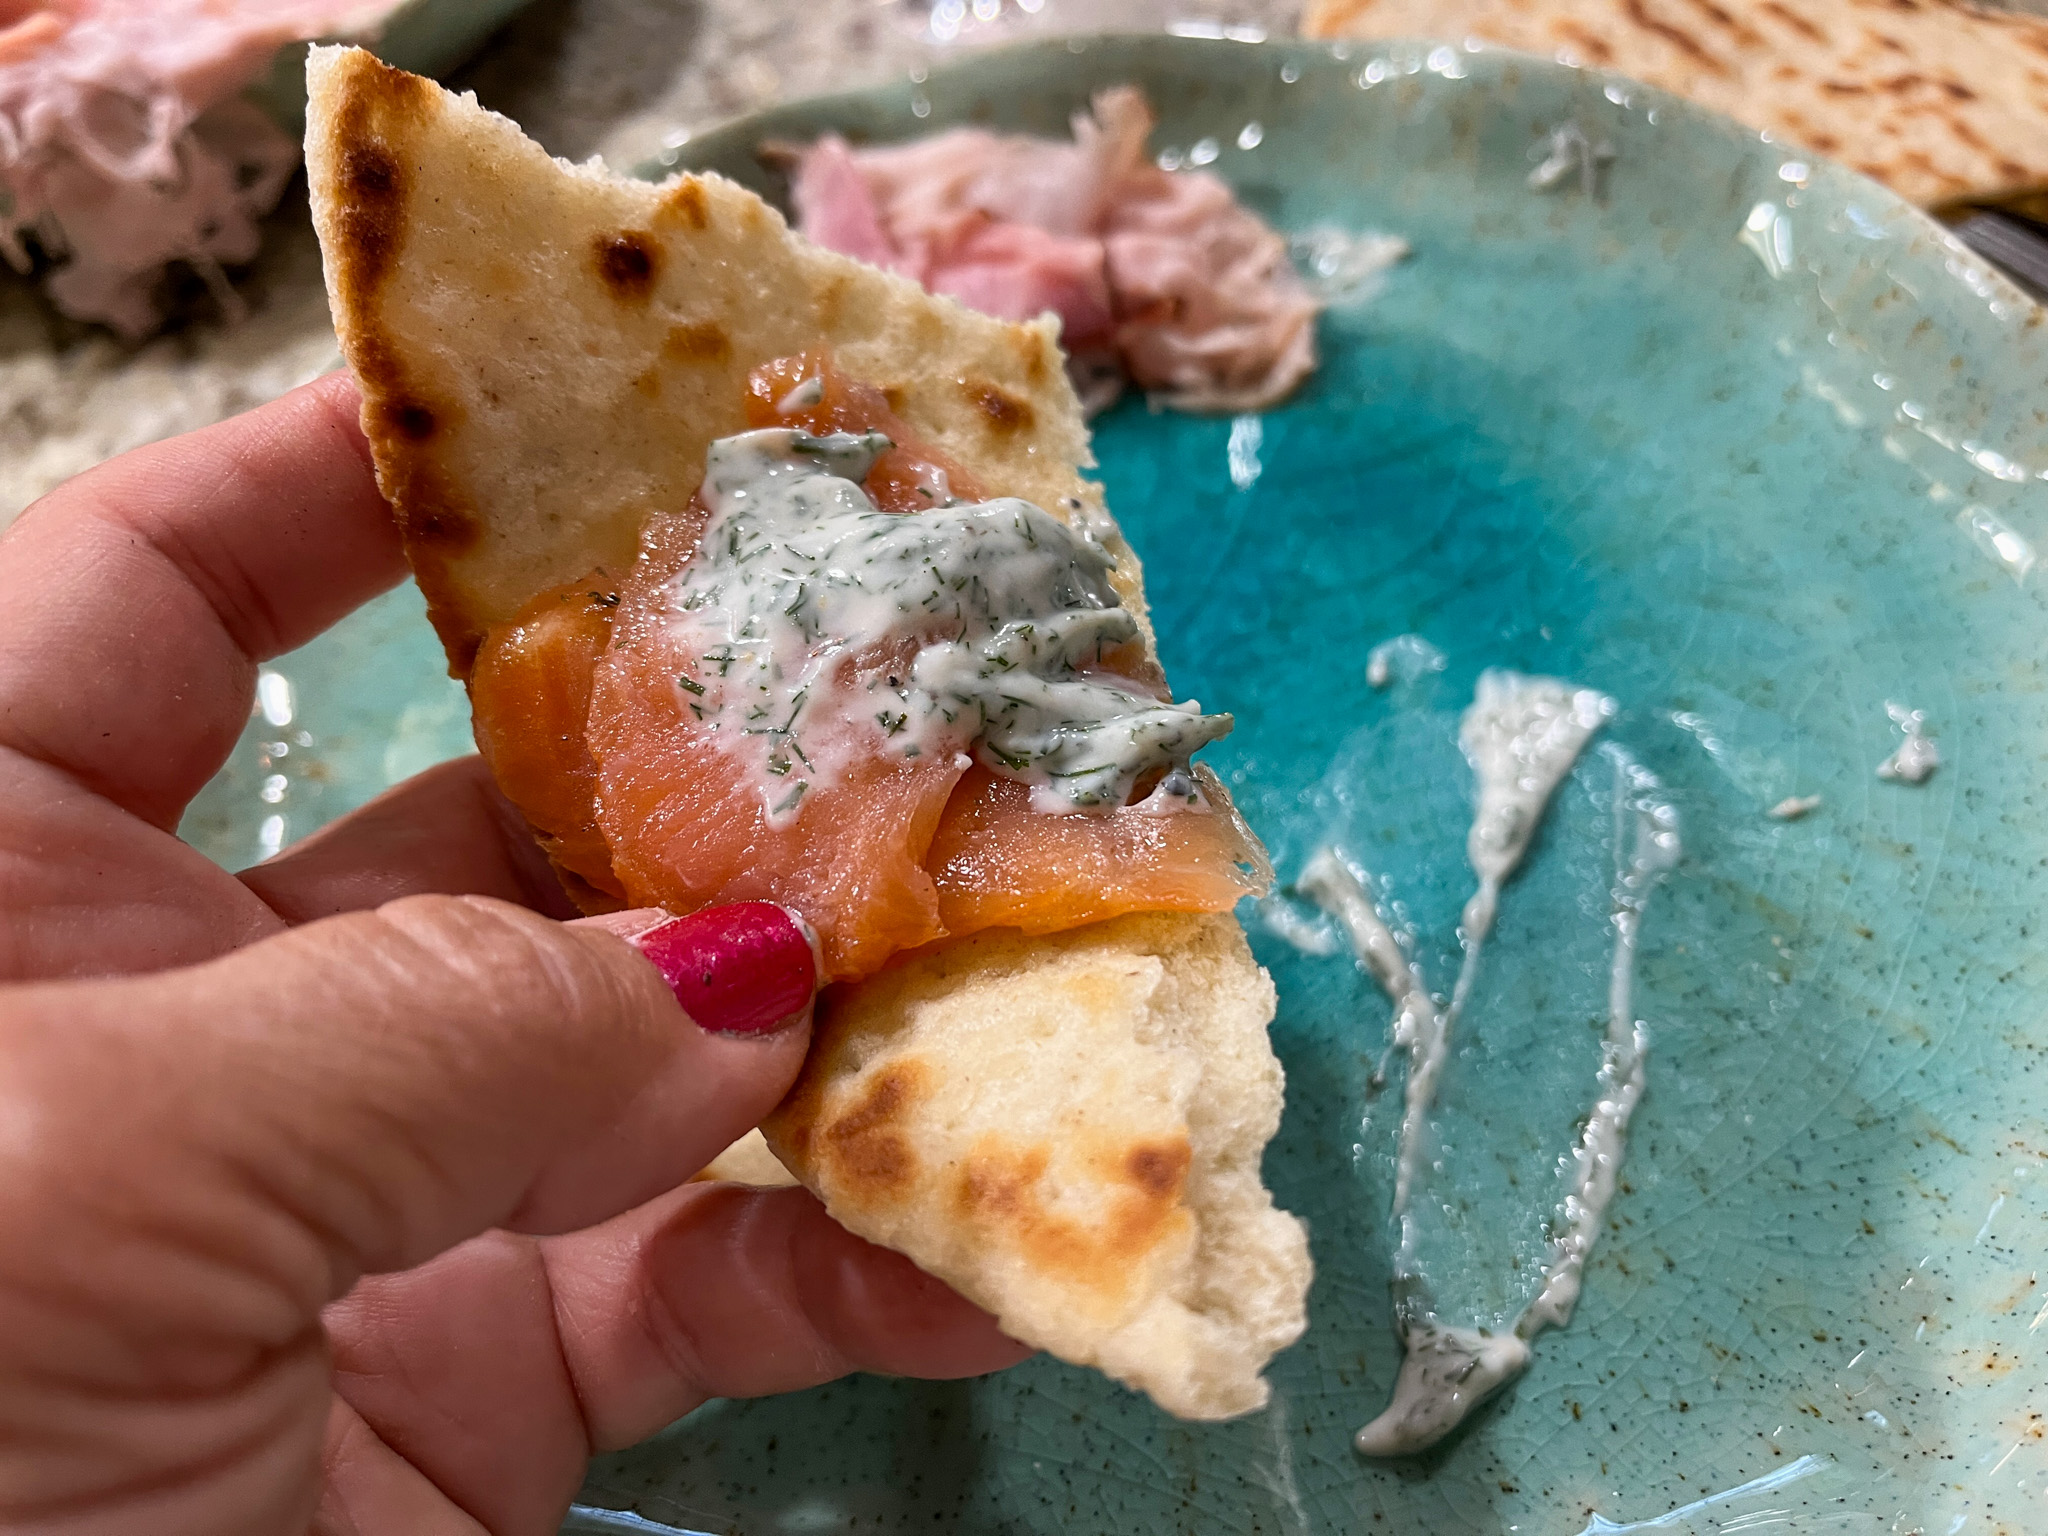
A match made in heaven!

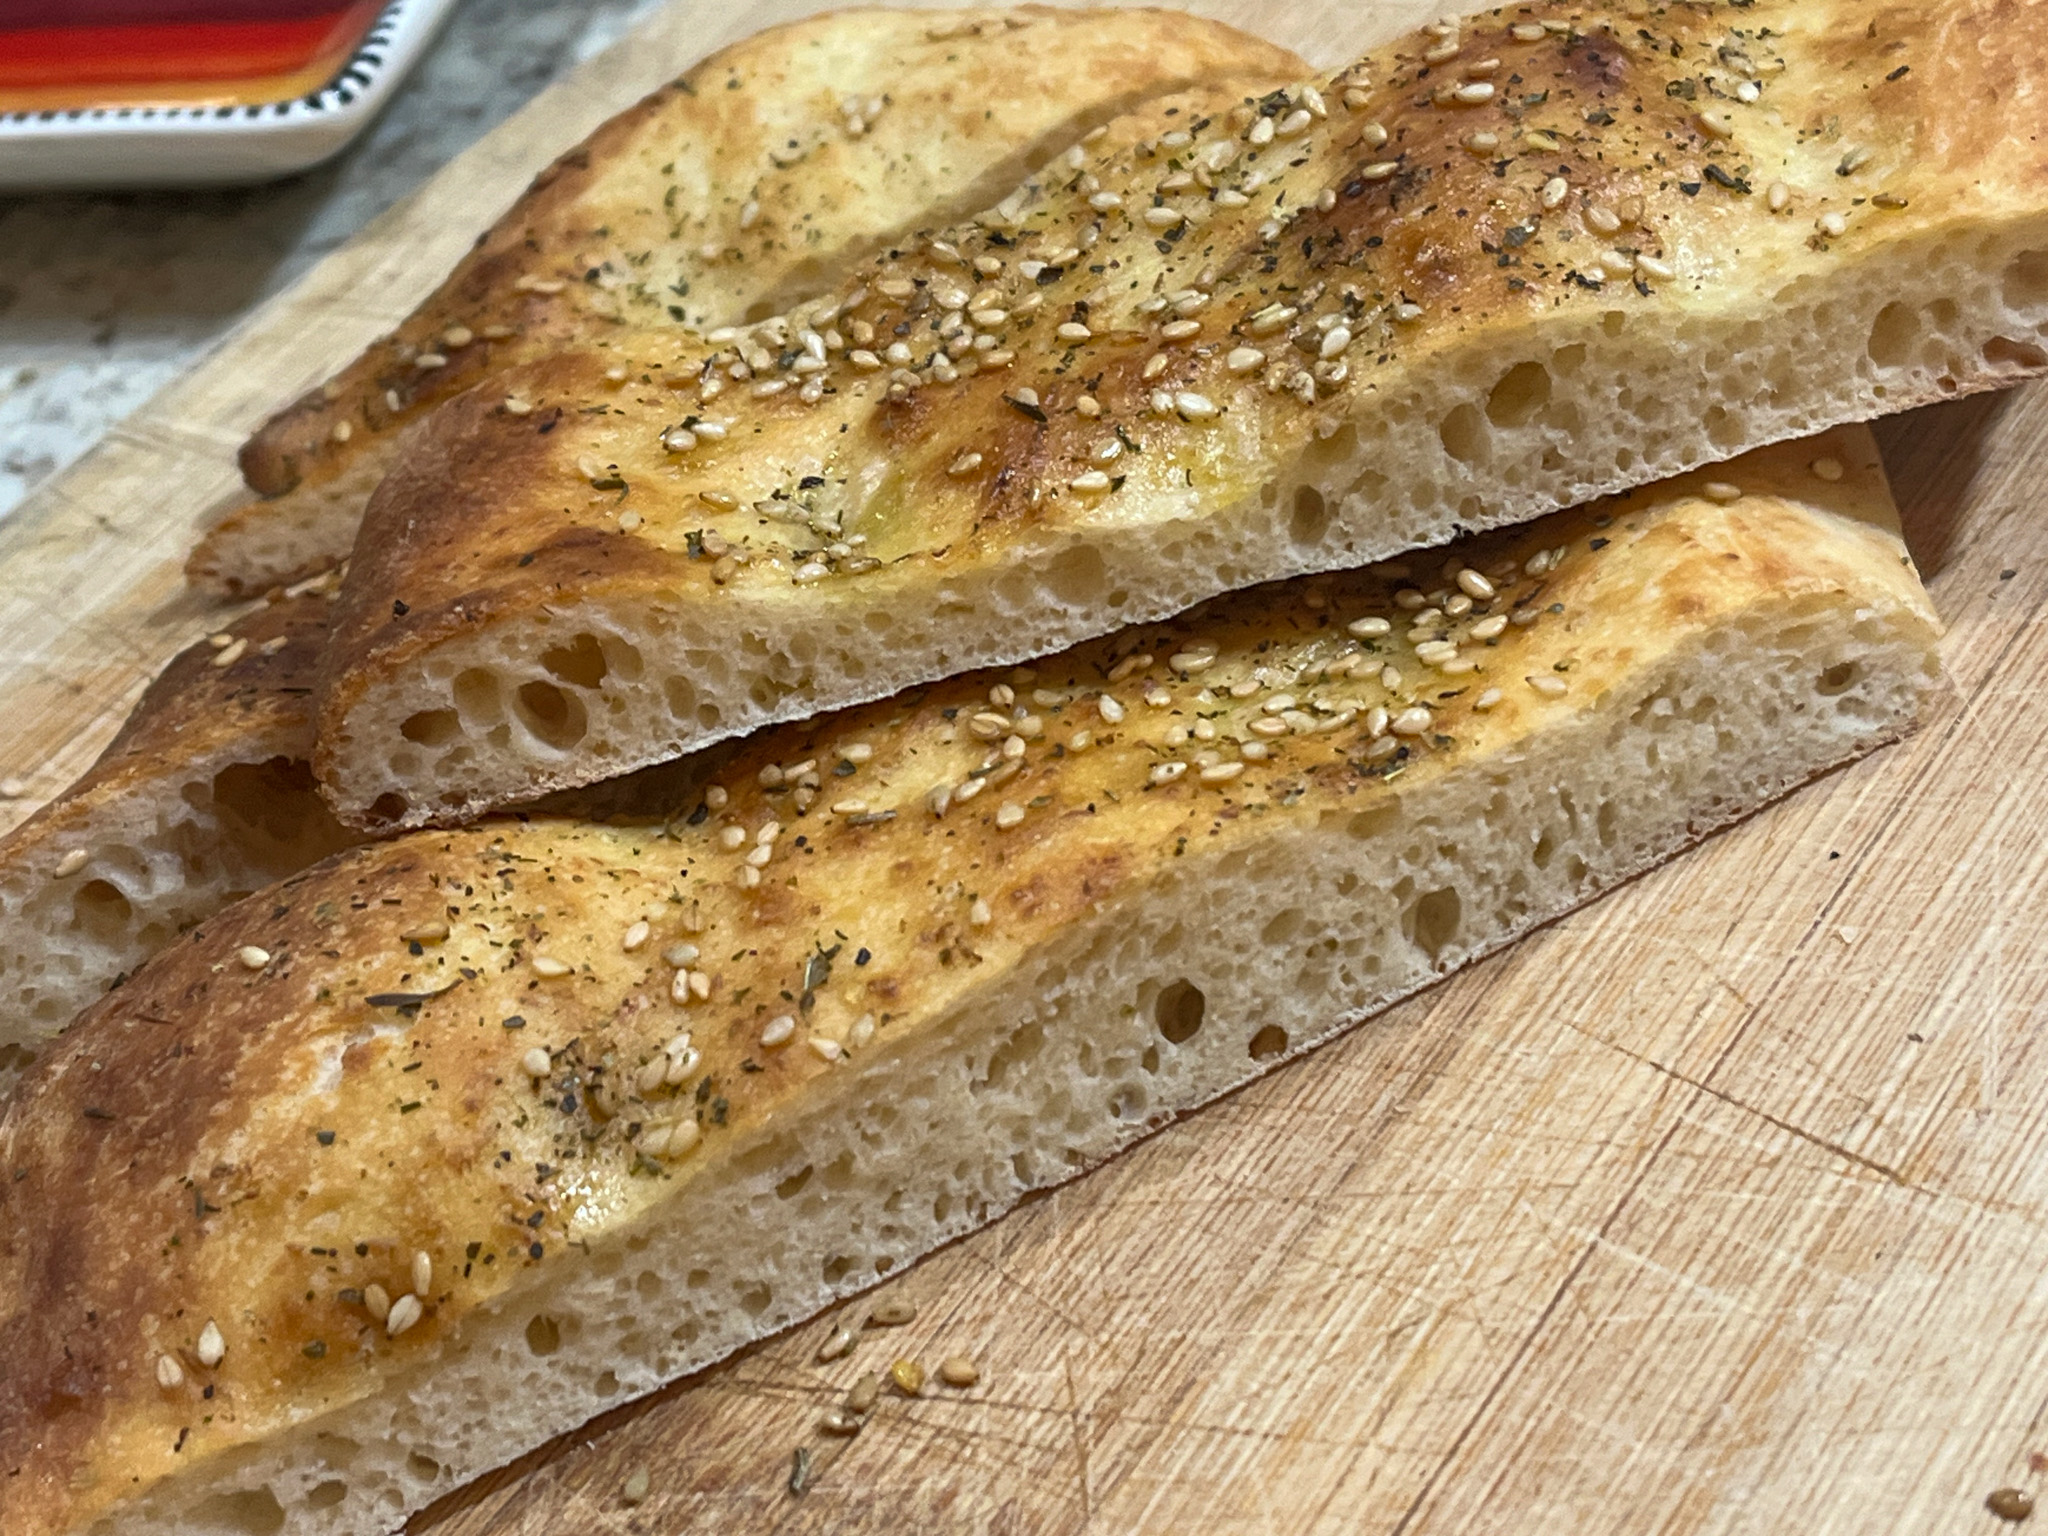
Barbari Bread originates in Iran, formerly known as Persia, a name that evokes beautiful things in my mind. Barbari is a flatbread with ridges and a dark golden color provided by a glaze that often contains baking soda. I share a recipe that makes one small flatbread, fitting in a quarter sheet pan.

BARBARI BREAD
(adapted from cookingorgeous)
160 ml water (lukewarm)
250 g all-purpose flour
4 g instant yeast
5 g salt
3 g sugar
10 ml olive oil
For the Topping (you won’t need the full amount)
1 teaspoon olive oil
1 tablespoon all-purpose flour
½ cup water
½ teaspoon baking soda
2 tablespoon Sesame seeds
In the bowl of a KitchenAid type mixer combine the flour, salt, sugar, olive oil, and yeast. Add warm water gradually, stirring to form a sticky dough. Knead at low-speed for about 5 minutes. Place the dough in a lightly greased bowl, cover it with a damp cloth, and let it rise in a warm spot for 2 hours.
Make the glaze: in a small saucepan, combine flour, water, olive oil, and baking soda.
Cook over low heat, stirring continuously until it thickens into a smooth paste. Set aside to cool.
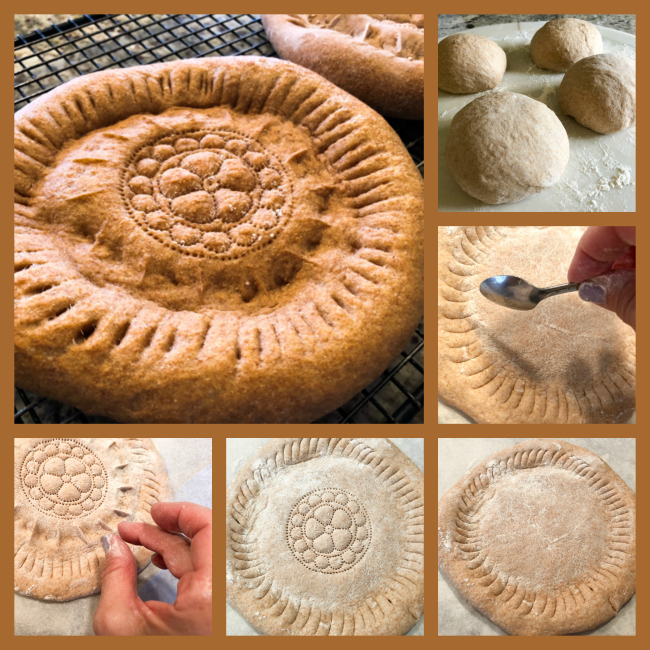
Shape the Dough: Flatten the dough into an oval or rectangular shape on a parchment-lined baking sheet. If the dough resists too much, form into a ball and allow it to rest for 15 minutes. The dough should end as 12 inches long and 5 inches wide. Using your fingers, gently press lines into the dough from top to bottom to create the signature ridges of Barbari bread. Brush the glaze mixture over the surface, covering the dough evenly. This will help to keep the bread moist and create that golden crust during baking. Sprinkle on sesame seeds.
Second Rise and Baking the Bread: Cover the shaped and topped dough with a damp cloth and allow it to rise for one hour.
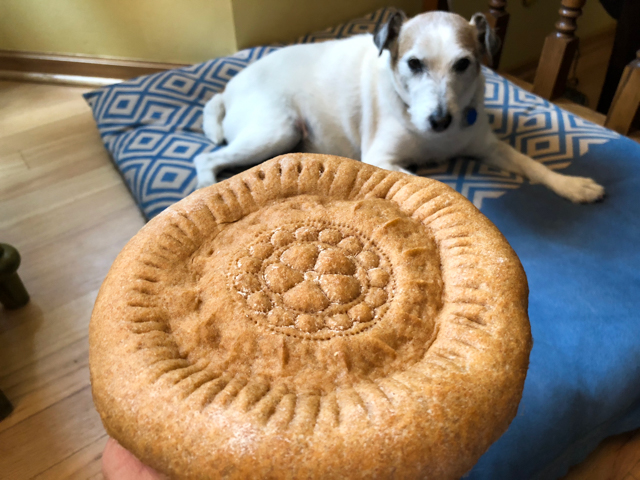
Heat the oven to 390F. Bake the bread for about 20 minutes or until it turns golden brown with a crisp crust.
ENJOY!
to print the recipe, click here

For the hummus, I used a fantastic recipe from Milk Street, which is available online (click here). I advise you to halve the recipe because it would feed an army. I am not too fond of freezing hummus, so half the recipe was perfect for us. Can you tell how luscious and creamy it is?

Comments: Barbari bread is definitely one to consider adding to your rotation, because it is super easy to make and absolutely delicious. As to the hummus, Milk Street recipe is pretty involved, but worth it. Thick, intensely flavored, a real hit of sesame with each bite.

I hope you try both this recipes, they were perfect together. Hummus is often a breakfast item in Israel, consumed warm with Kawarma (spiced ground meat) spooned all over it. We took the less authentic route by enjoying it as a dip. If you have The Milk Street Cookbook that goes along with the TV show, both recipes are there.
ONE YEAR AGO: Baking Through the Blogosphere
TWO YEARS AGO: Crispy Air-Fried Zucchini
THREE YEARS AGO: Pasta with Cremini Mushroom Ragu
FOUR YEARS AGO: A Magical Marinade
FIVE YEARS AGO: Roast Veggies with Black Barley
SIX YEARS AGO: Pumpkin Sourdough
SEVEN YEARS AGO: First Monday Favorite
EIGHT YEARS AGO: Secret Recipe Club: Paalak Paneer, a Farewell Post
NINE YEARS AGO: In My Kitchen, November 2015
TEN YEARS AGO: Helen Fletcher’s Oatmeal Cookies
ELEVEN YEARS AGO: Thai-Style Pesto with Brown Rice Pasta
TWELVE YEARS AGO: Shrimp with Spicy Orange Sauce
THIRTEEN YEARS AGO: A Simple Appetizer (Baked Ricotta)
FOURTEEN YEARS AGO: Sour Cream Sandwich Bread
FIFTEEN YEARS AGO: Pasta with Zucchini Strands and Shrimp