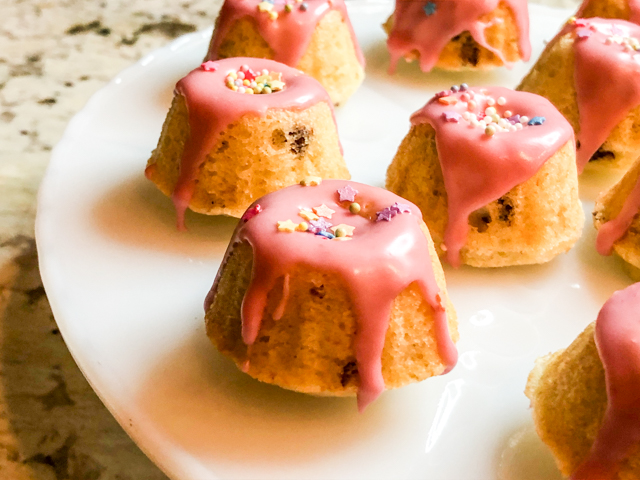
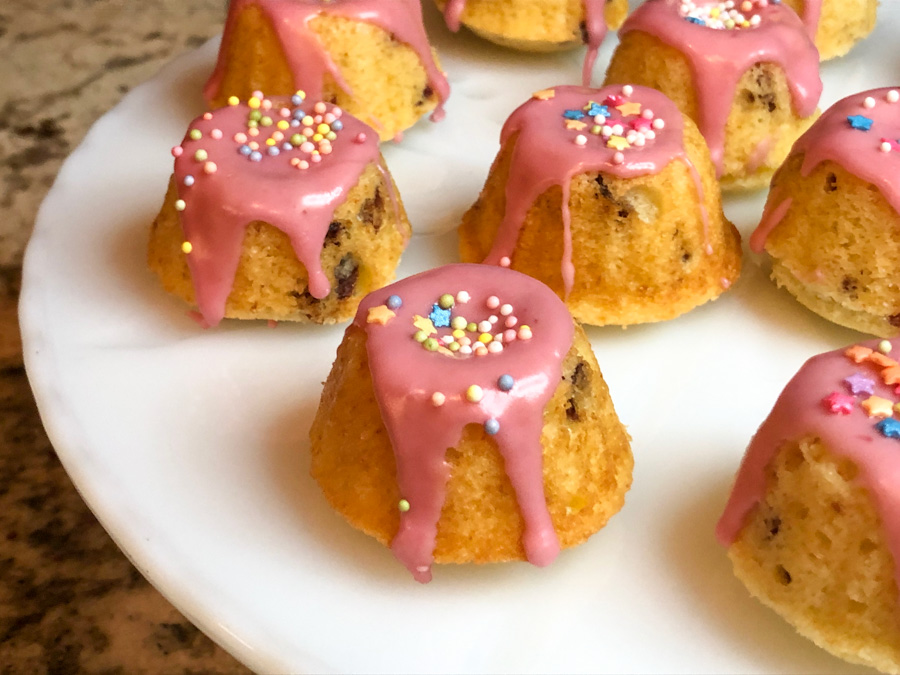
Some say these would be more appropriate for winter, but I will respectfully disagree… too adorable to restrict to a single season… Very easy to make, the mini format is impossible to resist.
BLOOD ORANGE AND CRANBERRY MINI-CAKES (adpated from several sources)
for the mini-cakes: 130g all-purpose flour 1 tsp baking powder 1/4 tsp salt 57g butter, softened (4 tablespoons) tablespoons 100g granulated sugar 1 egg 1 Tablespoon blood orange zest 1/2 cup milk 1/3 cup dried cranberries, cut in pieces
for the icing: 1 cup powdered sugar 2 Tablespoons blood orange juice sprinkles
Heat oven to 325F.
Mix flour, baking powder and salt in a medium bowl. Reserve.
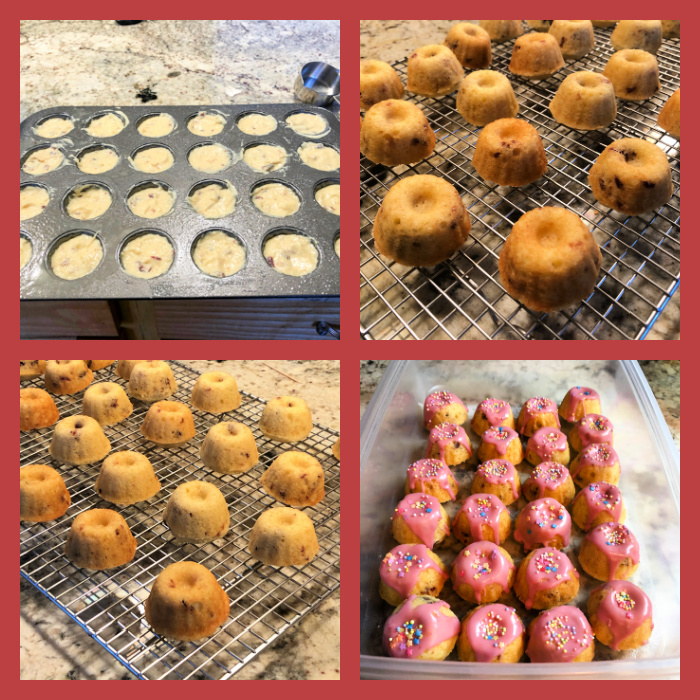
Cream the butter with sugar in a KitchenAid type mixer. Add egg and zest. Add 1/3 flour mixture, half of the milk, 1/3 flour, the rest of the milk, and end with the final third of the flour. Mix well to incorporate. Fold the cranberries, add batter to mini-cake pan, bake for about 13 minutes, until toothpick comes out clean.
Cool for minutes in pan, and invert on a rack. Make the icing by whisking all ingredients, if you want stronger color, add a tiny drop of pink food gel. Cover cooled cakes with icing, add sprinkles while still wet.
Comments: These are soft, sweet and tangy at the same time. Two little bites of heaven, covered with the blood orange icing that, together with sprinkles make them all so festive. I suppose you could use raisins instead, but cranberries are perfect in this setting.
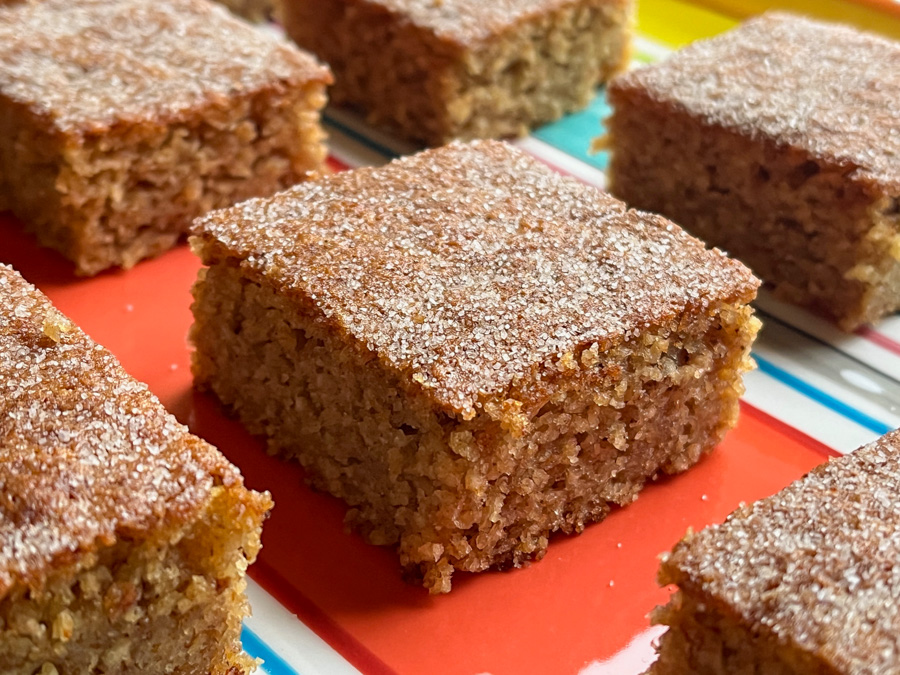
This is quite likely one of the easiest cakes to make, and I just know you will fall in love with it at first bite. One very unusual ingredient goes into the batter: bread crumbs instead of any type of flour. Don’t twist your nose, and please don’t run away! This is a deliciously moist, not too sweet cake, with intense banana flavor. I slightly modified the recipe my friend Alberto sent me. It is a winner!
BRAZILIAN-STYLE BANANA CAKE (slightly modified from our friend Alberto’s recipe)
5 very ripe bananas 4 eggs 80g oil (grape seed or canola) 100g granulated sugar 100g brown sugar 1/2 tsp cinnamon 2 cups breadcrumbs (unseasoned, about 1 tablespoon baking powder 1/2 tsp salt
cinnamon + sugar to dust the top after baking
Spray a 9 x 13 pan with baking spray and cover with parchment paper coming up the sides. Reserve. Heat the oven to 350F.
Place in a blender all the ingredients up to cinnamon. Blend at full speed until the batter is smooth.
Place the bread crumbs, baking powder and salt in a large bowl, whisking to combine. Pour the blended mixture on top, and mix gently with a spatula. Pour the batter in the prepared pan and bake for 40 minutes, until a toothpick inserted in the center comes out clean and the sides look dry and golden. Sprinkle cinnamon sugar lightly on top while the cake is still hot.
Comments: Phil fell in love with this cake, and he is a serious banana cake critic! The version we had in Brazil baked by our friend had a more intense banana flavor, but then again, it is hard to beat the flavor of a Brazilian banana in the height of the Summer… The texture of the cake is very unique, and it stays moist and tender for days. I highly recommend you give this recipe a try…
Time to spread some food blog love around… Today I share nine bakes that are perfect for the season and come from sites I closely follow. All recipes can be retrieved with a visit to the original post, which you will find below the pictures.
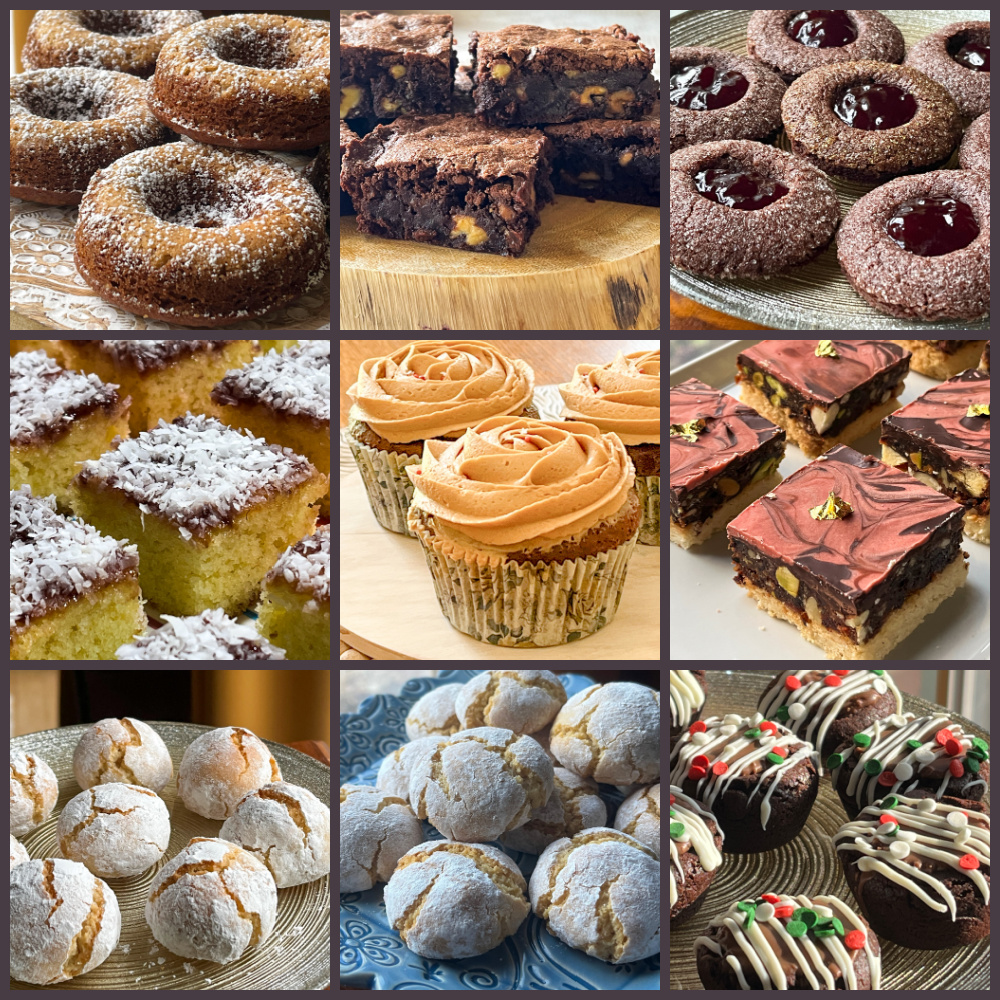
I know I repeat myself, but you simply cannot go wrong with Helen’s recipes. This one goes to my Personal Hall of Fame. Taste and texture could not be better. Her detailed instructions make it a breeze to make. I assume it is still ok to post pumpkin recipes, after all – according to the calendar – it is still Fall (cough, cough). Donuts get a streusel topping and need nothing but a dusting with powdered sugar to shine!
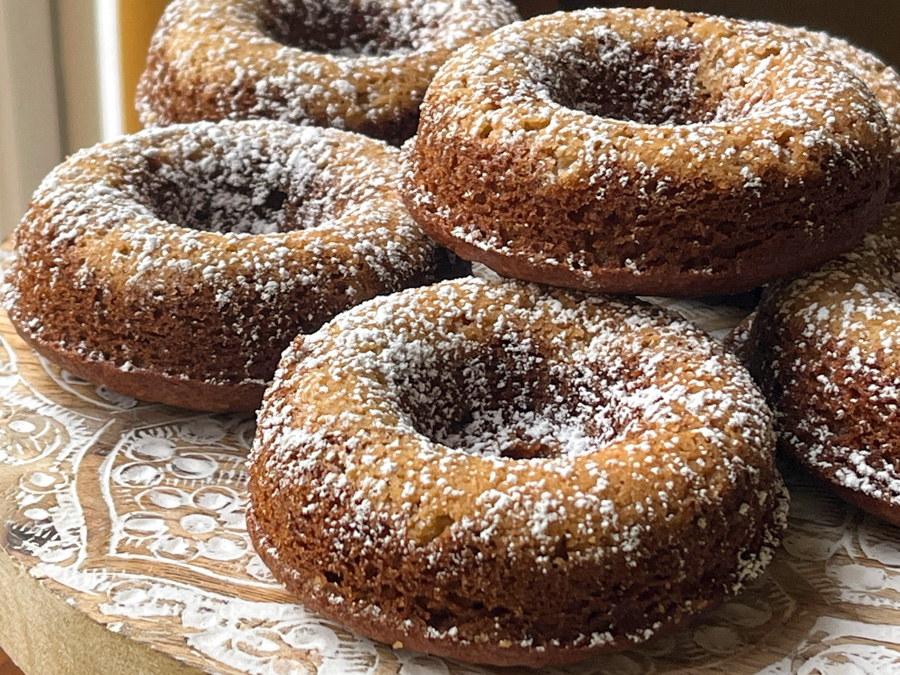
Celia used to be a very active food blogger, but although she is not posting often, her recipes are still on the site and each one is a gem. If you like to learn about chocolate tempering, make sure to visit her blog and read one of her posts on the subject. These brownies received two thumbs up from the Resident Brownie Critic. Need I say more? Make them!
Amazing recipe, it is almost like having a little bite-size brownie with jam on top. Simple to make, they will make your holiday table shine, and your guests very happy!
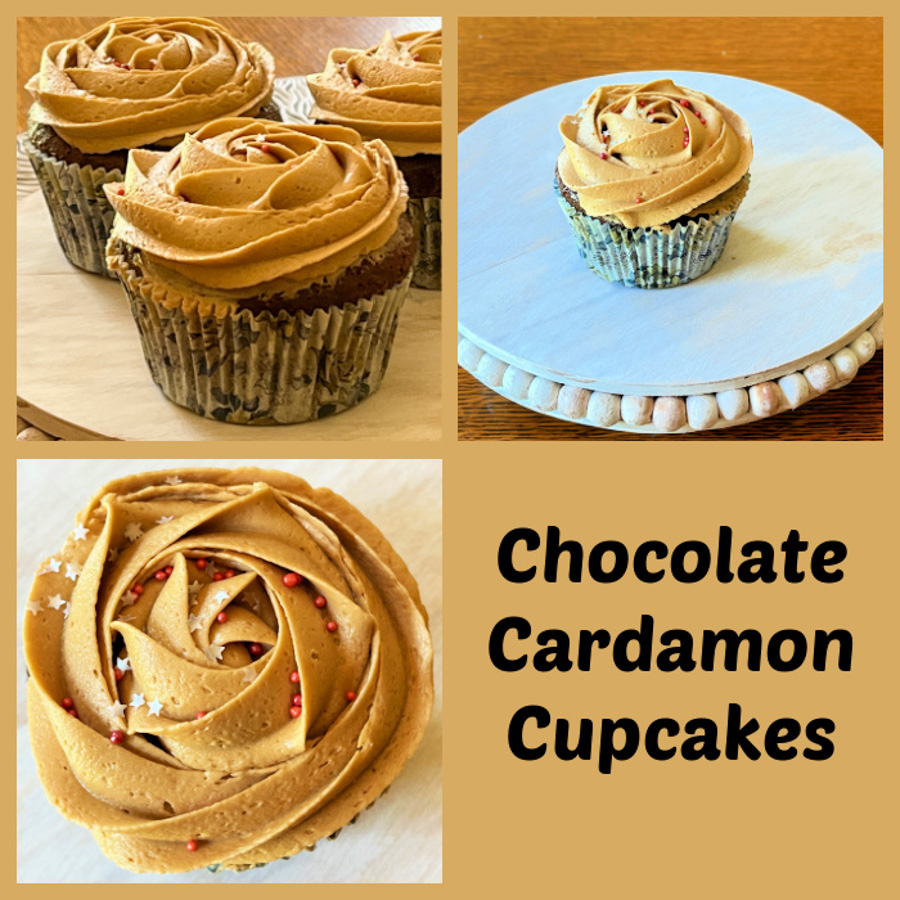
Aren’t those super elegant? I fell in love when Caro first shared the recipe, and could not wait to bake a batch. Cardamon and chocolate go surprisingly well together, so consider making them too… Sprinkles added just because…. sprinkles make life better!
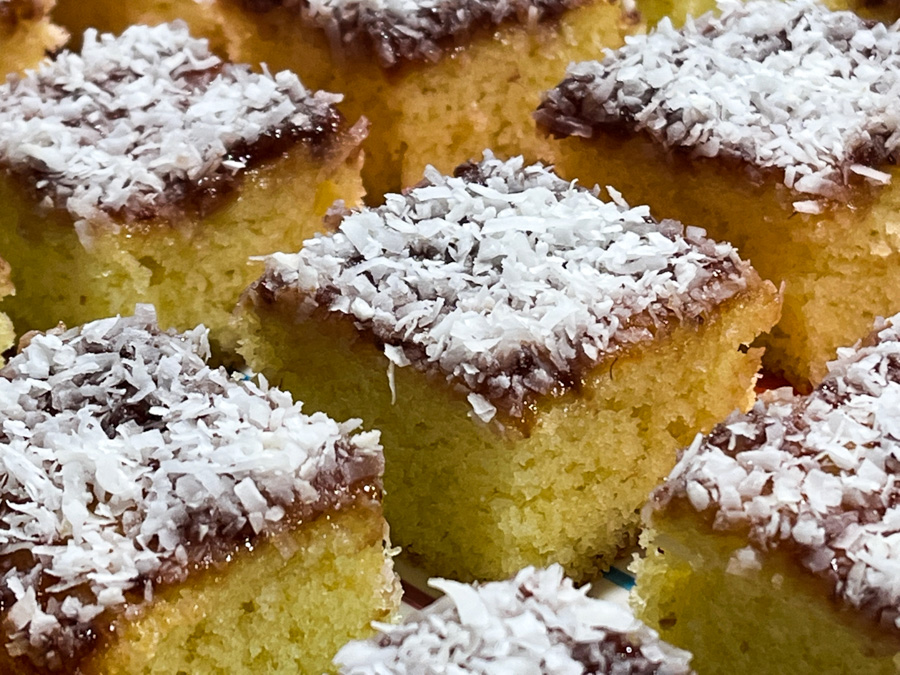
BAKE #5 CARO’S RASPBERRY JAM AND COCONUT SPONGE SQUARES
These are delicious, you cannot beat the texture of the cake… and the jam plus coconut topping is perfection. I know that some people don’t care for shredded coconut, but if your group of guests is ok with it, make sure to feature it in your holiday get-together.
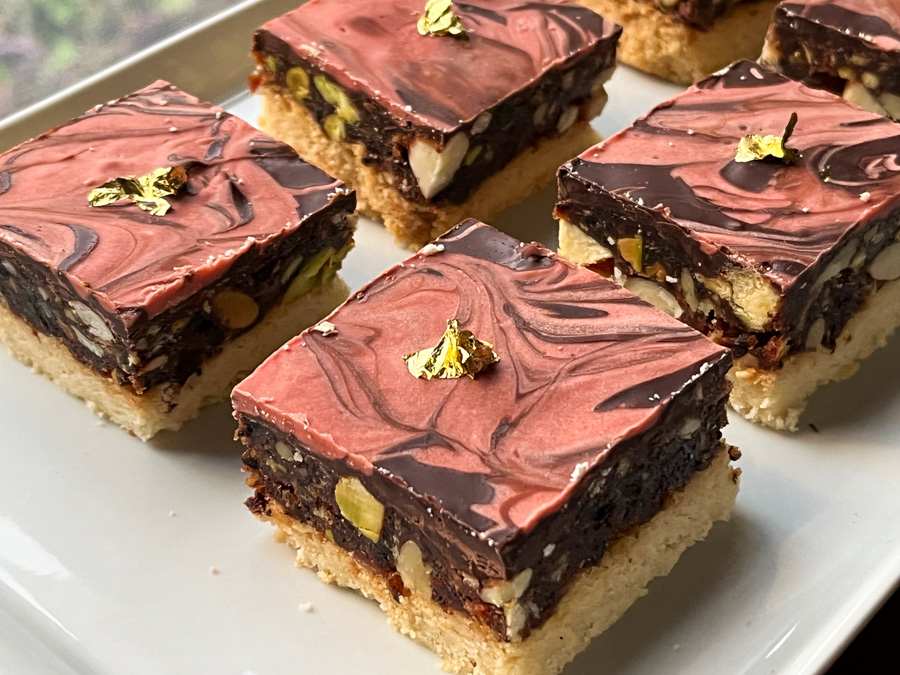
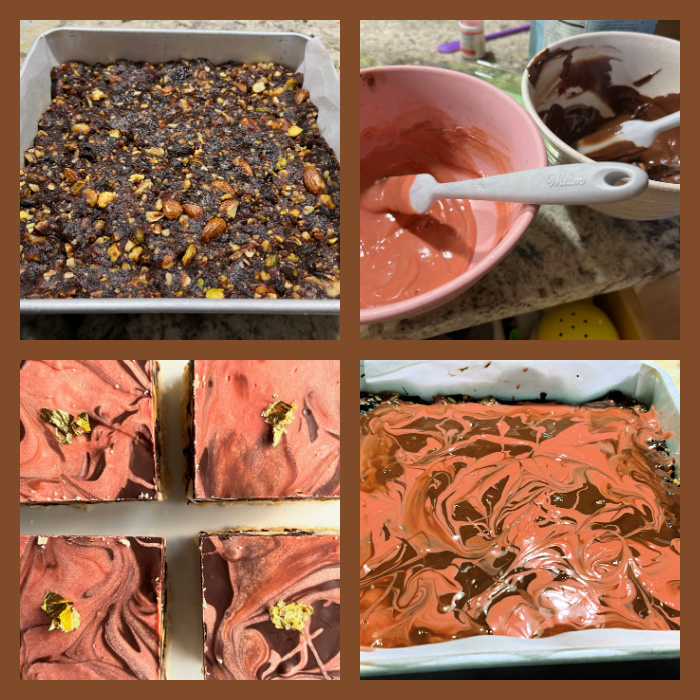
Super festive, the list of ingredients is long, but it is a reasonably simple recipe to put together. It has all the flavors I adore, including a light hint of rose, that goes well with all the other flavors. You can use ruby chocolate or add pink fat soluble dye to regular white chocolate for the marbling. Check out her blog post, the instructions are very detailed. Gold leaf is optional, but if you happen to have some, it is the perfect concoction to make them shine. Literally.
These are simply amazing! I made them three times, they were originally all going for my weekly donation box, but one batch made it to my beloved husband’s golfing buddies, and they got a lot of praise… Once you bite into the cookie, the soft almond crumb gives room to the sharp cherry inside, and you are forced to close your eyes and dream. Seriously good.
Another recipe from Lindsay’s blog, Love and Olive Oil. When it comes to “veganizing” a baking recipe, nothing beats macarons and amaretti type cookies, as all you need is remove the egg whites and use aquafaba instead. That is the magical ingredient, that works exactly the same, no loss of flavor, no unpleasant changes in texture. Of course, you could stick a cherry inside those too if you feel like it!
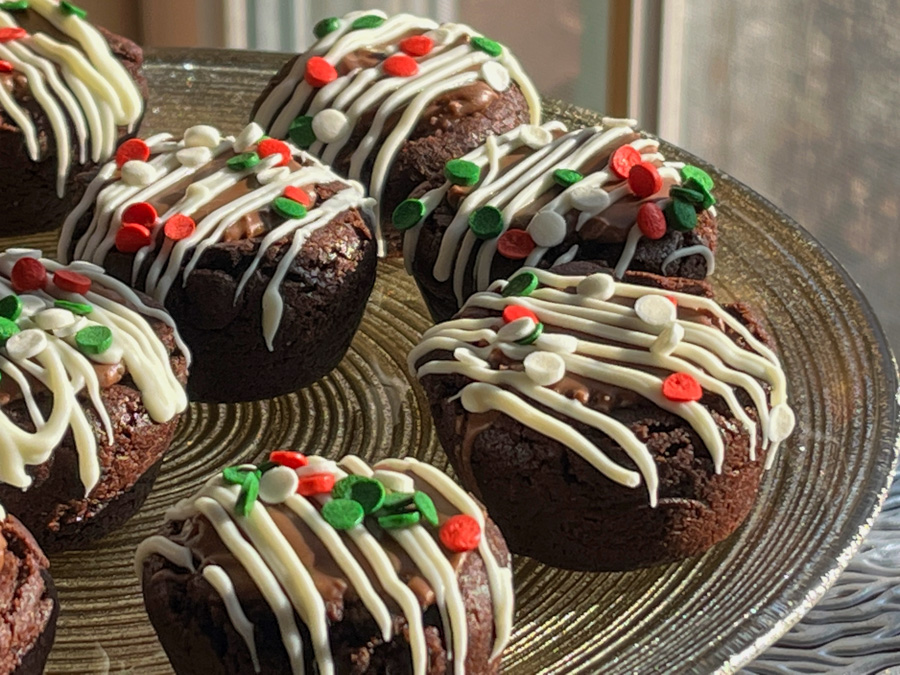
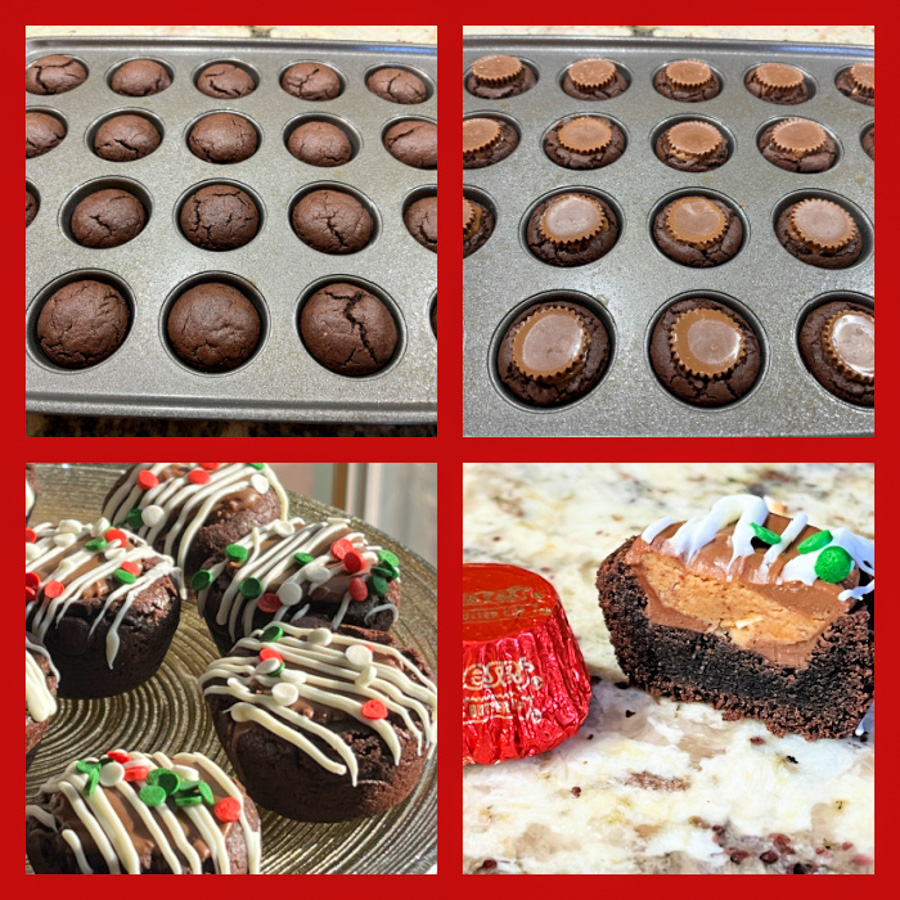
Aren’t those the most adorable little bites of heaven? If you are a lover of peanut butter, these are for you! I love Heather’s cookbooks, and her blog is always a source of inspiration, so make sure to bookmark and visit. I had to change the recipe a bit because our grocery store did not have peanut butter chips, so I used candy melts for the drizzle instead. Other than that, I followed her recipe to a T.
So there you have it, nine recipes from sites I love, as this is the season to spread love and gratitude around… I hope you can find something that inspire you to grab that bag of flour, those eggs, pull the mixer out to play, and get busy baking!
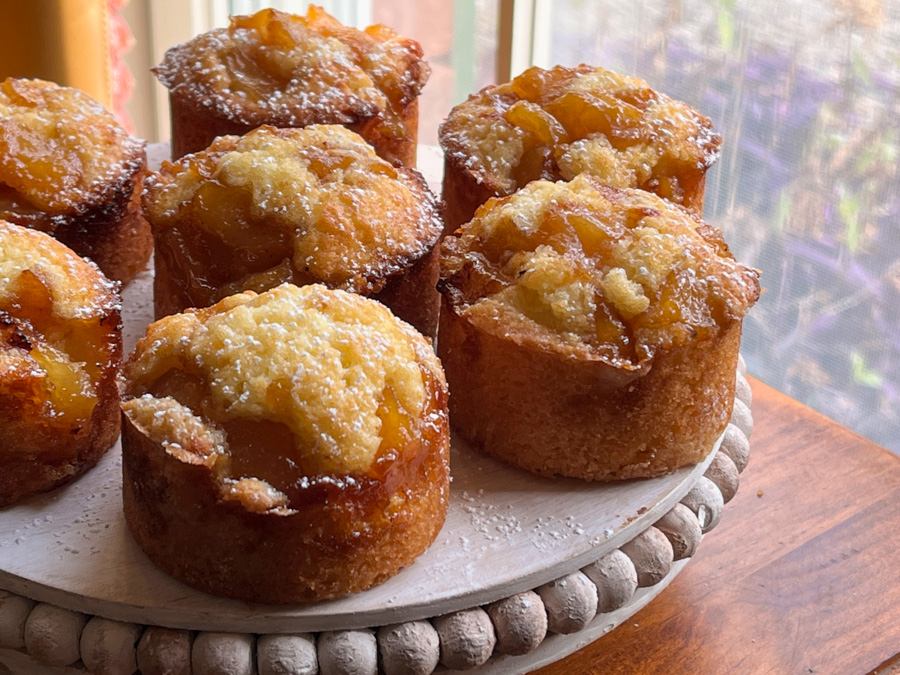
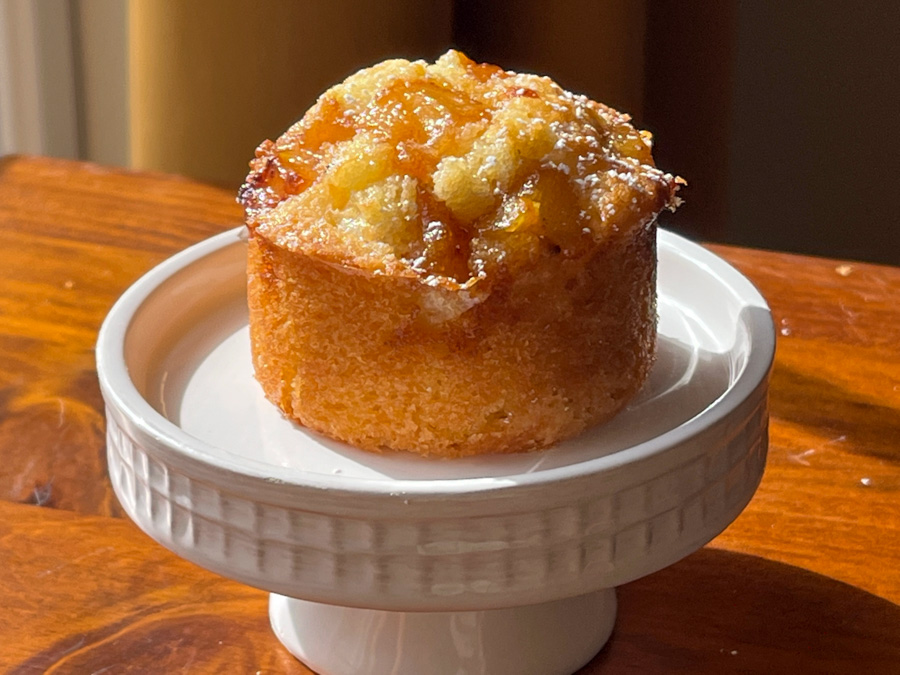
The cake batter for these cupcakes is very simple to make, the only other step needed is preparing the pear topping, but if you want to make your life real easy, you can do that the day before and keep it in the fridge. They don’t need anything but a light shower with powdered sugar.
VANILLA MINI-CAKES WITH HONEY PEARS (adapted from several sources)
for the pear topping: 2 tablespoons (1/4 stick) butter 4 Anjou pears, peeled, cored, cut in small cubes 1/3 cup (65g) golden brown sugar 2 tablespoons honey
for the cakes: 3/4 cup (185g) unsalted butter, room temperature 1 cup (200g) sugar 4 large (200g) eggs 1 teaspoon vanilla extract 1 + 1/3 cups (160g) all purpose flour 1 teaspoon baking powder 1/2 teaspoon salt
powdered sugar
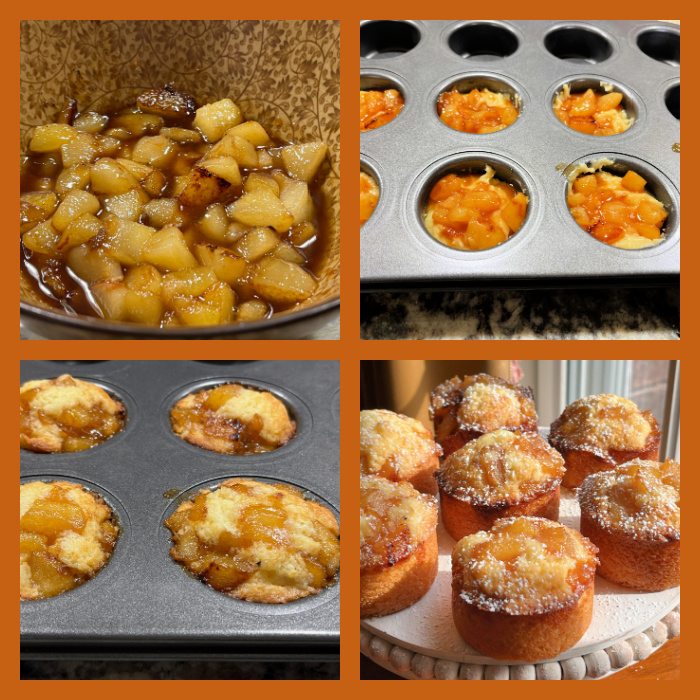
Melt butter in a large non-stick skillet, add the pears and sauté for 5 minutes, until tender. Add brown sugar and honey, cook until pears are evenly coated, about a minute or so. Transfer to a small bowl, cover and put in the fridge until needed.
Heat oven to 350°F. Coat 8 mini-cake pans with non-stick spray. Beat butter and sugar until smooth. Add eggs, one at a time, beating constantly. Add the vanilla. Which the flour, baking powder and salt in a bowl, and sift that mixture into the butter/egg, mixing gently until combined.
Divide the batter among cups, filling a little more than half-full. Spoon 1 to 2 tablespoons of the pear mixture on top of the batter. Bake until a toothpick inserted in the center comes out mostly clean, about 25 minutes. Let rest 15 minutes before un-molding. Right before serving, add a little powdered sugar on top with a sieve.
Comments: For the cakes, I used one of my favorite pans, which I bought a long time ago on eBay. I have not been able to find a source to get it in the US, but you can see it here. It is the same pan I’ve used for mini Victoria cakes (flash back post here). It bakes like a dream, and since the bottom is loose, you can push the cakes out easily. I love the look of the mini-cakes, they get perfectly straight edges. If you don’t have a similar pan, use a regular cupcake pan. Maybe the number and size of your cakes will be different but it will work.
The same approach will work with other fruits, and I also think pineapple could be wonderful, so that’s an idea for future adventures…
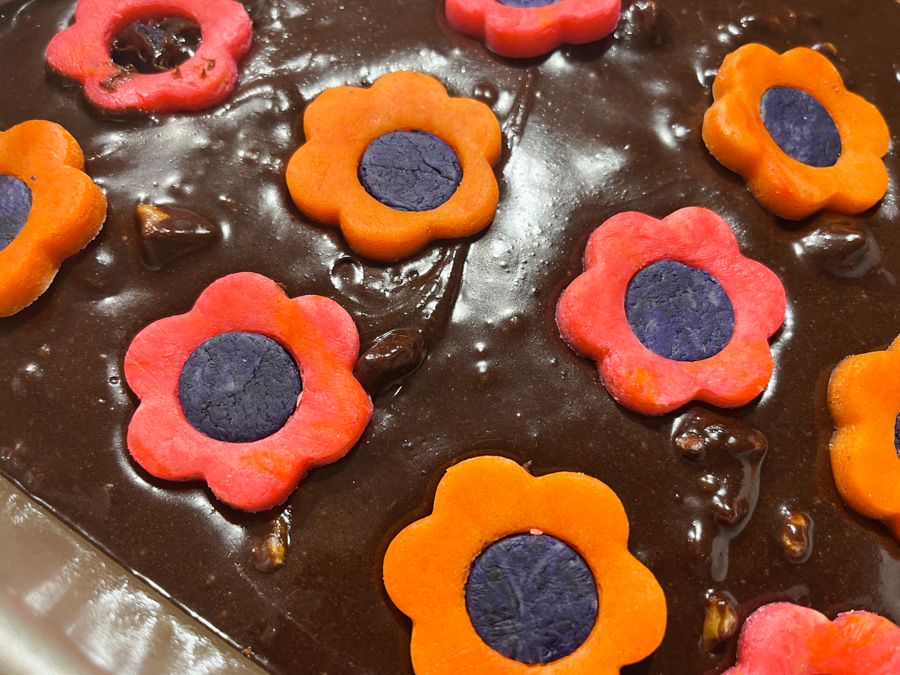
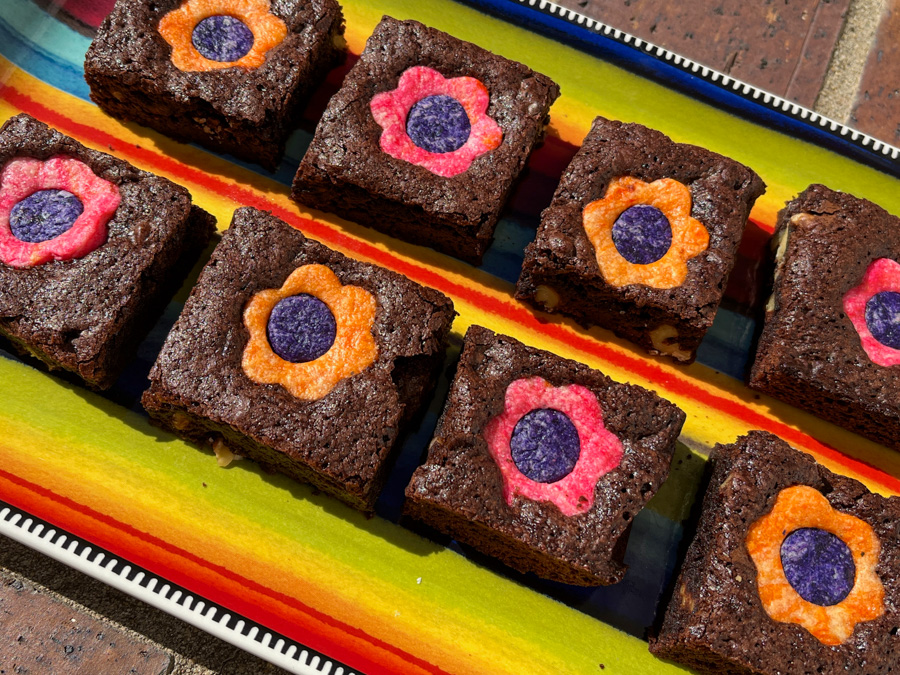
I cannot take credit for the idea, it was something Marlyn posted on her youtube channel, and I thought it was brilliant! She took the concept of colored cookie dough one step further, and used it to top brownies, baking them together. Works like a charm, and the possibilities are endless…
You can use any brownie recipe you like, mine included walnuts. For the cookies, I made flowers with dough of different colors, and with marbled pieces too.
You then need to place them (FROZEN) over the raw brownie batter. Marlyn placed shapes all over in random spots, and that works too, you just cut through the design once serving the brownie. I decided to space the flowers so that each would end up centered on every piece.
After that, bake as you normally would. The cookies and the brownies have similar baking times, and the brownie batter protects the cookie if you need to bake longer. But for me it was a total of 25 minutes. Let the brownie completely cool, and then slice it in pieces.
This was a huge success when I took to the department to share with our colleagues on a Monday morning. Nothing like starting the week correctly!
I am dreaming of baking a set of blondies with chocolate cookie shapes on top. Once baked, you can even add details with a little Royal icing, like I showed yesterday on my cookie blog (see last picture of this post).