Happy Mid-Autumn Festival, for those who celebrate! Every year, around July, I promise myself I will try to bake mooncakes. And every year I find excuses not to do it, because it seems so intimidating! Finally, I decided to woman-up, and go for it. I used the recipe from a great cookbook, Mooncakes and Milk Bread, by Kristina Cho. The copyrighted recipe is available online (click here), in case you don’t have the cookbook. I will share my experiences as a mooncake-virgin.
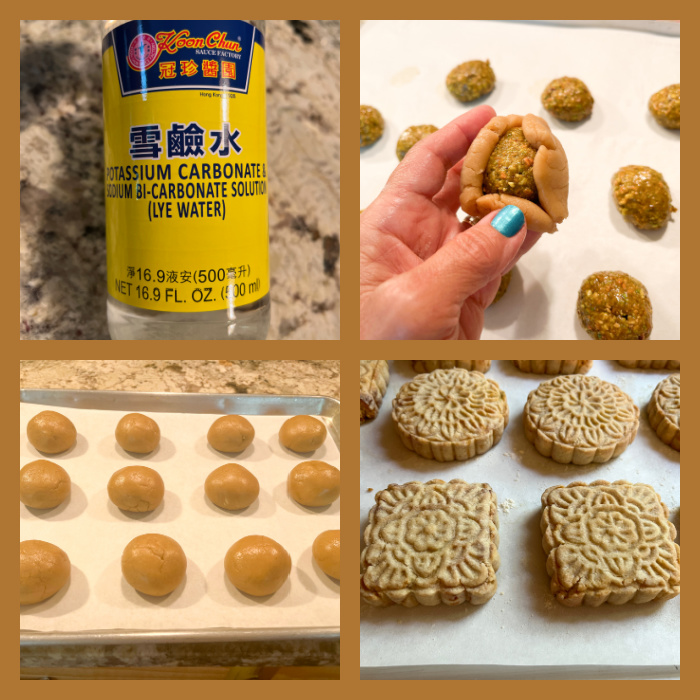
To make mooncakes, you will need molds (either plastic or wood will work). I used molds similar to these. You will also need Lyle’s Golden Syrup and a special type of water that can be made from baking soda, but I decided to get the commercially available (click here). You will only use 1 tsp of alkaline water per batch of dough. Molds come in two common sizes, 50g and 100g. I used the larger ones, make sure to adjust the amount of dough + filling to the size of mold you have.
The dough is surprisingly easy to work with, due to the high fat content. It stretches easily and I had no issues forming the balls with the filling inside. I used 48 g dough per ball, and about 35g filling of two kinds, the pistachio-honey described in the original link, and my second batch was simpler, just almond paste (8 oz) with 1/4 cup mini chocolate chips.
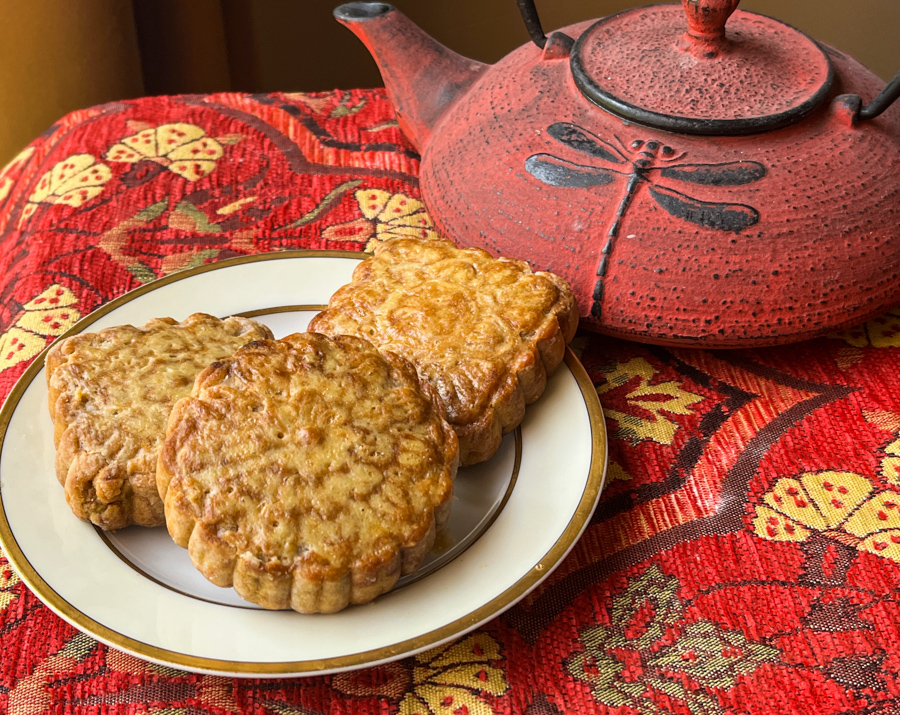
My problems started during baking. For many of the mooncakes, the pattern was almost fully lost during the second stage of baking. Maybe I used too much egg wash, or maybe some other tweaking in my technique was needed. At any rate, you can see in the picture below that my first batch was not as good as the second.
I suppose that making mooncakes is a bit like baking macarons, you’ll get better the more you make them. At any rate, I will definitely be using my molds with other types of cookie dough, as long as they don’t spread too much and have a higher chance of retaining the beautiful designs. Stay tuned… And if you celebrate…
This is a recipe from America’s Test Kitchen, the folks who test every single variable in a recipe multiple times until they come up with perfection. With the best. Or, as they called this one, The Ultimate Banana Bread. They’ve been known to go after food bloggers who either share their recipes without permission, or tweak their versions. I find the tweaking part a bit funny. Taste is so subjective that adjusting any recipe to suit the palate is what any cook should be doing…
THE ULTIMATE BANANA BREAD
The recipe is available online, so you can get it with a jump here. I actually did not see that review until after making the recipe, but I read it smiling all the way through… It turns out that I removed all the fuss and no major harm was done.
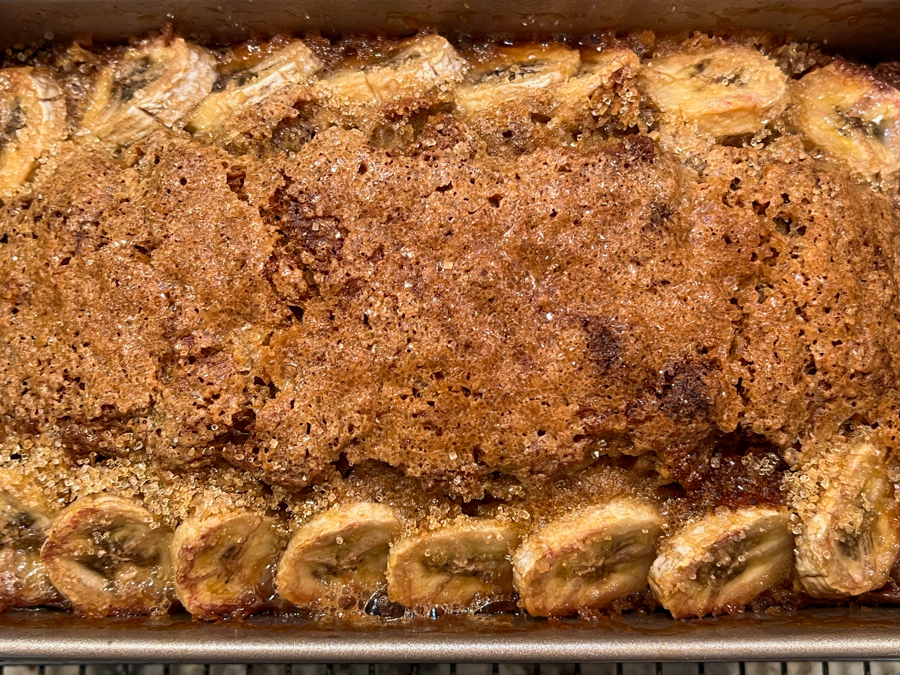
As the folks at thekitchn mentioned, the addition of turbinado sugar on top is brilliant. I actually added it in two installments, first right before placing in the oven…
And the second time another sprinkle just over the bananas when the bread had been baking for 40 minutes. I baked for a total of 55 minutes, in a 9 x 5 inch pan. The other tweaking I did was using frozen bananas without worrying about draining excess liquid. I also measured the amount of mashed bananas that went into the bread, as the fruit varies so much in size: 600g of banana pulp. One single fresh banana was used for the slices on top. Doing that, the recipe is really super simple, two bowls, one for dry ingredients, one for wet. Done.
Keep in mind that going at the sugary crust to peel it off and eat it is considered a faux-pas. Stealing extra slices of banana and running away? Equally distasteful. What you should do is make this recipe, available online in the link I provided or in this cookbook. Tweaking is optional. Your kitchen, your rules!
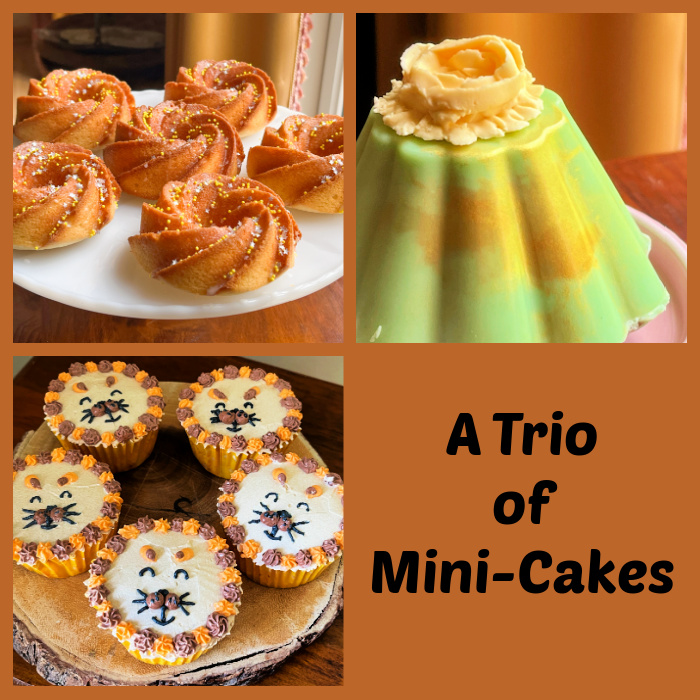
Mini-cakes are cute from the get-go, in fact most desserts made in single serving are pretty adorable by default. But some details can raise their level of cuteness even higher. Today I share three ideas to make mini-cakes a little more special.
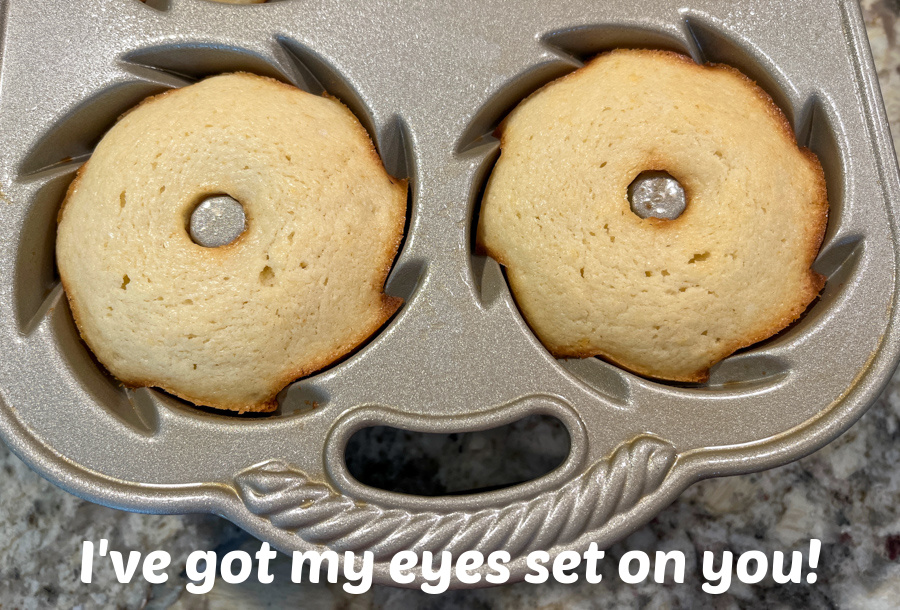
The first method to make cute cupcakes is using a different shape of pan. Like this pan from Nordic Ware. I think the quality of their pans is hard to beat, and totally worth the price tag. They are heavy, well-made and bake like a dream. I usually still spray the inside with PAM baking spray, a light coating ensures nothing will stick in the little crevices.
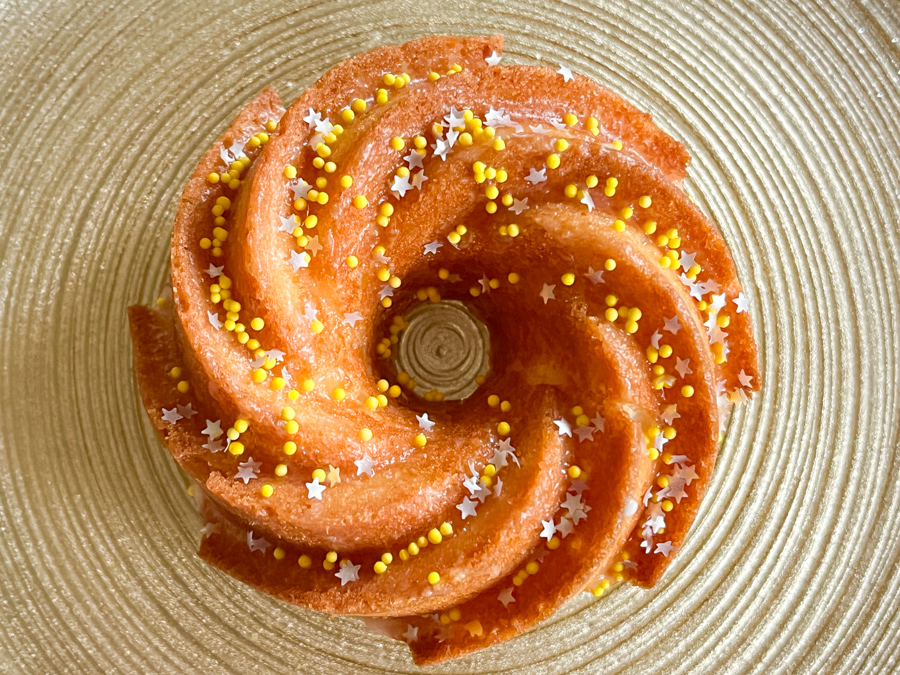
LEMON MINI-BUNDT CAKES
LEMON MINI-BUNDT CAKES (adapted from several sources)
125g butter (I used Kerrygold) 150g sugar zest of 1 lemon 2 large eggs (100g) 180 g all-purpose flour 1 + 1/4 teaspoon baking powder Pinch of salt ½ cup milk 1 tablespoon freshly squeezed lemon juice 1 tsp lemon extract for the glaze: 200g powdered sugar (1 cup) Juice of 1 fresh lemon (amount adjusted for consistency) sprinkles to decorate (optional)
Heat oven to 350 F. Rub the sugar with the lemon zest for a couple a minutes until very fragrant. Cream butter and lemon-infused sugar together. Add eggs one at a time, beating in slow speed until incorporated. Add the dry ingredients and milk. Mix well to combine, then add the lemon juice and extract, whisking gently.
Pour batter into the pan a little over 1/2 full in each cavity, but not quite reaching 3/4 of the capacity. Bake until a toothpick inserted in the cake comes out clean, about 22 minutes. Leave the cakes in the pan for 5 minutes than invert and cool them completely over a rack.
Make the glaze by mixing the ingredients. You want a pourable consistency, but not too thick so that the ridges of the cake still show. Pour over the cooled cakes. Decorate with sprinkles.
These lemon cakes are very moist, with intense citric flavor. I used a very thin glaze because I wanted the ridges to be evident. If making a regular cupcake, consider a much thicker icing that will stay on the surface a little better.
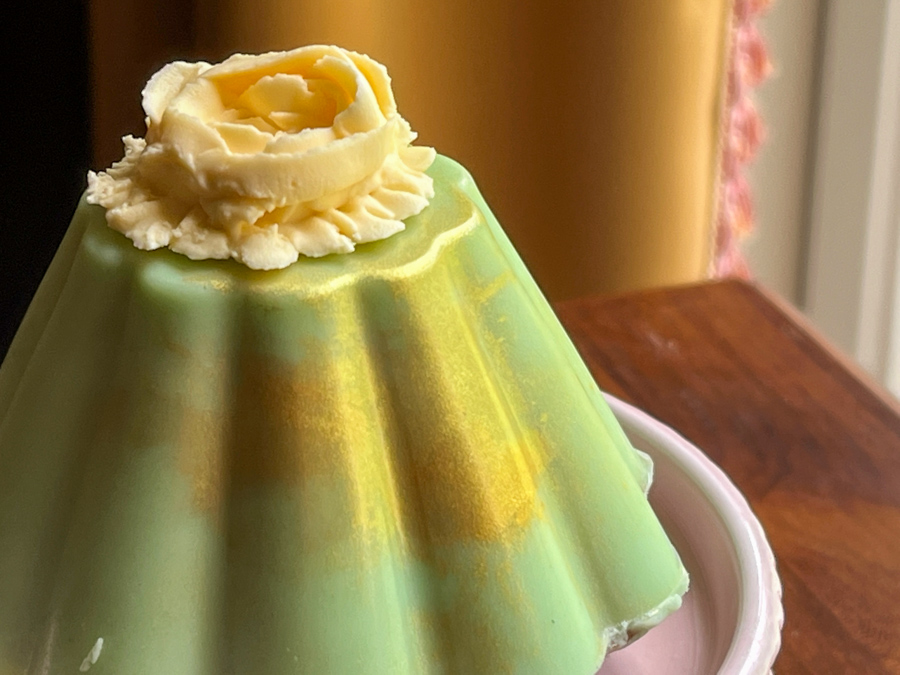
PISTACHIO-ROSE MINI-CAKES
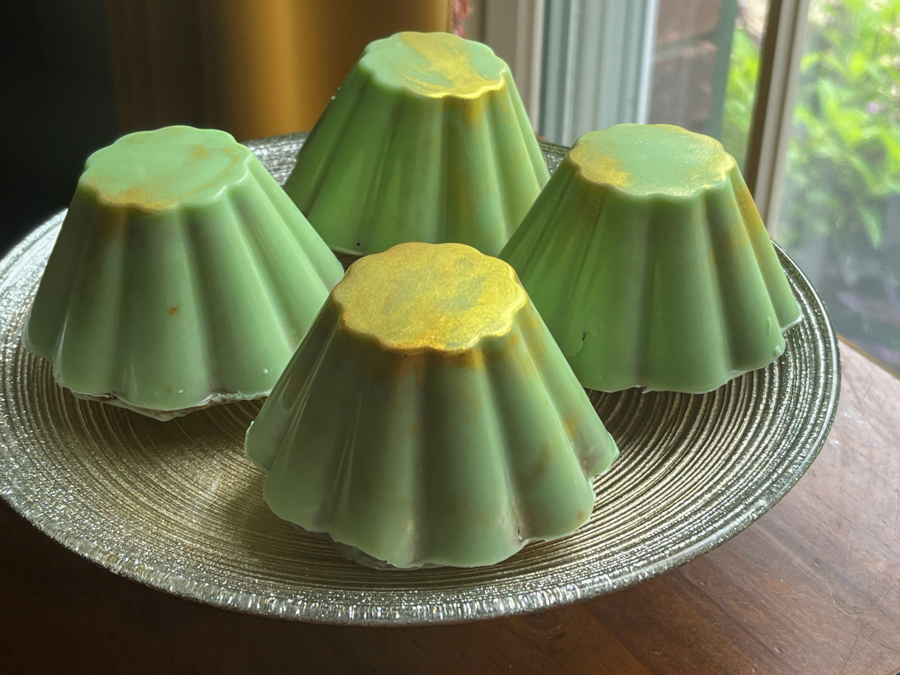
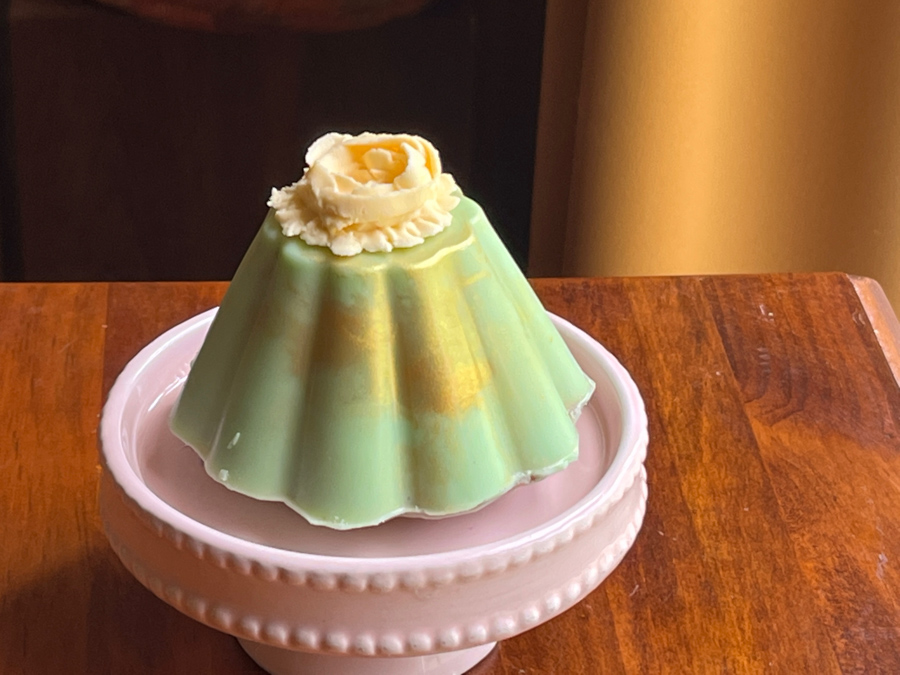
In this method, used by Sonali from sugaretal, you will need a silicone mold to bake the cakes. Then, after washing it well, the pan is used to apply the compound chocolate coating. The result is quite stunning, but the process pretty simple. I used this pan.
To get the recipe, follow the link to her Instagram page.
After baking the cakes….
The silicone pan is washed and dried very well. I used a little gold luster powder to brush the bottom of the pan, then poured Candy melts dyed light green. Carefully brushed that all the way to the sides of each cavity and placed the cake back, snuggly, so that it would get a smooth coating on the surface. Make sure to do one little cake at a time, so that the melted compound chocolate does not harden.
The pan is placed in the freezer for about 30 minutes, so that the shell is properly formed and the cakes will release fully coated.
I am totally in love with this combination of pistachio and rose. In fact, I urge you to visit Sonali’s blog, full of elegant ideas for all sorts of desserts.
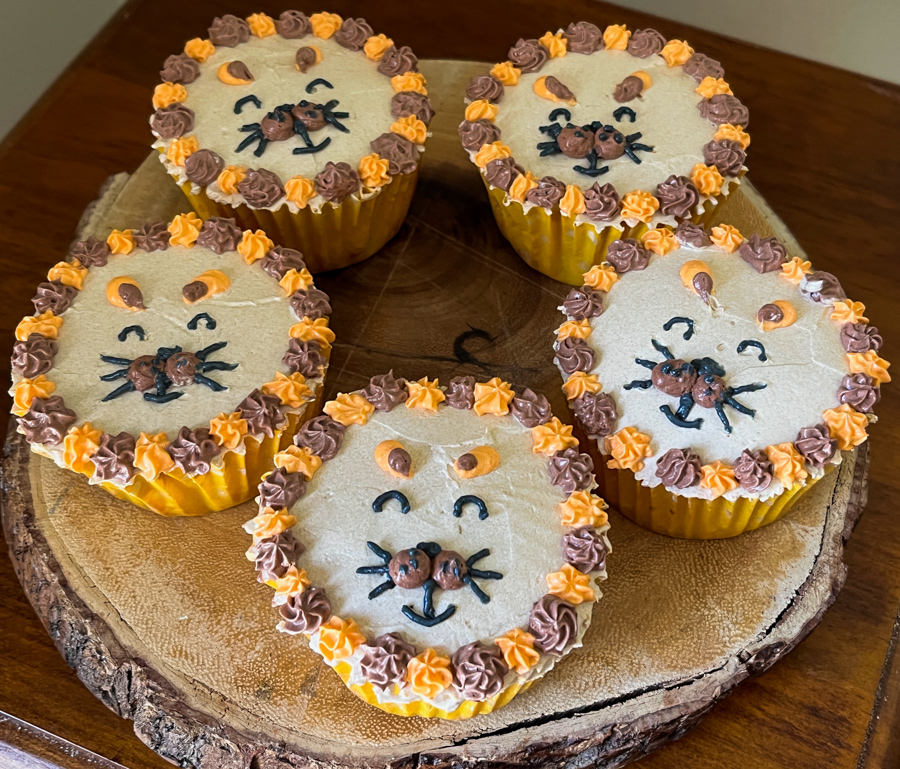
Finaly, the third way to dress up a cupcake, is making a few colors of Swiss meringue buttercream and creating a cute pattern on the surface. I followed the design of Liz Shim, available at Domestika.com
CUPCAKES DECORATED WITH SWISS MERINGUE BUTTERCREAM
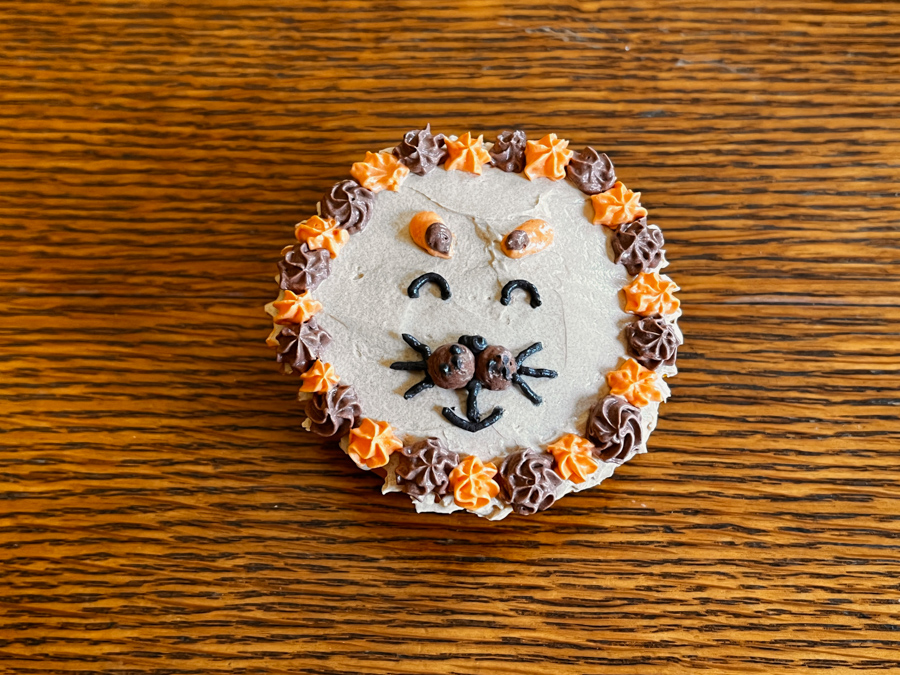
I made a simple vanilla cupcake (recipe from America’s Test Kitchen), and a batch of Swiss meringue buttercream following the recipe provided by Liz Shim in her class. I coated the top of the cupcakes with buttercream, and separated small amounts to dye orange, brown, and black. Those were used to make all the details using star-shaped or round piping tips.
I hope you enjoyed this trio of cakes. There are many options for mini-cake pans at Nordic Ware, one more beautiful than the other: hearts, little houses, tiered little cakes, stars… just choose your favorite and play with cake flavors. I think the pan I used would be very nice with a red velvet cake too.
Coating a cake with compound chocolate is another great option to include in your repertoire, and Sonali is a pro at that. You might remember I’ve used her method in the past (click here).
As to piping designs with buttercream, it involves a bit of a learning curve. I am much more comfortable piping Royal icing, which stays put better and is less prone to melting with the heat of your hands in the piping bag. But I intend to keep practicing, so stay tuned!
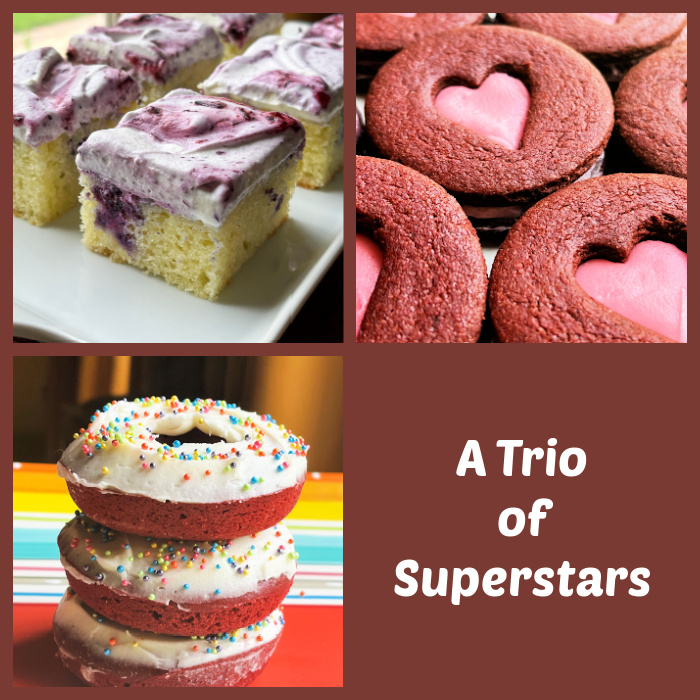
Today my blog pays homage to three amazing bakers who put great effort into each post they compose. Their blog articles end up as detailed tutorials that allow even a beginner baker to tackle what might seem very intimidating at first. I share three recipes, in the chronological order I baked them in the past couple of months.
SUPERSTAR BAKER #1 HELEN FLETCHER BLUEBERRY LEMON POKE CAKE
BLUEBERRY LEMON POKE CAKE
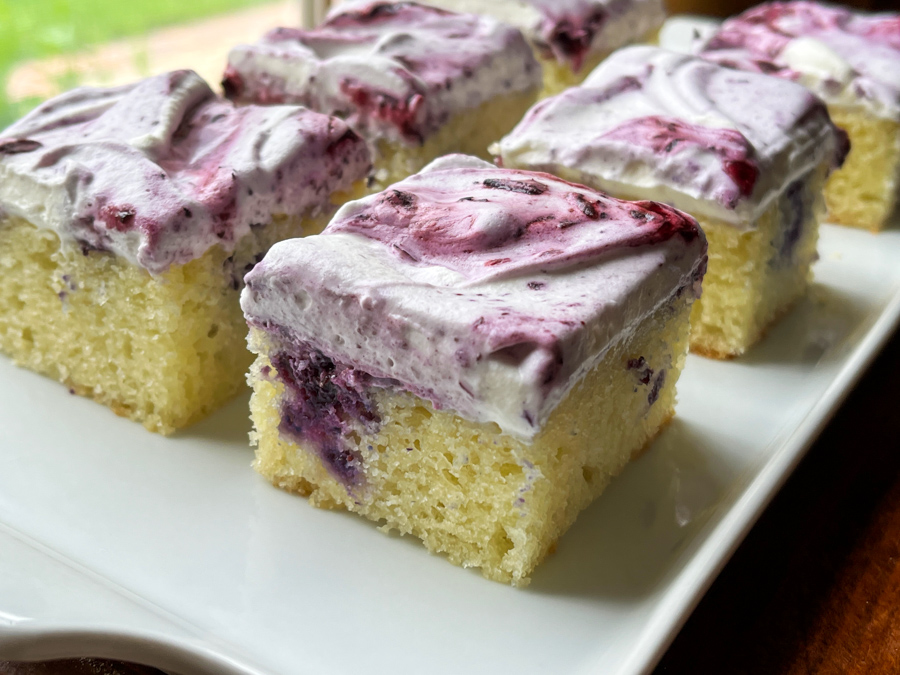
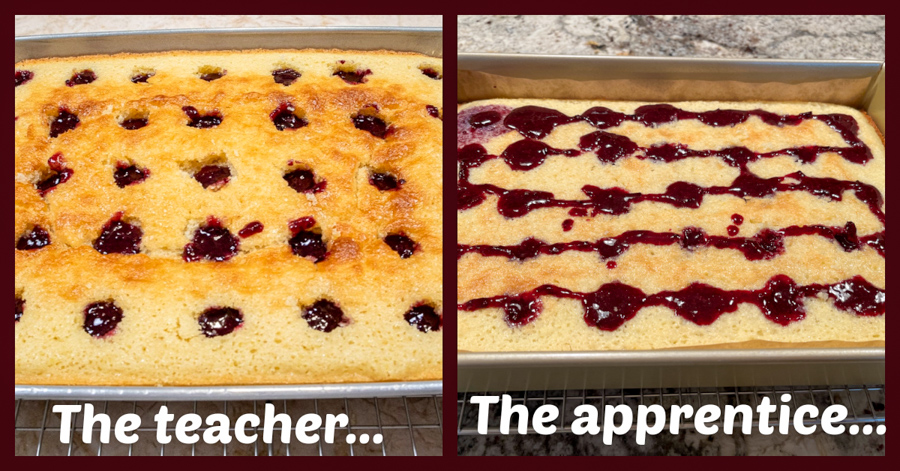
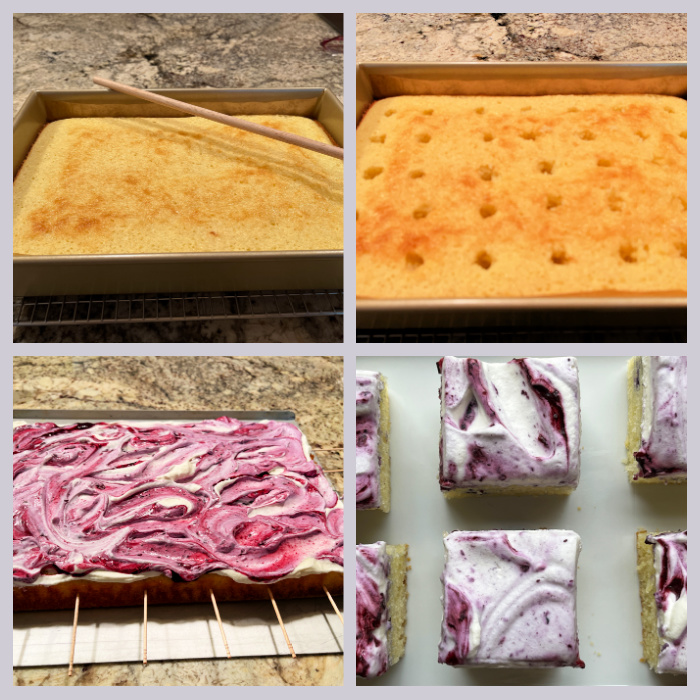
One of the tastiest cakes baked in our kitchen, and I am not exaggerating. Moist. Sweet to the perfect level. Luscious. Everything works in this cake. For the recipe and very detailed tutorial, visit Helen’s blog with a click here. You will make a blueberry jam to fill the cake, and I advise you to give enough time to allow it to set a bit, just to make it easier to work with…. Below, a little comparison between Helen’s neat work and yours truly… my jam was still bit too loose. No major harm done, though, I just thought it was funny to share.
Helen’s site and her cookbooks are a constant source of inspiration for me. Plus, she is tremendously helpful and whenever I get into trouble I drop her an email. She has rescued me more than once. A lot more than once (wink, wink).
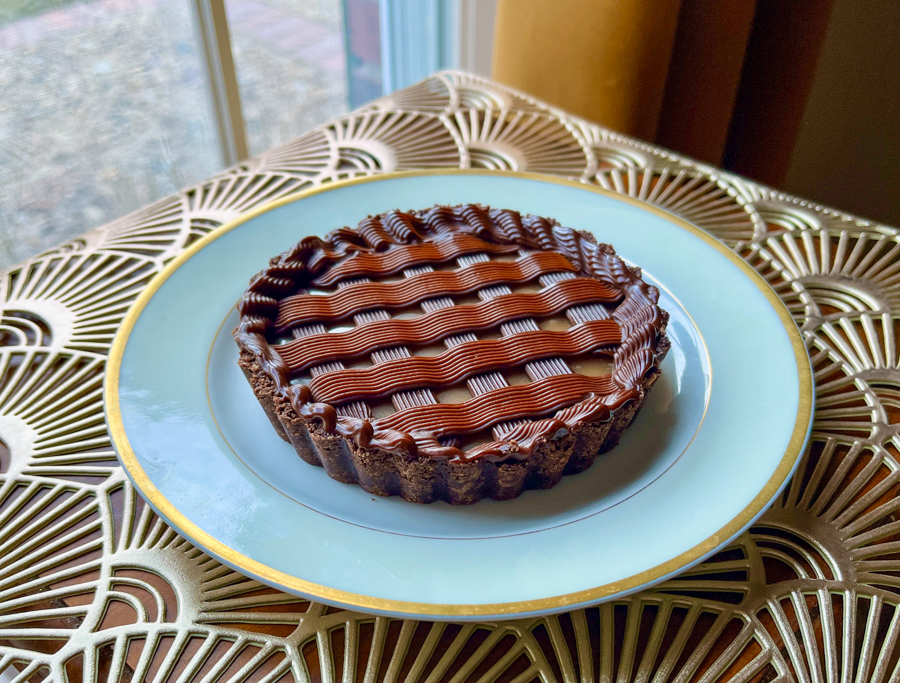
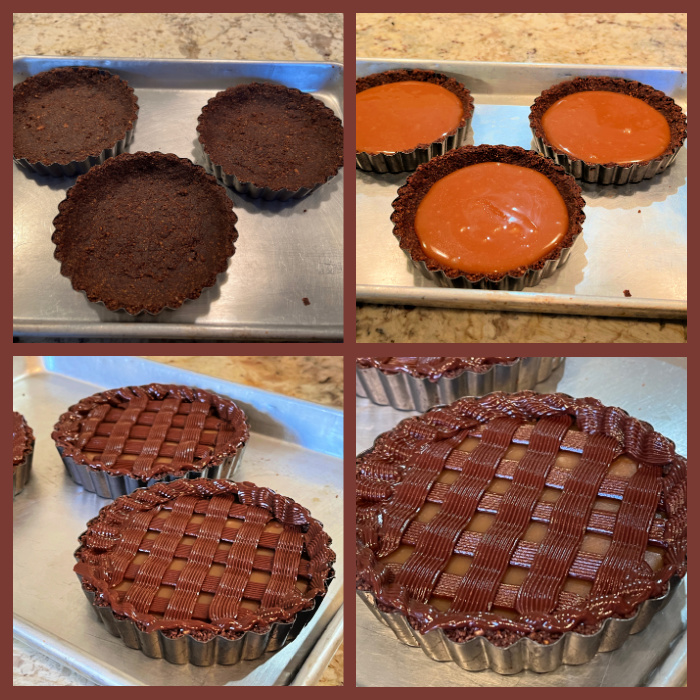
Every once in a while, Helen offers online classes, and I’ve taken a couple of them. One of my favorites was last year, in which she taught how to make Chocolate Tartlets with a caramel filling. A thing of pure beauty and absolutely decadent! Make sure to subscribe to her blog, so you get notification of upcoming classes.
SUPERSTAR BAKER #2 CAROLINE RED VELVET OREO STYLE SANDWICH COOKIES
RED VELVET OREO STYLE SANDWICH COOKIES
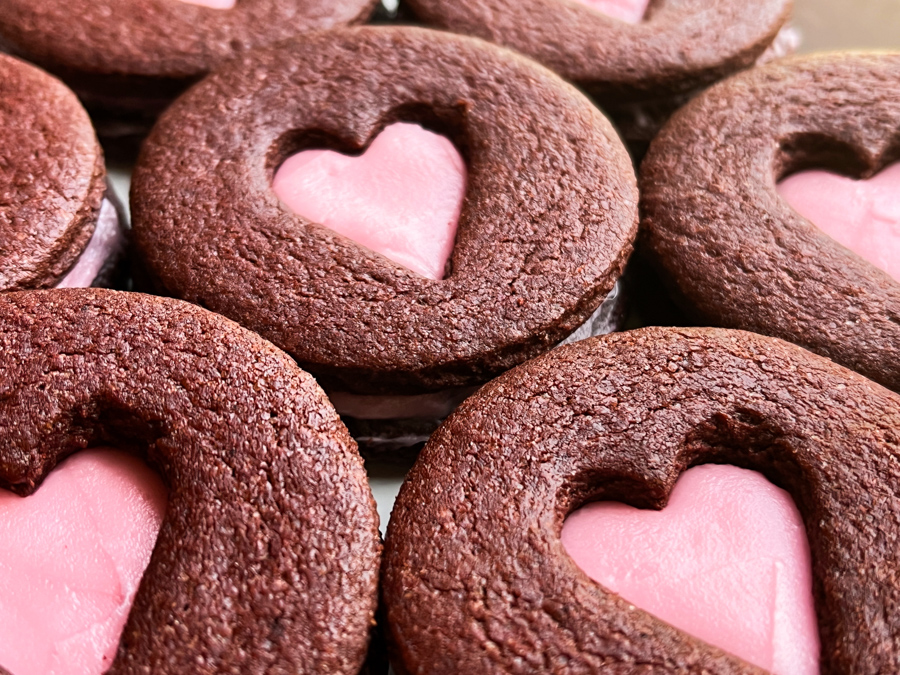
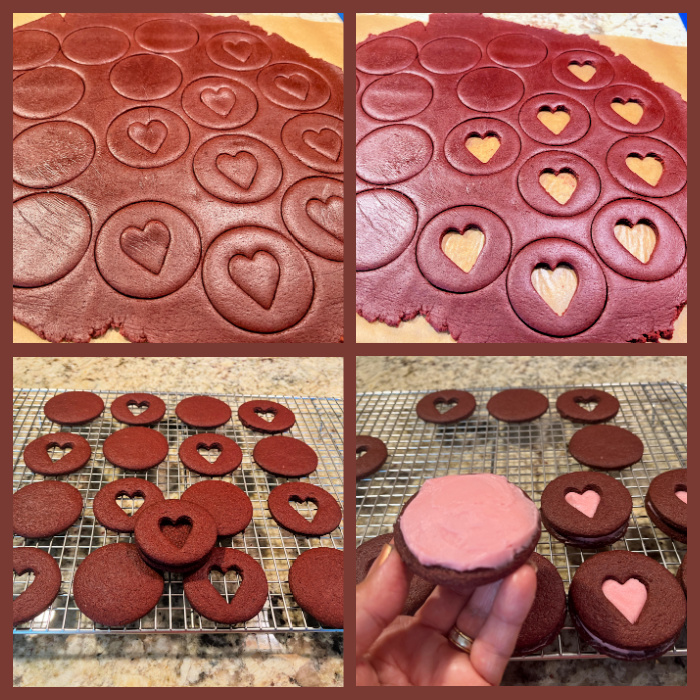
Absolutely delicious, you can make them without the cutouts if you’d like to simplify your life, but of course turning them into Linzer territory is not a bad move at all! For the full recipe click here. I made a very slightly modification adding strawberry extract to the filling and a touch of pink gel color. Other than that, I followed her recipe to a T.
You can modify the filling, use jam, or Nutella, the cookies are very flavorful and will be perfect no matter your choice of filling. Caro has countless baking lessons in her site, I highly recommend you pay her a visit and subscribe to be notified of new posts. Caroline is one of the moderators of a Facebook group with almost 18 thousand members, for lovers The Great British Bake Off, and that’s how I got to know her. I don’t know how she manages to do all she does…
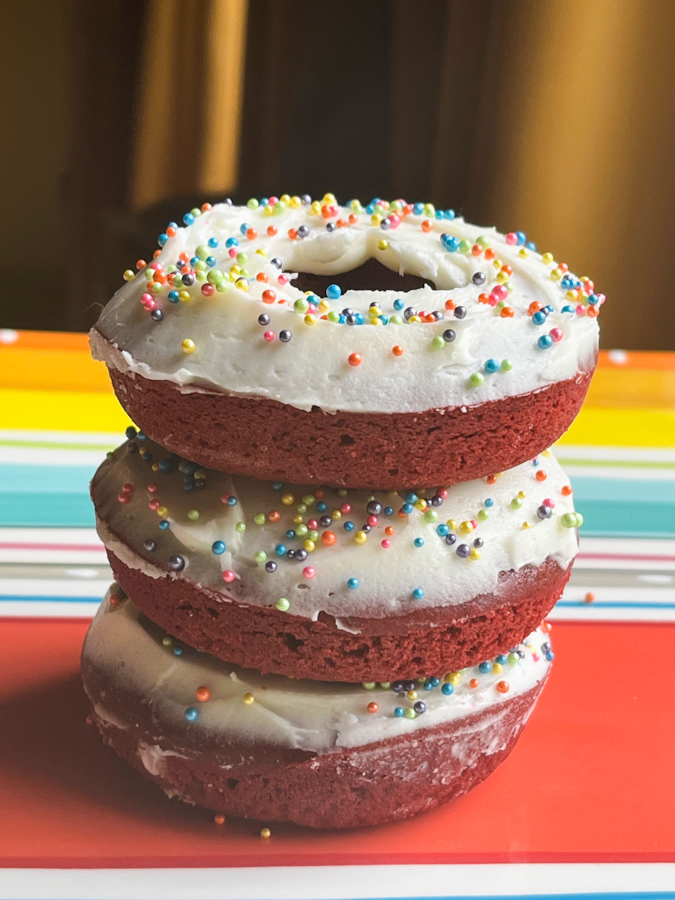
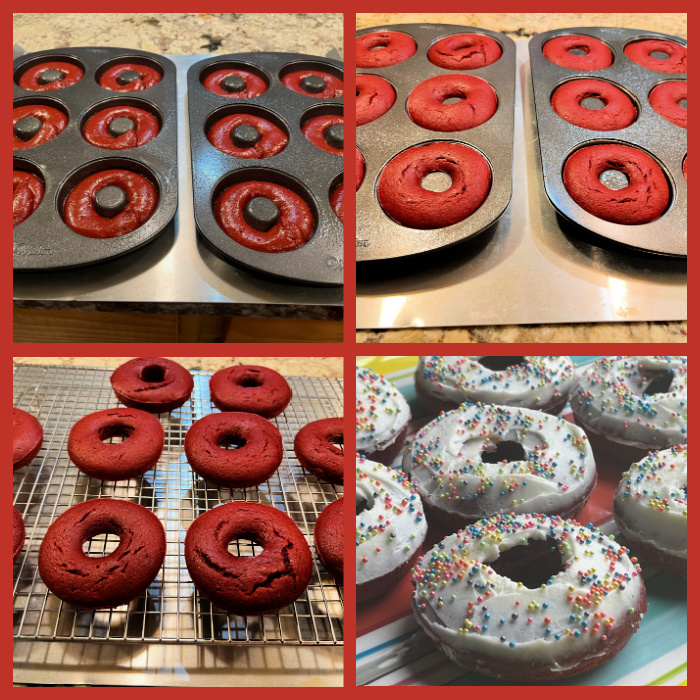
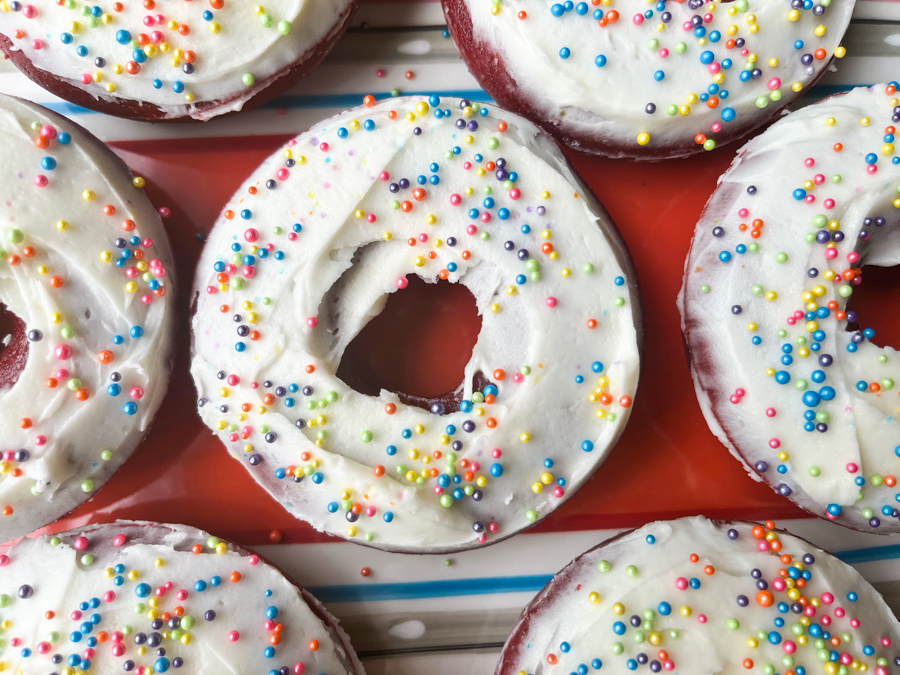
SUPERSTAR BAKER #3 TANYA OTT RED VELVET CAKE DONUTS
As you can see, I’ve been on a red velvet kick lately. These are spectacular and simple to make, especially if you follow the detailed instructions and the very helpful video available in Tanya’s blog. Essentially two bowls, no need for an electric mixer until you get into frosting territory.
Another example of a great baking instructor, Tanya’s articles are always carefully composed, and I am in awe of the amount of work she puts into the making of each of the videos often included in her posts. In case you don’t know, Tanya was one of the contestants in season 5 of The Great American Baking Show, and I shared the tent with her a few times. She even got a handshake from a certain guy with penetrating blue eyes…
That’s all for now, folks! I hope you visit my friends’ sites, and get as inspired by their baking as I do…
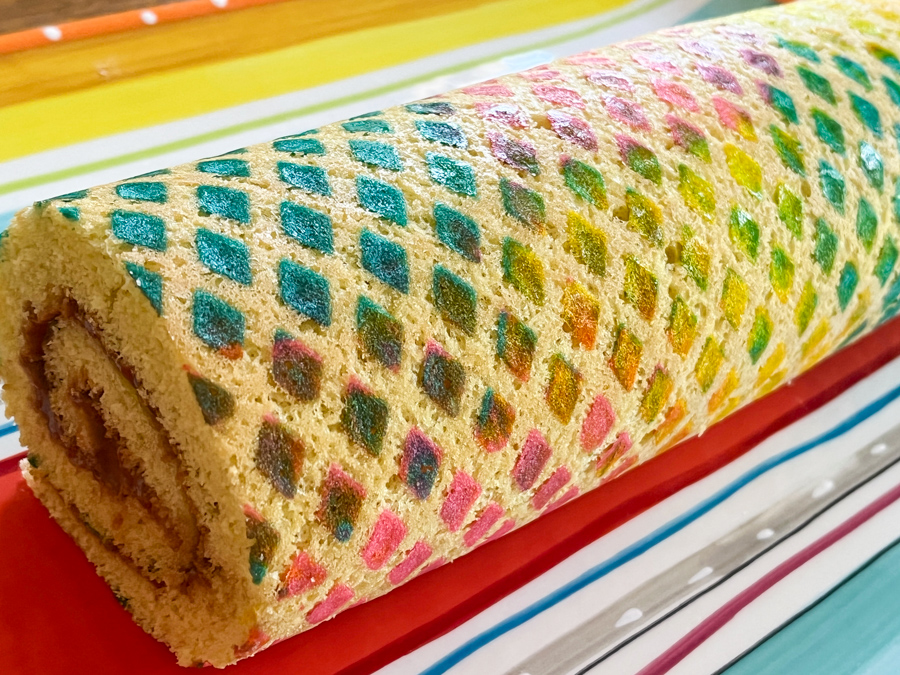
I’ve been on a roll for the past month or so. After a long time – maybe a couple of years – not making this type of cake, I flirted with a few different methods, including some by very reputable sources, but they did not please me for one reason or another. In this post, I share a very simple recipe. Simple in the sense that you don’t have to separate egg whites and yolks, it rolls very well thanks to the addition of a very small amount of melted butter, and the texture is not dry like most versions, again kudos to butter. Plus, you won’t need a special size of baking pan, it works well in a half-sheet, which most people have in their kitchen. You can of course, skip the patterned decoration, but, why would you not go for it?
FESTIVE DIAMOND ROLL CAKE WITH NUTELLA FILLING (from the Bewitching Kitchen)
for the decoration: 50g butter, softened 50g powdered sugar 50g egg whites 50g all-purpose flour pink, yellow and teal gel colors
for the cake: 130g cake flour 1 teaspoon baking powder 5 large eggs, at room temperature 200 g granulated sugar Zest of 1 lemon 1/2 teaspoon lemon extract 1/2 teaspoon vanilla extract ¼ teaspoon kosher salt 2 tablespoons butter, melted and cooled
For the filling: 170g (6 ounces) cream cheese, softened to room temperature ¼ cup heavy whipping cream ½ cup powdered sugar ½ cup Nutella 1 tablespoon cocoa powder
Make the piping decoration by beating the butter with powdered sugar in a small bowl until fully combined. I used a hand-held electric mixer. Add the egg whites and beat for a couple of minutes. Add the flour and mix by hand with a spoon, divide in three portions. Color them pink, yellow and teal.
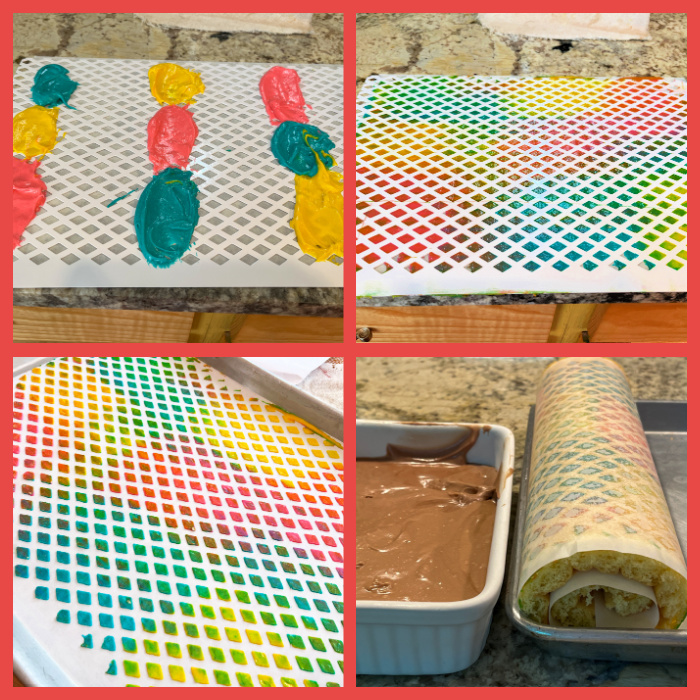
Place a diamond stencil over a sheet of parchment paper and add small amounts of each color as shown in the composite picture included in my post. Spread the colors in one direction, trying not to move them back, but making sure to cover all the little diamonds. Carefully remove the stencil frame and freeze the parchment for 30 minutes or so.
Heat oven to 375°F. Sift the flour and baking powder into a small bowl. Reserve. Place the eggs and sugar in the bowl of a standing mixer fitted with the paddle attachment. Beat until the mixture form ribbons, about 12 minutes. Add the lemon zest, lemon extract and vanilla. Beat until combined. Sift the flour mixture over the beaten eggs, fold gently. When the flour is mostly incorporated, add a little bit of the mixture to the melted butter, whisk well. Pour that into the cake batter, whisk gently to disperse. Pour over the frozen parchment paper placed in a half baking sheet, and smooth the surface.
Bake the cake until it begins to pull away from the sides, about 12 minutes.
Transfer the pan to a cooling rack, cover the cake with a towel and let it cool fr 10 minutes. Remove the towel, sift a little powdered sugar over the surface and flip it over parchment paper. Gently peel off the paper with the design, flip the cake again over a clean towel. Starting with a short side of the cake, roll the cake gently, using the towel to support the cake as you go. Let the cake cool all rolled up in the towel, seam side down.
While cake cools make filling by using a handheld mixer or standing mixer to beat cream cheese and heavy cream on high until light and fluffy, 3 to 4 minutes. Add ½ cup powdered sugar, Nutella, and cocoa powder. Start the mixer on low and slowly increase speed, beating until the filling is light and fluffy. The filling should be thick and spreadable. Refrigerate for 30 minutes, so that it sets a little.
Carefully unroll the completely cool cake, spread the filling, then roll it again. Wrap the cake in plastic and refrigerate for at least 3 hours, overnight is best. When ready to serve, slice a small piece of each of the ends, so that it looks more polished.
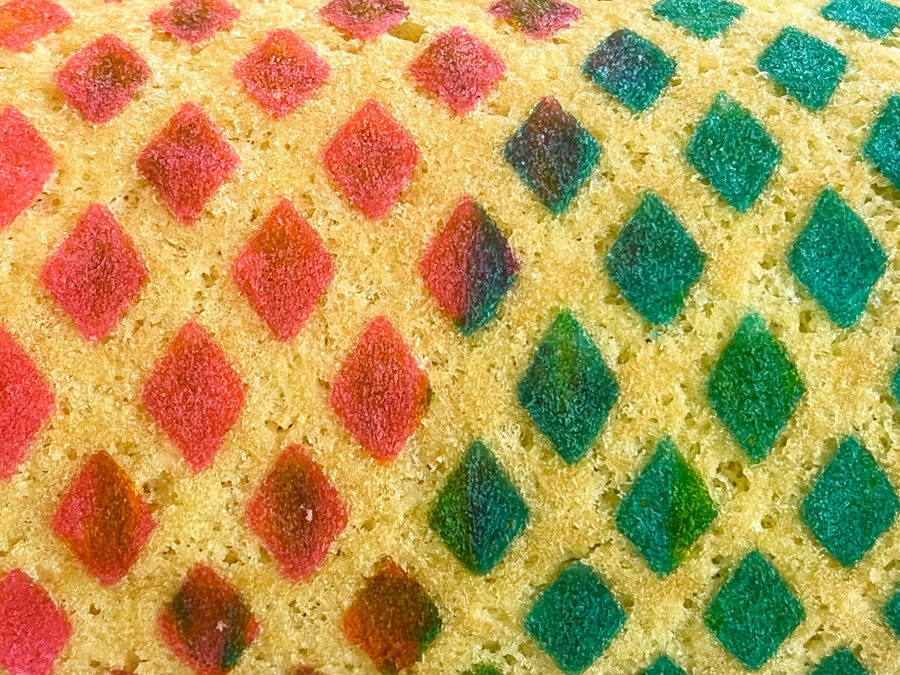
Comments: For this pattern, I used three colors of the paste, and placed them in alternating spots over the large stencil, that covers the whole surface of the half-sheet. The thickness of the stencil determines the amount of paste that gets into the paper. The design transfers very well to the surface of the cake, and does not interfere with rolling it.
I’ve had this stencil frame for many years, bought it on eBay, but could not find it anymore. This one is very similar, in case you are interested.
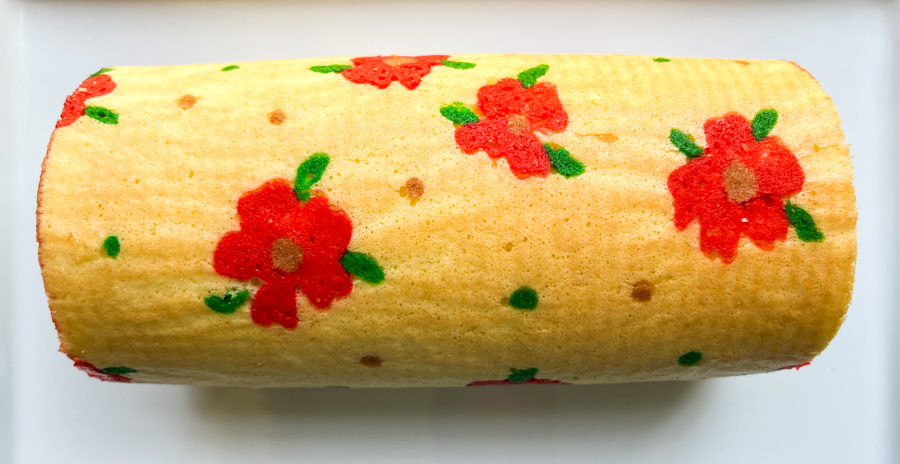
If you don’t have a stencil frame, there are plenty of alternatives to decorate, one of them drawing little flowers on the paper, and pouring the batter on top. Two things are important to remember: first, the design cannot be too large, or it will pull the cake during baking, and might even make a crack in those spots. Second, the layer of the design should be as thin as possible, because it you make it too thick, it might not incorporate well into the cake batter, and pull away during baking. Make sure to use white parchment paper, because it helps keeping the cake layer lighter, giving better contrast with whatever pattern you go for.
The Nutella filling is excellent! I’ve used it to fill macarons a couple of days later. The cream cheese does a little magic to cut the sweetness of Nutella. It has a wonderful spreadable consistency, but the macarons stored in the fridge held up pretty well, once moved to room temperature for 20 minutes or so. I hope you give it a try, either to fill a regular cake, make sandwich cookies, or…. a patterned roll cake!