Time to spread some food blog love around… Today I share nine bakes that are perfect for the season and come from sites I closely follow. All recipes can be retrieved with a visit to the original post, which you will find below the pictures.

BAKE #1
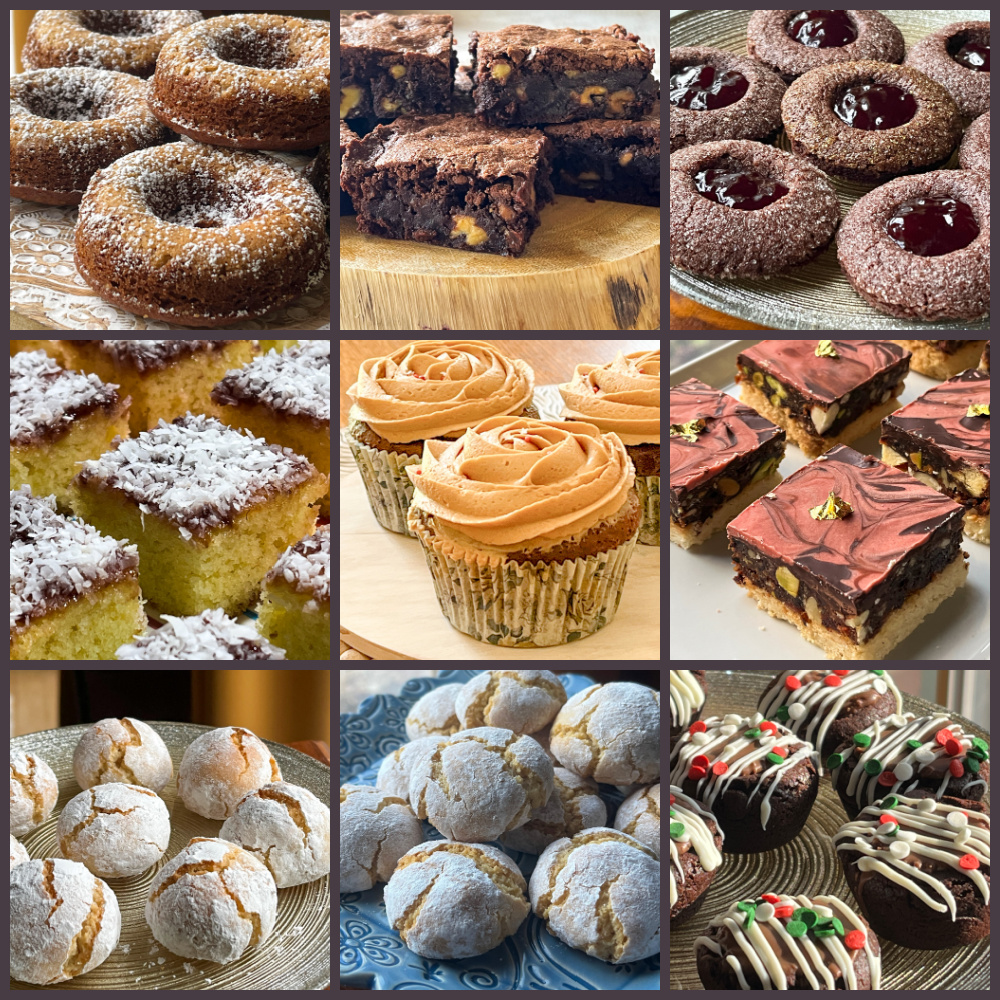
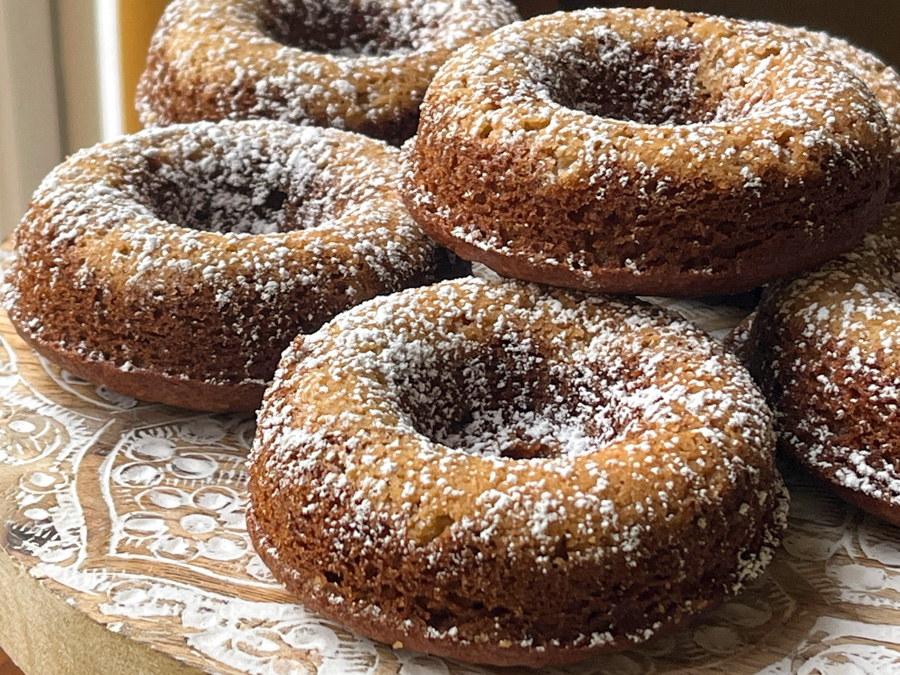
HELEN FLETCHER’S PUMPKIN CAKE DONUTS
(for recipe, click here)
I know I repeat myself, but you simply cannot go wrong with Helen’s recipes. This one goes to my Personal Hall of Fame. Taste and texture could not be better. Her detailed instructions make it a breeze to make. I assume it is still ok to post pumpkin recipes, after all – according to the calendar – it is still Fall (cough, cough). Donuts get a streusel topping and need nothing but a dusting with powdered sugar to shine!

BAKE #2
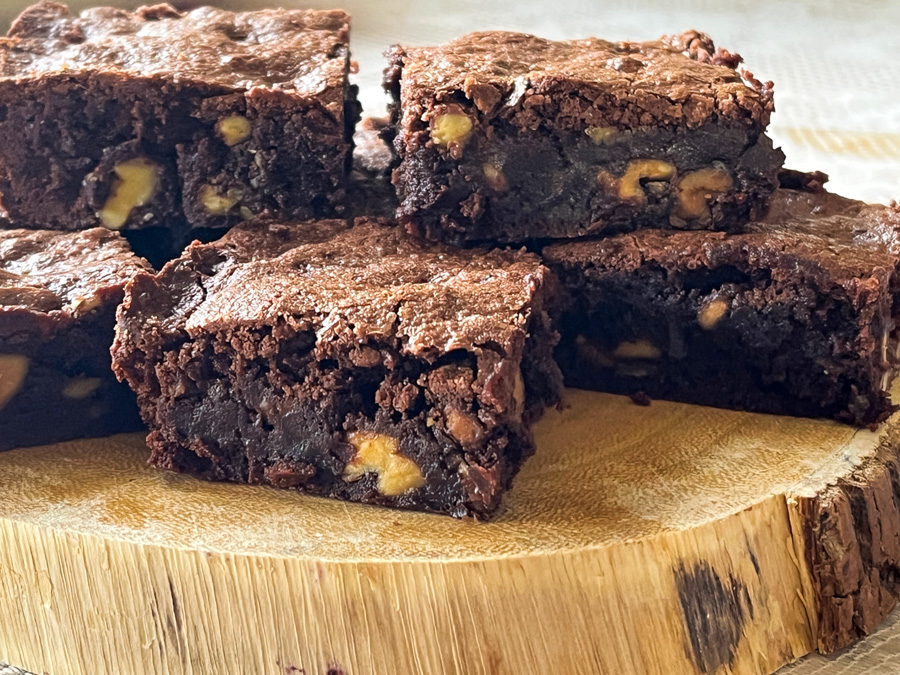
CELIA’S FUDGE BROWNIES
(for recipe, click here)
Celia used to be a very active food blogger, but although she is not posting often, her recipes are still on the site and each one is a gem. If you like to learn about chocolate tempering, make sure to visit her blog and read one of her posts on the subject. These brownies received two thumbs up from the Resident Brownie Critic. Need I say more? Make them!
BAKE #3
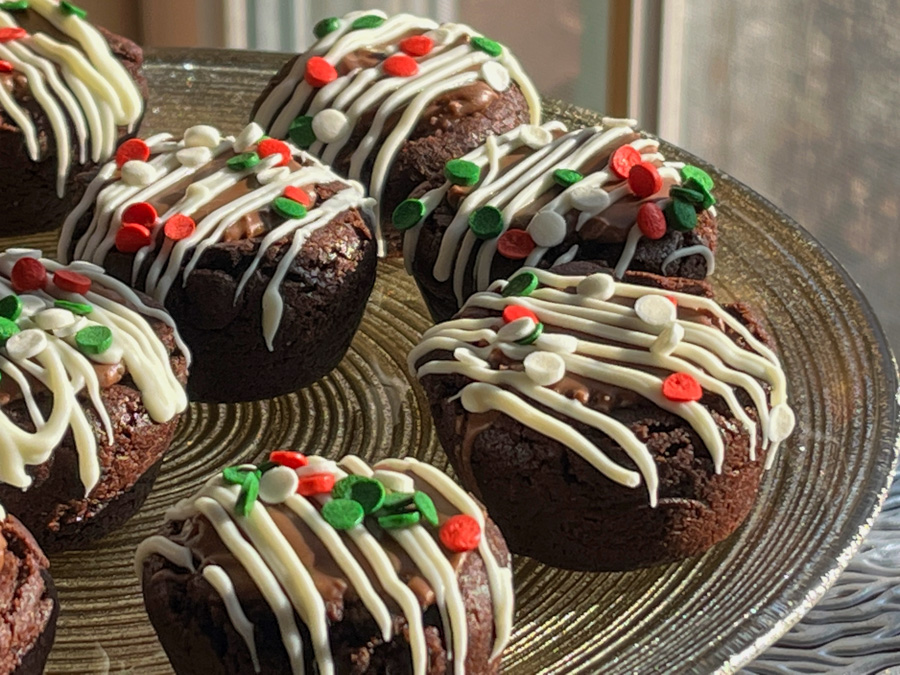
KAREN’S DEVIL’S FOOD THUMBPRINT COOKIES

(for recipe, click here)
Amazing recipe, it is almost like having a little bite-size brownie with jam on top. Simple to make, they will make your holiday table shine, and your guests very happy!
BAKE #4
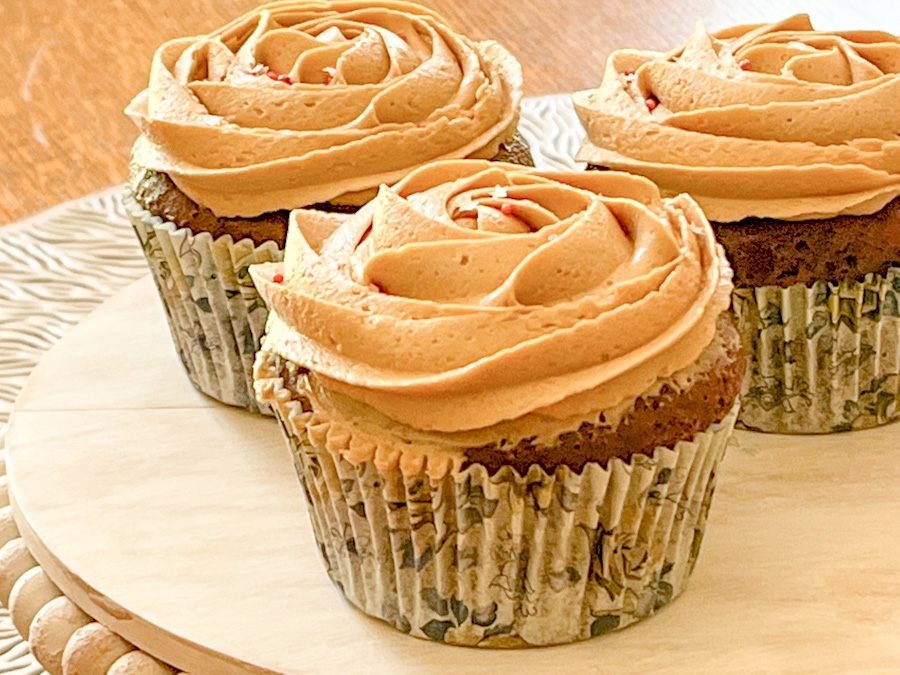
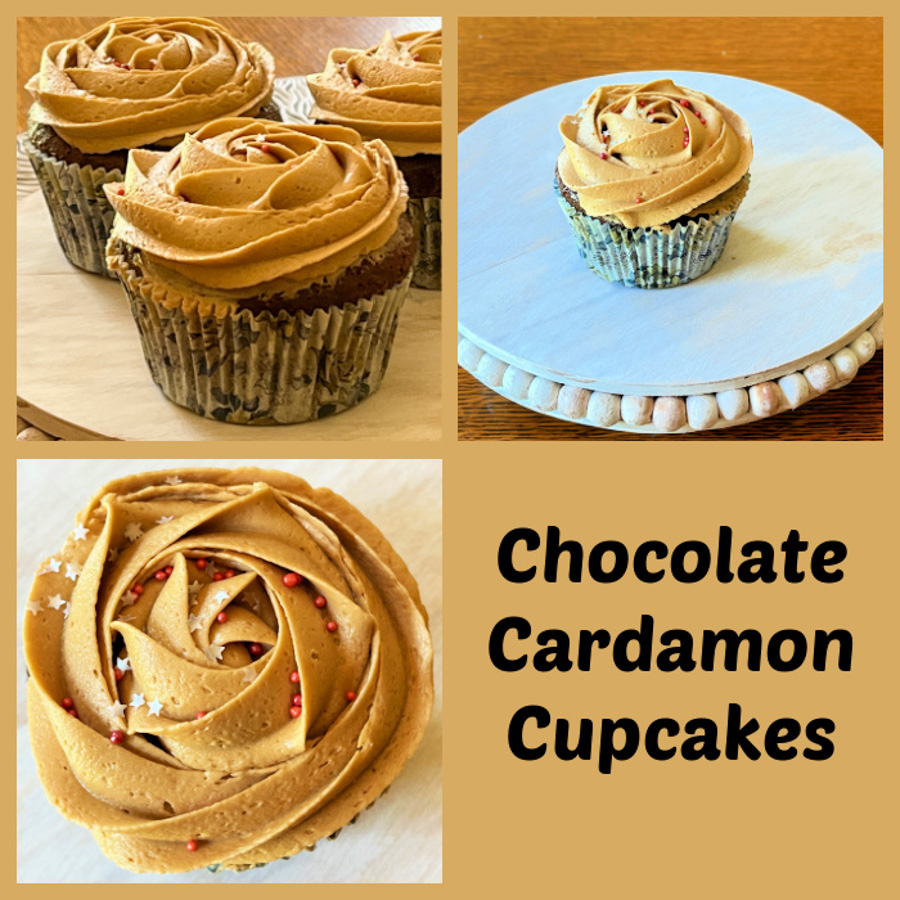
CARO’S CHOCOLATE CARDAMON CUPCAKES
(for the recipe, click here)
Aren’t those super elegant? I fell in love when Caro first shared the recipe, and could not wait to bake a batch. Cardamon and chocolate go surprisingly well together, so consider making them too… Sprinkles added just because…. sprinkles make life better!
BAKE #5
CARO’S RASPBERRY JAM AND COCONUT SPONGE SQUARES
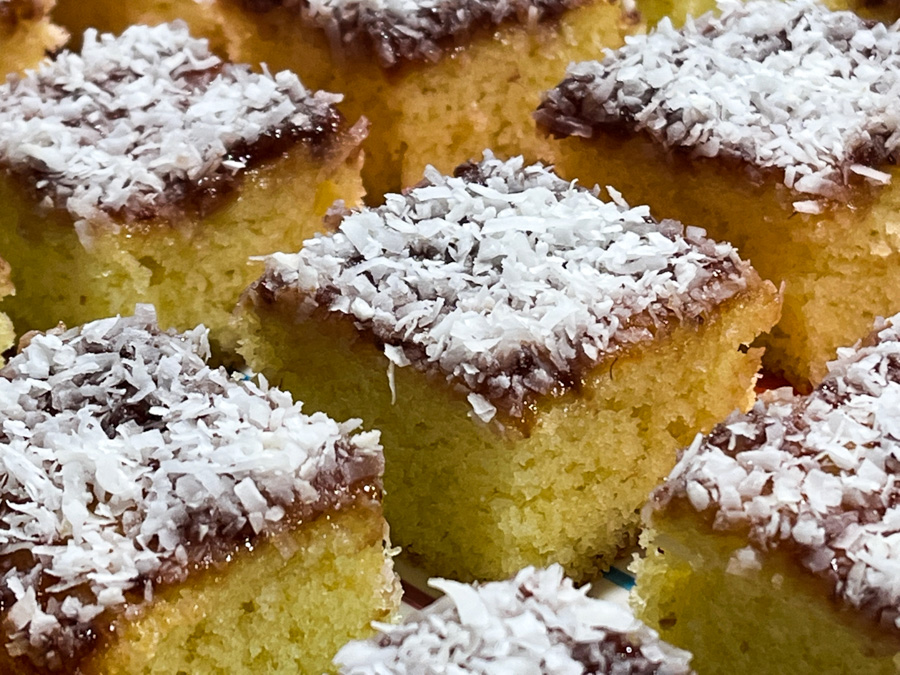
(for the recipe, click here)
These are delicious, you cannot beat the texture of the cake… and the jam plus coconut topping is perfection. I know that some people don’t care for shredded coconut, but if your group of guests is ok with it, make sure to feature it in your holiday get-together.
BAKE #6
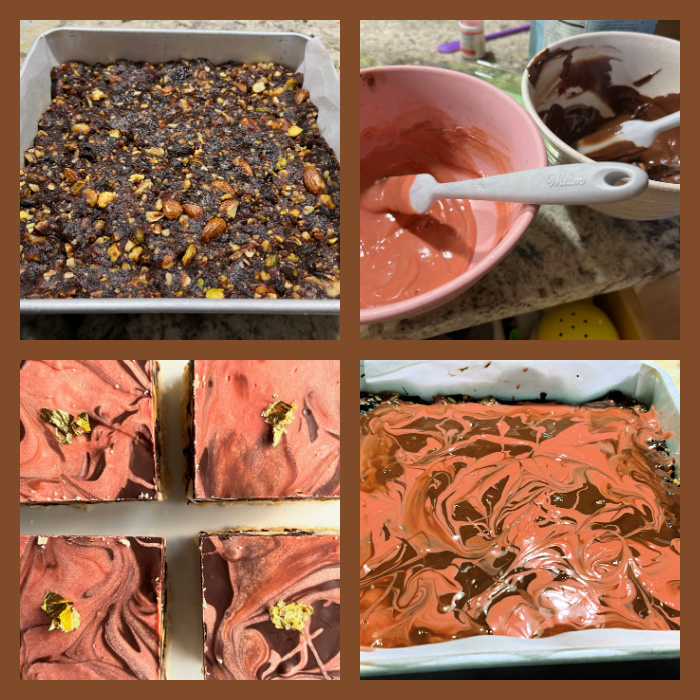
AMISHA’S DATE AND NUT CHOCOLATE BARS
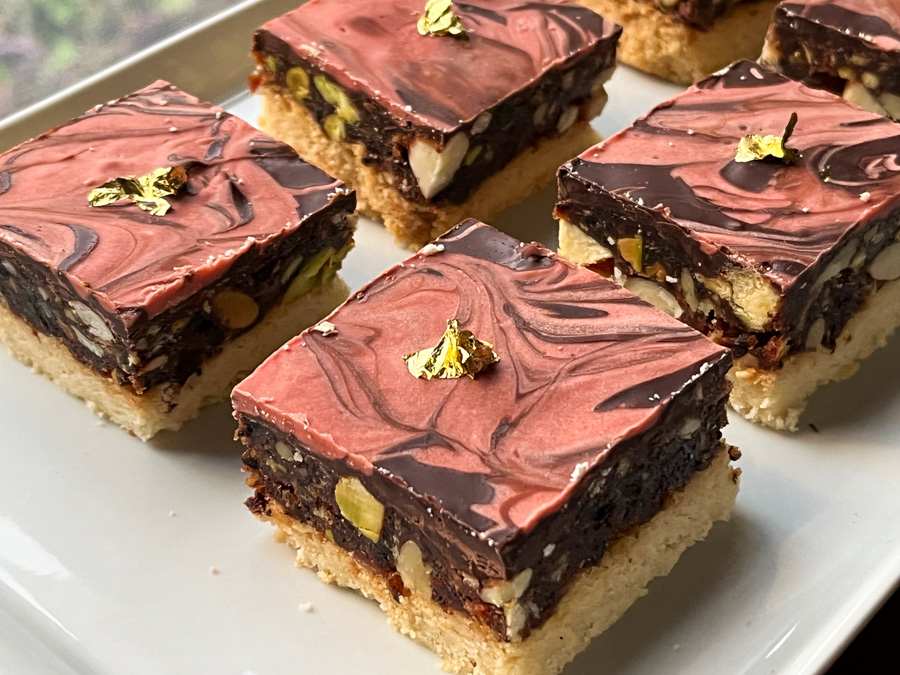
(for recipe, click here)
Super festive, the list of ingredients is long, but it is a reasonably simple recipe to put together. It has all the flavors I adore, including a light hint of rose, that goes well with all the other flavors. You can use ruby chocolate or add pink fat soluble dye to regular white chocolate for the marbling. Check out her blog post, the instructions are very detailed. Gold leaf is optional, but if you happen to have some, it is the perfect concoction to make them shine. Literally.
BAKE #7
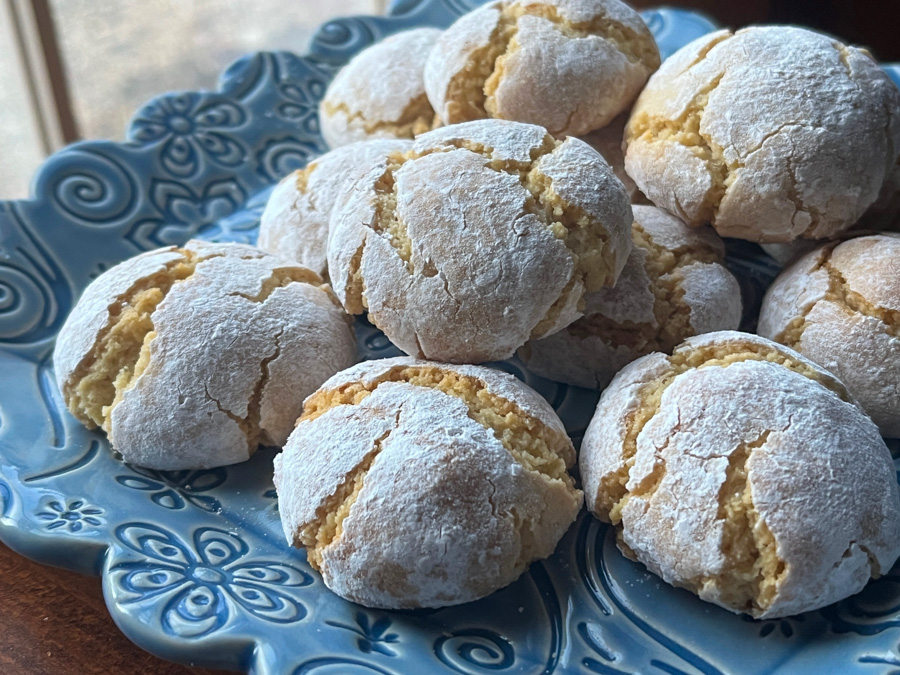
LINDSAY’S STUFFED CHERRY AMARETTI COOKIES
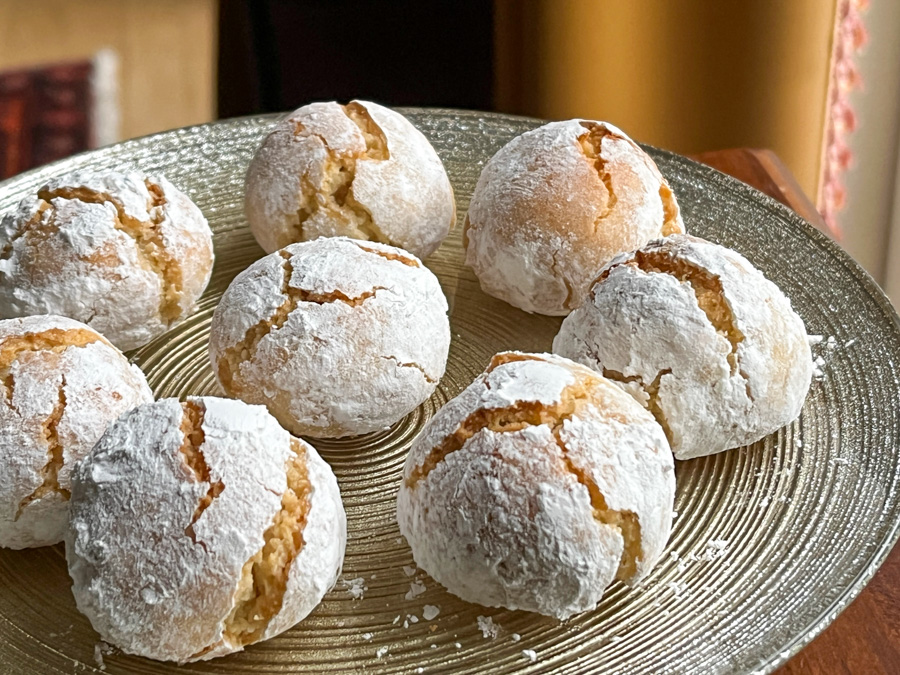
(for the recipe, click here)
These are simply amazing! I made them three times, they were originally all going for my weekly donation box, but one batch made it to my beloved husband’s golfing buddies, and they got a lot of praise… Once you bite into the cookie, the soft almond crumb gives room to the sharp cherry inside, and you are forced to close your eyes and dream. Seriously good.

BAKE #8
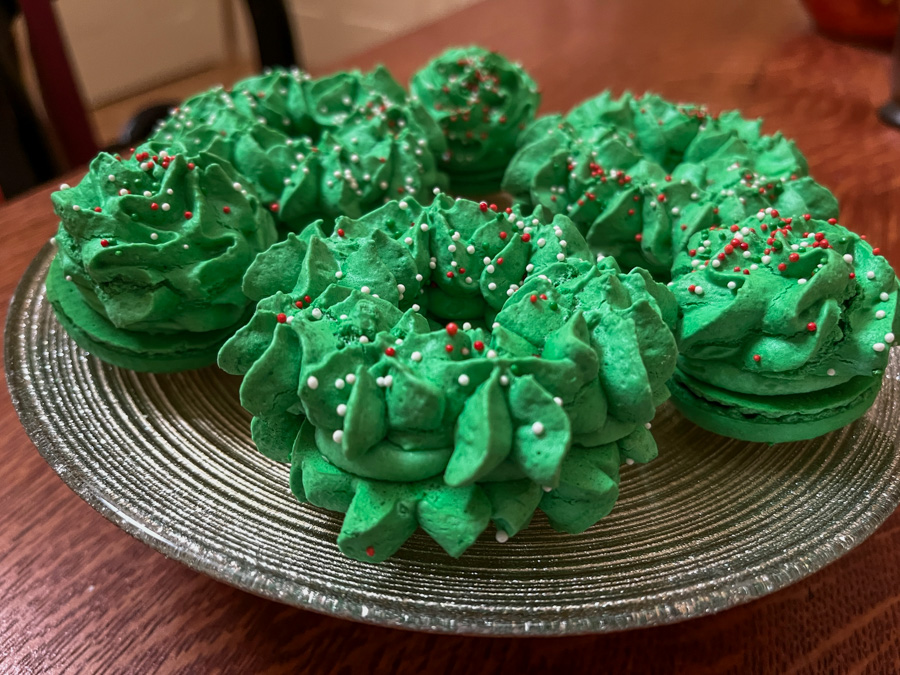
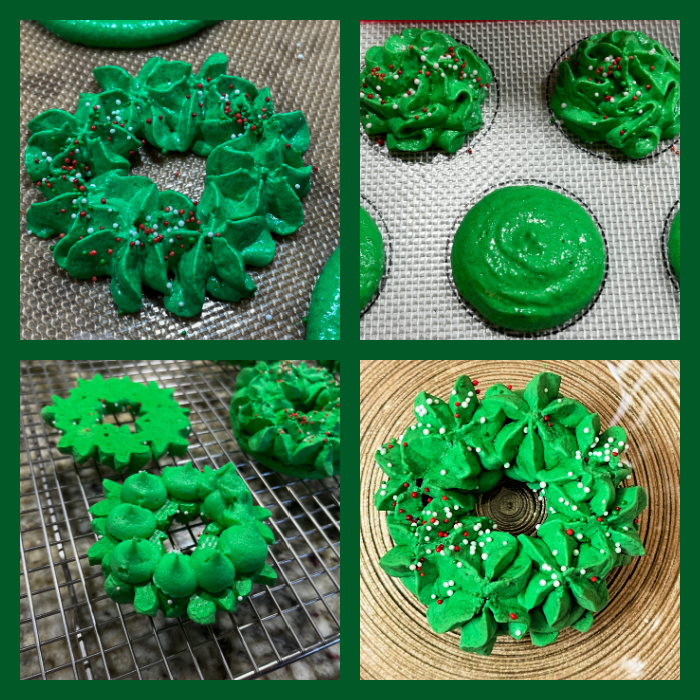
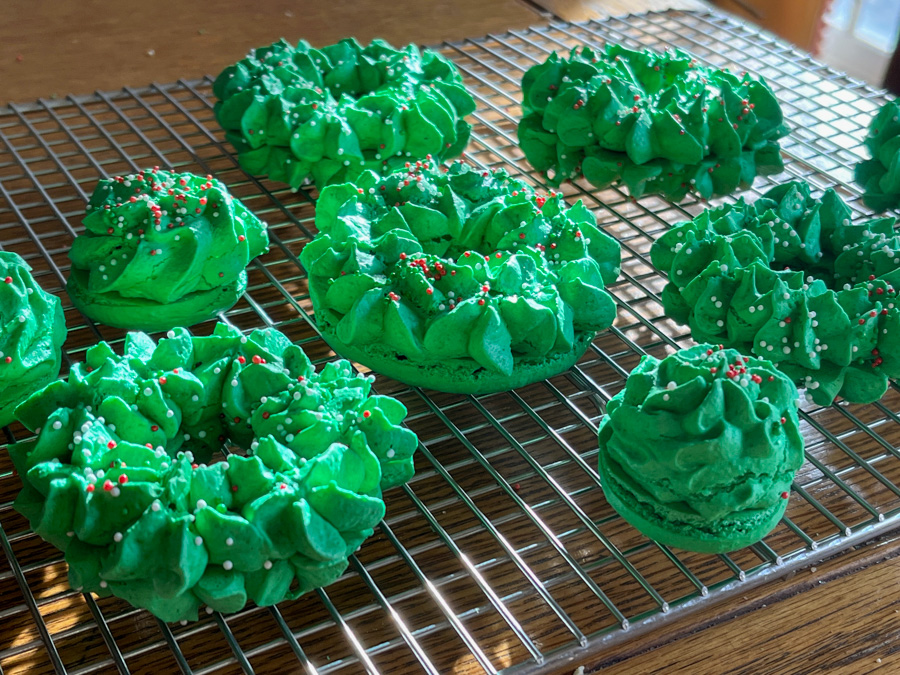
LINDSAY’S VEGAN AMARETTI COOKIES
(for the recipe, click here)
Another recipe from Lindsay’s blog, Love and Olive Oil. When it comes to “veganizing” a baking recipe, nothing beats macarons and amaretti type cookies, as all you need is remove the egg whites and use aquafaba instead. That is the magical ingredient, that works exactly the same, no loss of flavor, no unpleasant changes in texture. Of course, you could stick a cherry inside those too if you feel like it!
BAKE #9
HEATHER’S PEANUT BUTTER CUP COOKIES
(for the recipe, click here)
Aren’t those the most adorable little bites of heaven? If you are a lover of peanut butter, these are for you! I love Heather’s cookbooks, and her blog is always a source of inspiration, so make sure to bookmark and visit. I had to change the recipe a bit because our grocery store did not have peanut butter chips, so I used candy melts for the drizzle instead. Other than that, I followed her recipe to a T.

So there you have it, nine recipes from sites I love, as this is the season to spread love and gratitude around… I hope you can find something that inspire you to grab that bag of flour, those eggs, pull the mixer out to play, and get busy baking!
ONE YEAR AGO: Asian-Style Chicken Meatballs
TWO YEARS AGO: Cookies for the Holidays, SPRINGERLE
THREE YEARS AGO: Bread – Episode 2 of Great American Baking Show
FOUR YEARS AGO: Apple and Sobacha Caramel Dome Cake
FIVE YEARS AGO: Cocktail Spiced Nuts
SIX YEARS AGO: How the Mighty Have Fallen
SEVEN YEARS AGO: Festive Night at Central
EIGHT YEARS AGO: The Perfect Boiled Egg
NINE YEARS AGO: Light Rye Sourdough with Cumin and Orange
TEN YEARS AGO: Homemade Calziones
ELEVEN YEARS AGO: Plum-Glazed Duck Breasts
TWELVE YEARS AGO: Holiday Double-Decker
THIRTEEN YEARS AGO: New York Deli Rye