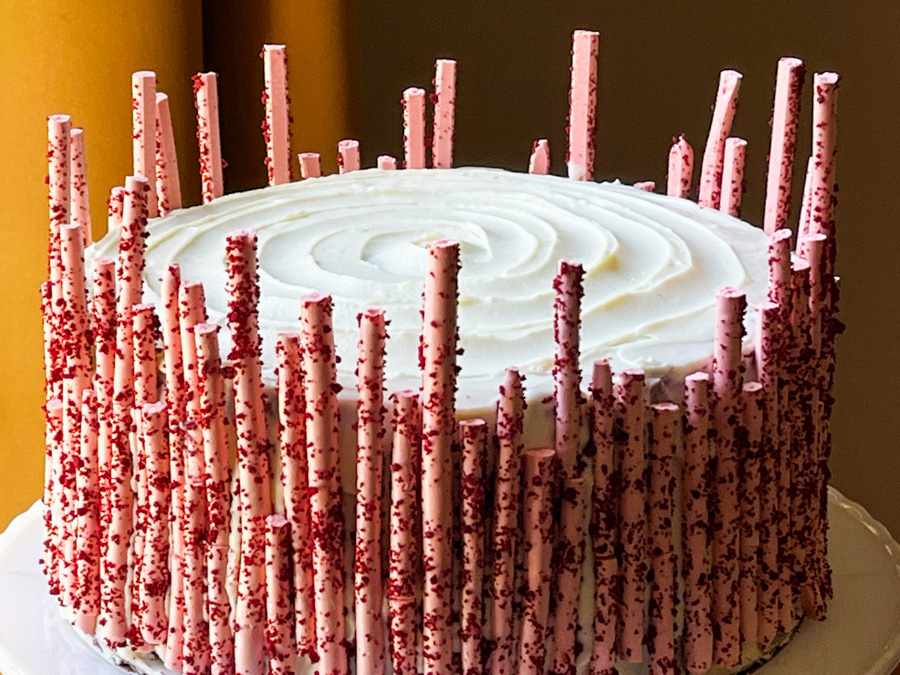
Fourteen years. One thousand, six hundred and thirty eight posts published. I confess this is the first anniversary that finds me with a little less gas in the tank. Am I going to stop? No, not yet. I still love sharing recipes and little bits about our life, the kitchen, the pups. So I am committed to one more year to make it to fifteen, and will re-evaluate at that point. To celebrate this day, I offer you a cake: Red Velvet with White Chocolate Cream Cheese Frosting. Made a little more special by decorating it with meringue sticks, not too complicated to make, and so striking to look at! Recipe from Kirsten Tibballs at Savour Cooking School.
RED VELVET CAKE WITH CREAM CHEESE FROSTING (from Kirsten Tibballs)
Recipe is copyrighted and I did not get permission to publish it, so you need to be a member of Savour School to obtain it. Click here for details.
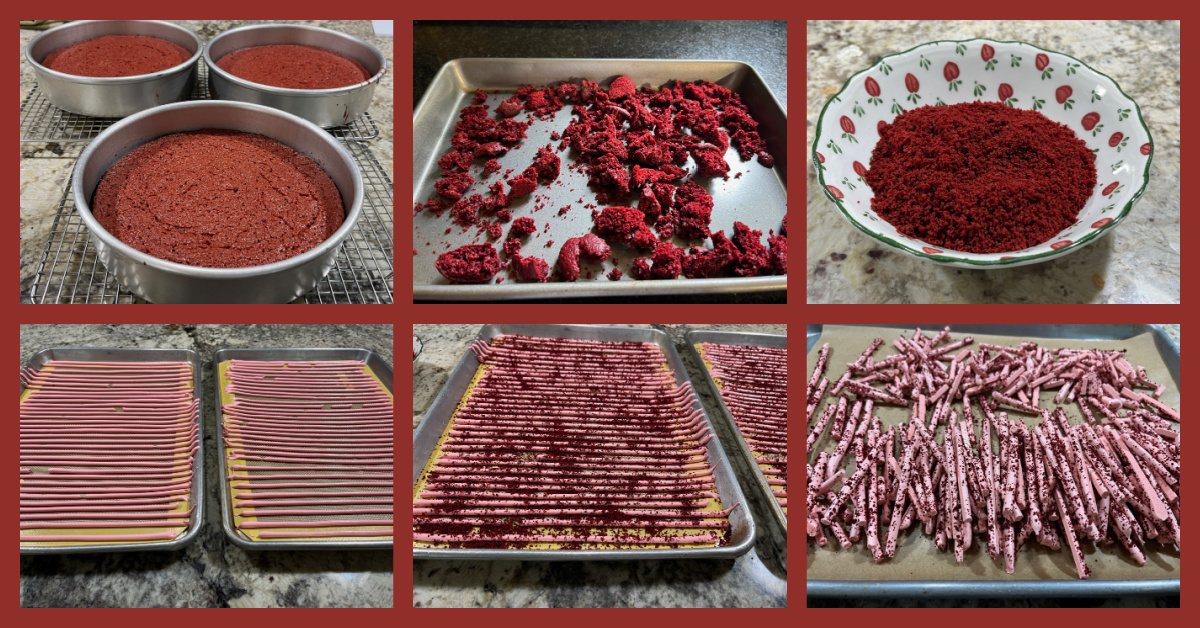
Comments: The cake is actually quite simple to put together. You can definitely use any red velvet cake recipe you are fond of, they are pretty similar with all the usual suspects. Make three cakes, 8 inch in diameter. When you trim the top of the cakes, use that part to make cake crumbs (I dried mine in a very low oven for 3 hours).
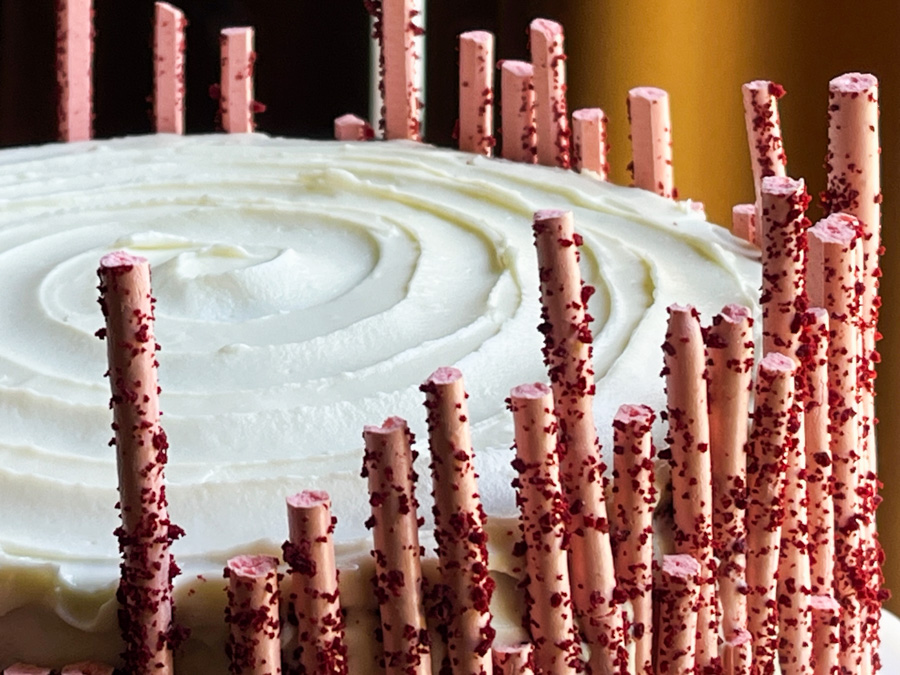
I loved making the meringue sticks, with a simple Swiss meringue method. A piping bag with a 4mm round tip is used to pipe lines that get coated with cake crumbs and baked for 2 and a half hours at low temperature, like required for meringues. Once the cake is iced, just glue the sticks of varying size all around.
.
Without further ado, let’s start the journey into my 15th year of food blogging!
Once again I share with you bakes that I’ve made over the past couple of months, following recipes from blogs I love… (links to recipes below each individual picture)
TROPICAL SHORTBREAD COOKIES from Pastries Like a Pro
These are shortbread type cookies with macadamia nuts and coconut, absolutely delicious! I made the chocolate glaze in two different ways, one simply dipping like Helen suggests, and the second way adding some texture. To do so, I laid a piece of textured paper on the chocolate while still wet as shown below. It is hard to get it smooth to the very edge of the chocolate, but I still liked the effect.
.
RAMASAN PIDESI from Caroline’s Easy Baking Lessons
This is a great soft bread, ready in 2 hours! Uses instant yeast, and depending on the size of your pizza pan, you can have enough for 2 full round breads or go with a large round and the leftover used for a different shape of your liking. I opted for a 4-stranded braided loaf.
The crumb is spectacular, Phil now wants this bread on a regular basis… His favorite is the flat shape.
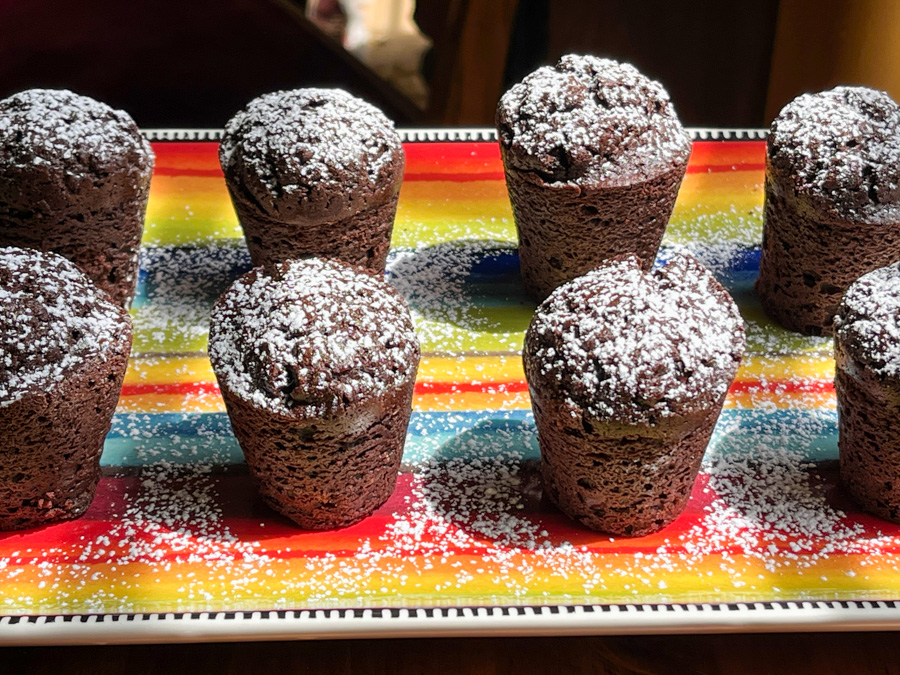
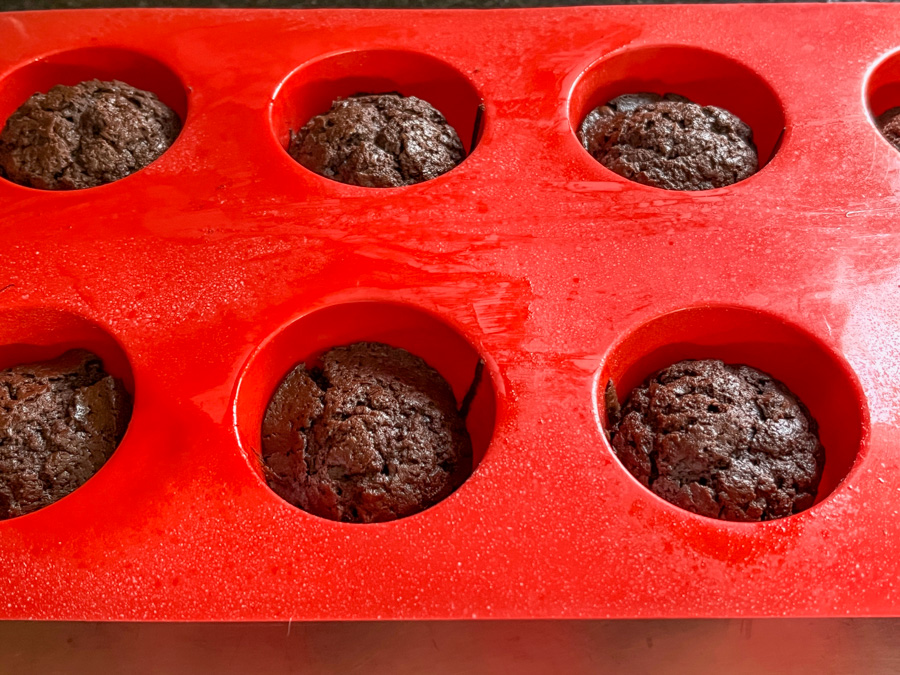
These were made famous by Thomas Keller, and they use a specific mold to make the right shape, like a cork. I’ve had the mold for years, unfortunately it does not seem to be available any longer, but you can use a muffin tin. I used the exact recipe blogged by Karen, which is a variation from the original. Absolutely delicious, but you must adore a strong chocolate taste, this is not a sweet, kid-friendly concoction. It will be showing up again in our kitchen, for sure!
Helen was a tent-baker with me during the Great American Baking Show and she is now a professional baker, with a super busy life! She keeps her blog with great recipes, and this one got the most enthusiastic reviews from our departmental colleagues. A must-make! It was a great opportunity to put to use my little cupcake corer thingie…
.
RED TART CHERRY PIE BARS from Bakes by Brown Sugar
Another tent-baker friend, Cheryl, from a season before mine, these are absolutely spectacular! She uses canned tart cherries, which I had never even bought before, not knowing if they would be good. Well, they work wonders in this preparation, and you will not be disappointed at all. Easy, sharp, sweet and tart at the same time. Make them!
>
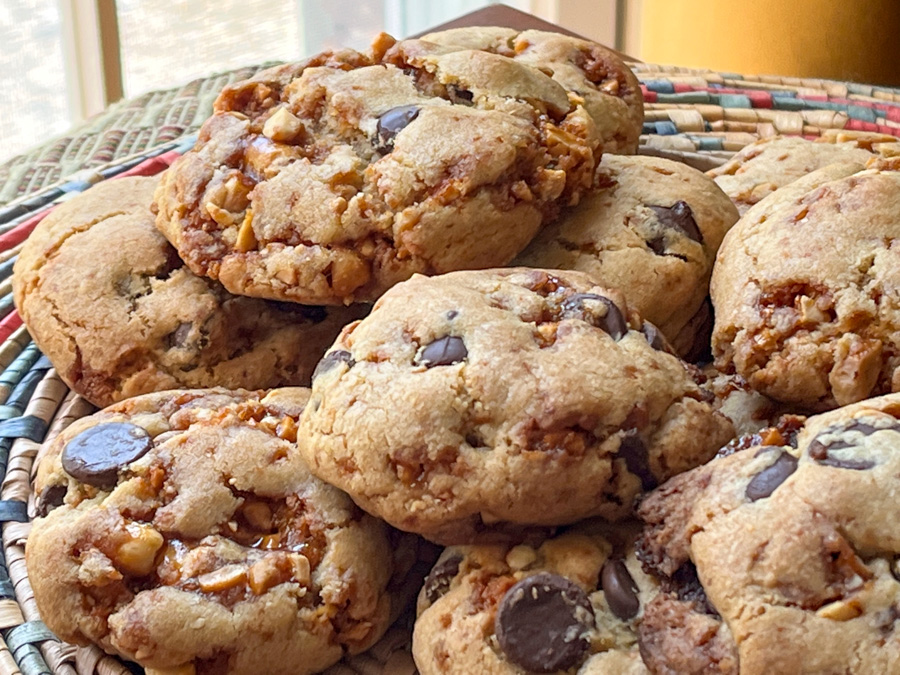
CHOCOLATE CHIP COOKIES WITH PEANUT BRITTLE (from David Leibovitz)
Have you ever made peanut brittle? If not, you absolutely need to correct this handicap. The only problem is stop sampling the brittle so you have enough for the cookies. You’ve been warned. The cookies are amazing, with the regular flavor of a chocolate chip, but the added intensity of the caramelized peanuts.
I hope this series got you inspired to bake some sweetness!
A small collection of goodies, all inspired by a Mexican fiesta… Cupcakes, Chocolate-Chipotle Cookies, Macarons (filled with Mexican chocolate ganache), and Chocolate-covered Oreos.
FIESTA CUPCAKES
Any vanilla cupcake recipe (or chocolate) will work. Refer to this post for the buttercream, which was divided in two unequal portions: a larger portion dyed pink, and a smaller portion dyed orange. Then, a petal tip like 102 was used to add the icing in layers, as shown below. Any combination of colors will work, this one seemed appropriate for the Cinco de Mayo theme.
CHOCOLATE-CHIPOTLE COOKIES
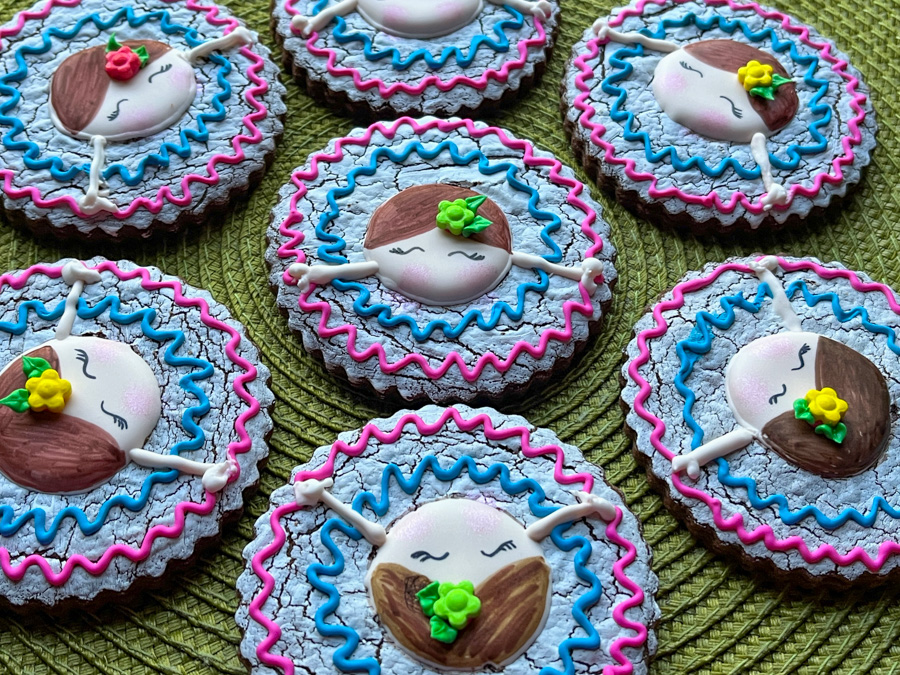
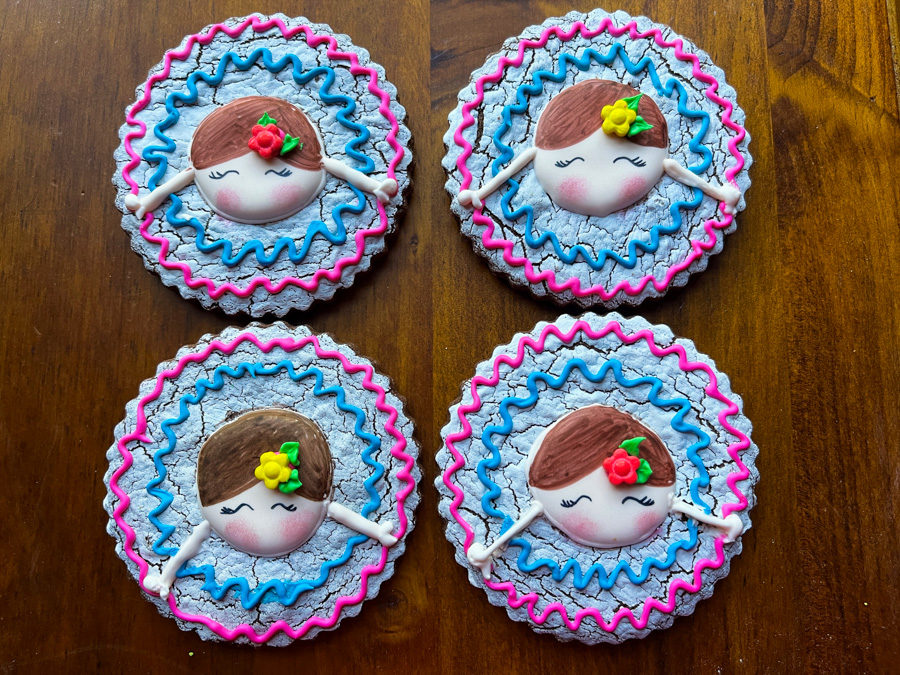
I am so smitten by these! Not at all complicated to put together, start with your favorite chocolate cookie recipe (mine is definitely this one), paint with Americolor white before baking to get the crackled effect. Then use Royal icing dyed with flesh tone or ivory to pipe a round for the face. Use any colors you want to make the wavy decorations. Once that sets, you can paint the face and hair, add the arms, and you are done. You can see the steps below.
They make for a real fun set, and will please those who prefer a modest amount of icing on their cookies.
Many colors will work, and I also made a batch with sugar cookies instead of chocolate, with a pink and orange skirt.
MEXICAN CHOCOLATE MACARONS
For these macs, I used my default French meringue method (recipe here), divided the batter into three portions, a large pink, a medium size yellow, and a smaller orange. Piped a circle of pink, went with yellow in the center, then orange to form three concentric circles. Baked the shells and decorated with Royal icing. The ganache was made with
4 oz semisweet chocolate 1/4 cup heavy cream 1/2 tsp cinnamon a pinch of cayenne pepper
Once the ganache cooled, I whipped it with a handheld mixer for a minute or so. You cannot go too long or the whole thing will turn grainy. You just want to incorporate some air into the ganache.
FIESTA CHOCOLATE COVERED OREOS
These are so much fun to make! I used chocolate transfer sheets cut to fit the inside of the mold, as described in this post. I love this colorful pattern, that would look good also on a white chocolate background.
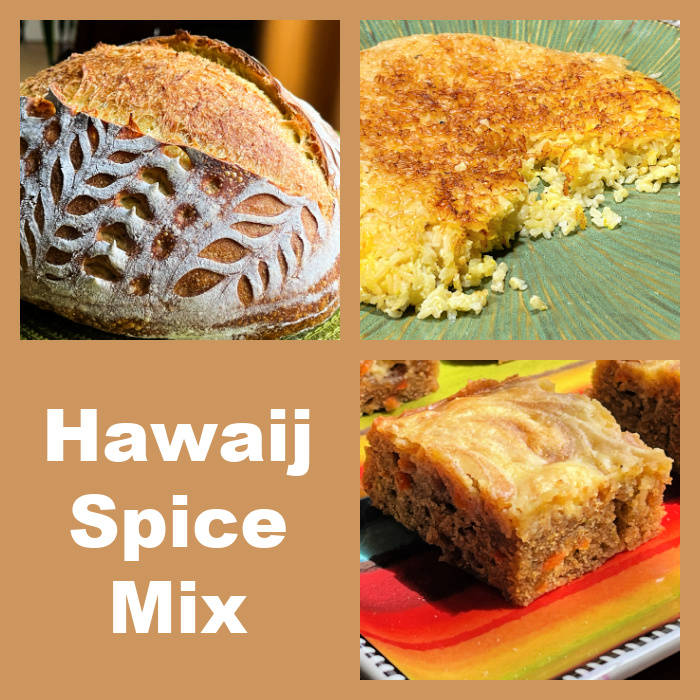
Hawaij (or Hawaj) is a spice mixture from Yemen that came to my attention very recently. I ordered a bottle, as you can see in my previous In My Kitchen post, and put it to use. Here you have three ideas, a sourdough, a tahdig type rice, and a delicious carrot cake with cream cheese topping, super easy to make. I have a soft spot for spice mixtures. I know that I could make my own version but I love the convenience of opening the bottle and having it ready to go. This mix of flavors is right up my alley! Read more about it here.
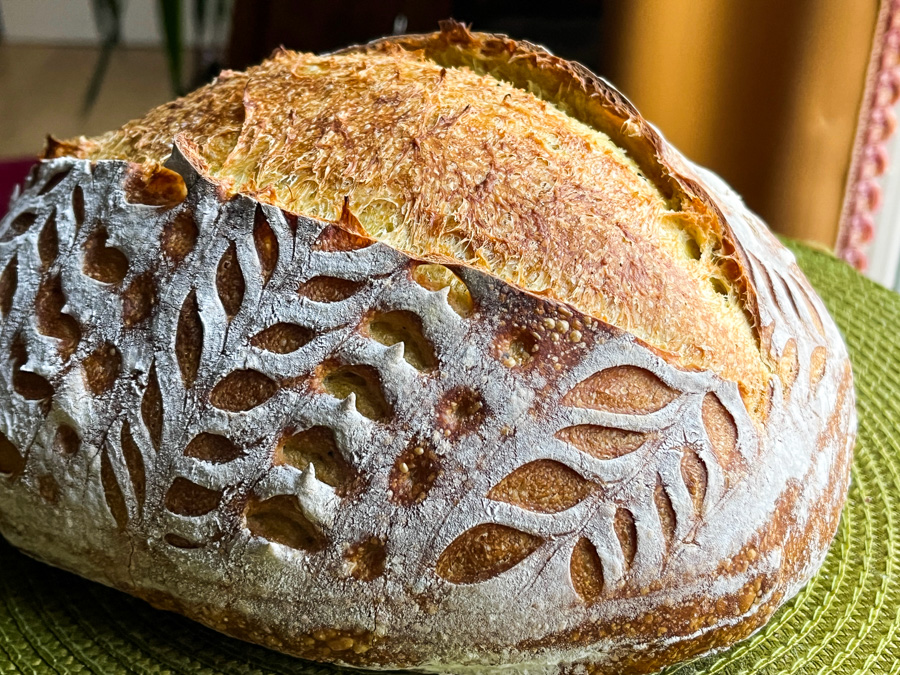
. HAWAIJ SOURDOUGH (from the Bewitching Kitchen)
365g water 75g sourdough starter at 100% hydration 470g white bread flour 30g spelt flour 1 tsp Hawaij spice mix 10g salt
Make the levain mixture about 6 hours before you plan to mix the dough. It should be very bubbly and active.
When you are ready to make the final dough, place the water in the bowl of a KitchenAid type mixer and dissolve the starter in it, mixing with a spatula briefly, then add the two types of flour, Hawaij mix, and salt. Turn the mixer on with the hook attachment and knead the dough for 4 minutes at low-speed all the time. You will notice the dough will gain quite a bit of structure even with just 4 minutes in the mixer. Remove from the machine, and transfer to a container lightly coated with oil, cover lightly with plastic wrap and allow it to ferment for 4 hours, folding every 45 minutes or so. Because the dough is already a bit developed from the initial time in the mixer, you should get very good structure after 3 and a half hours, or even sooner than that.
After four hours bulk fermentation, shape the dough as a ball, and place, seam side up, in a lightly floured banetton. Leave at room temperature one hour, and then place in the fridge overnight, from 8 to 12 hours.
Next morning, heat the oven to 450F.
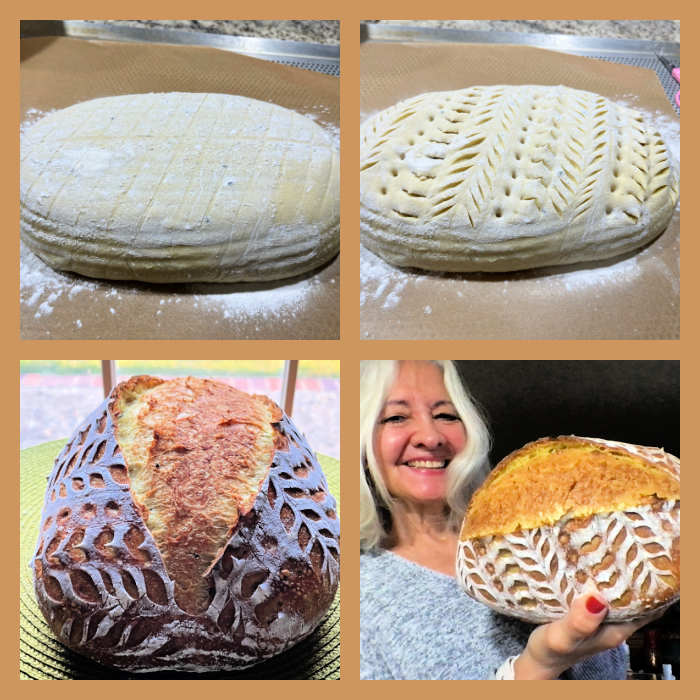
Invert the dough on a piece of parchment paper and score with a pattern with a new razor blade.
Bake at 450F for 5 minutes, quickly remove the bread from the oven, and slash it with the blade just where you want the bread to open. Cover the bread with the lid, place back in the oven for 30 minutes, uncover and bake for 15 more minutes. Cool completely over a rack before slicing.
Comments: I really love the way the bread opens up with the second slashing once the dough has been in the oven for 5 to 7 minutes, not longer. It is a bit tricky to open the pan and do the second scoring, but totally worth it. Just be careful not to burn yourself. I’ve seen this tip on several IG posts and I am quite fond of it now. Whenever you want to coach your bread to open in a specific spot to preserve your design, think about incorporating this step in your baking.
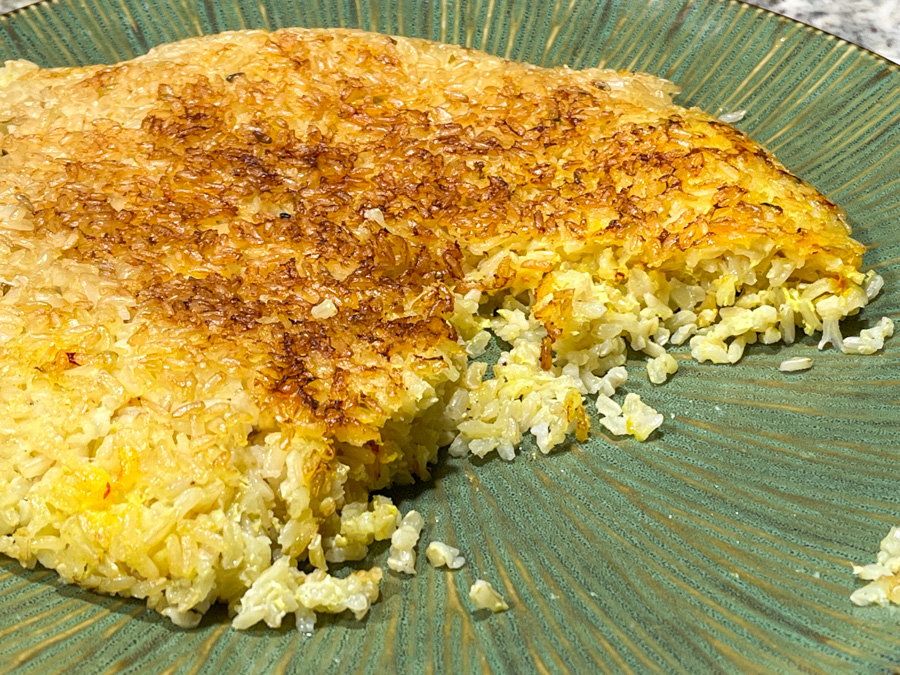
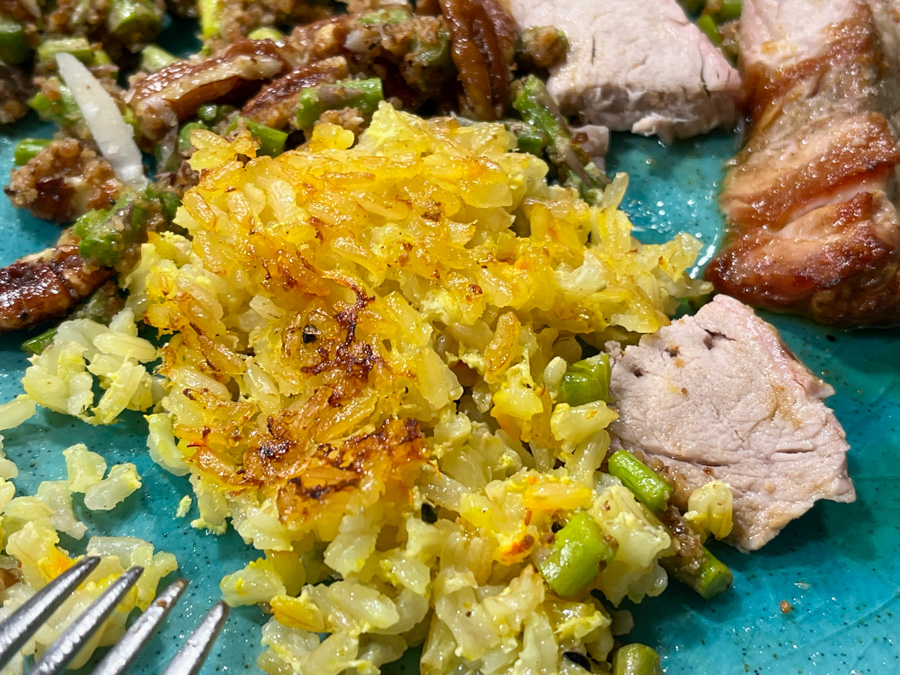
. QUICK BROWN RICE TAHDIG WITH HAWAIJ SPICE (from the Bewitching Kitchen)
1 cup brown rice 3 cups lightly salted water 1/3 cup full-fat yogurt 1/4 tsp salt 1/2 tsp Hawaij mix drizzle of olive oil
Mix the yogurt with the salt and Hawaij mix. Reserve.
Cook the rice for 20 minutes in salted boiling water and immediately drain and rinse with cold water to stop cooking. Rice and yogurt mixture can sit separately for a couple of hours before continuing.
Mix the rice with the yogurt. Heat a 10-inch non-stick skillet and add olive oil, swirling around the whole surface. When the oil starts to get hot, add the rice-yogurt mixture and spread it all over the pan, smoothing the surface with a silicon spoon. Cover the rice with a paper towel moistened with water, then place a lid. Don’t worry if the lid is not totally tight.
Place on a low-burner for exactly 30 minutes. At the end of 30 minutes check to see if the bottom is golden, if not, increase the heat lightly and remove the lid. Leave it for a minute or two, should be enough to make a nice crust at the bottom. Carefully place a platter on top and invert the rice on it. Cut in wedges to serve.
Comments: We love this quick version of tahdig made with brown rice instead of white. You will probably have to tweak the time to first parboil the rice a bit depending on the brand you use, but it is truly delicious. Again, not the most authentic version of tahdig out there, but we are hooked. I probably make it once a week ever since I first blogged about it (click here for flashback).
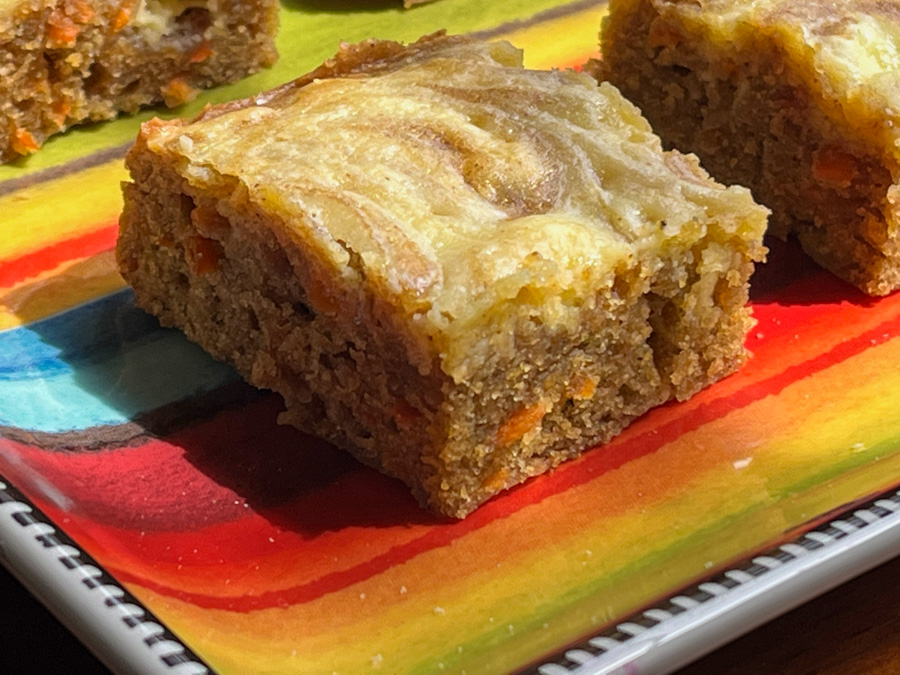
CARROT CAKE BARS WITH HAWAIJ MIX (adapted from Averie Cooks)
1/2 cup unsalted butter, melted 1 large egg 1 cup brown sugar, packed 1 teaspoon cinnamon 1 teaspoon Hawaij spice mix 1 teaspoon vanilla extract 1 cup all-purpose flour 1/2 teaspoon salt 1 cup grated carrots, loosely packed 4 ounces brick-style cream cheese, softened to room temp 1 egg yolk 1/4 cup granulated sugar
Heat oven to 350F, line an 8×8-inch pan with parchment paper, and spray with cooking spray.
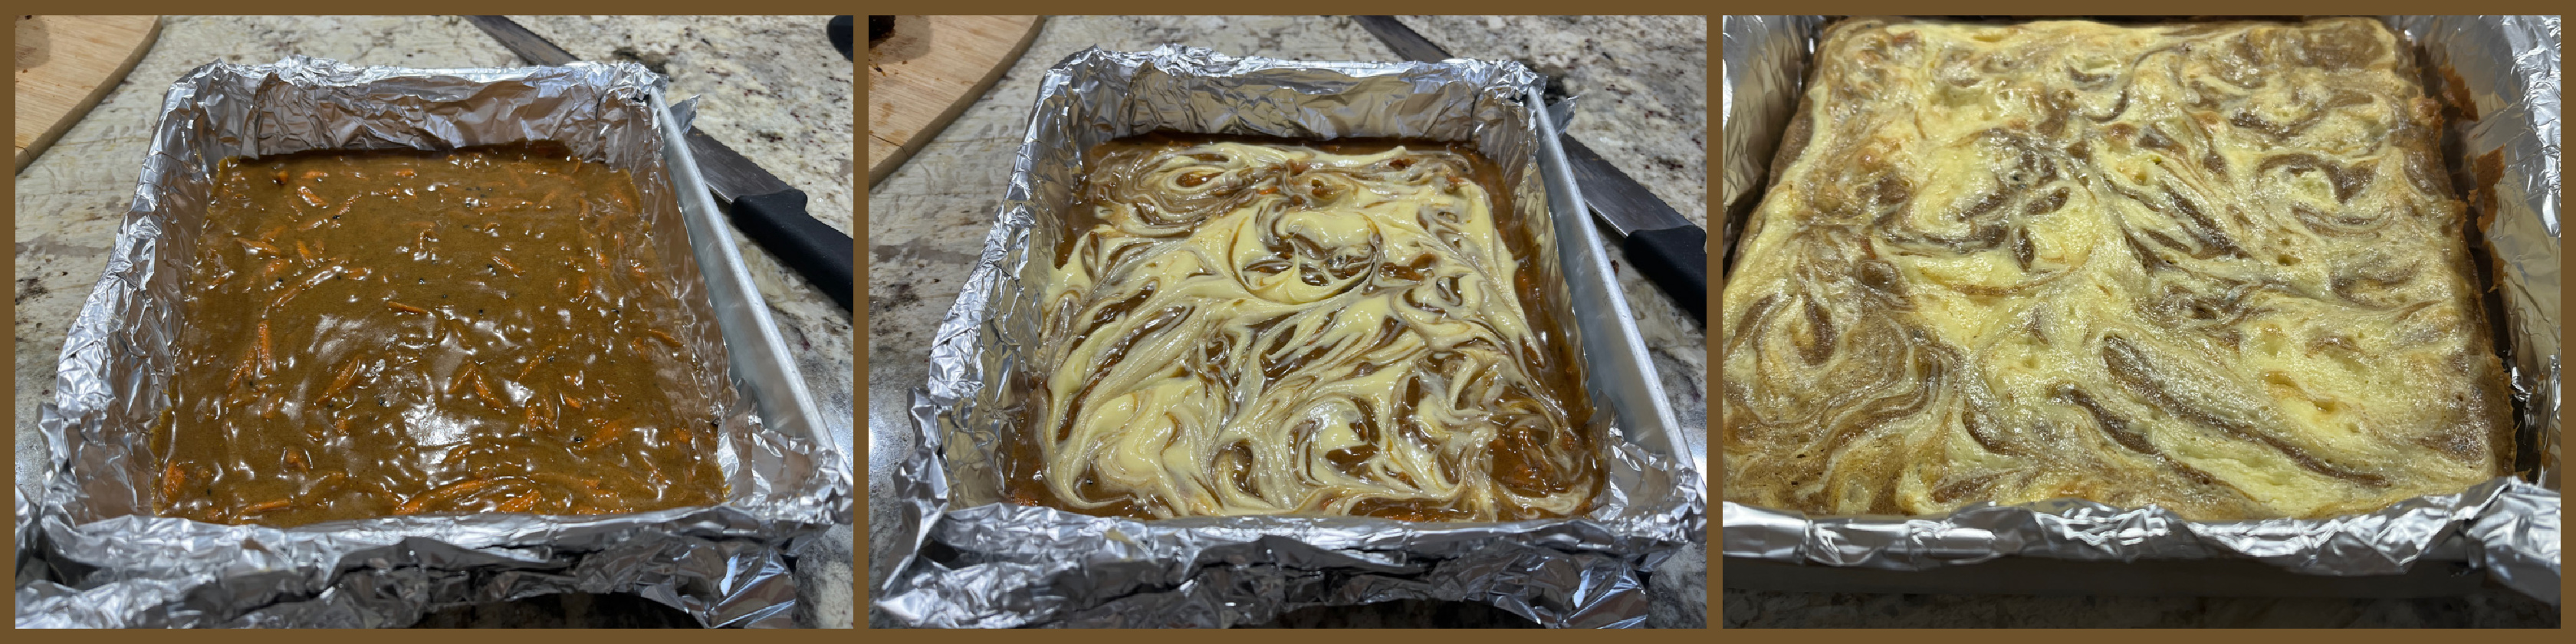
To a large microwave-safe bowl, add the butter and heat on high power to melt, about 1 minute. Allow the melted butter to cool slightly, then whisk in the egg, brown sugar, spices, and vanilla. Once it is all smooth, add the flour and salt, mixing gently. Add the carrots, fold them in, then pour the batter into the prepared pan. Smooth the top with a spatula.
Prepare the topping: into a medium bowl, add the cream cheese, egg, sugar, and beat on high with a handheld electric mixer until smooth and fluffy, about 4 minutes. Turn the cream cheese out over the carrot batter using the blade of a butter knife or the tip of a spatula, and lightly swirl the cream cheese into the carrot batter. Bake for about 25 to 30 minutes, or until a toothpick inserted in the center comes out clean.
Allow to cool, uncovered in the pan, at room temp, for at least 2 hours (overnight is preferred) before slicing and serving.
Comments: These bars/blondies were a huge hit with our colleagues from the department, and I got a few emails of praise for them. They are not too sweet and the spice mixture goes perfectly with the carrot and cream cheese topping. I highly recommend you give them a try!
So that closes my first series of recipes using Hawaij. I do hope you’ve found something to inspire you!
Spring is taking its time to show up, we even had a light snow the other day, but apparently now things are headed in the correct direction (knock on wood). These cupcakes celebrate the season. You can use any recipe you like for the cake component. I went with a very basic vanilla concoction. The frosting is your humble American buttercream. Honestly, I don’t see the need to go through the extra work of a Swiss buttercream to cover cupcakes. It crusts well, so transporting the cakes (which matters a lot to me) is not a problem. They also stand well to sitting at room temperature for an hour or more.
The basic formula is simply 1X amount of butter + 2X amount of powdered sugar. Change the starting weight of butter according to how many cupcakes and how many colors you’ll need, as you will see in the individual cupcakes after the recipe.
BASIC BUTTERCREAM FOR CUPCAKES (from The Bewitching Kitchen)
226g butter, unsalted, softened 452g powdered sugar pinch of salt Vanilla extract, about 1 tsp or more to taste a couple or more tablespoons of milk (to adjust consistency)
Place the softened butter in the bowl of a KitchenAid type mixer with the paddle attachment, add the pinch of salt, and whip at high speed for about 7 minutes. It needs to be really soft and lighter. Stop the mixer. Eyeball the amount of powdered sugar, add 1/3 and mix at low speed at first, once the sugar is starting to get incorporated, increase the speed to medium-high.
Add the second portion of the sugar, and incorporate the same way. Add the final portion, start at low speed, clean the sides of the bowl well with a spatula, add the vanilla and increase the speed slowly all the way to high. Whip it until very smooth. Add milk to desired consistency. If desired, add any flavoring ingredients, about 1/4 cup (Nutella, jam, teaspoon of emulsions). If working with different colors, divide the buttercream into small bowls and dye each one with food gel color.
Fill piping bags fitted with the icing tips of your choice. Ice fully cooled cupcakes.
For 12 cupcakes my starting point was 150g butter + 300g powdered sugar, plus 1/4 cup Nutella as flavoring. I used 1M tip to make rosettes, and gilded the lily with sprinkles and a fondant clover.
HYDRANGEA CUPCAKES
For these cupcakes, I made buttercream with 200g butter + 400g powdered sugar. Divided in three portions and dyed them very very lightly with pink, lavender, and blue. The colors were spread as bands over plastic, and a little sausage was formed, then dropped in an icing bag with the1M tip. To make the flowers, I piped small blobs all over anda second layer going up towards the center.
RUFFLED FLOWER CUPCAKE
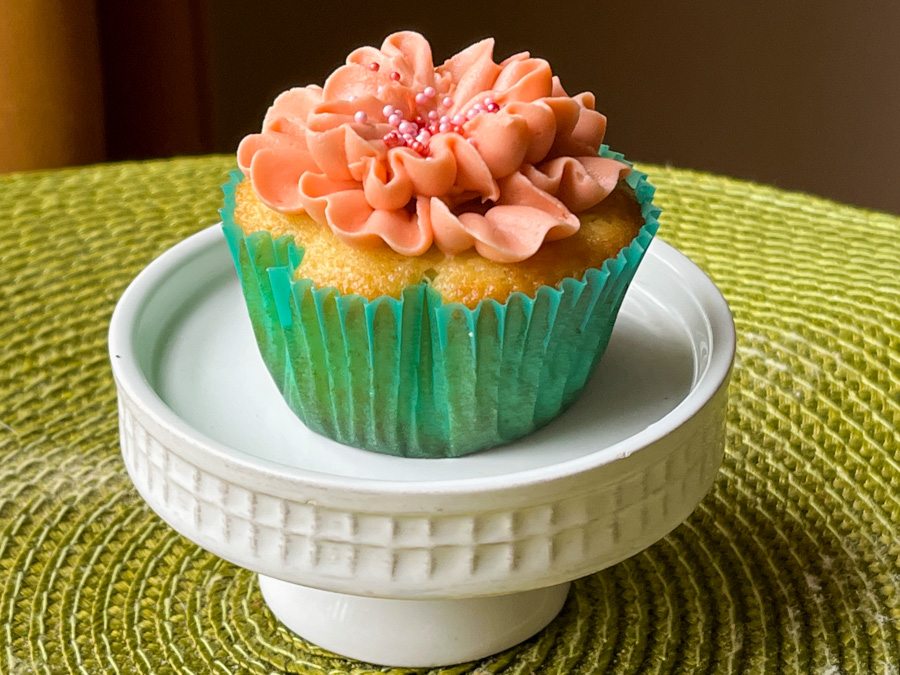
These cupcakes were made together with the last one (multiple colors) so for the full batch (12 cupcakes) I used the recipe as published (226g butter). I was playing with several colors and did not want to run out of any of them. A more experienced baker might get by with a smaller amount of icing to start with.
This flower was made with the petal tip 104, laying very flat on the surface of the cake, in two rows to give more lift and volume. Sprinkles added just because. You could make a center with buttercream dots in a contrasting color, if you prefer.
MULTICOLOR FLORAL CUPCAKES
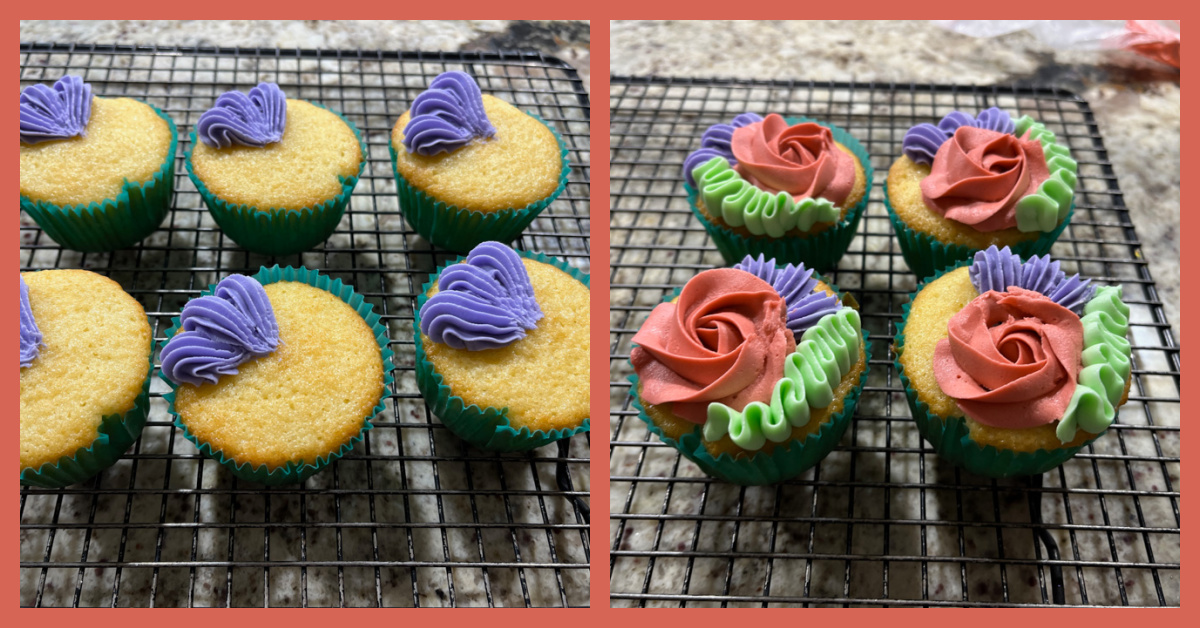
I divided the buttercream in four batches and dyed them pink (toned down with a touch of brown), purple, green and yellow. Four tips were used. Wilton 1M for purple, closed star for flower (Wilton 2D), petal tip for green (Wilton 104), and a small open star for the yellow (Wilton 18).
Inspiration to decorate these cupcakes came from this video available on youtube.
Cupcakes are so much fun to decorate…. ALMOST as much as cookies!