Once again I share with you bakes that I’ve made over the past couple of months, following recipes from blogs I love…
(links to recipes below each individual picture)

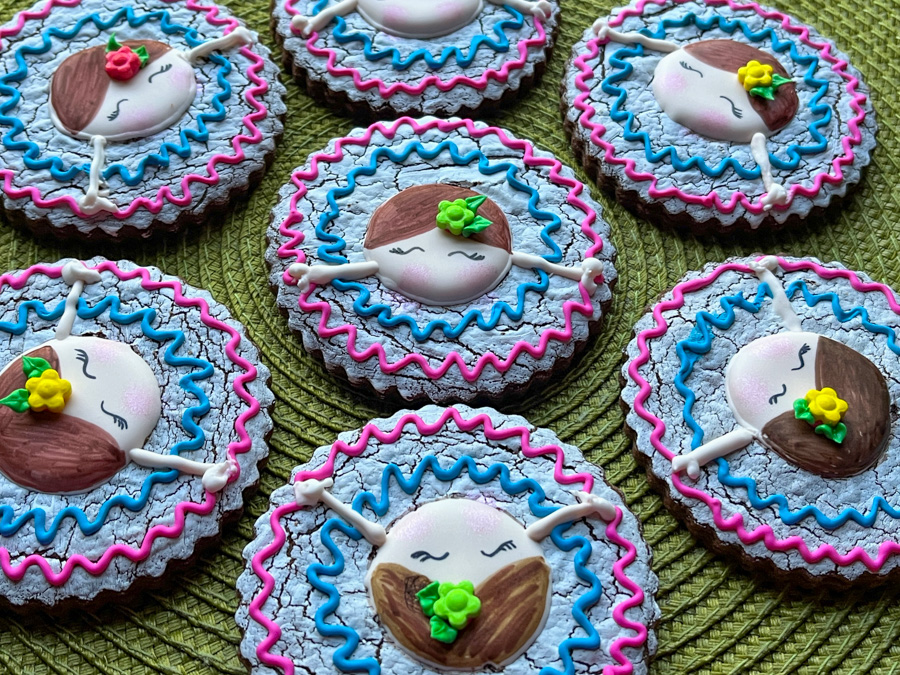
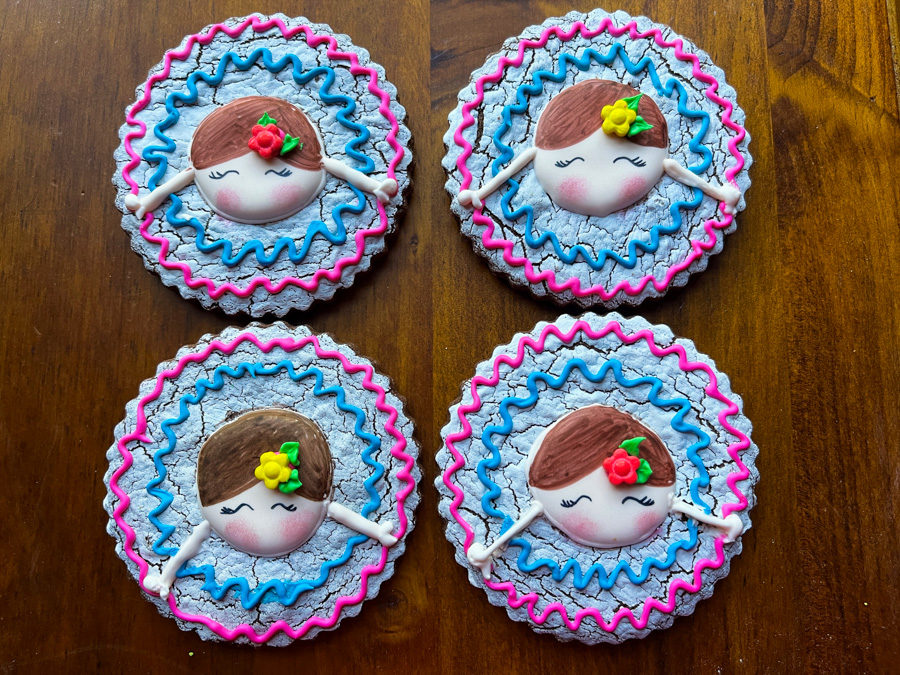
TROPICAL SHORTBREAD COOKIES
from Pastries Like a Pro

(recipe available here)
These are shortbread type cookies with macadamia nuts and coconut, absolutely delicious! I made the chocolate glaze in two different ways, one simply dipping like Helen suggests, and the second way adding some texture. To do so, I laid a piece of textured paper on the chocolate while still wet as shown below. It is hard to get it smooth to the very edge of the chocolate, but I still liked the effect.

.
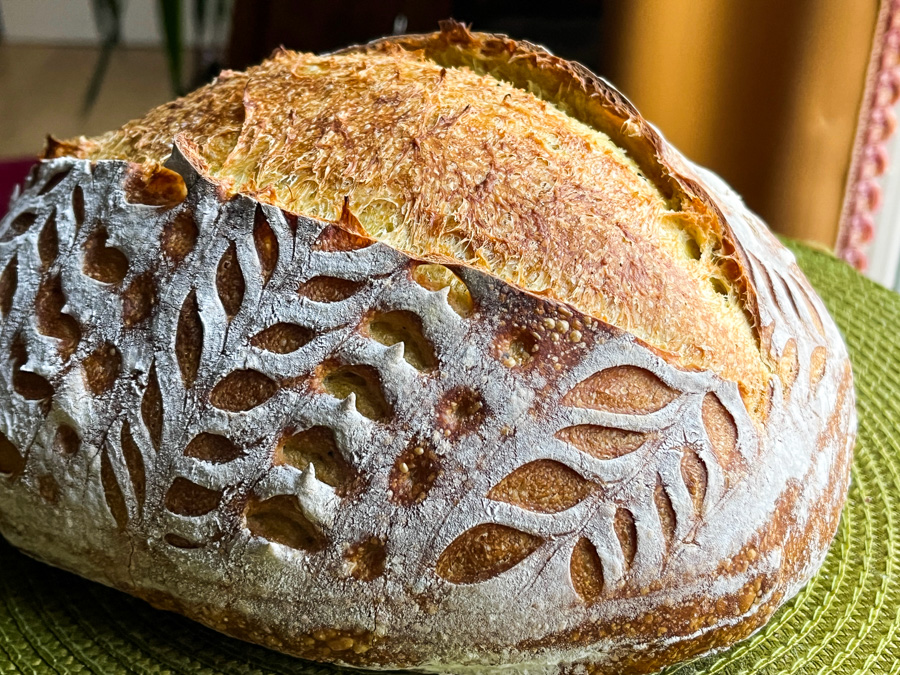
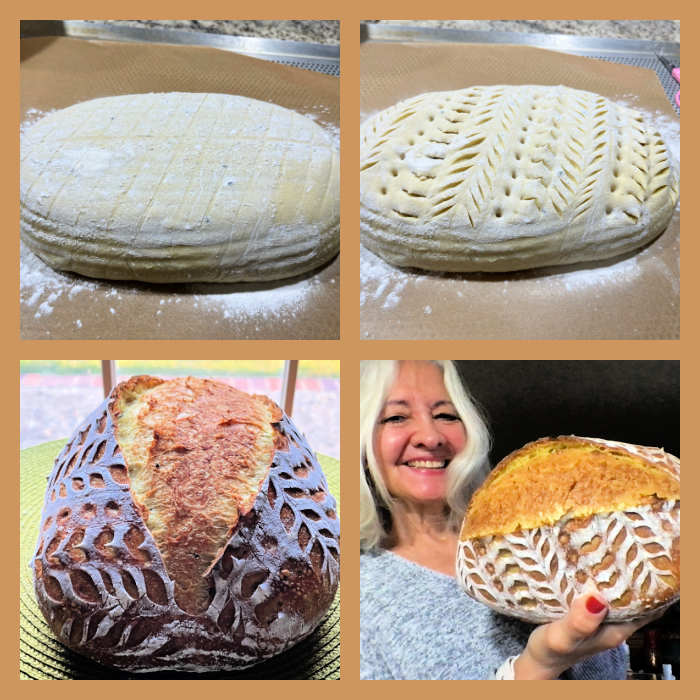
RAMASAN PIDESI
from Caroline’s Easy Baking Lessons

(recipe available here)
This is a great soft bread, ready in 2 hours! Uses instant yeast, and depending on the size of your pizza pan, you can have enough for 2 full round breads or go with a large round and the leftover used for a different shape of your liking. I opted for a 4-stranded braided loaf.

The crumb is spectacular, Phil now wants this bread on a regular basis… His favorite is the flat shape.

.
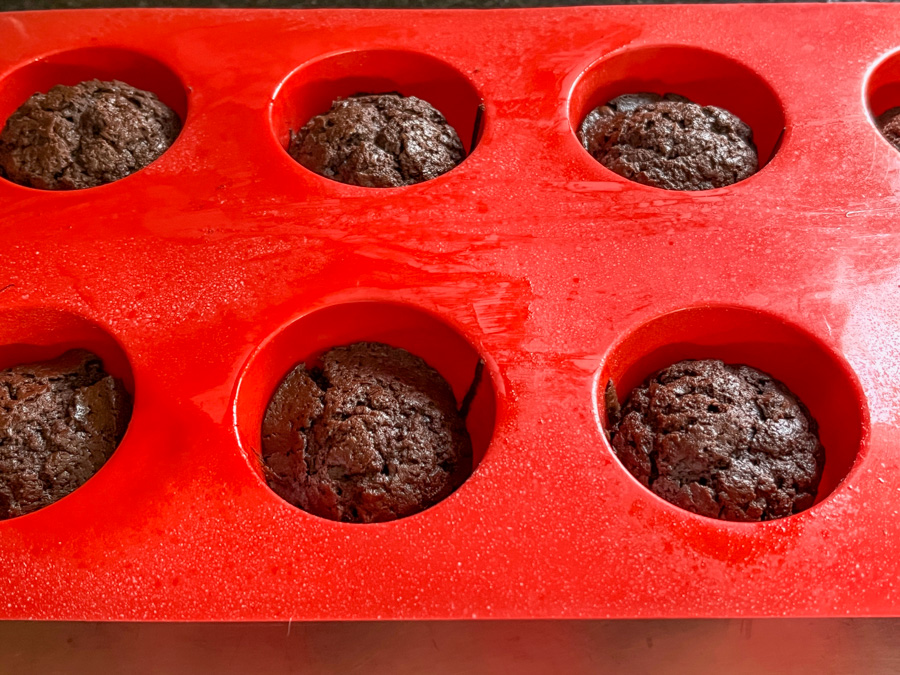
BOUCHONS AU CHOCOLAT
from Karen’s Kitchen Stories
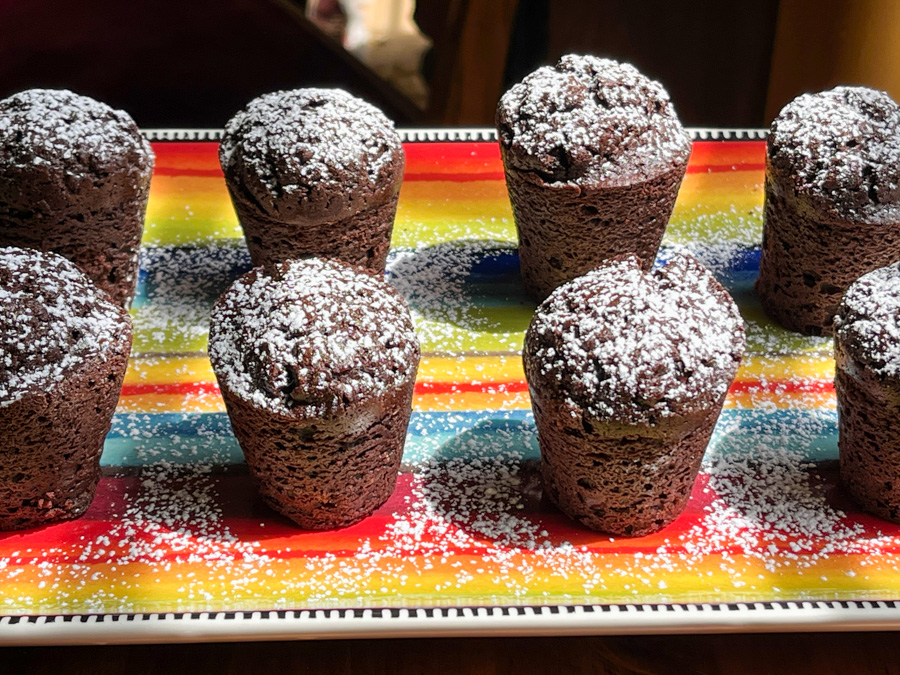
(recipe available here)
These were made famous by Thomas Keller, and they use a specific mold to make the right shape, like a cork. I’ve had the mold for years, unfortunately it does not seem to be available any longer, but you can use a muffin tin. I used the exact recipe blogged by Karen, which is a variation from the original. Absolutely delicious, but you must adore a strong chocolate taste, this is not a sweet, kid-friendly concoction. It will be showing up again in our kitchen, for sure!
.
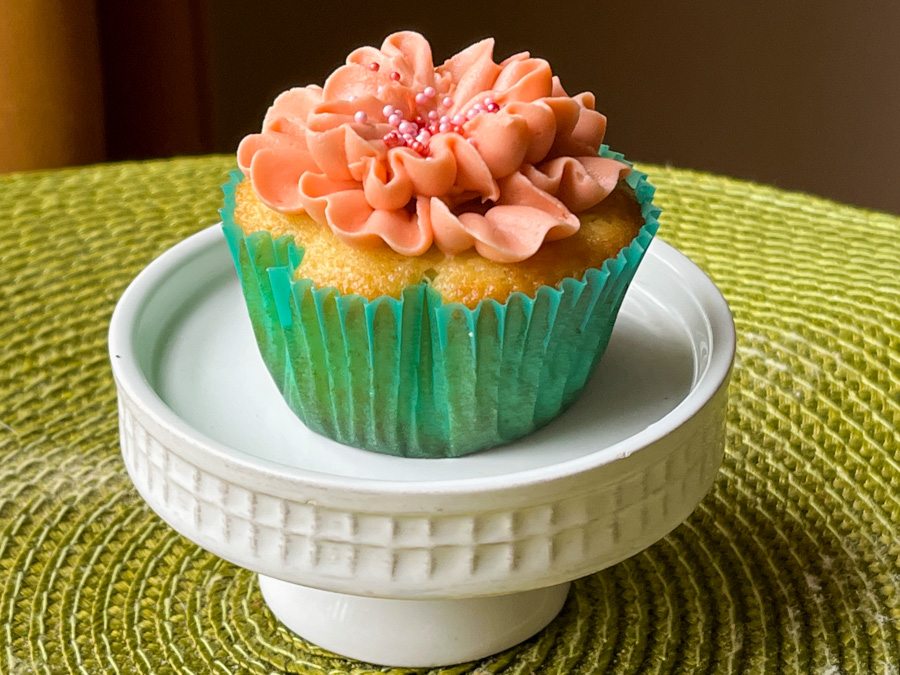
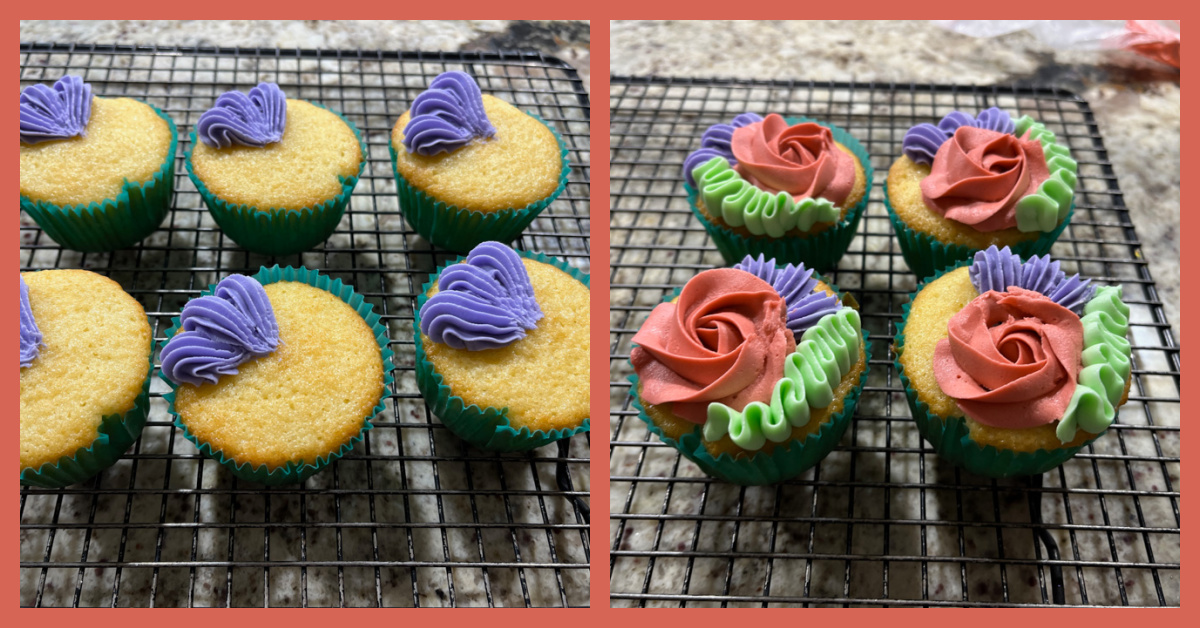
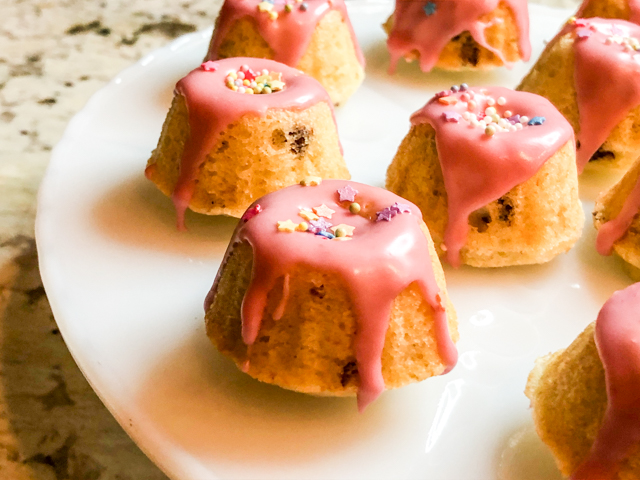
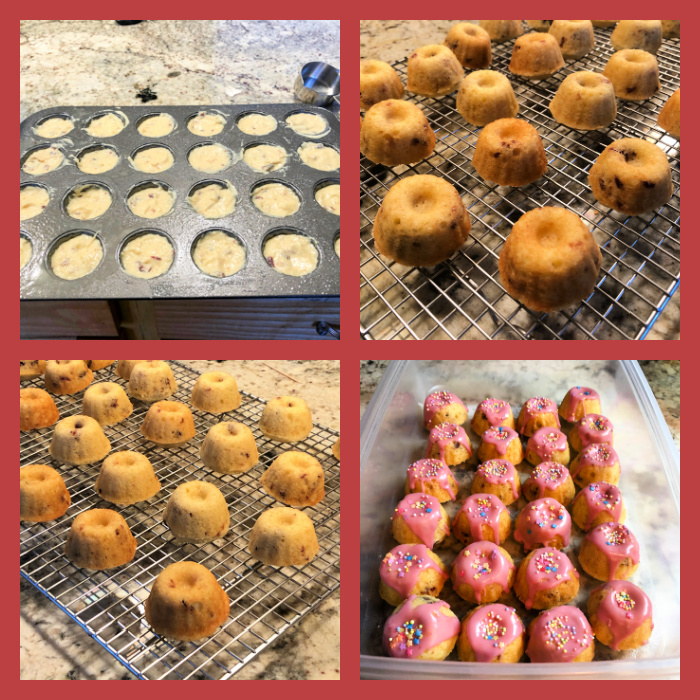
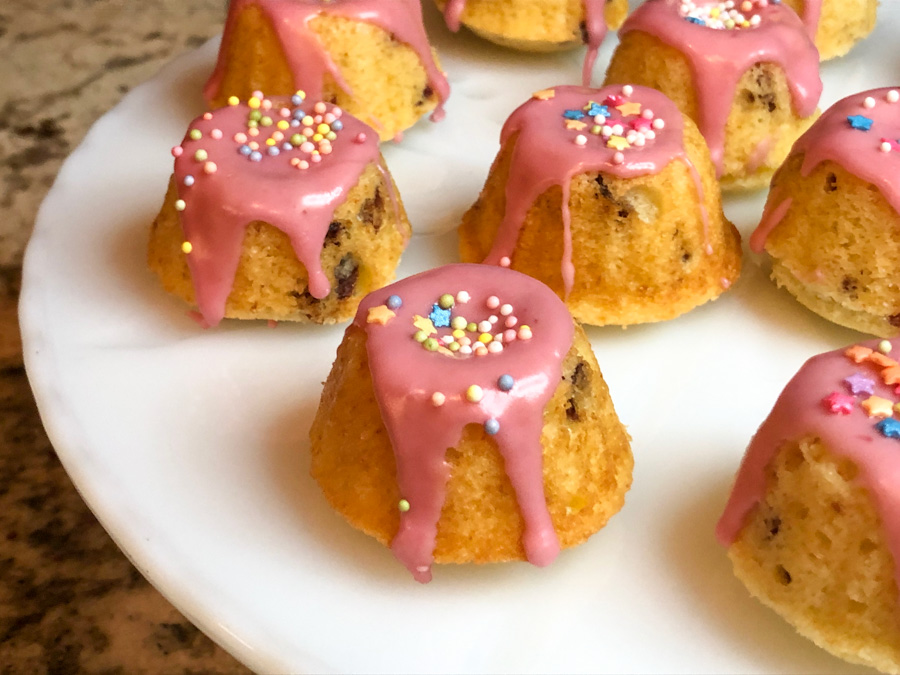
HOSTESS MINI-CAKES
(from Baker’s Anonymous)

(recipe available here)
Helen was a tent-baker with me during the Great American Baking Show and she is now a professional baker, with a super busy life! She keeps her blog with great recipes, and this one got the most enthusiastic reviews from our departmental colleagues. A must-make! It was a great opportunity to put to use my little cupcake corer thingie…

.
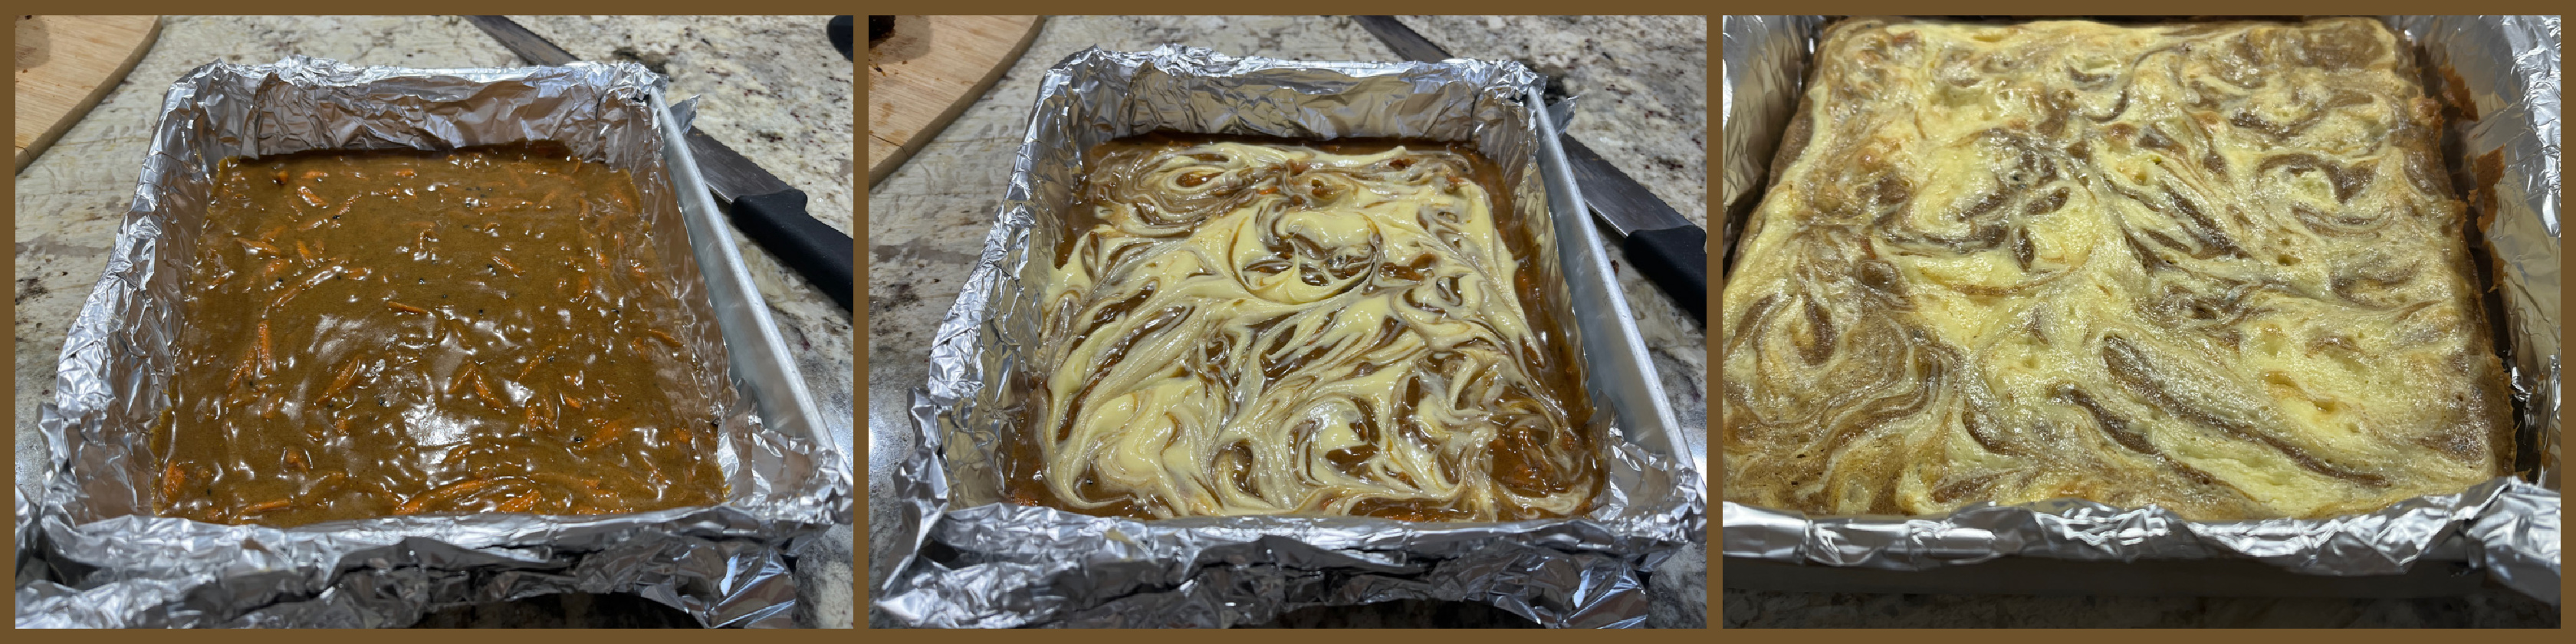
RED TART CHERRY PIE BARS
from Bakes by Brown Sugar

Another tent-baker friend, Cheryl, from a season before mine, these are absolutely spectacular! She uses canned tart cherries, which I had never even bought before, not knowing if they would be good. Well, they work wonders in this preparation, and you will not be disappointed at all. Easy, sharp, sweet and tart at the same time. Make them!
>
CHOCOLATE CHIP COOKIES WITH PEANUT BRITTLE
(from David Leibovitz)
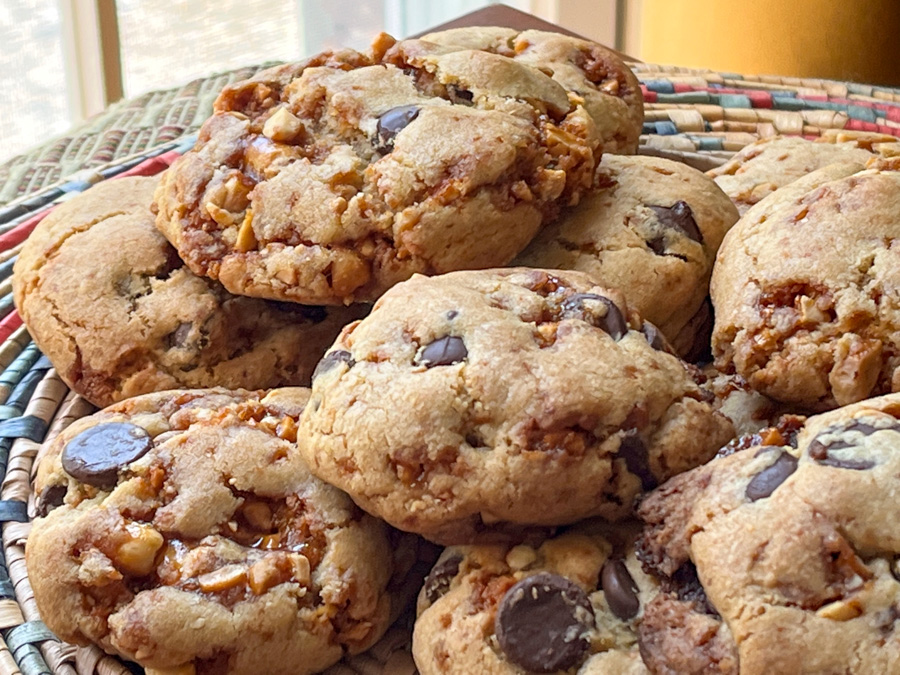
(recipe available here)
Have you ever made peanut brittle? If not, you absolutely need to correct this handicap. The only problem is stop sampling the brittle so you have enough for the cookies. You’ve been warned. The cookies are amazing, with the regular flavor of a chocolate chip, but the added intensity of the caramelized peanuts.

I hope this series got you inspired to bake some sweetness!
ONE YEAR AGO: Oriental Style Sesame Slaw
TWO YEARS AGO: Revelation Veggie-or-Not Egg-Roll Bowl
THREE YEARS AGO: Covid Update and Stayin’ Alive
FOUR YEARS AGO: A Brazilian Hummingbird
FIVE YEARS AGO: A Cookbook Review
SIX YEARS AGO: Air-Fried Carrots, Two Ways
SEVEN YEARS AGO: Sweet Potato Crust Quiche
EIGHT YEARS AGO: Chicken Thighs with Artichokes and Capers
NINE YEARS AGO: Pea Pancakes with Herbed Yogurt
TEN YEARS AGO: Mushroom Stroganoff
ELEVEN YEARS AGO: Tomato Sourdough
TWELVE YEARS AGO: Gamberetti con rucola e pomodori
THIRTEEN YEARS AGO: Flirting with Orzo