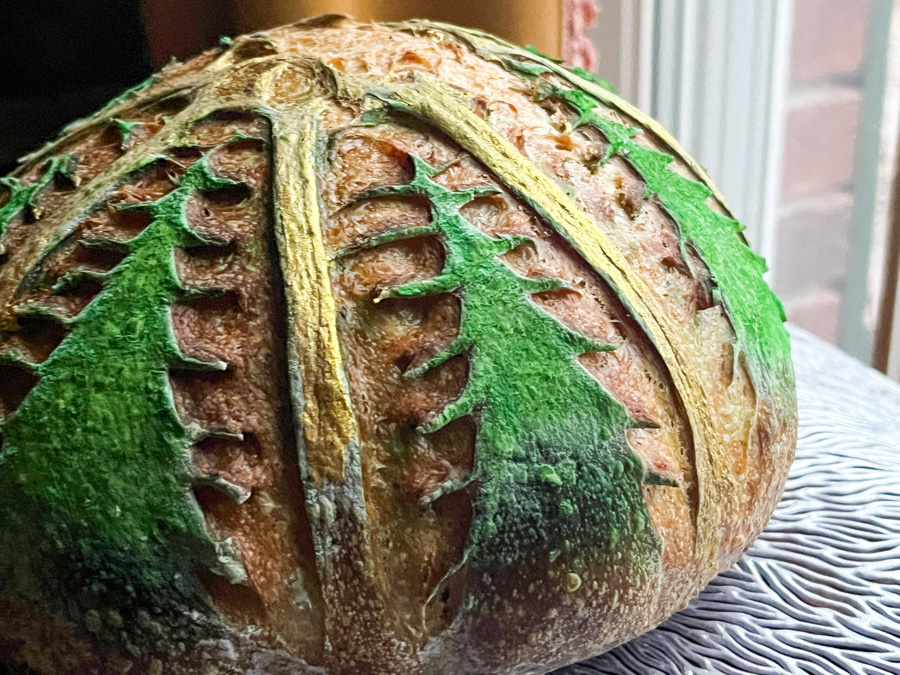
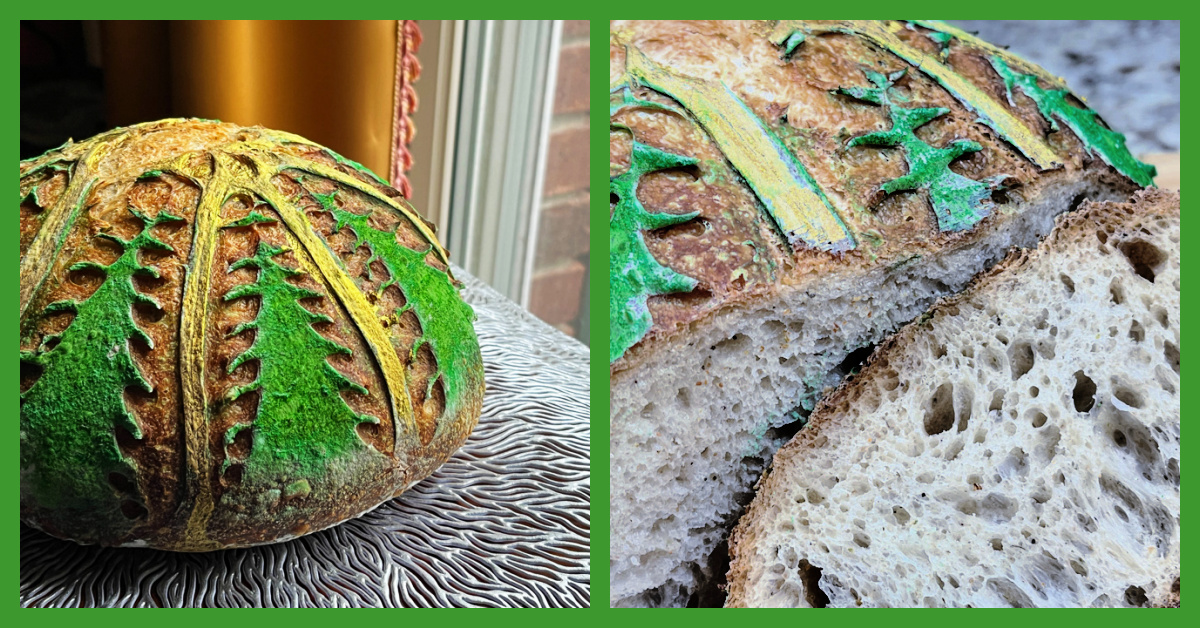
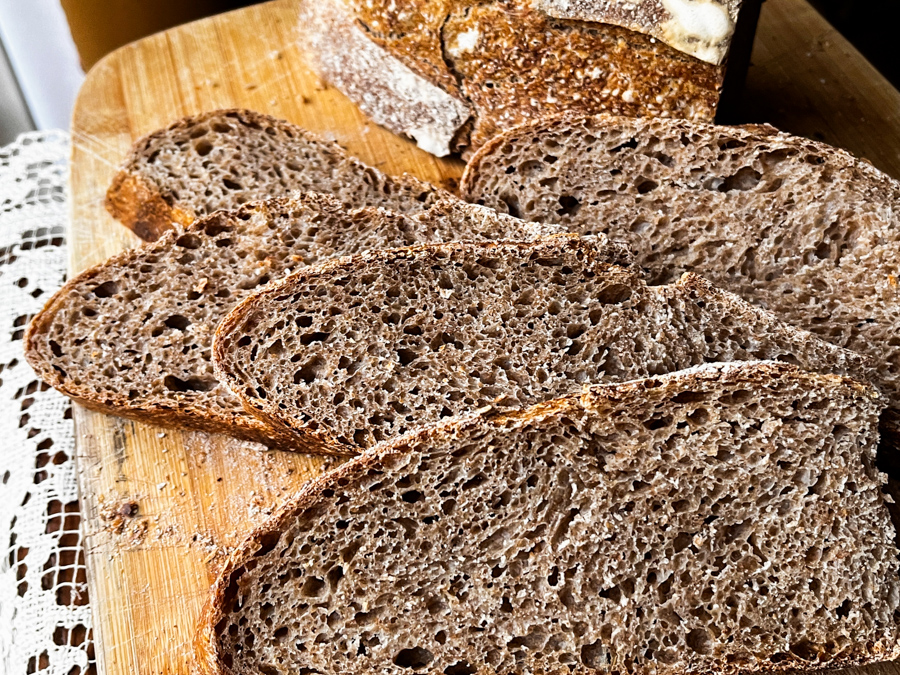
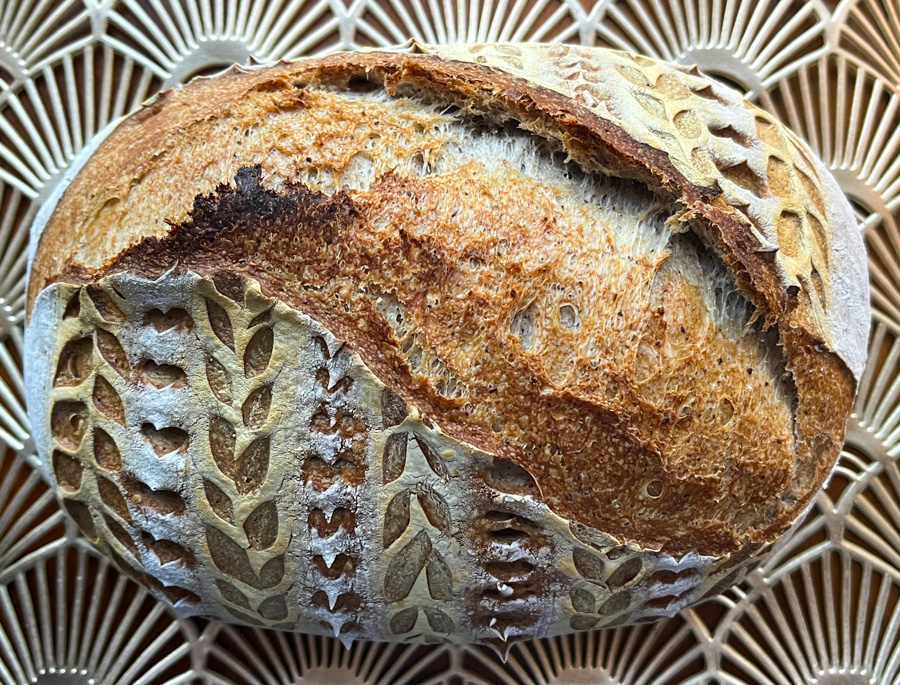
I’ve been having a lot of fun coupling the air-brush with sourdough baking. It is fast, simple and efficient to add a little bling to your bread. I used pecan flour in a small amount, because since it lacks gluten, I don’t want to risk compromising the structure of the bread.
PECAN SOURDOUGH
(from the Bewitching Kitchen)
385g white bread flour
20g pecan flour
20g whole-wheat flour
8g salt
280g water
65g sourdough starter at 100% hydration
optional: gold air-brush dye
Make the levain mixture about 6 hours before you plan to mix the dough. It should be very bubbly and active.
When you are ready to make the final dough, place the water in the bowl of a KitchenAid type mixer and dissolve the starter in it, mixing with a spatula briefly, then add the three types of flour, and the salt. Turn the mixer on with the hook attachment and knead the dough for 4 minutes at low-speed all the time. If the dough is too sticky, add 1/4 cup flour, you want the dough to start clearing the sides of the bowl, but still be sticky at the bottom.
Remove from the machine, and transfer to a container lightly coated with oil, cover lightly with plastic wrap and allow it to ferment for 4 hours, folding every 45 minutes or so. After four hours bulk fermentation, shape the dough as a ball, and place, seam side up, in a lightly floured banetton. Leave at room temperature one hour, and then place in the fridge overnight, from 8 to 12 hours.
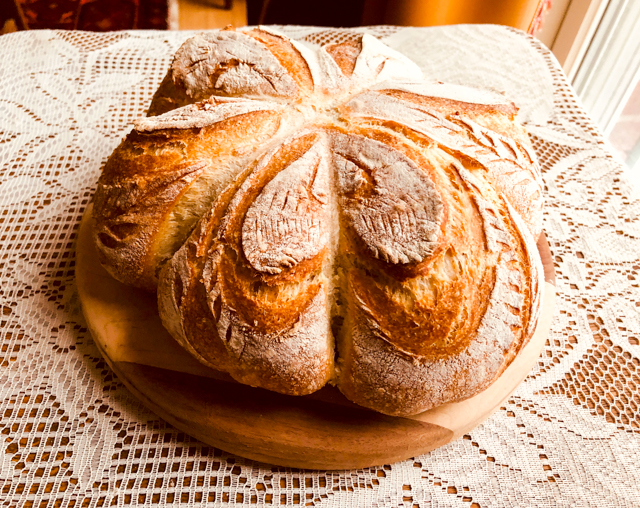
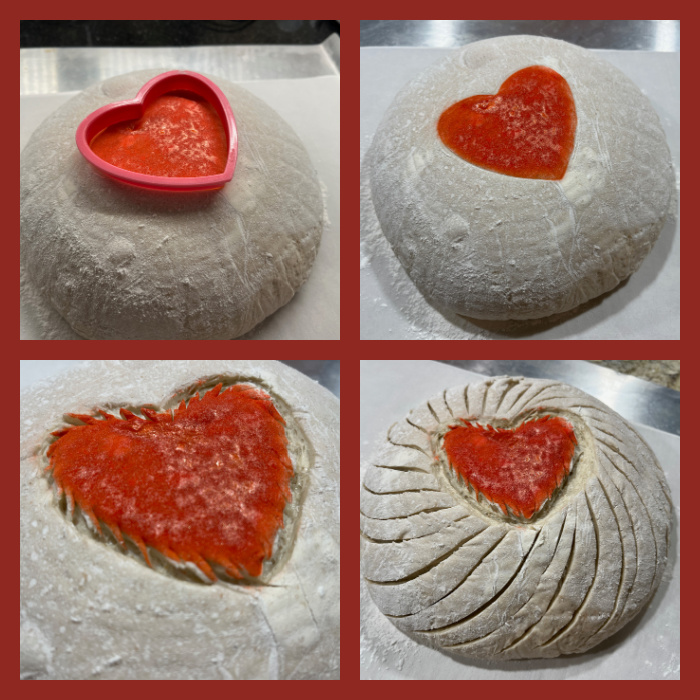
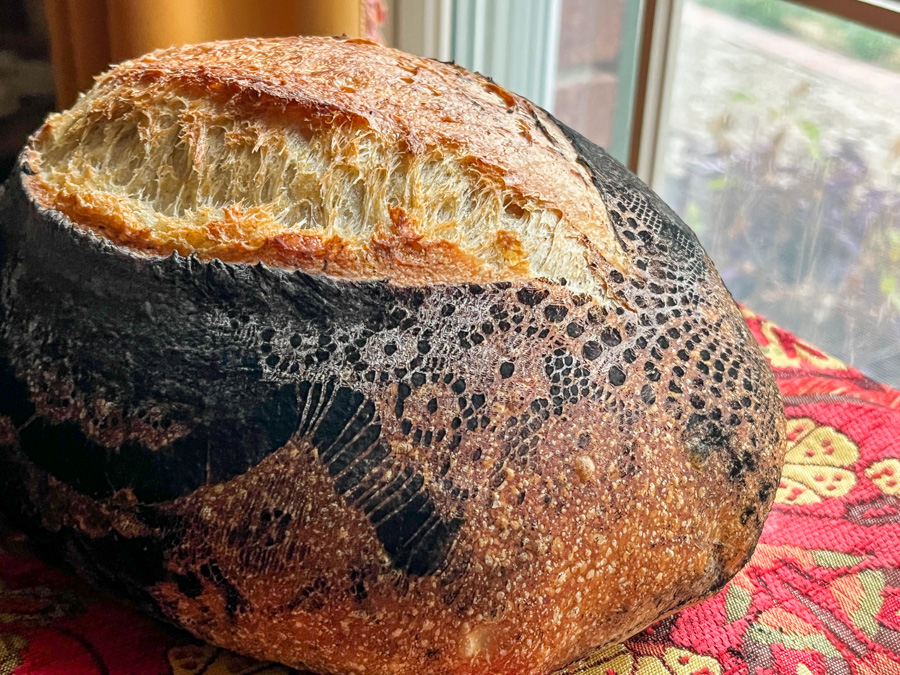
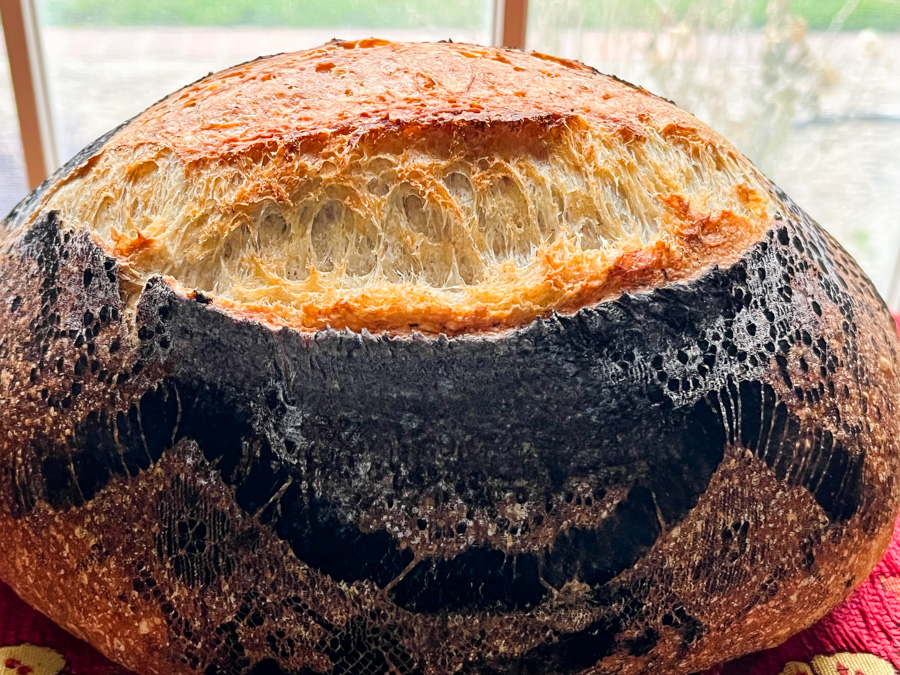
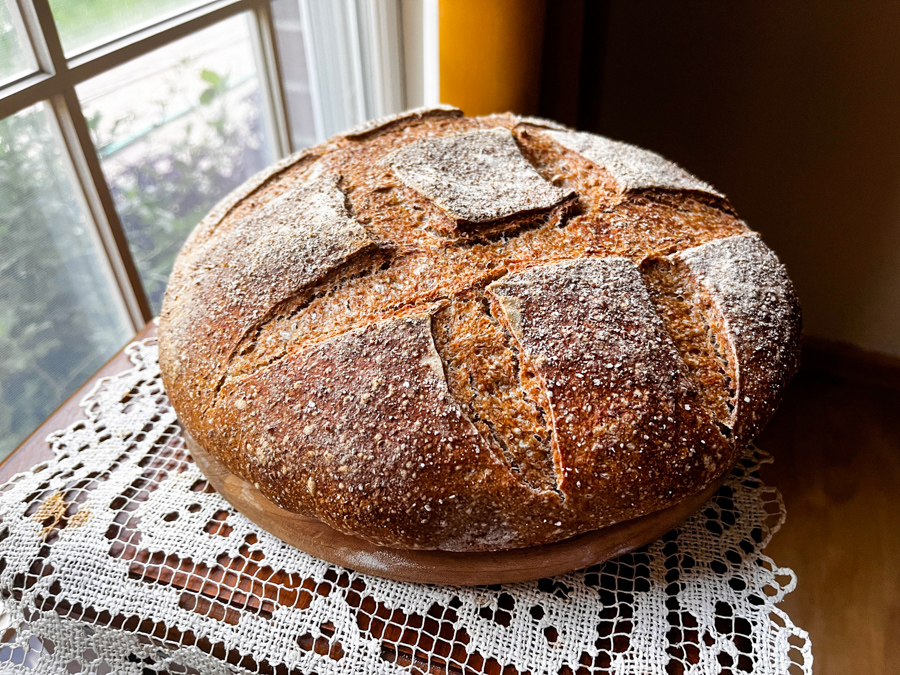
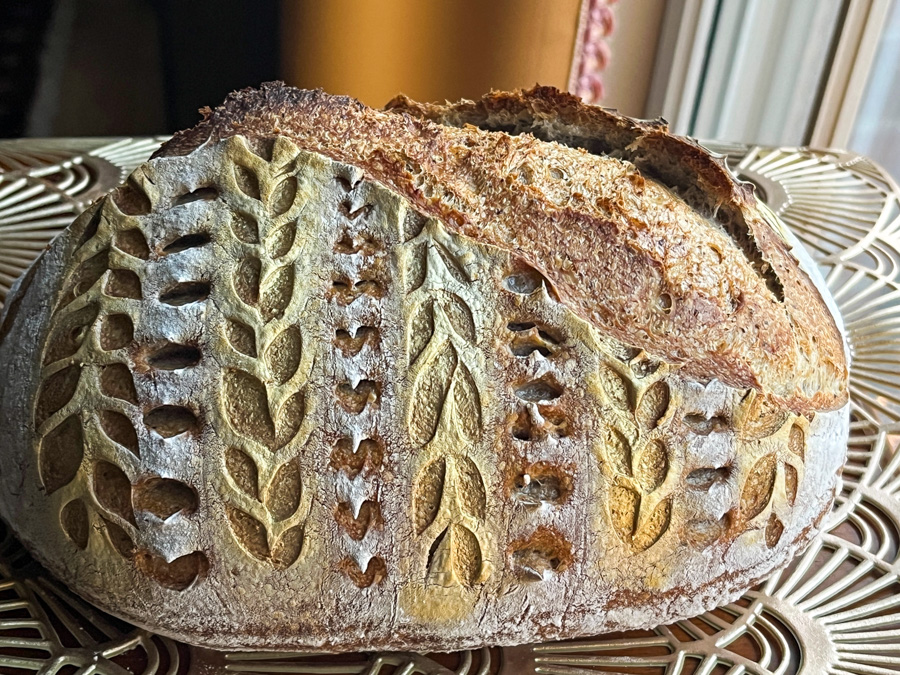
Next morning, heat the oven to 450F. Invert the dough over parchment paper, rub gently white flour on the surface. Score with the pattern of your choice and air-brush any region you want to highlight.
Bake at 450F for 45 minutes, preferably covered for the first 30 minutes to retain steam. Cool completely over a rack before slicing.
ENJOY!
to print the recipe, click here
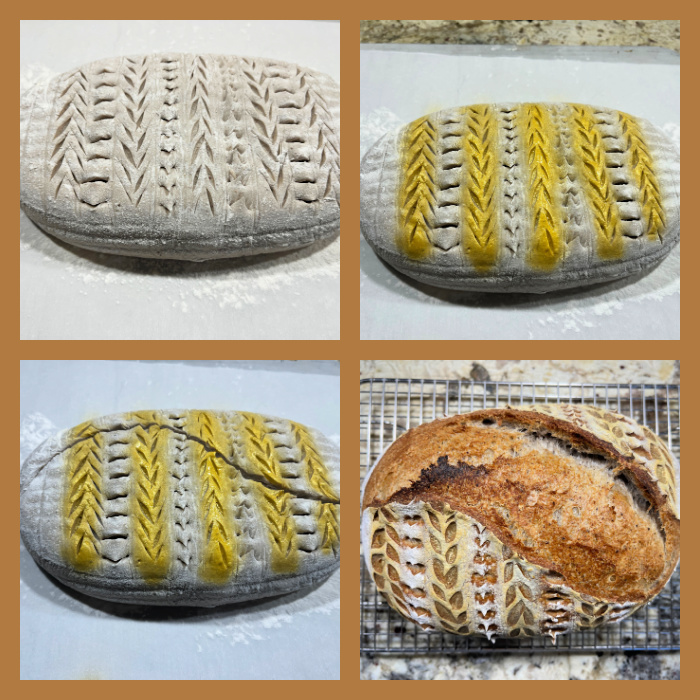
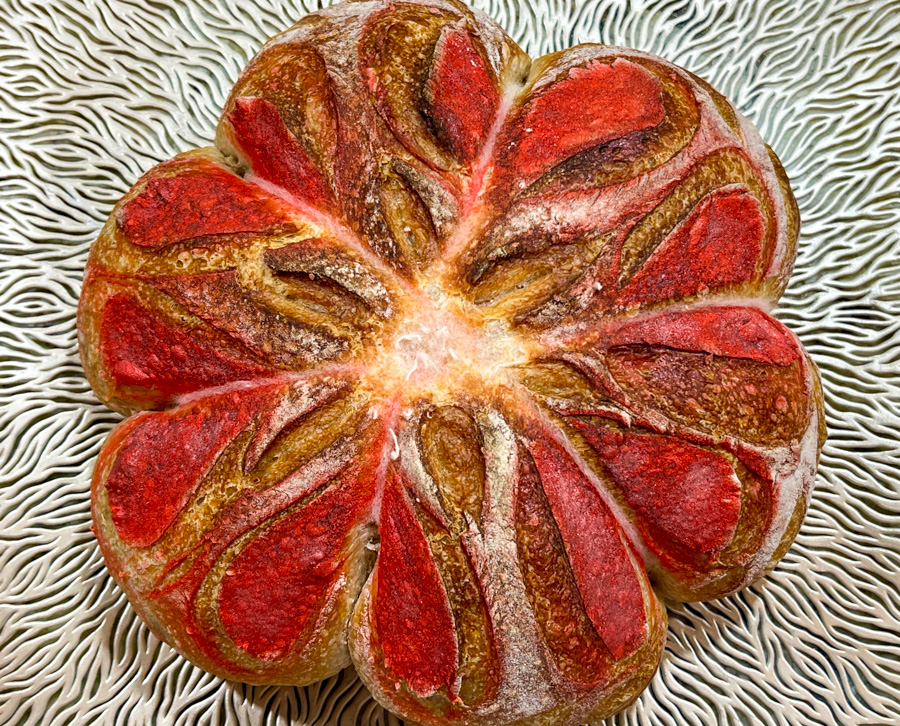
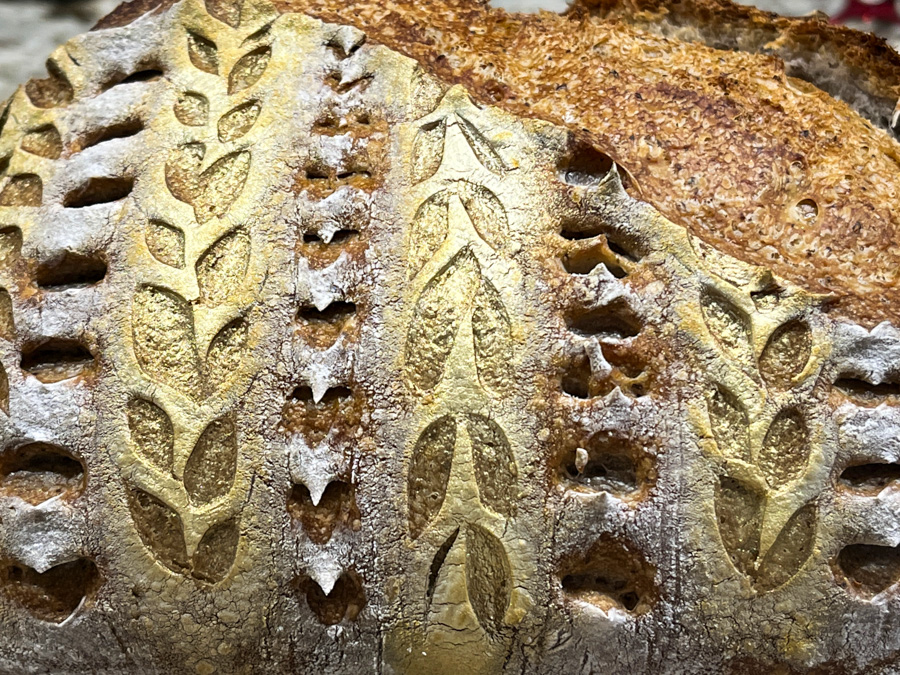
Comments: The golden tone was a little lost during baking, so I air-brushed it again once it came out of the oven. In the composite picture above you see it exactly as it came out of the oven, and below after the second round of air-brushing. A red color would have stayed better, or perhaps I could have used luster powder in copper and mixed with alcohol to use in the air-brush. Something fun to try next time. We love the flavor of this bread, the pecan flour contributes a lot and gives a little more moisture.
There is no flavor associated with the dye, at least not with the brand I use, which is this one. I buy it in the large bottle because it is a favorite that I tend to use all the time, especially in cookies.
ONE YEAR AGO: Tiramisu Tart
TWO YEARS AGO: Joy Cookie Club: Valentine’s Day
THREE YEARS AGO: Uttapam, White Lentil and Rice Flatbread
FOUR YEARS AGO: Valentine’s Day Sweetheart Cookies
FIVE YEARS AGO: Fesenjan, Fast-Food Style
SIX YEARS AGO: Lavender Macarons with White Chocolate Ganache
SEVEN YEARS AGO: Raspberry Chocolate Truffles
EIGHT YEARS AGO: Red Velvet Cupcakes
NINE YEARS AGO: Happy Valentine’s Day!
TEN YEARS AGO: A Few Blogging Issues
ELEVEN YEARS AGO: Dan Dan Noodles
TWELVE YEARS AGO: Sophie Grigson’s Parmesan Cake
THIRTEEN YEARS AGO: Antibiotics and Food