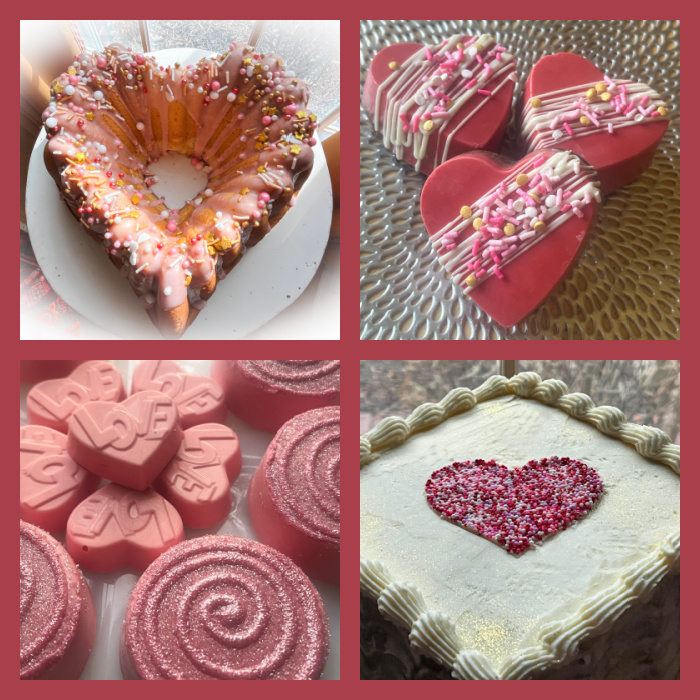
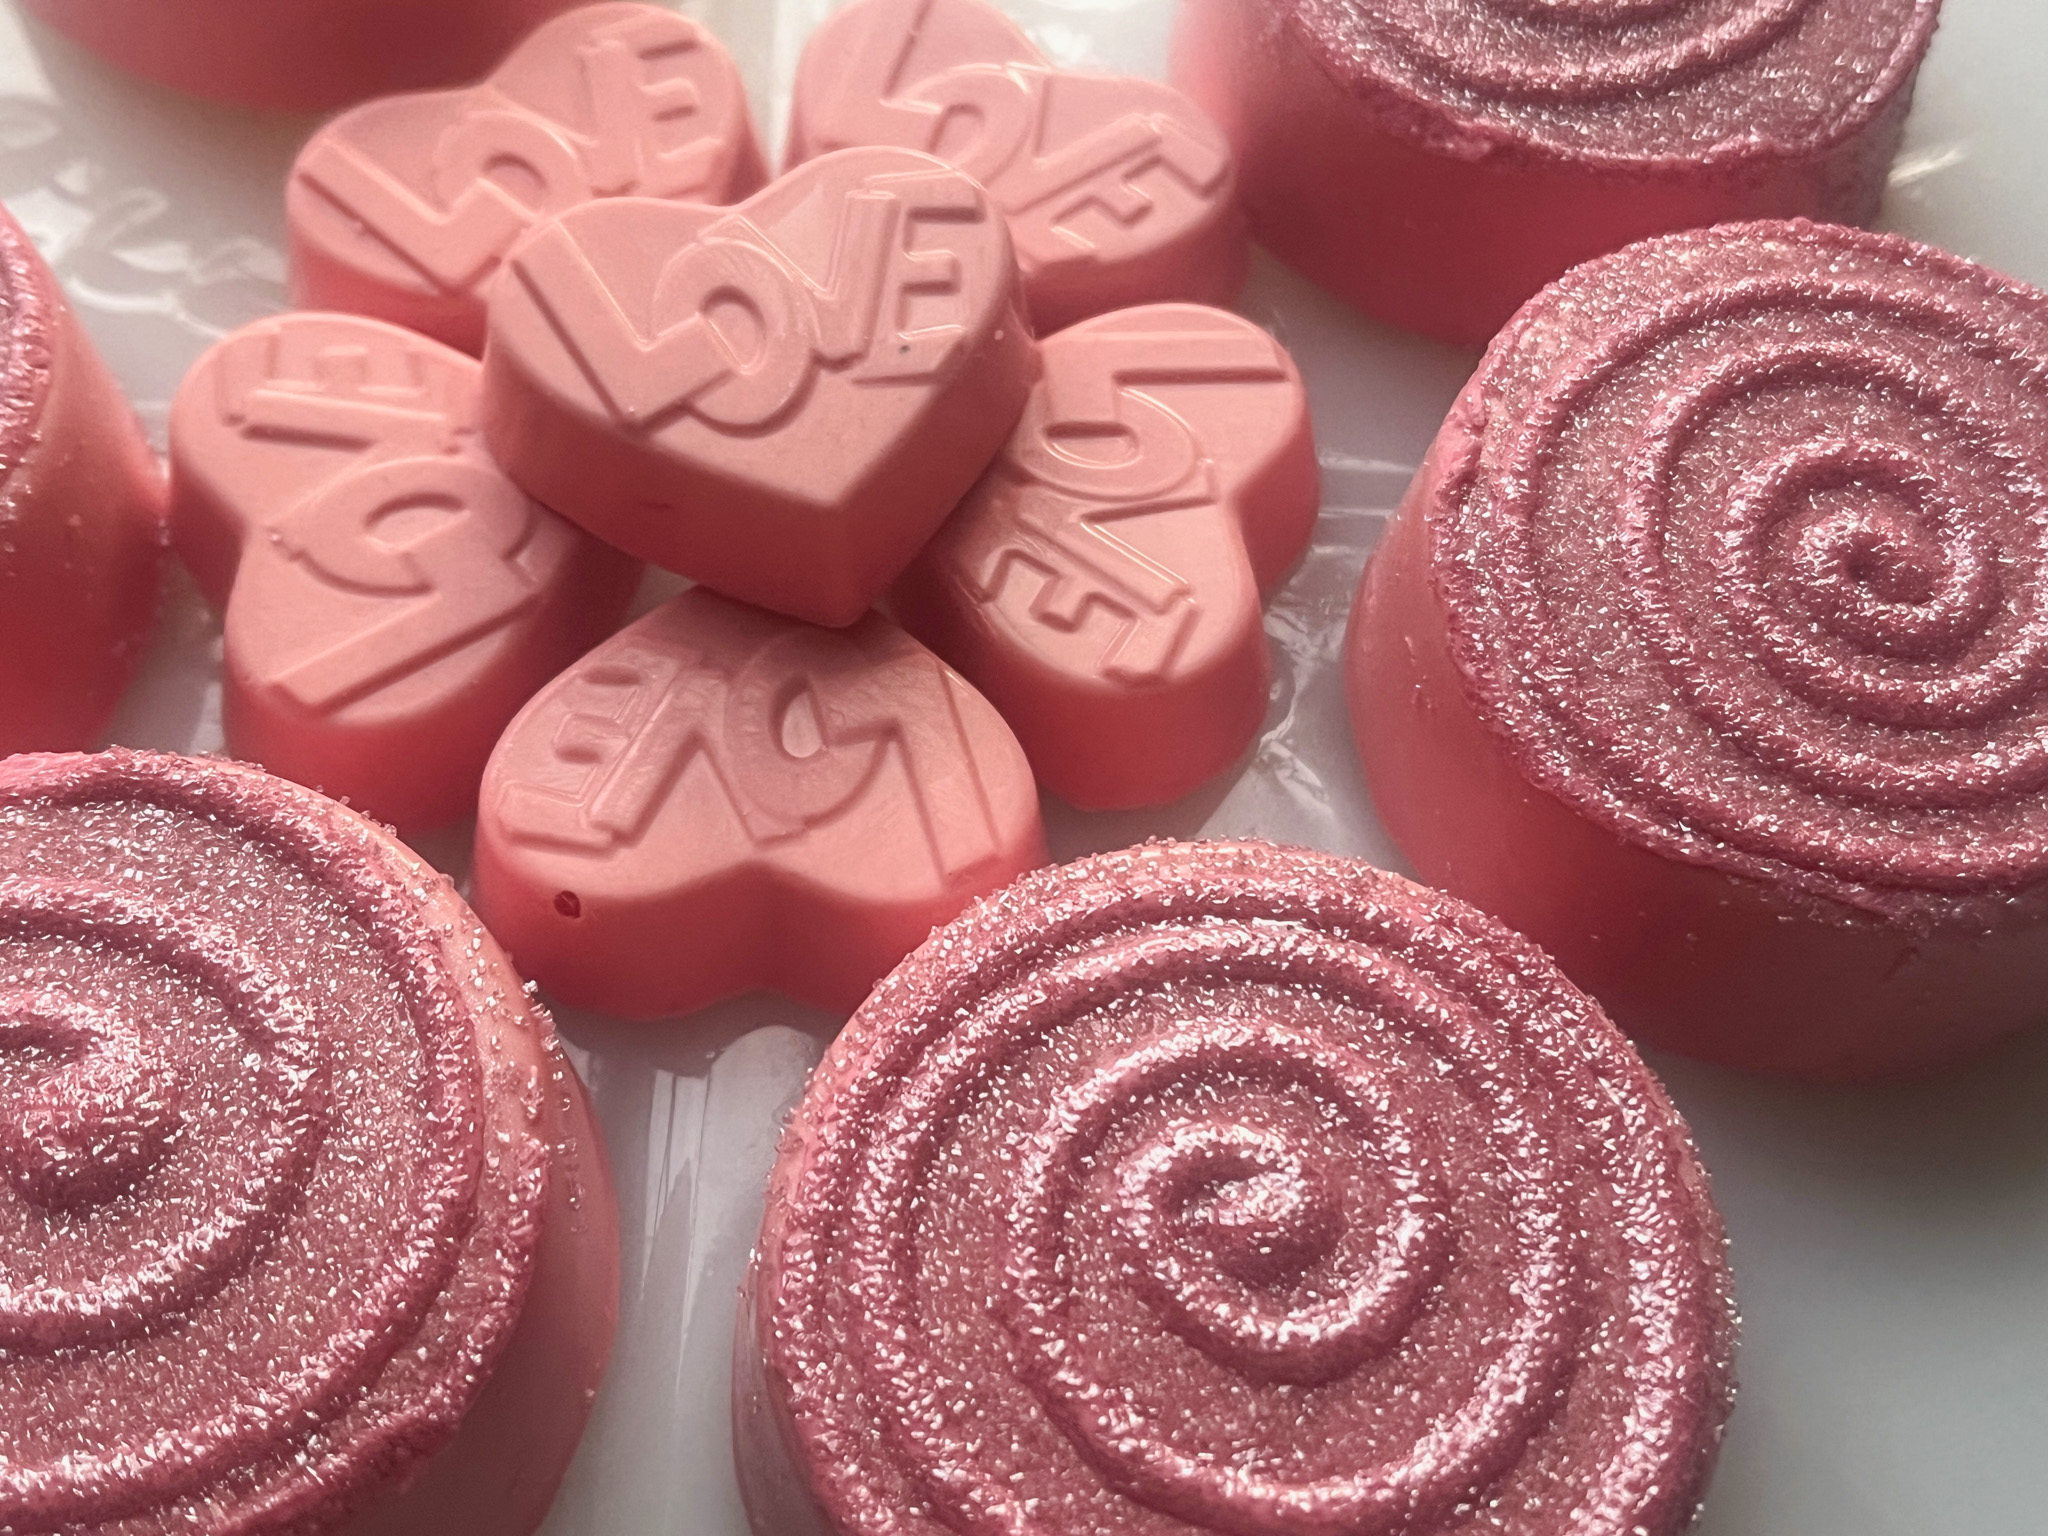
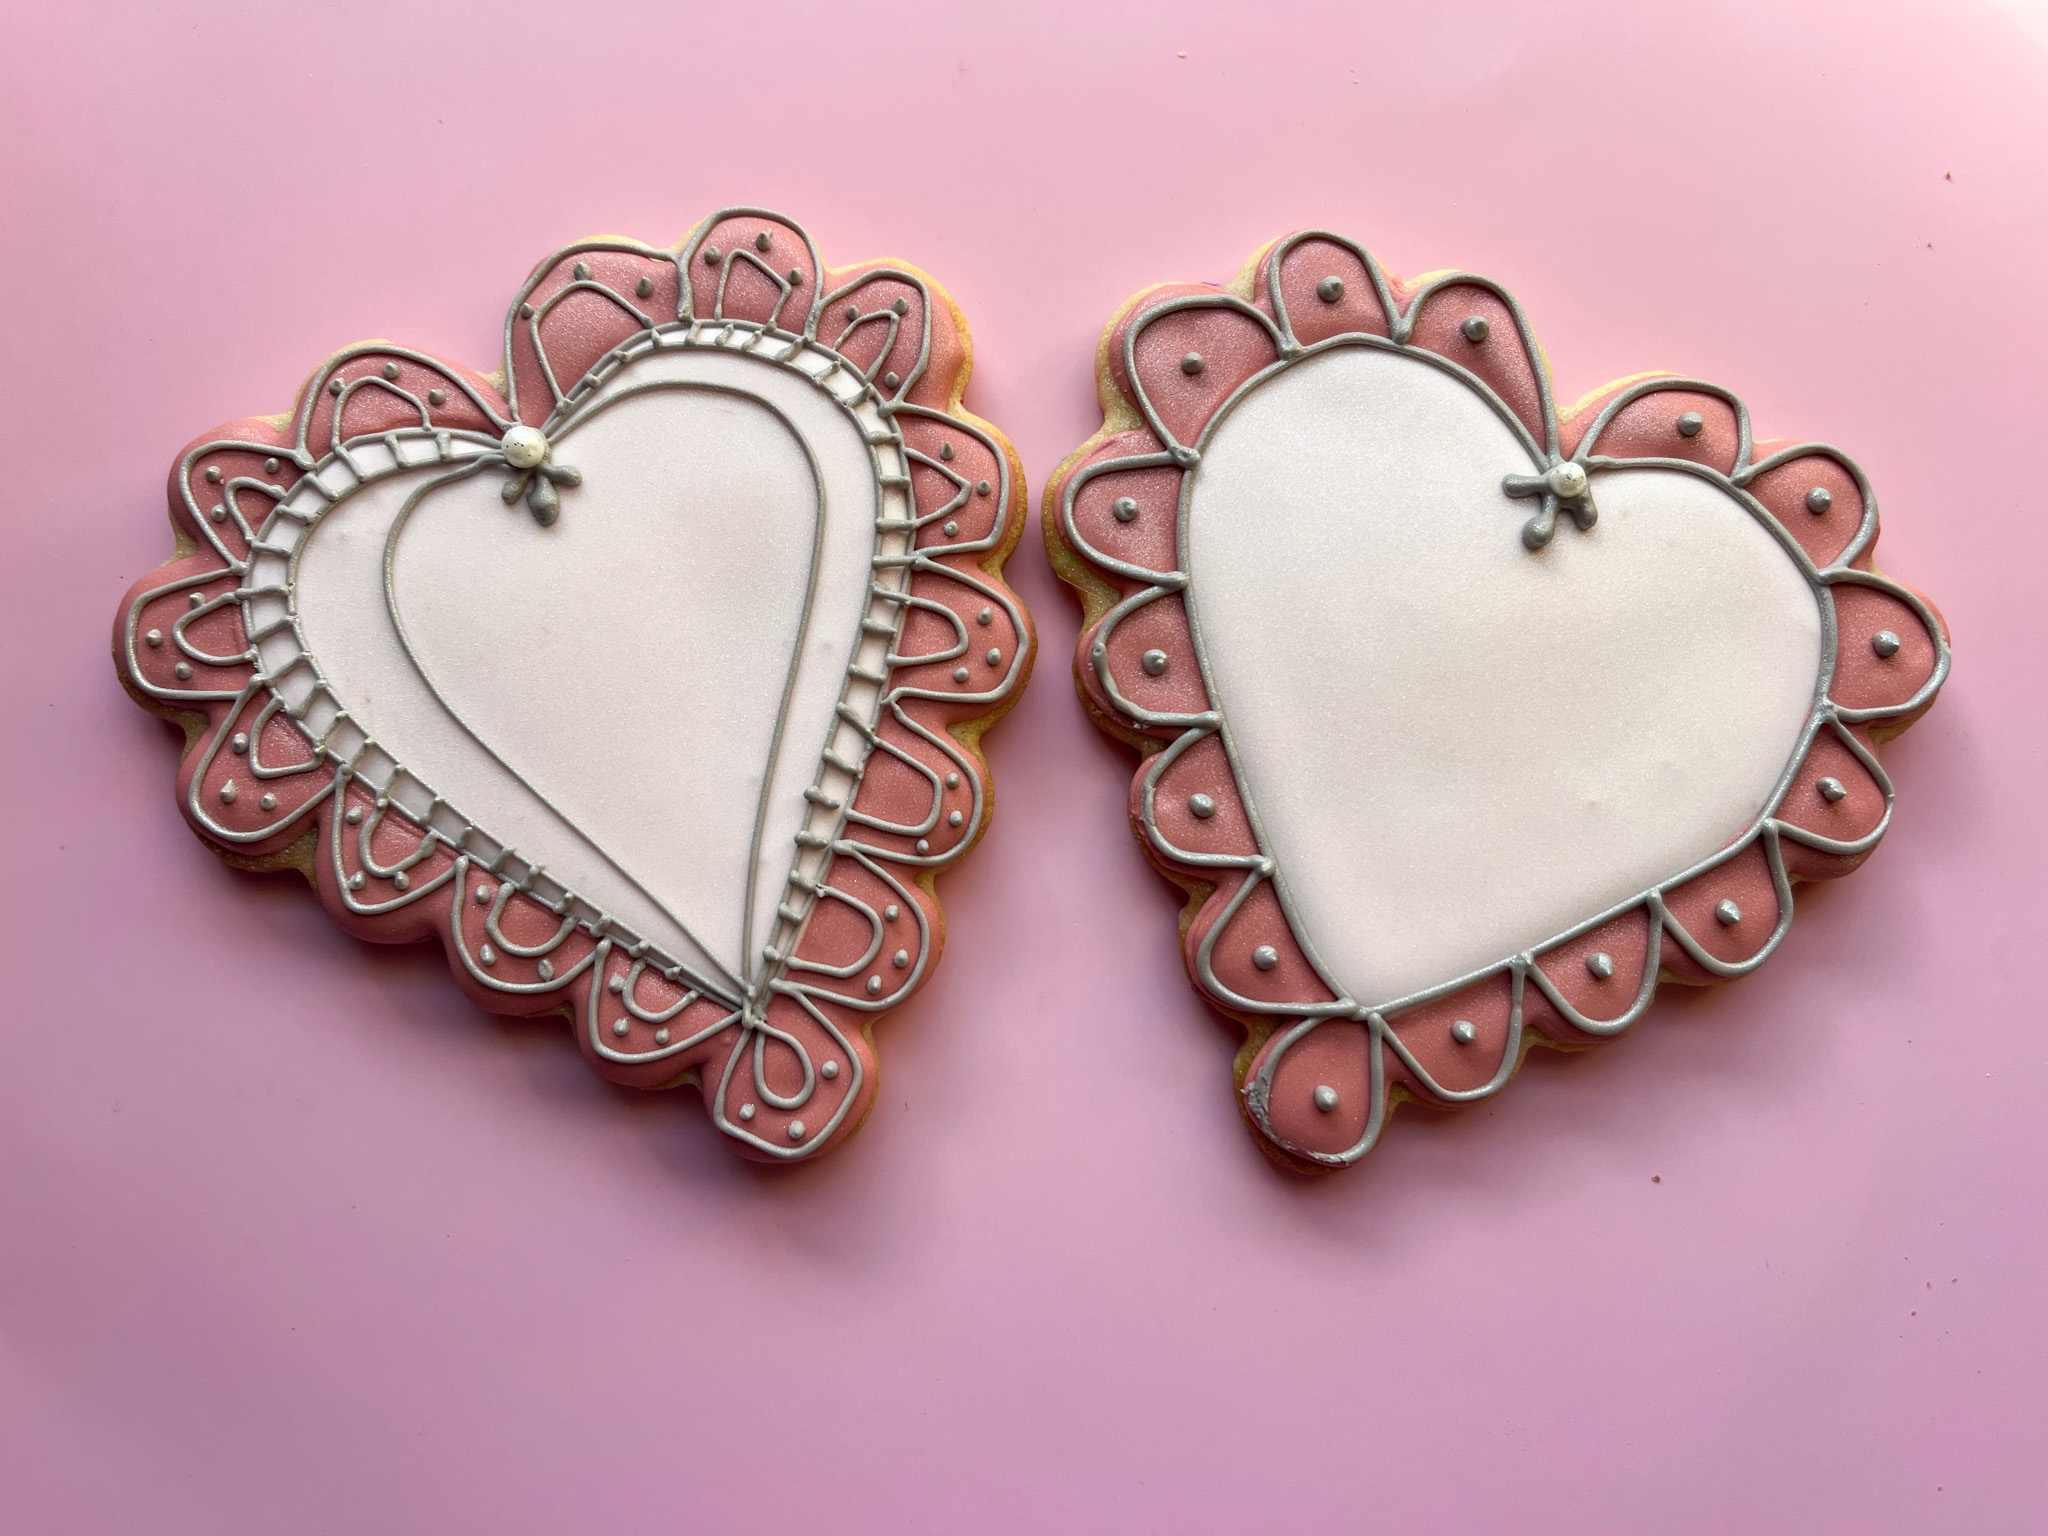
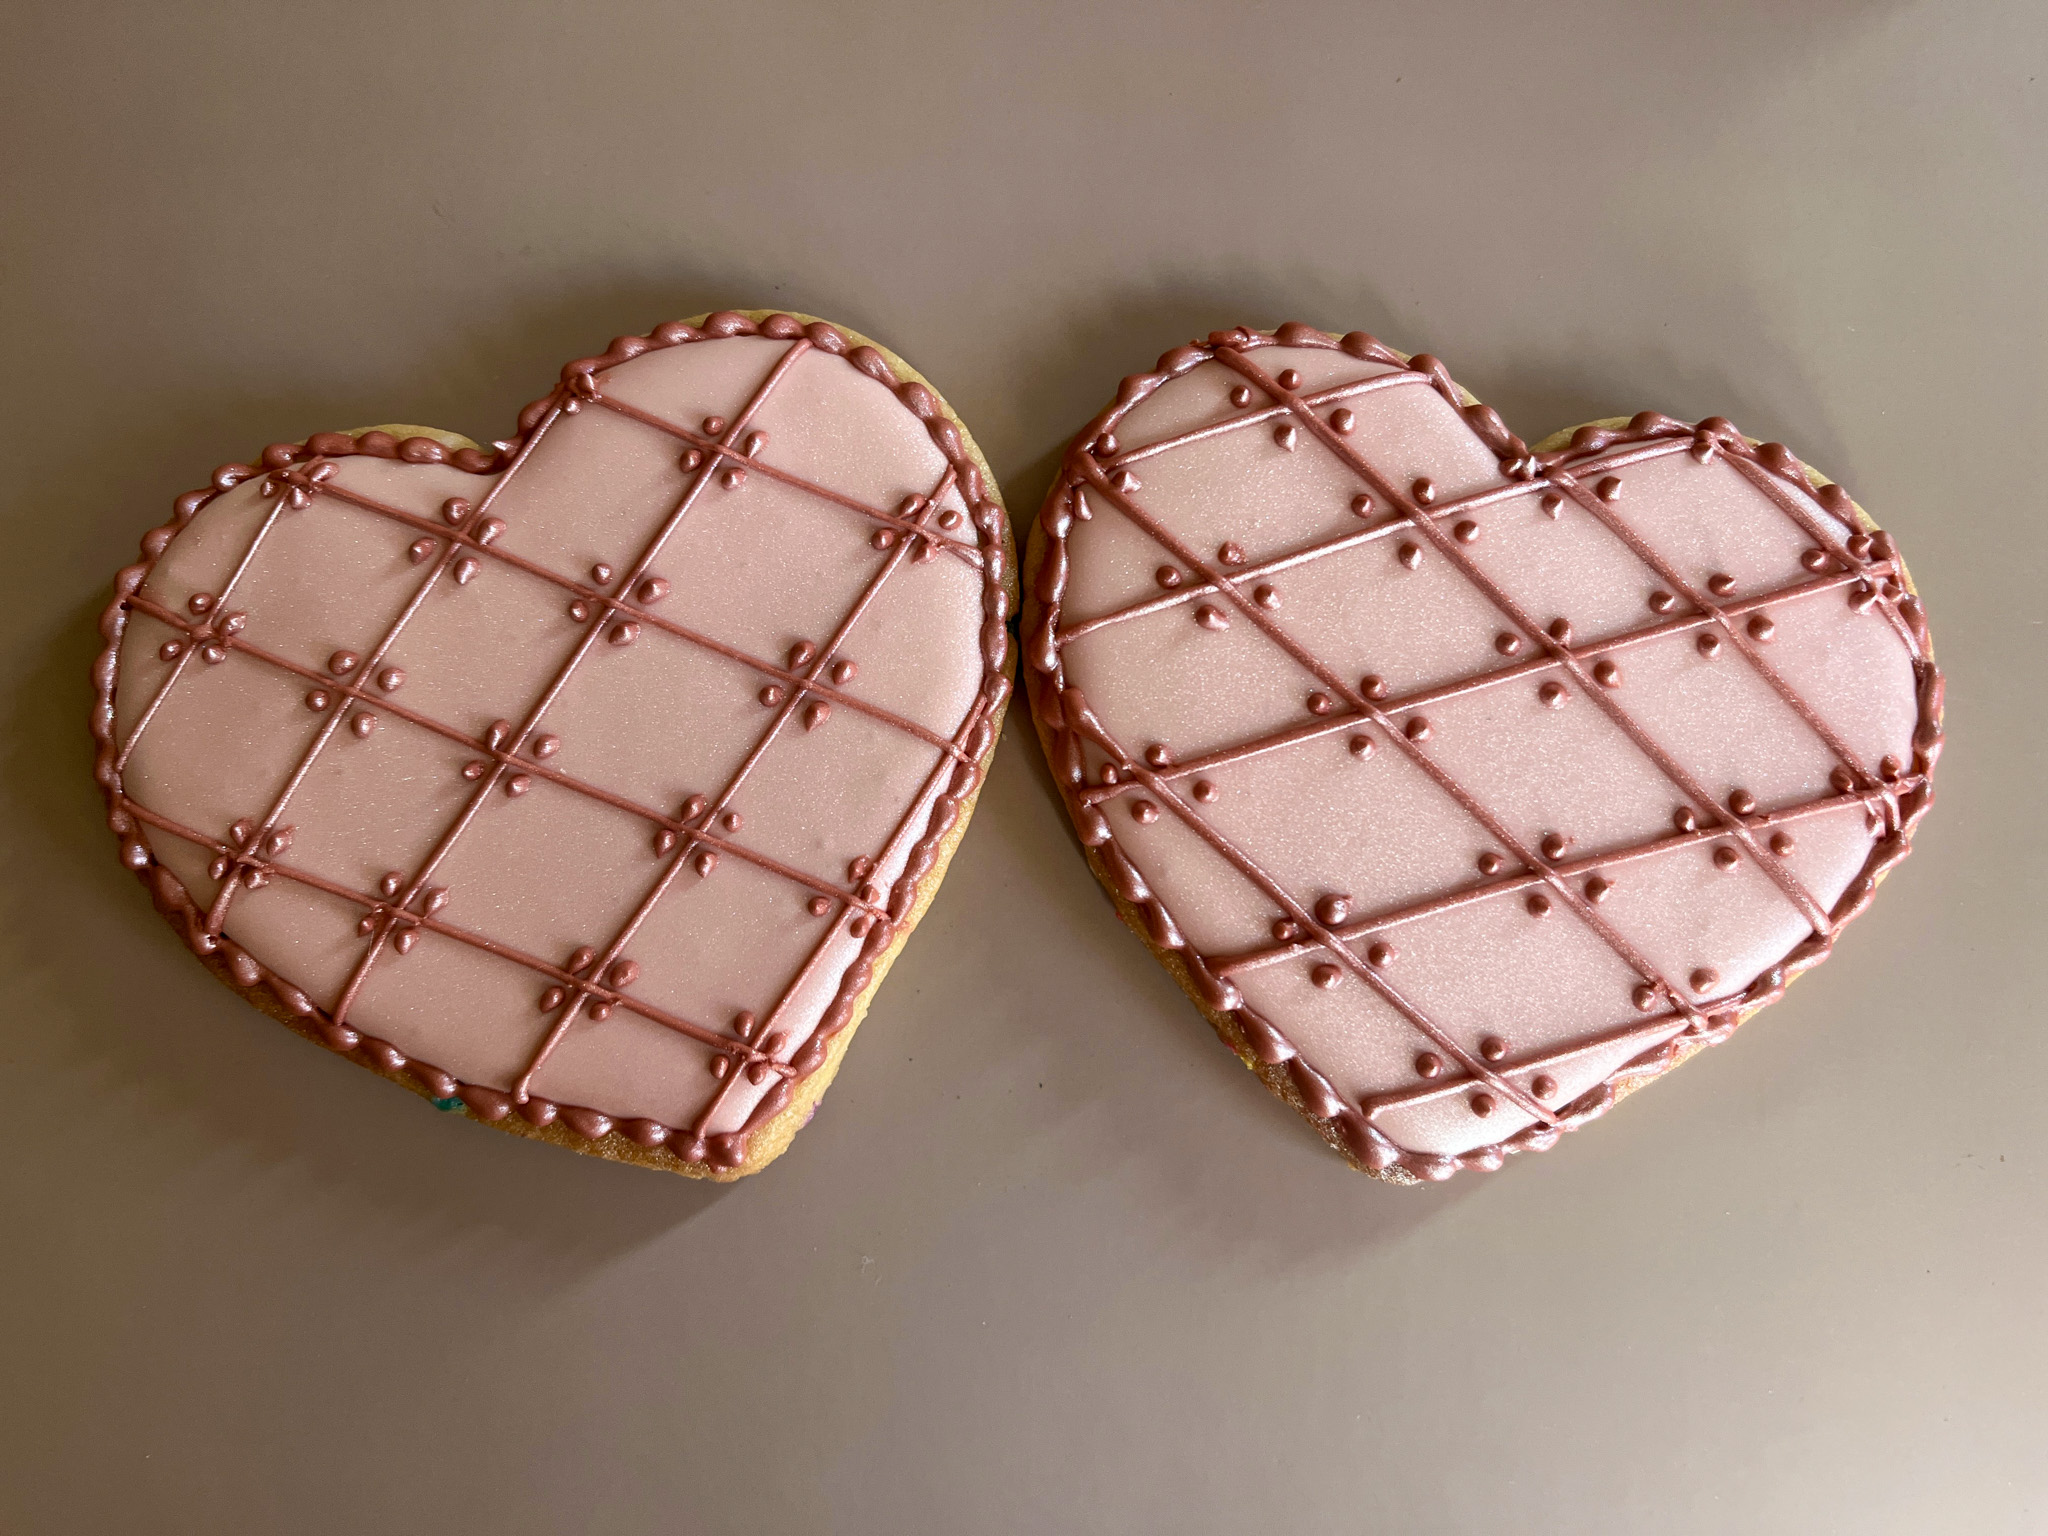
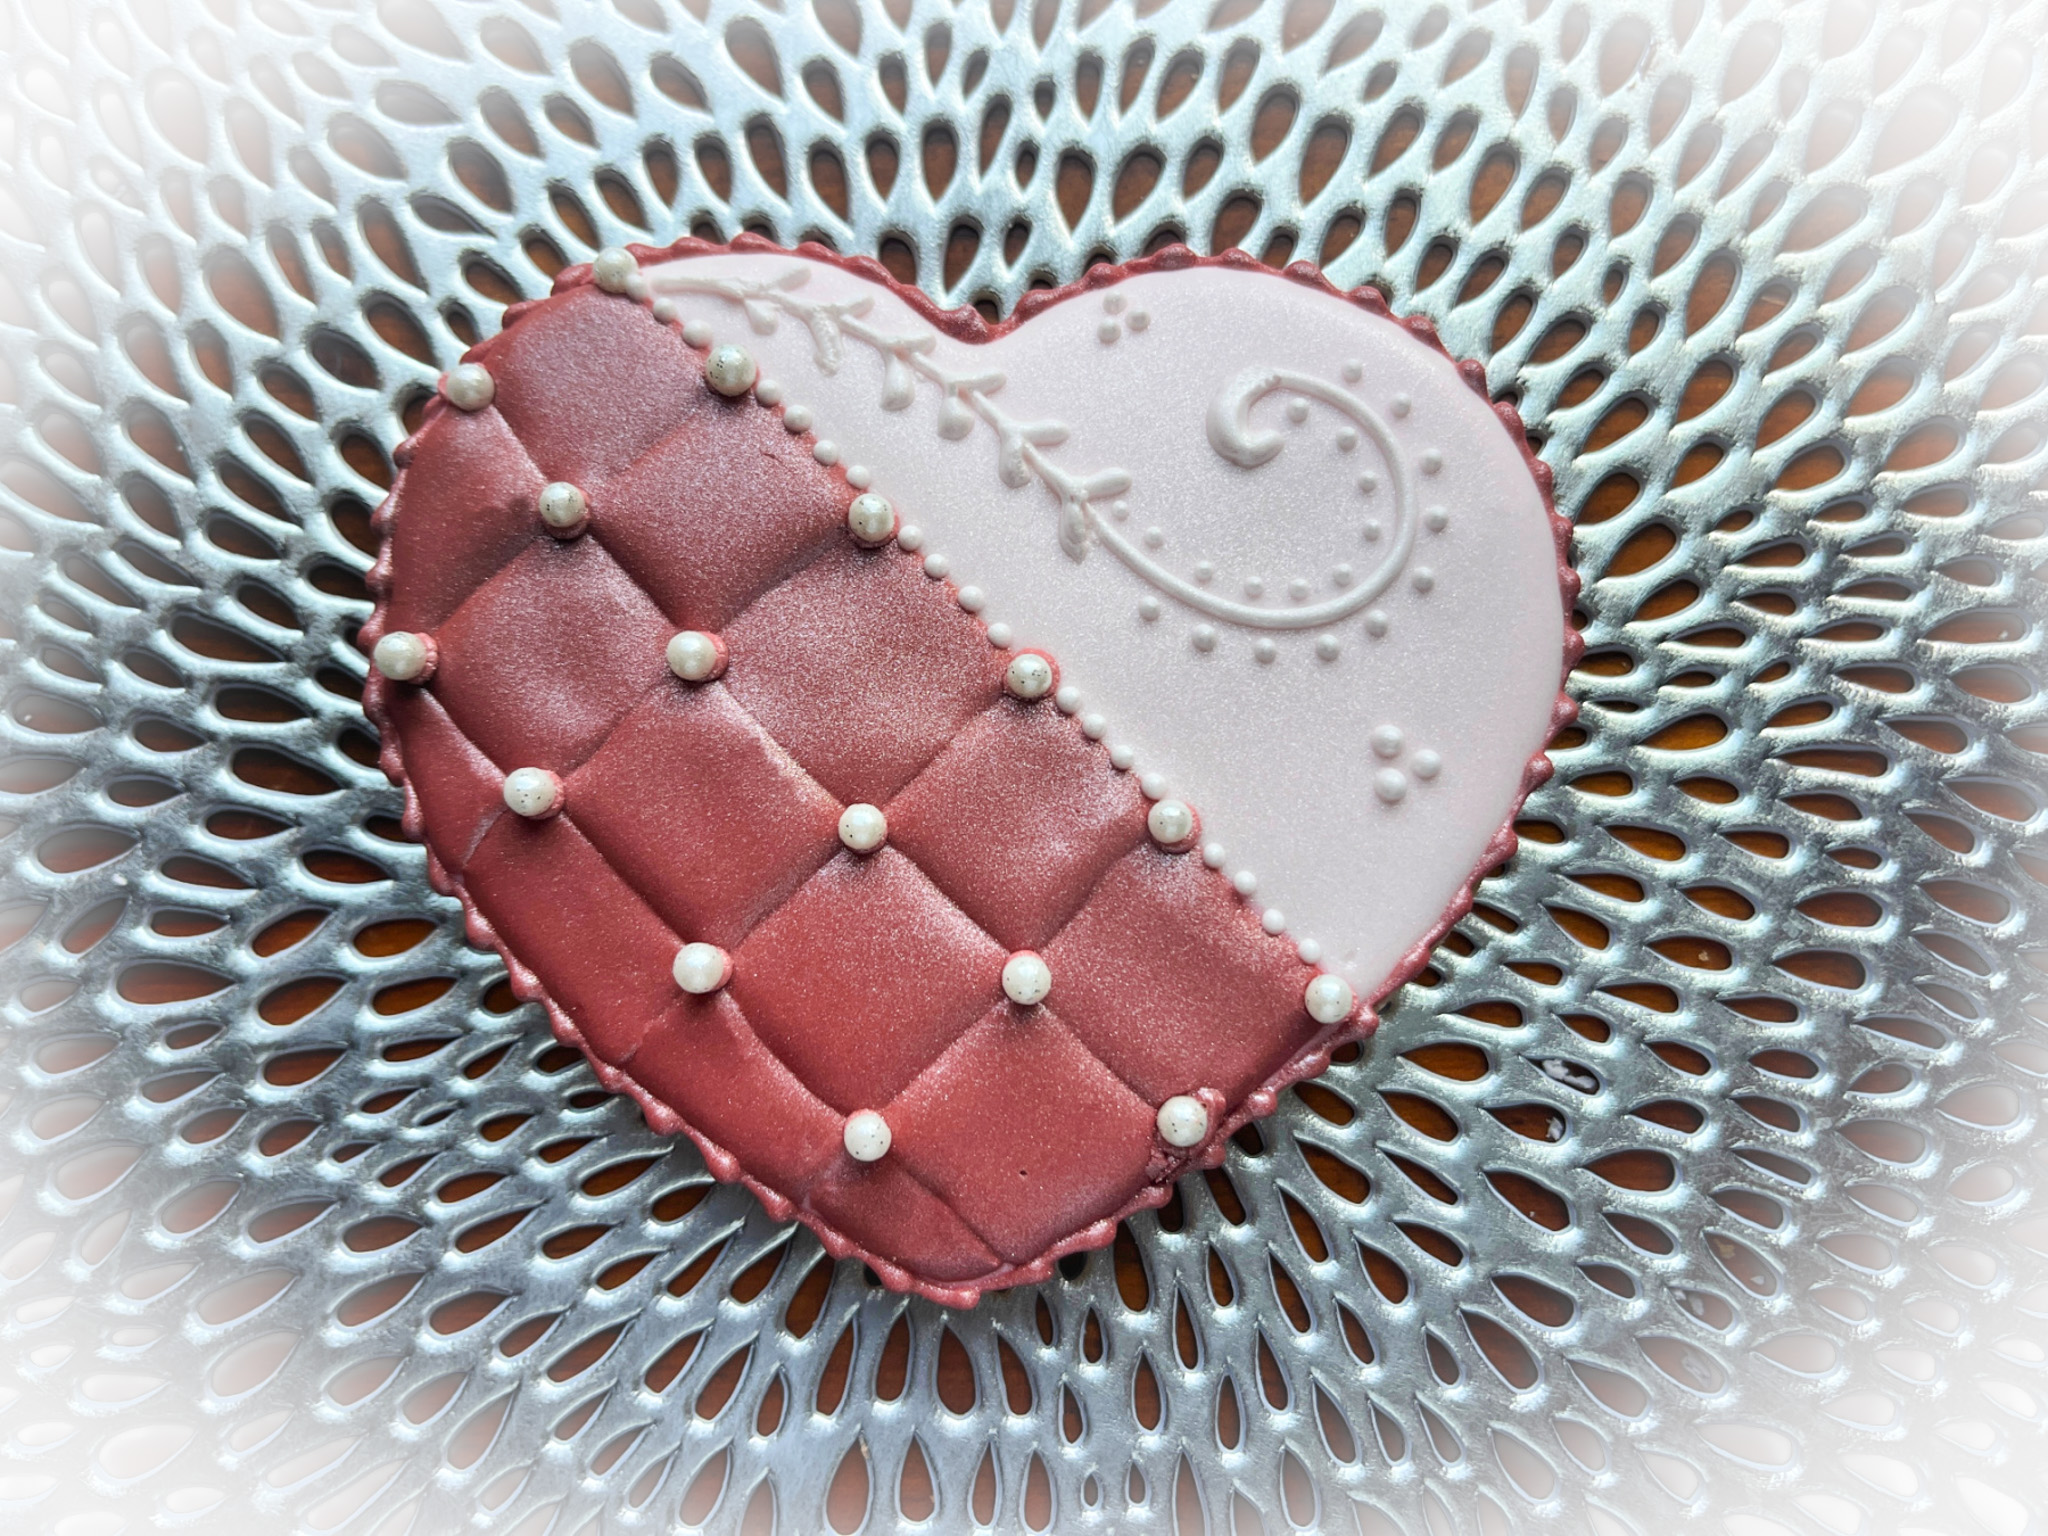
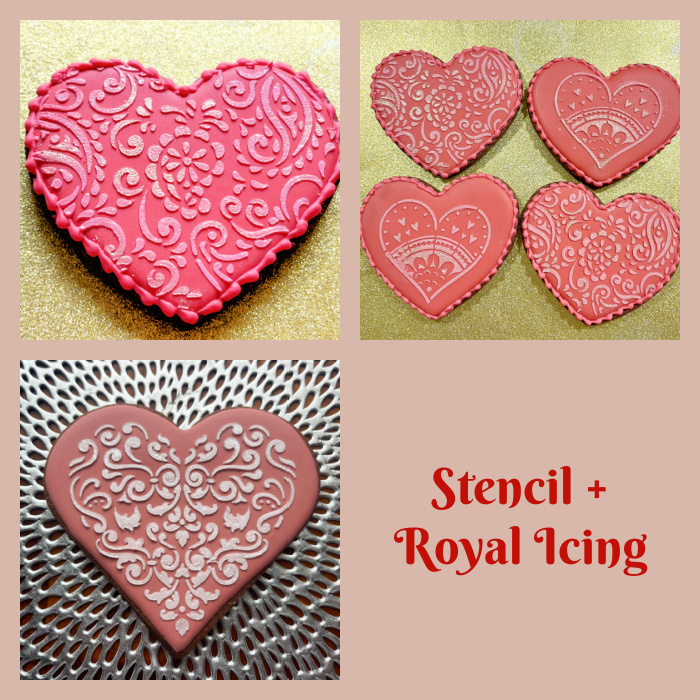
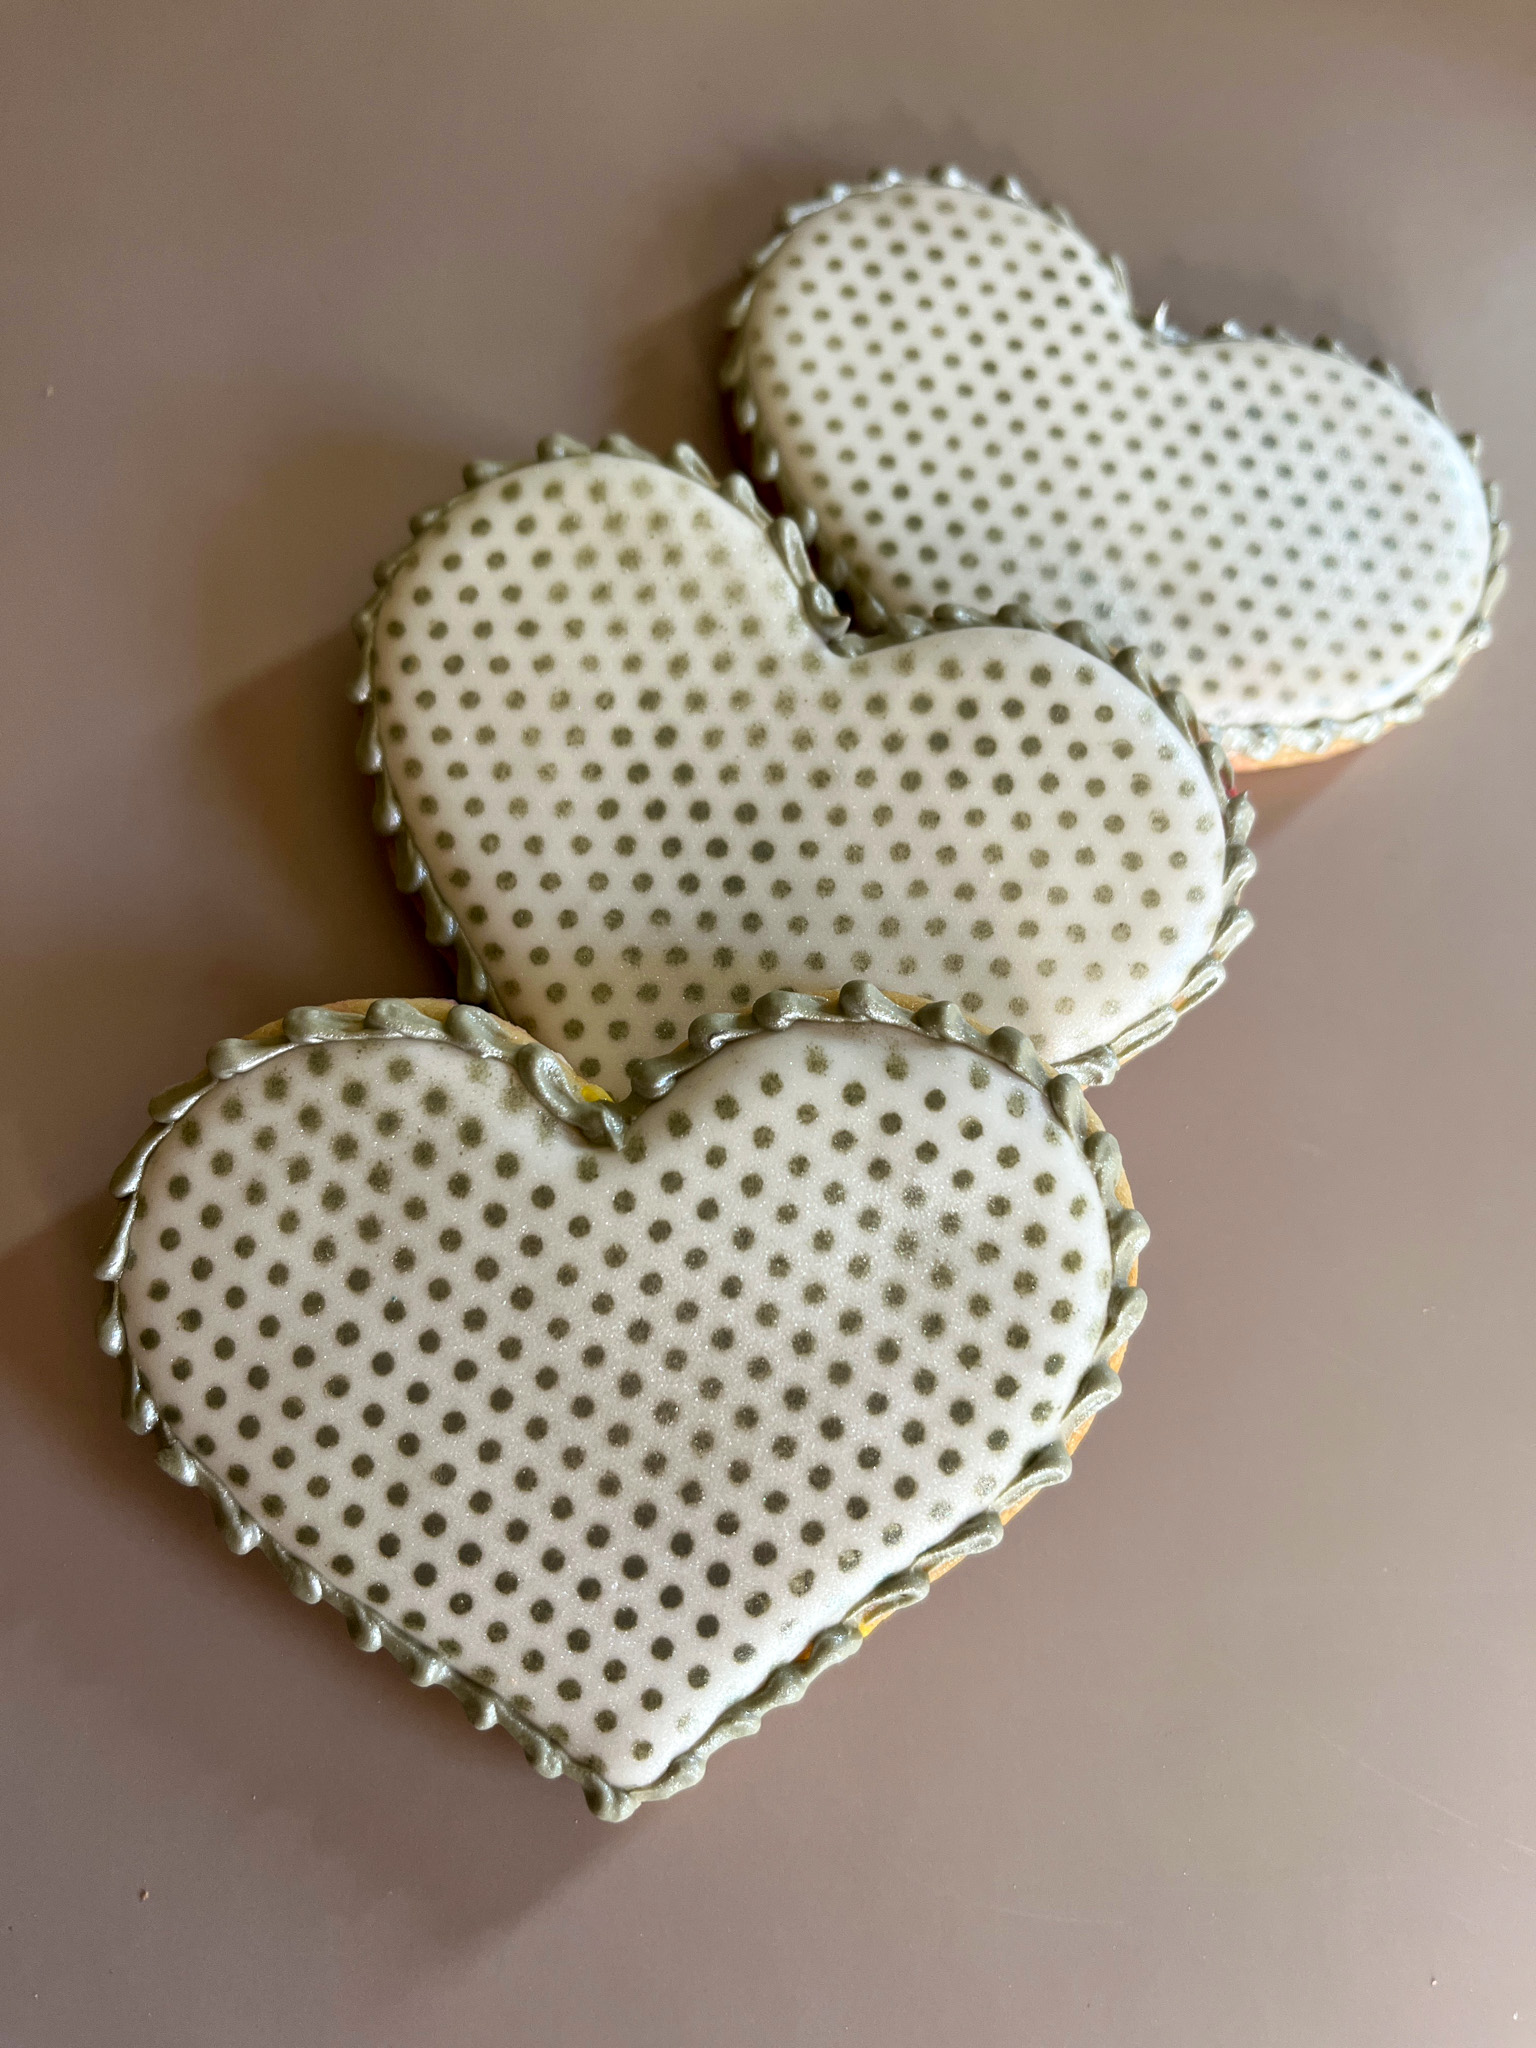
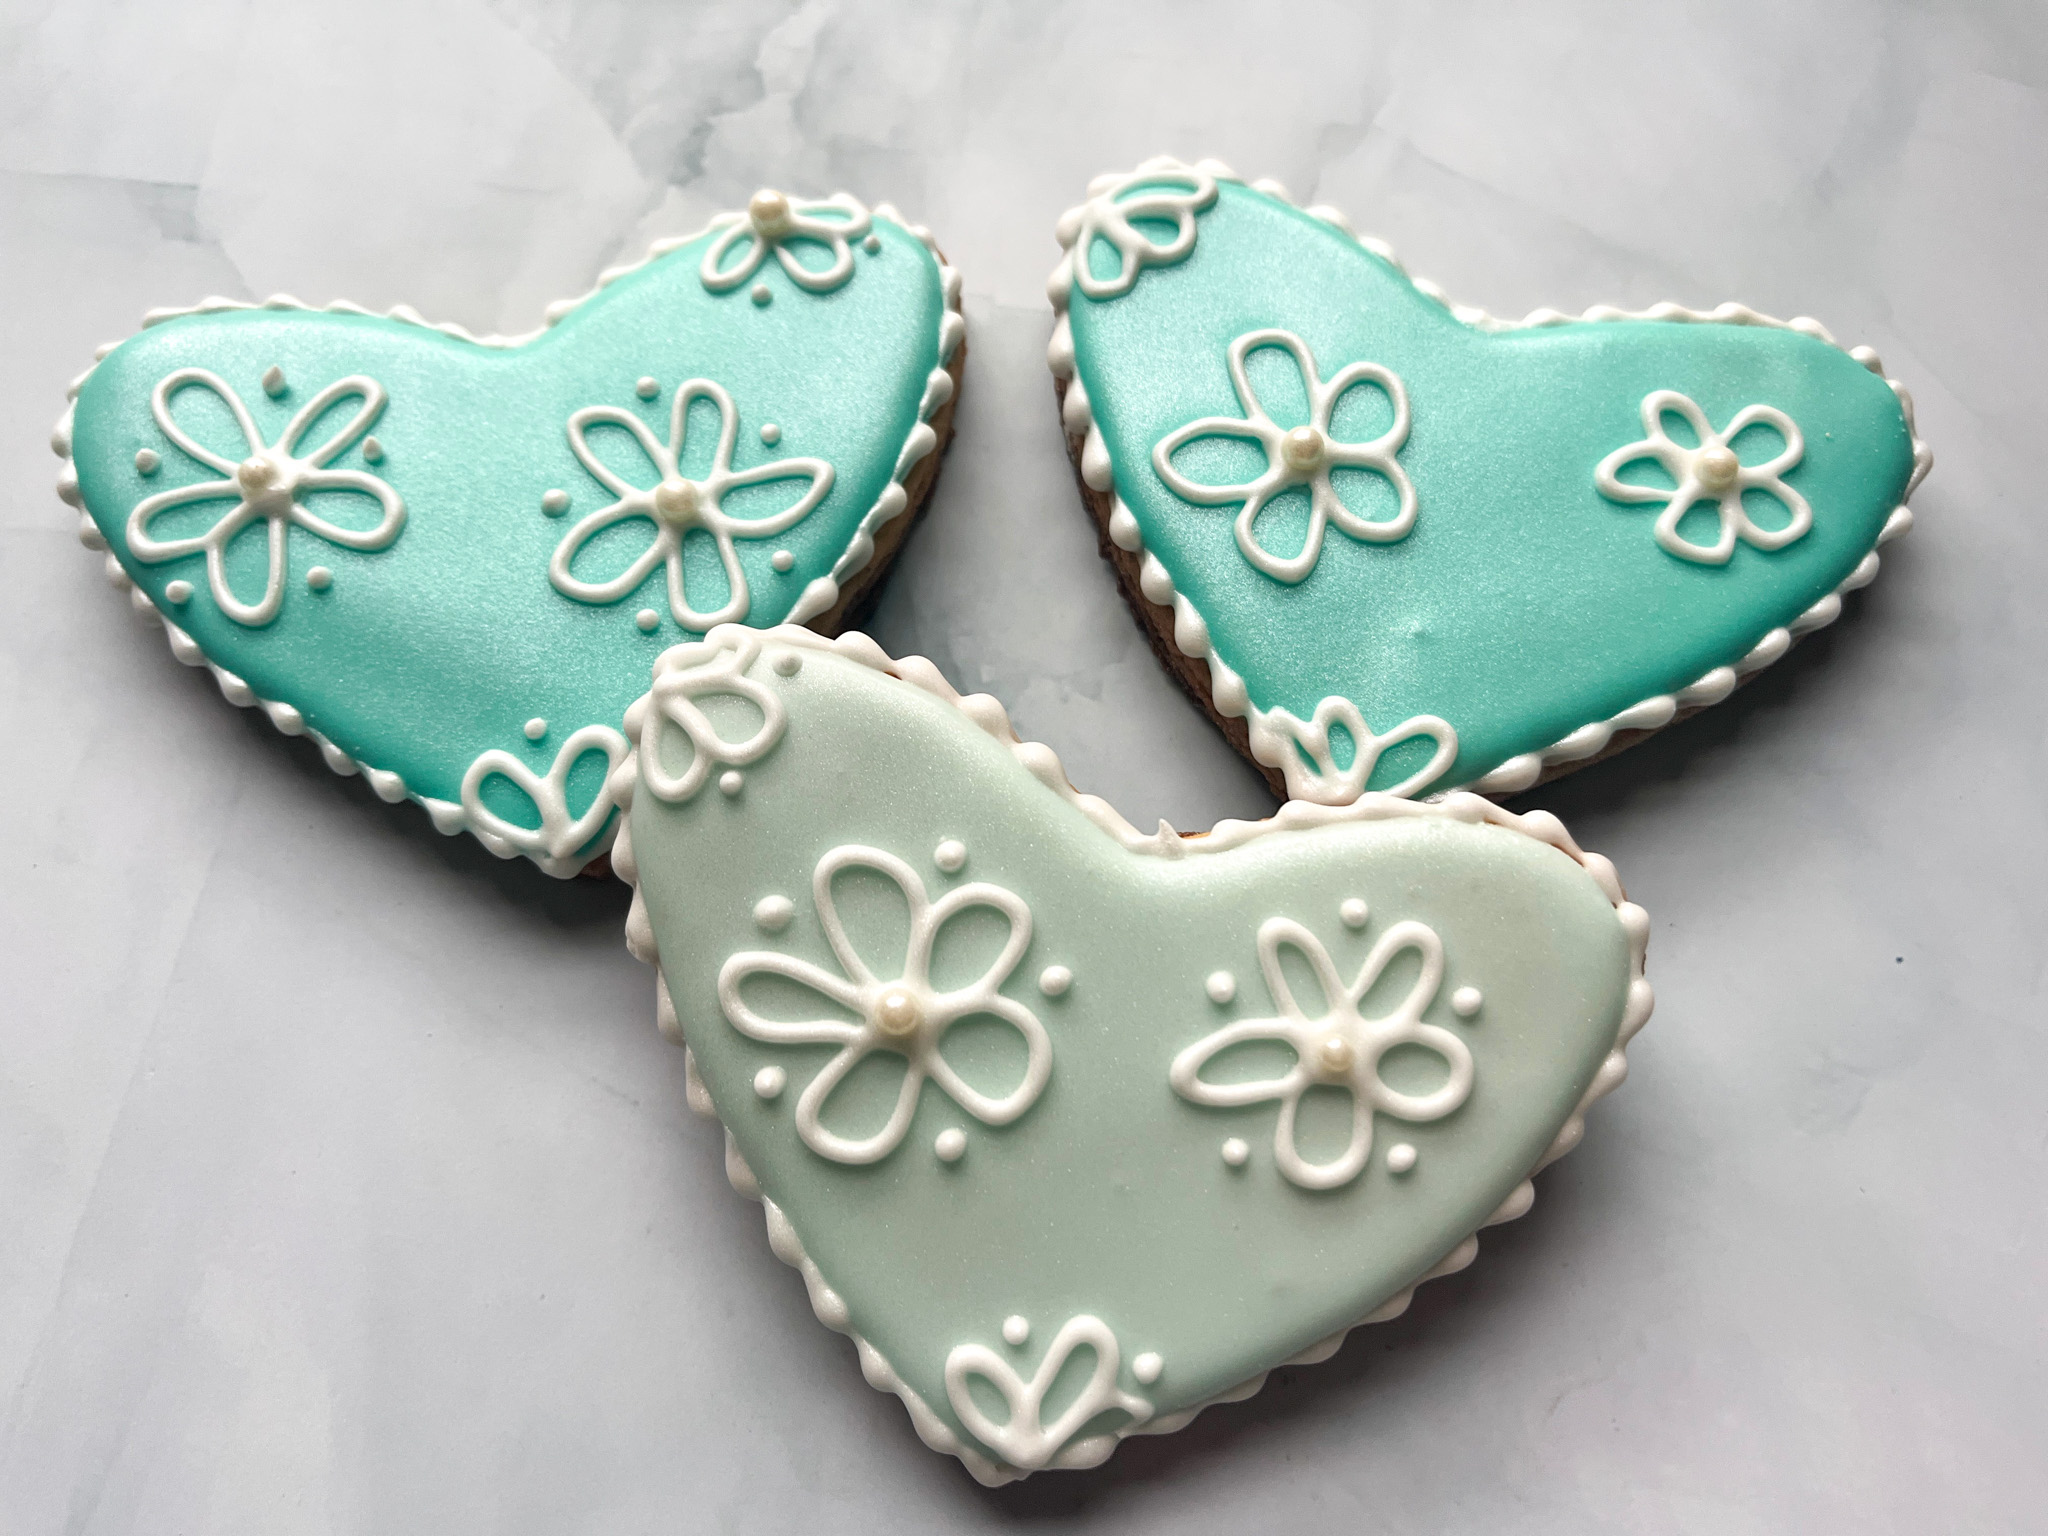
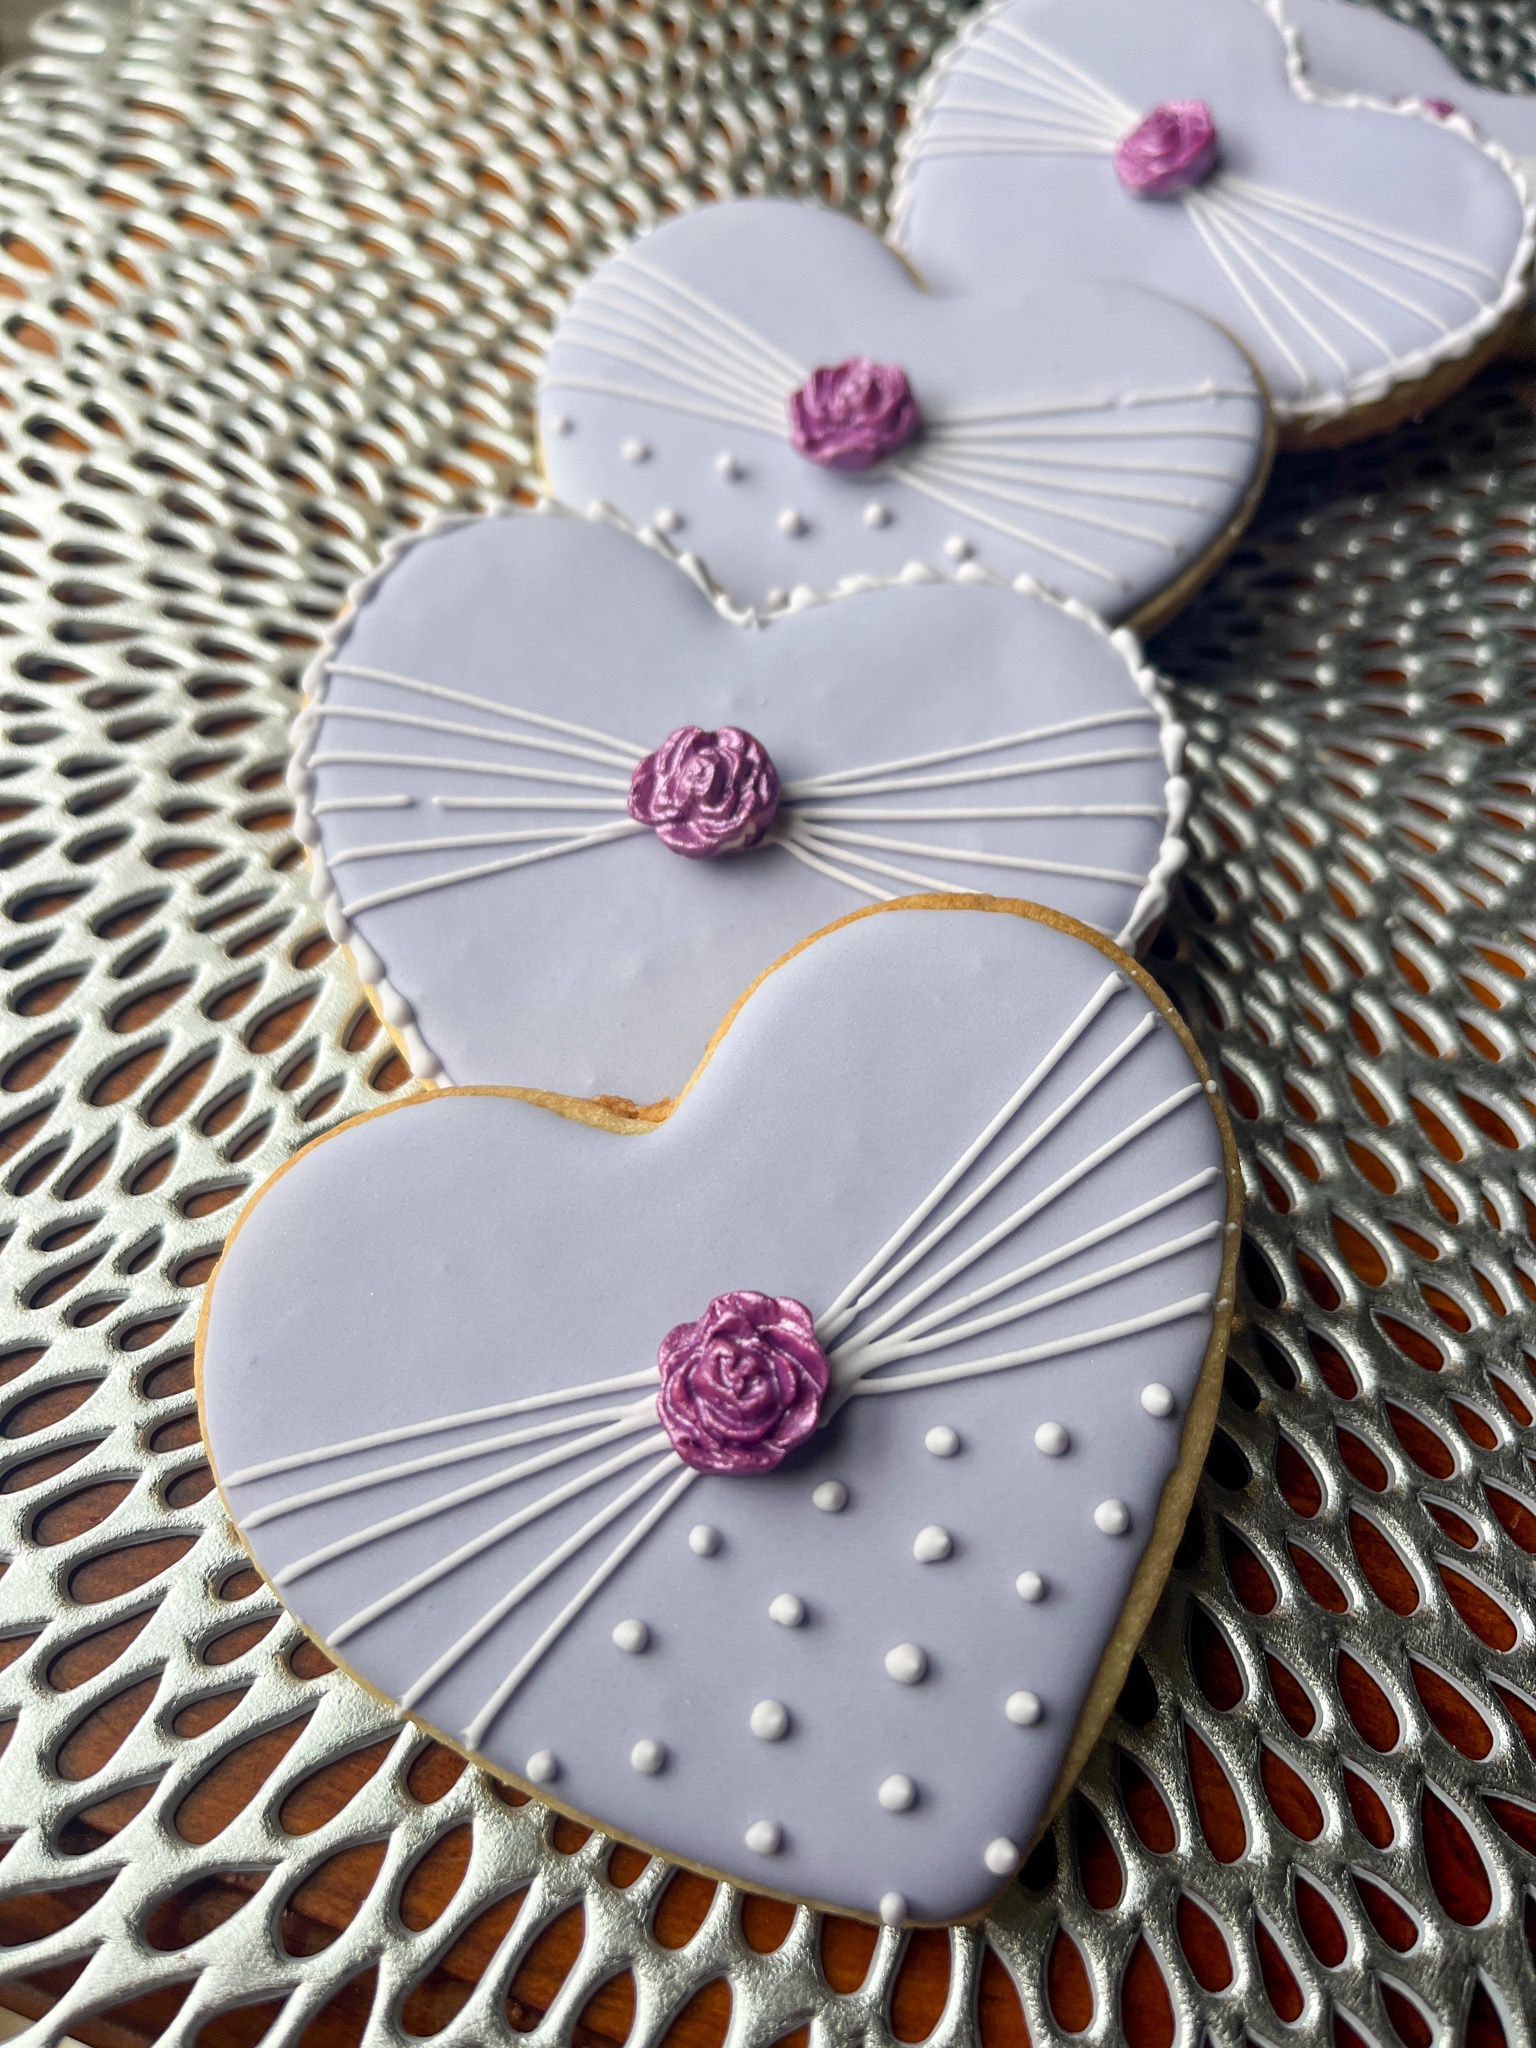
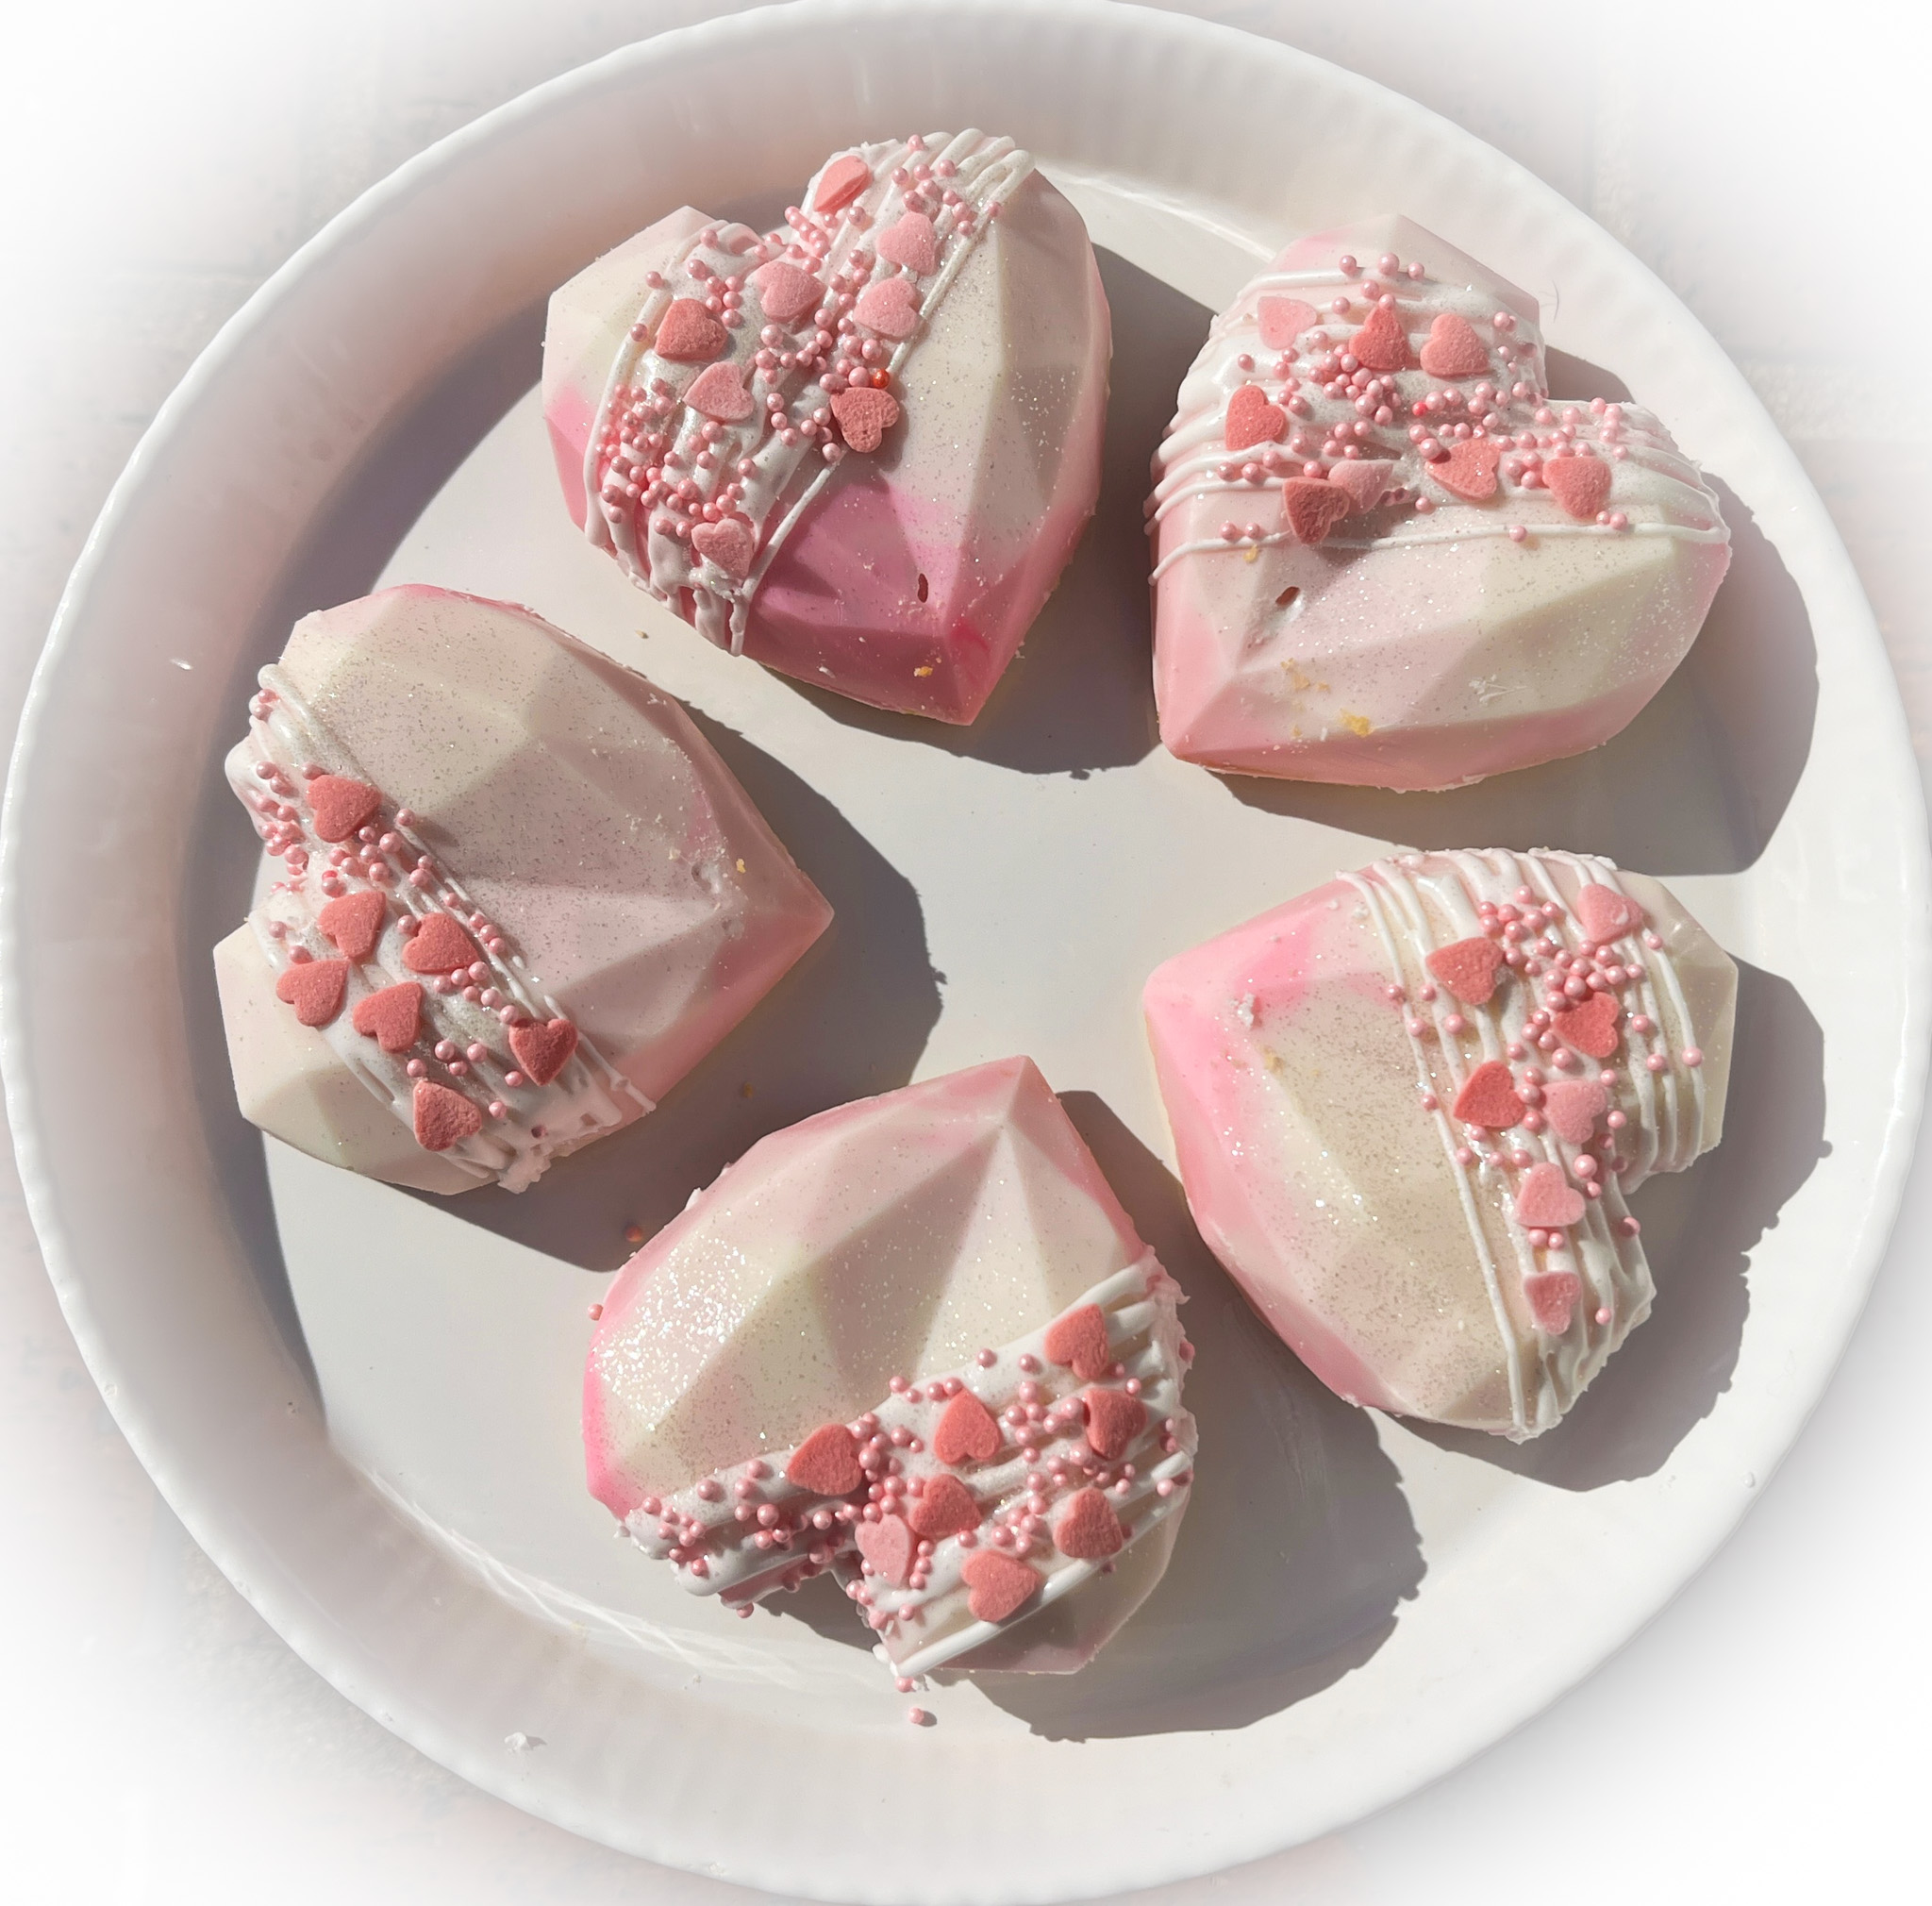
A little labor of love, these cookies are adorable and will brighten up any special occasion. You’ll need a special silicone mold, but other than that, it is all pretty straightforward.
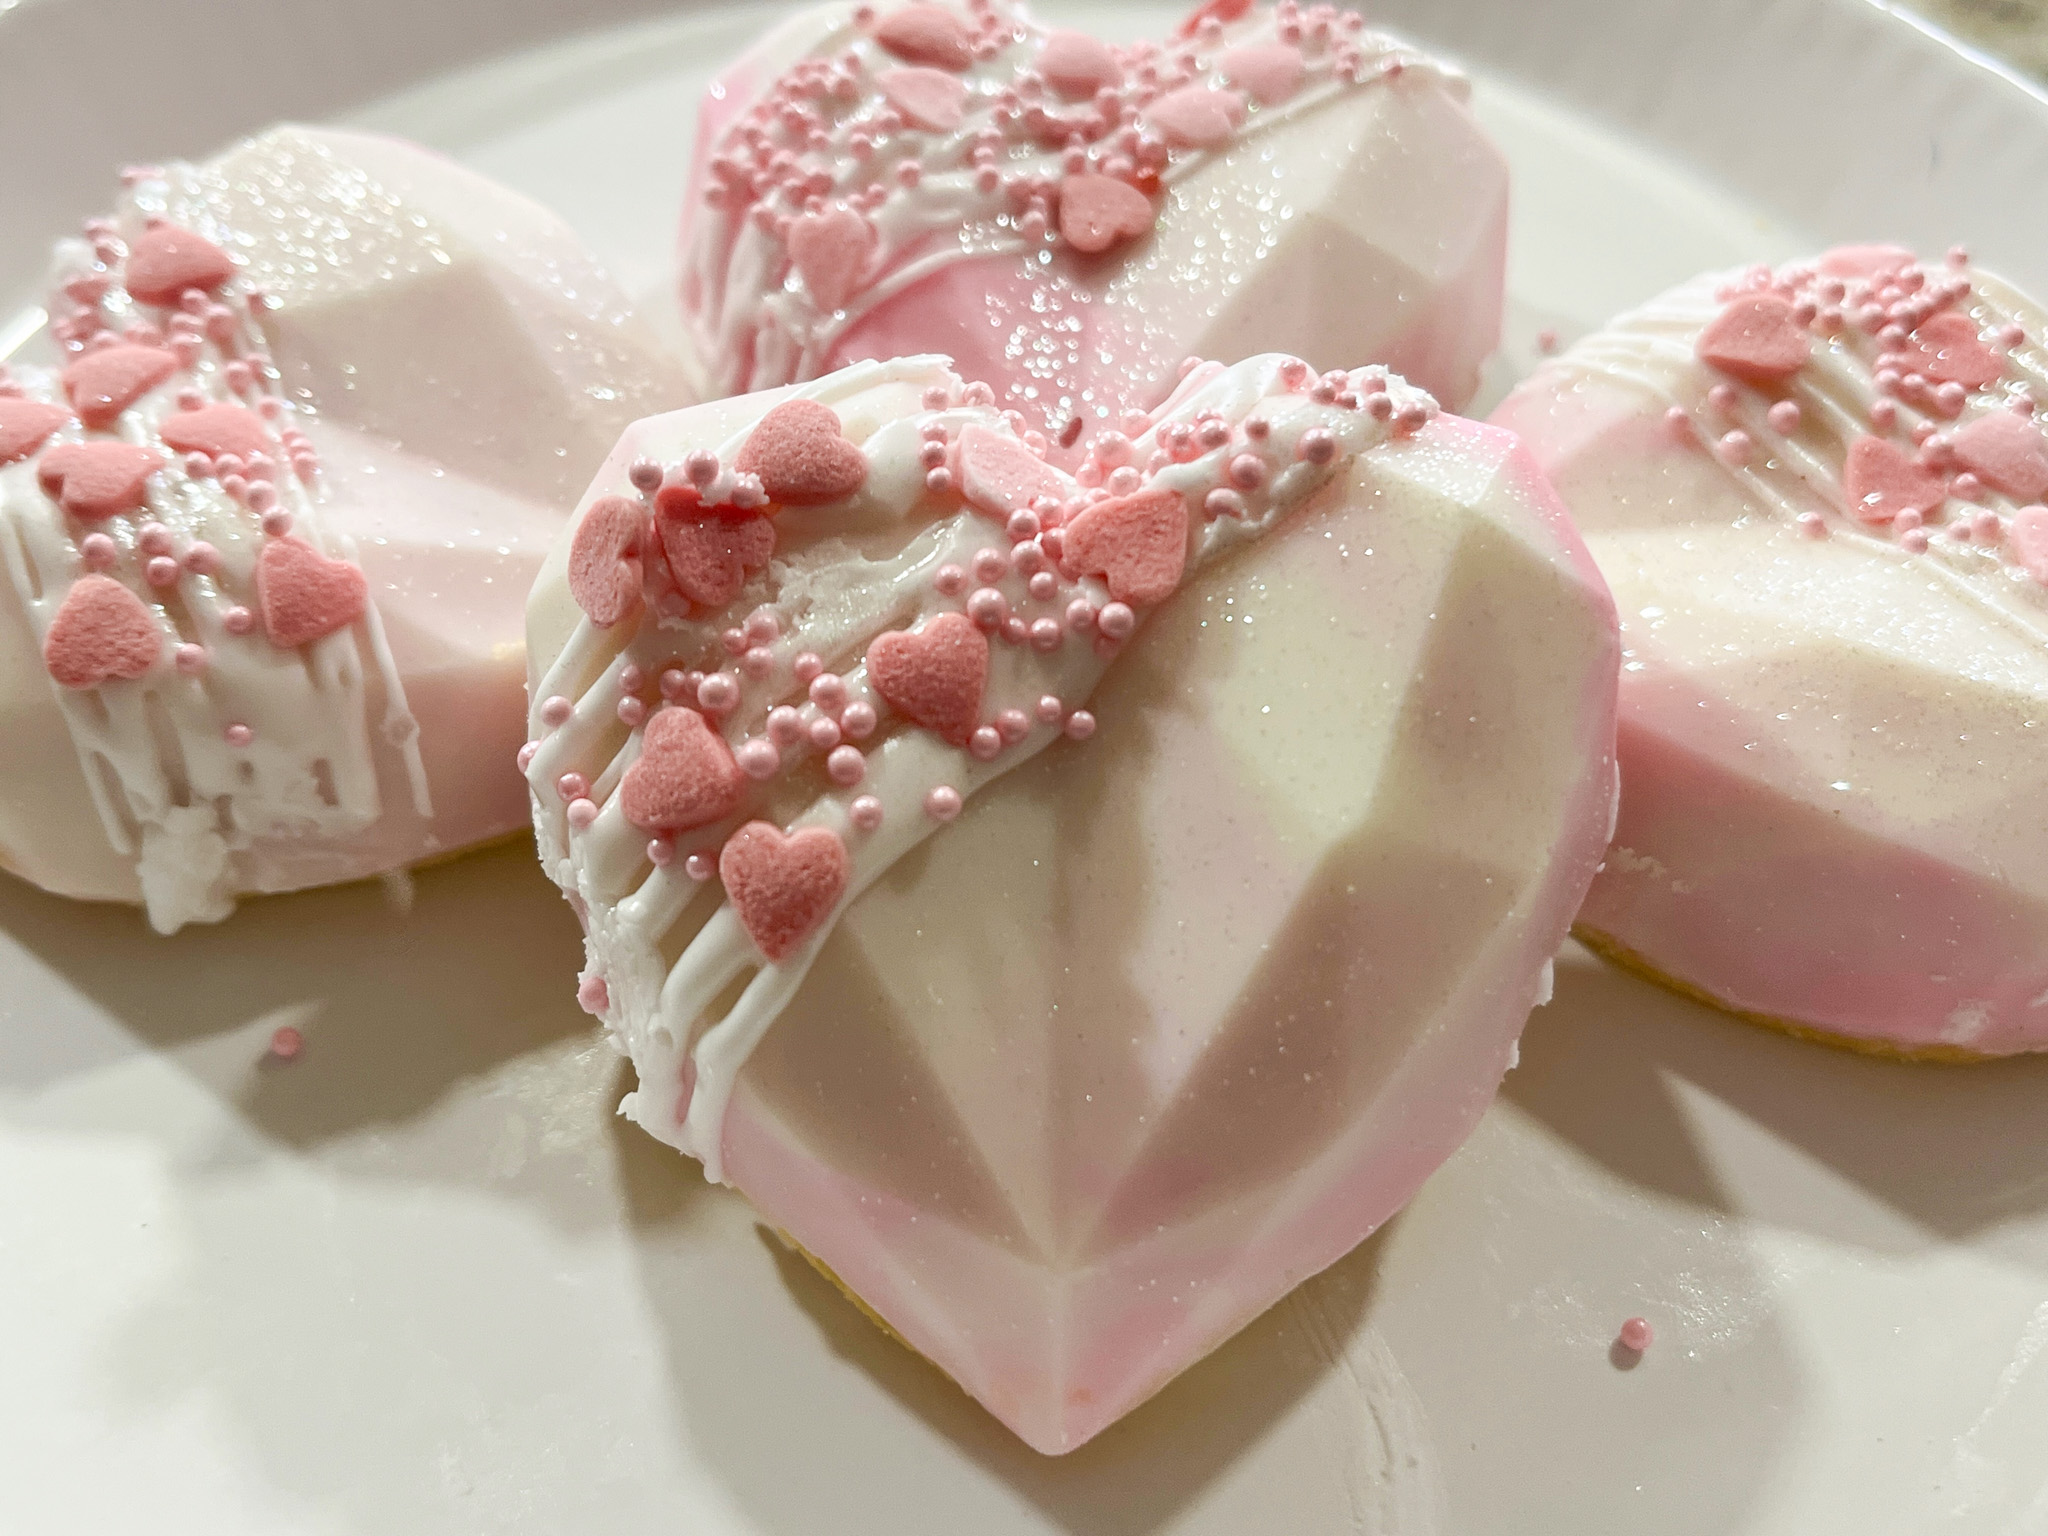
GEOMETRIC HEART BUTTER COOKIES
(from The Bewitching Kitchen, adapted from several sources)
240g unsalted butter, at room temperature
140g powdered sugar
2 egg yolks
2 tsp vanilla extract
260g flour
20g cornstarch
1/2 tsp salt
Candy melts or compound chocolate of your choice, white and pink
sprinkles for decoration
Diamond dust pump
Mix the flour with cornstarch and salt in a medium bowl. Reserve. Add the butter to the bowl of a KitchenAid type mixer, and using the paddle attachment, mix it for a couple of minutes until soft and creamy. Add the powdered sugar, mix on low, then increase the speed to medium and mix for a couple more minutes. Add the egg yolks and vanilla. Mix until all is incorporated, then add the reserved flour mixture.
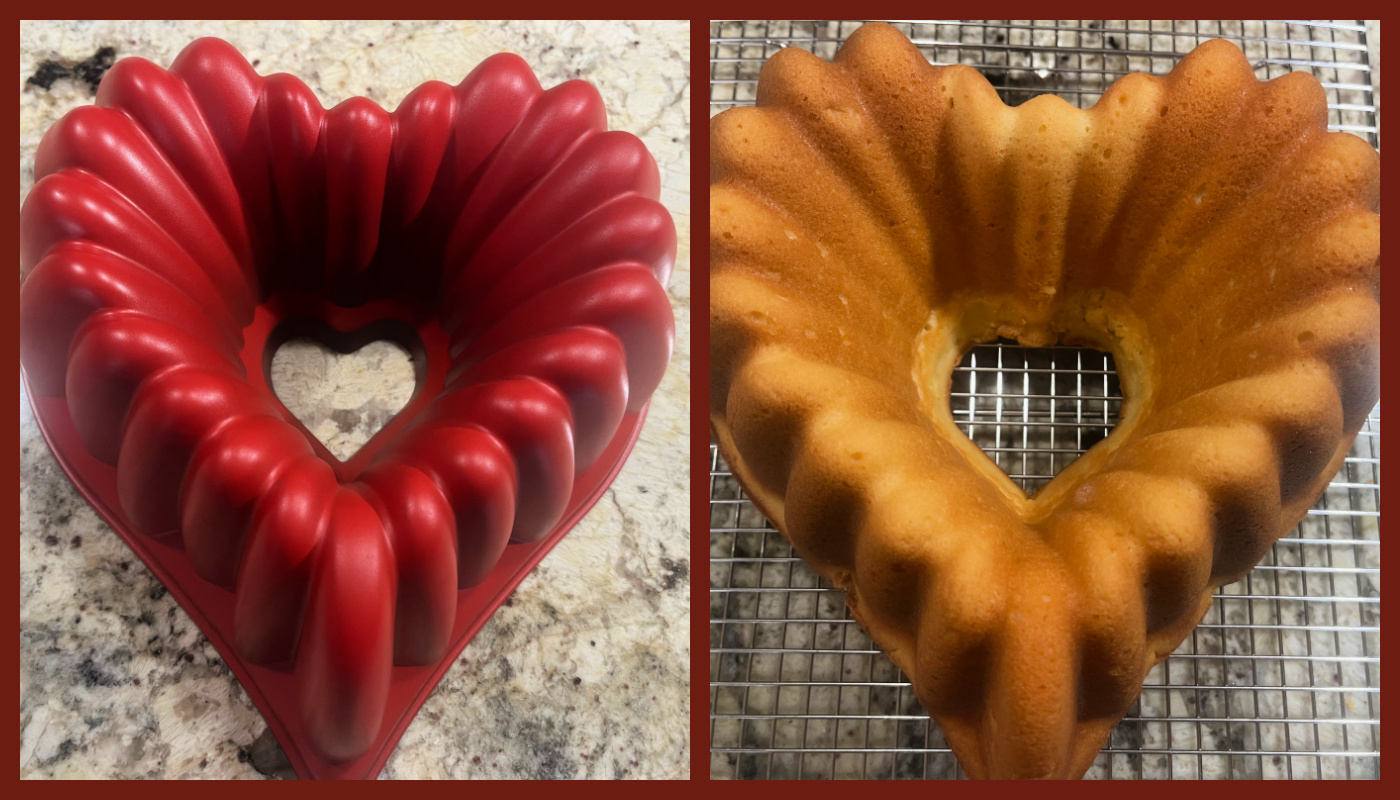
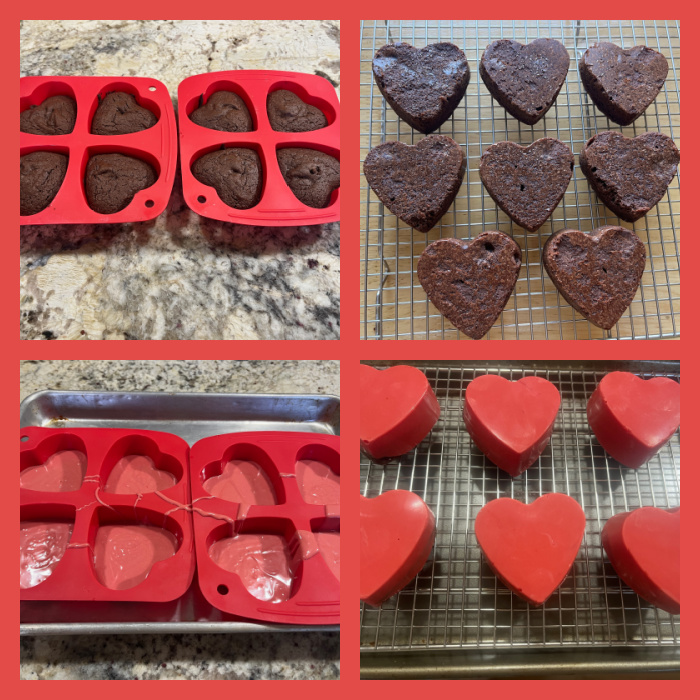
Mix until all flour is incorporated and there are no dried bits anywhere. Fill the cavities of the mold with the cookie dough, 3/4 to the top, making sure to allow a little space for expansion. Ideally, you want the cookie to bake flush with the top of the mold.
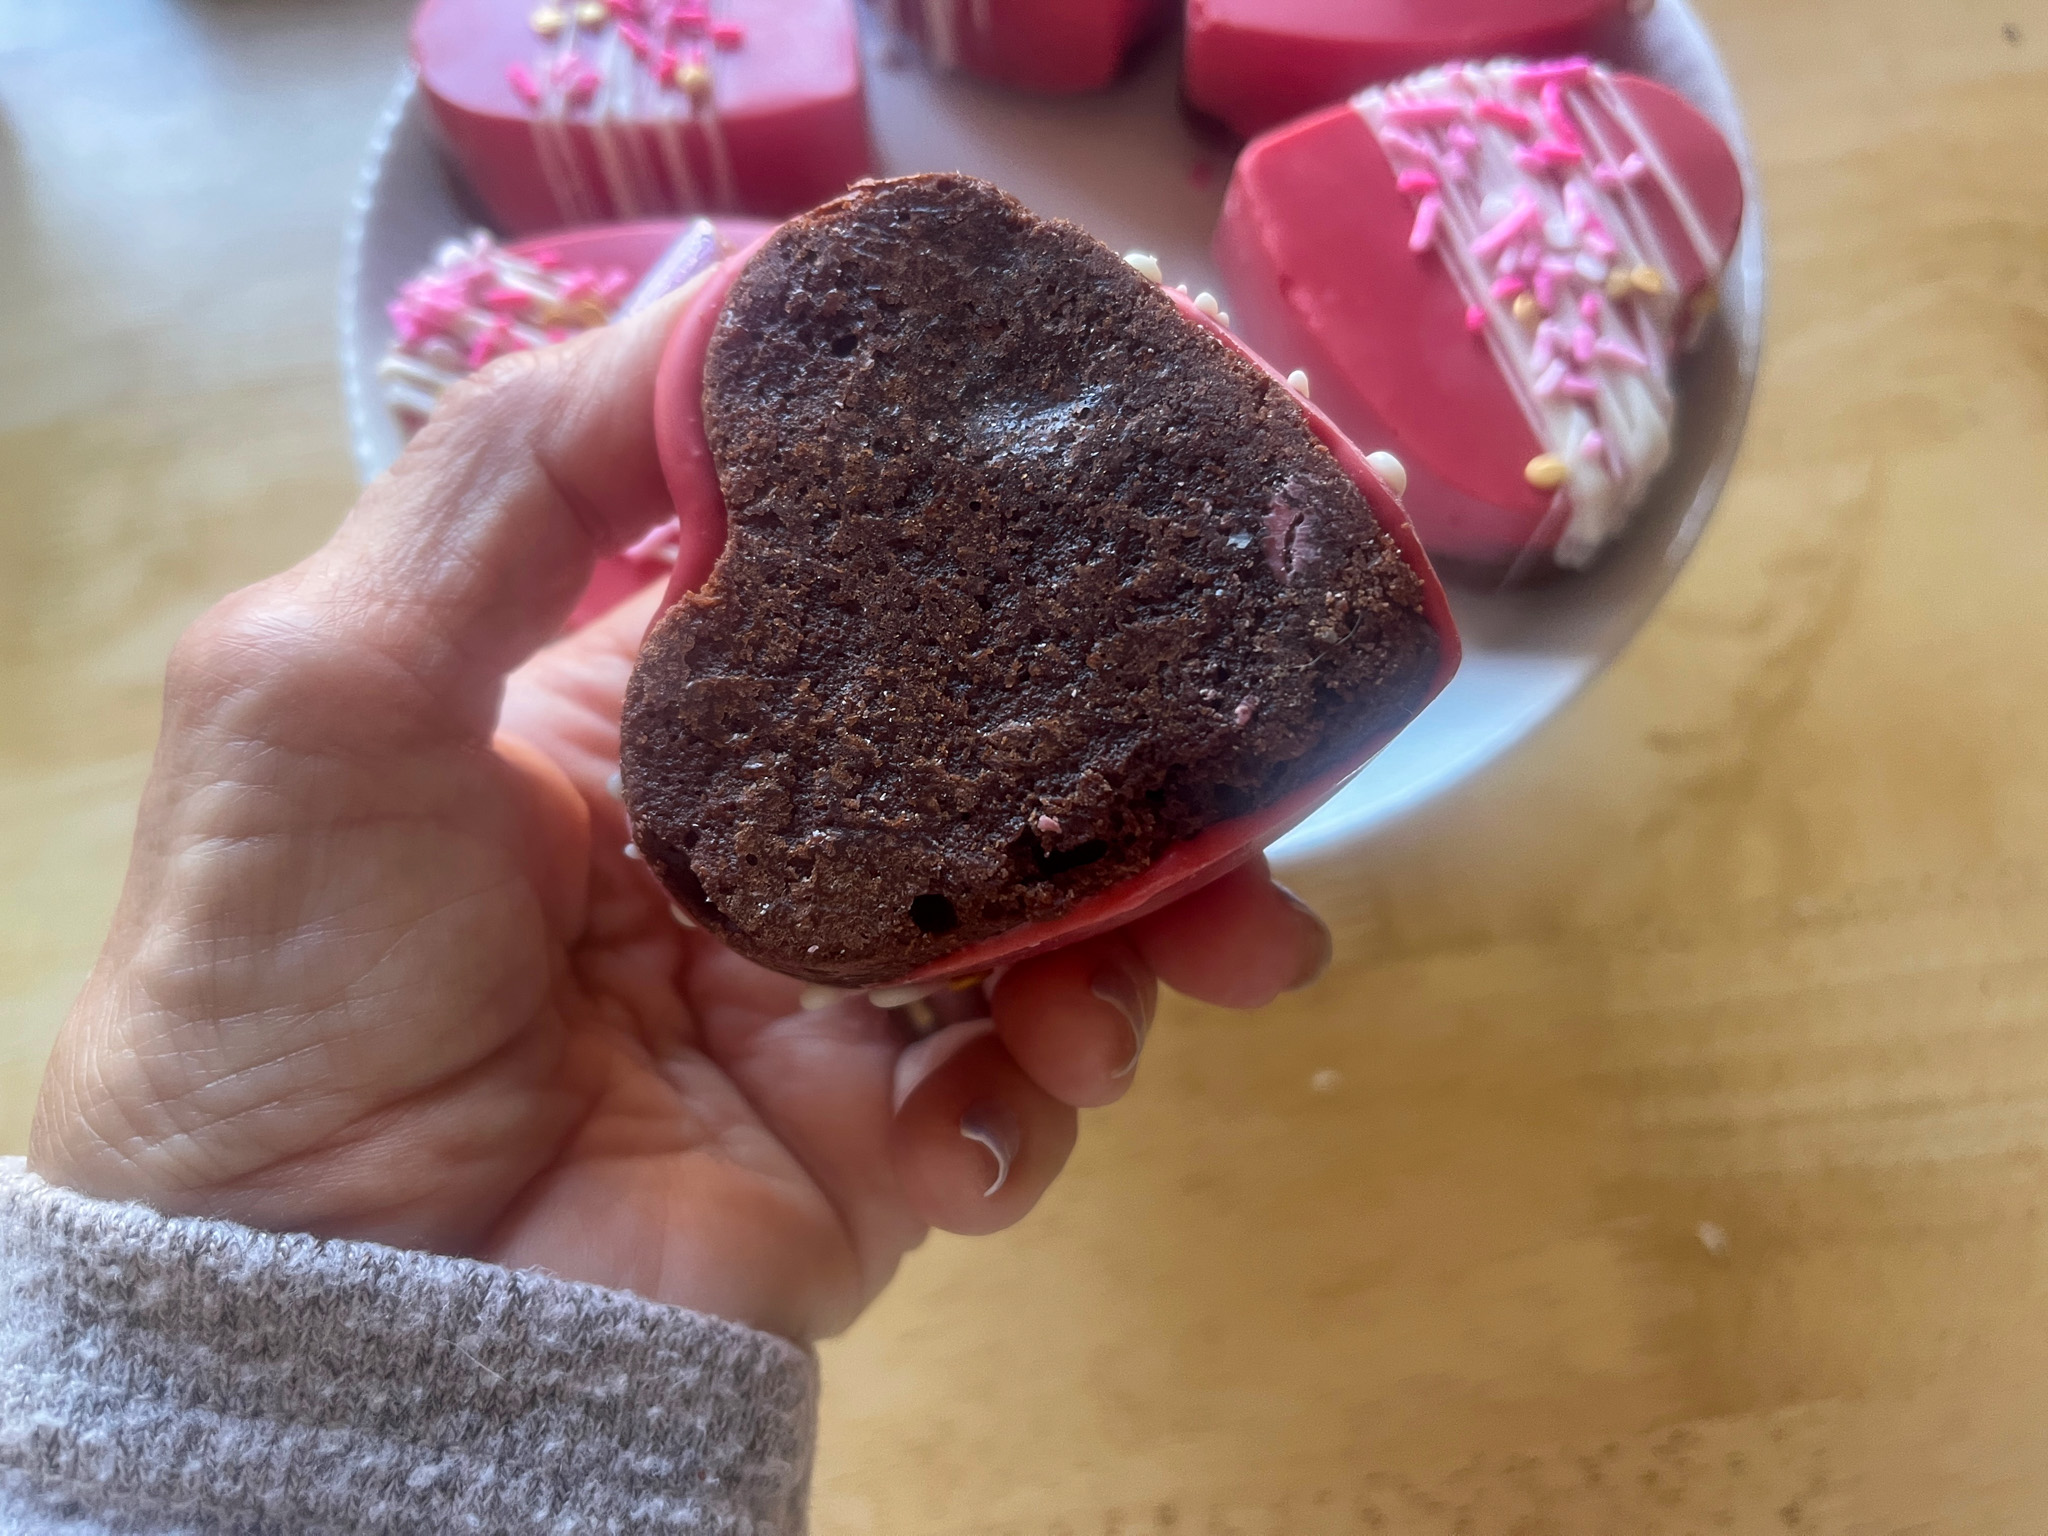
Bake at 325F until the cookies are set in the center, that might take about 20 minutes. Let the cookies cool completely over a rack. If you want to be extra safe, place the cool mold in the freezer for 5 to 10 minutes before un-molding.
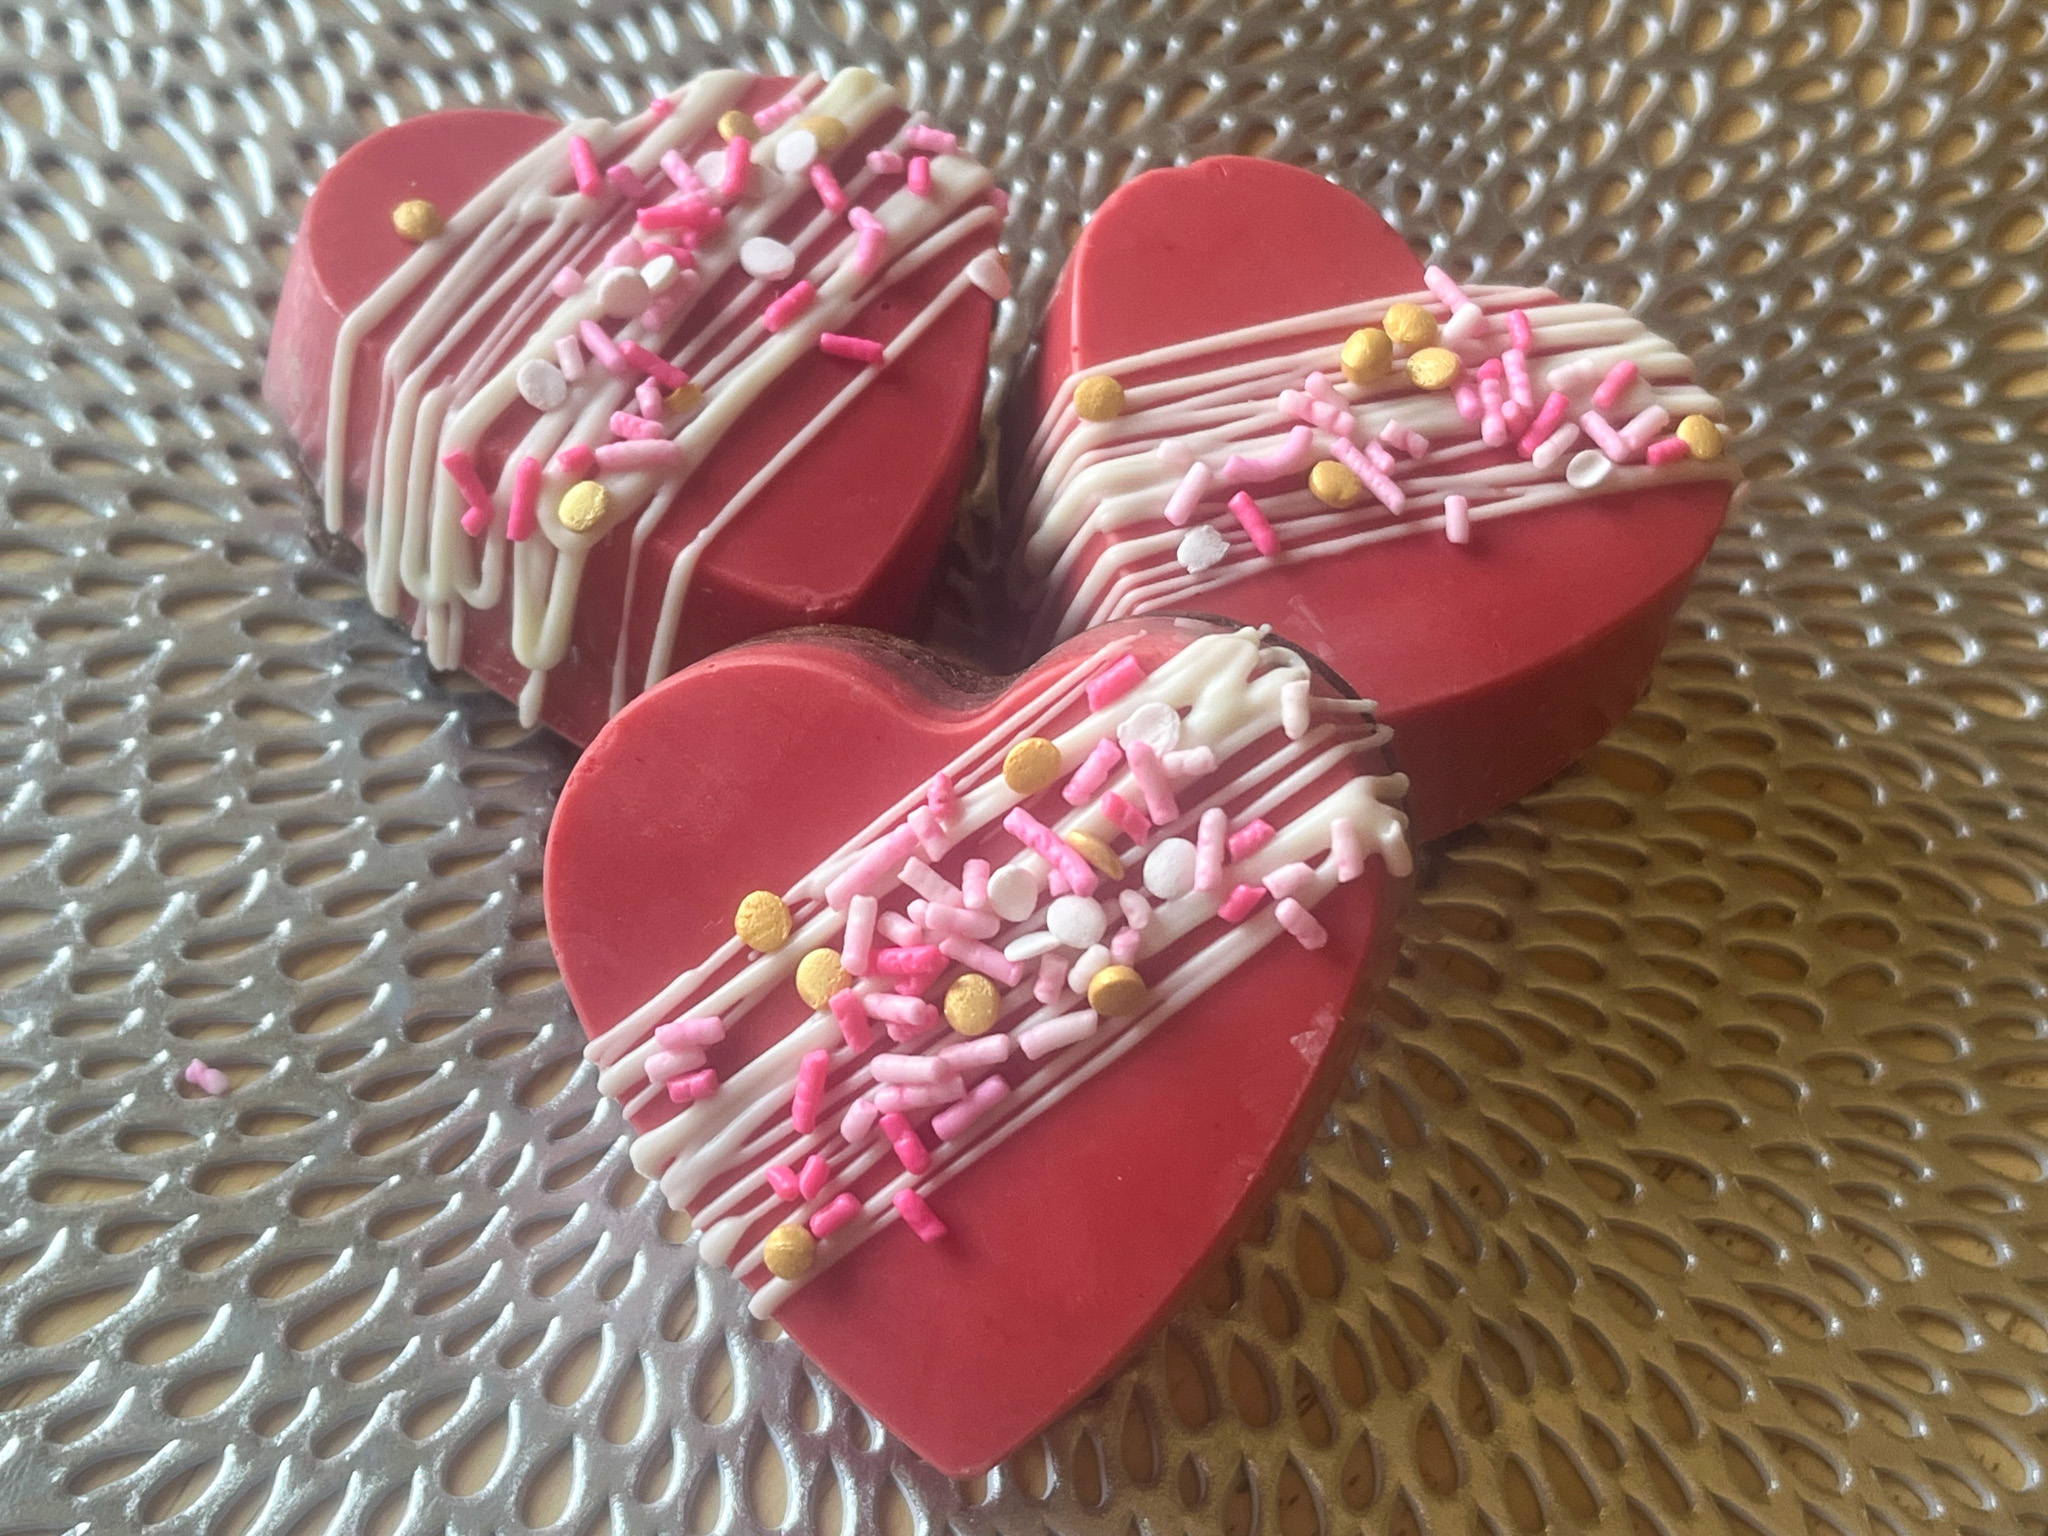
Remove the cookies, wash the molds and use them to melt compound chocolate and do the final coating and decoration.
ENJOY!
to print the recipe, click here
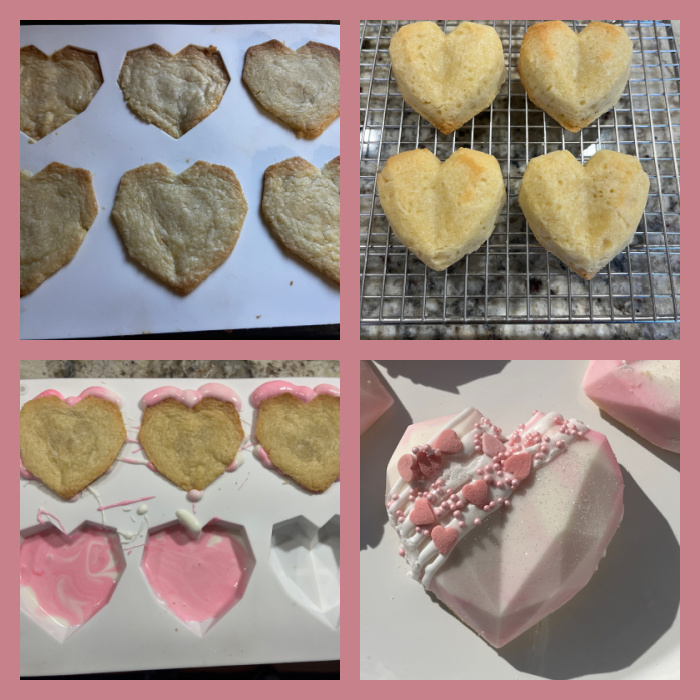
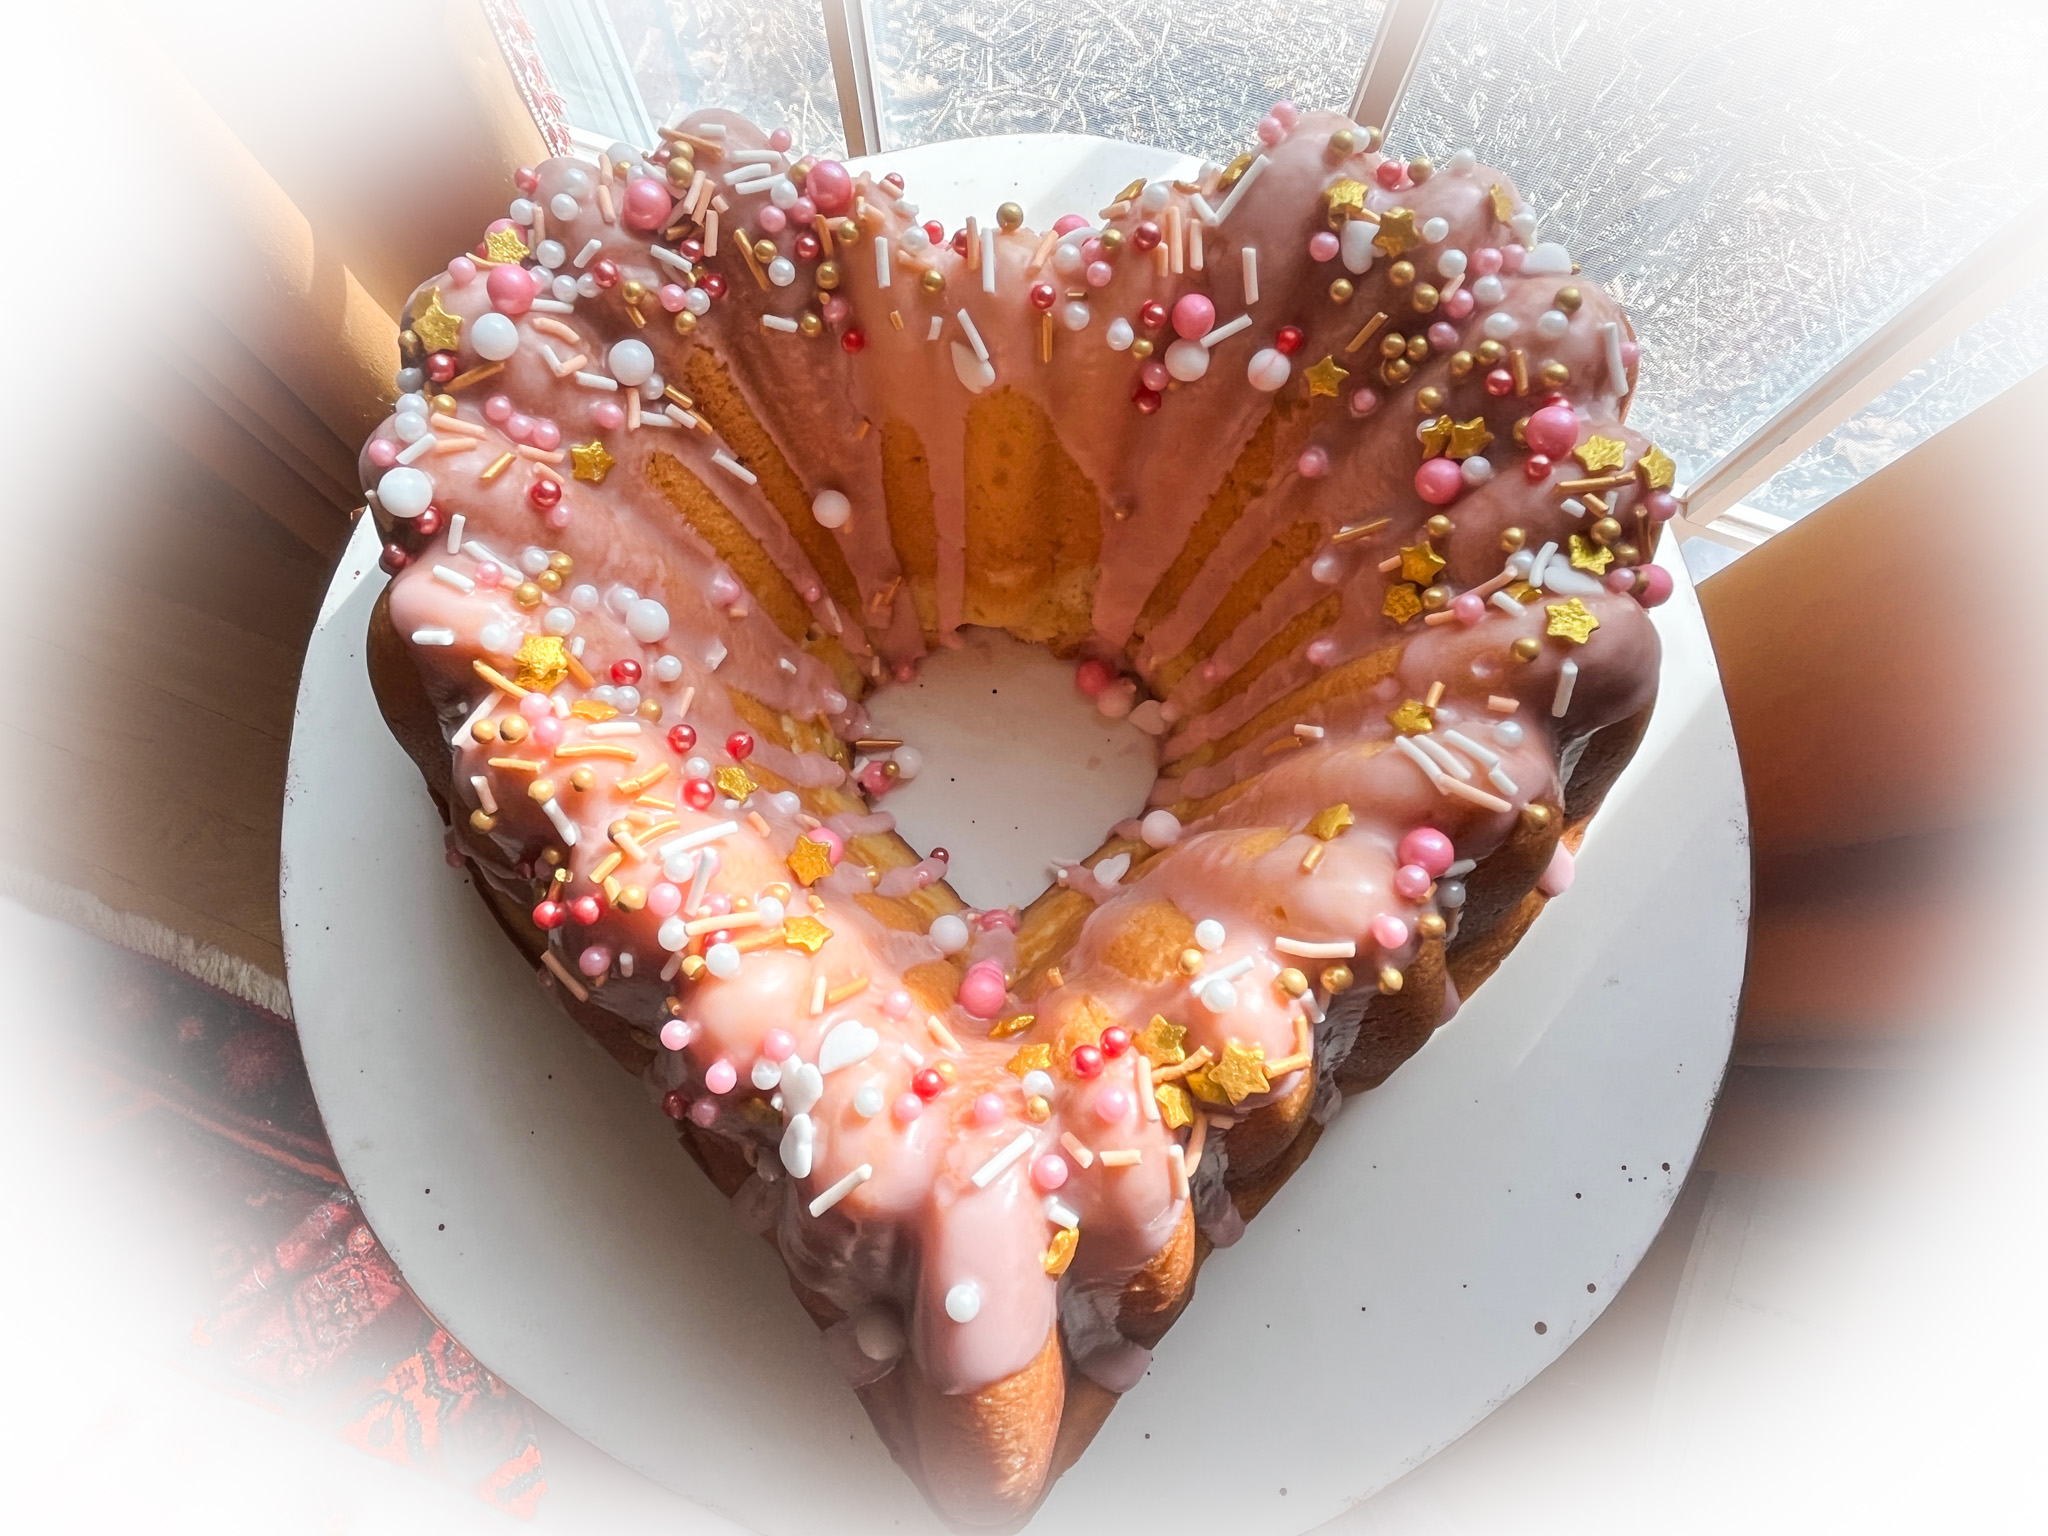
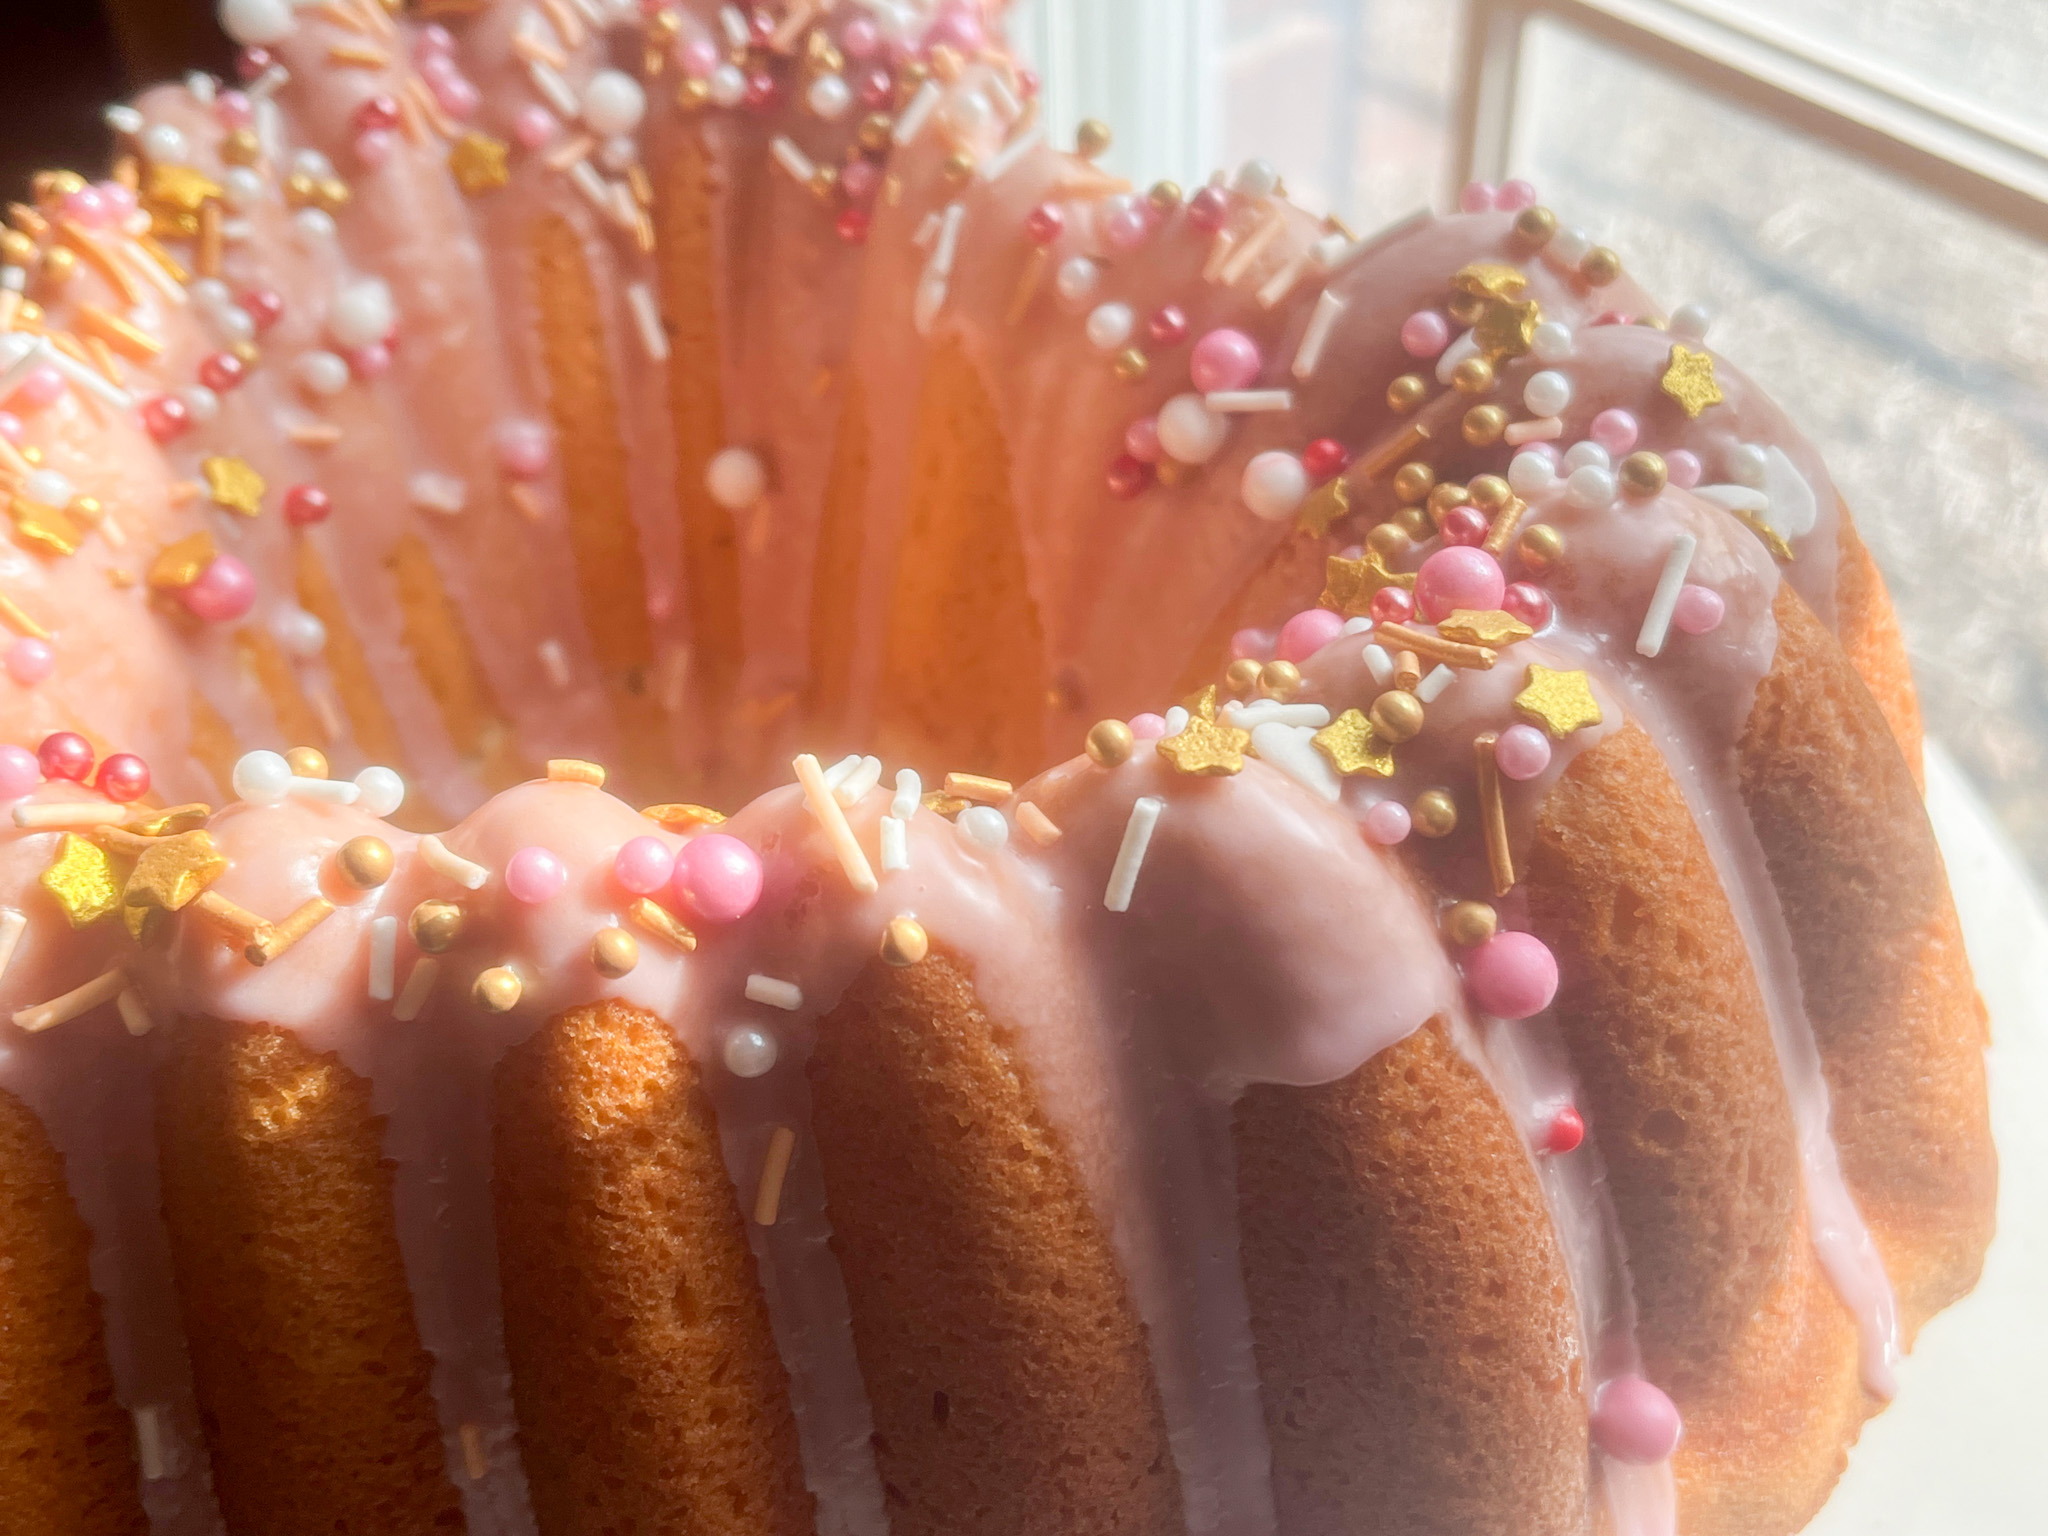
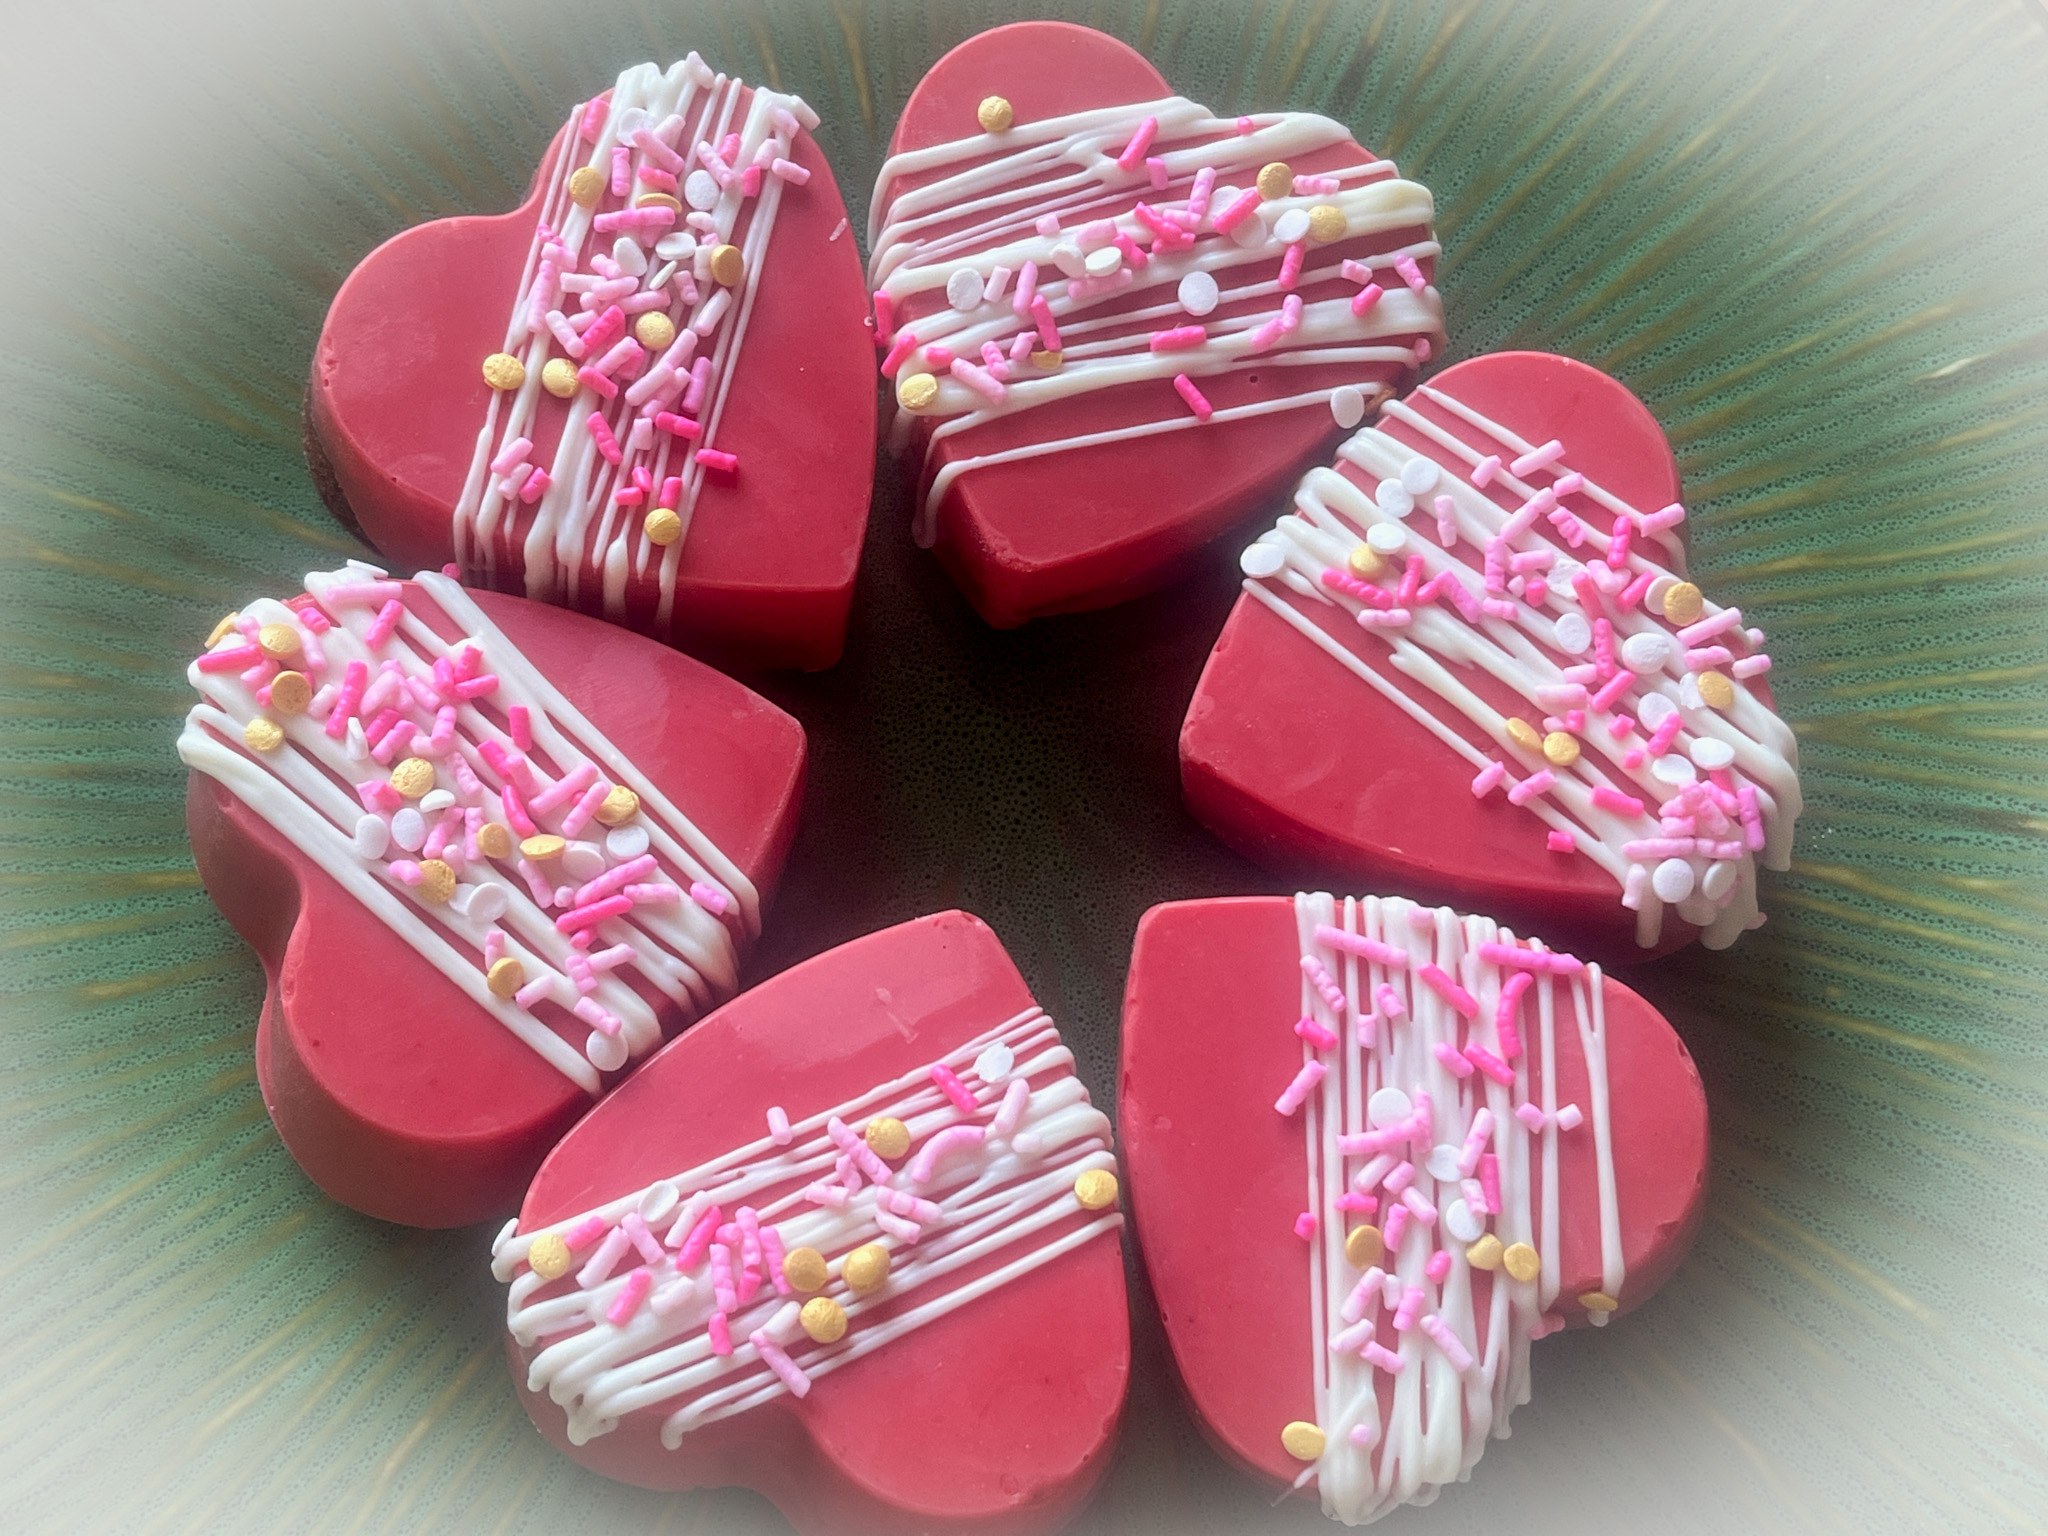
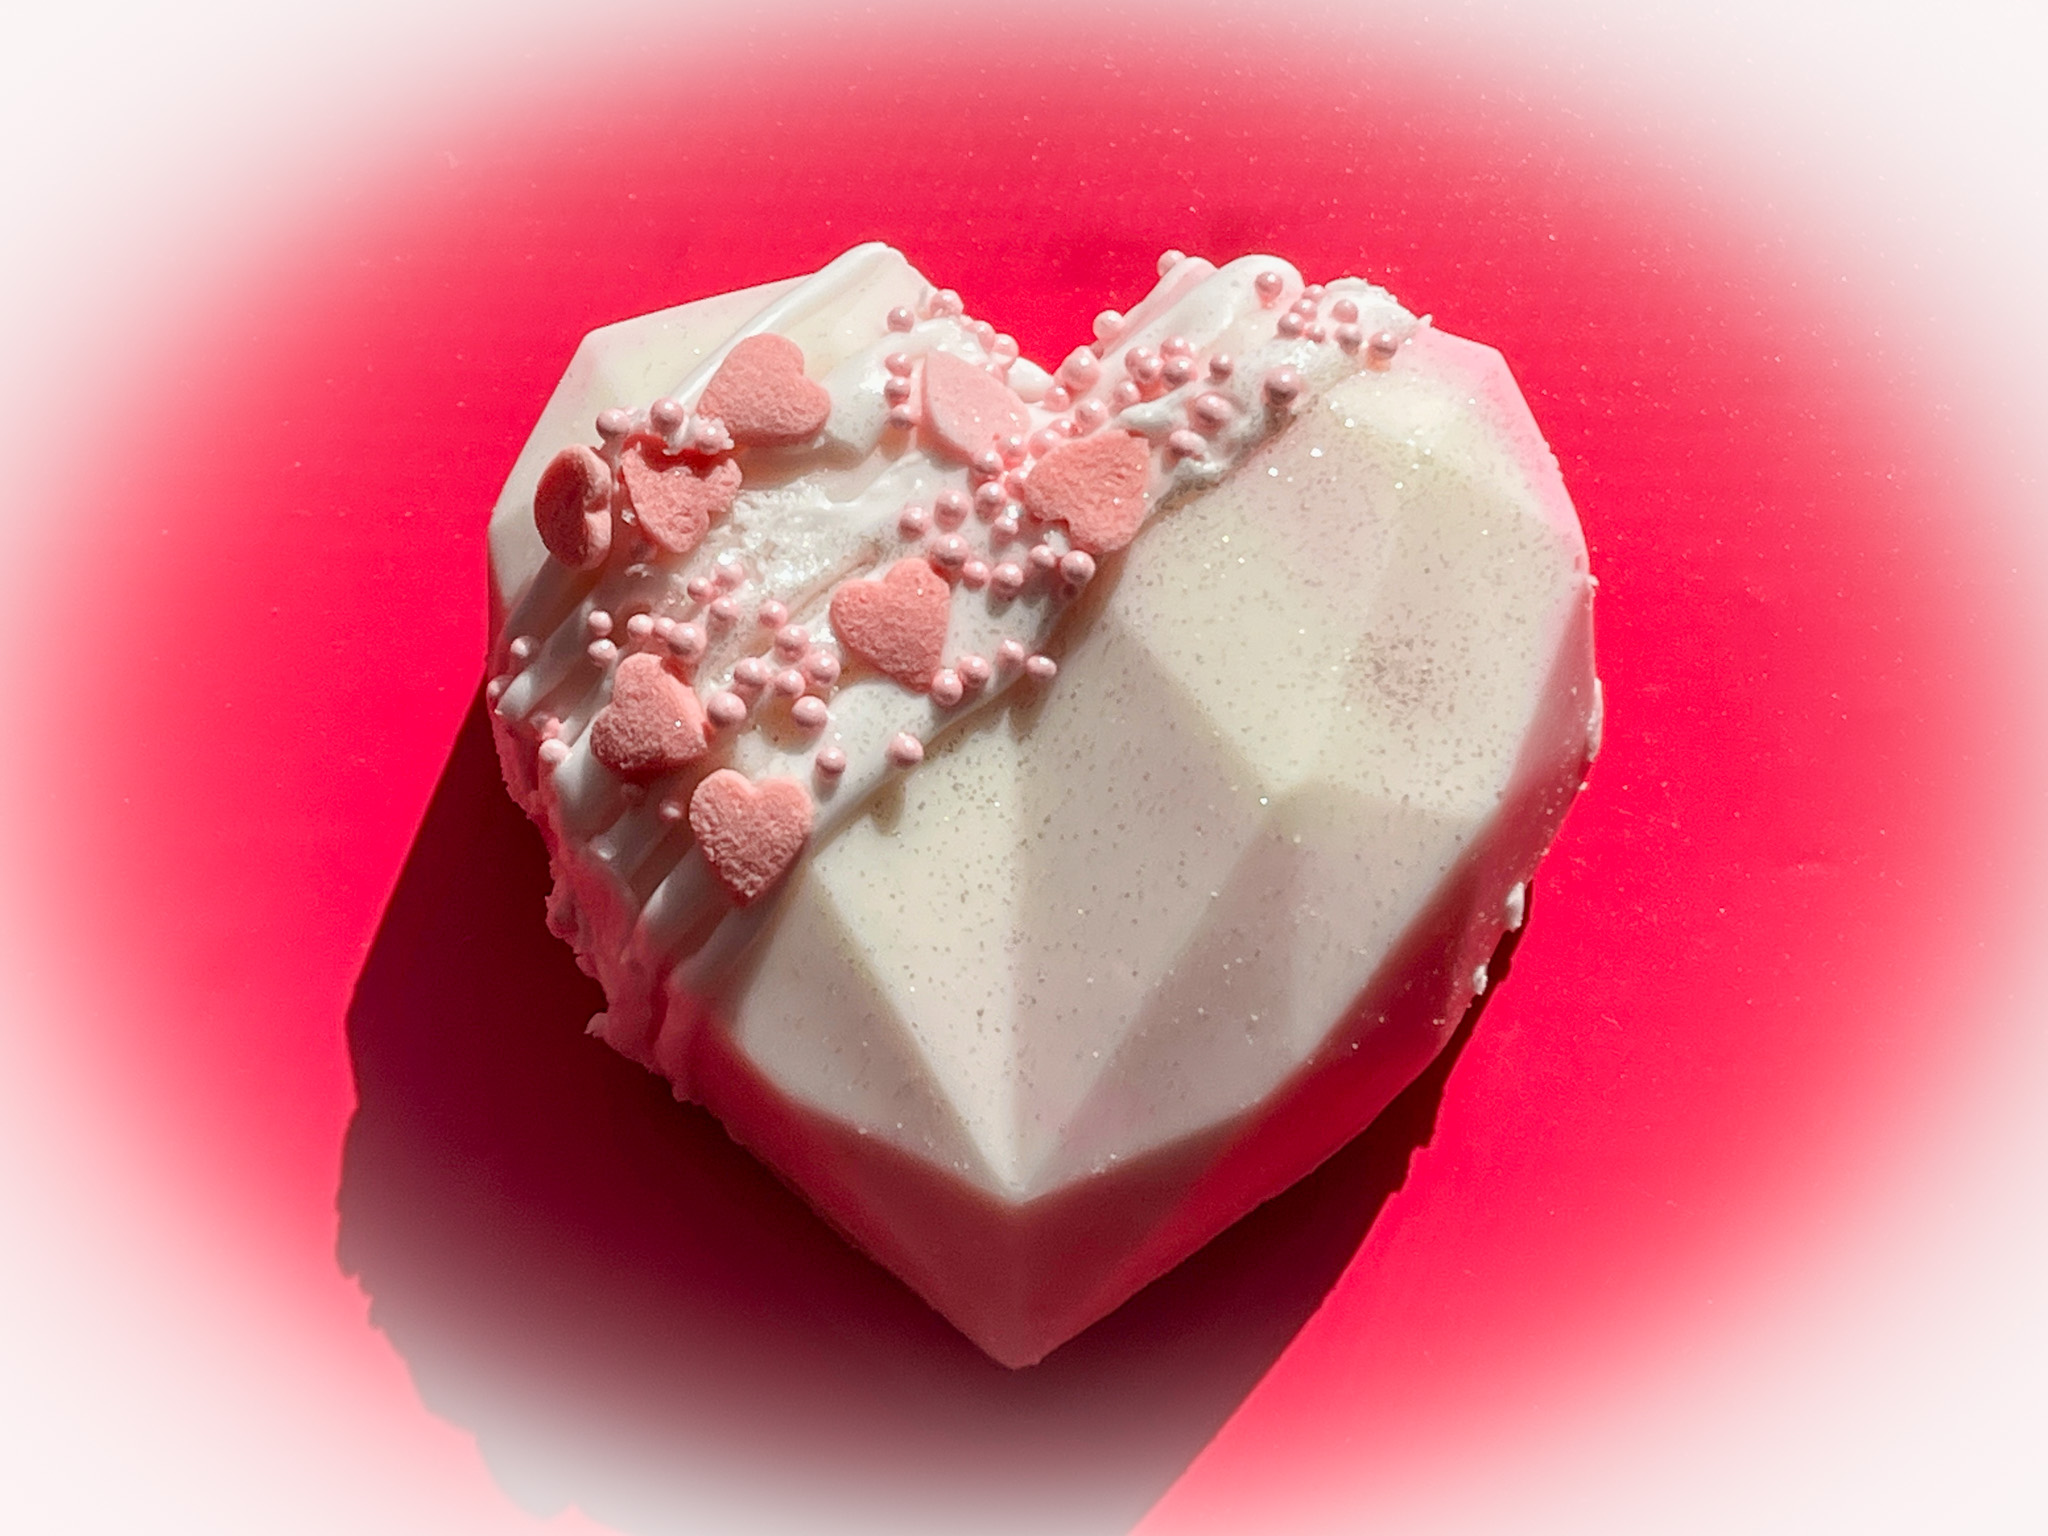
Comments: To bake the cookies, you will need a silicone pan such as this one. The cookies will take longer to bake in the mold than they would shaped and baked on a baking sheet. Also, you need to let them cool completely before attempting to un-mold. Wash the pan, dry it well, and use it to pour a base of melted compound chocolate (I used white and pink, marbled together). Place the cookies gently back over the melted chocolate and freeze the whole tray for 15 minutes. Additional melted chocolate and sprinkles make the cookies even more festive, but of course, that step is optional.
.
These cookies would be perfect for an engagement party, a wedding anniversary, a teenage girl Birthday, or simply to offer to someone you really love!
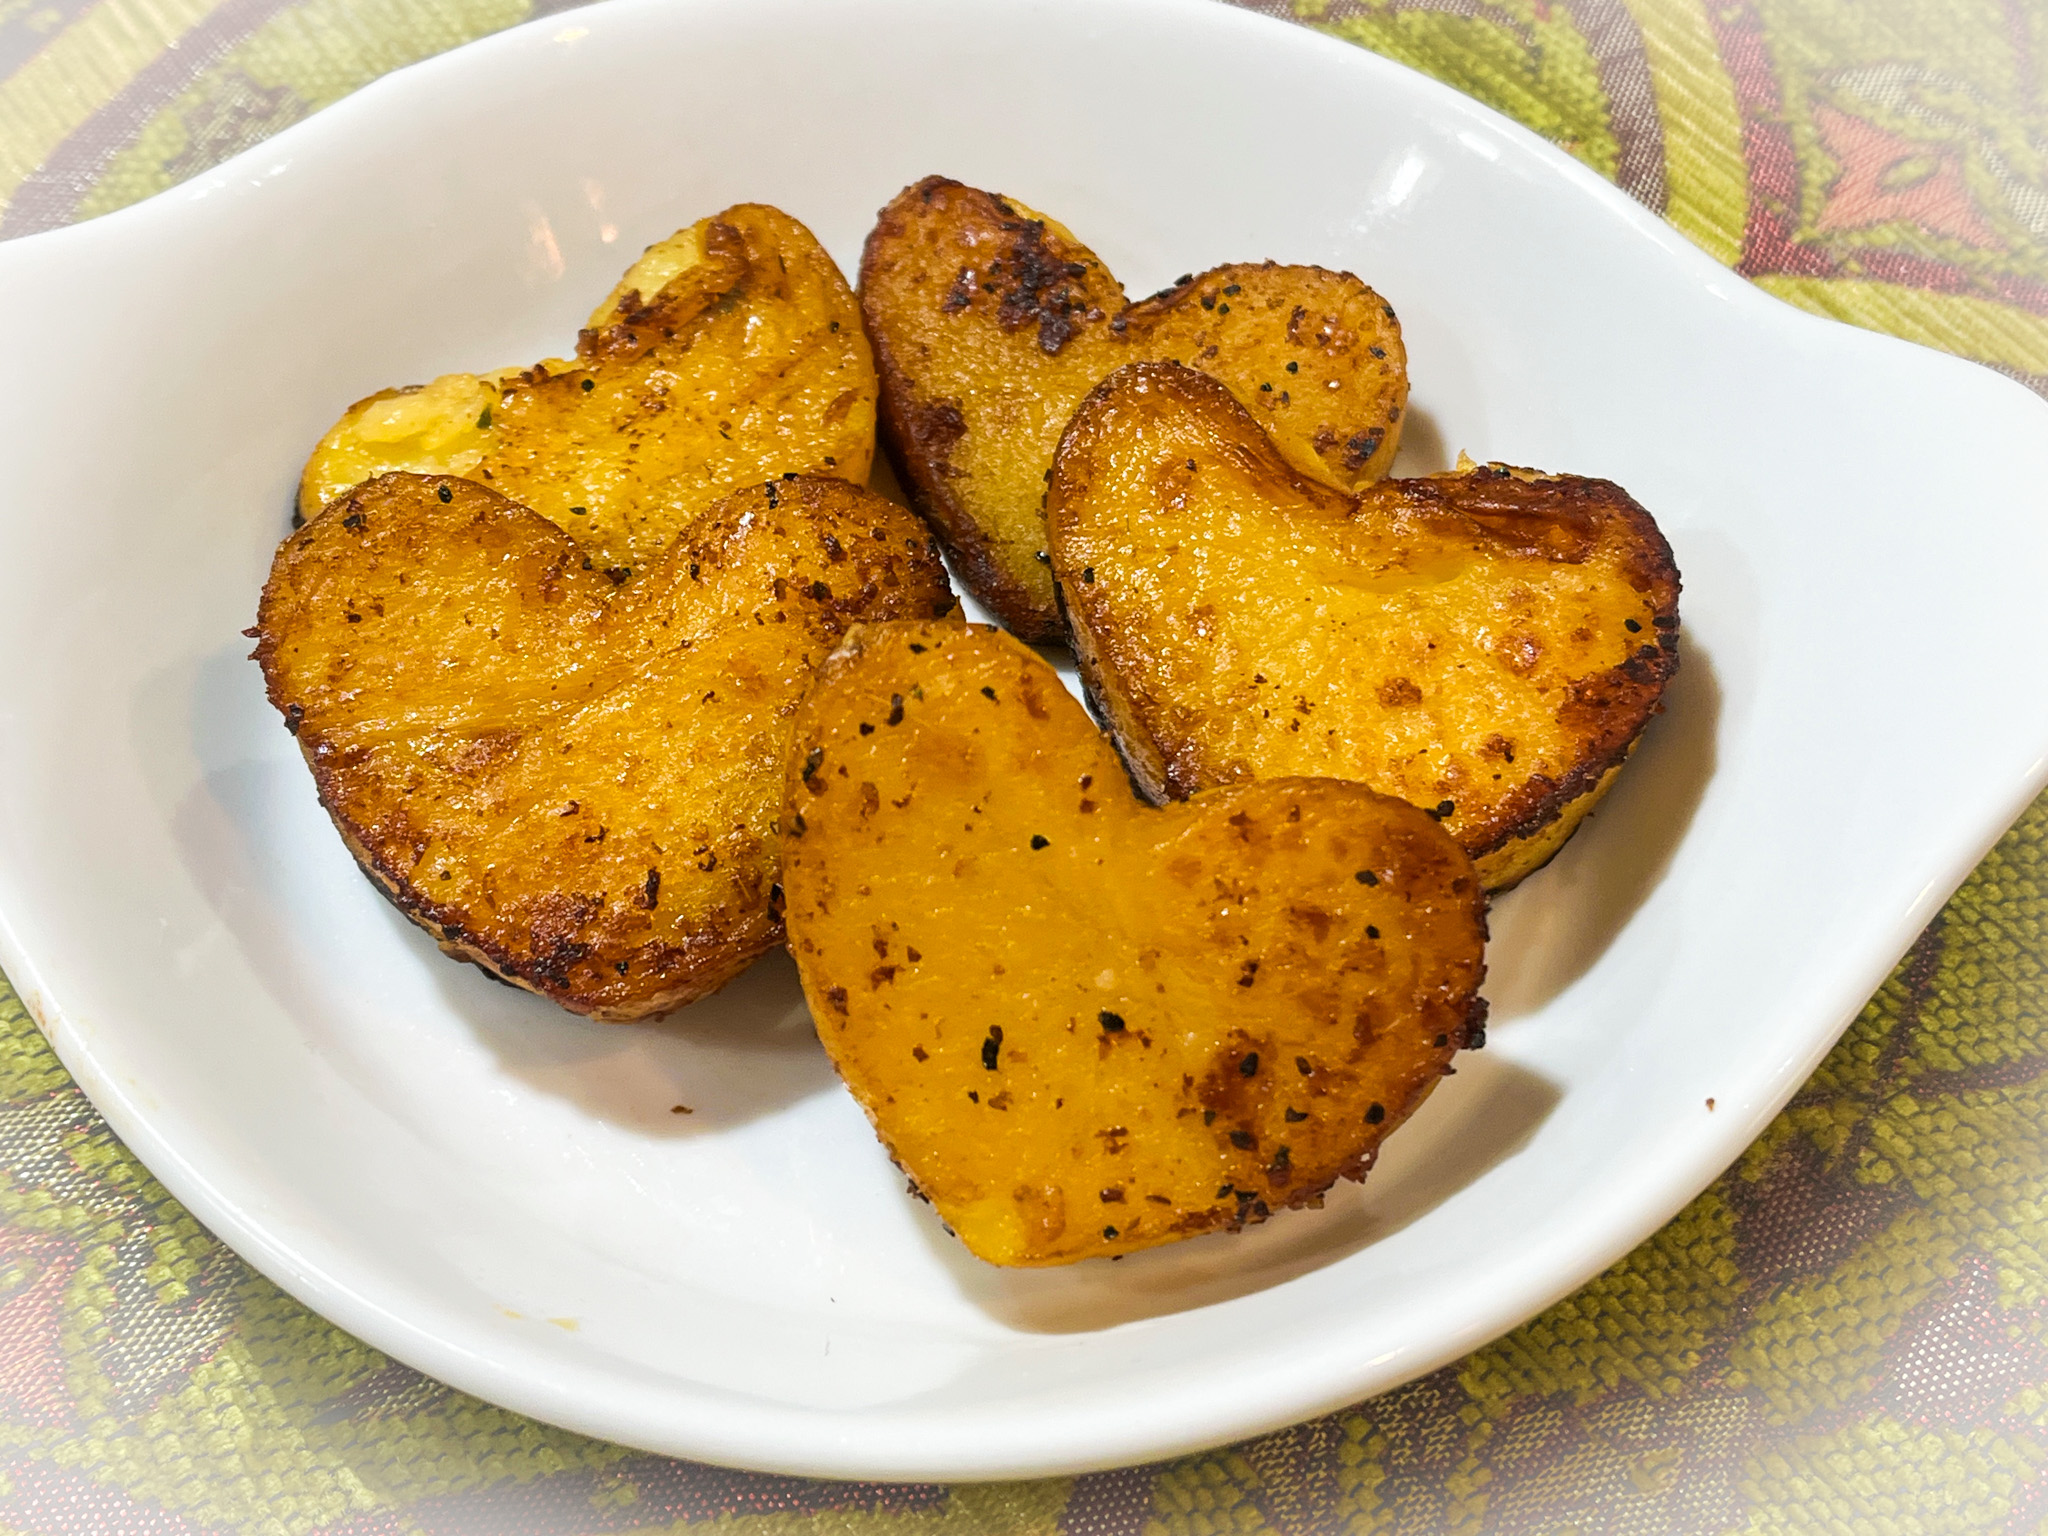
ONE YEAR AGO: Cake Pucks
TWO YEARS AGO: Haniela’s Cheese Crackers
THREE YEARS AGO: Shrimp Tacos with Jicama-Mango Salsa
FOUR YEARS AGO: Mini-Egg Brownies
FIVE YEARS AGO: The Luck of the Irish
SIX YEARS AGO: When life gives you Eye-of-the-Round
SEVEN YEARS AGO: Carrot Cake Macarons
EIGHT YEARS AGO: Soup Saturday: Say Goodbye to Winter
NINE YEARS AGO: Manchego and Poblano Soup
TEN YEARS AGO: A Smashing Pair
ELEVEN YEARS AGO: Spinach and Mushroom Stuffed Pork Tenderloin
TWELVE YEARS AGO: Crispy Chickpea and Caper Spaghetti
THIRTEEN YEARS AGO: Spring has Sprung!
FOURTEEN YEARS AGO: Chickpea and Fire Roasted Tomato Soup
FIFTEEN YEARS AGO: Double Asparagus Delight
SIXTEEN YEARS AGO: Sun-dried Tomato and Feta Cheese Torte